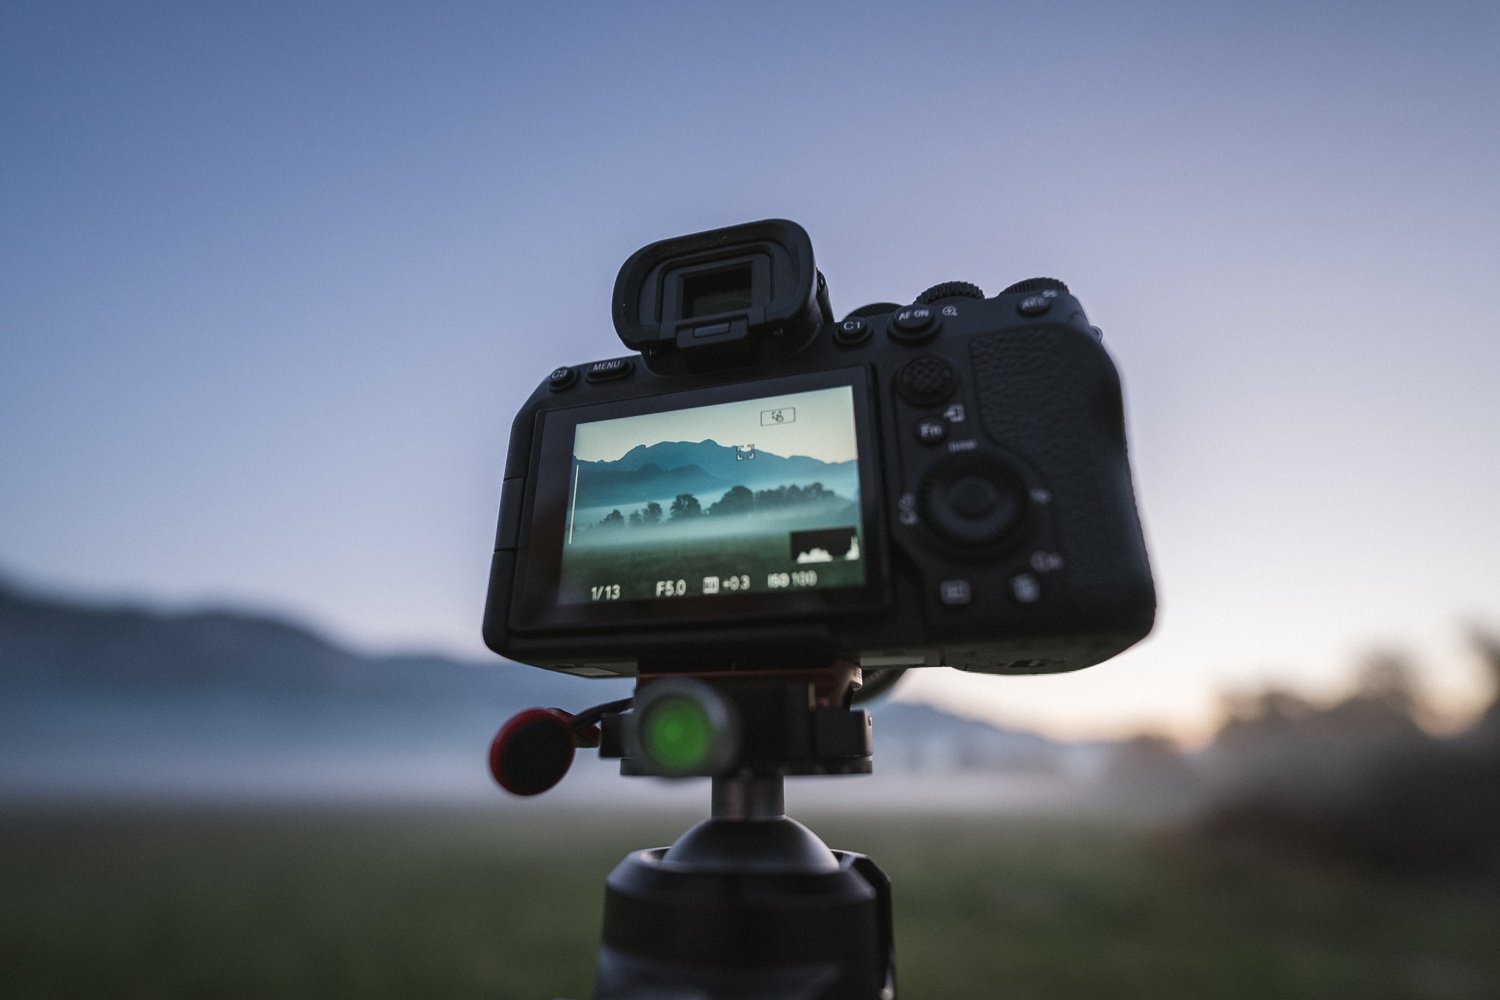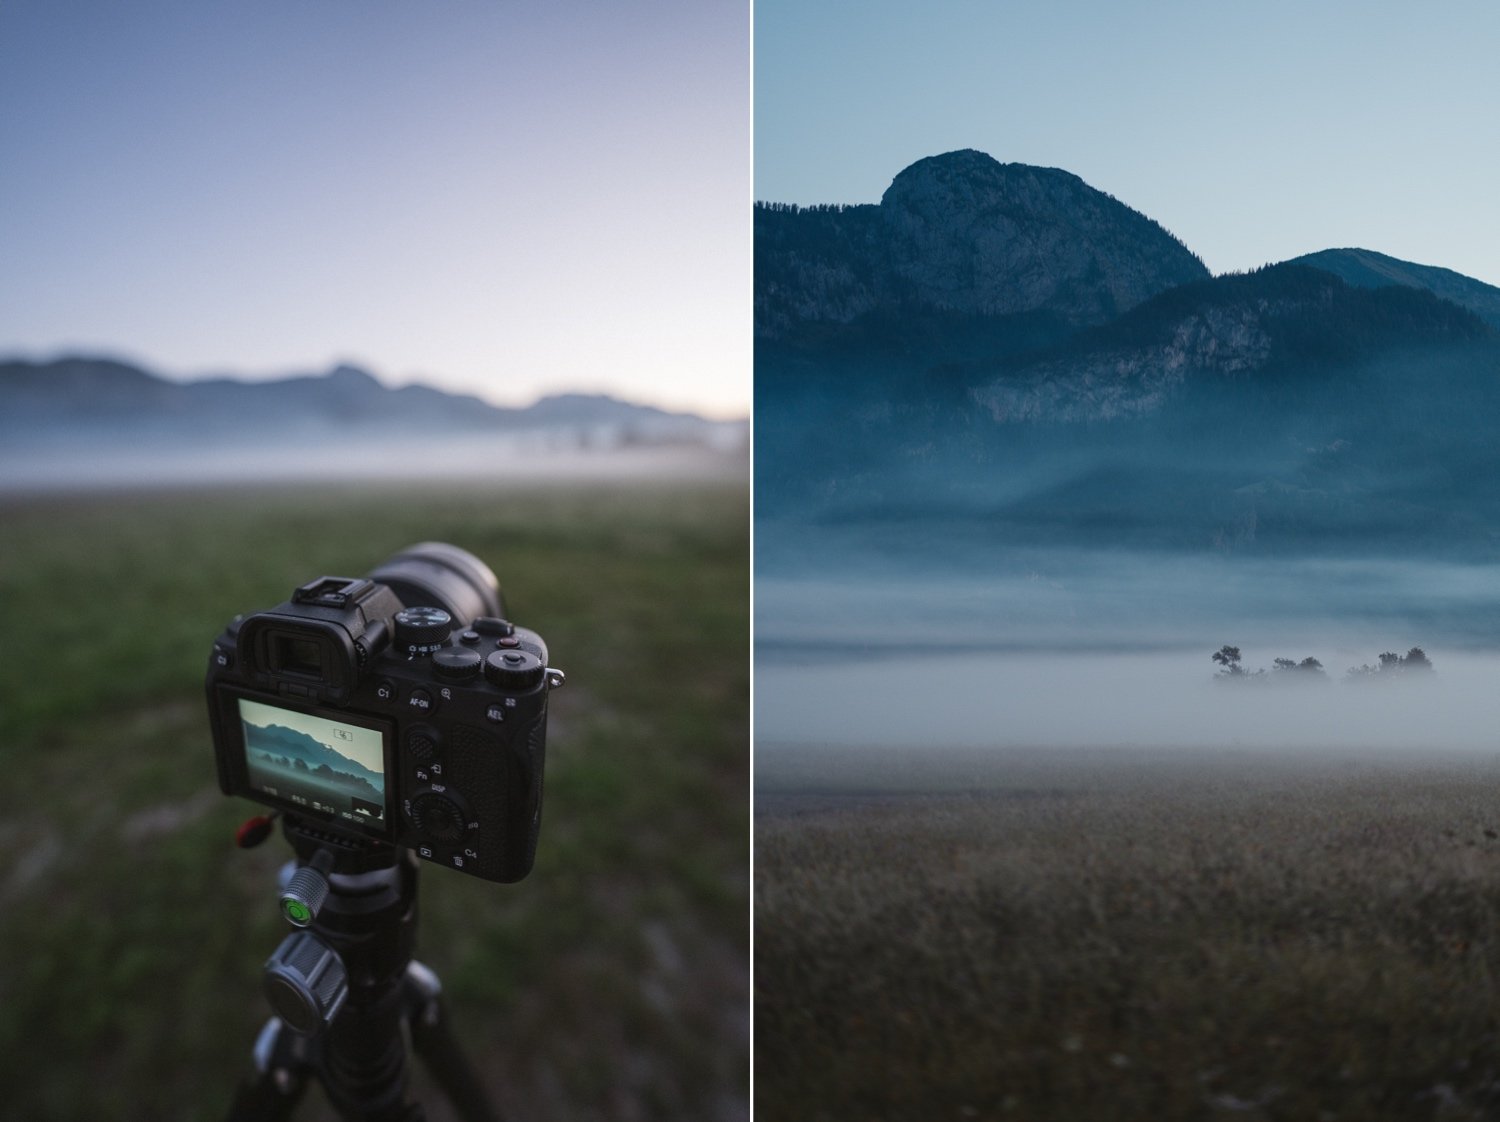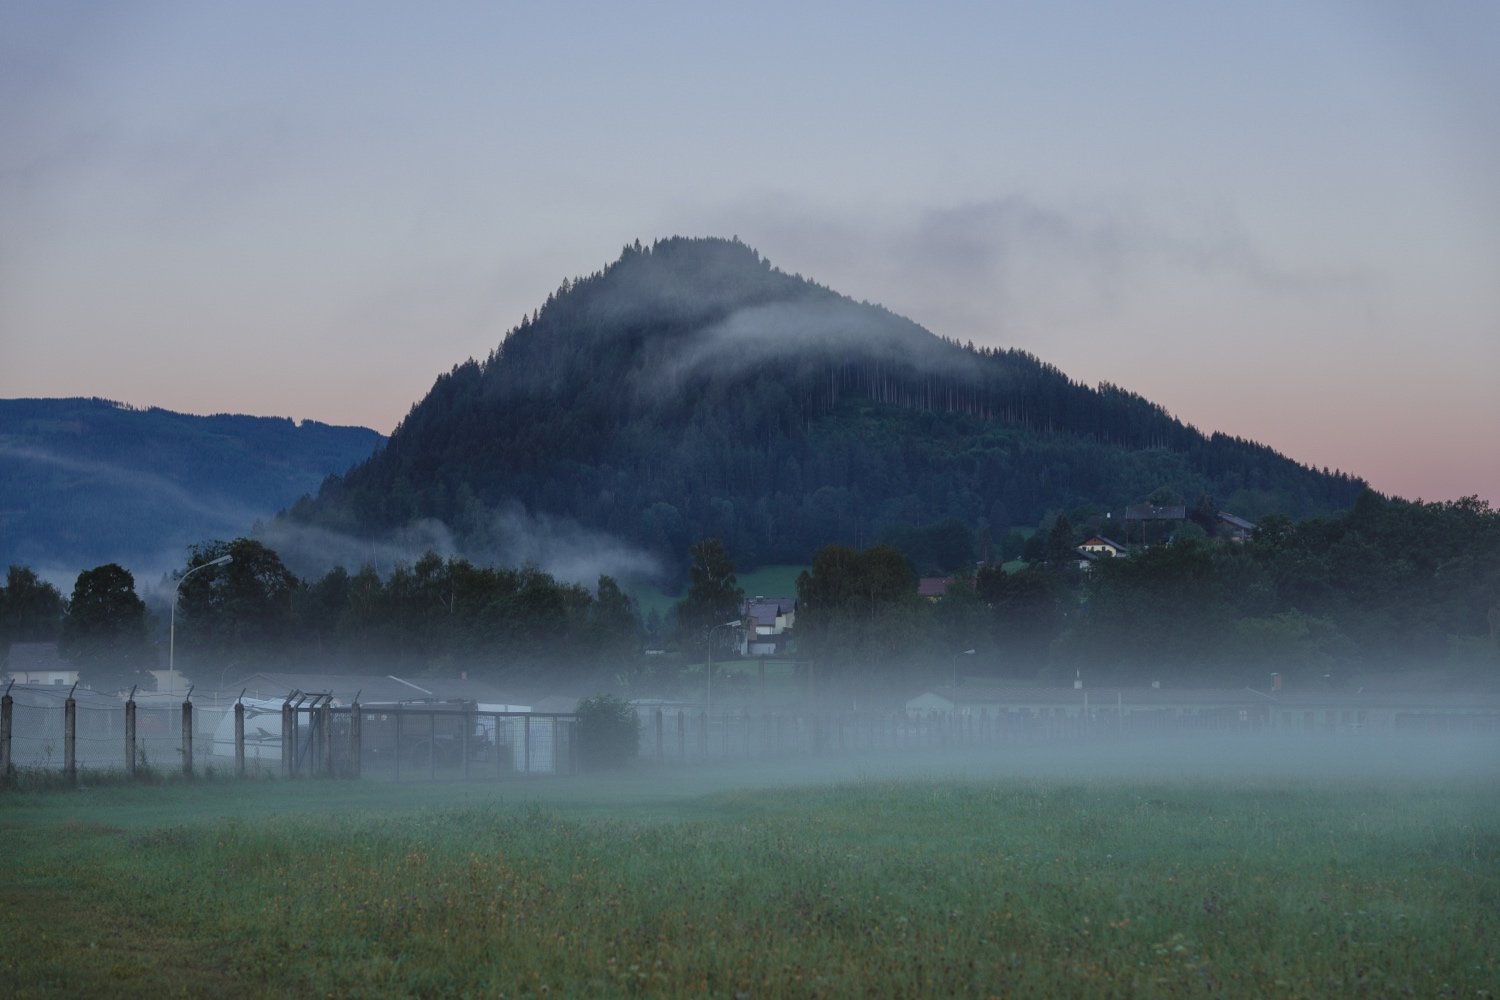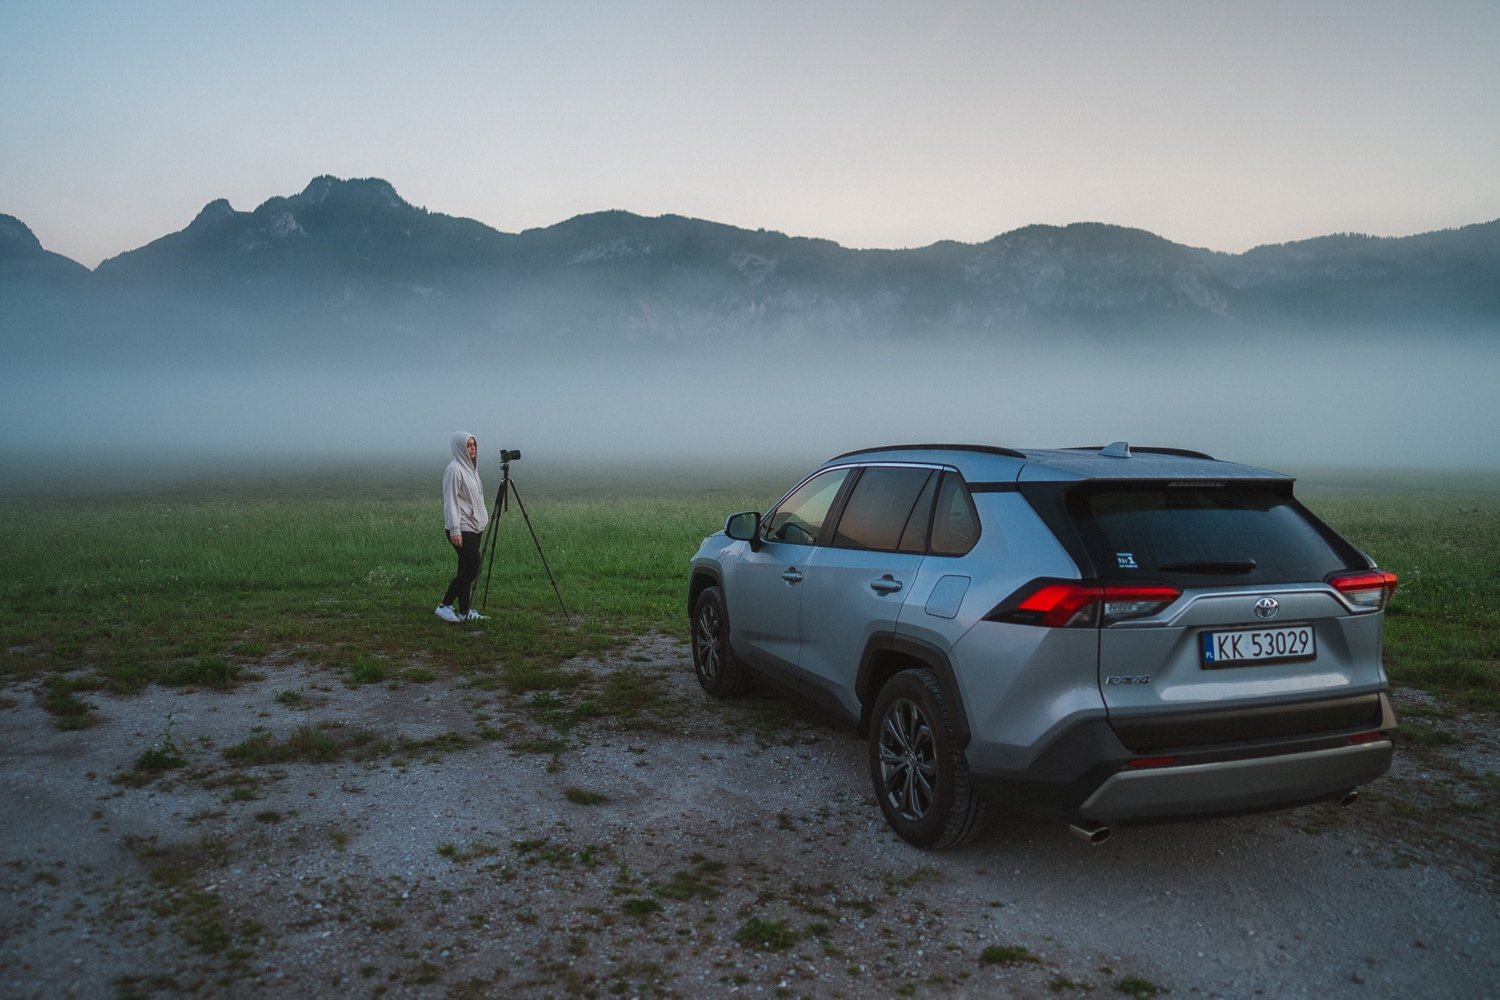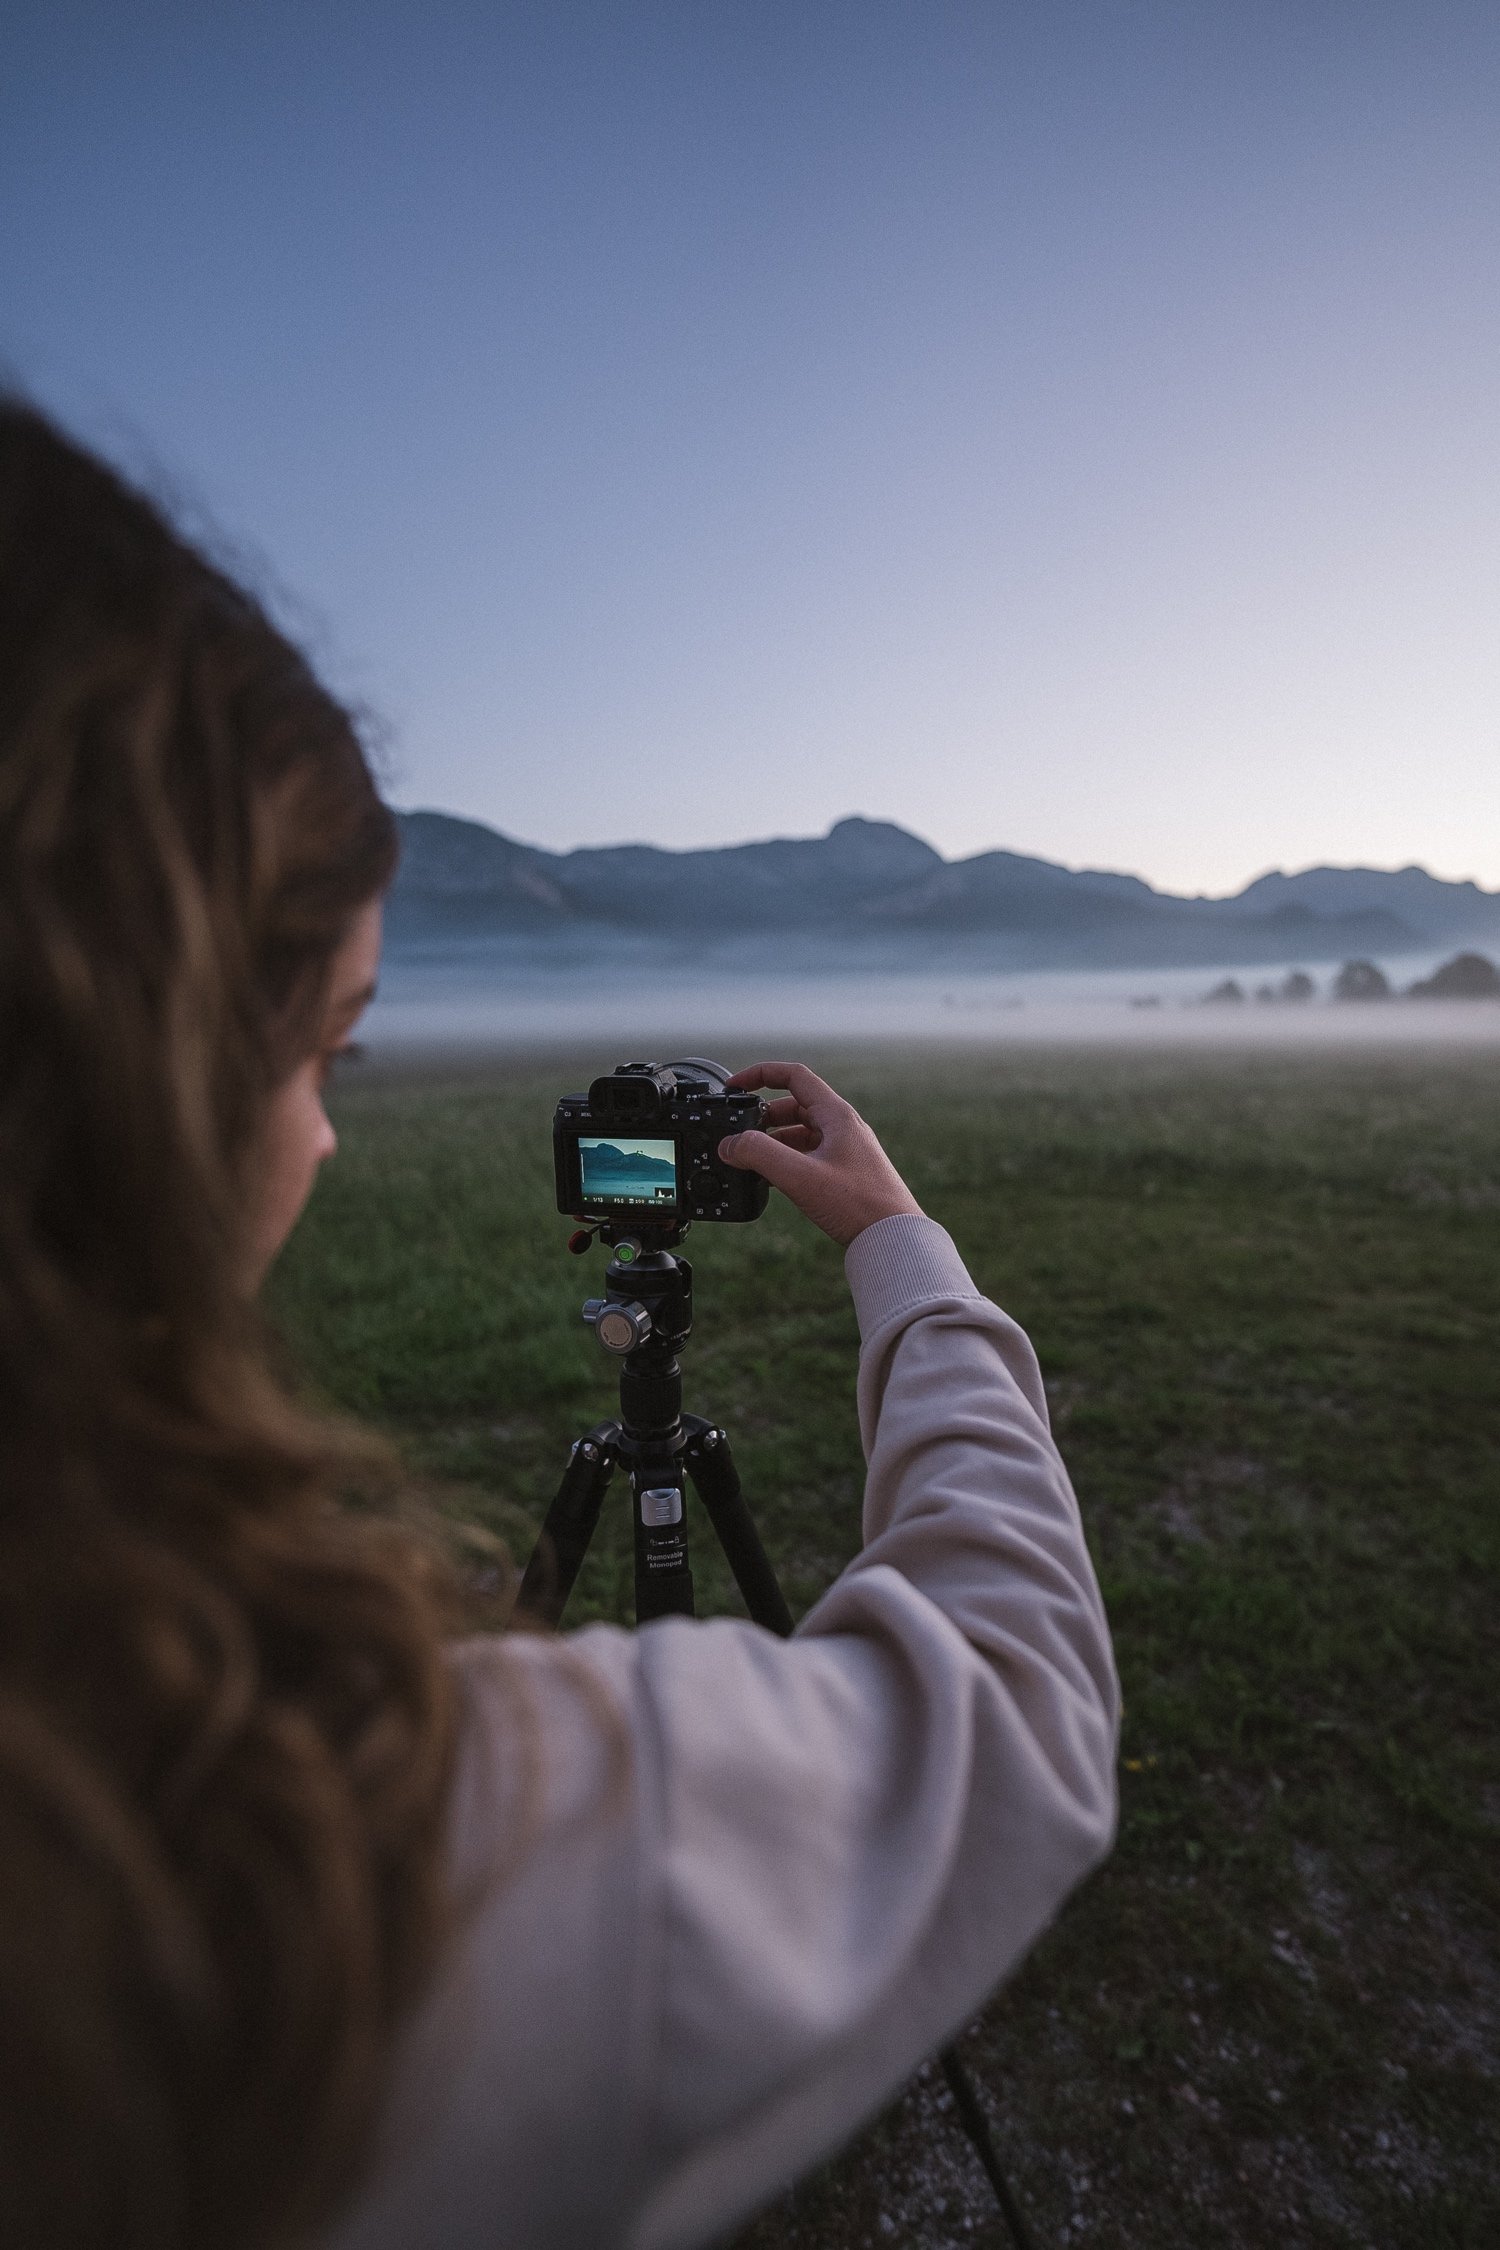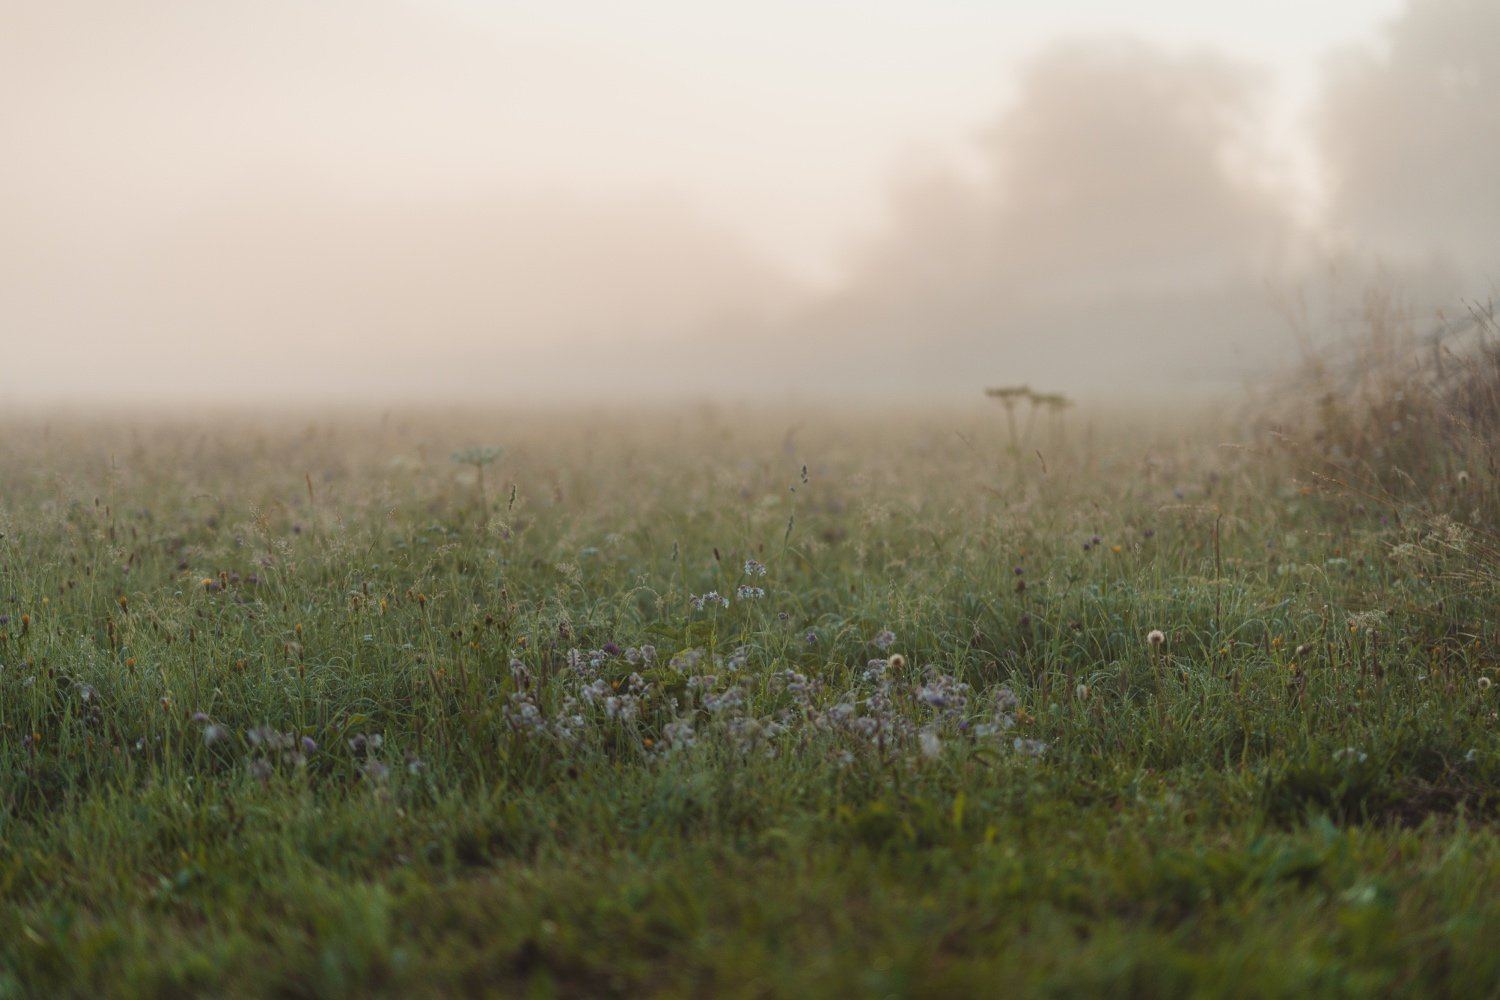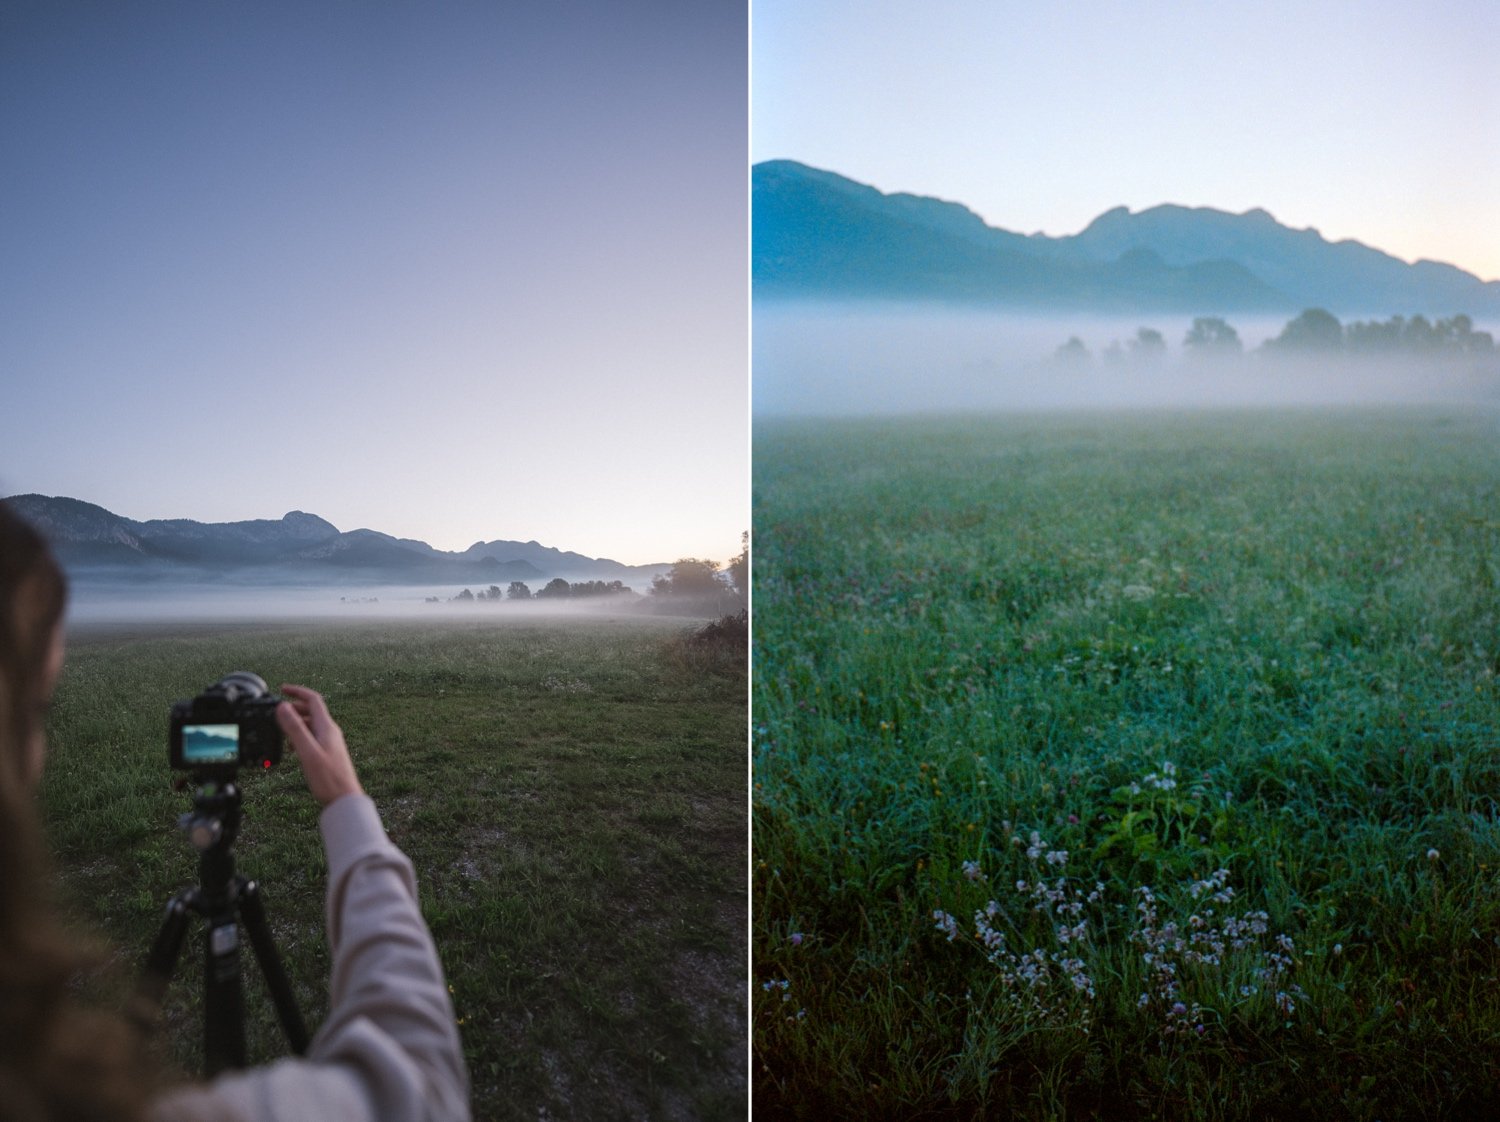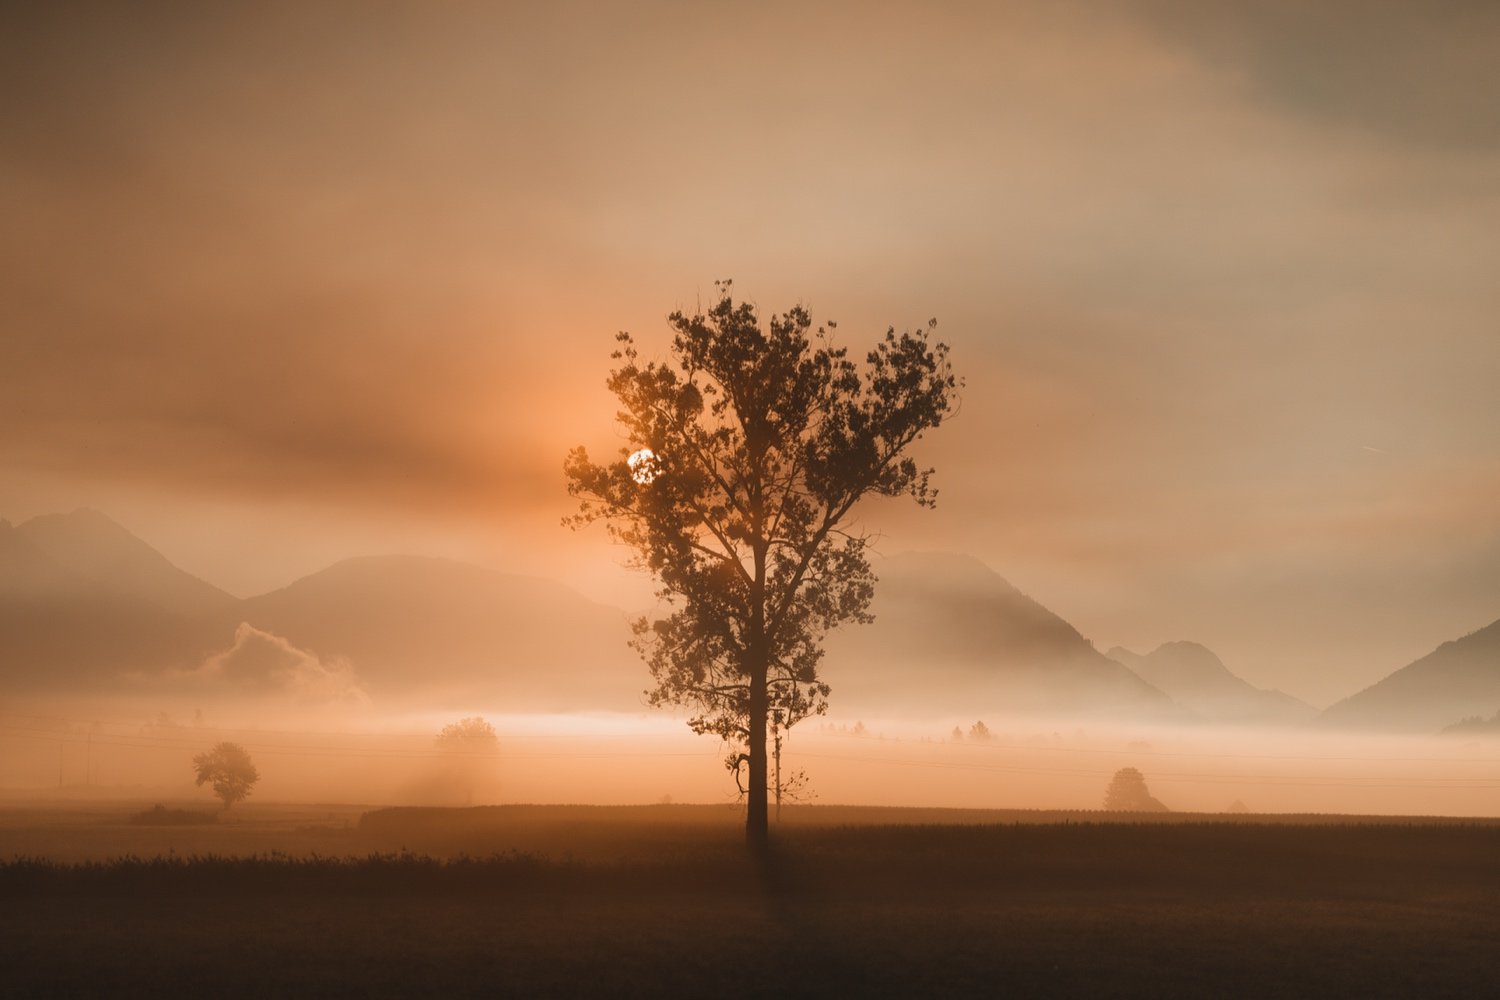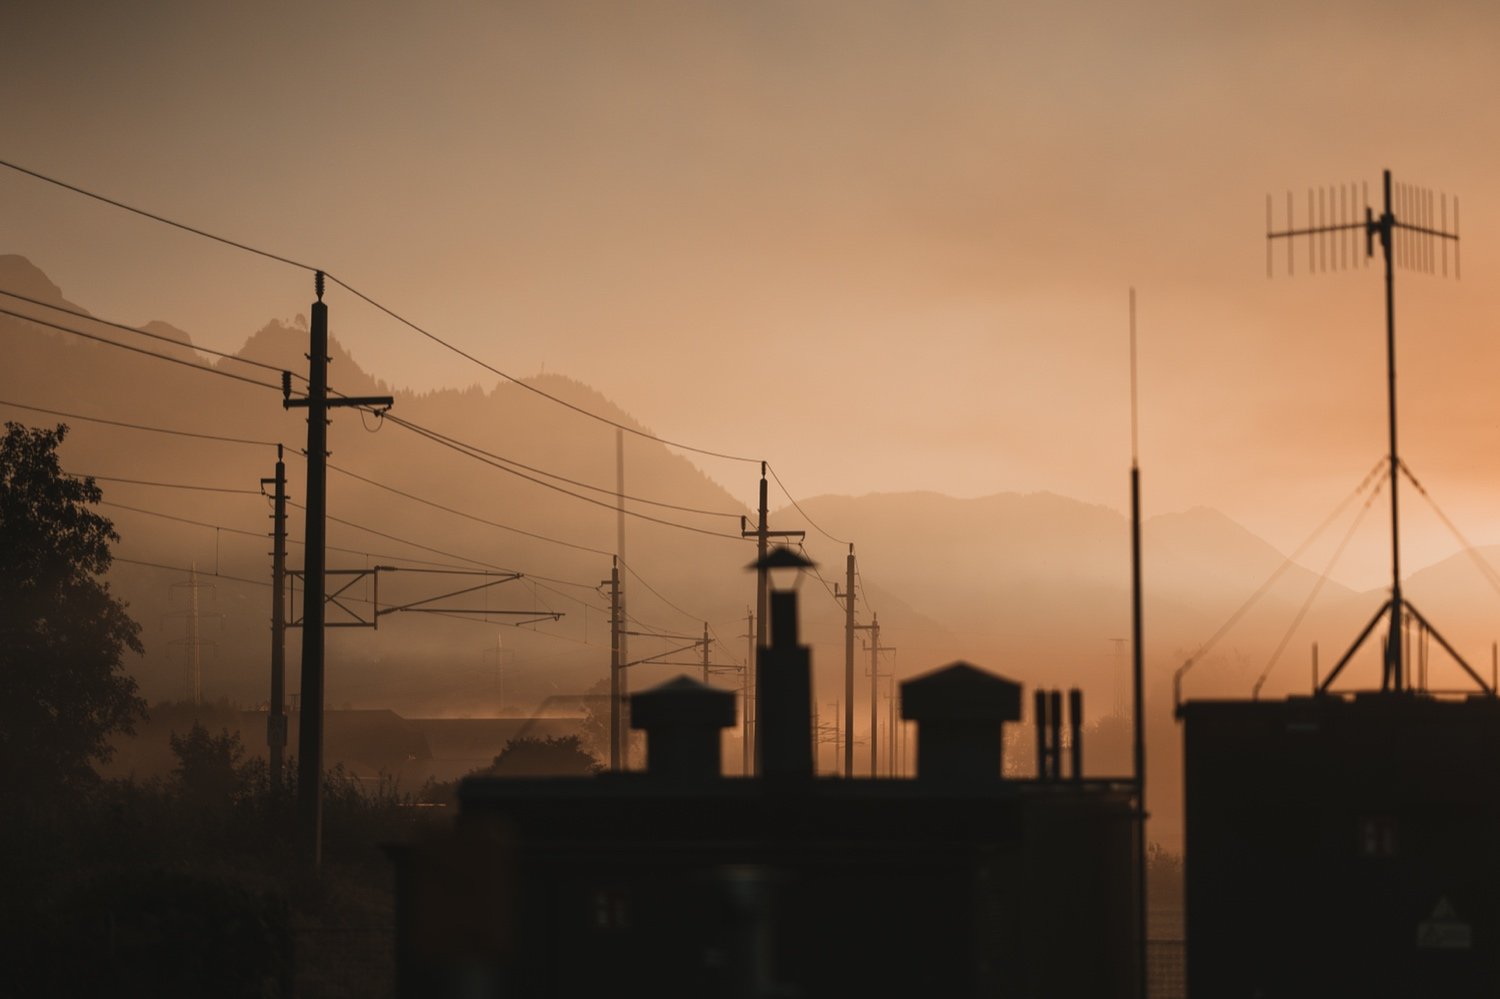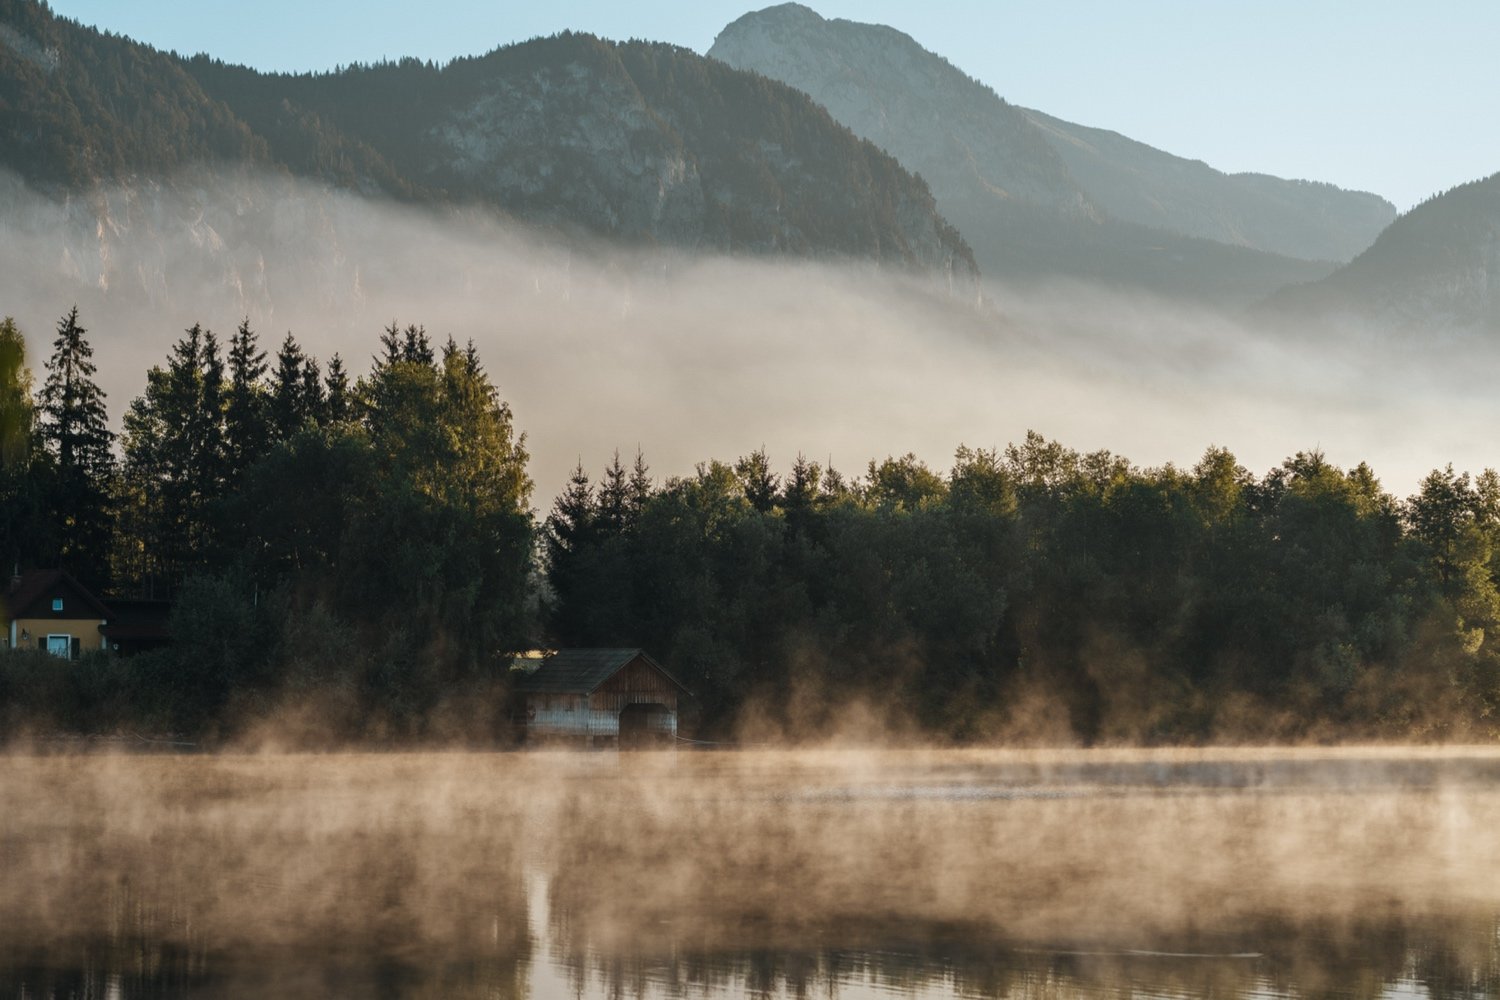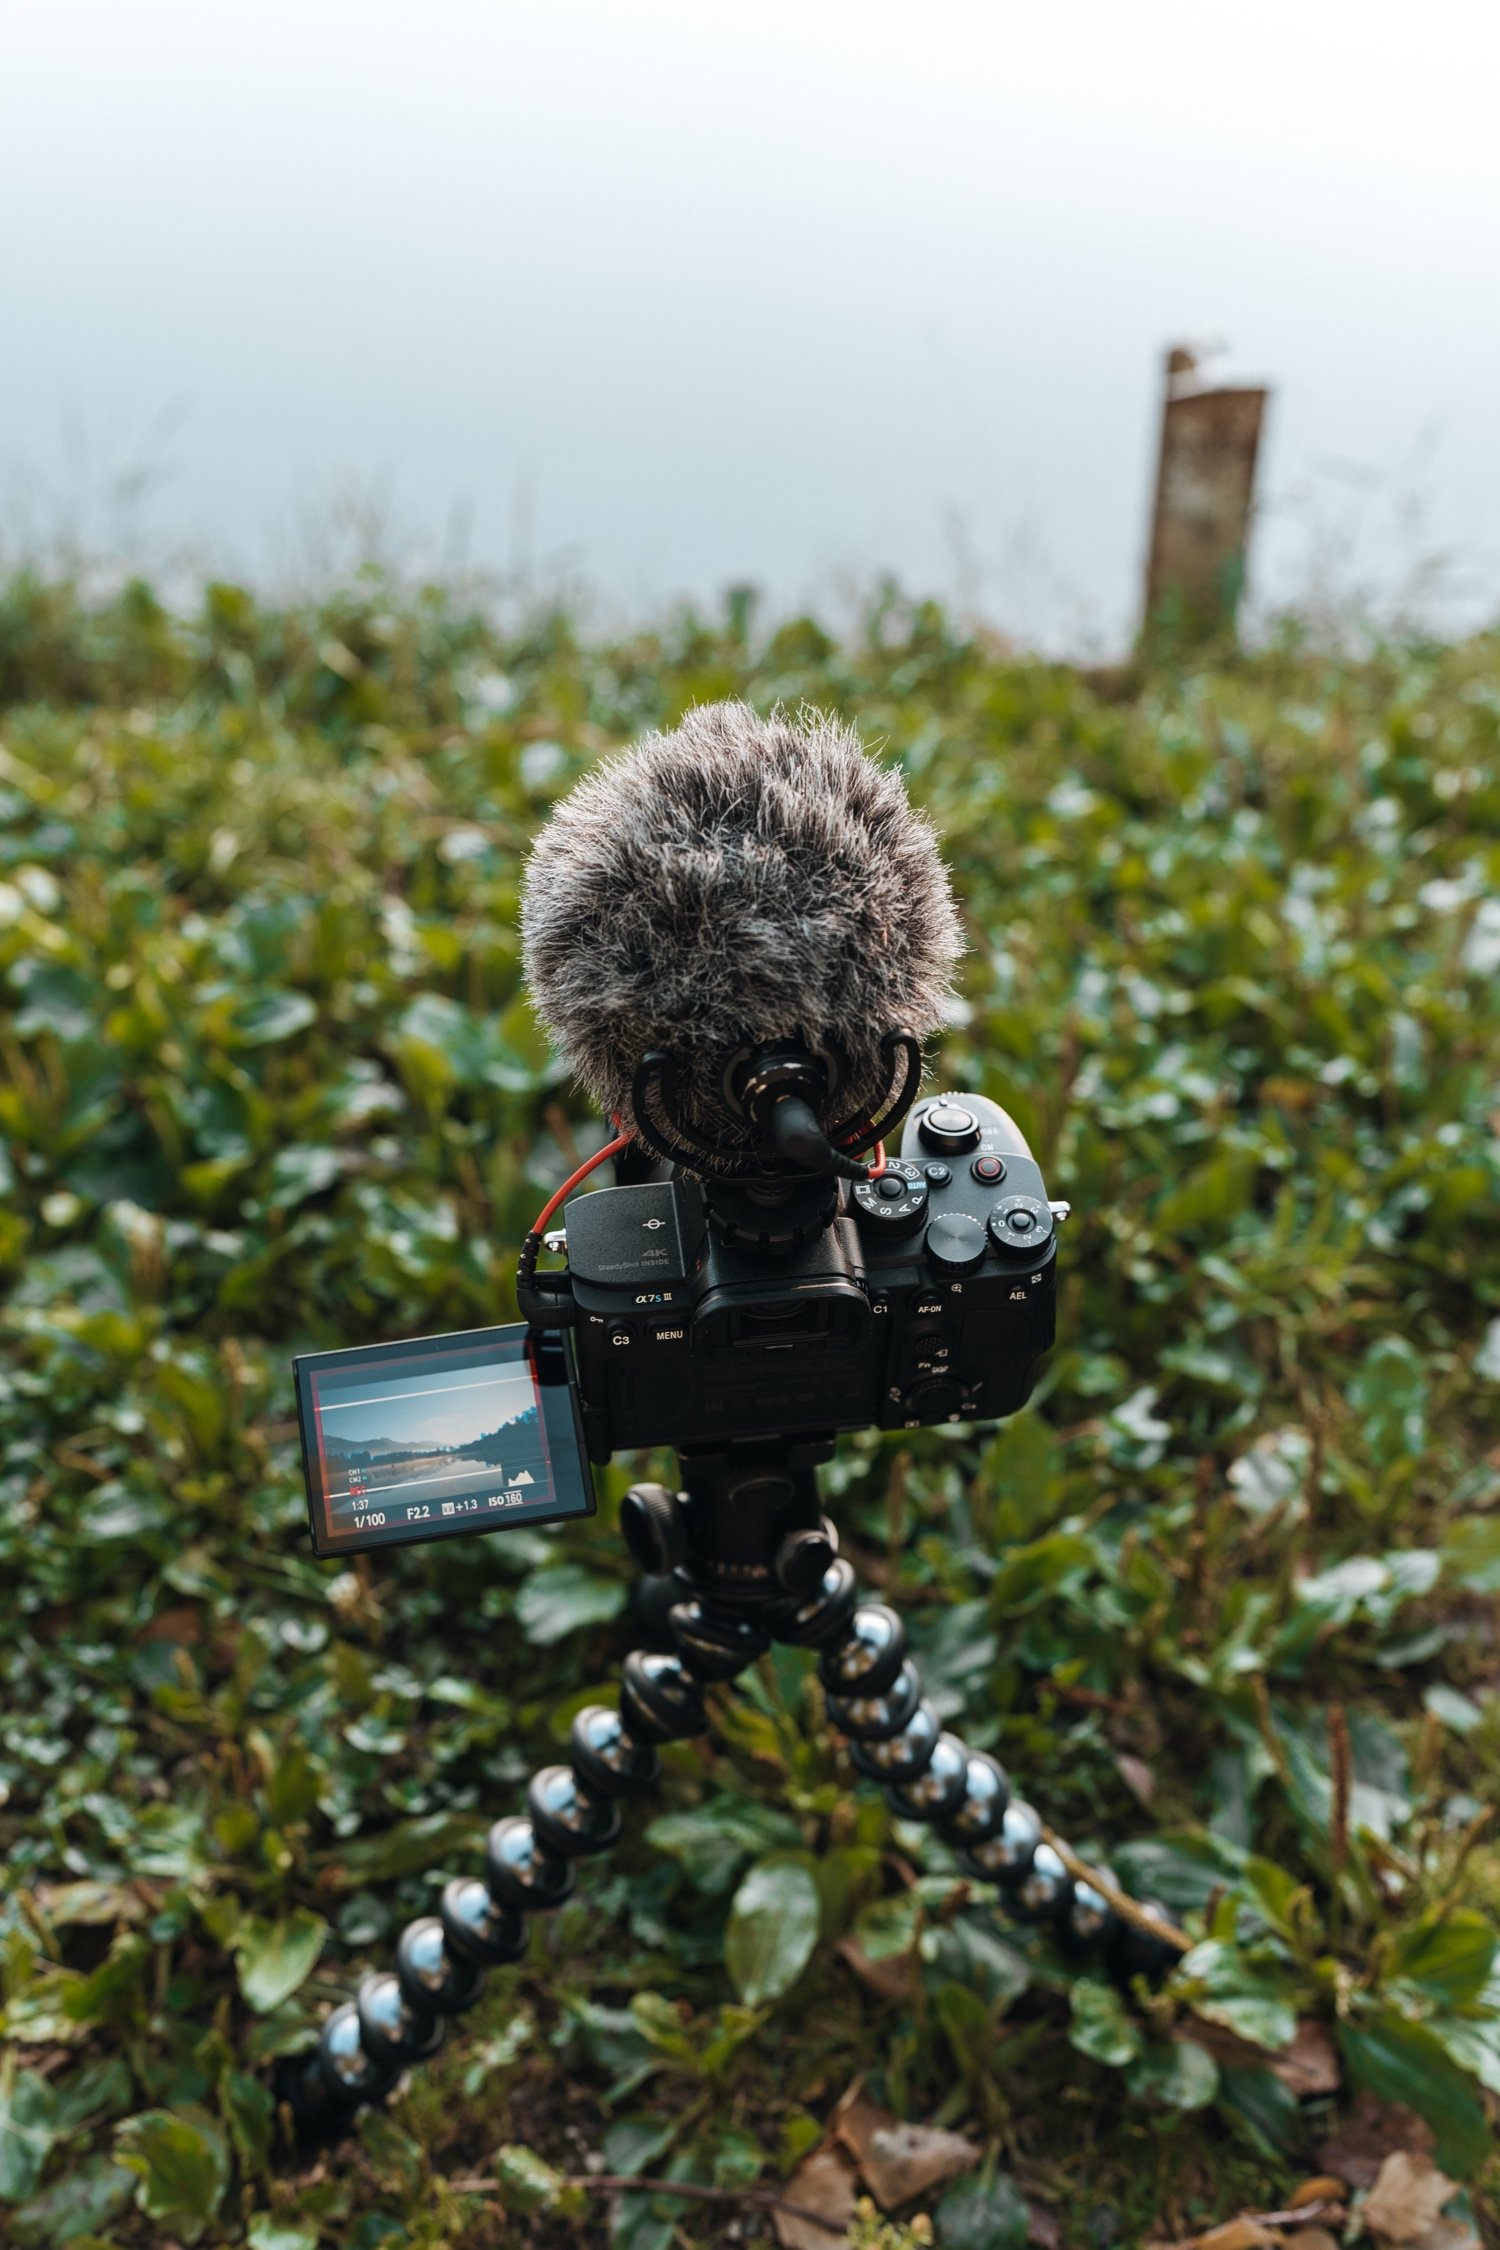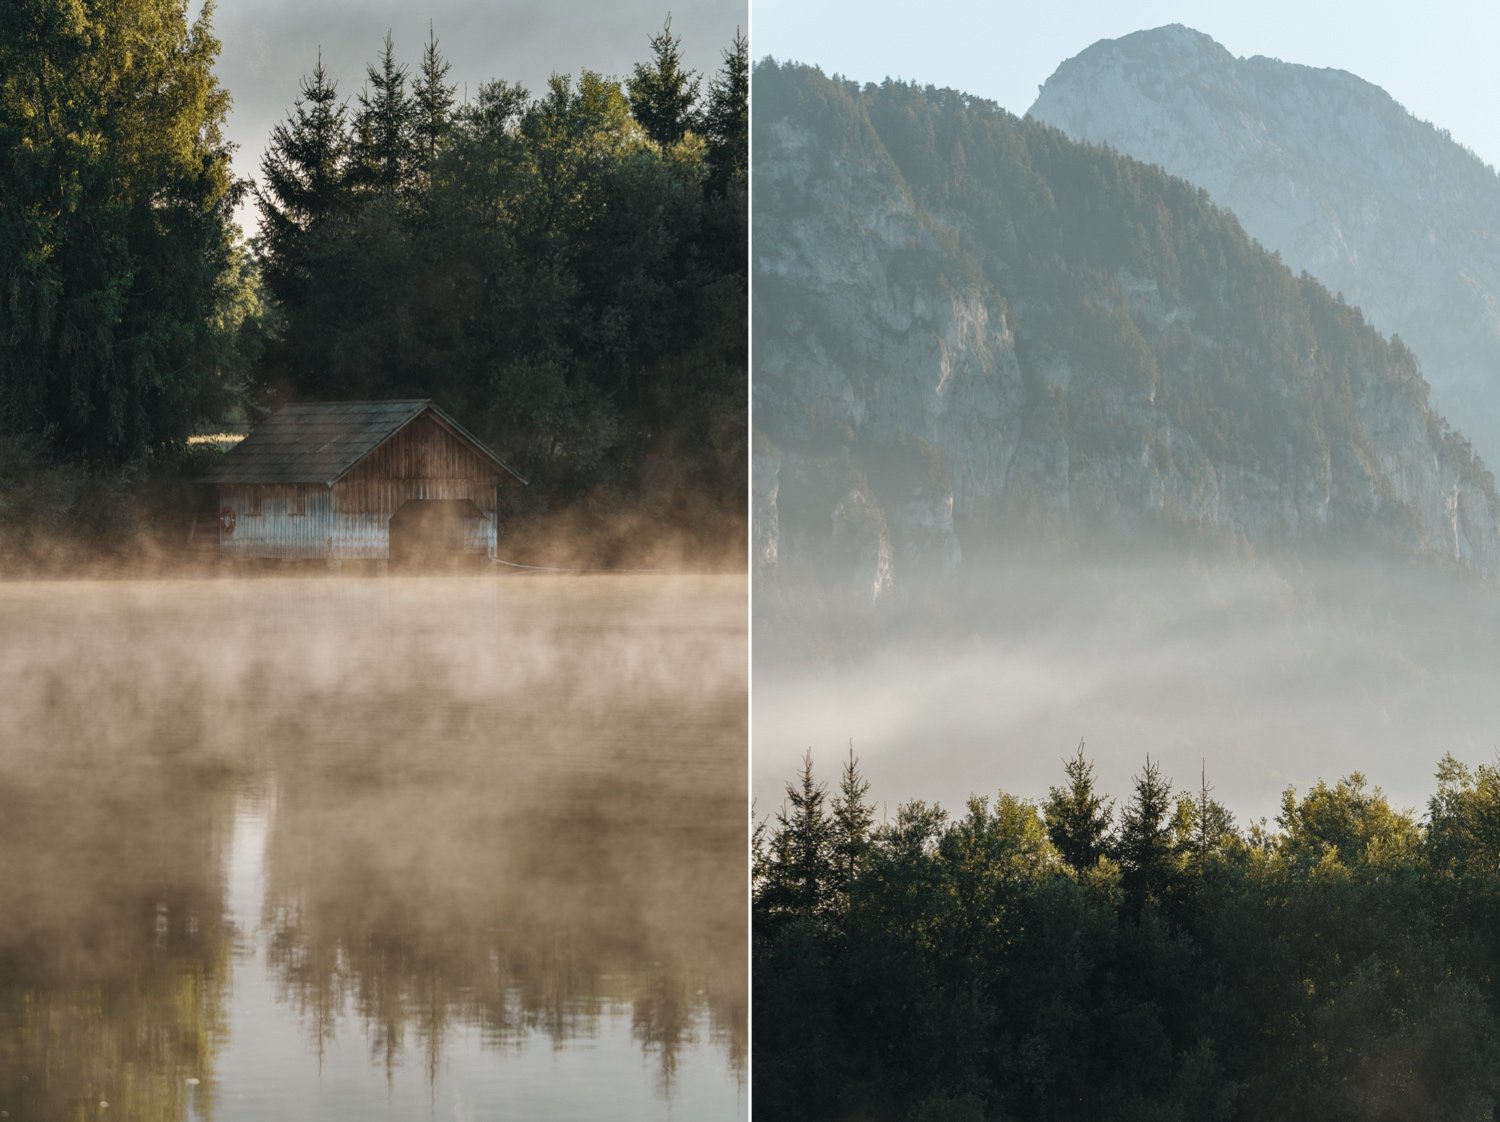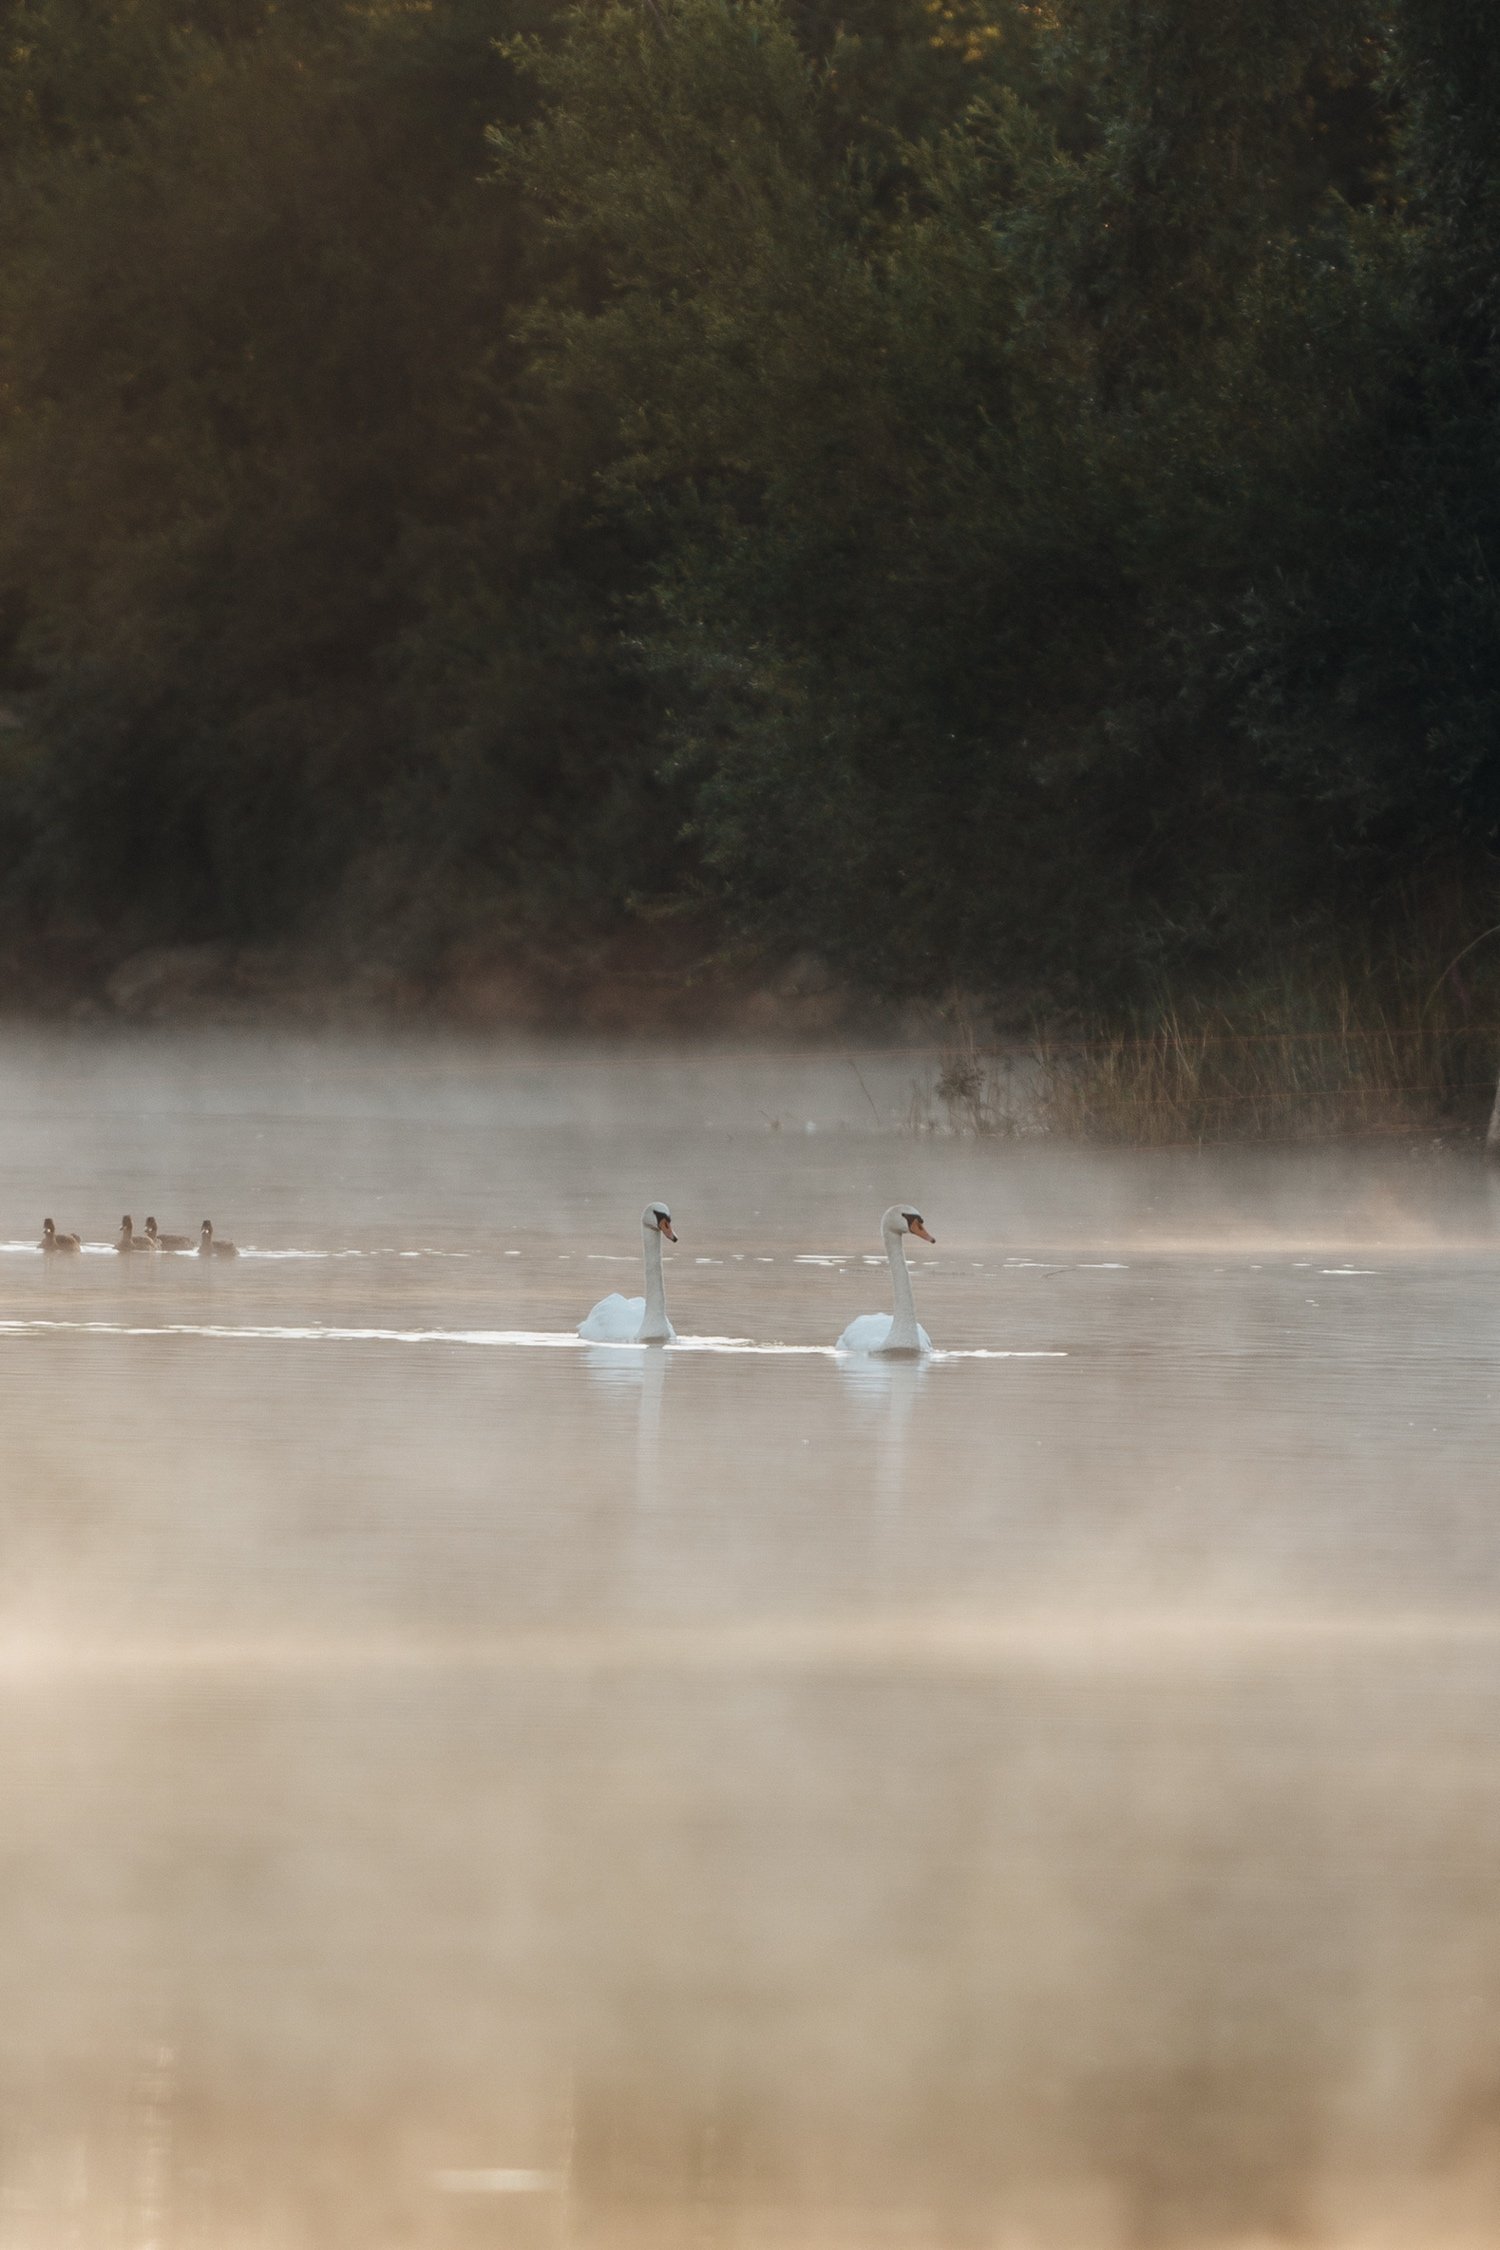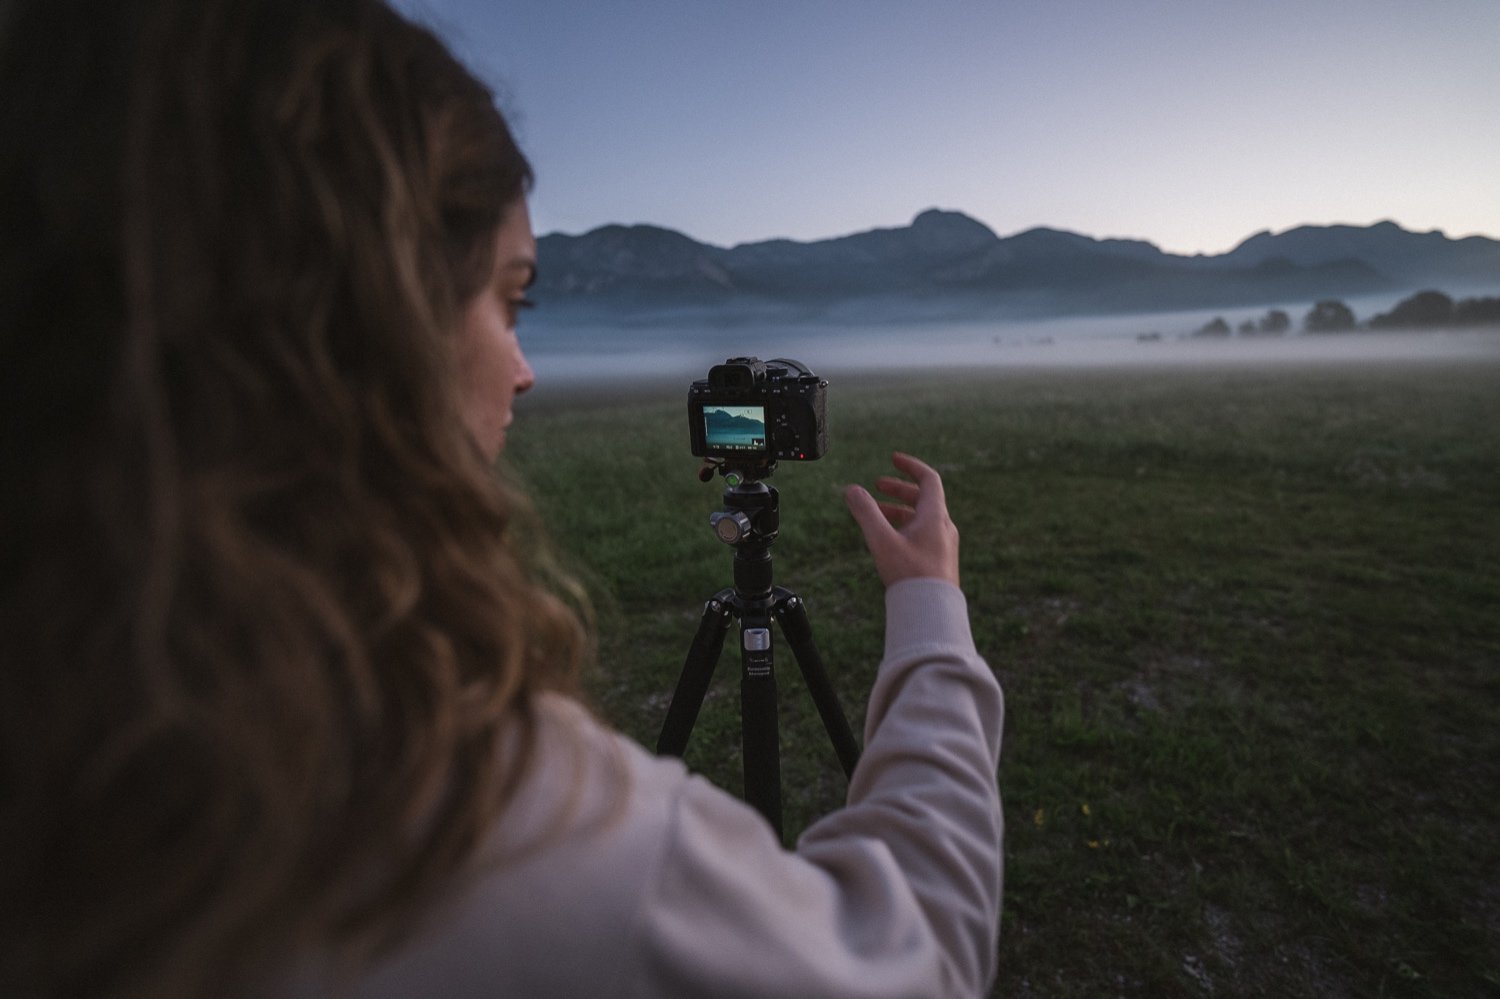
I set my alarm for 4am, Dan and I hopped in the car while it was still dark and drove to our first location. We had scouted a couple of sunrise spots the day before. This spot was a nothing place - not a landmark or a viewpoint. It was by a little carpark for an army base just off the side of the road.
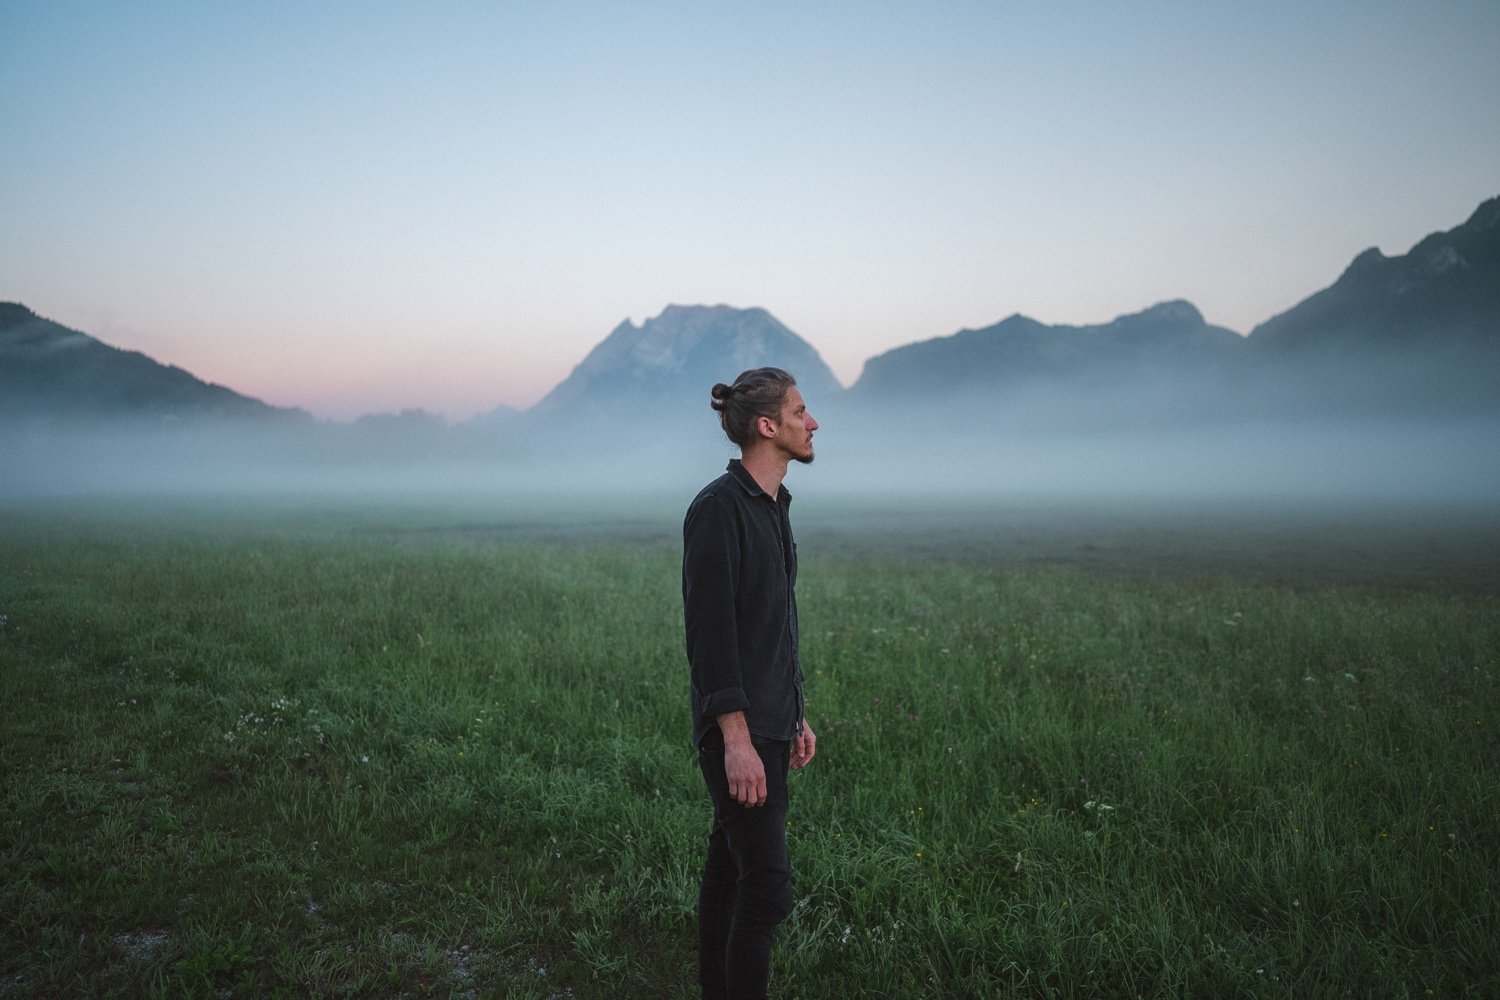
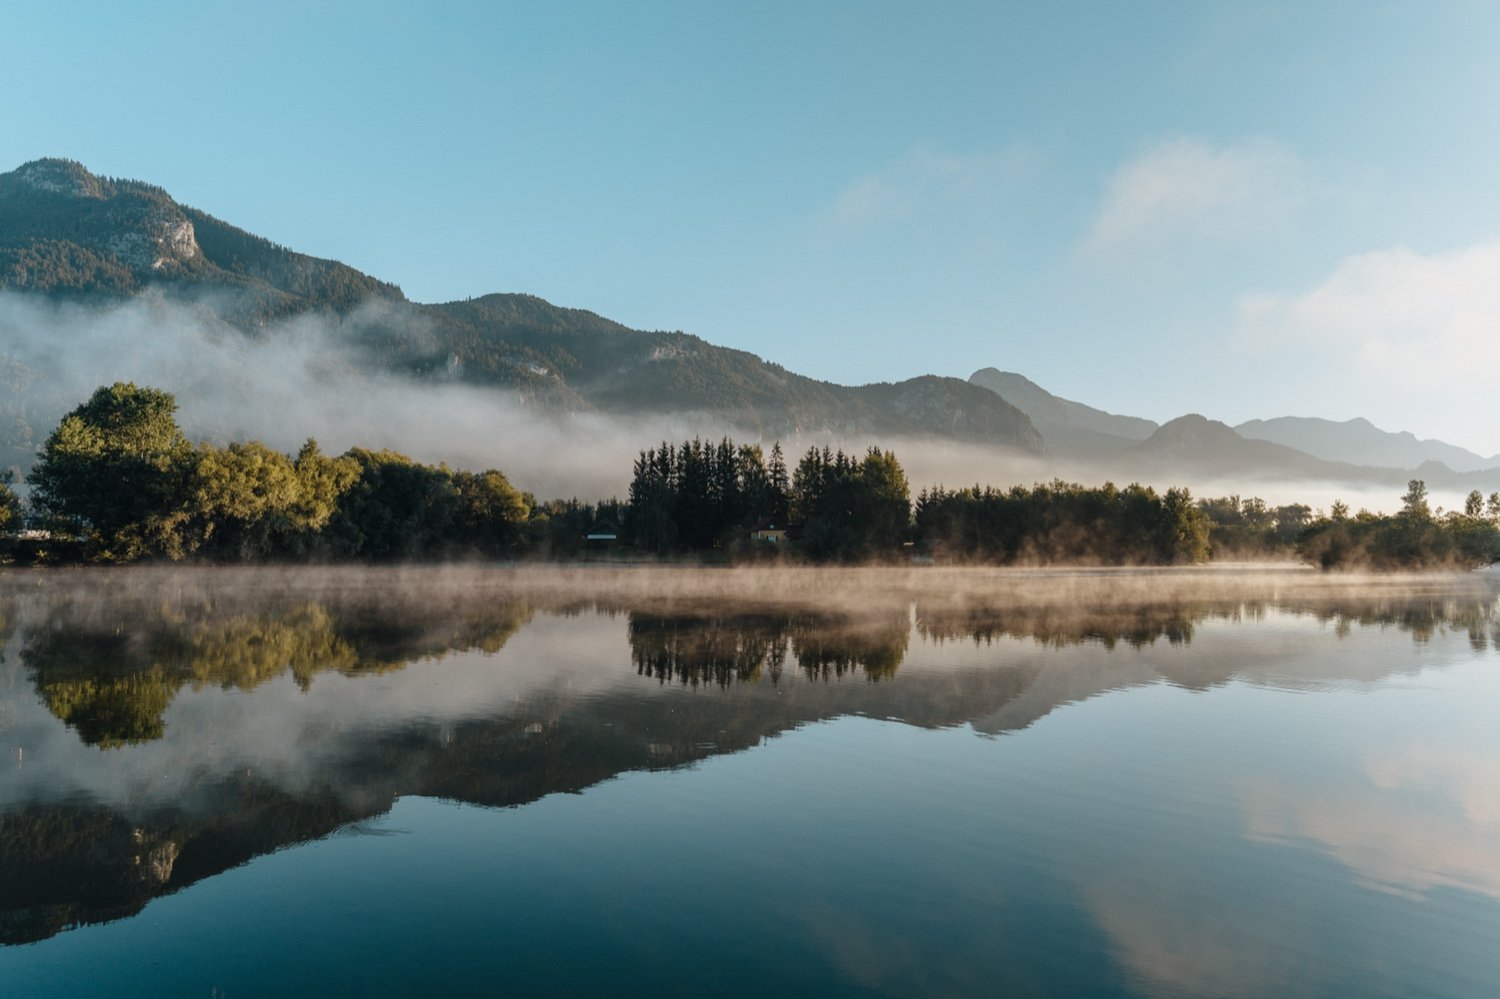
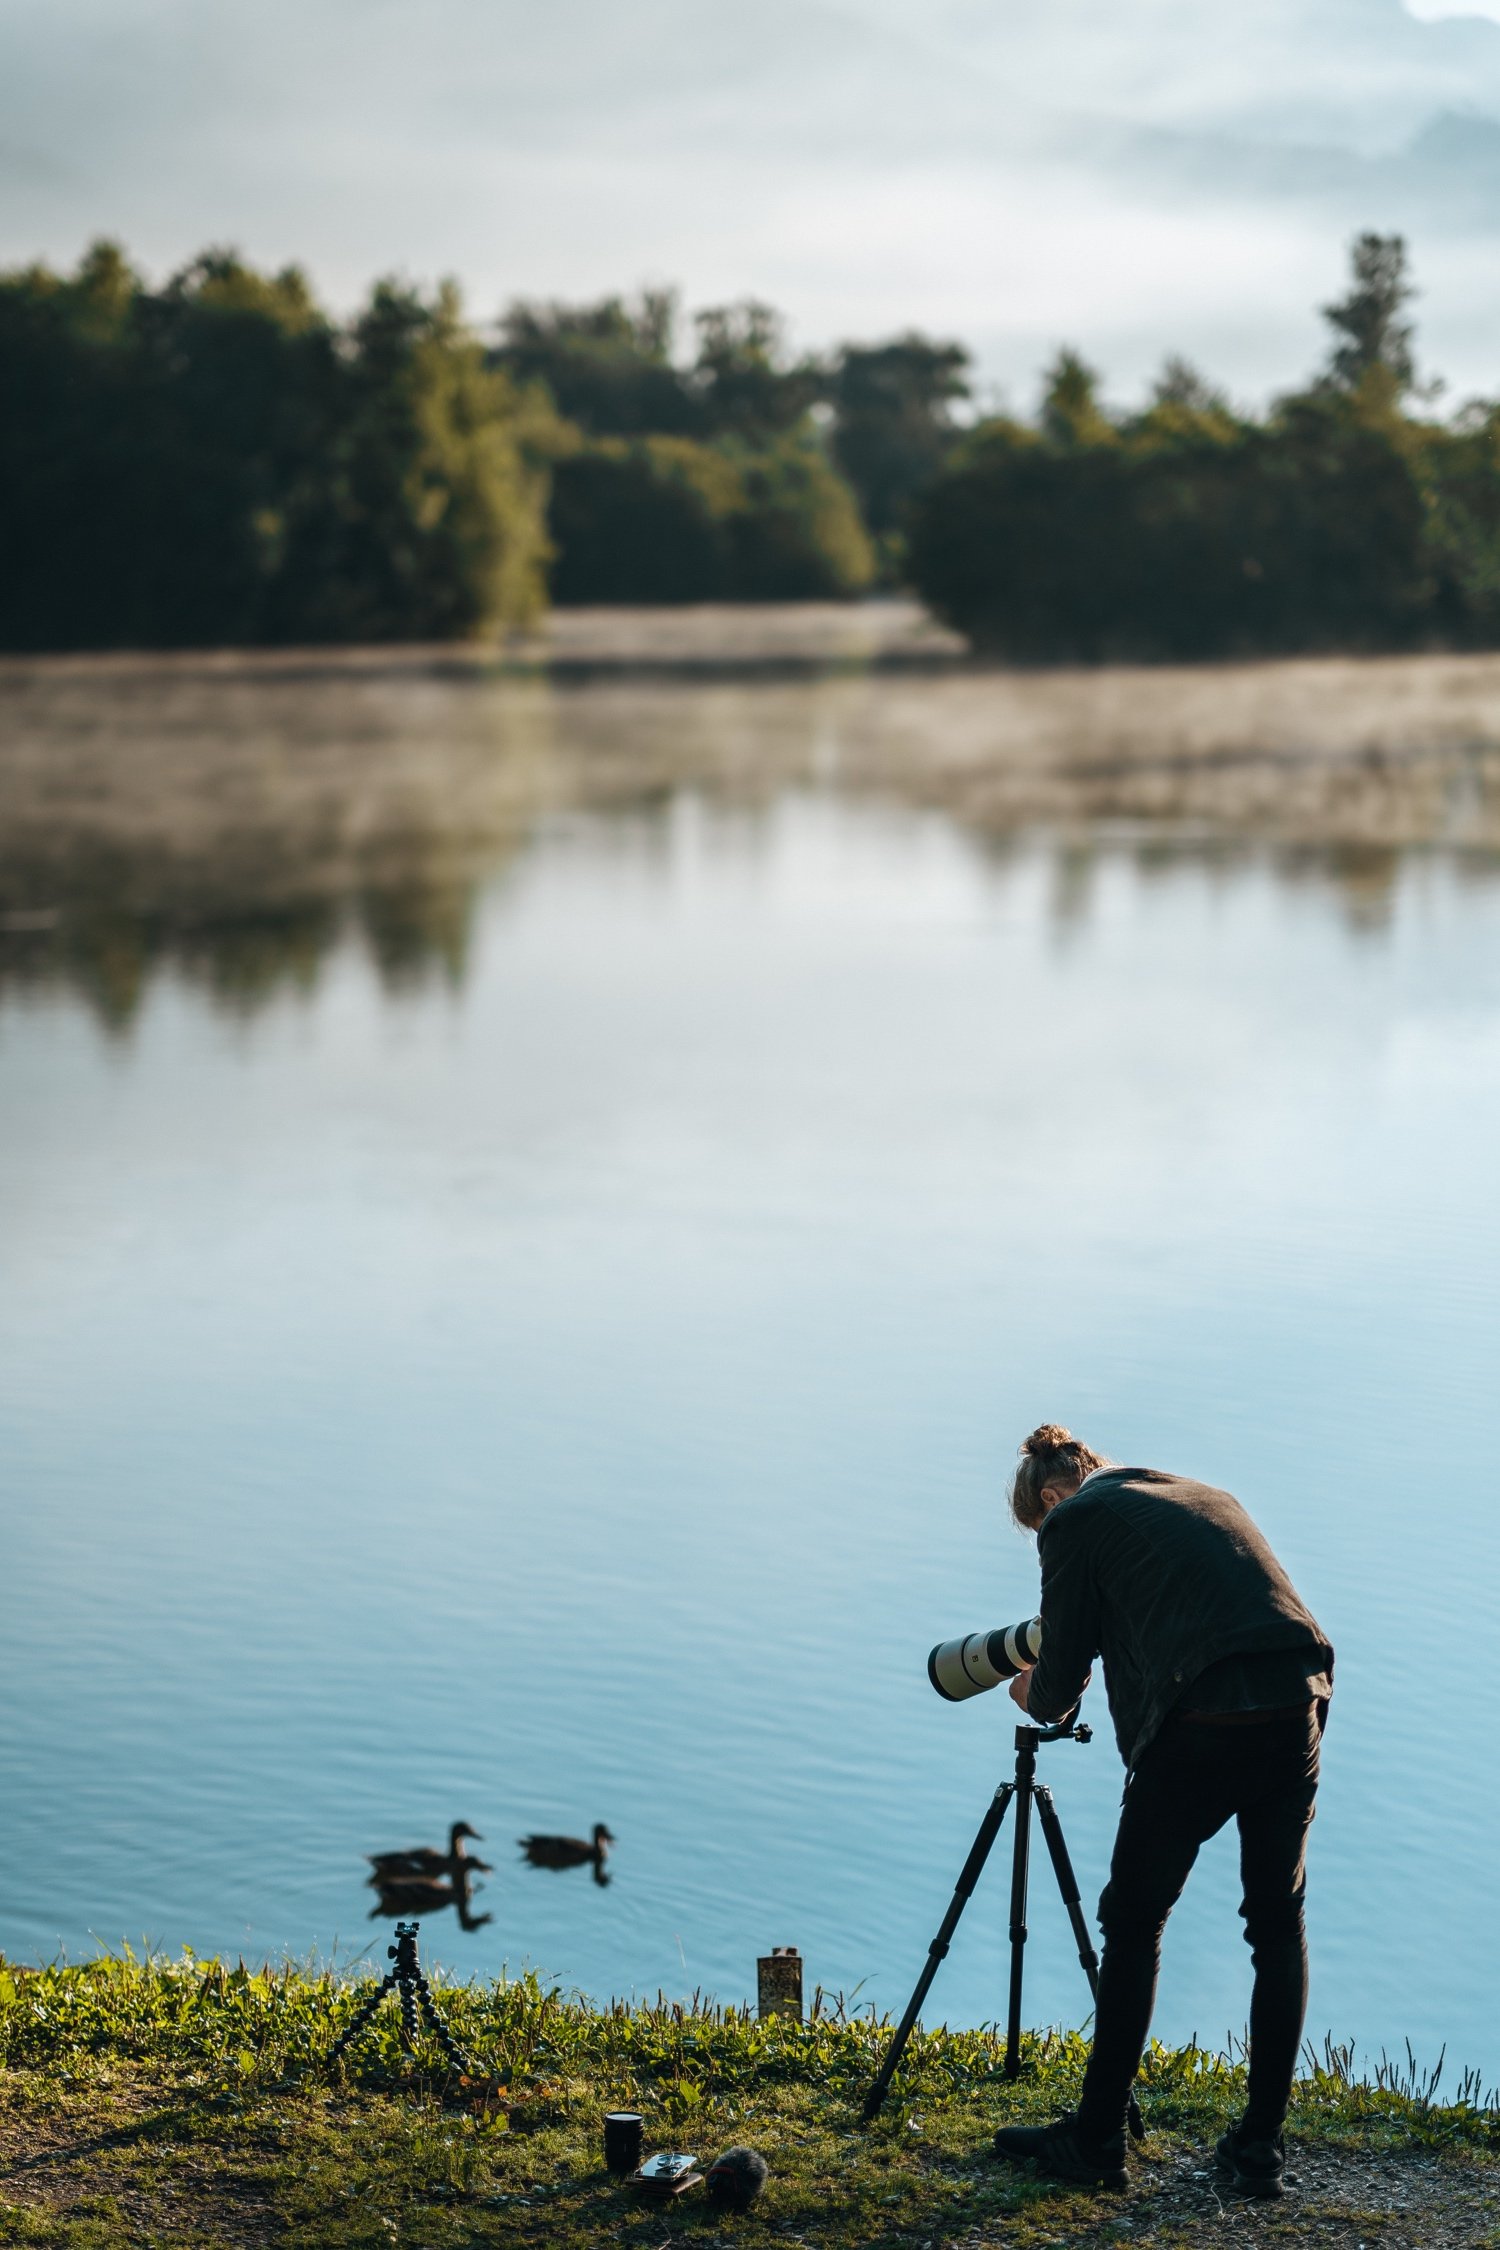
I was already excited while driving to our location because the entire valley near Purgg was enveloped in fog. We park the car, grab the tripod and start shooting. At first I was using my G 200-600mm f5.6-6.3 lens. I felt too constricted on this lens and wasn't able to get many compositions. The majority of the time I was stuck at 200mm without being able to get further back, so I decided to switch to my GM 85mm f1.4. It seems like this is going to be a popular lens during our trip in Austria.
It was strange being somewhere that looks so remote and serene, but really it was part of a cark park. We saw many people who were arriving at work while we were taking photos!
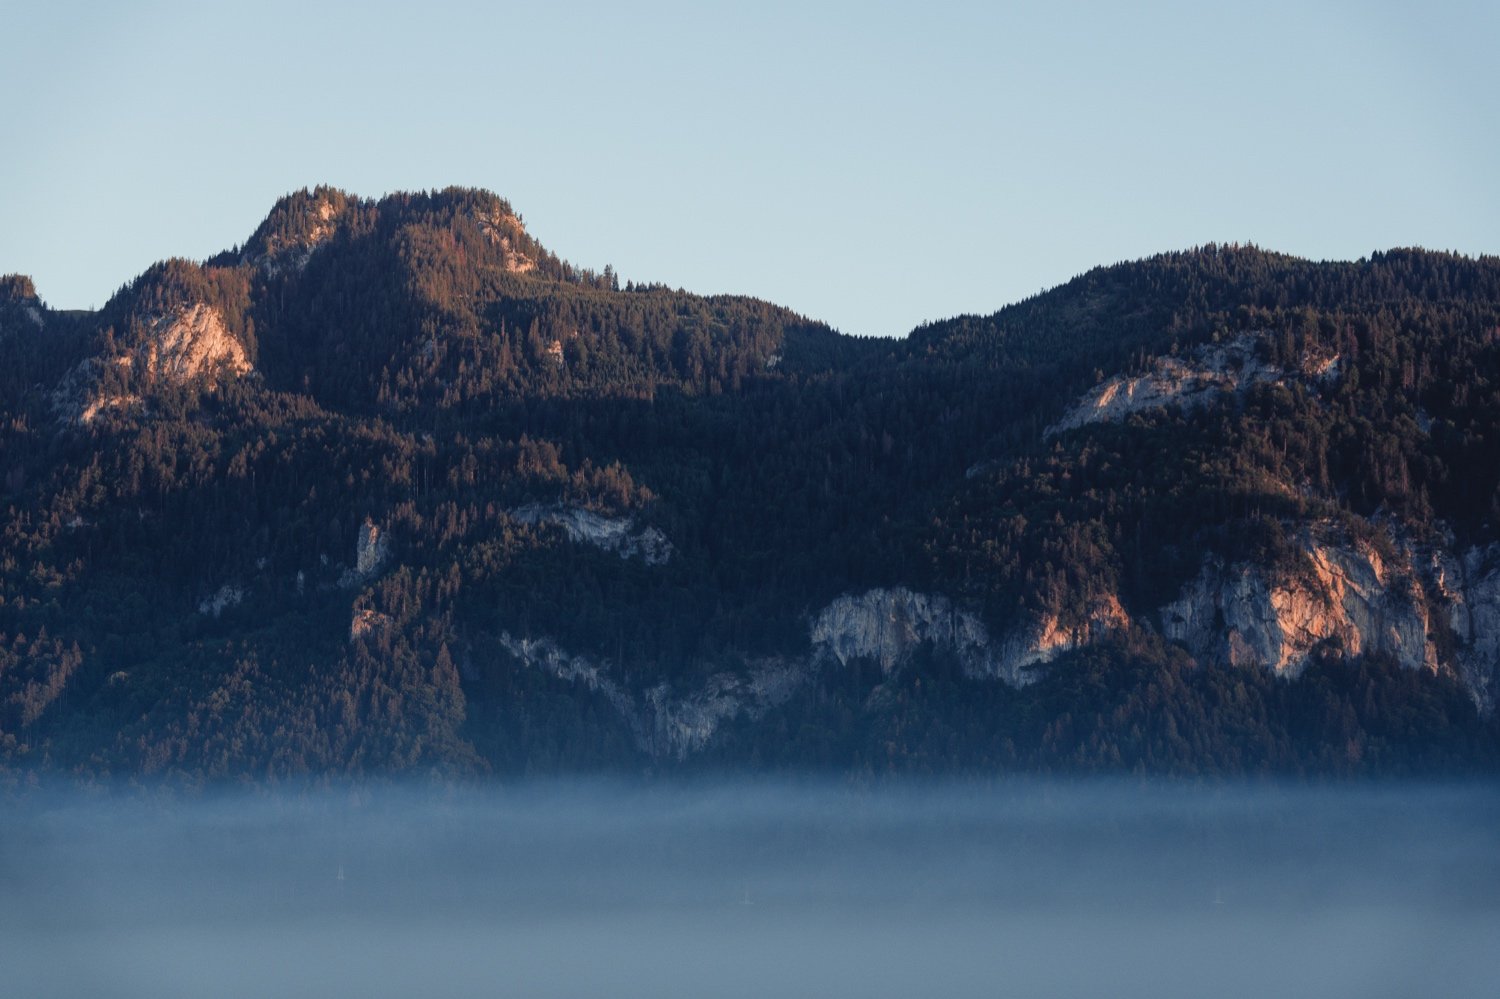
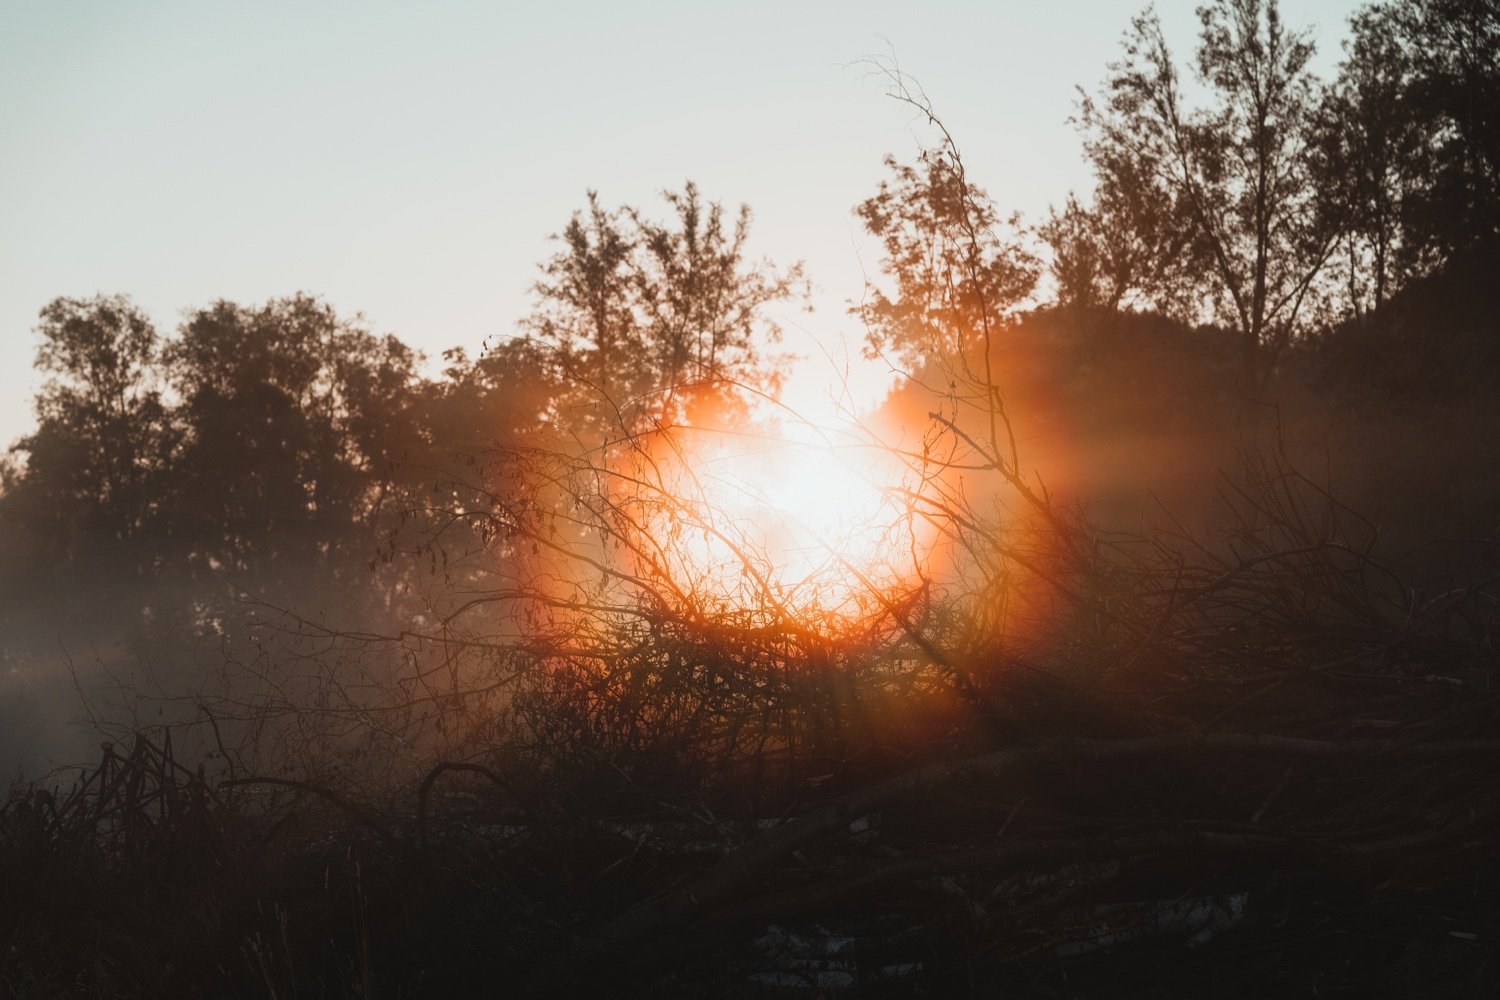
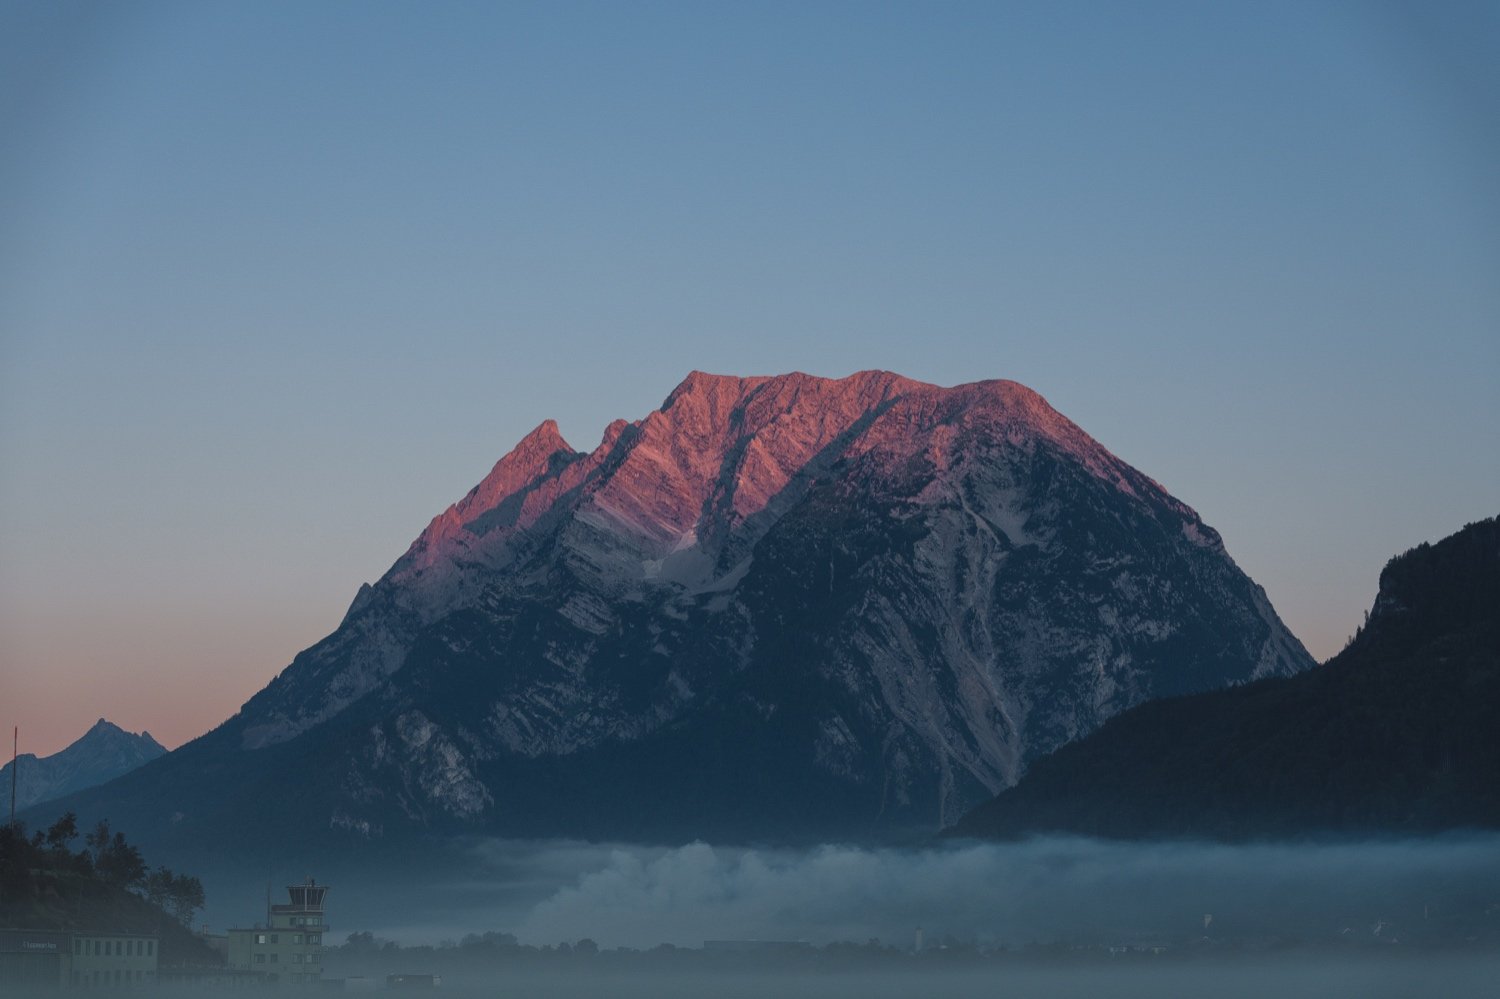
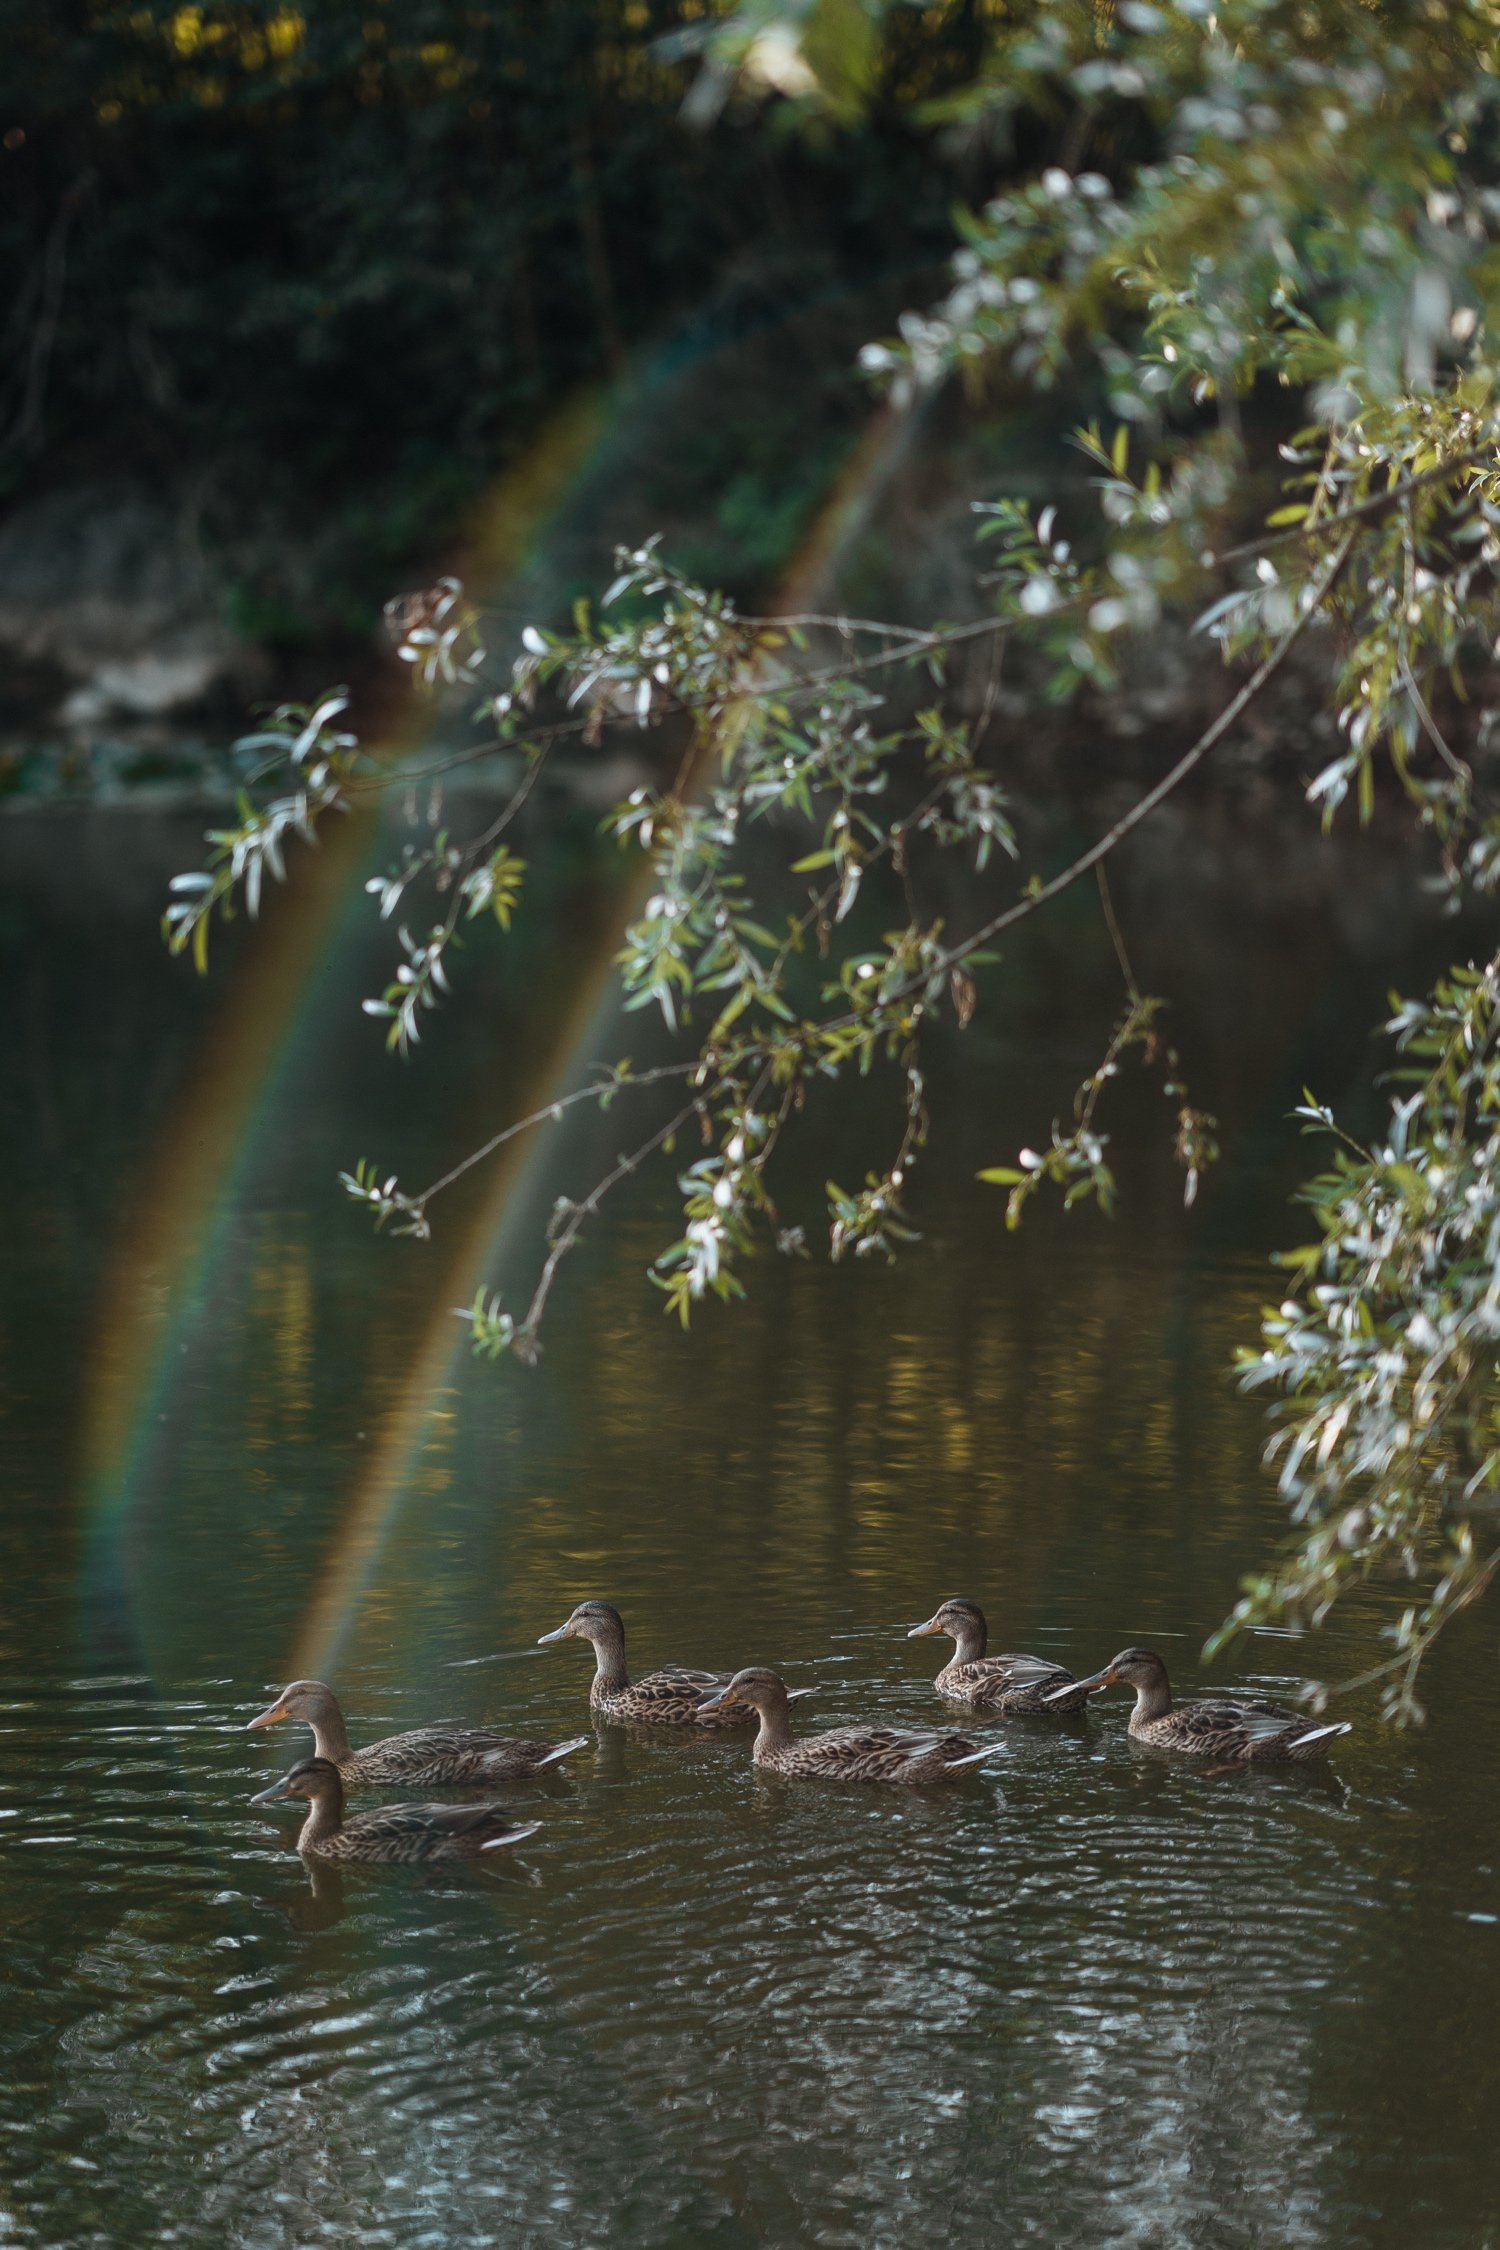
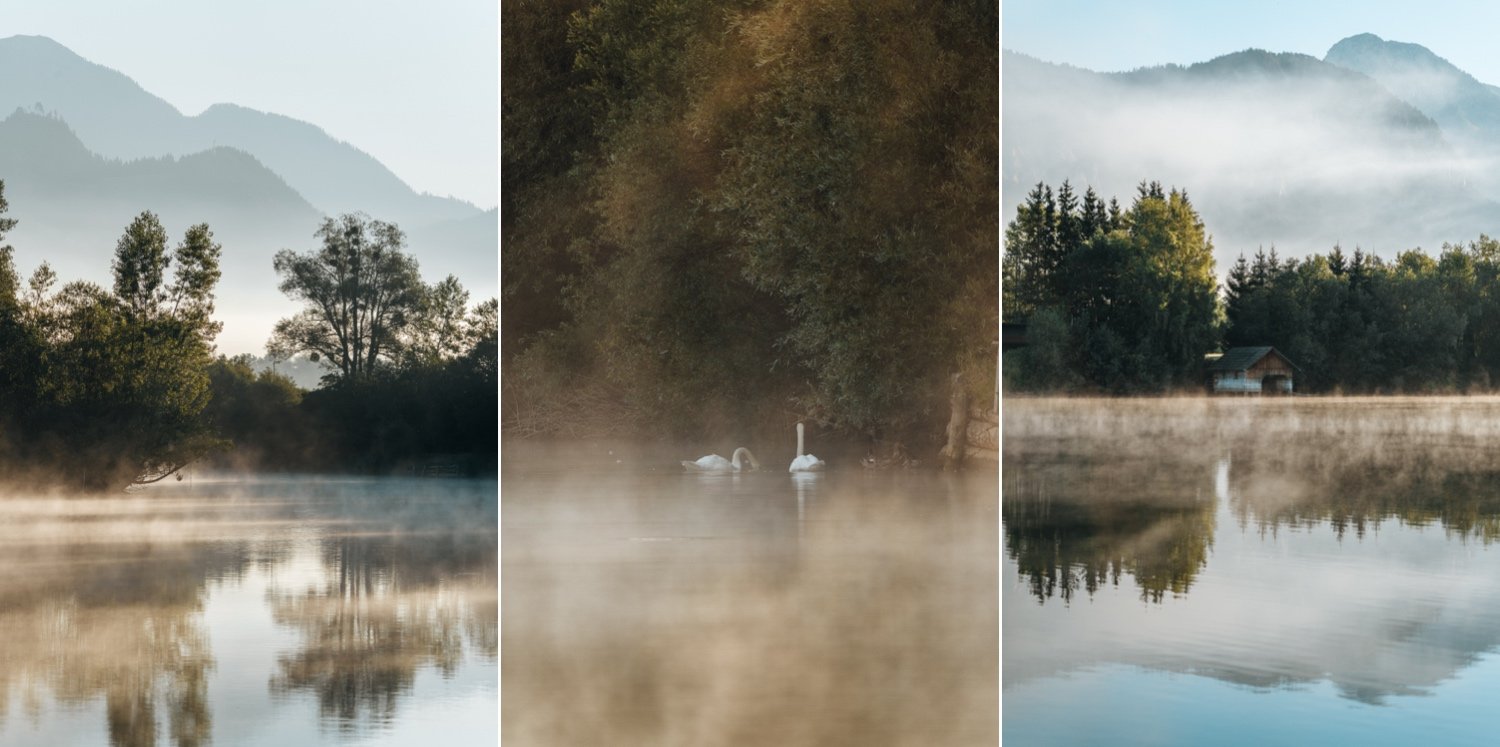
Landscape photography during sunrise is exciting. At first it seems like nothing is changing, but the scene does in fact transform in moments. It's fun getting to compare the first few dark, blue photos from the beginning of the morning to the warmer shots as the sun rises. There was also a cool circular rainbow appearing in the fallen trees. I'm not sure why that happened but I captured a quick photo of it!
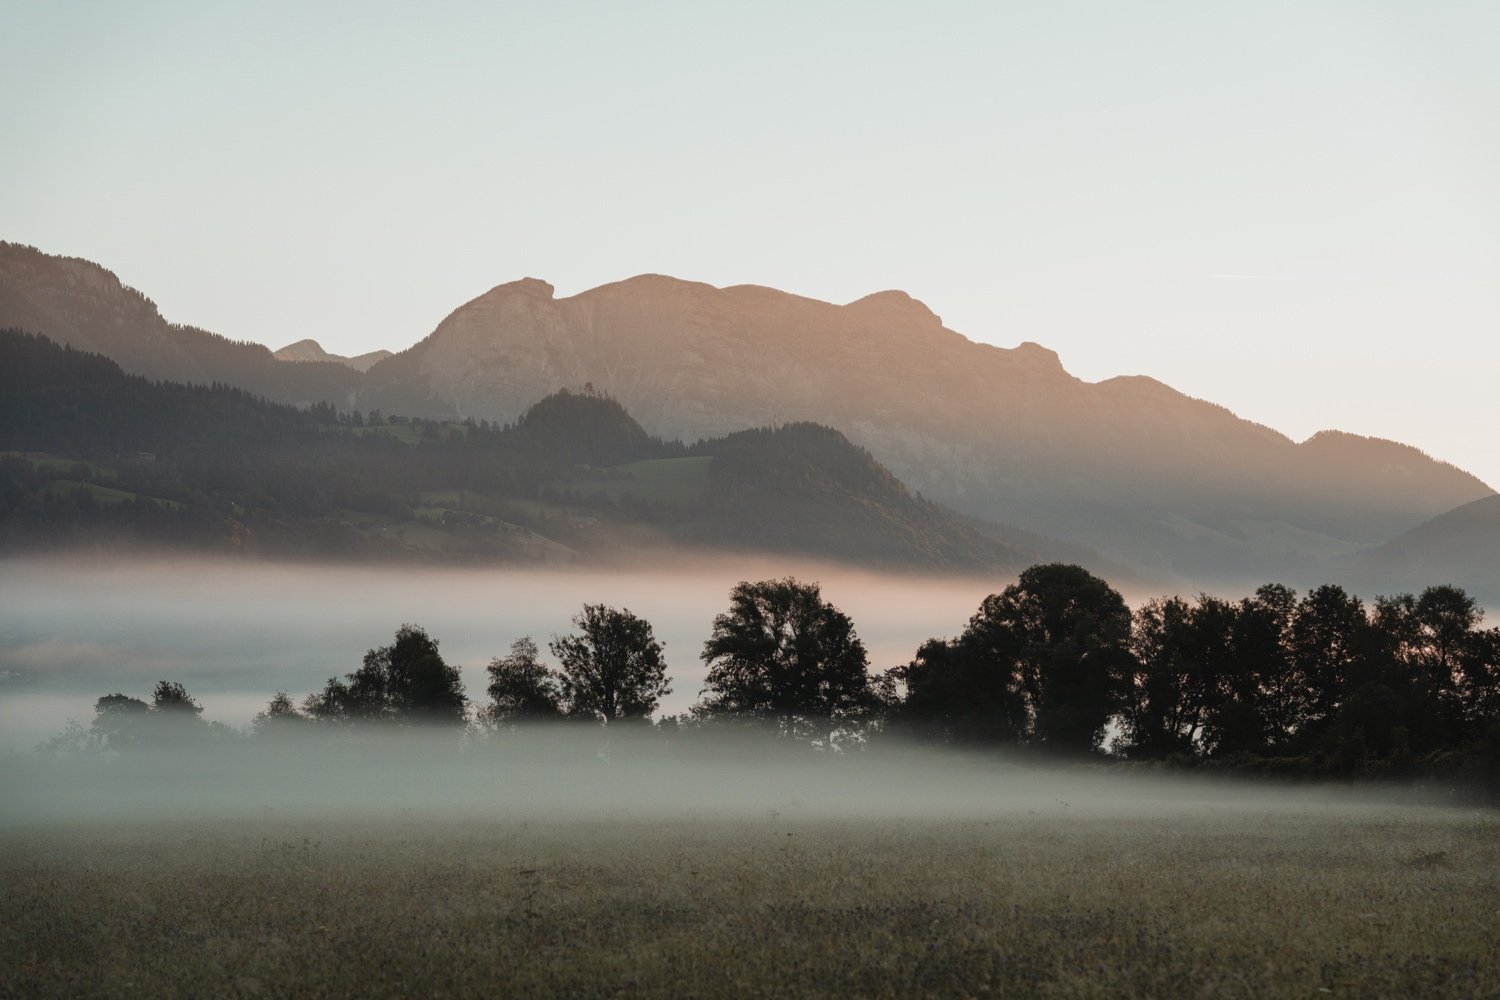
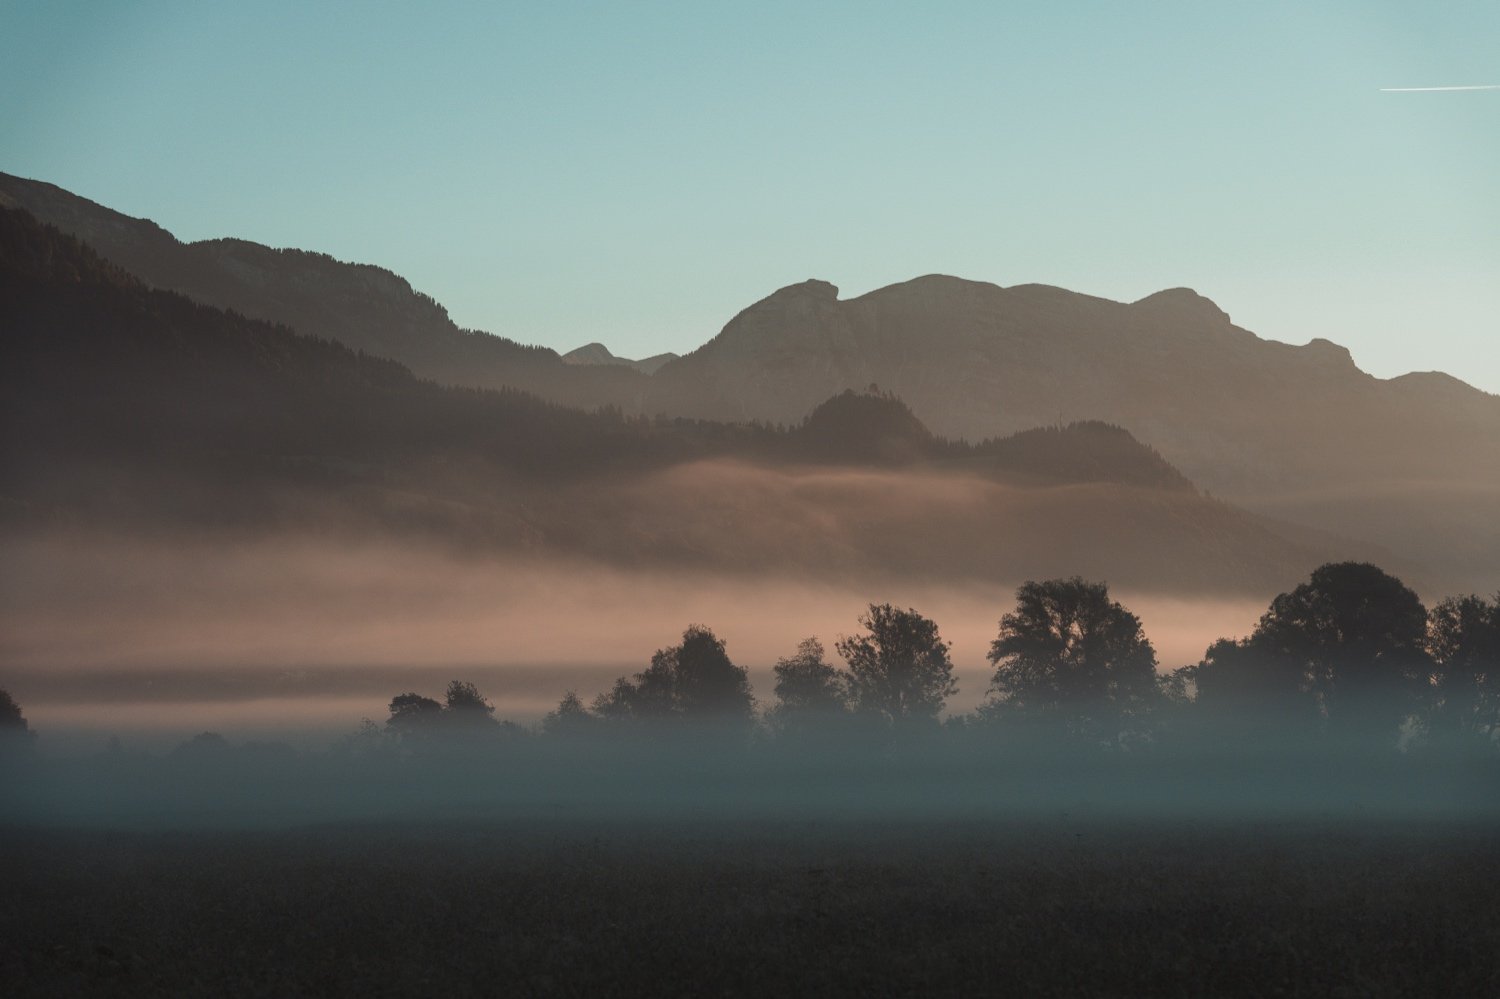
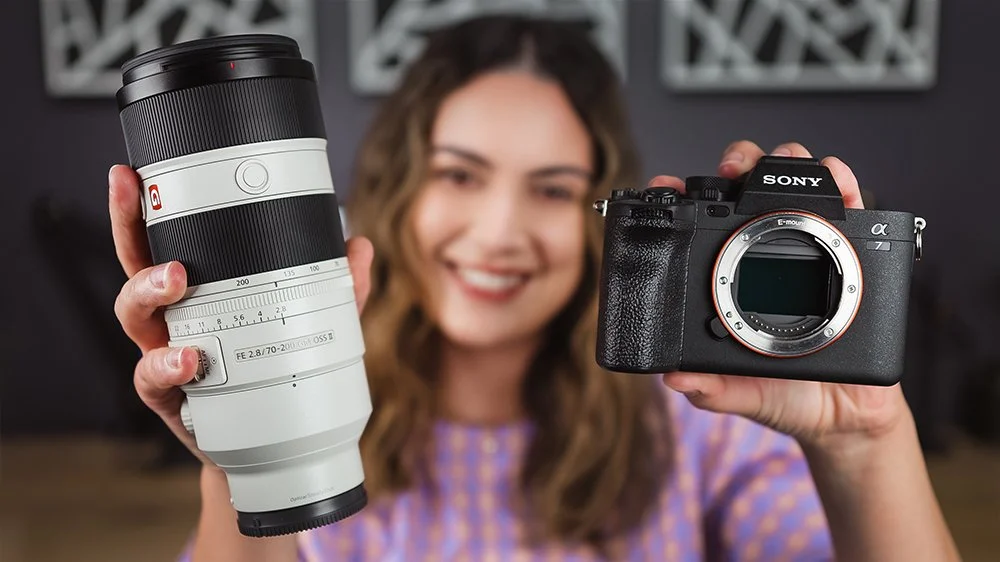
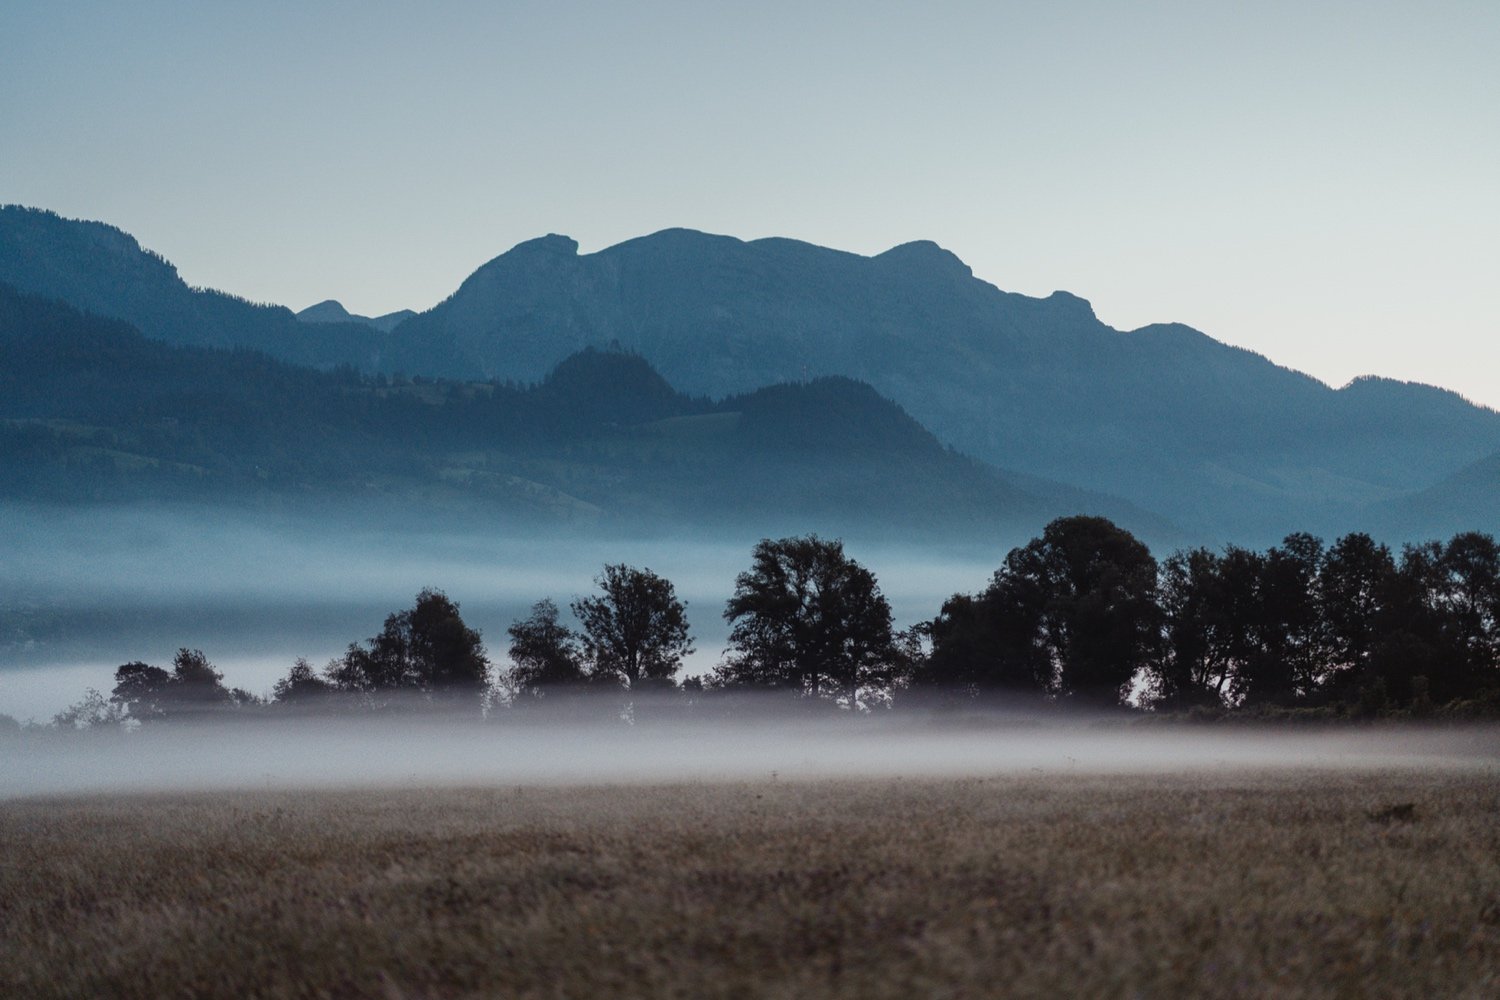
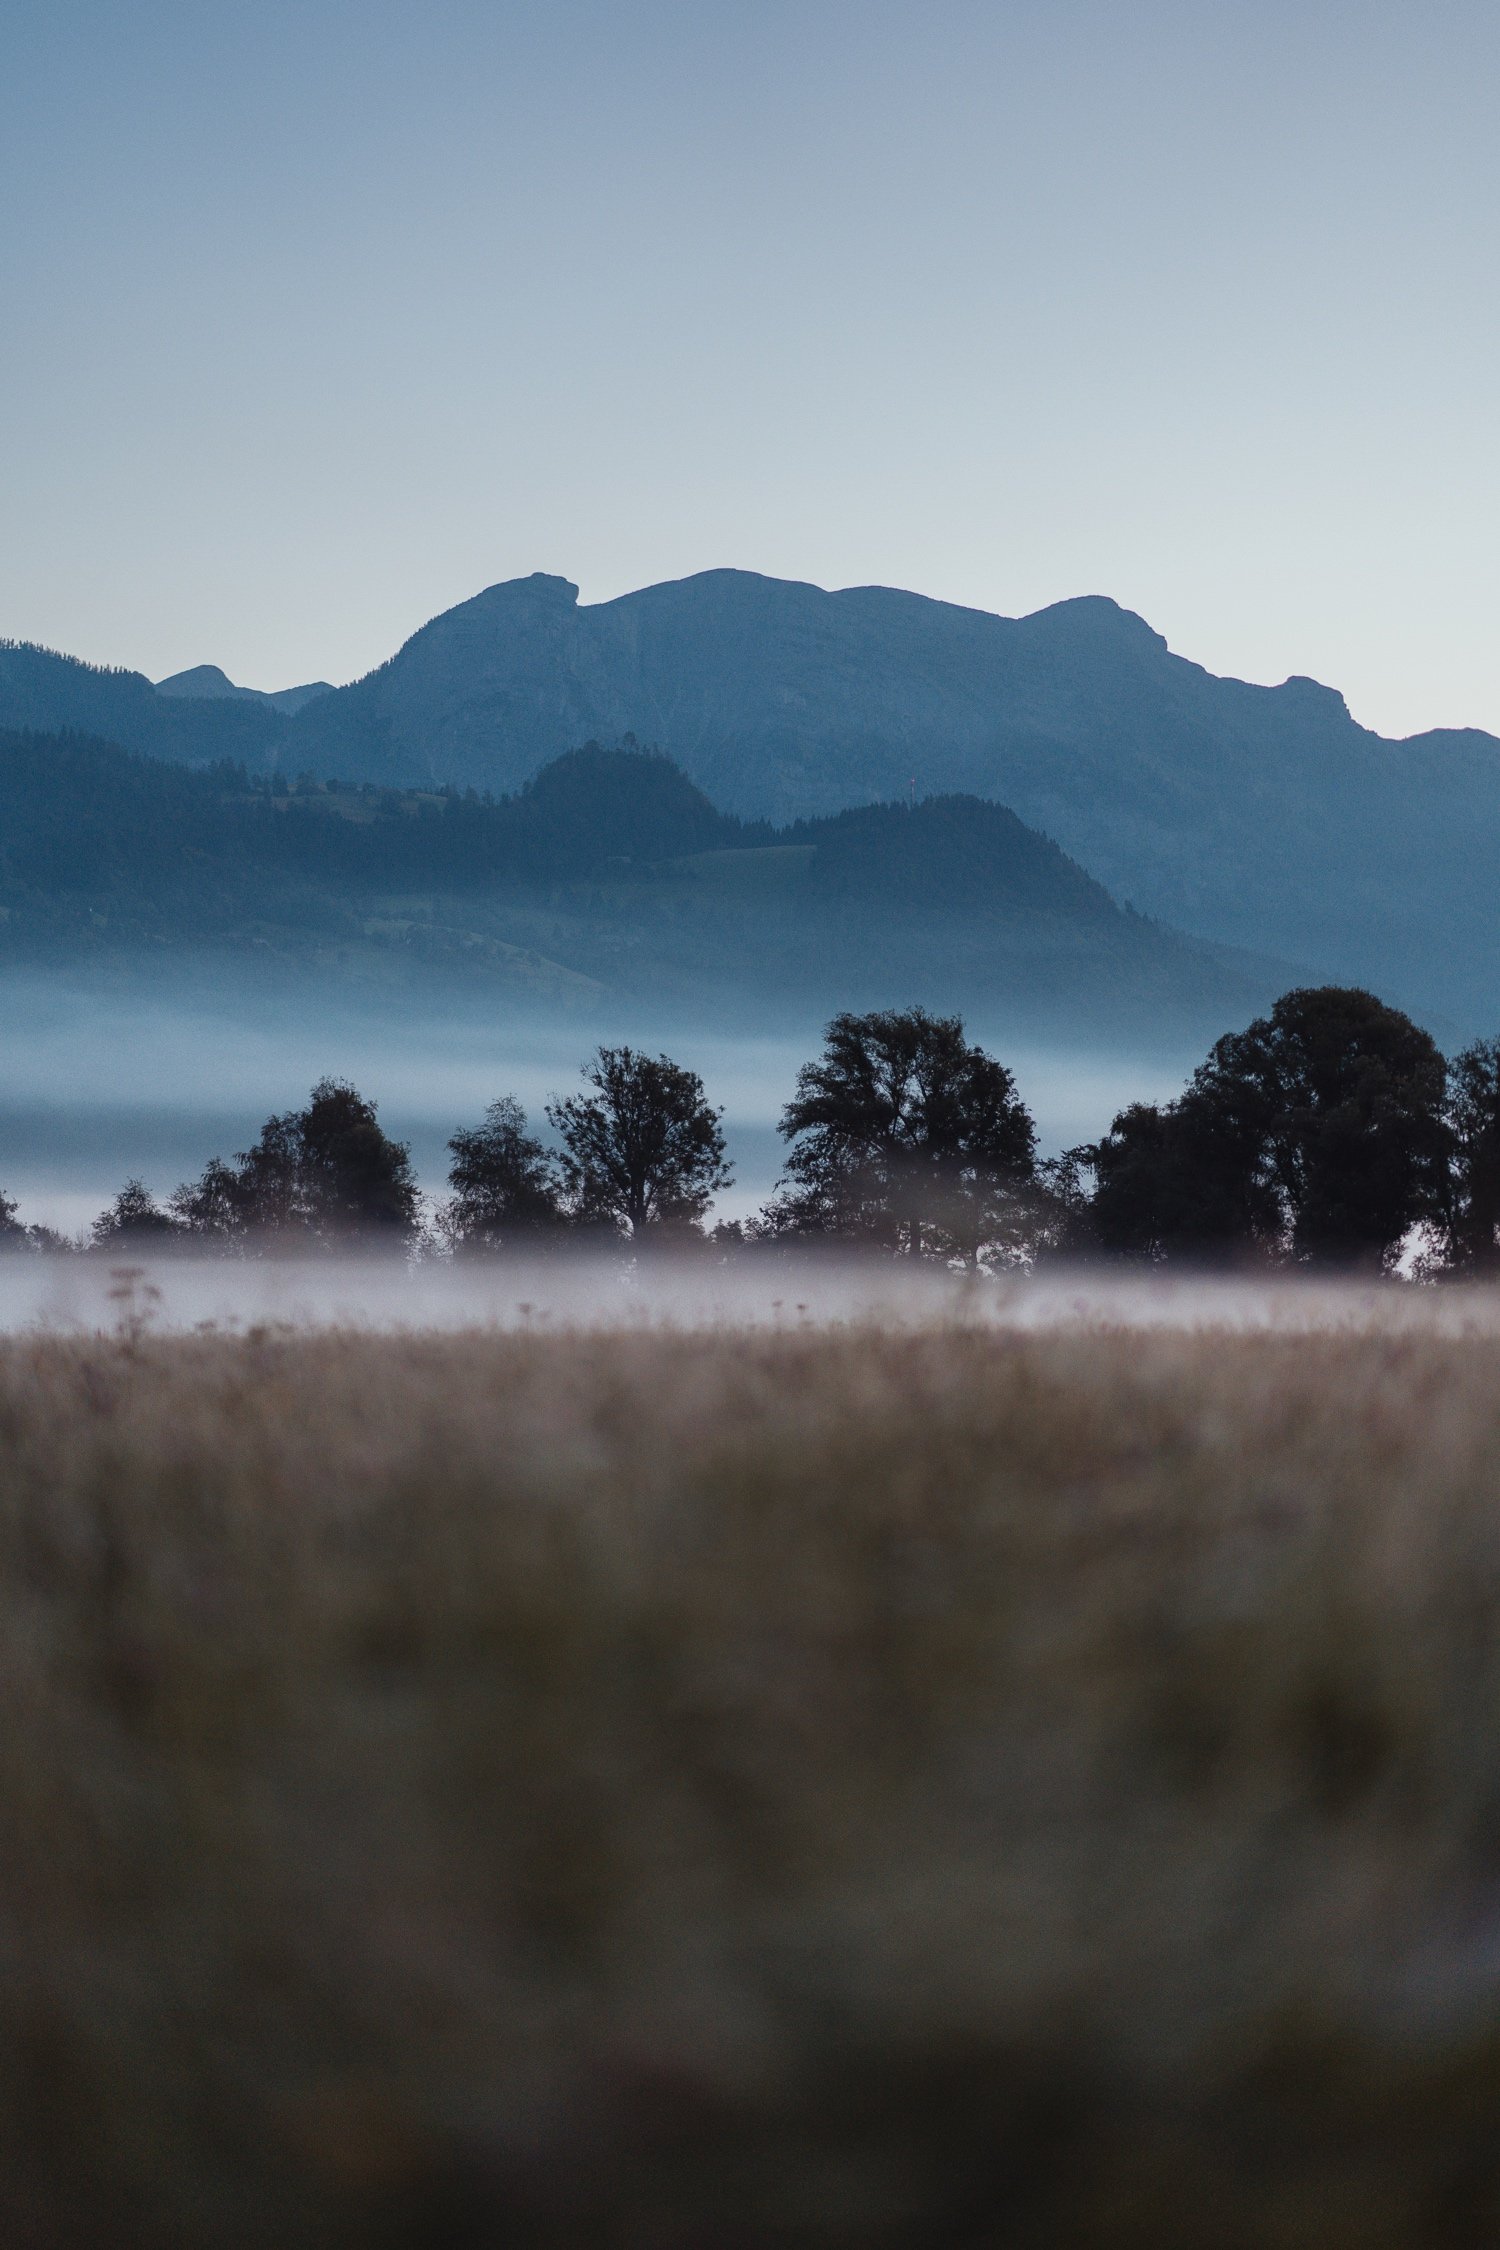
I also was happy to photograph this scene with my telephoto portrait lens. With this focal length, I am able to isolate the trees and show off the layers of fog and mountains in the frame. I am also taking all the photos in the video below and this blog post with my full frame Sony A7IV.
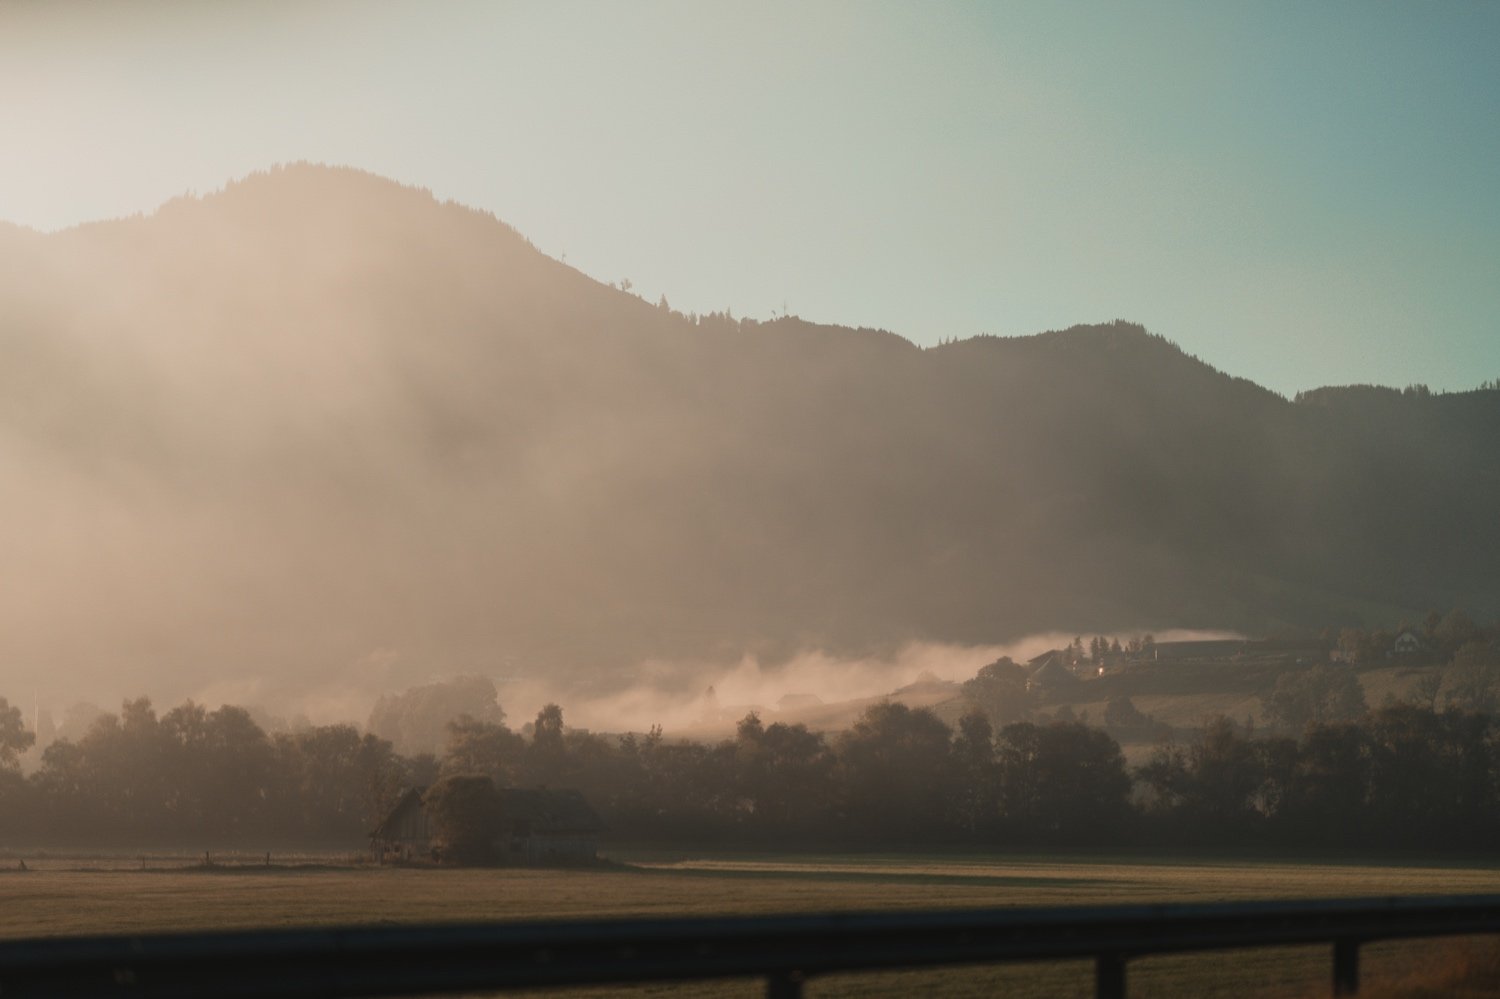
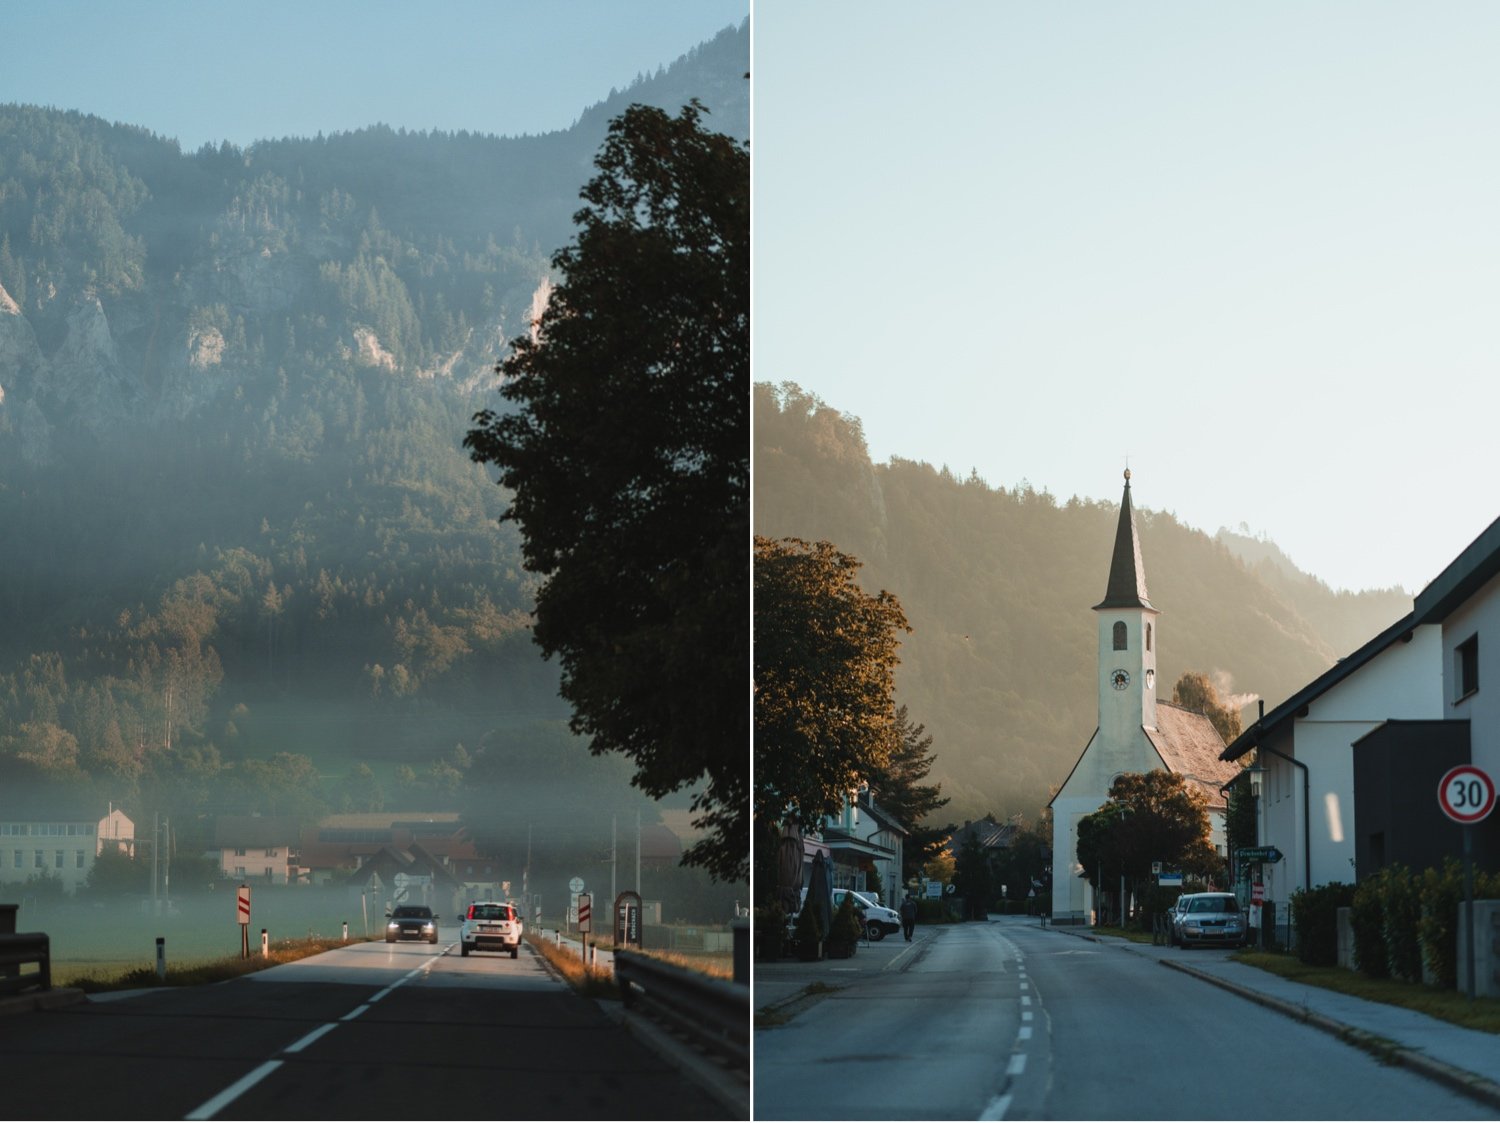
I felt happy with the variety of photos I captured in this scene. It was time to head to the second location we scouted the day before as well. On the way there, I still had my 85mm on my camera body. I decided to snap a few photos while Dan was driving. The sun cutting through the fog in this town looked so other worldly!
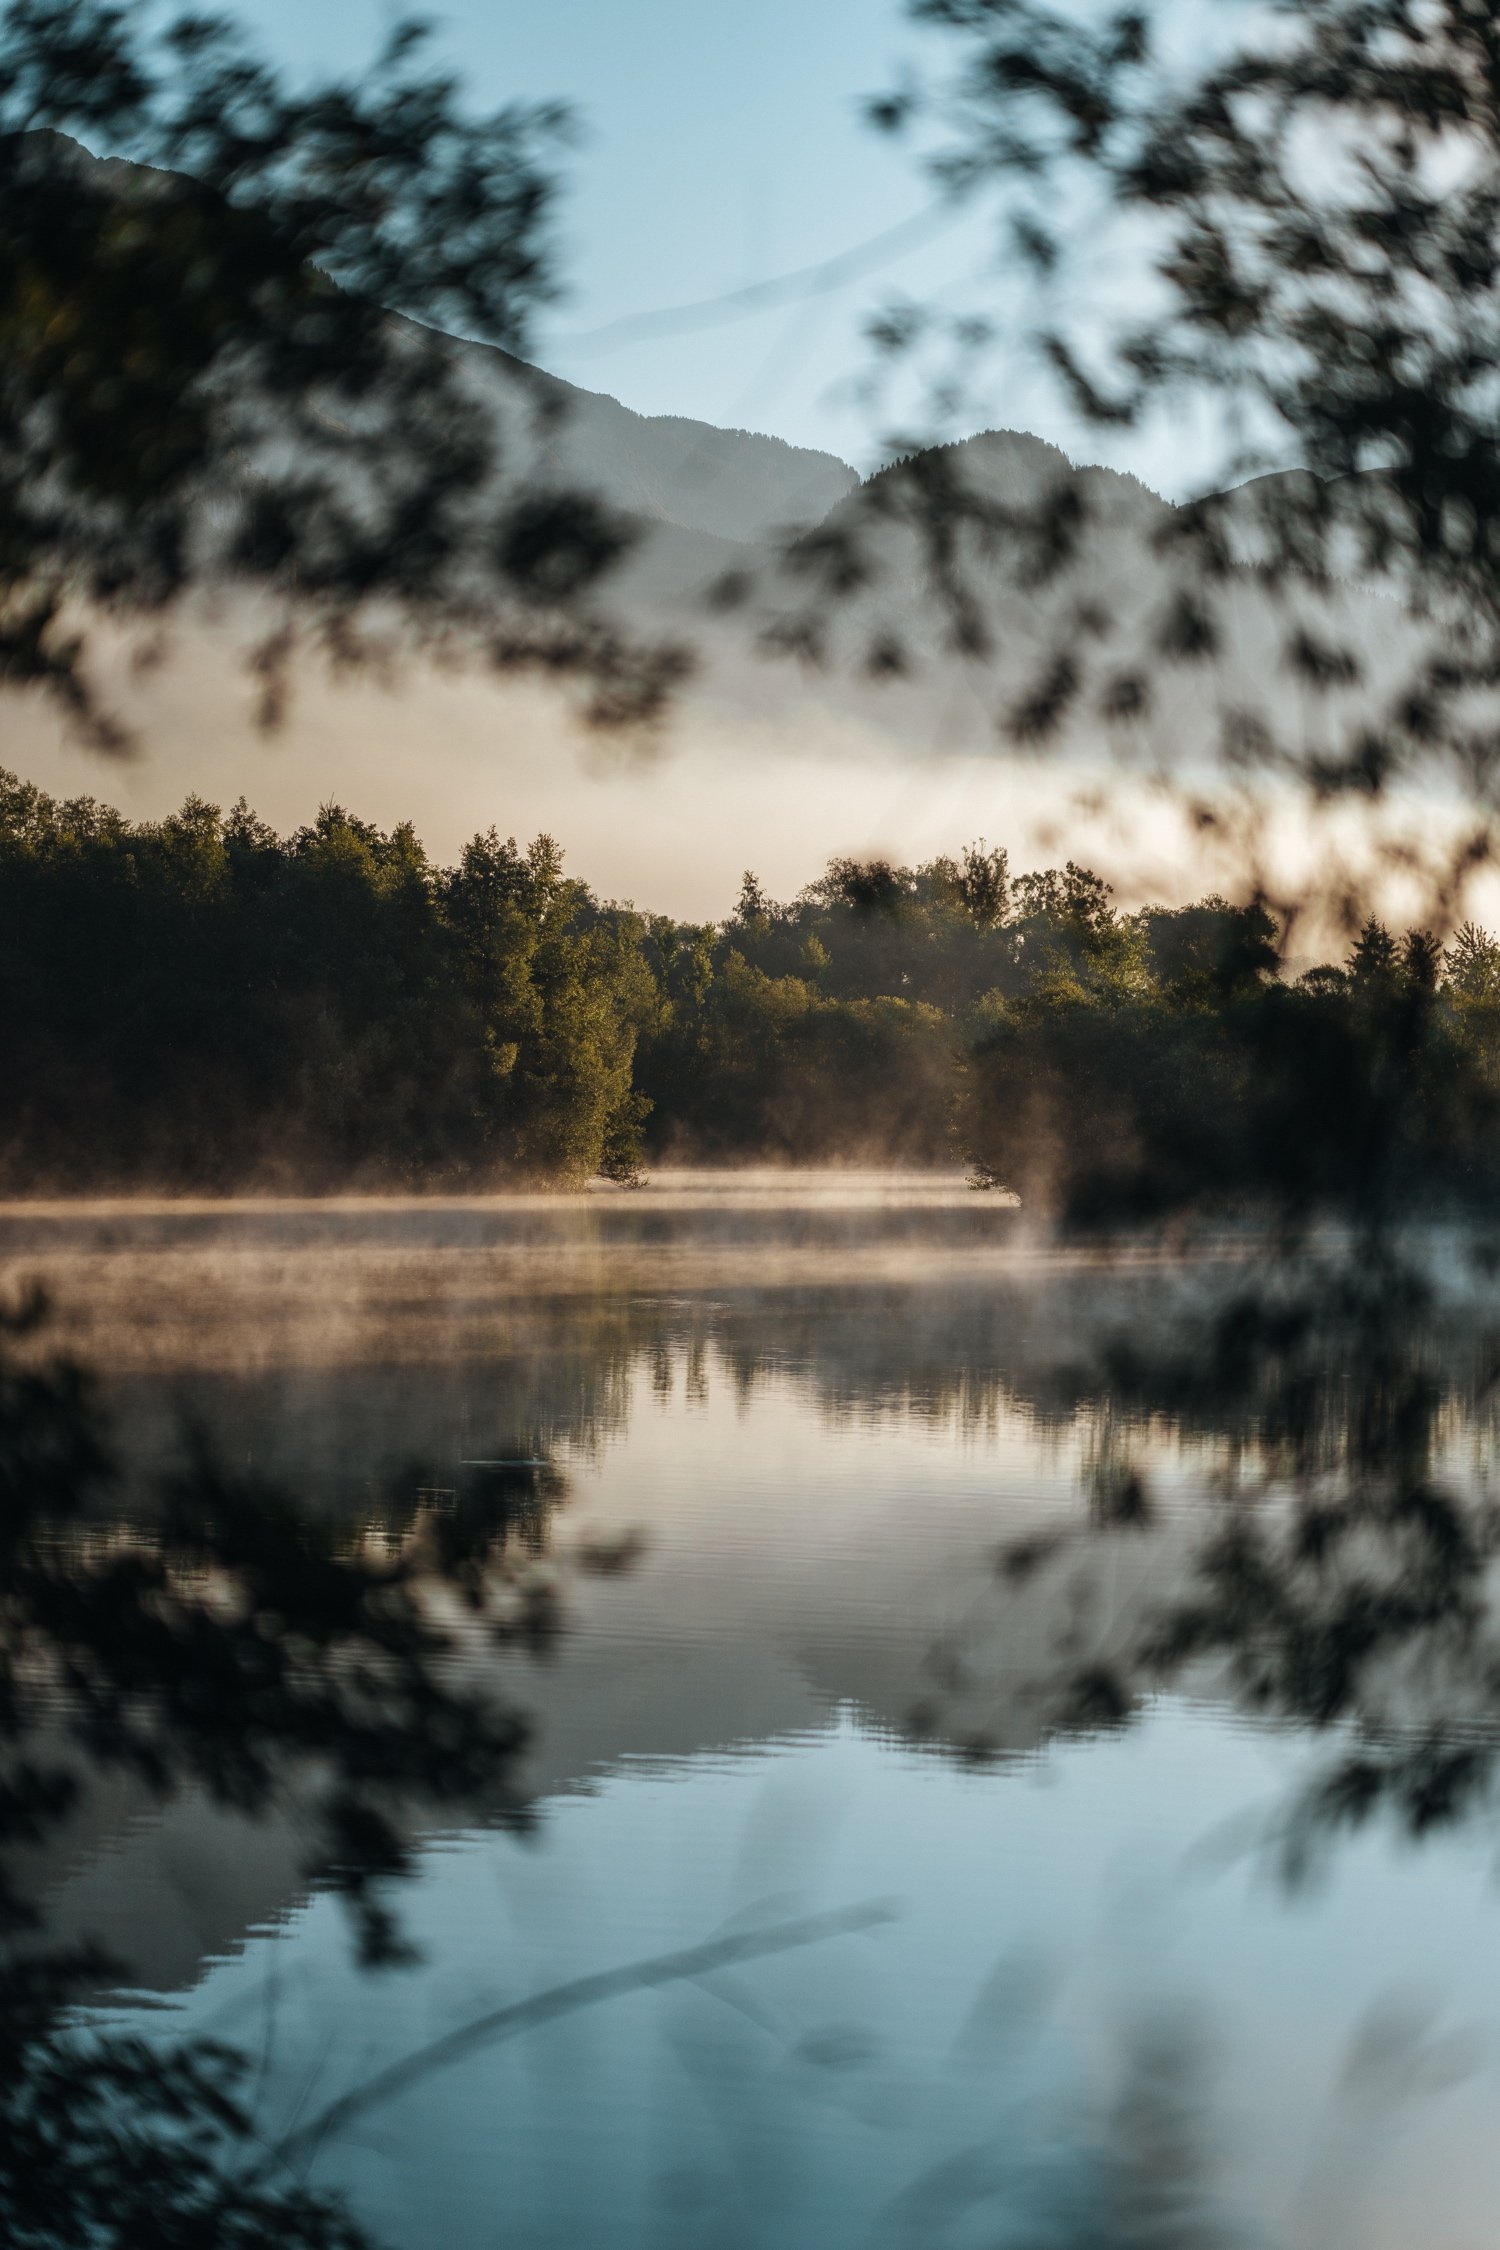
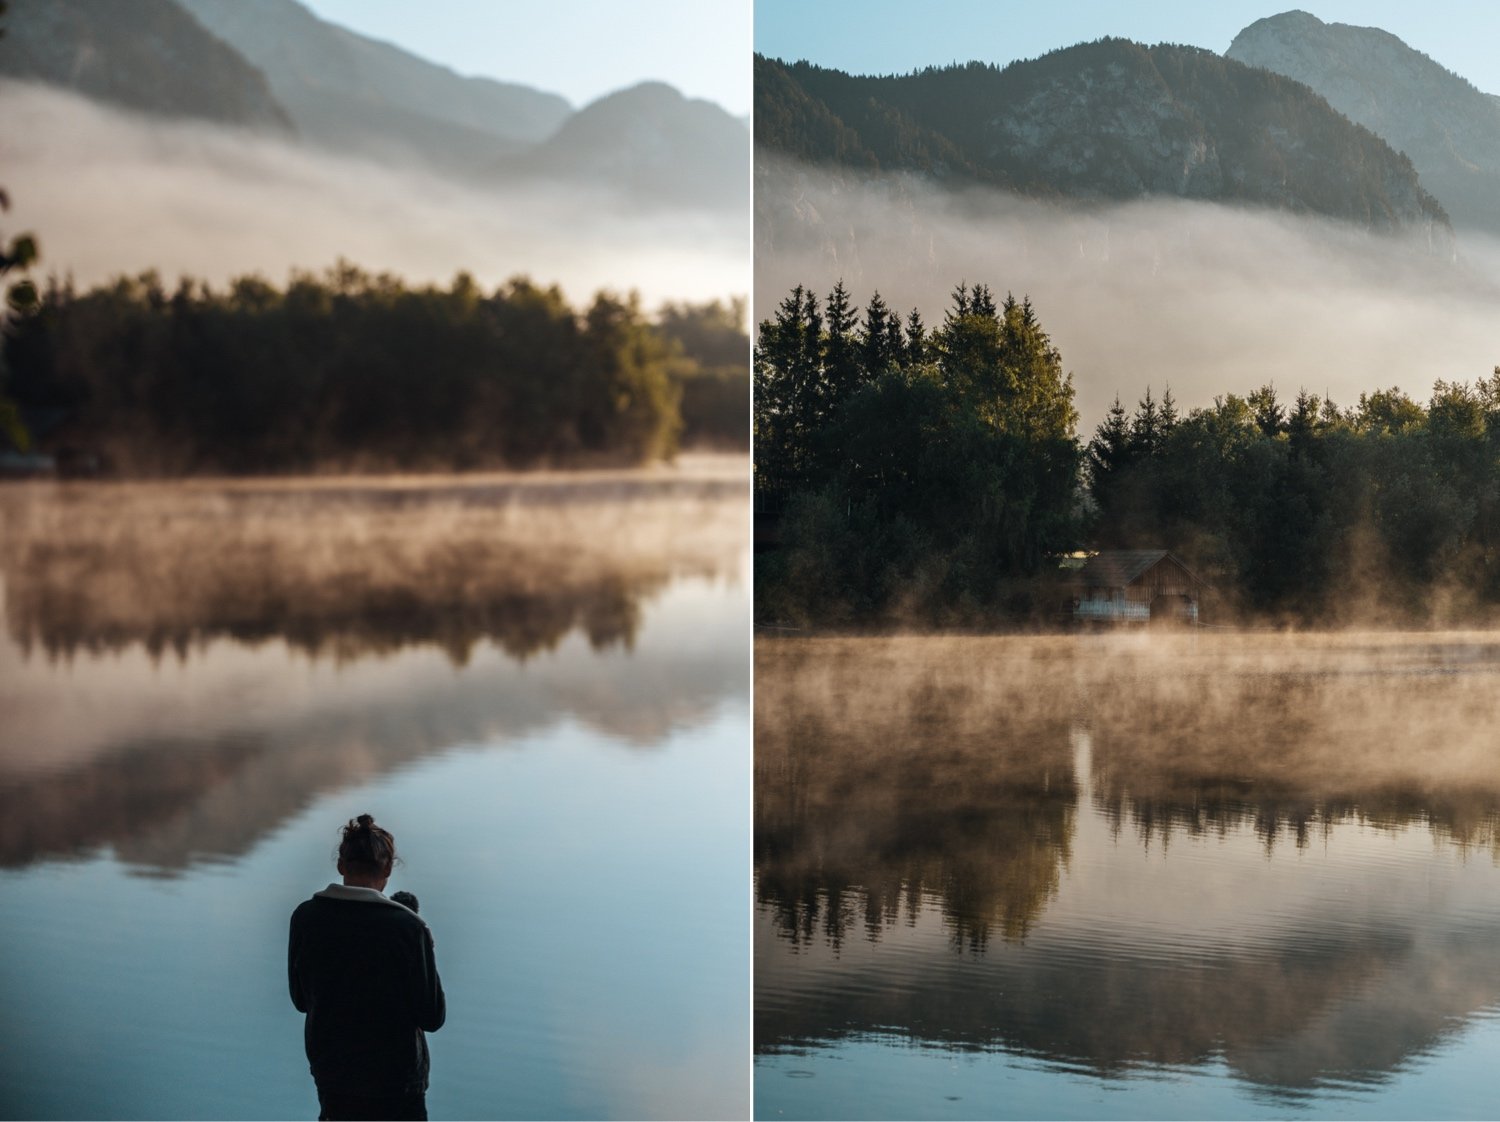
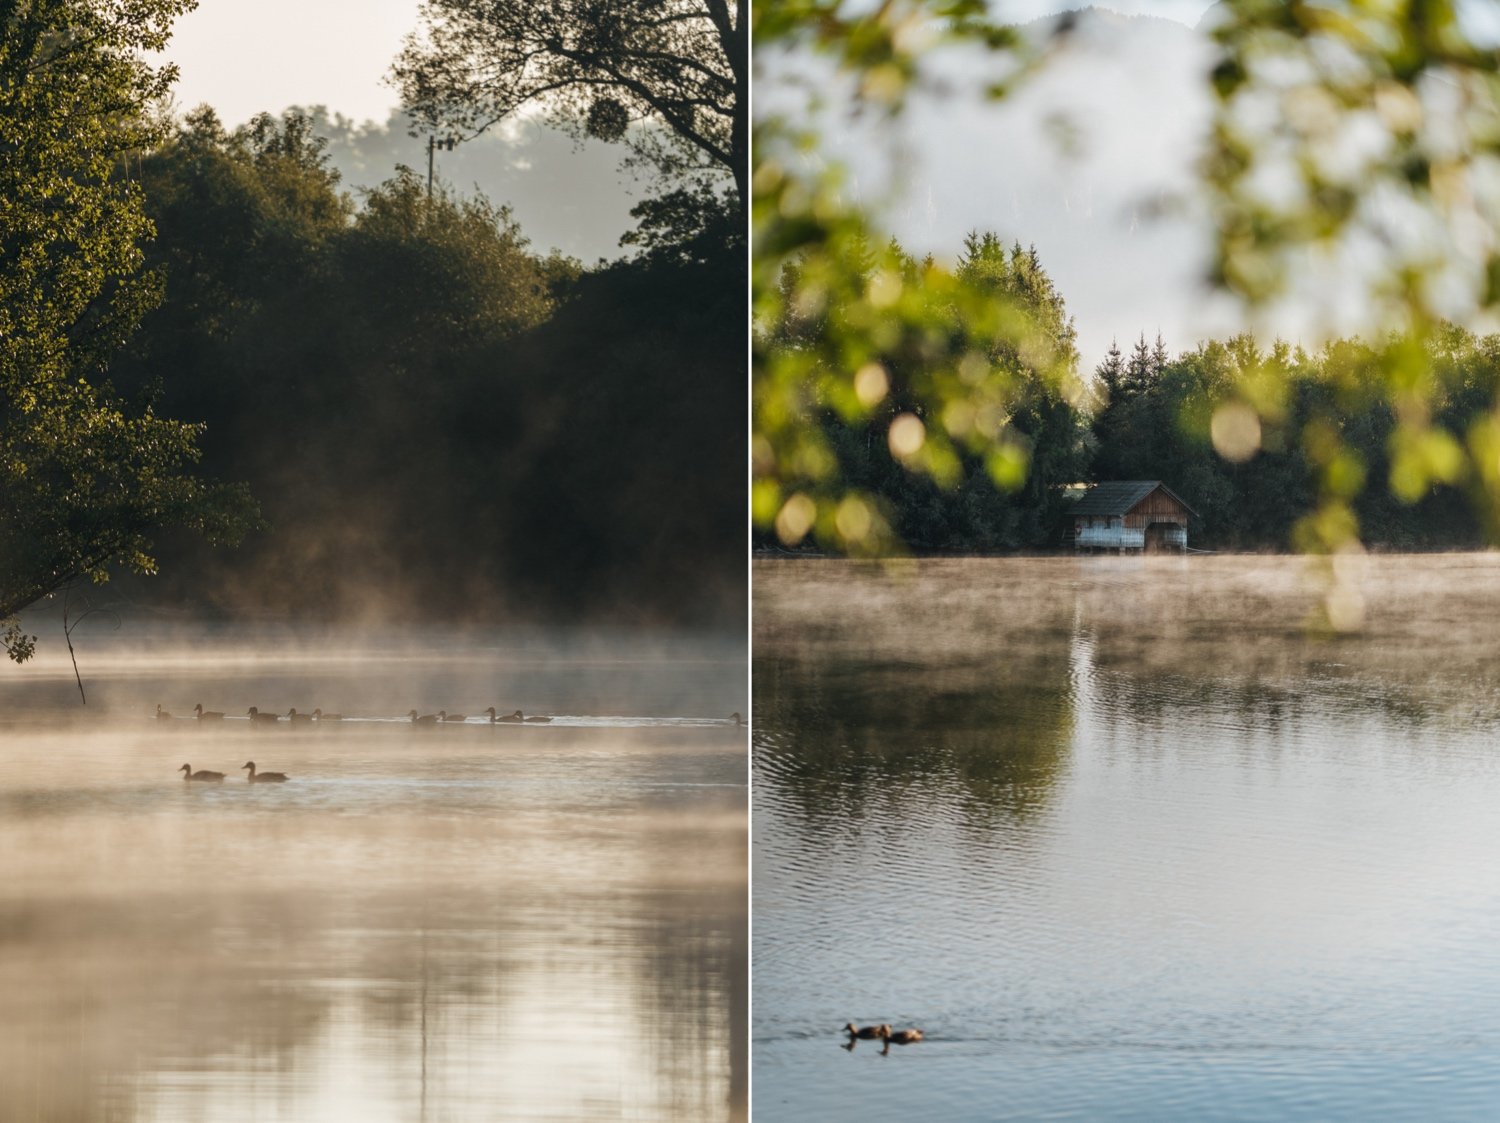
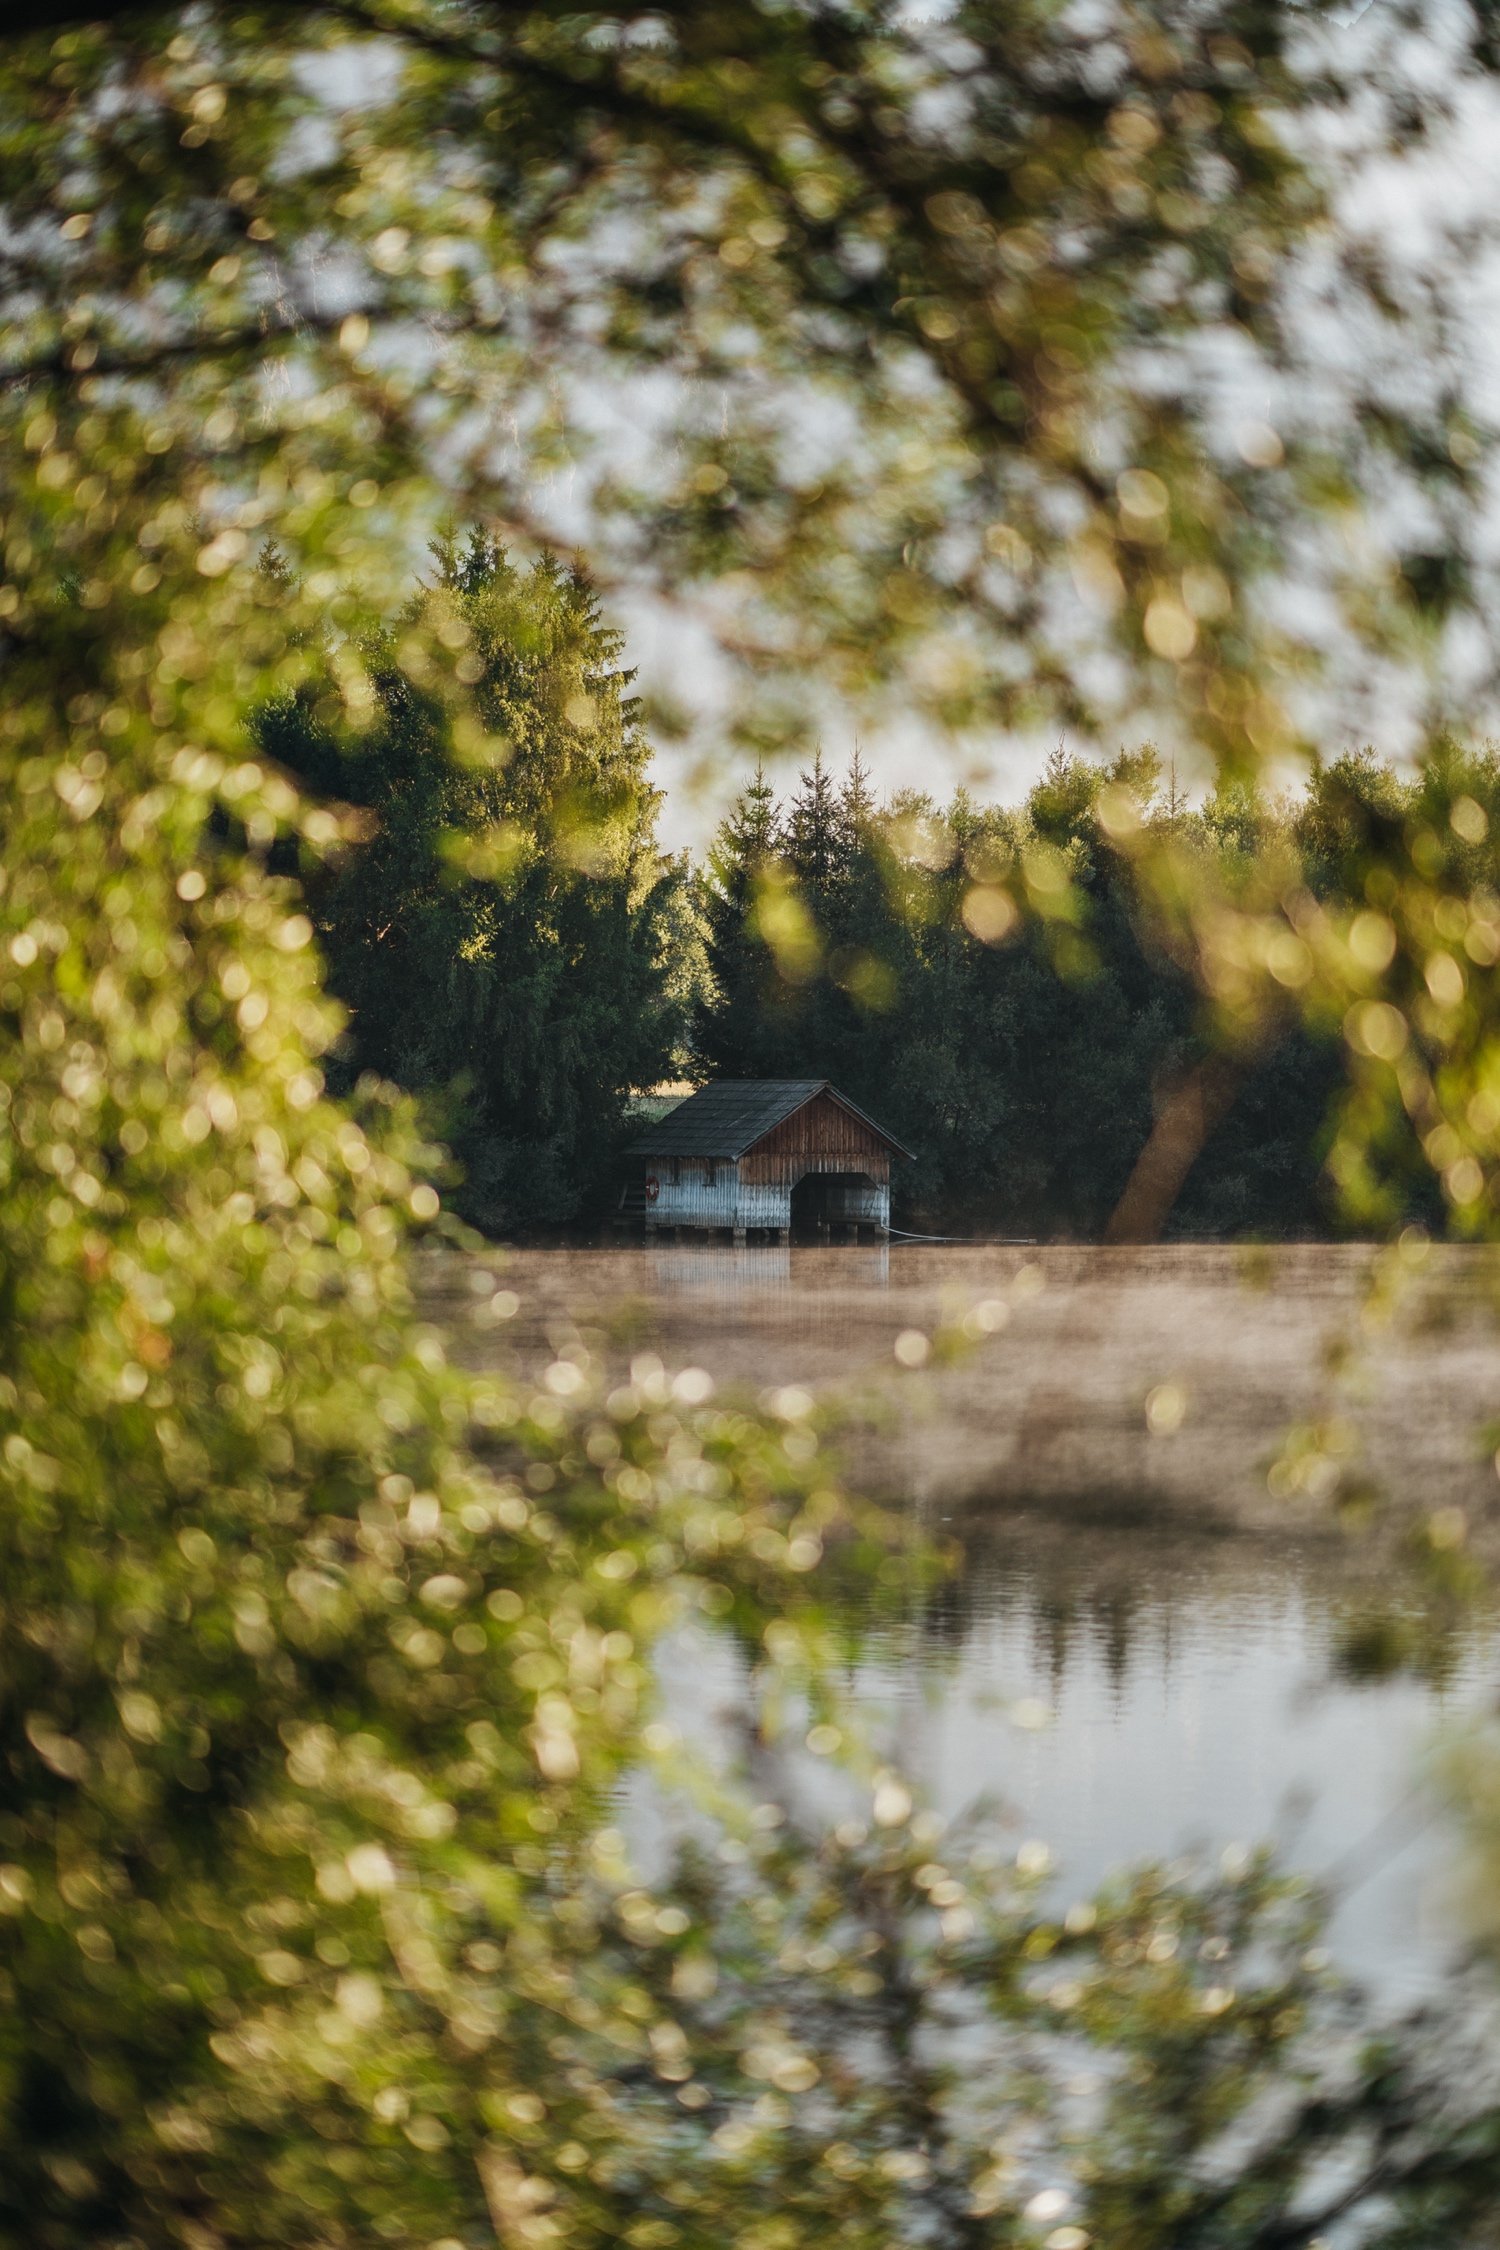
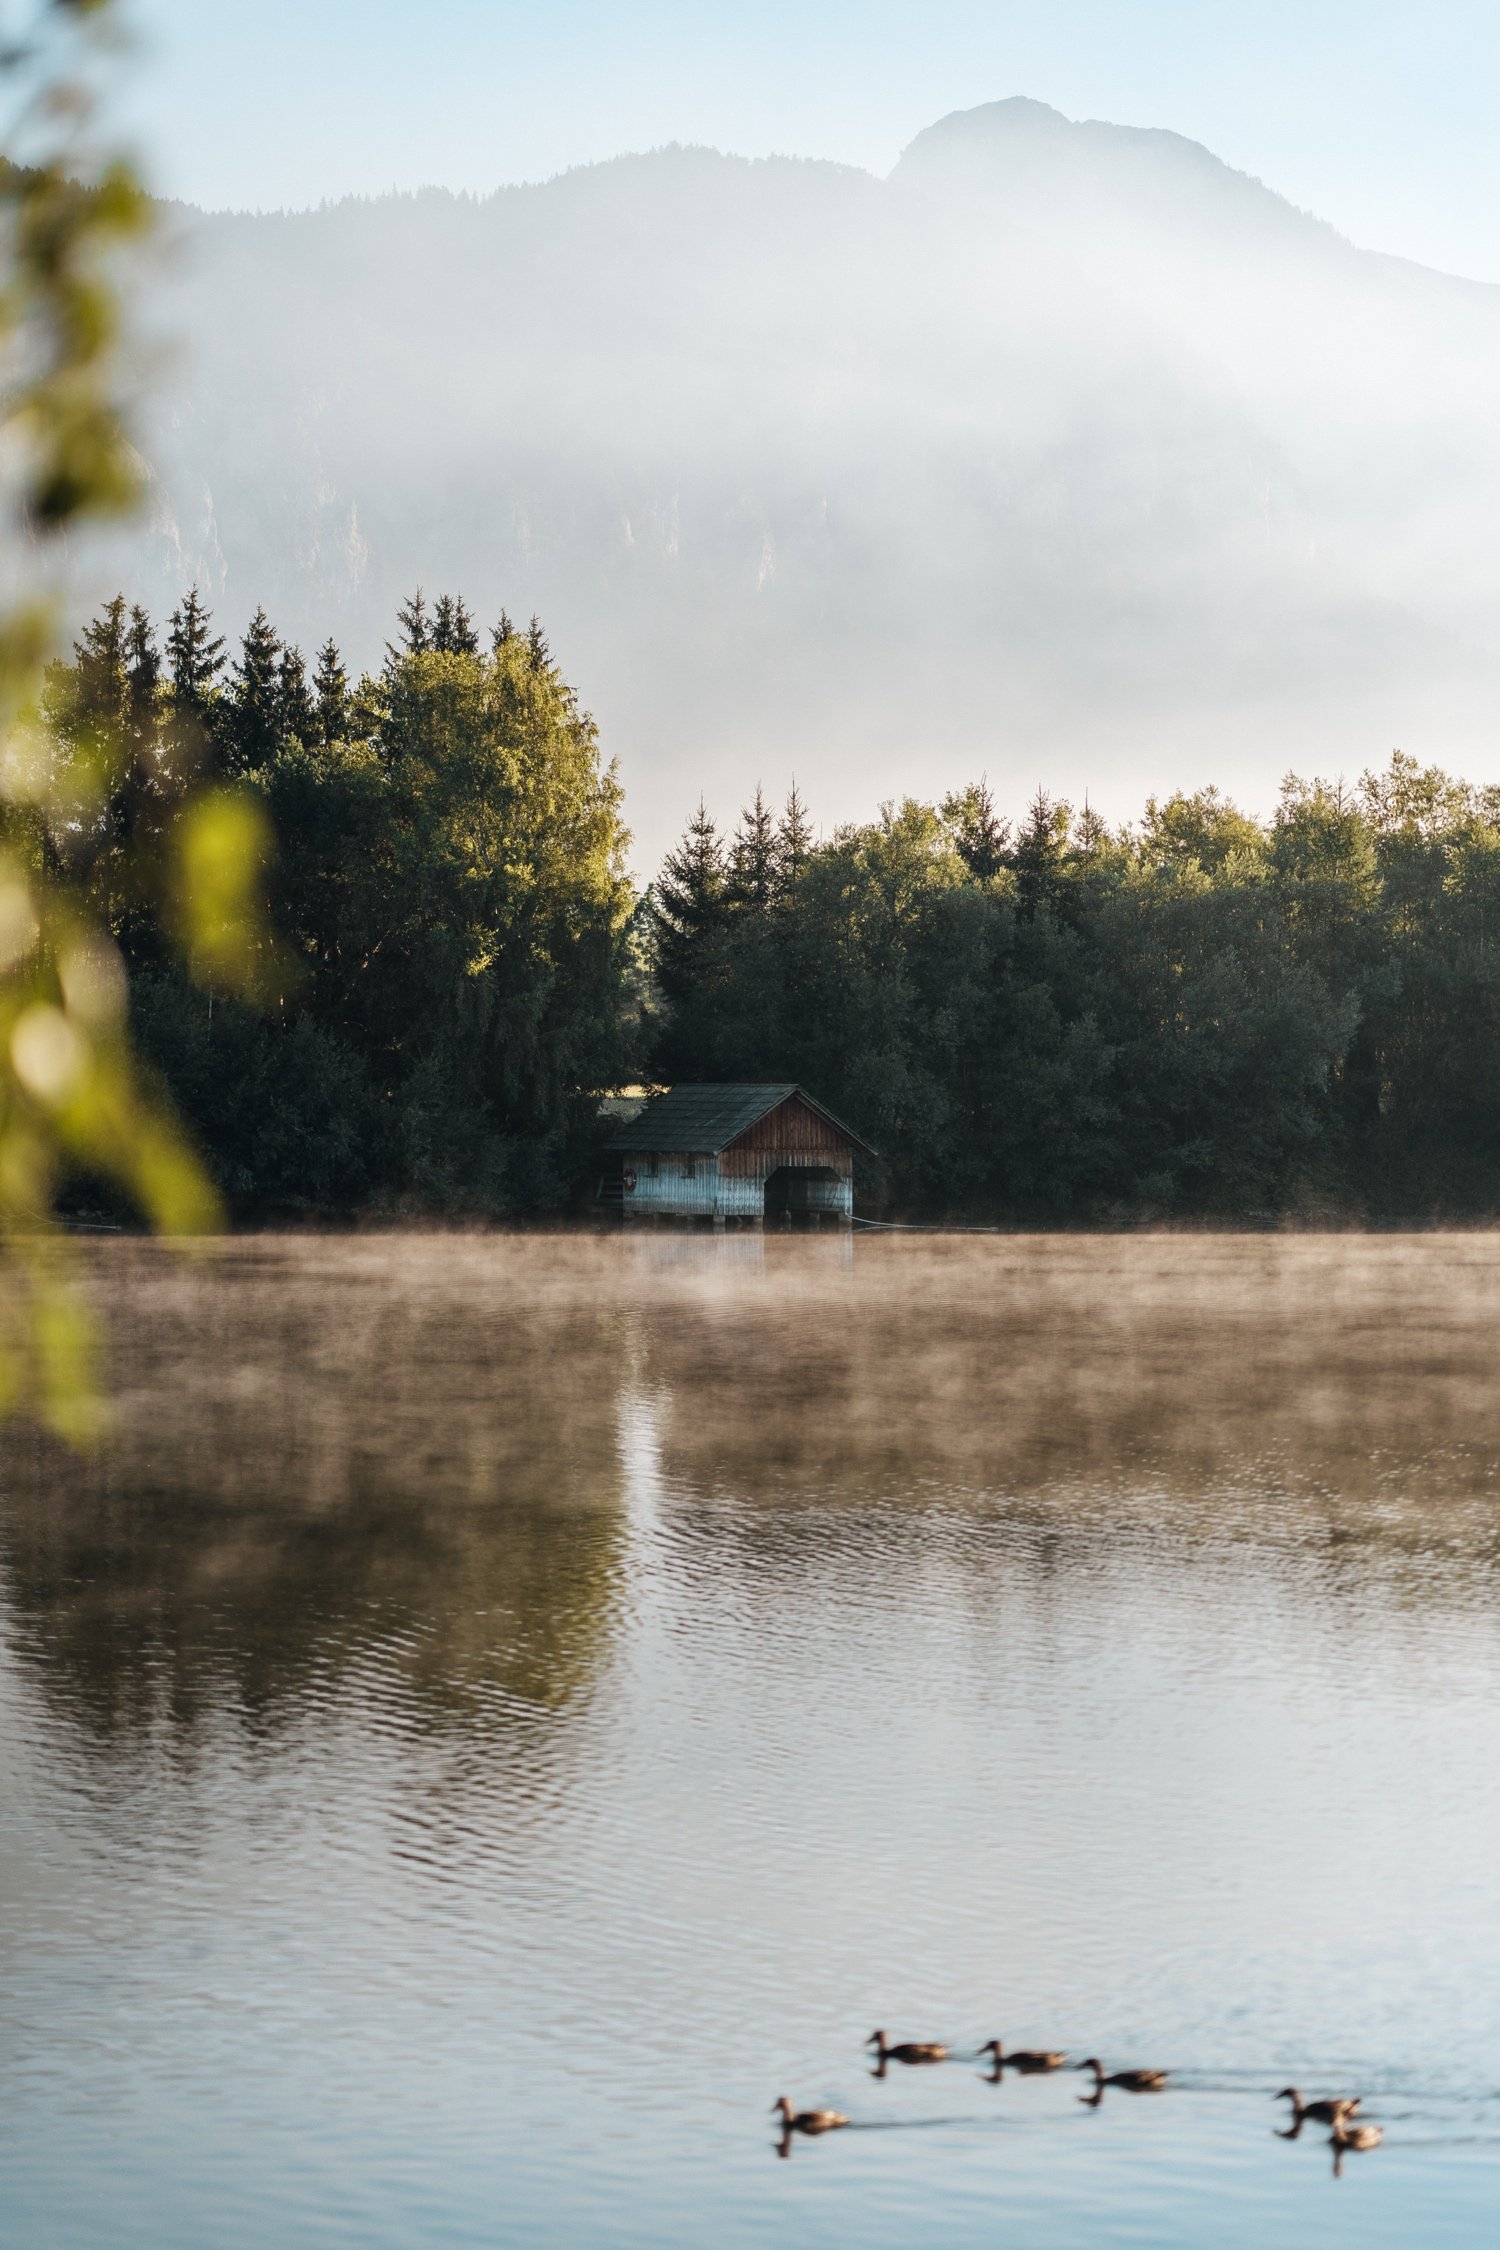
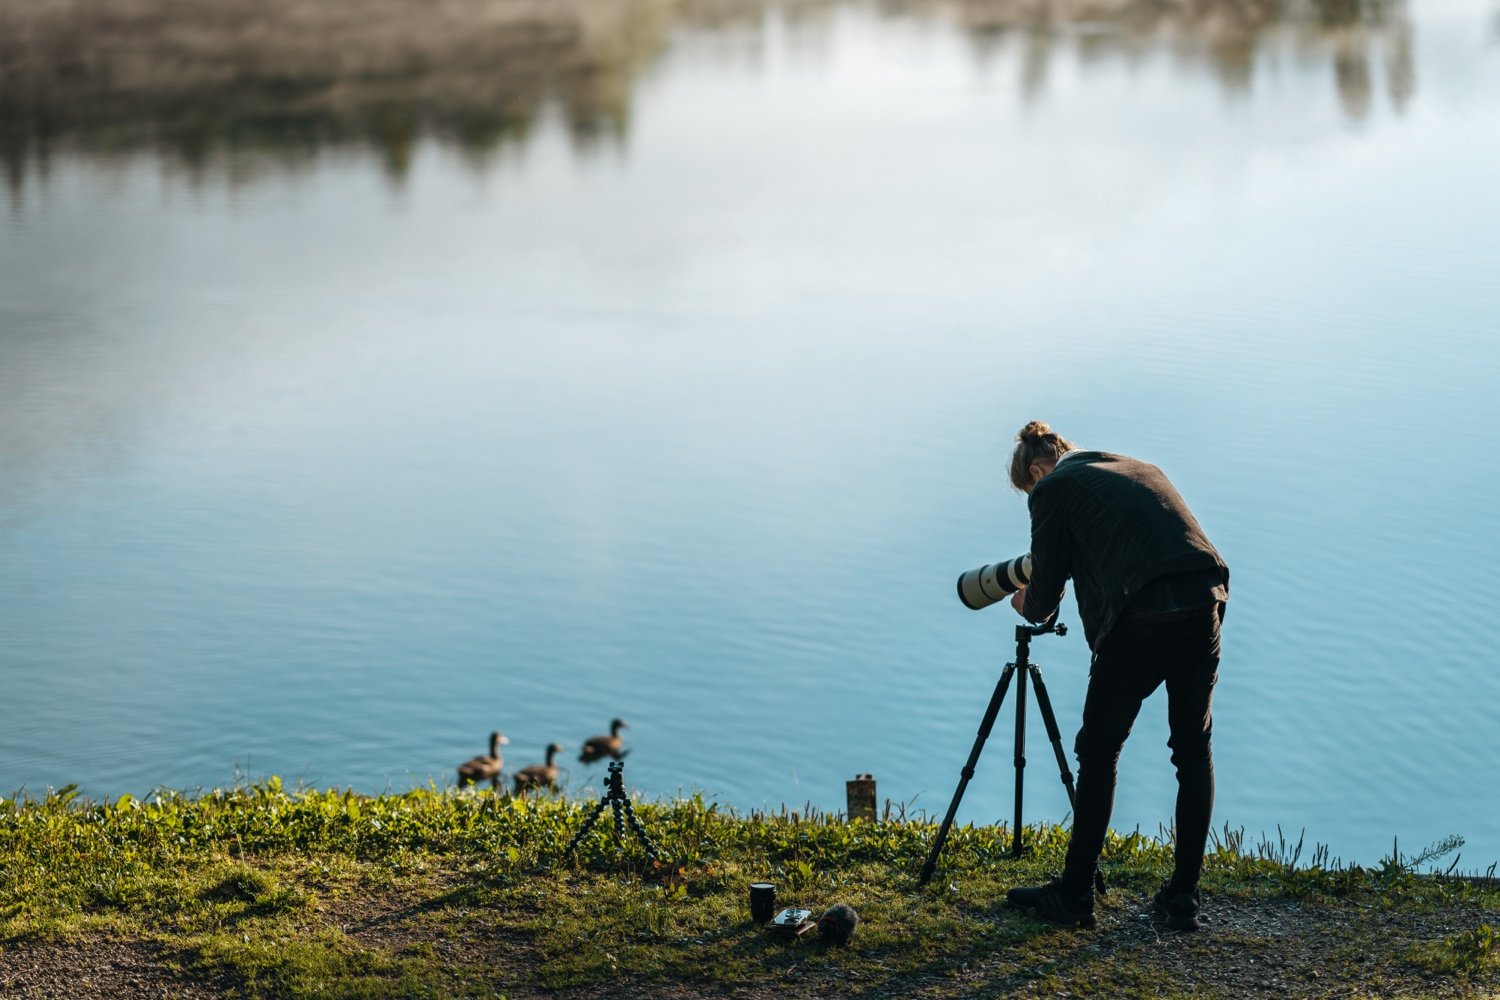
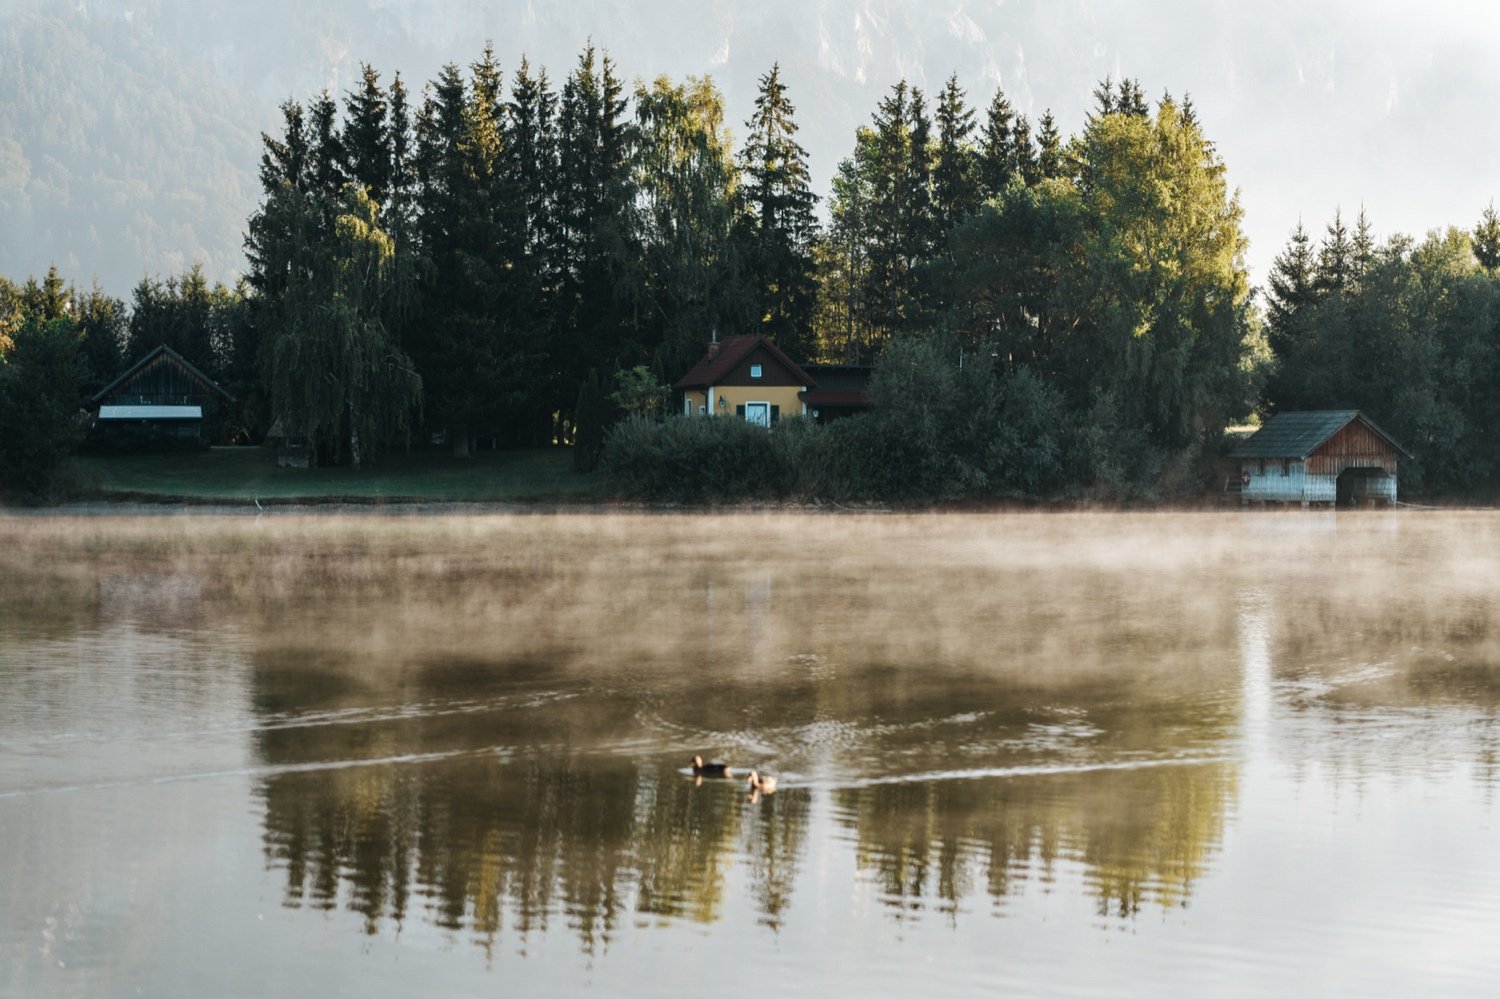
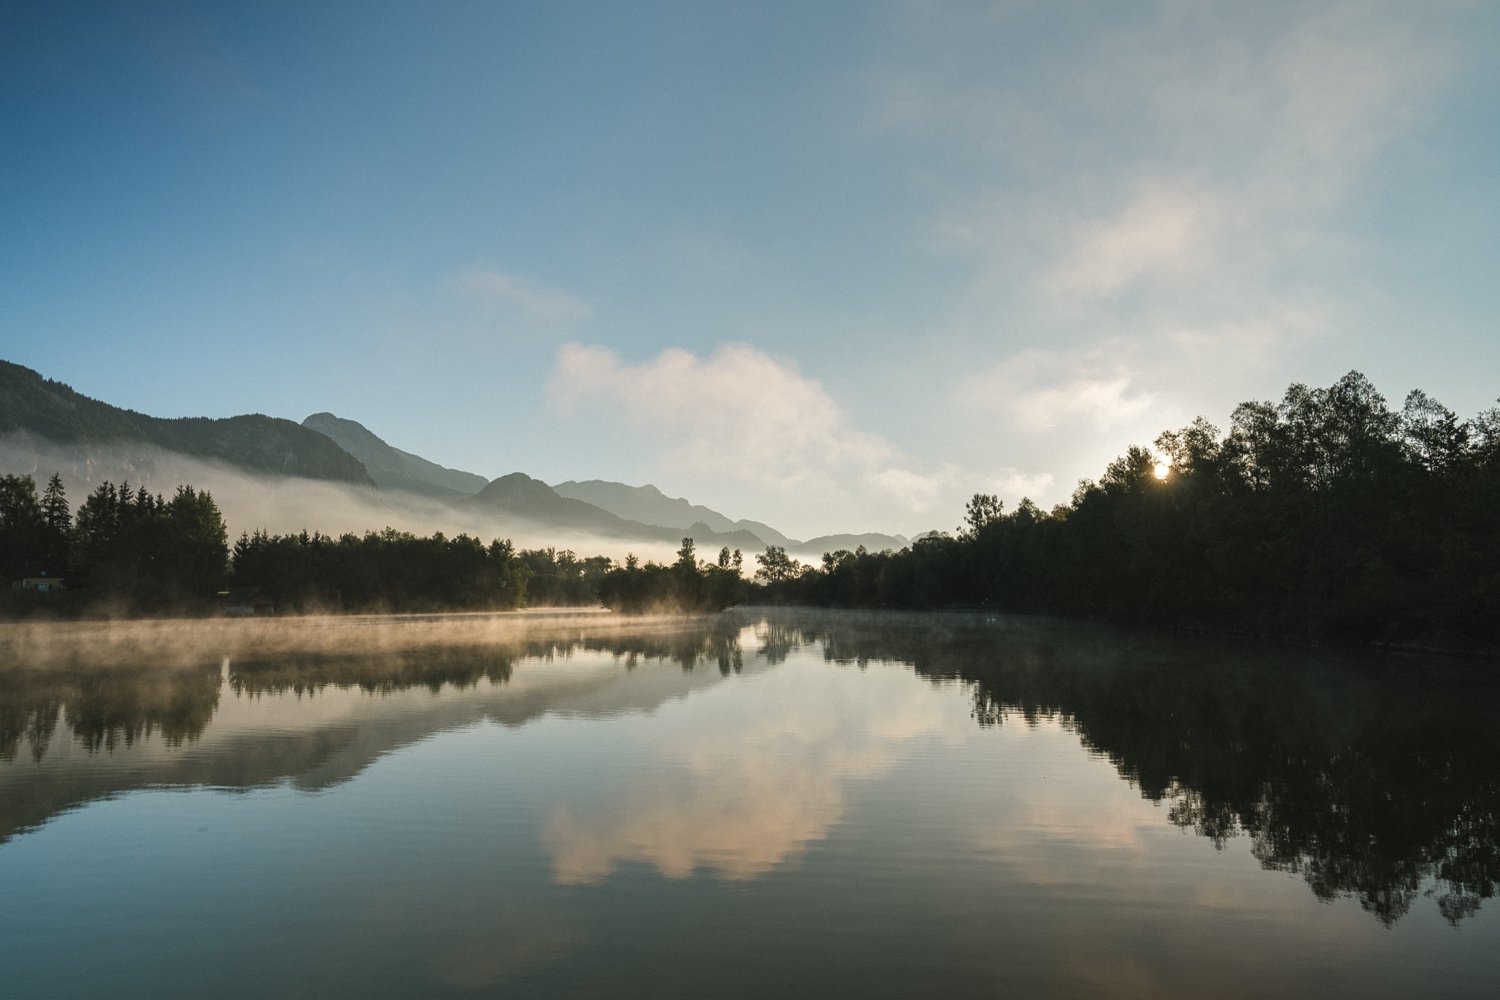
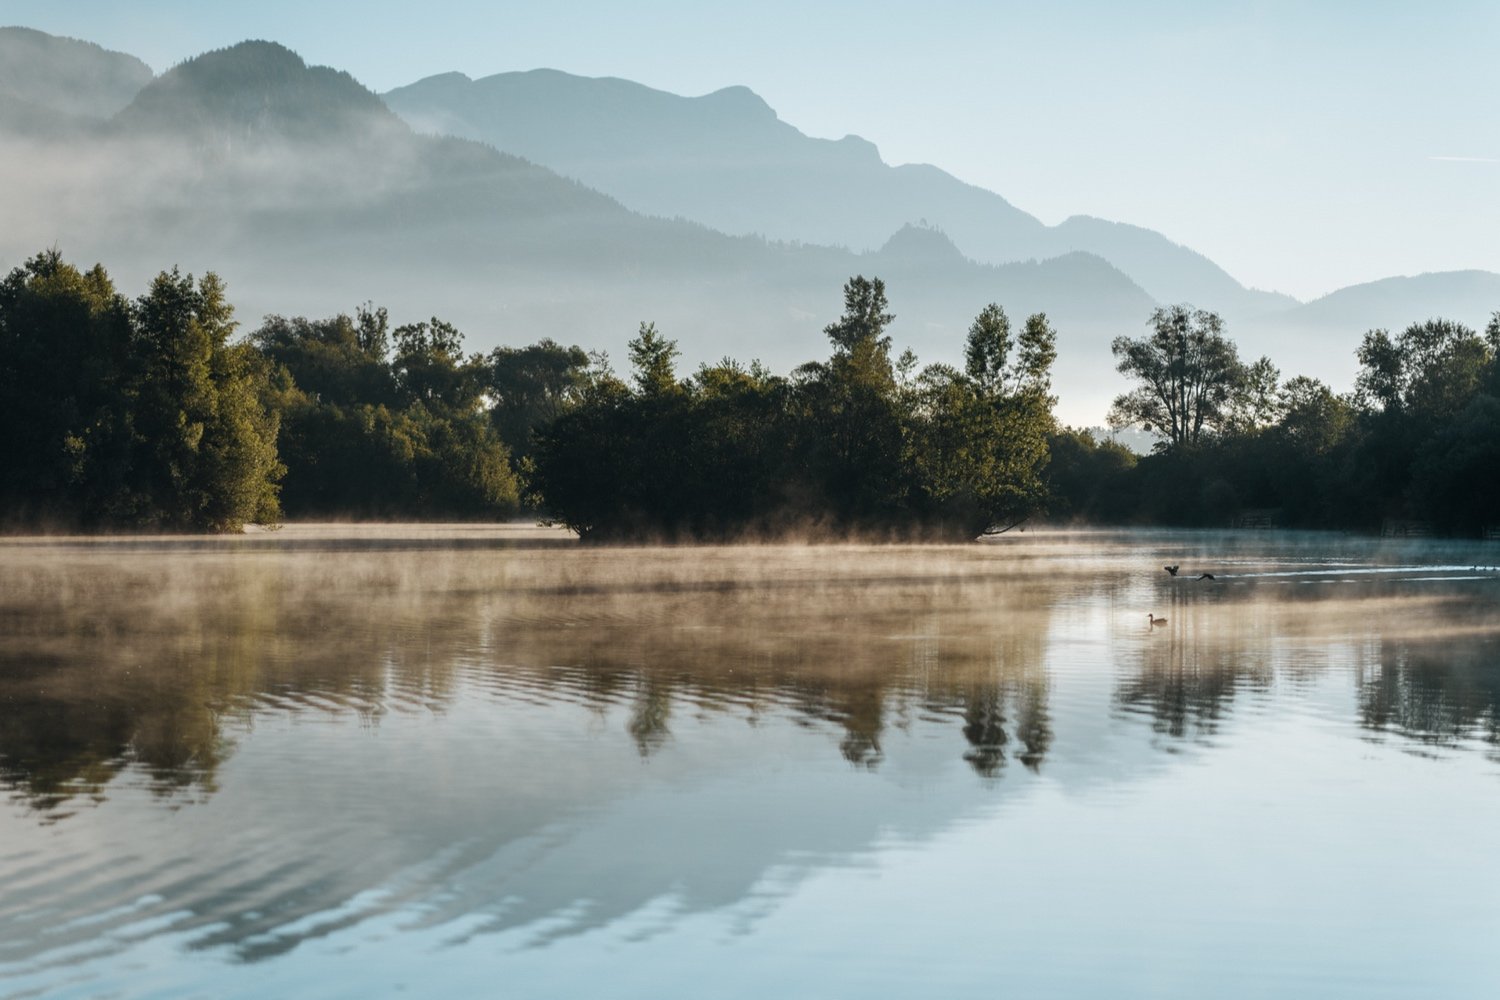
Location number 2 also looks like it could be part of a famous viewpoint. In fact, it is just a lake part of a truck rest stop - only in Austria! We arrived right on time for the sun to be hitting the fog resting on the lake's surface. Another magical scene!
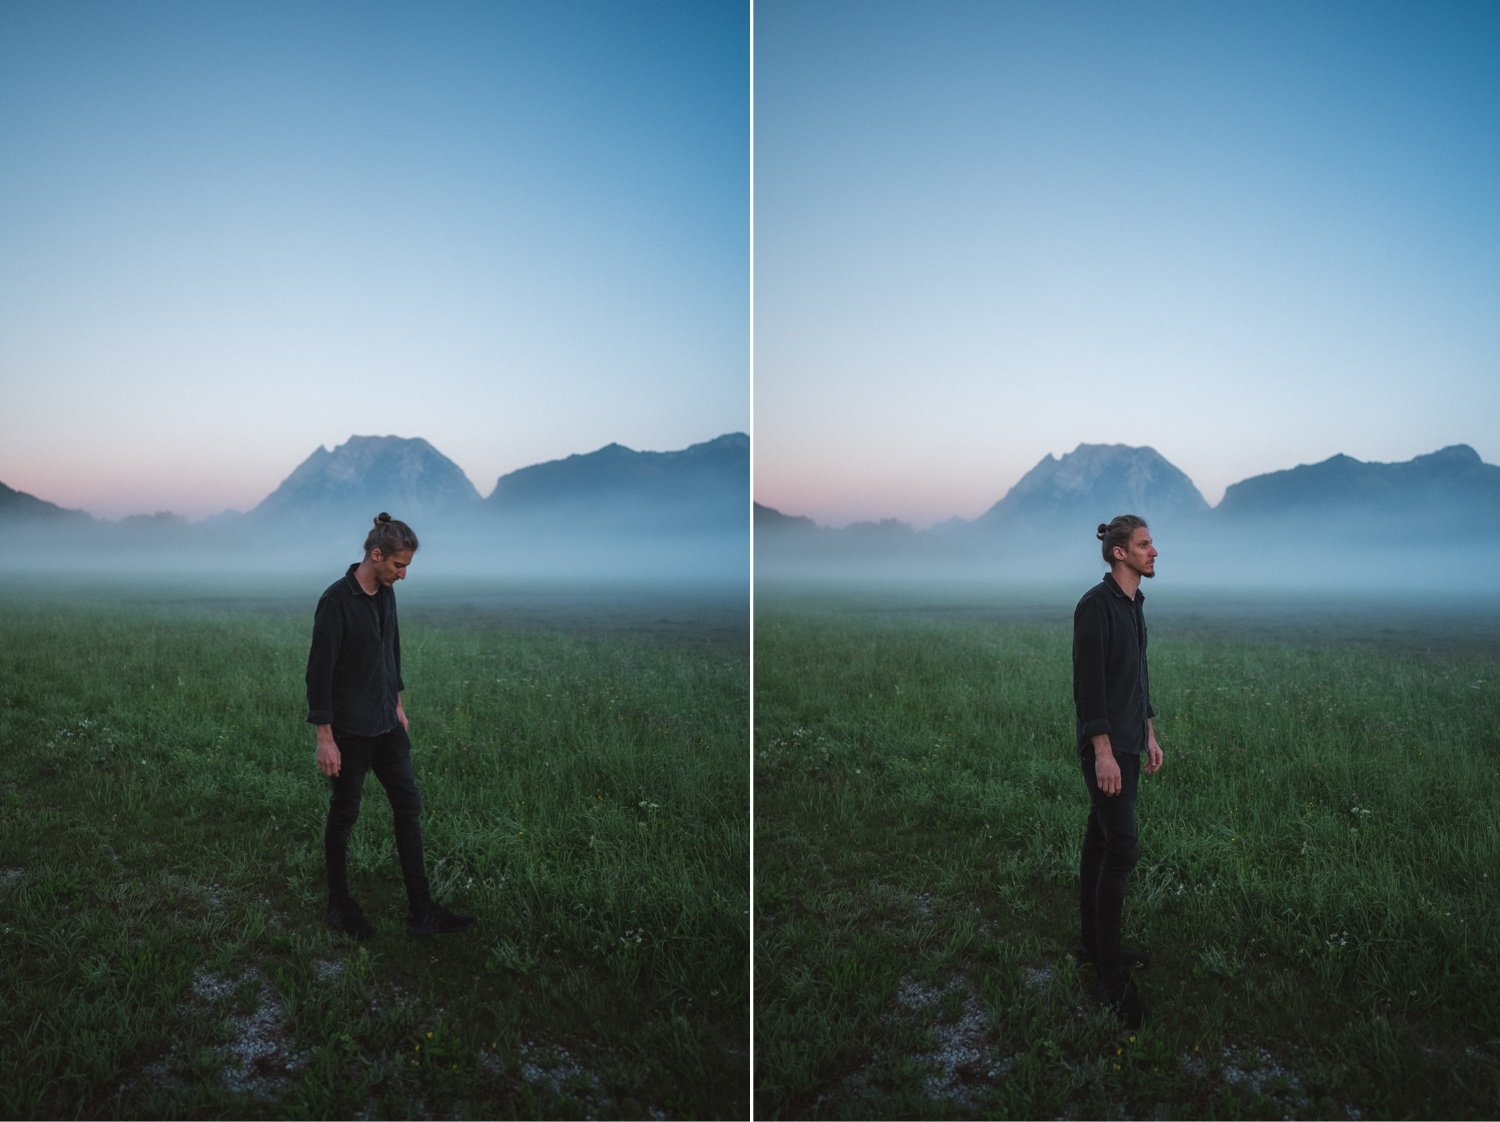
In this location I spent more time capturing different compositions with various focal lengths. I took a few photos with my wide angle lenses like the GM 24mm f1.4 and GM 35mm f1.4. With these wide angle lenses, I do enjoy how you can see the entire scene. It looks quite majestic.
As usual though, I ended up preferring my telephoto images. I used both the GM 85mm f1.4 and the 200-600mm f5.6-6.3 OSS lens to isolate certain subjects in the landscape. I love being able to create dreamy landscapes with telephoto lenses that have a minimal look.
Watch my vlog from Austria to see comparison photos between the same landscape photo taken on a wide angle lens vs a telephoto lens. Let me know which one you prefer in the comments! If you haven't already, please subscribe to my YouTube Channel. I upload new photography videos every single week.
Mountain fog photos are edited with my Fall Lightroom Preset Pack
All photos at the lake are edited with my Palm Valley Lightroom Preset Pack
Make sure to check out all the other photo series from Austria too:
Mountain fog photos are edited with my Fall Lightroom Preset Pack
All photos at the lake are edited with my Palm Valley Lightroom Preset Pack
Make sure to check out all the other photo series from Austria too:
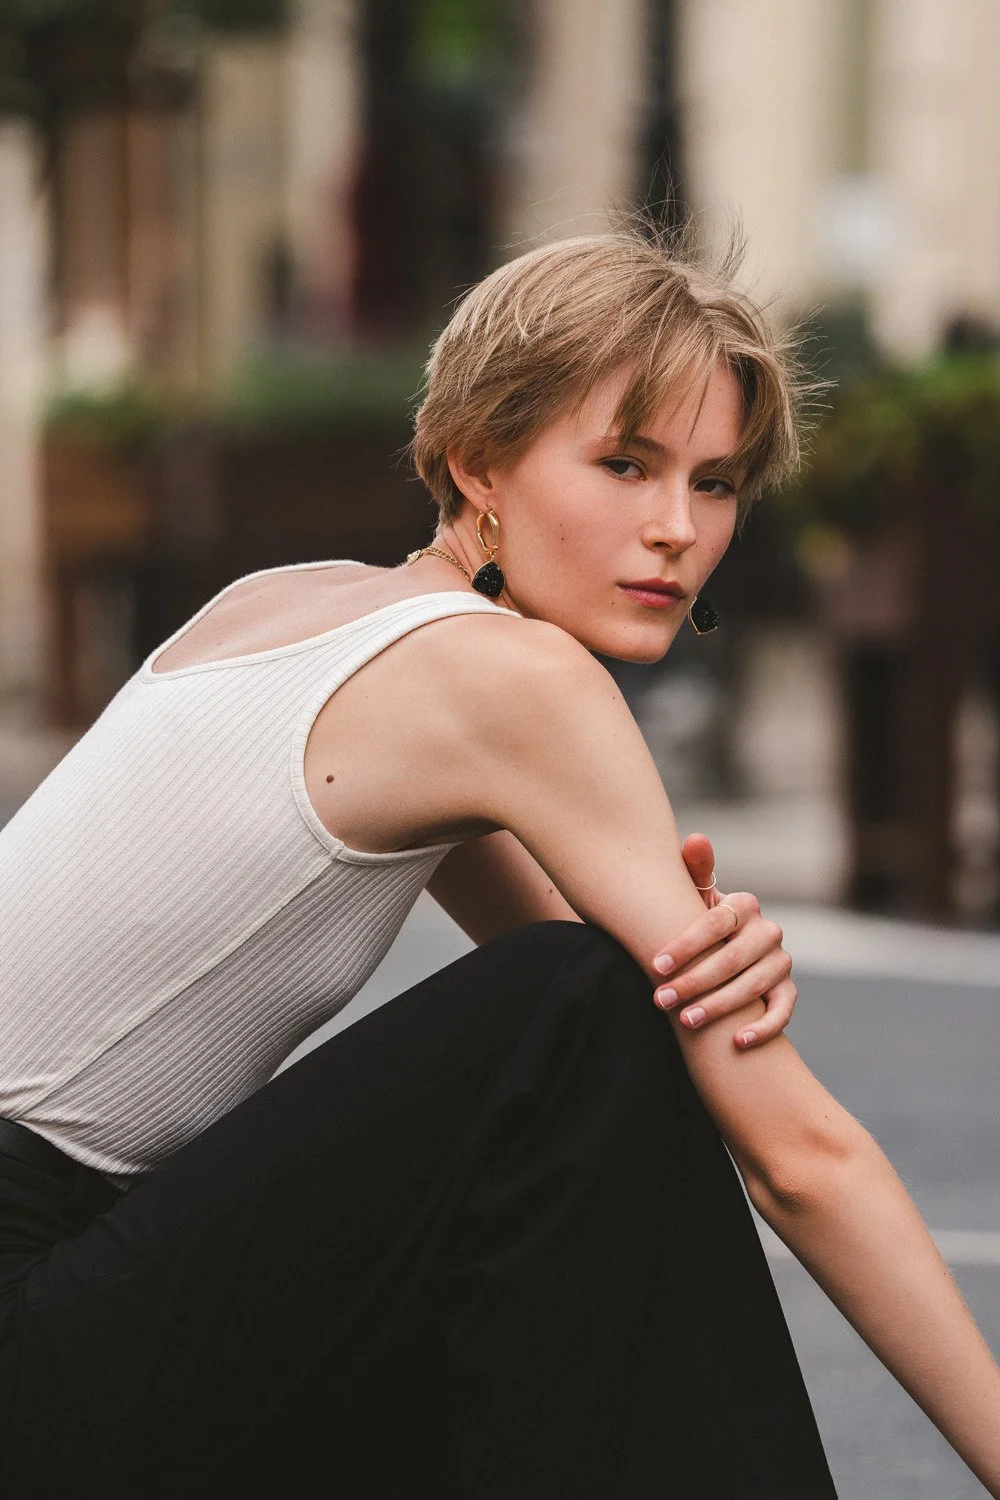
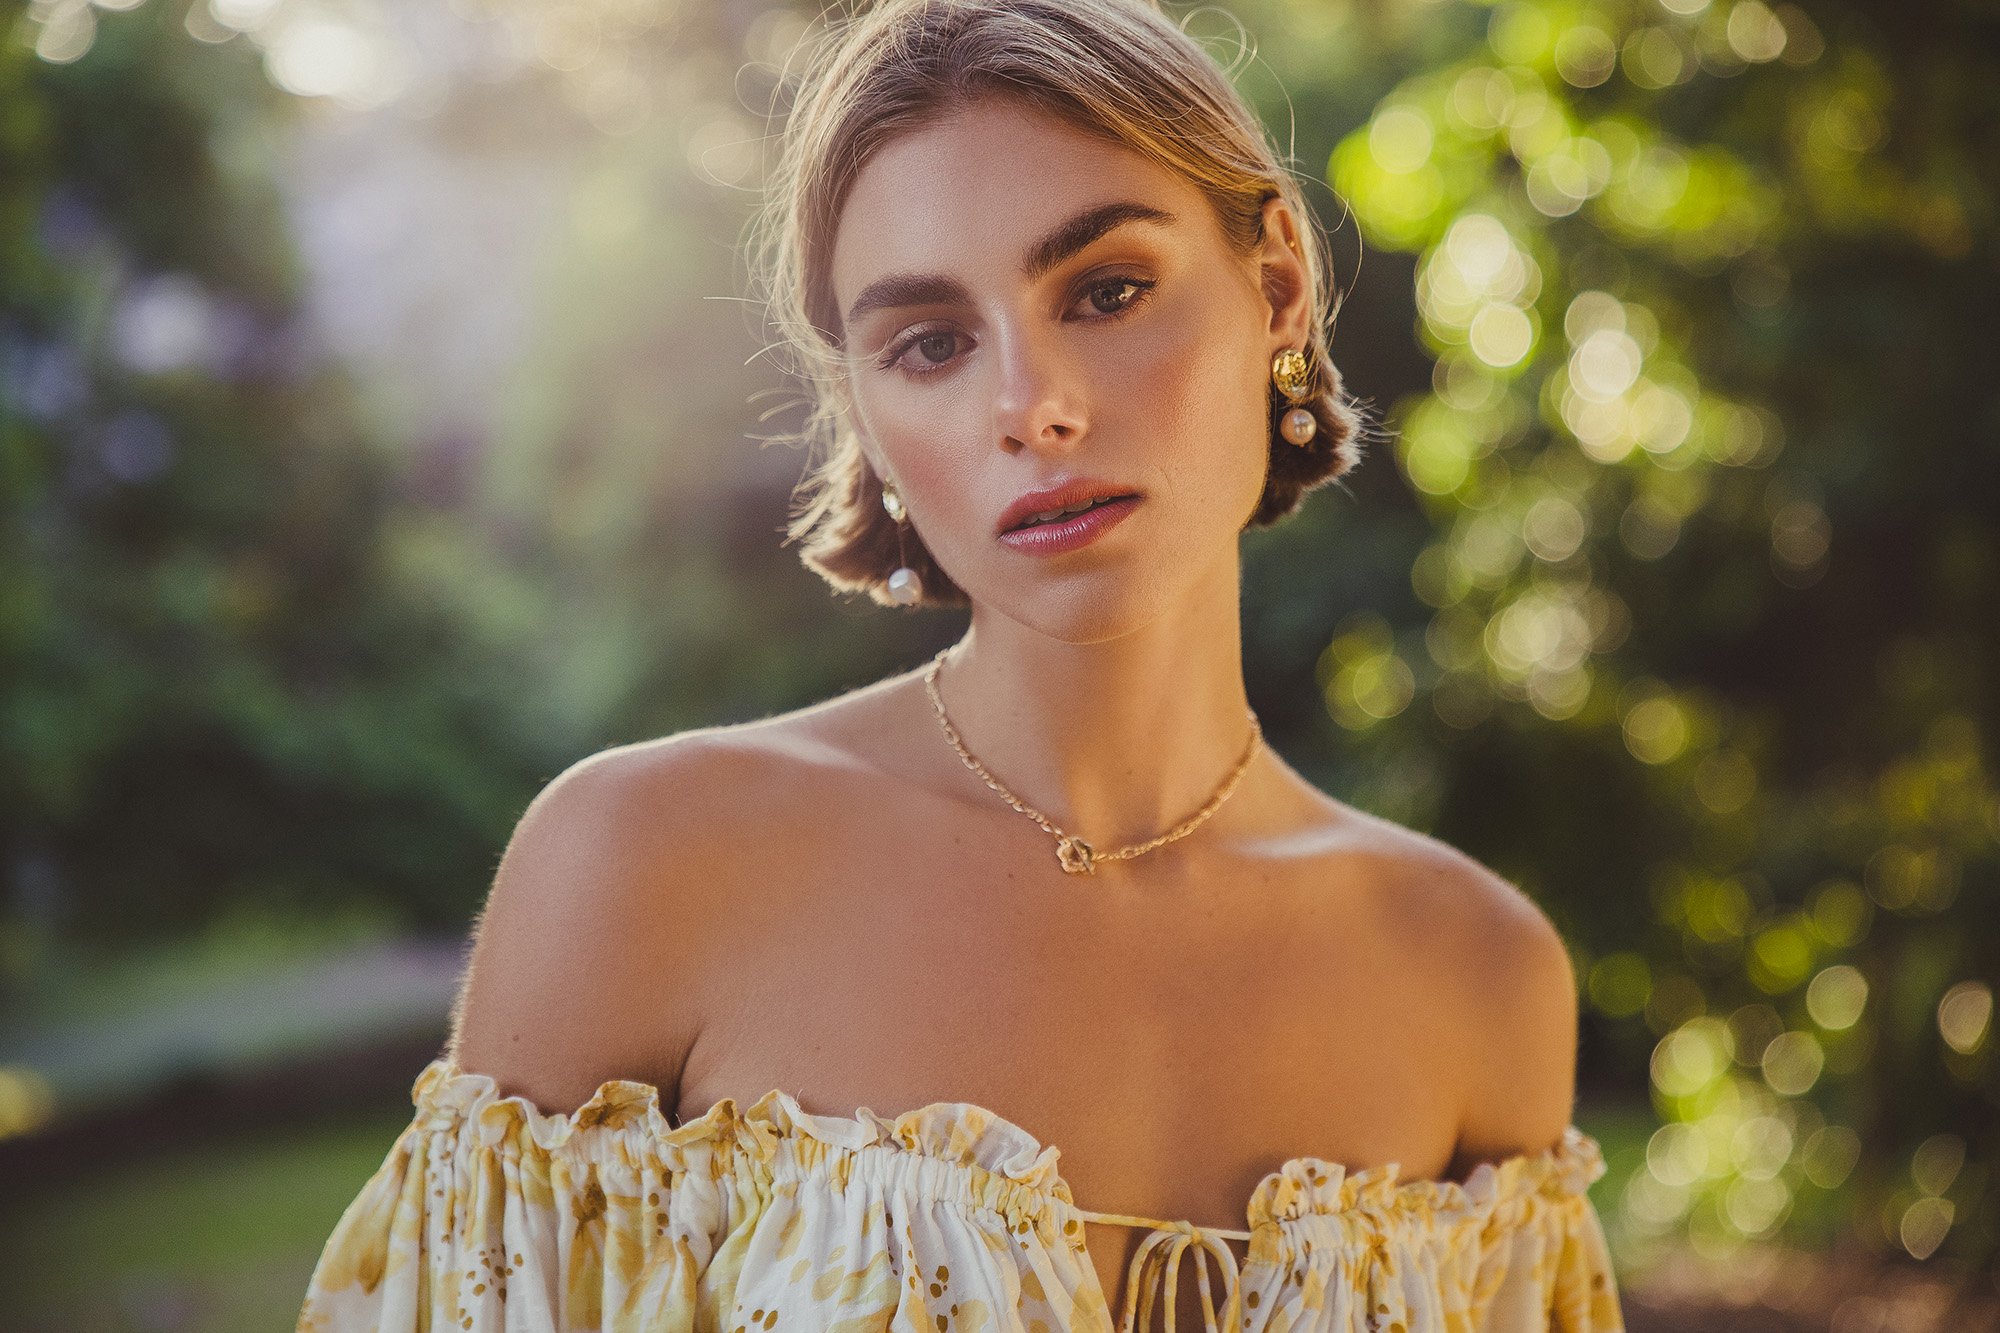
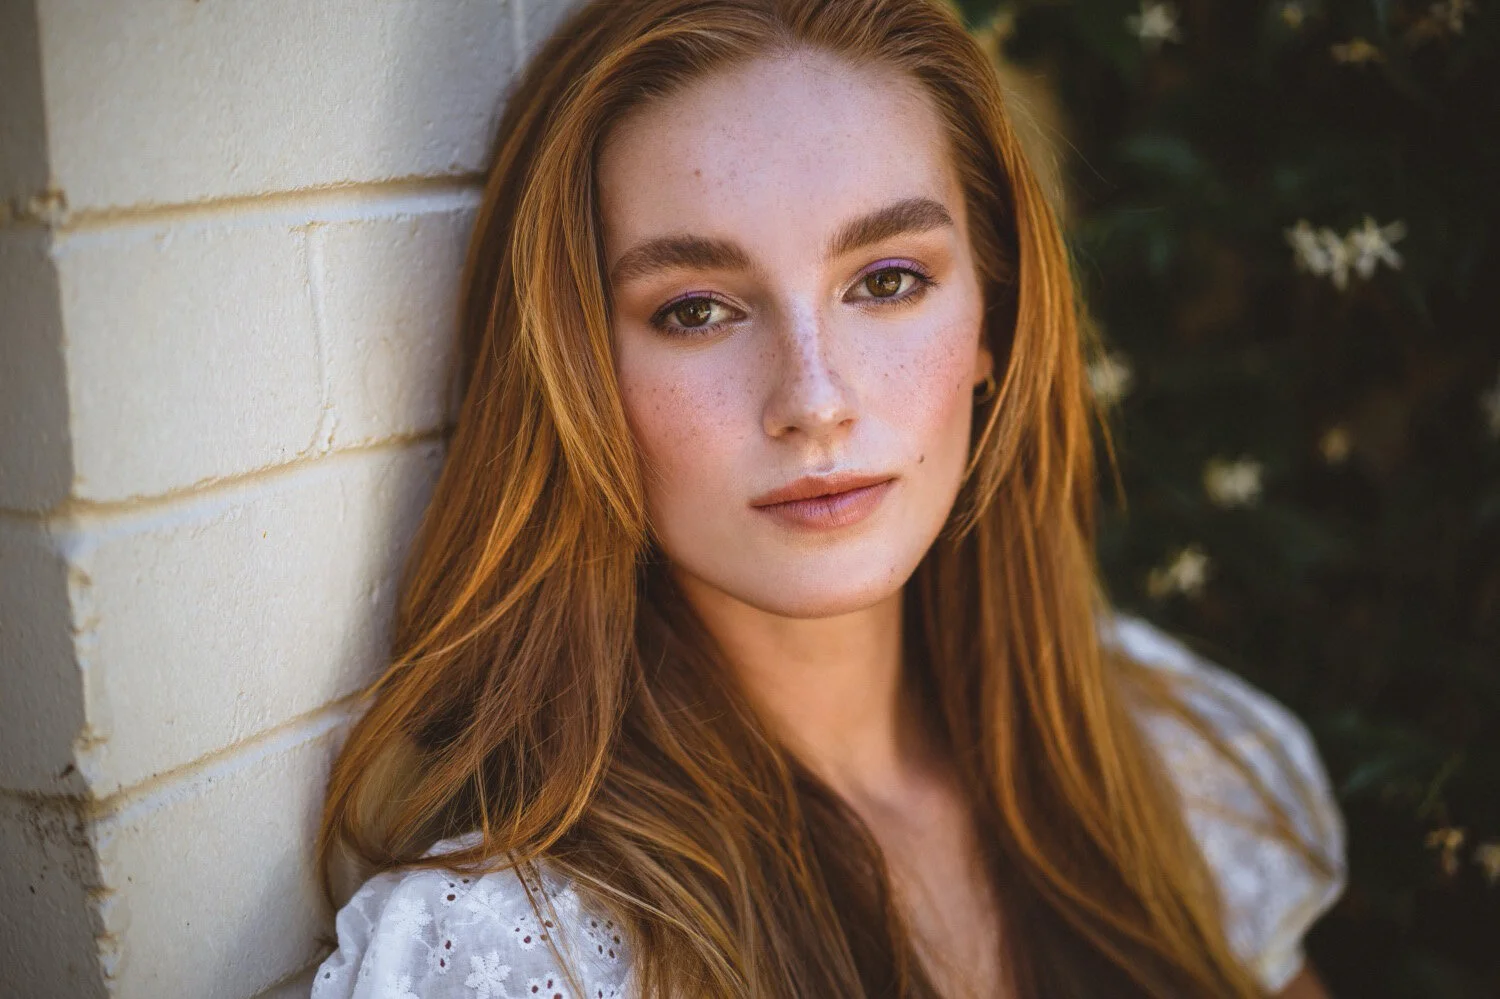
The 105mm focal length is really interesting to me and I personally love what it looks like. For this photoshoot, I knew I wanted a really dreamy look to the photos so I organised this photoshoot for the late afternoon so we could have that nice, soft sun for our lighting. I also chose this location so we can capture as much bokeh as possible!
If you’re loking to break out of a creative rut or take your portrait photography to the next level, in this post, I’m sharing 20 unique and inspiring portrait photography ideas. These ideas will help you experiment with new techniques, fresh concepts and different ways of capturing your subject. Whether you’re shooting with natural light, in a home studio, or out on location, these ideas are designed to spark creativity and push you beyond the usual poses and backdrops — perfect for photographers of all levels looking to grow their style and portfolio.
The Olympus AF-1 Twin features a dual lens system so that you can switch between a 35mm wide-angle lens and a 70mm telephoto lens at the touch of a button - essentially like phone cameras except well, that it shoots 35mm film. Surely it inspired the iPhone camera system right?
This has got to be one of the cheapest autofocus lenses available for Canon DSLR cameras, I picked up mine used for about $30 USD. The Canon EF 50mm f/1.8 STM is a compact and affordable prime lens offering a wide aperture for low-light shooting and creative depth of field control aka bokeh! This is a great lens for beginners and gives a very budget friendly entry into DSLR photography. These are the photos I captured with it.
The Nikon NIKKOR Z 135mm f1.8 S Plena is a high-performance medium-telephoto prime lens designed for Nikon's Z mount mirrorless cameras. This 135mm f/1.8 S Plena Lens produces high quality images with beautiful clarity and sharpness.
The Sony A7RIV is a full frame, 61 megapixel camera for stills and video. The Sony A7RIV weights 665g and shares the same sensor as the newer A7RV. The Sony FE 135mm f1.8 GM is known for its exceptional sharpness, fast autofocus, and beautiful bokeh, making it a favourite among portrait, wedding and event photographers, as well as those who shoot video or need a fast telephoto prime.
During this photoshoot, I’m using the Sony A7IV paired with the Samyang 24-70mm f2.8 zoom lens. This zoom lens gives me a lot of flexibility while shooting as it allows me to capture both wide and tight compositions without changing lenses. This is especially helpful is fast paced environments or when taking photos on a time crunch. While taking portraits, I’m also sharing a few of my go to composition tips for working with a standard zoom like this.
I spent a morning doing landscape photography around Lake Bled in Slovenia using the Sony A7IV with the GM 35mm f1.4 lens.
The Sony G 24-50mm f2.8 is a small and lightweight standard zoom lens for Sony E mount. It weighs 440 grams and paired with it’s focal range, makes this is a great all-rounder lens for photography and videography.
In this video, I want to share with you reasons to help you decide wether you should be upgrading your camera body or your lens and which one to do first. I’ll walk you through the key factors to consider when deciding between each option.
For this portrait photoshoot, I am making use of the Sony A6600 camera body and the Sony 35mm f1.8 lens. The Sony A6600 is a crop-frame mirrorless camera in Sony’s Alpha series. It features a 24.2-megapixel APS-C sensor that delivers images with excellent detail.
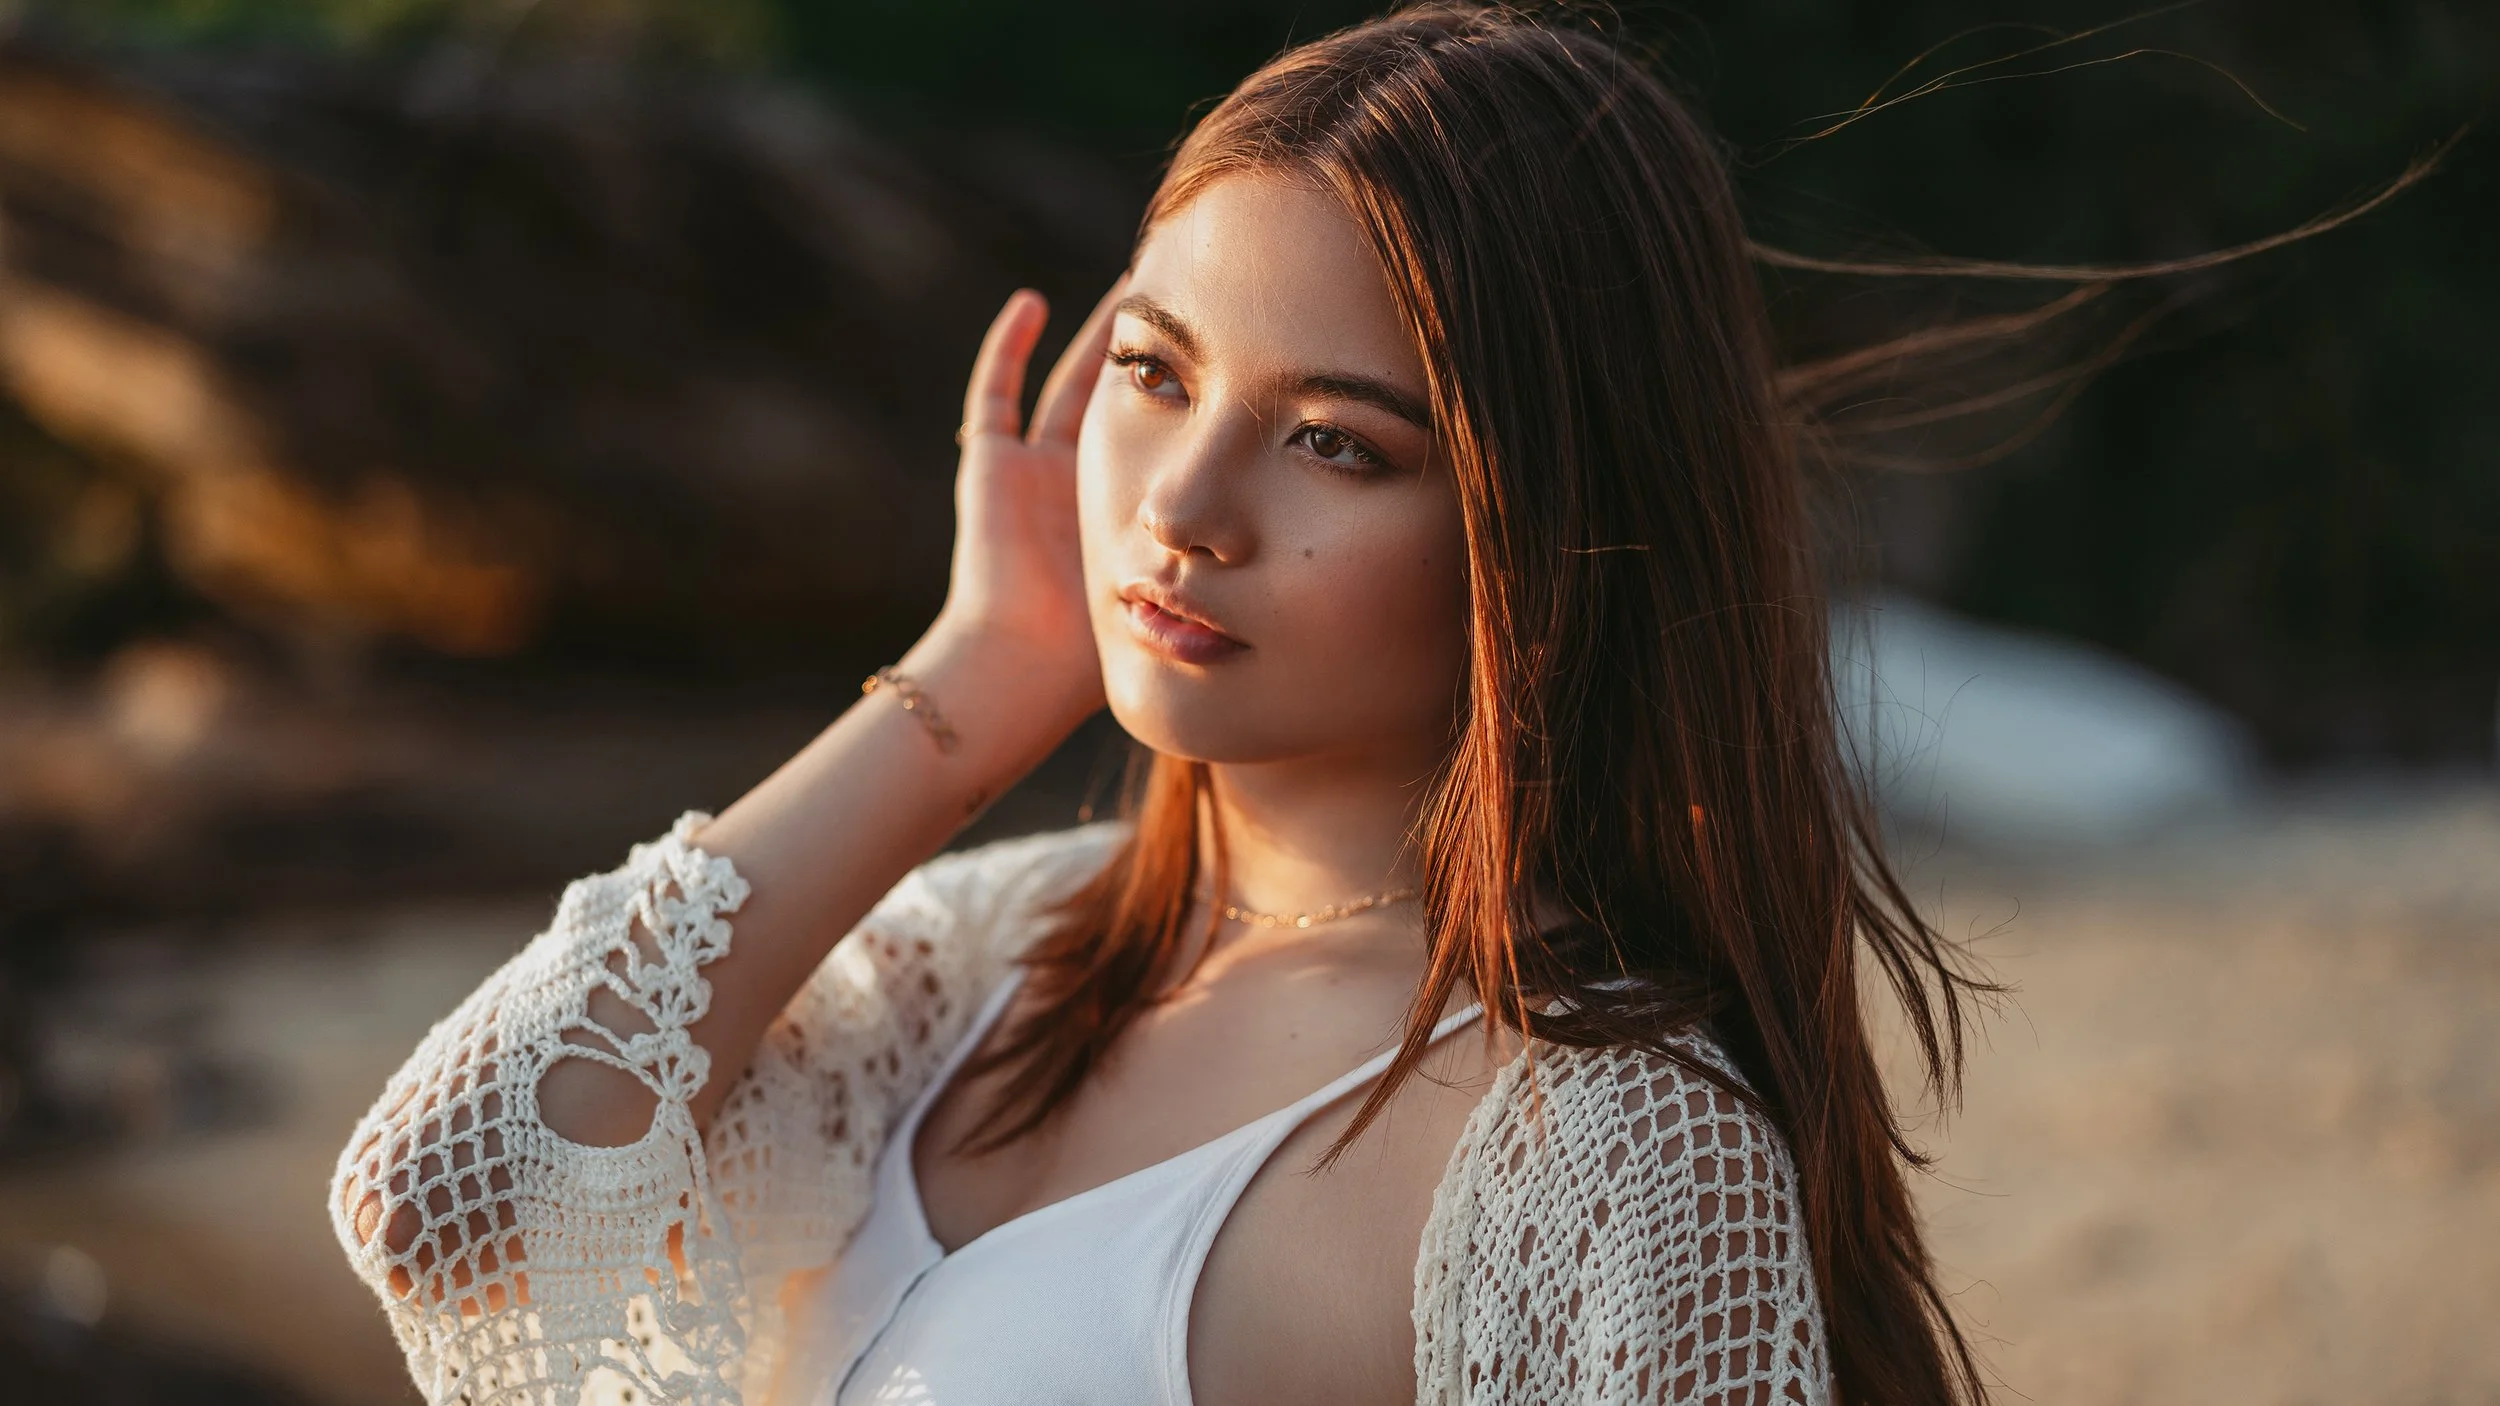
For this portrait session, I am using the Zeiss 50mm f1.4 on the Sony A7 IV, capturing backlit images on the beach during golden hour. The combination of the lens’s wide aperture and the warm, soft light of the setting sun helped create intimate, glowing portraits with beautiful light falloff and natural skin tones.
The Sony 28mm f2 is a wide-angle prime lens designed for Sony’s full-frame E-mount cameras. I believe it’s an underrated lens from Sony as it’s able to deliver high quality results at a relatively cheap price point for a native lens.
I am comparing the Zeiss 50mm f1.4 vs Zeiss 55mm f1.8 at a real-world portrait photoshoot. I share various different side by side photo comparisons at 100% crop, so you can see all the details.
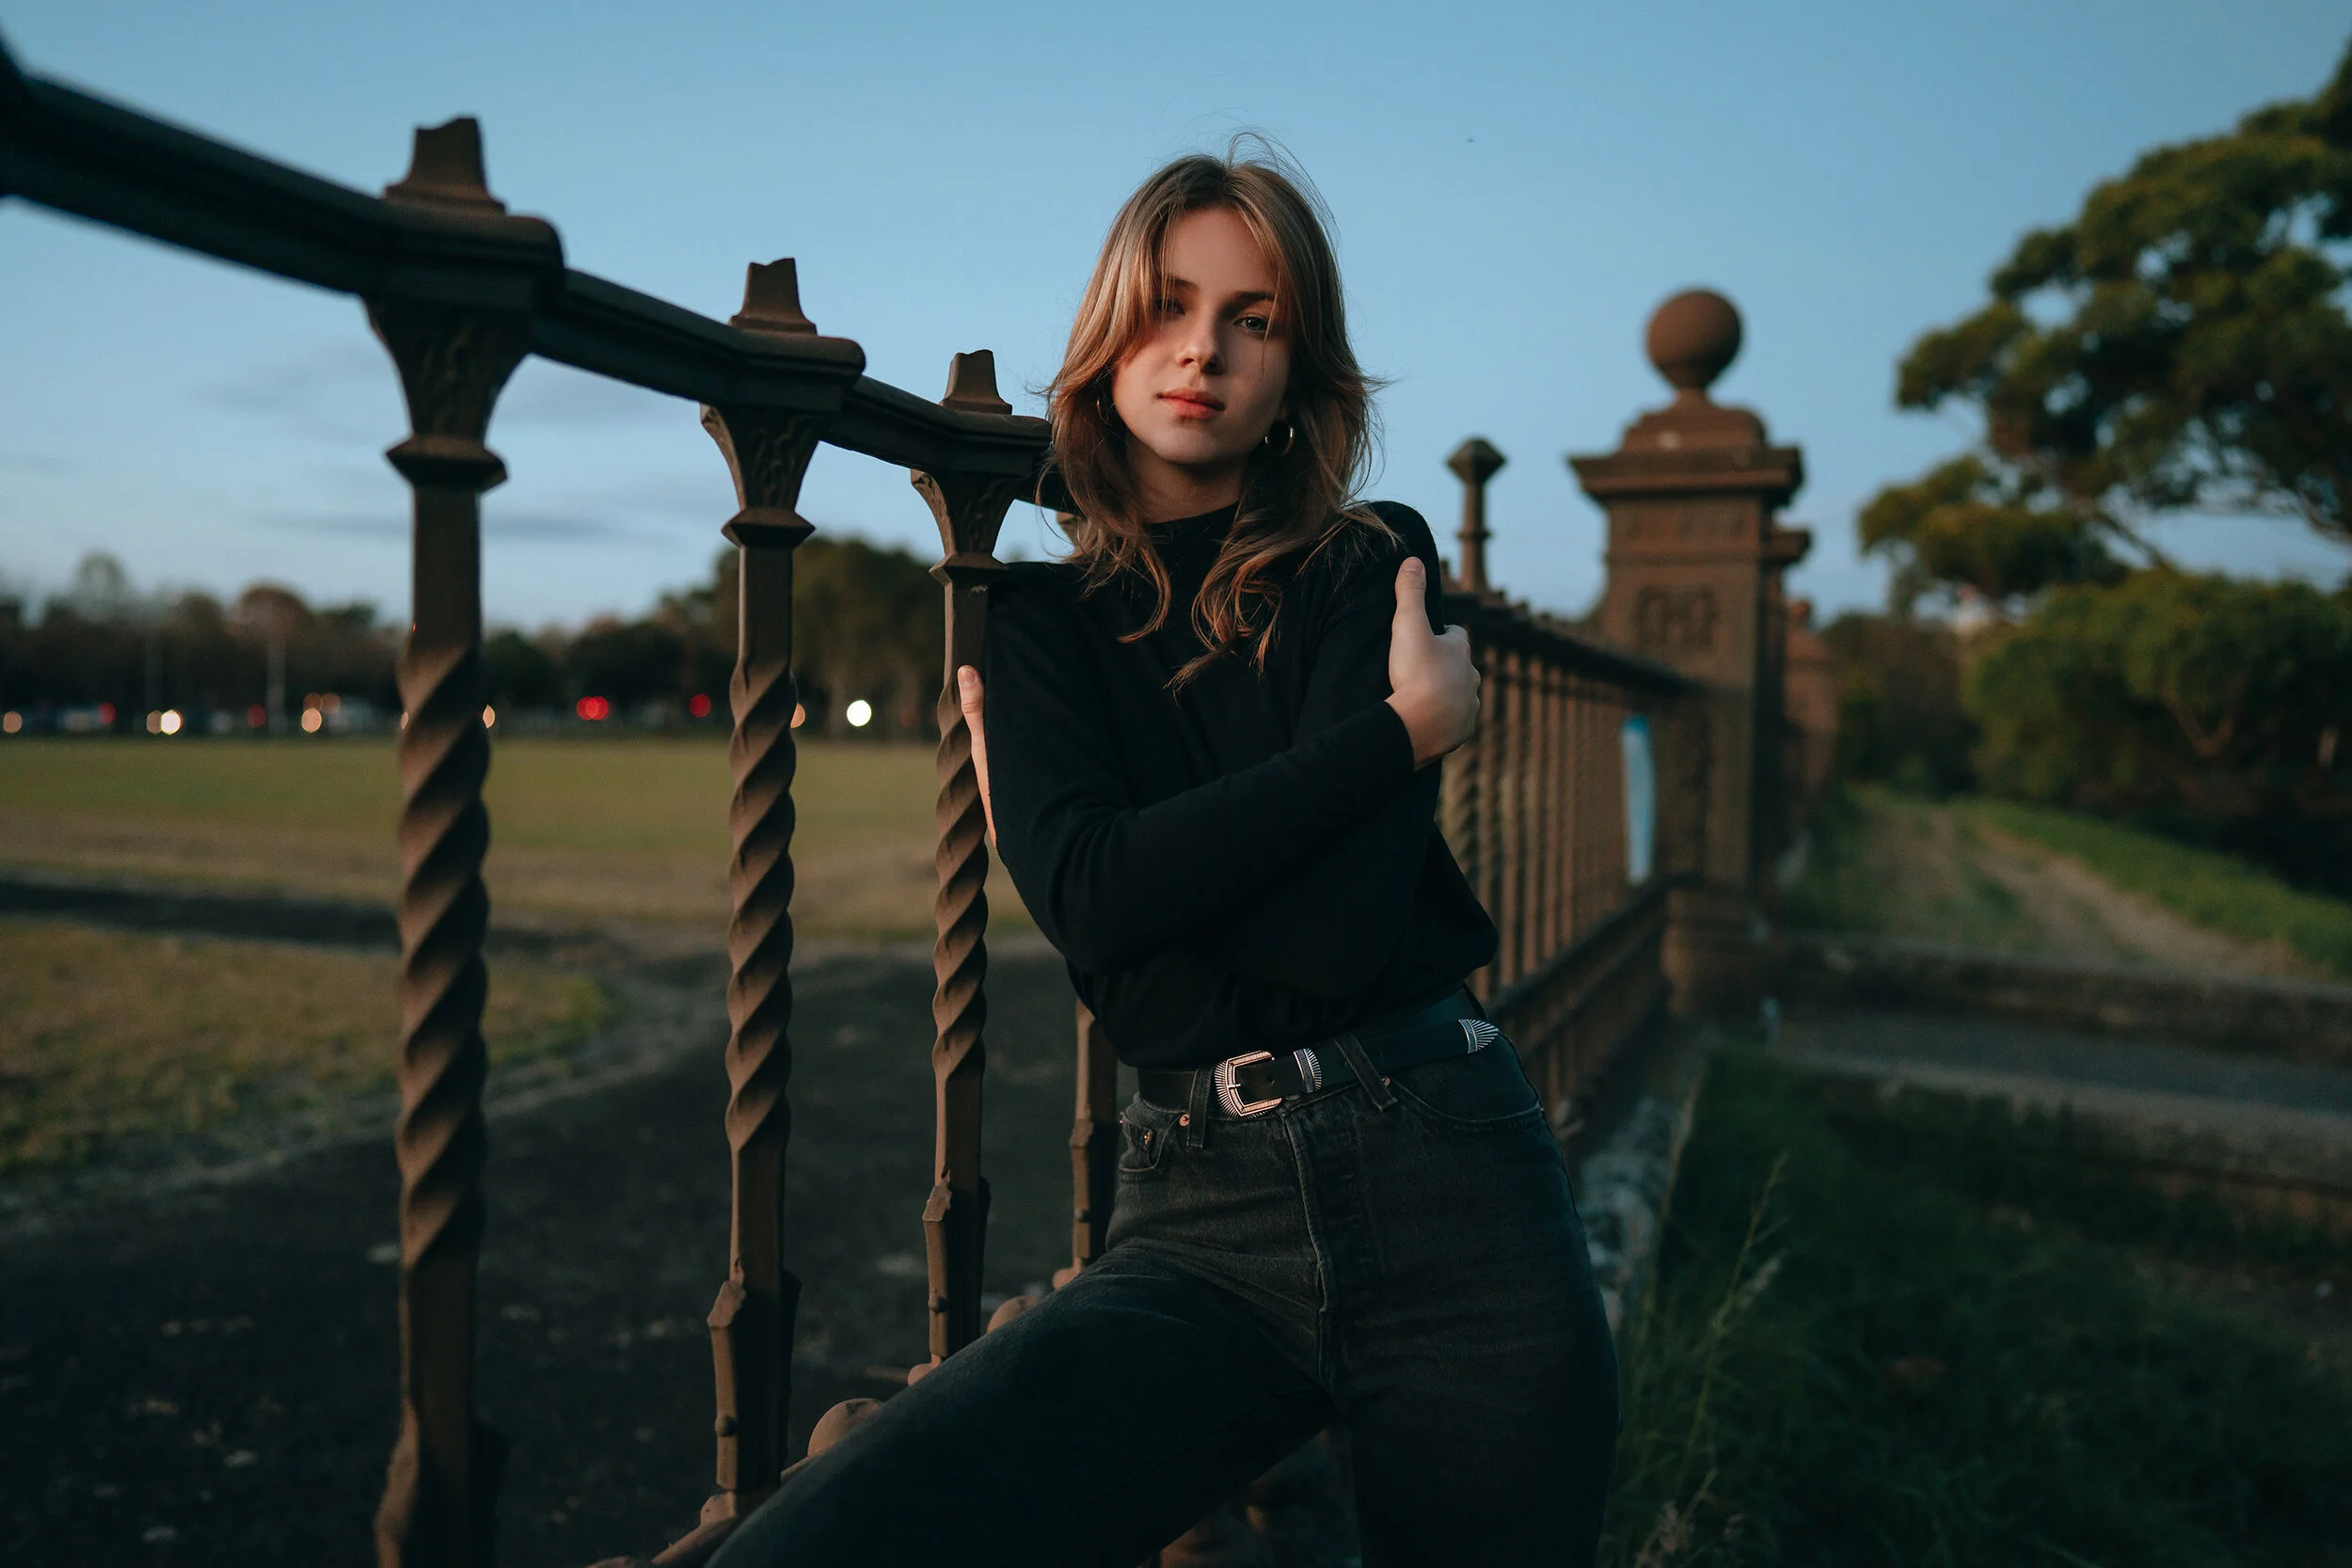
During this photoshoot, I share my go-to tips for shooting portraits with a 24mm prime lens. I take you behind the scenes of a moody blue hour shoot with Serena using the Sony 24mm f1.4 GM on the full frame Sony A7RIV.
The Sony 50mm f1.2 GM is a full-frame E-mount lens with an f1.2 maximum aperture. The Zeiss 50mm f1.4 is also a full-frame E-mount lens with an f1.4 maximum aperture. Both lenses are designed for shallow depth of field and low-light performance, but one is significantly more expensive than the other.
For this portrait photoshoot I am using the Fujifilm X-T4 paired with two of my favorite prime lenses: the Fujinon XF 16mm f/1.4 R WR and XF 23mm f/1.4 R LM WR.
I captured these photos of Megan Emmett for the Candice Lee Femme Collection. You can see more of Candice Lee’s bridal gowns and hair styling work here.
Today I am sharing a set of photos captured during blue hour. For this portrait photography session, I am using the Sony A7RIV with the GM 85mm f1.4 lens.
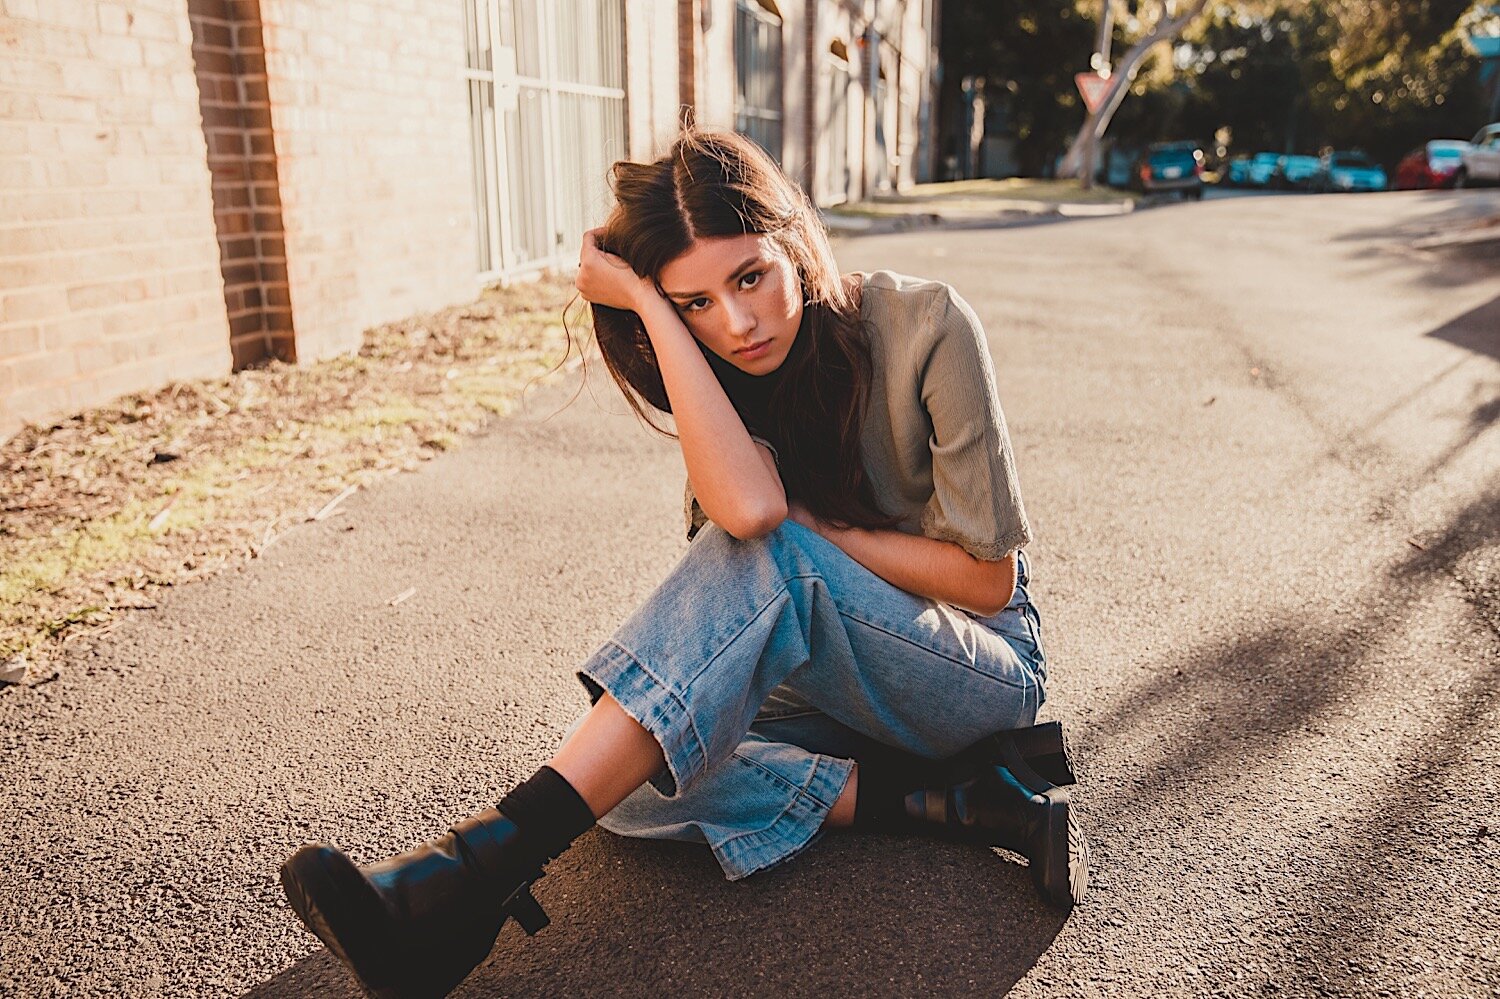
This set of photos is a portrait photoshoot I did on the streets of Sydney using the Canon 5D mkIV + Canon EF 24-70mm f2.8 lens.
The A6700 is an APS-C hybrid camera body with a 26 megapixel backside illuminated sensor. This camera features the new AI autofocus system first introduced by the A7RV. This means the A6700 has real time recognition autofocus since it features an AI processing unit just like the A7RV. It's great to see this new AF tech in an APS-C body especially considering price point of the camera.
The Nikon Z8 is a 46 megapixel full frame camera, featuring a fully electronic shutter. During this portrait photoshoot with the Z8, I am using 2 lenses. The Nikkor Z 35mm f1.8 S and Nikkor Z 85mm f1.2 S. Watch my behind the scenes video to see the SOOC unedited photo at 100% crop. The photos in this blog post are my final, edited version of the images from the Nikon Z8.
Should you use a Mist filter for your portrait photography? During this portrait photoshoot, I take side by side photos using a Pro-Mist Filter vs not using a filter. I organised this portrait session with Wiktoria while I was travelling through Poznan, Poland in the summer.
This blog post includes some of my favourite photos I took during my time in Japan with the S5II. If you want to hear my complete thoughts and review of the S5II capabilities for photo and video, you can watch my review video here.
In November, I was invited to Japan by LUMIX to attend the LUMIX Global Summit for the announcement of the new LUMIX S5II. Paired with the new camera body and an array of lenses, Dan and I took to the streets of Tokyo, Japan to film our review video of the camera body.
In November, I was invited to Tokyo, Japan by LUMIX to attend the LUMIX Global Summit. They didn't tell me what was going to be announced, but I was very excited to find out because it sounded like it was going to be something big. On the morning of the event, I met Pav and we went for a little photo walk around the streets of our hotel. For this trip, I decided to bring the LUMIX S5 with me to test it out for photo and video.
In November, I was invited to Japan by LUMIX to attend the LUMIX Global Summit for the announcement of something new. I left Sydney with Dan, Aaron and Simon in the evening and we landed in Toyko, Japan the next morning. We were all a little tired from the overnight flight, but we decided to head out and explore Tokyo since we had a free day before the event.
The Fujifilm X-S20 is a hybrid mirrorless camera body with a 26.1 megapixel APSC sensor. Like the X-S10, the X-S20 embodies a simpler body design without the dedicated shutter and ISO dial you'll find on other Fujifilm bodies such as X-T series. I also use this camera for a portrait photoshoot and share unedited, straight out of camera images at 100% crop.
The Google Pixel 7a is Google's latest mid-range phone featuring 2 cameras. I'm taking the camera's out for a hands-on review in real world to see how they perform. By taking portraits and cityscapes I will share with you unedited and edited samples of the 7a Ultrawide Camera, Wide Camera and 2x Zoom. I also share video samples of the Pixel 7a with both the rear and front cameras, plus share a sample of the microphone quality.