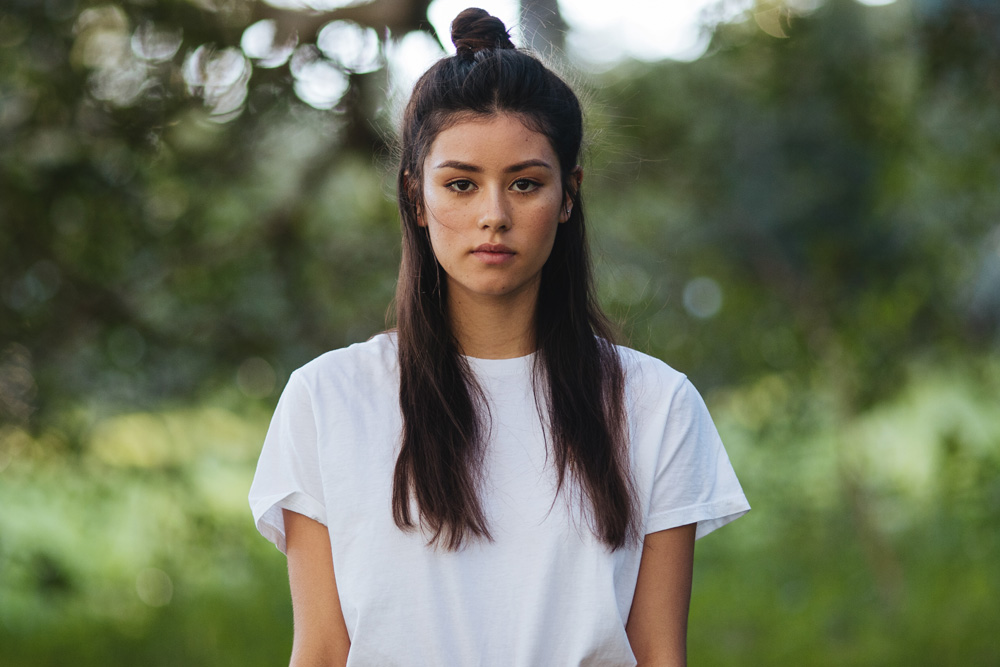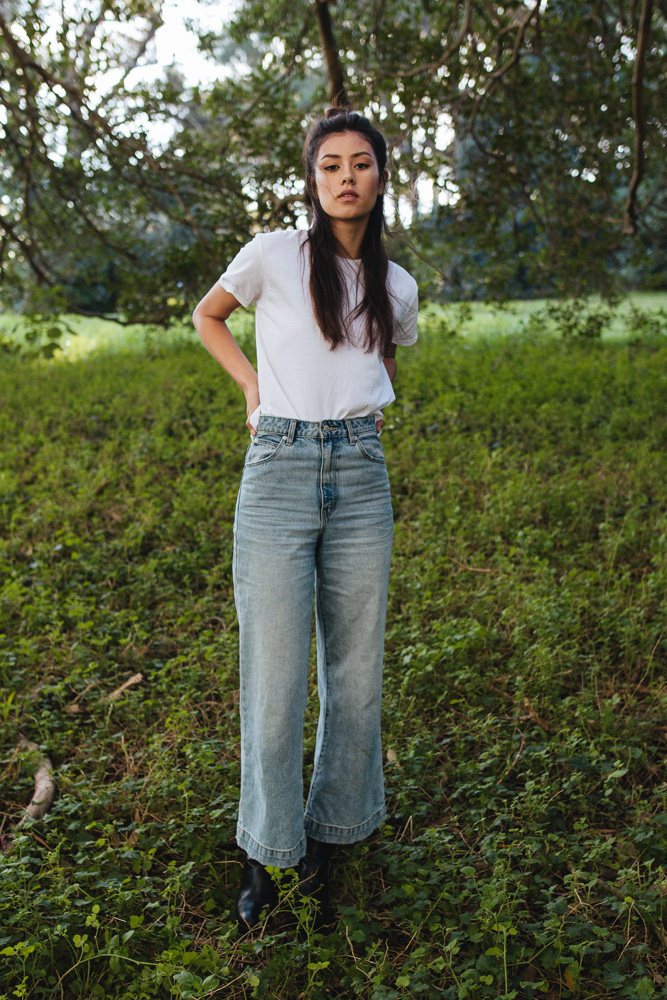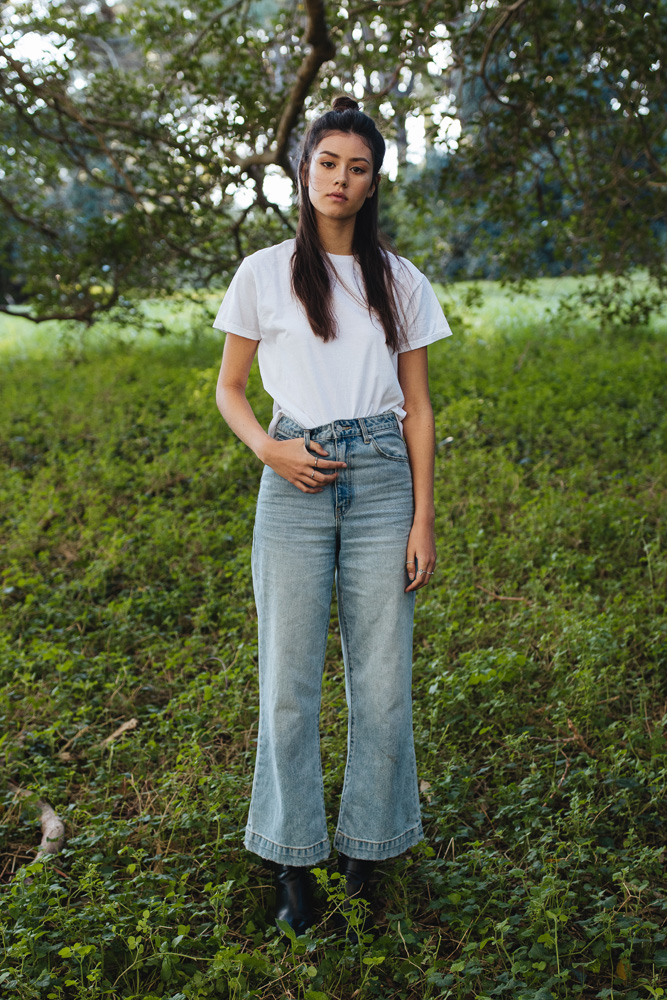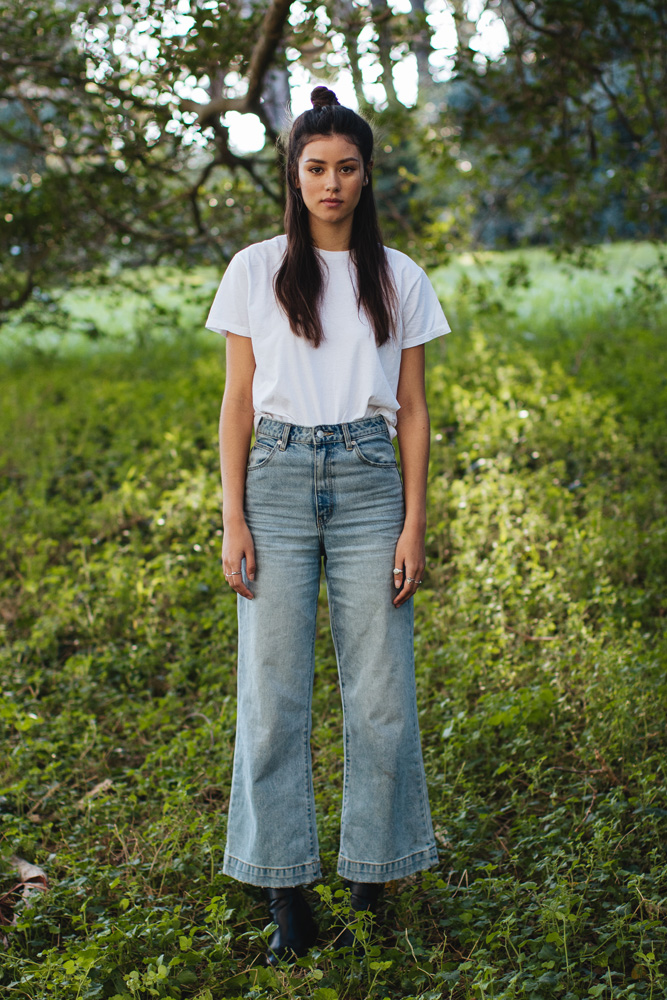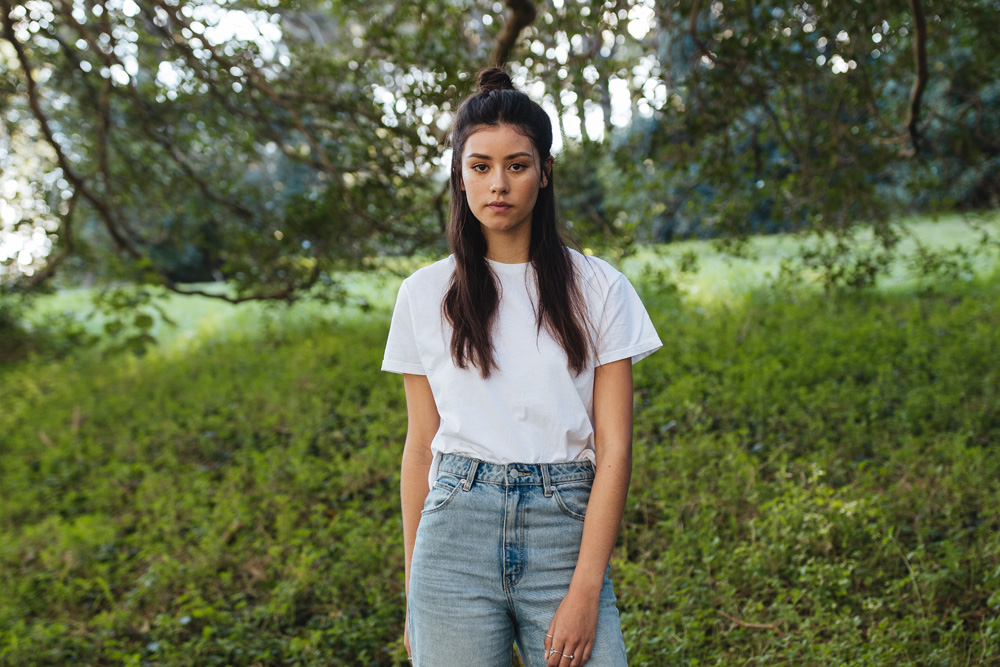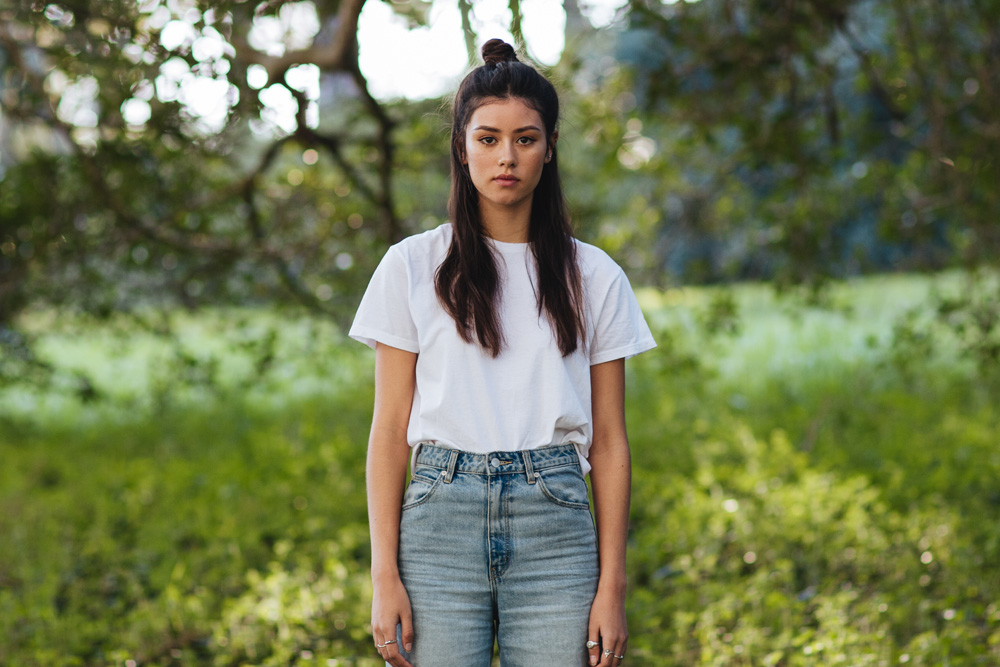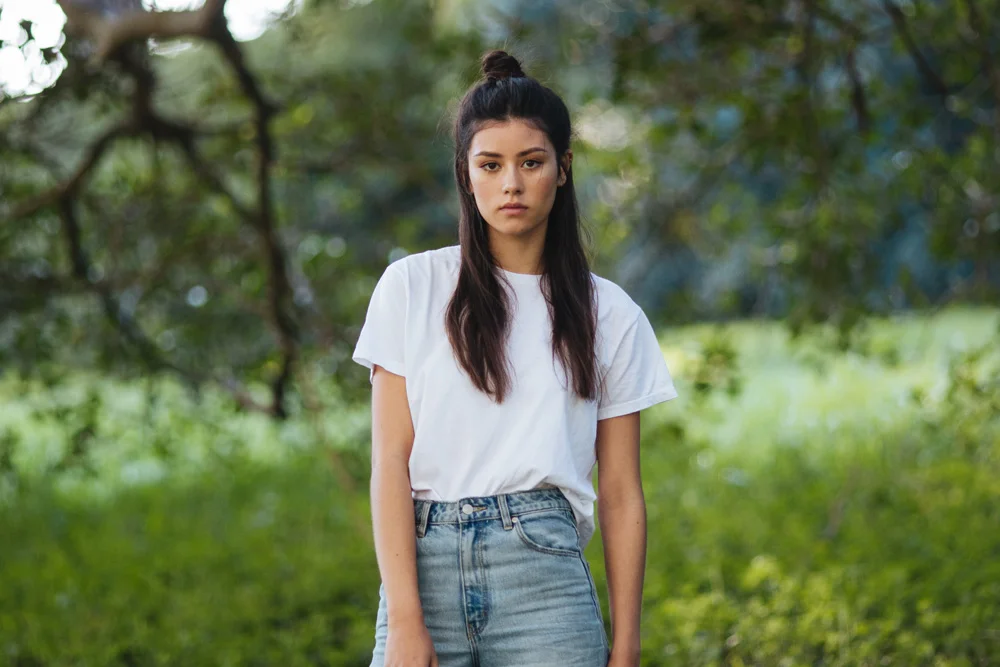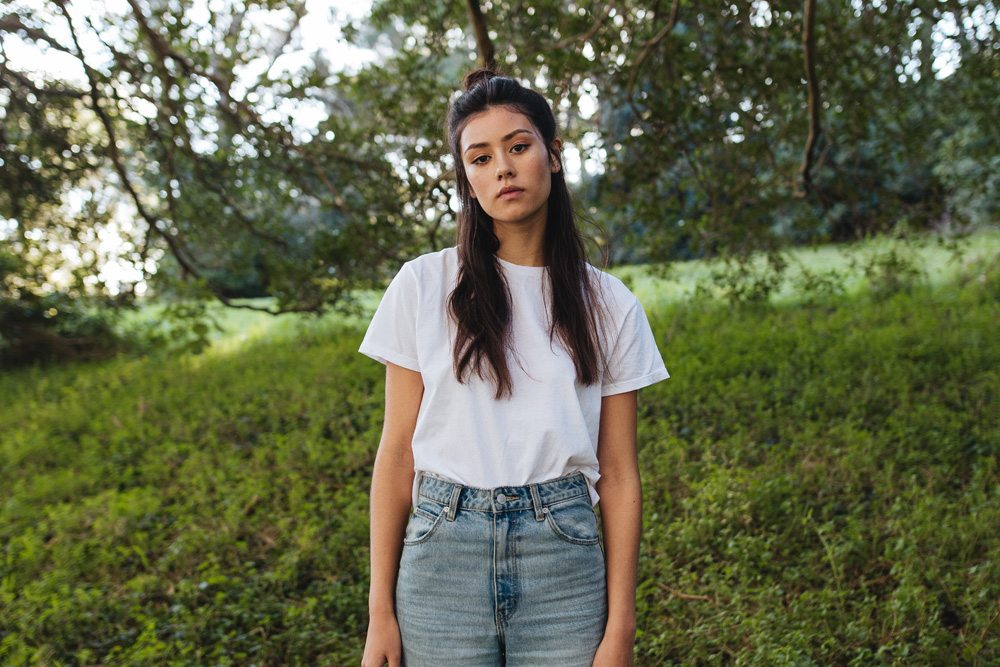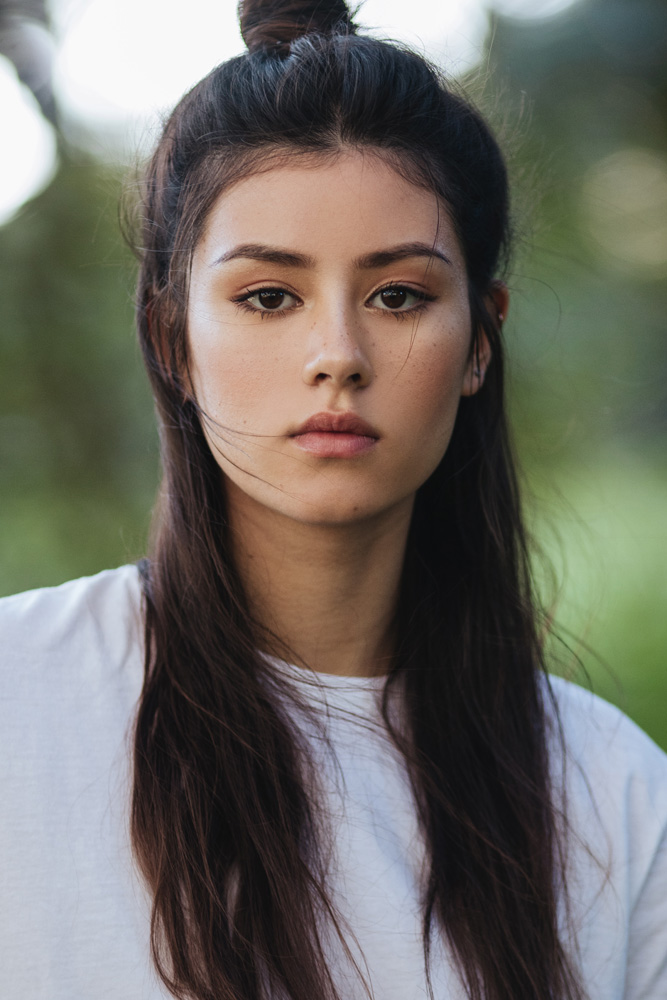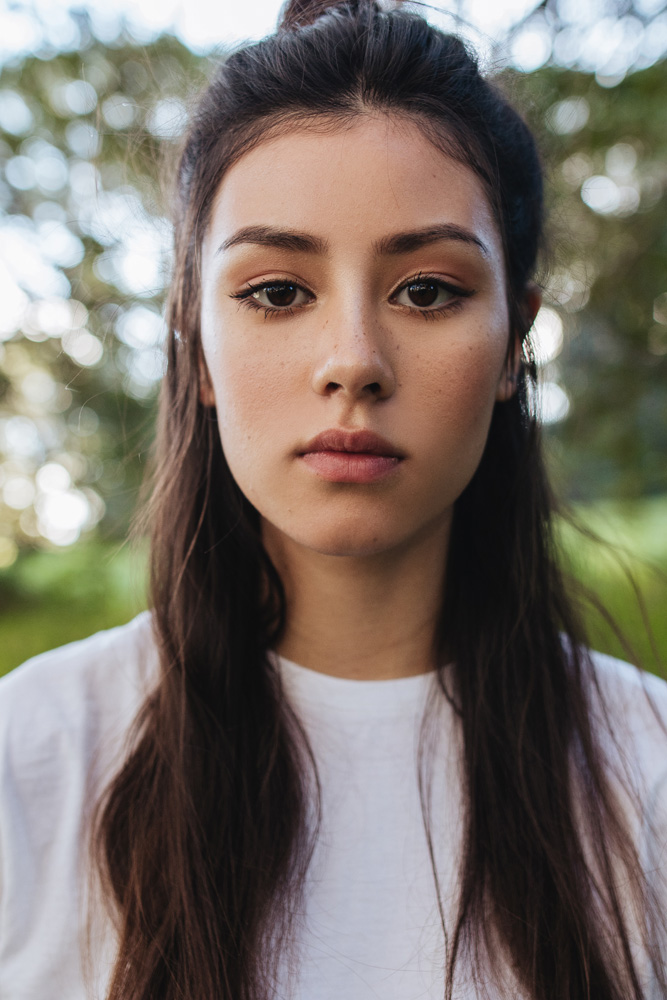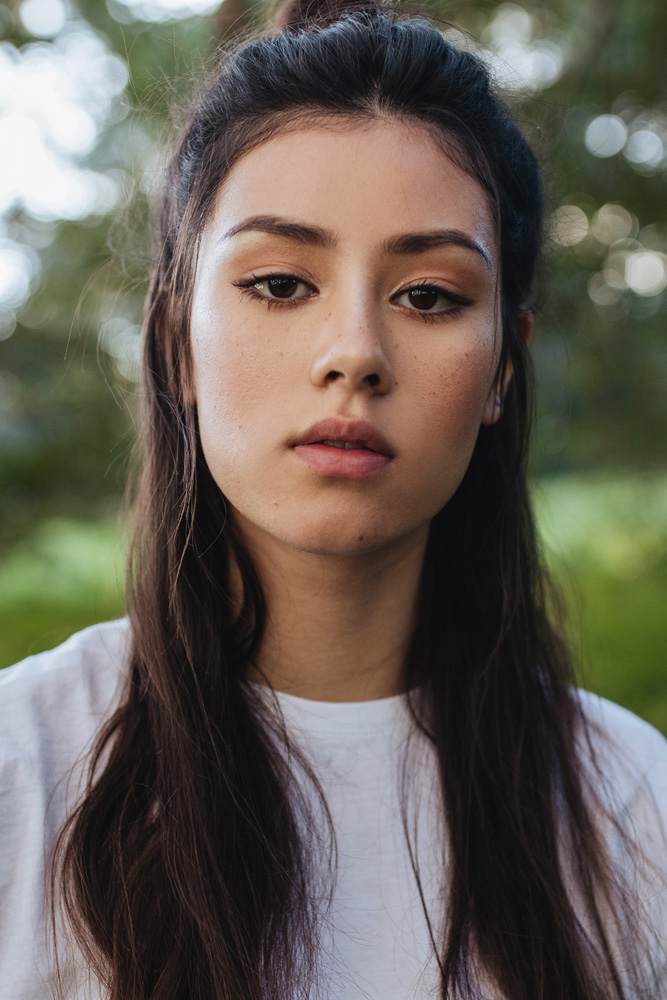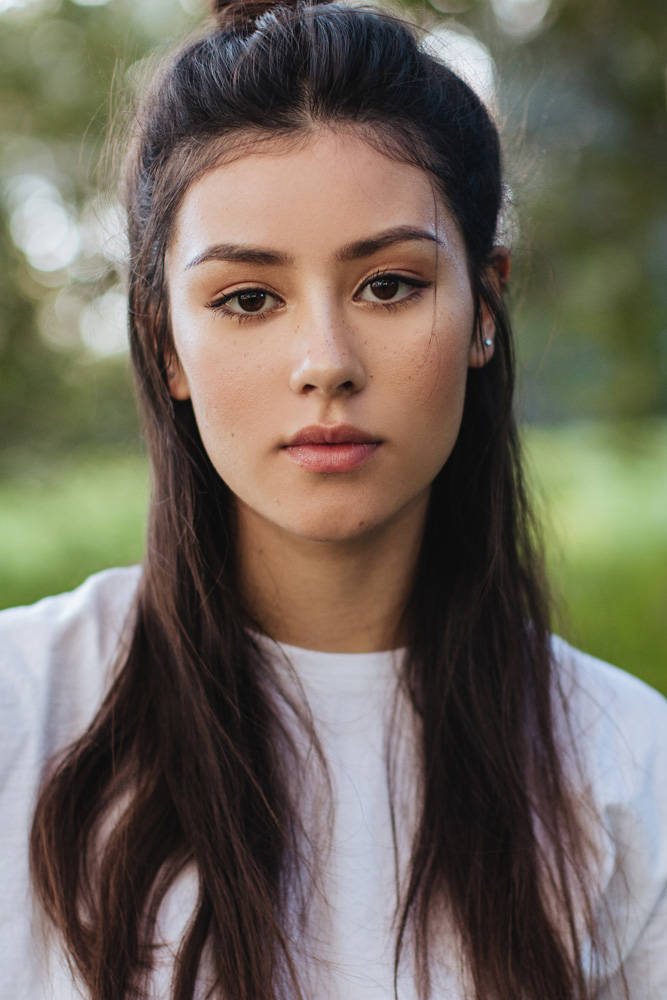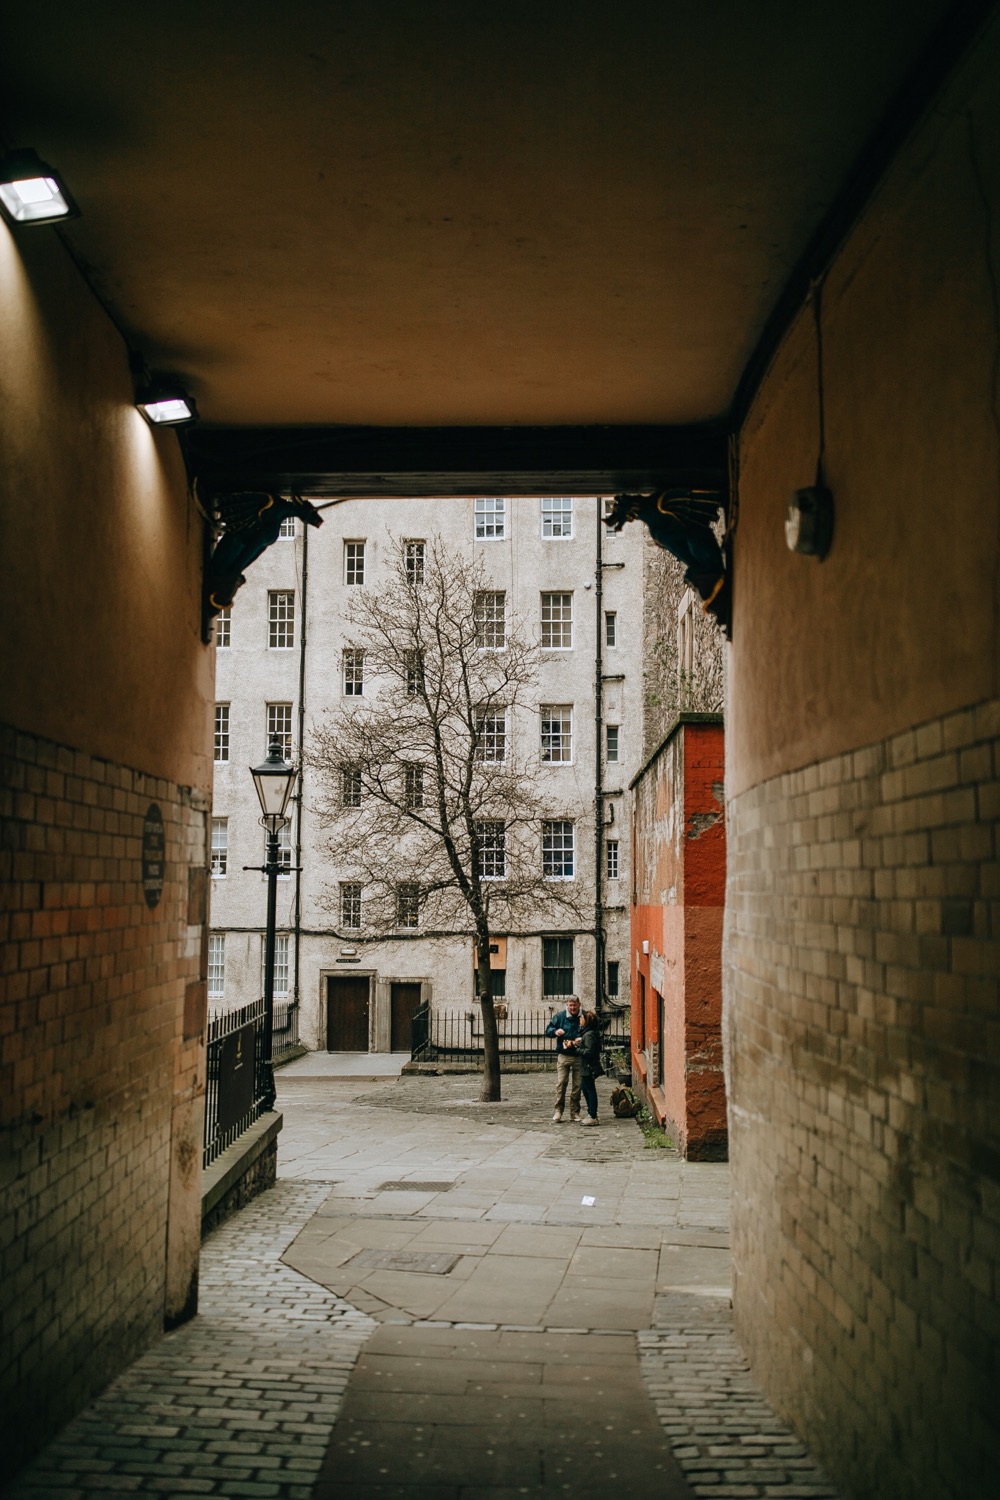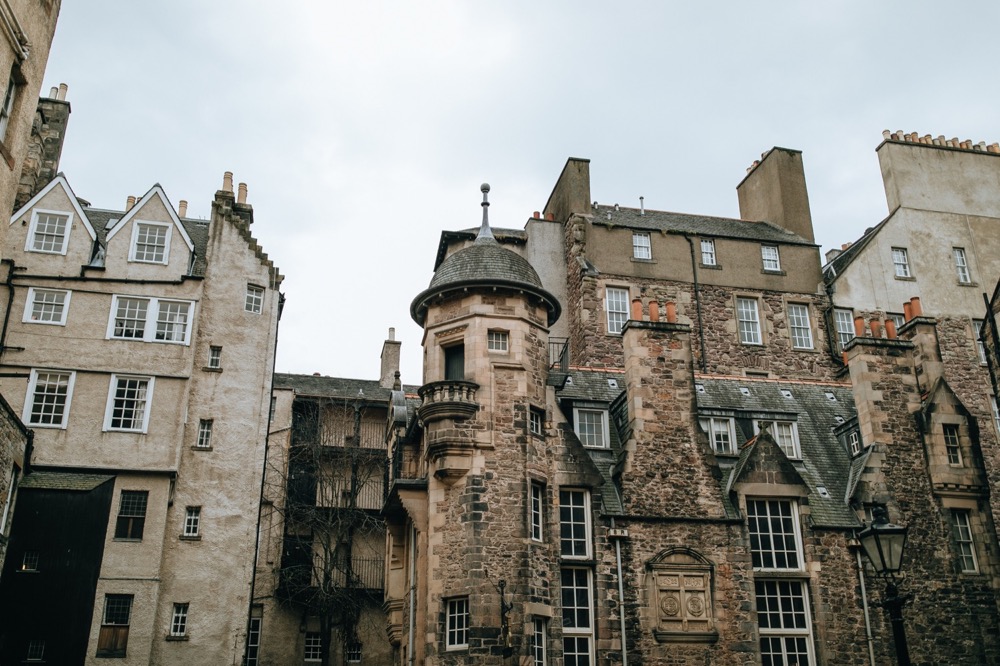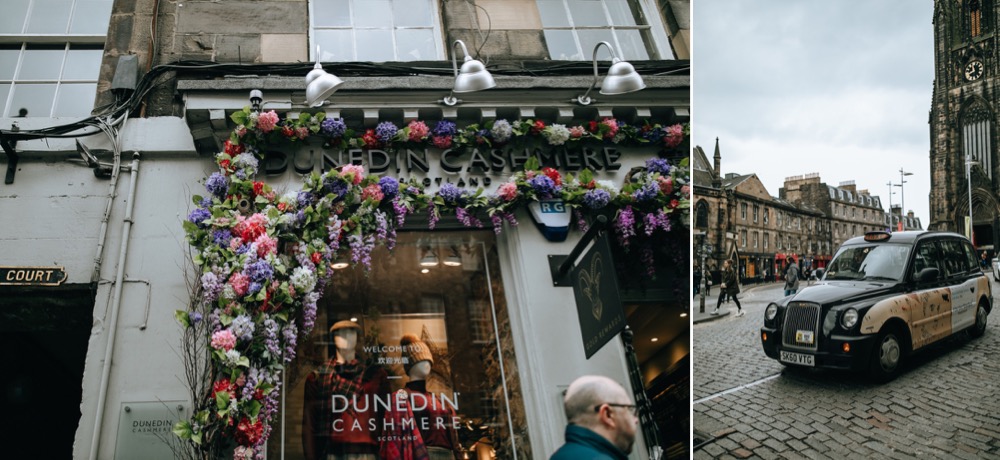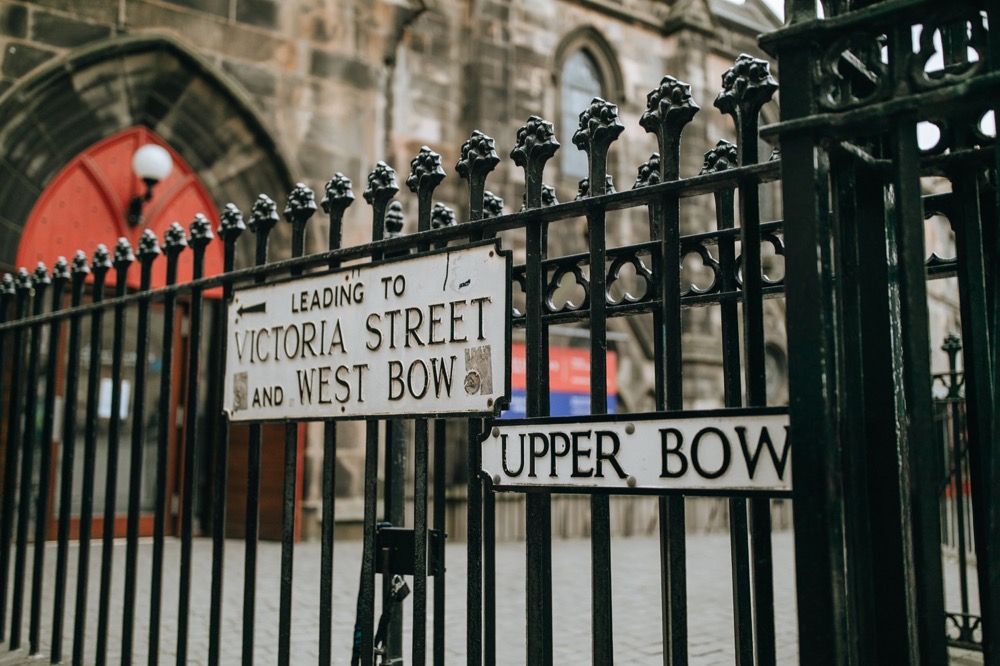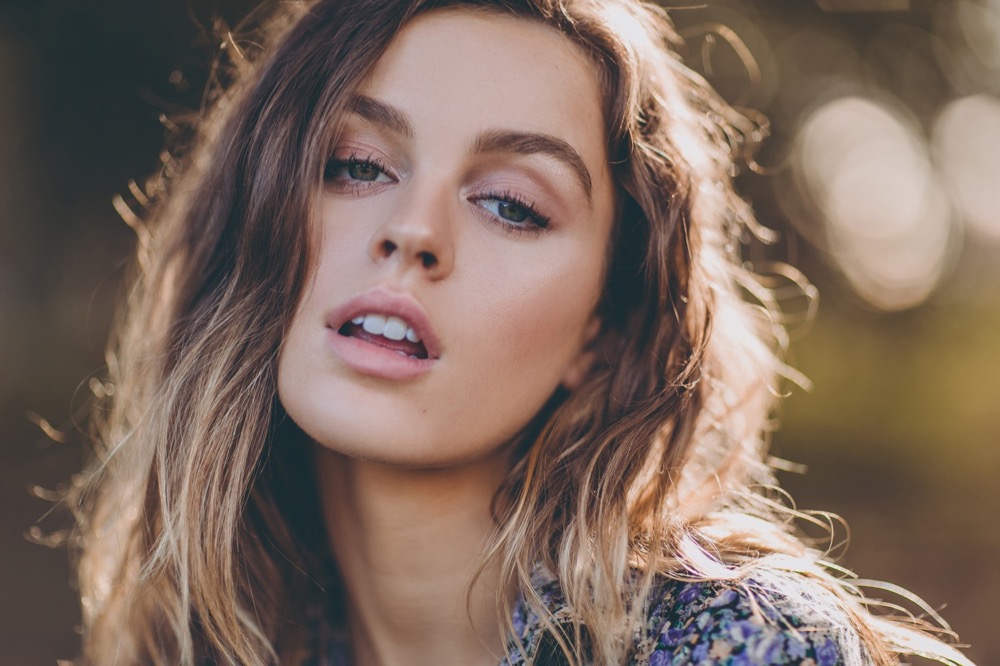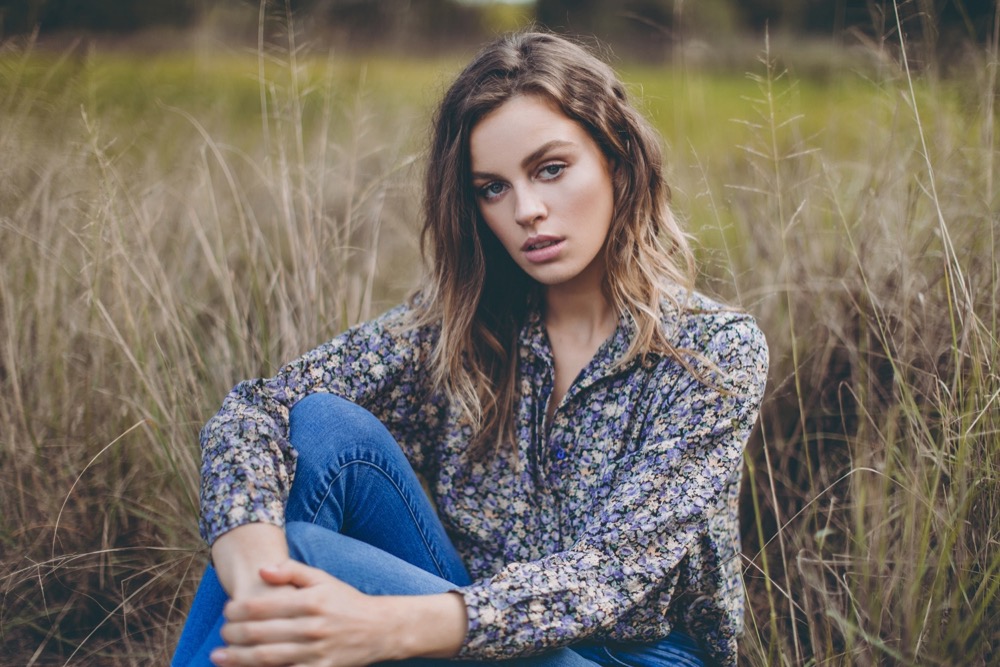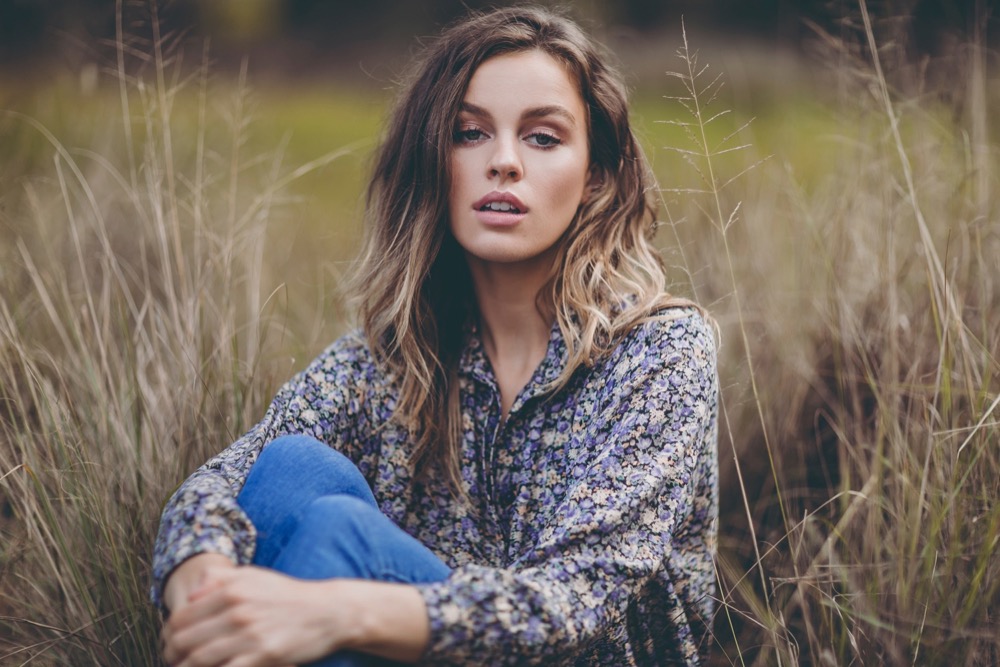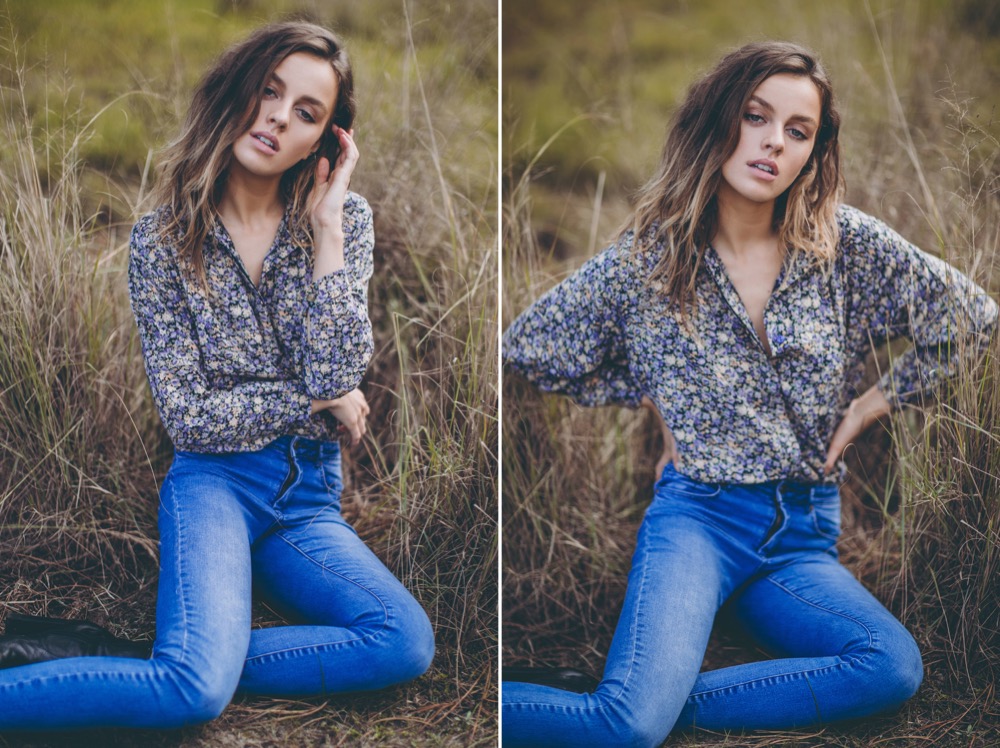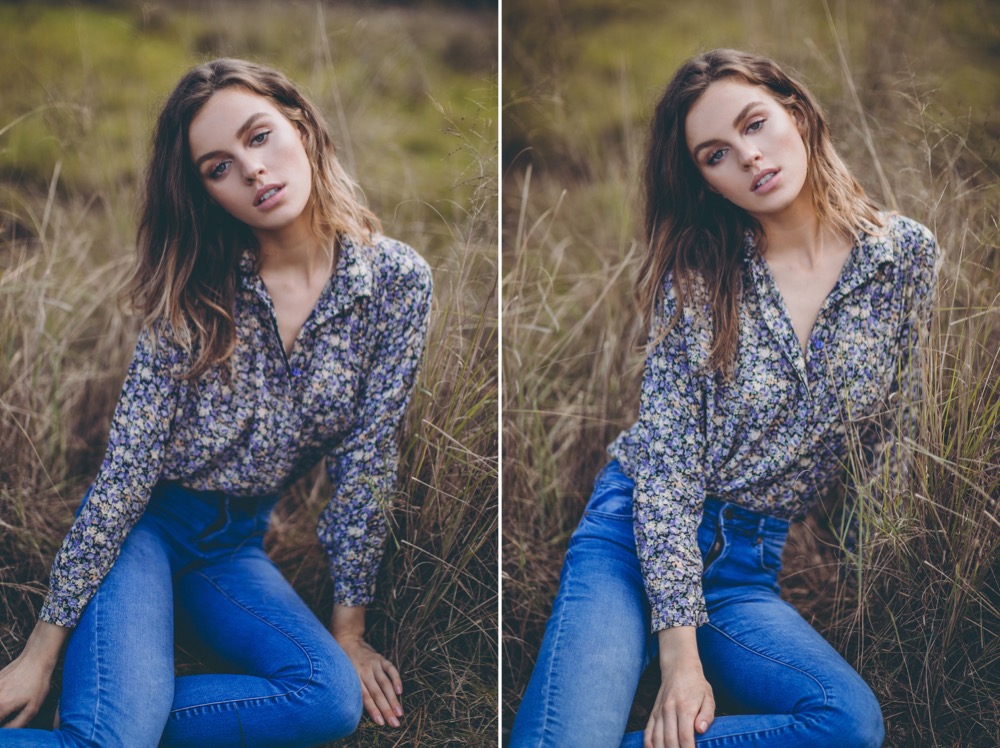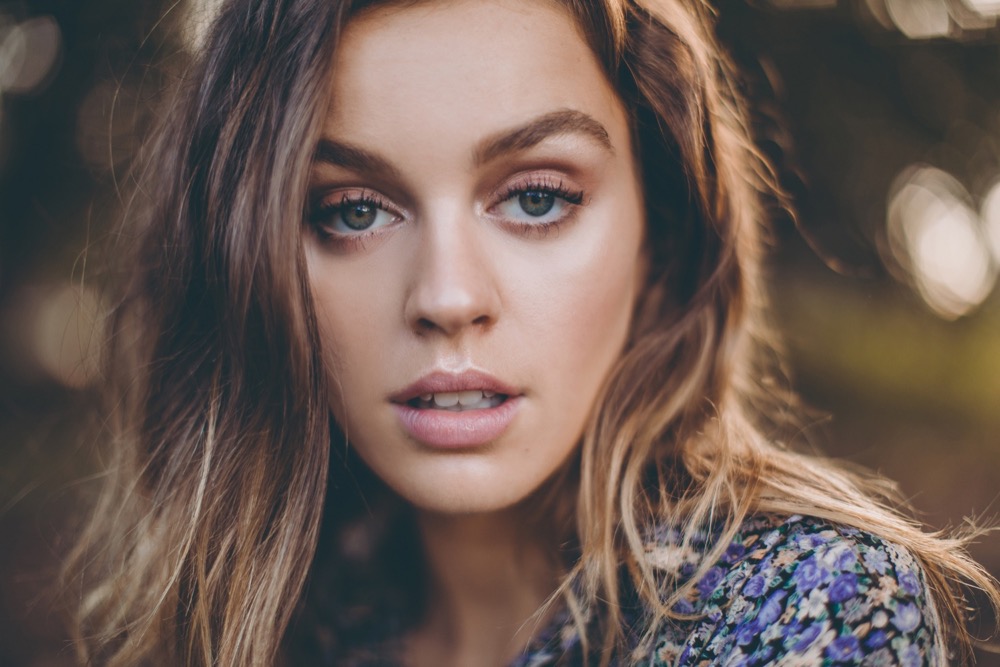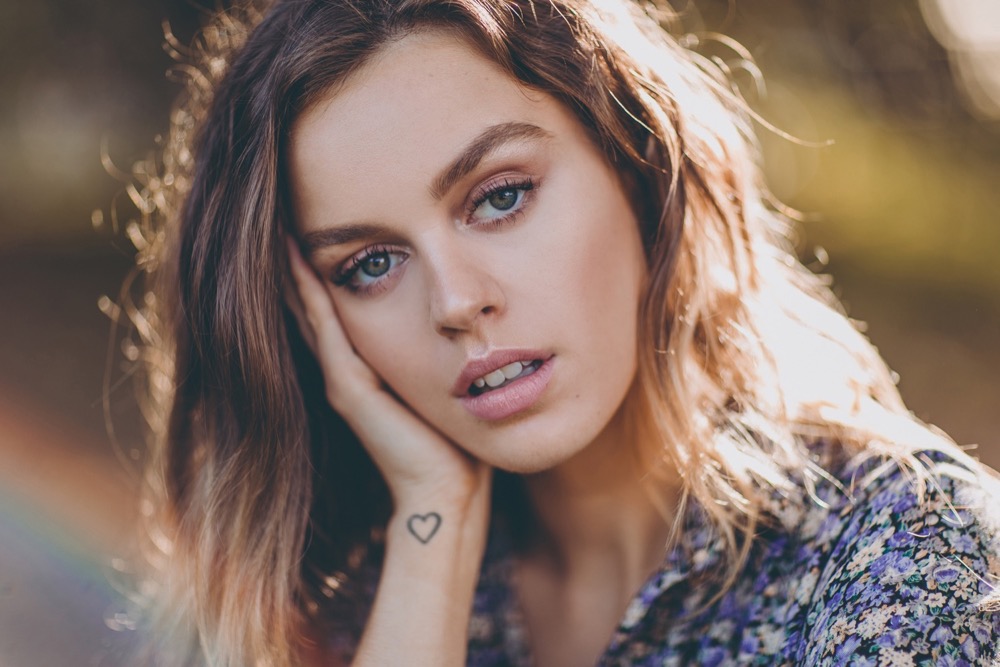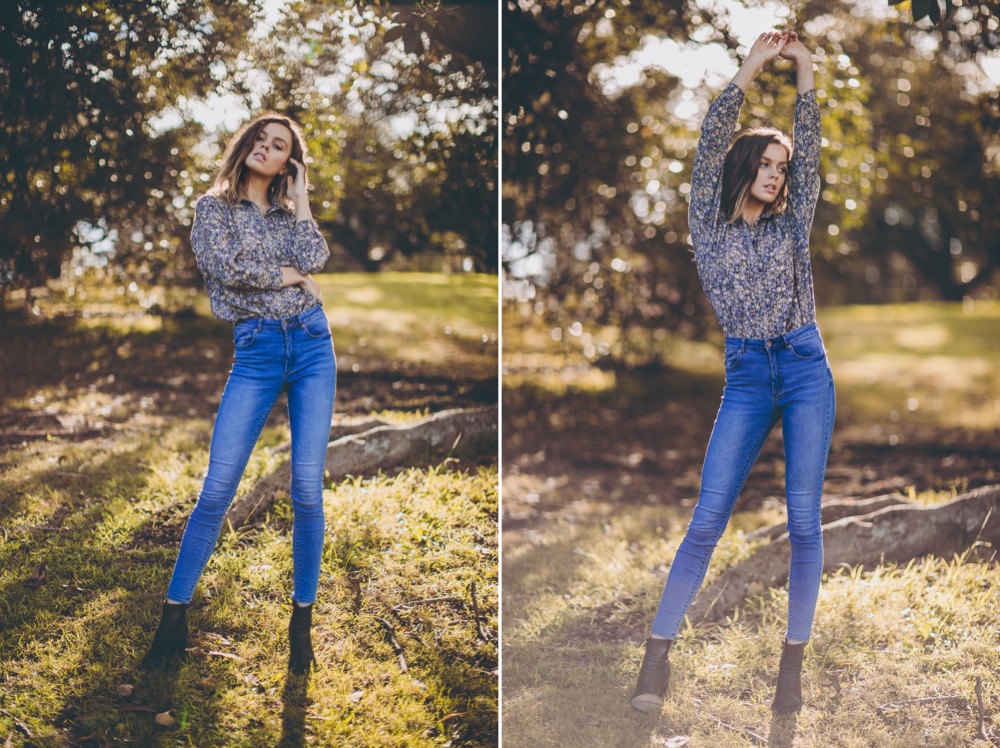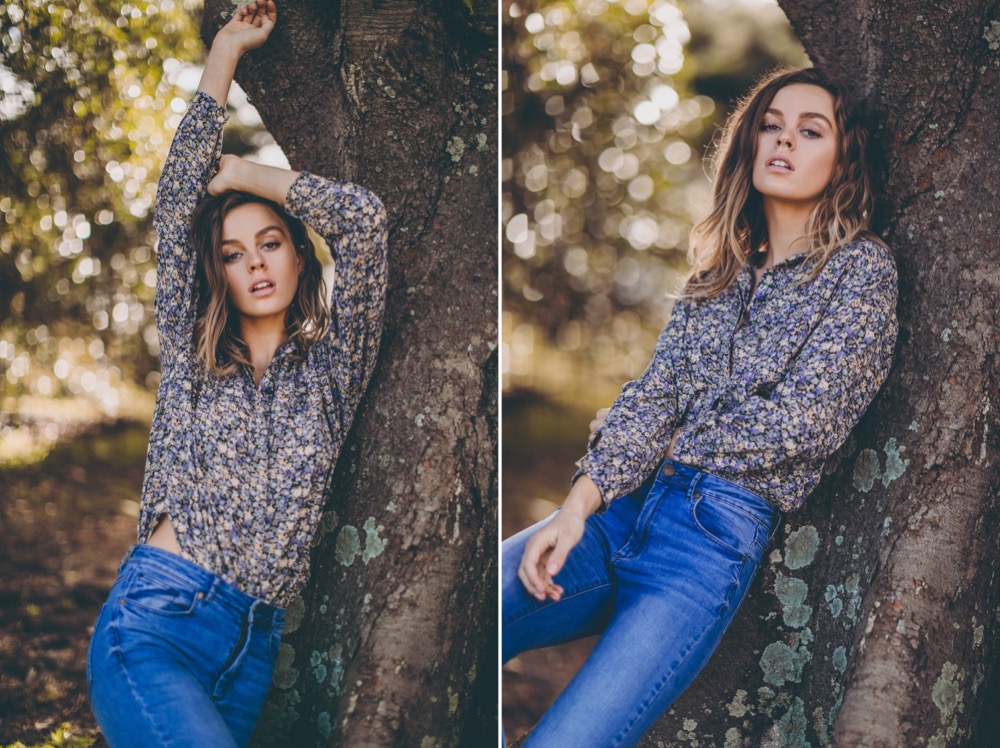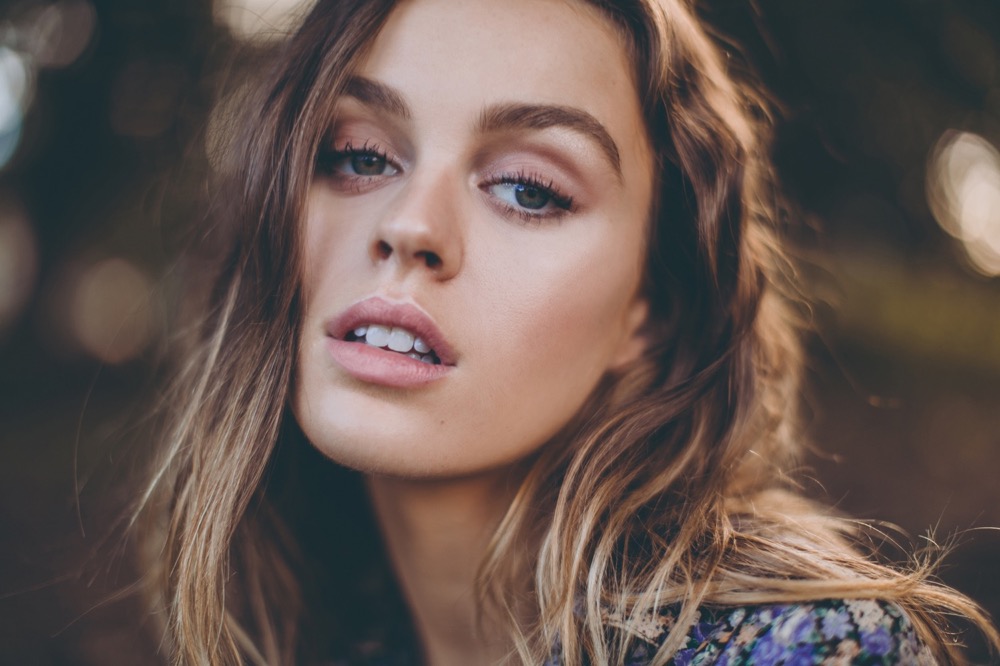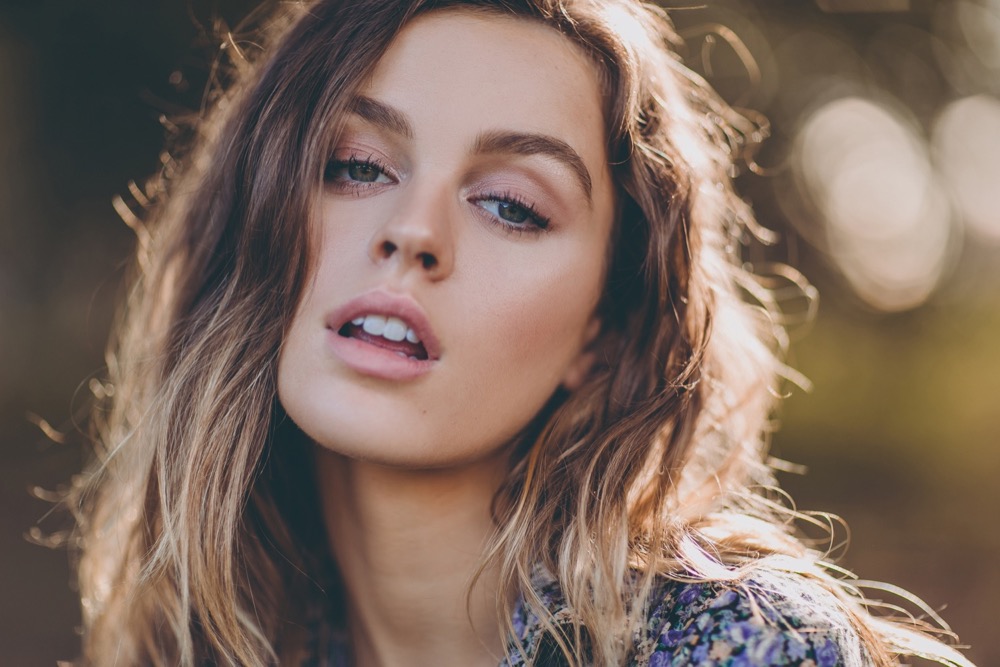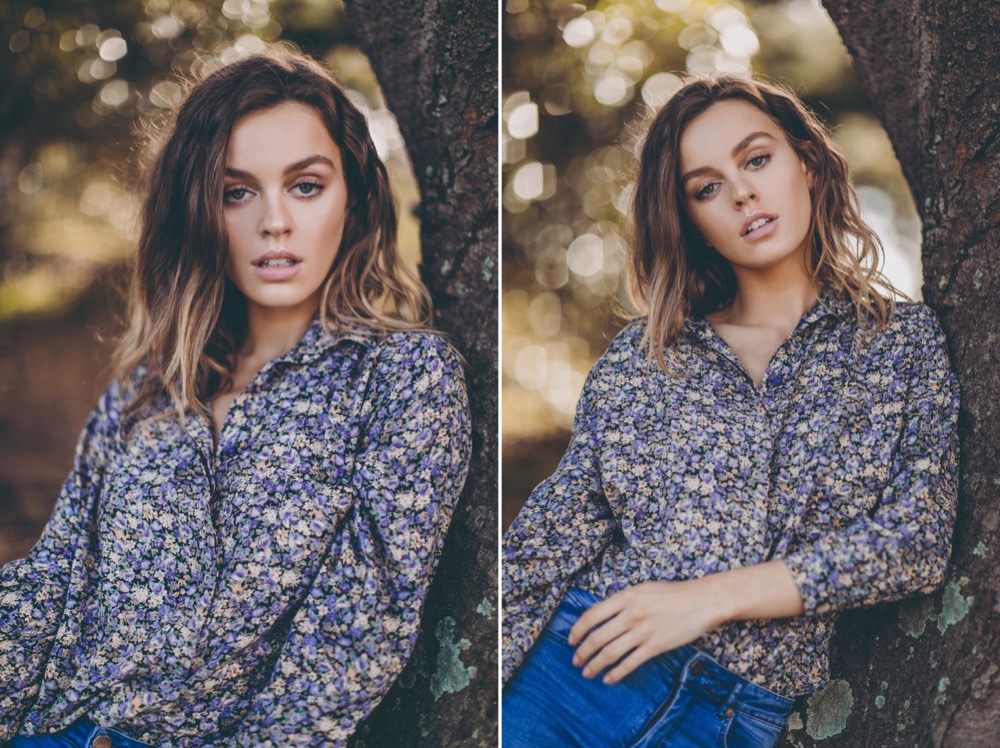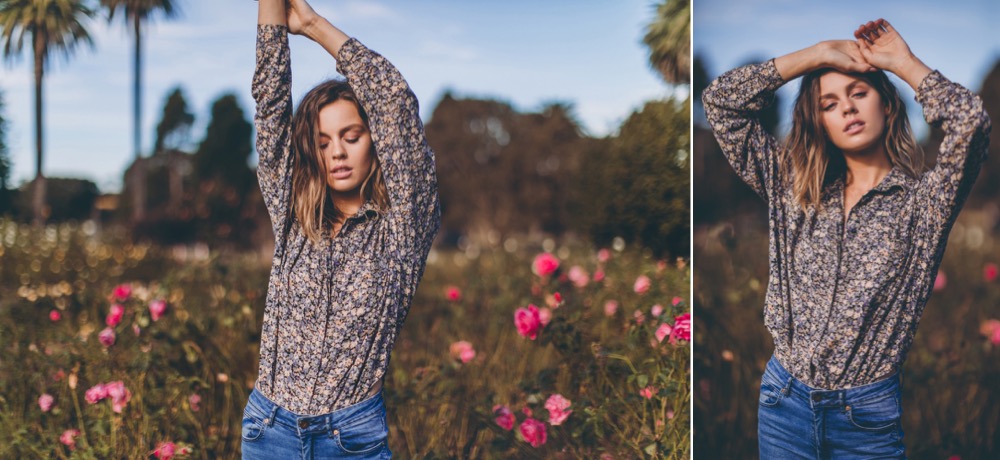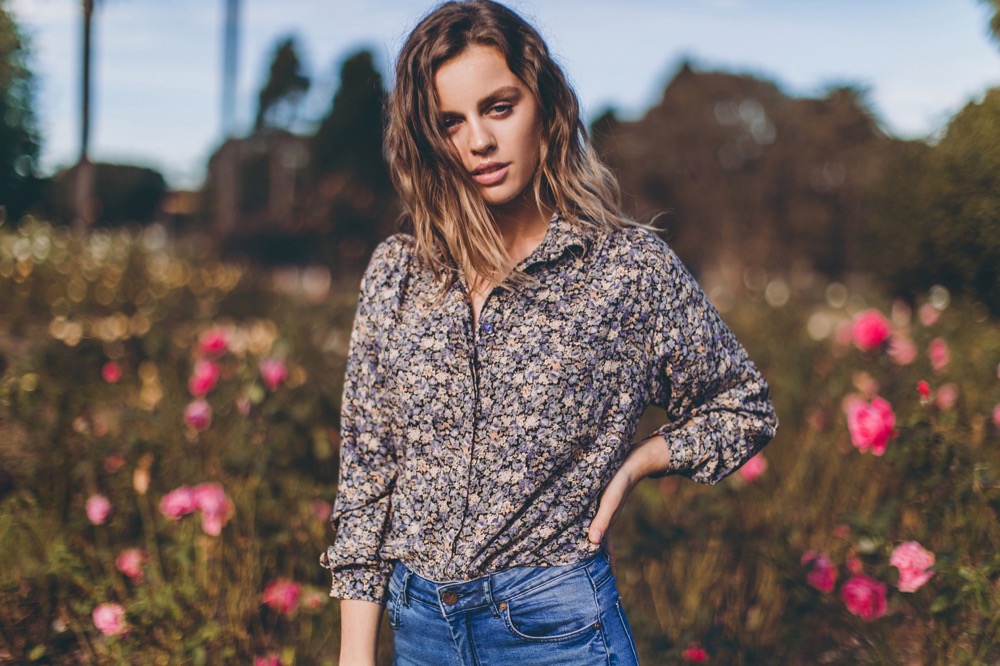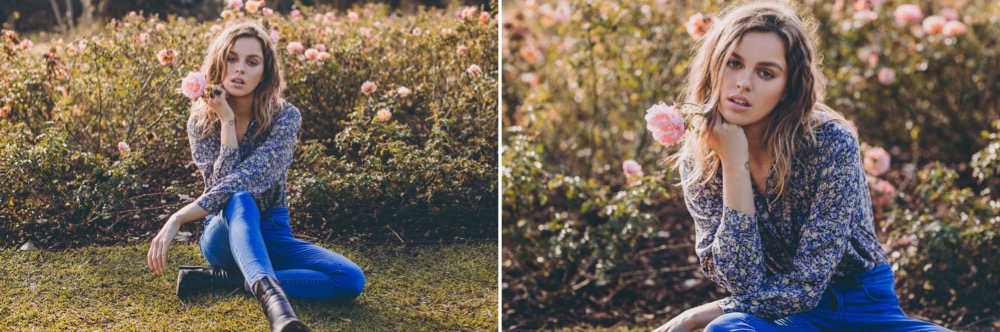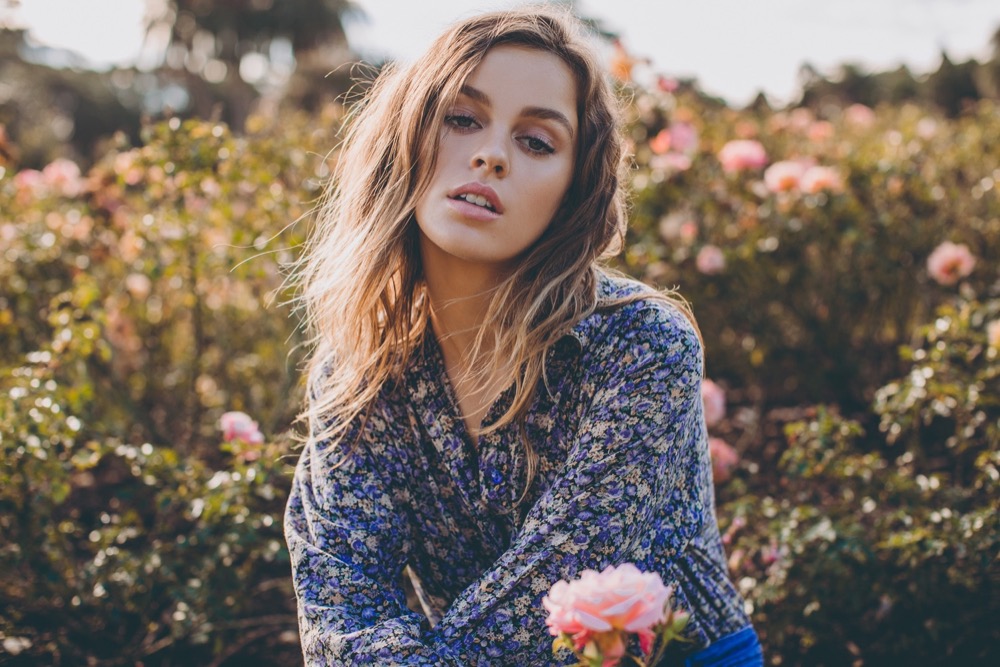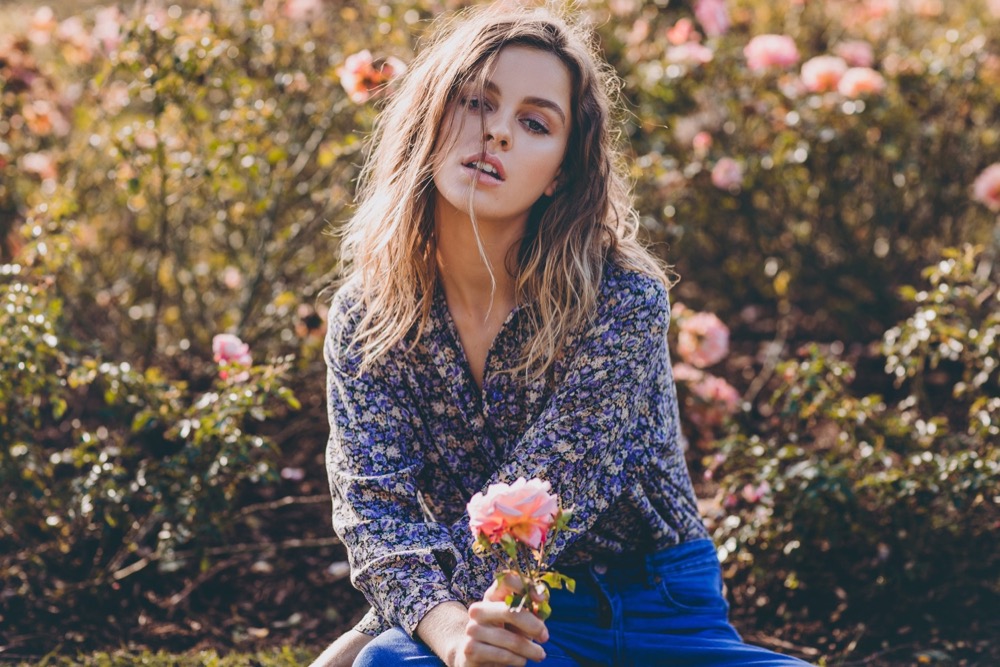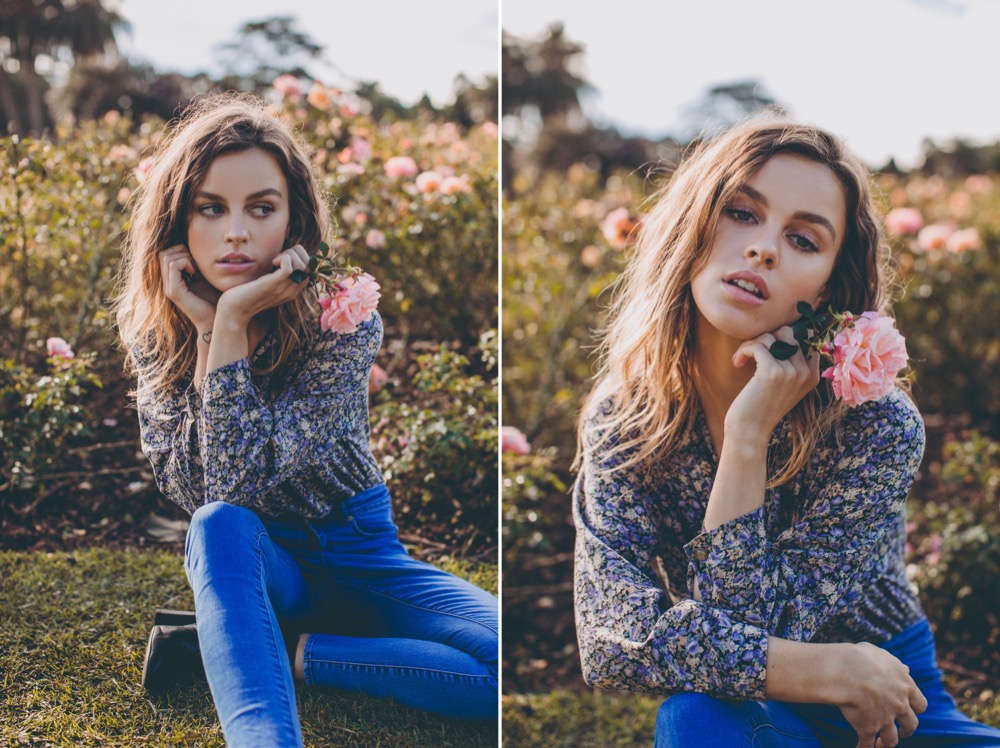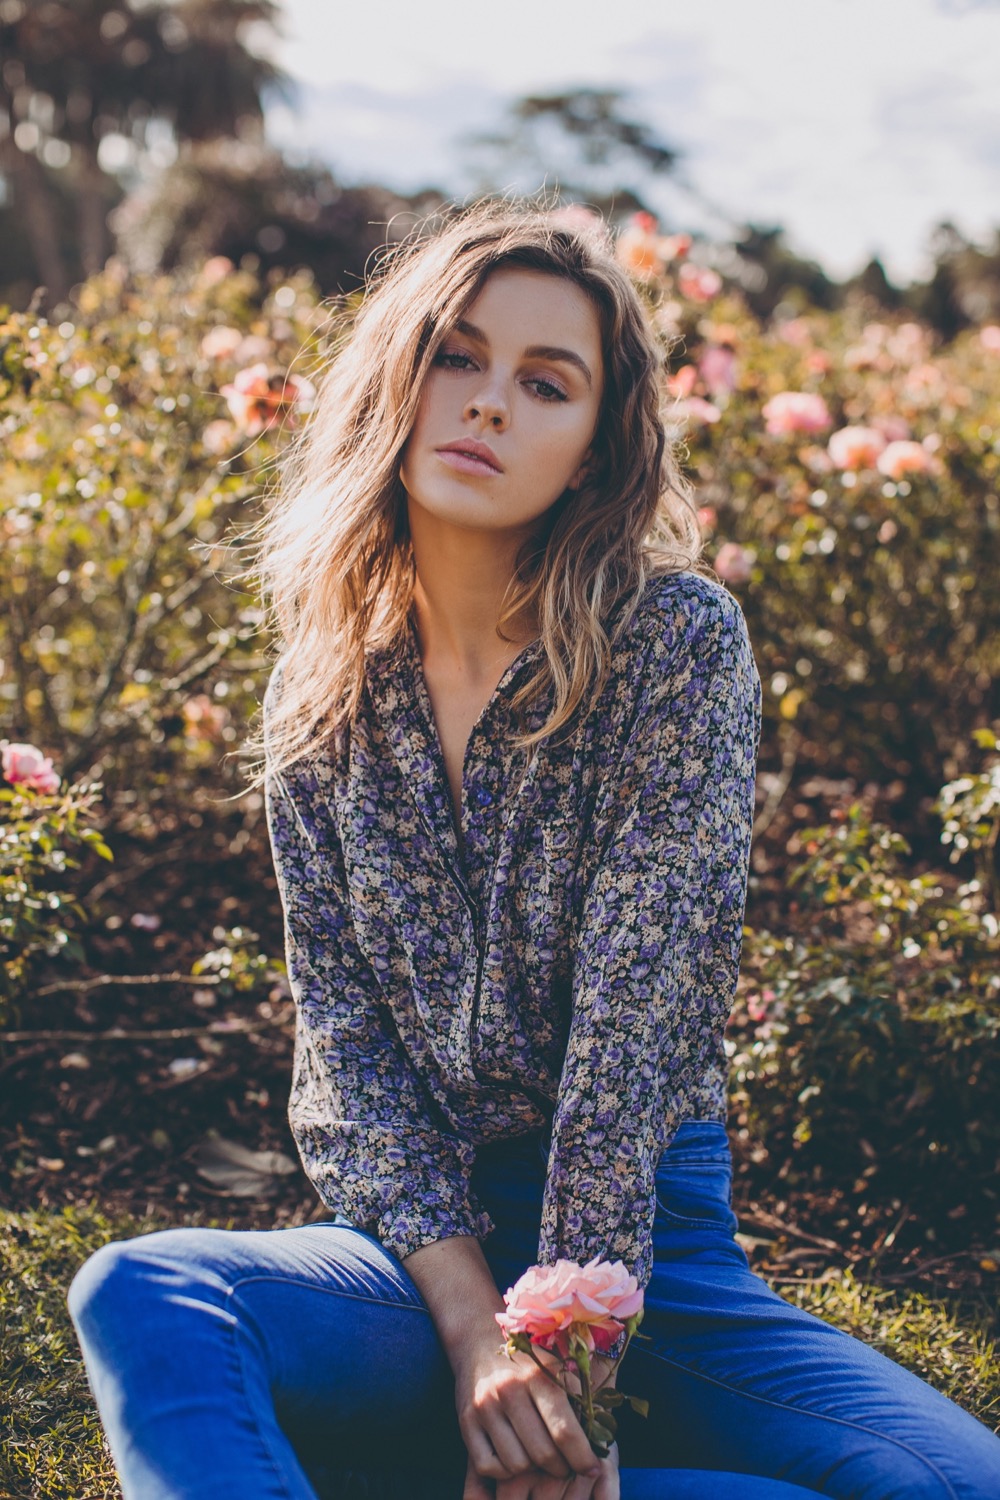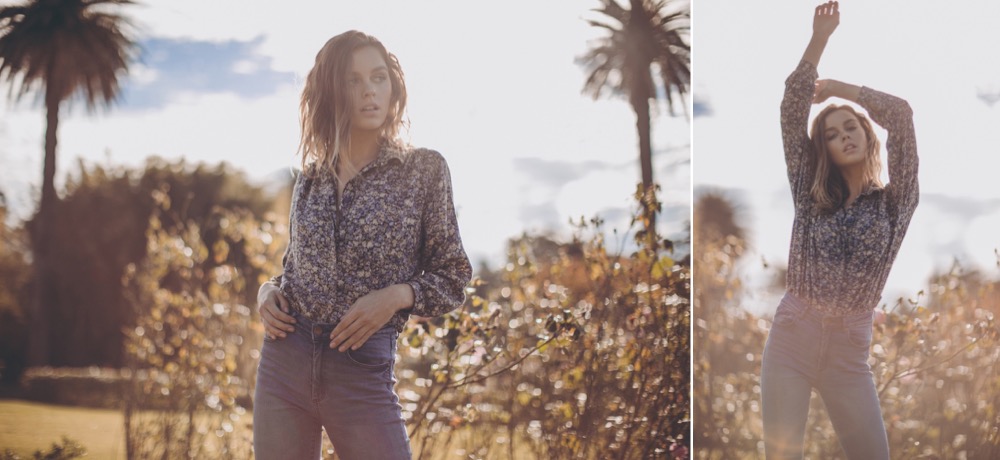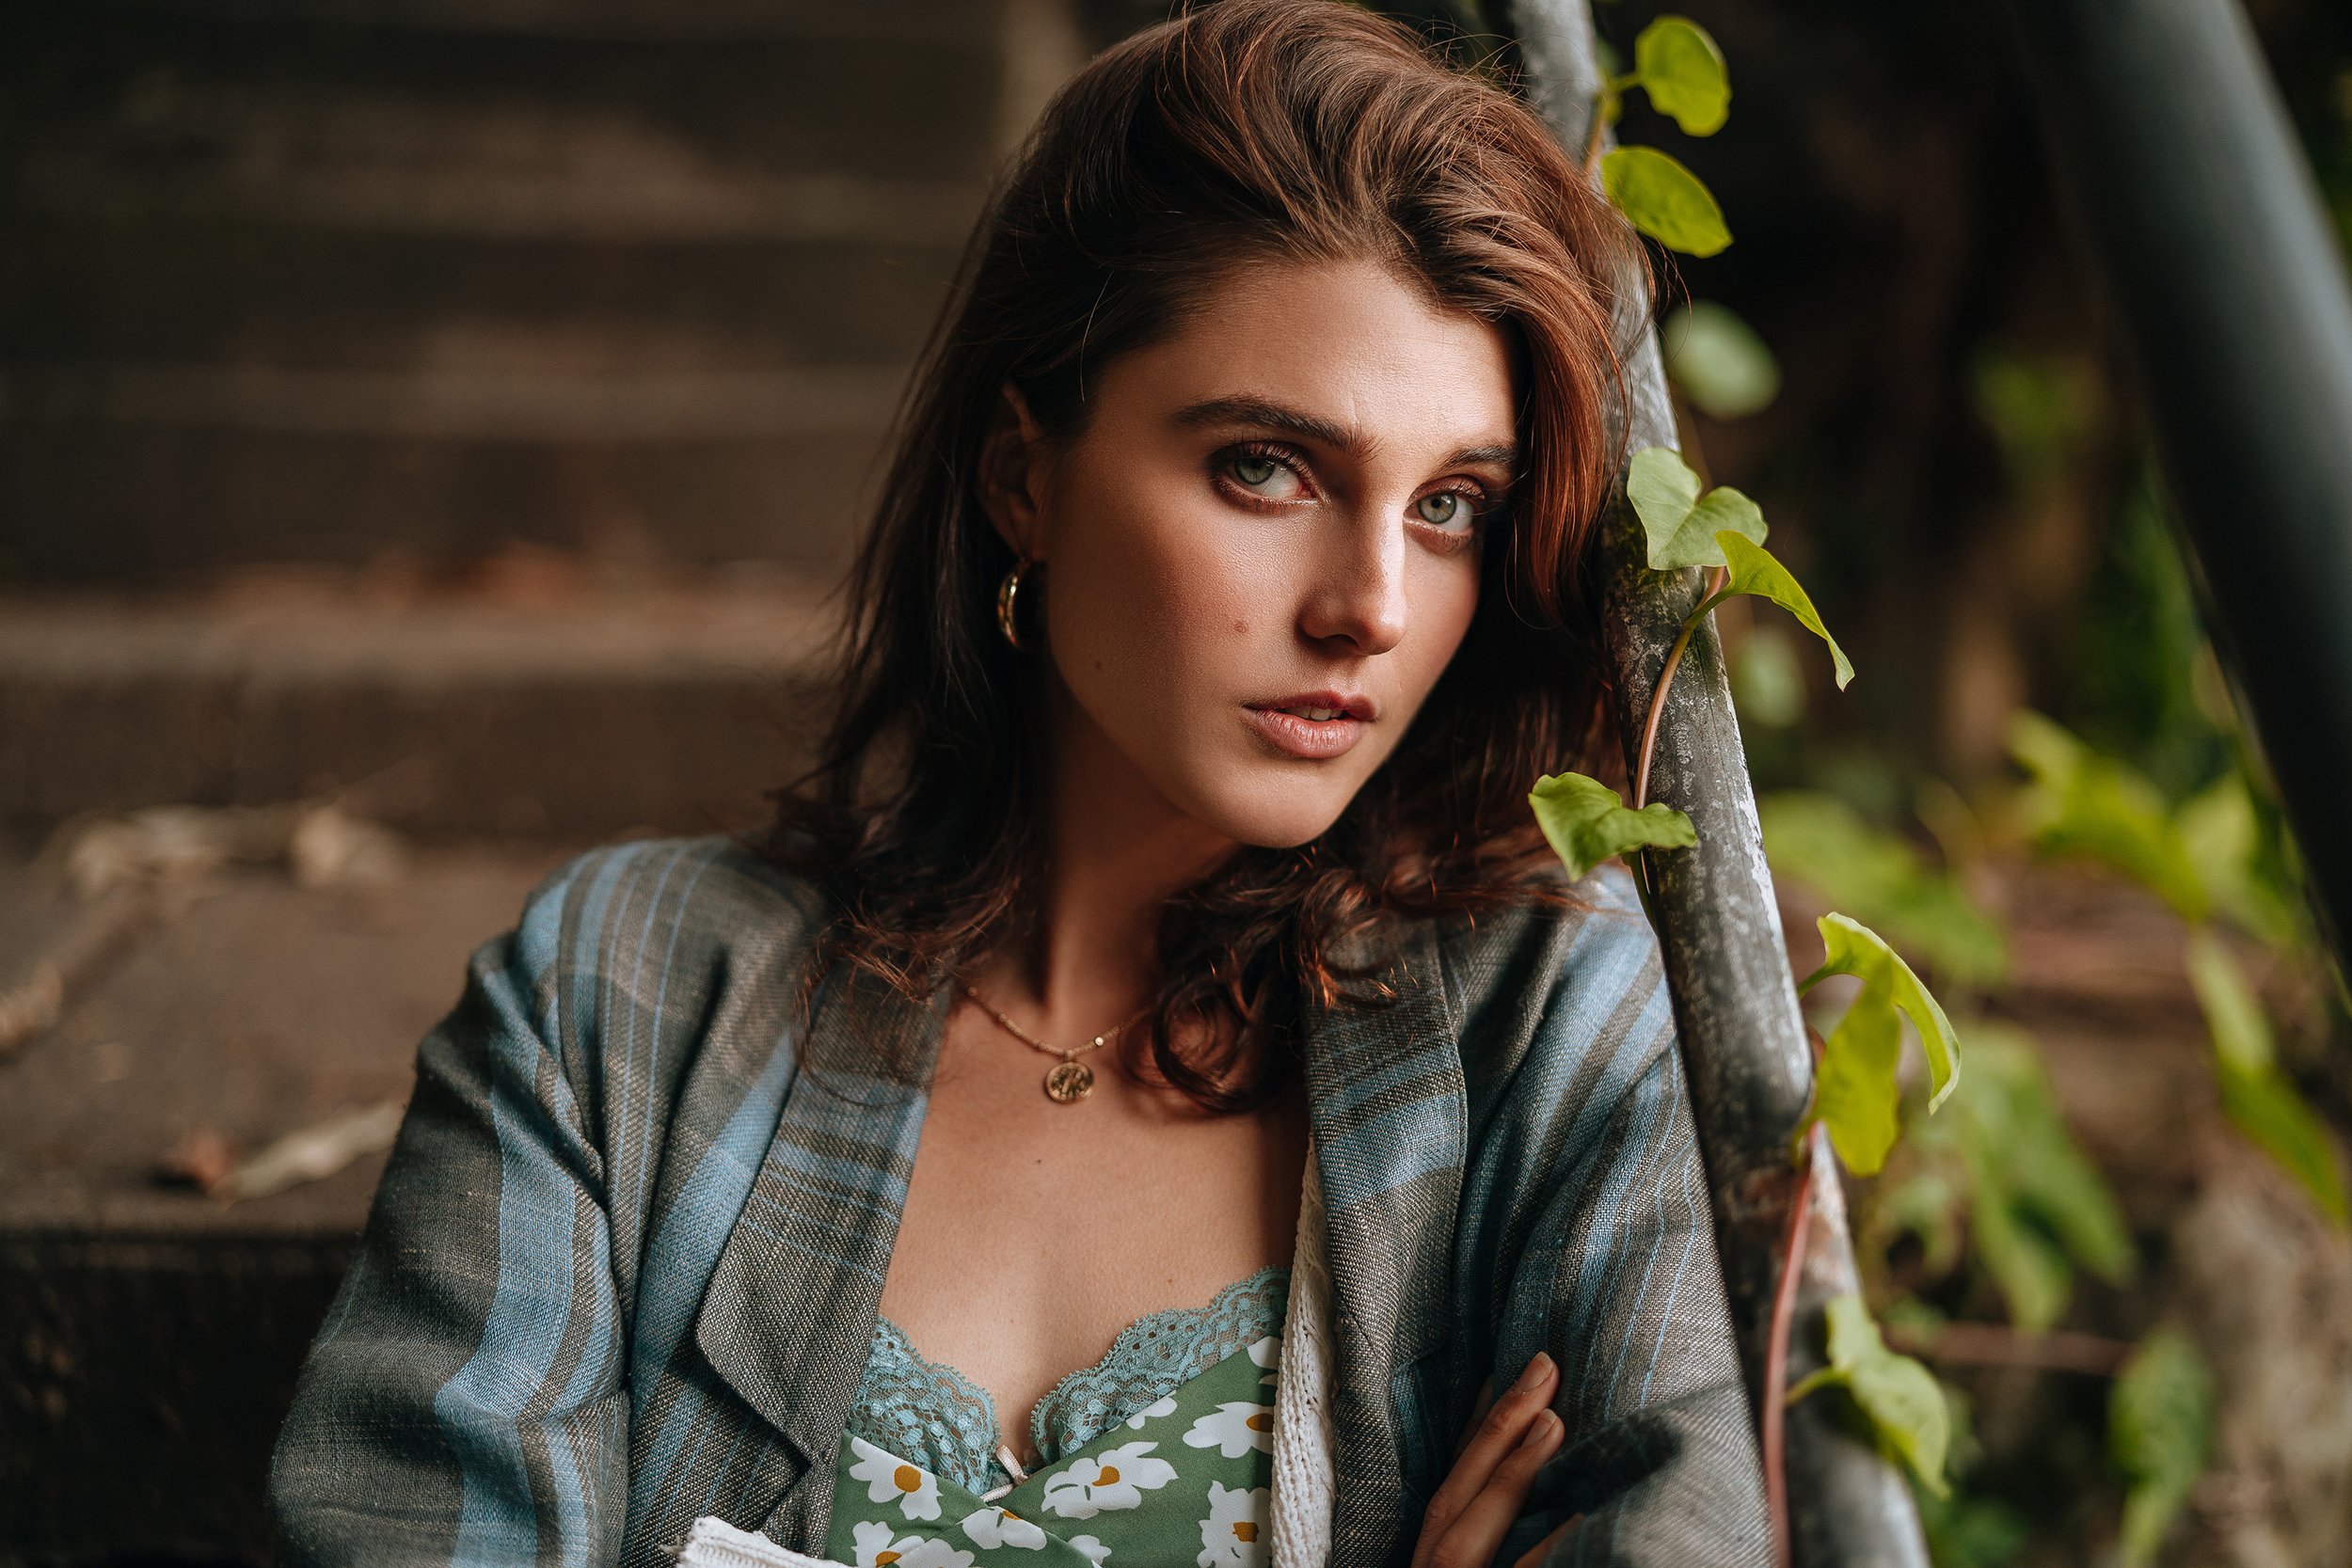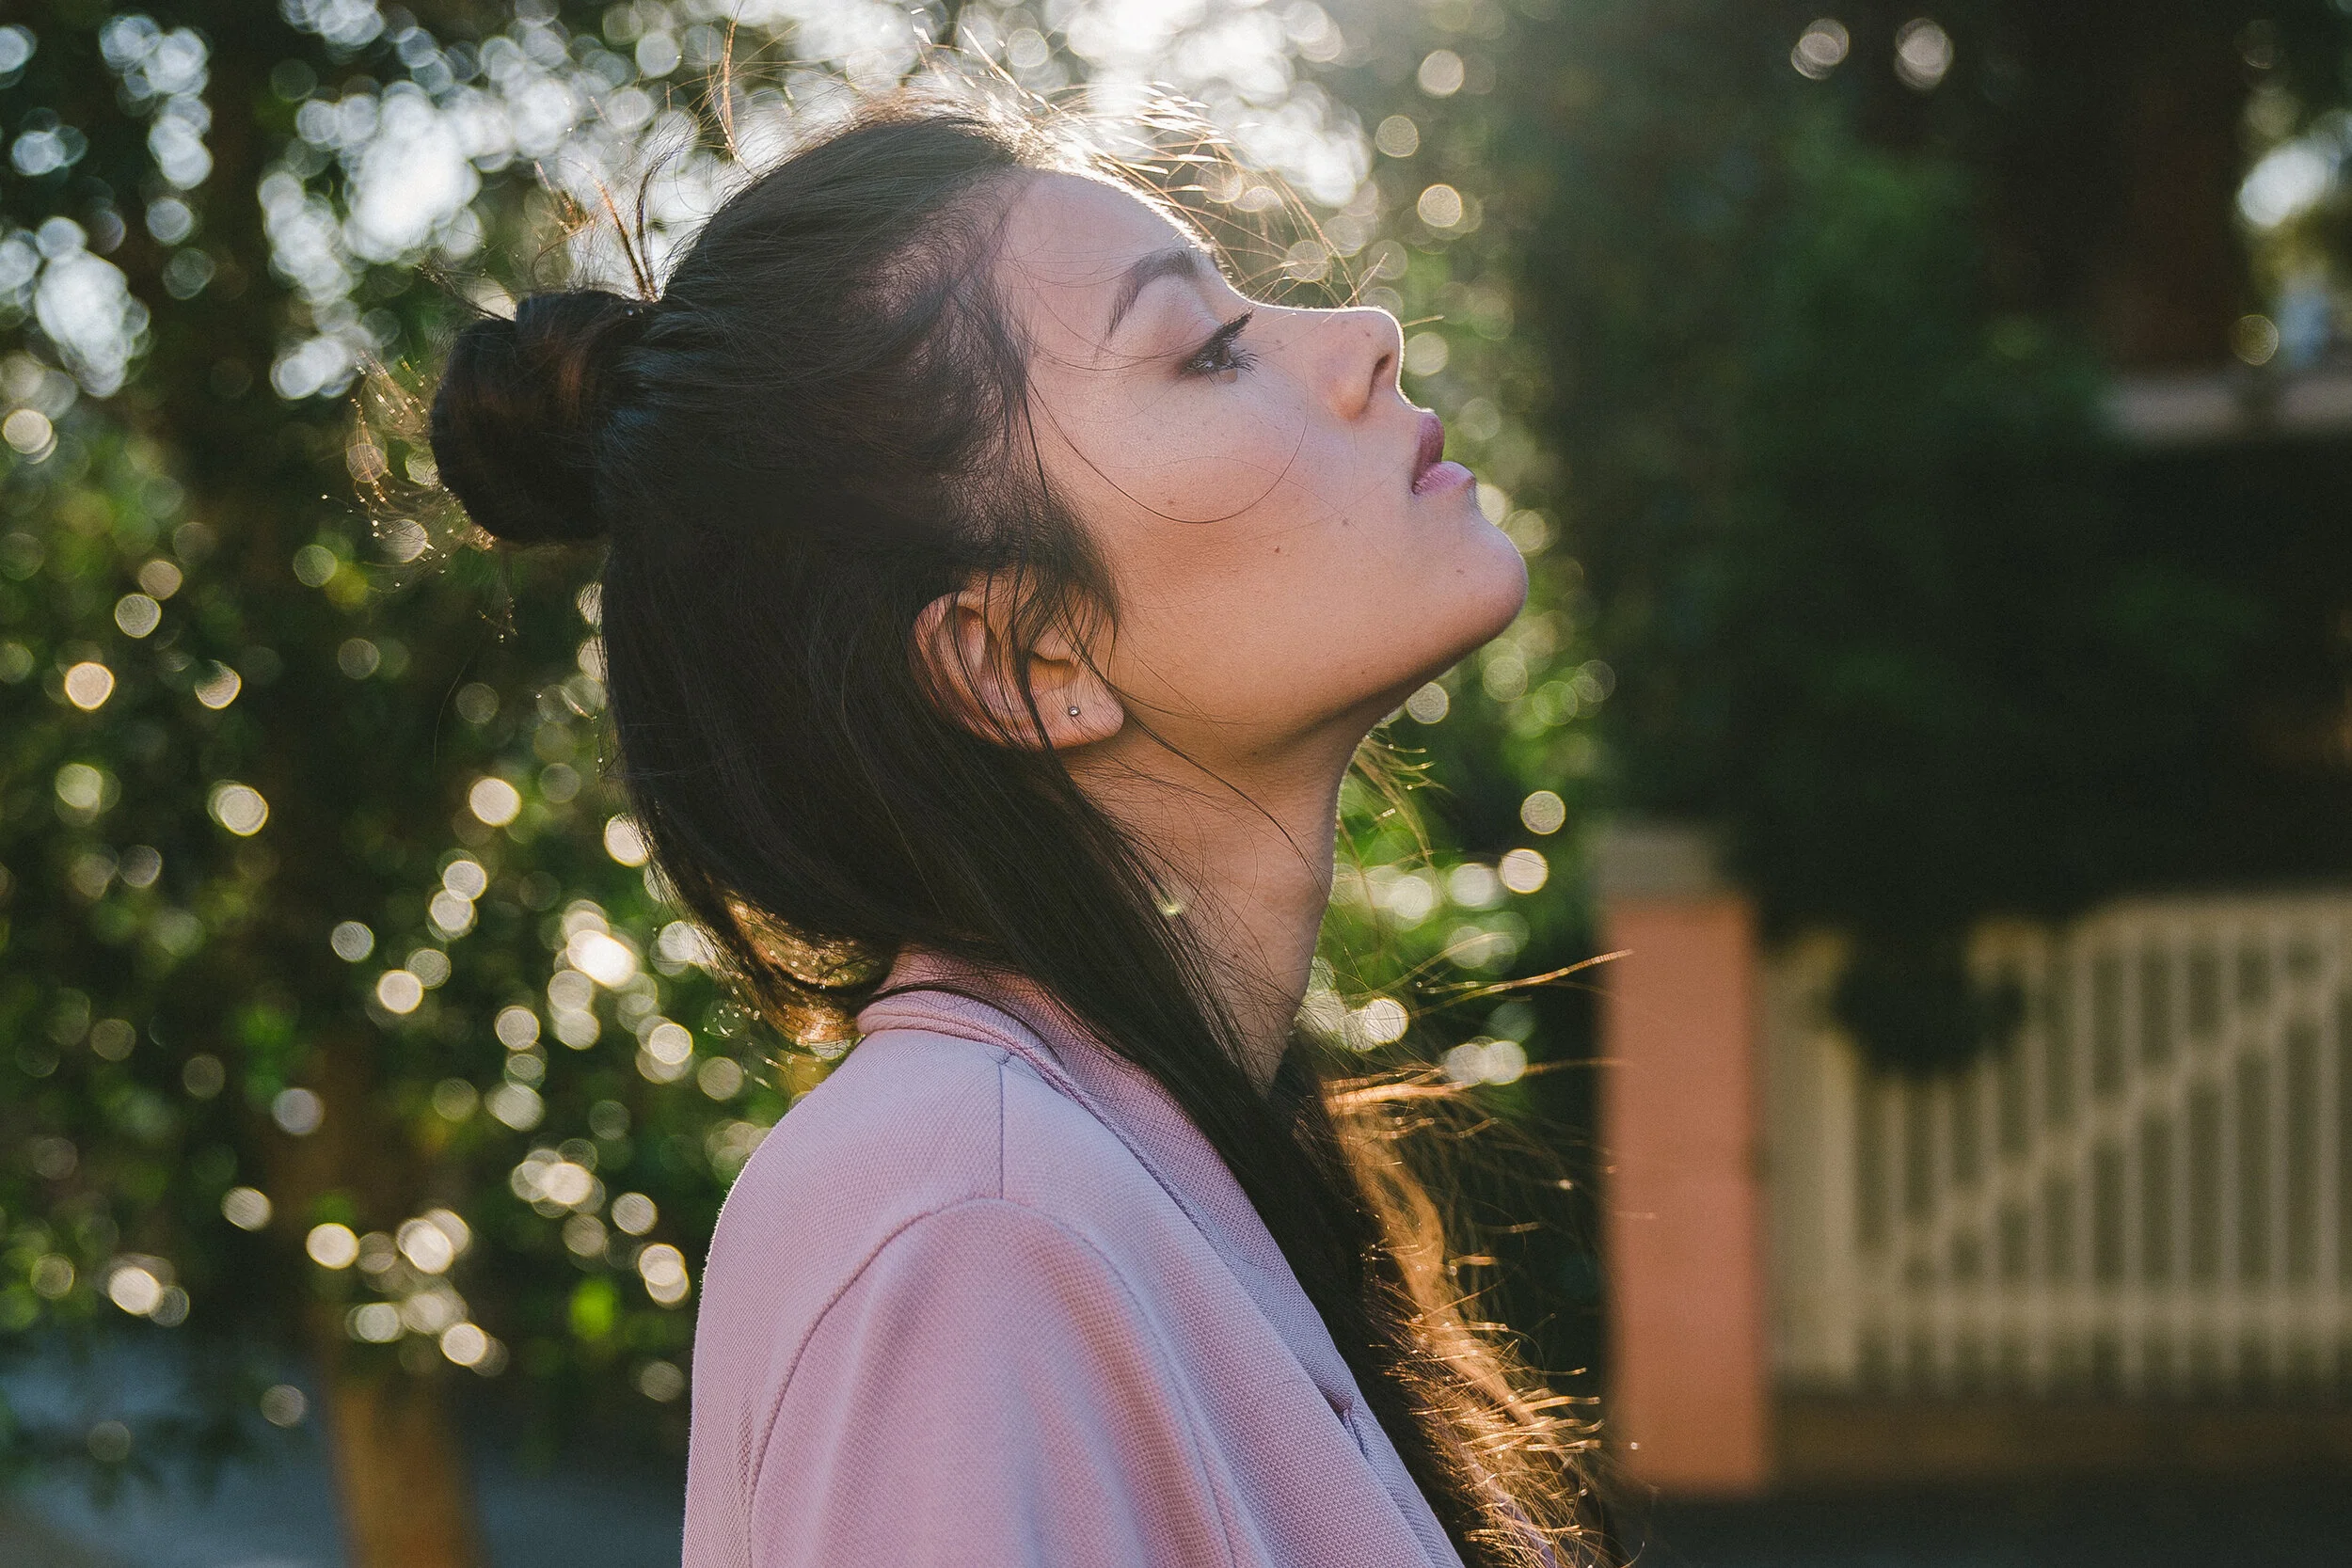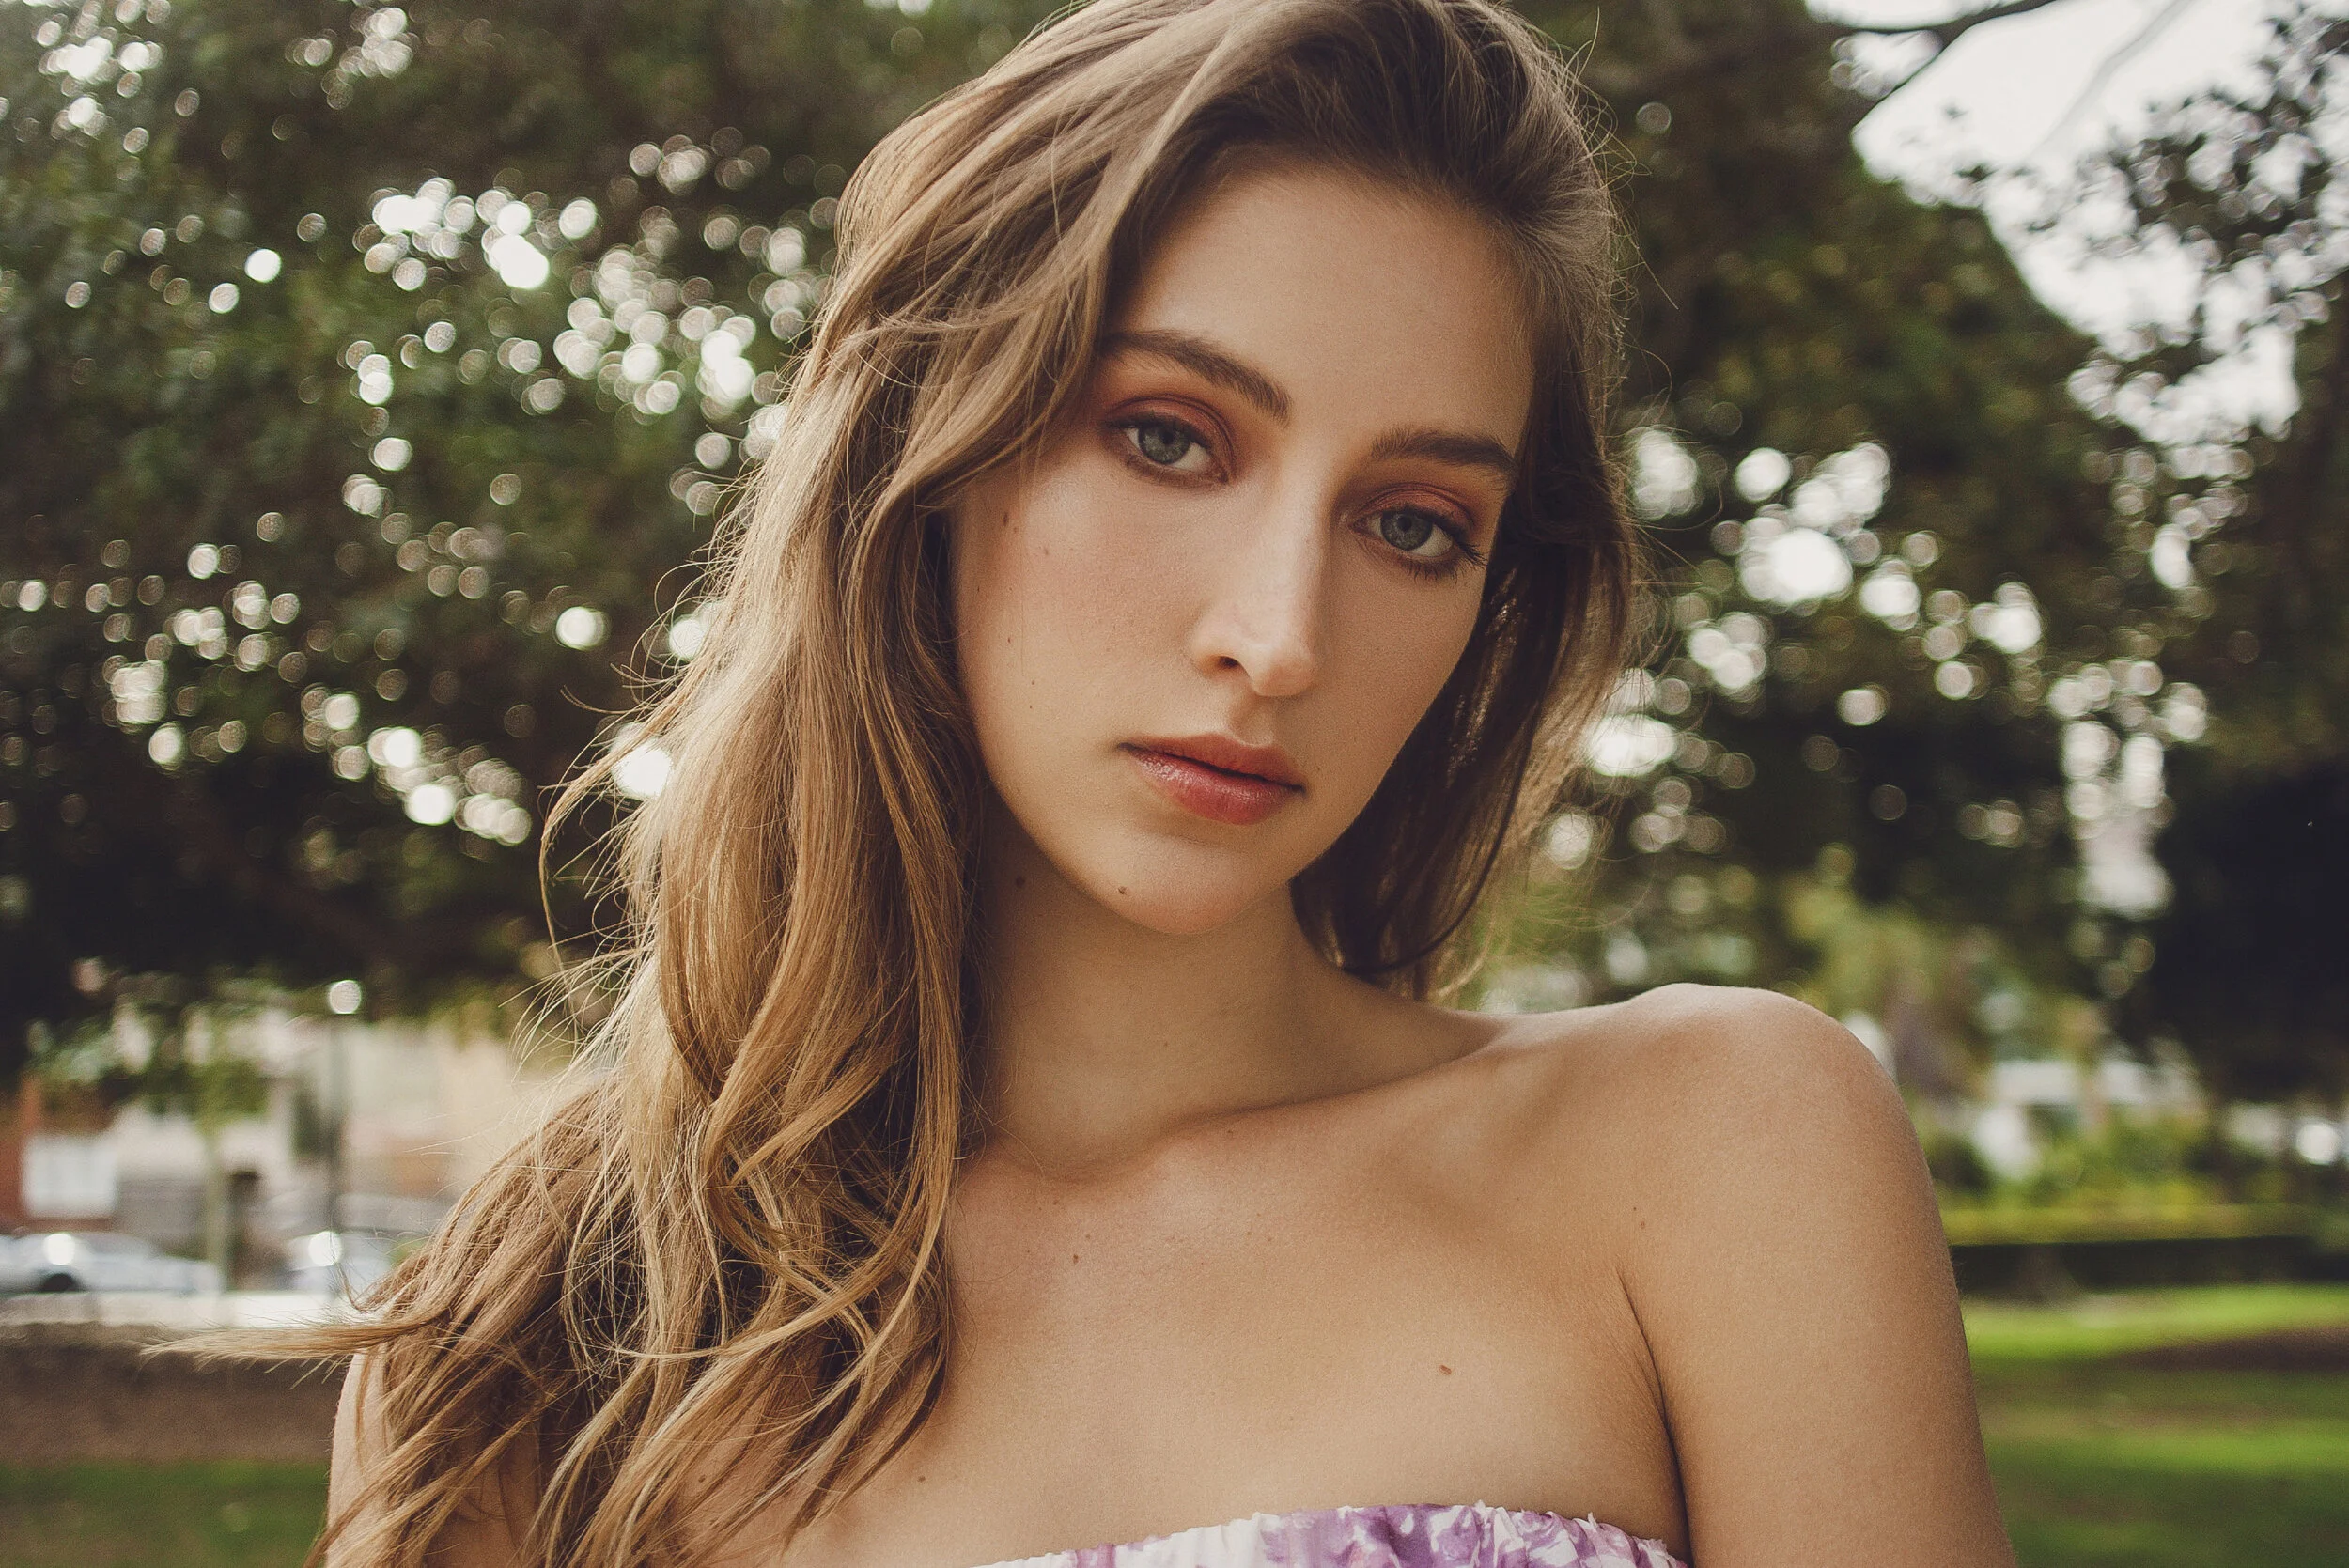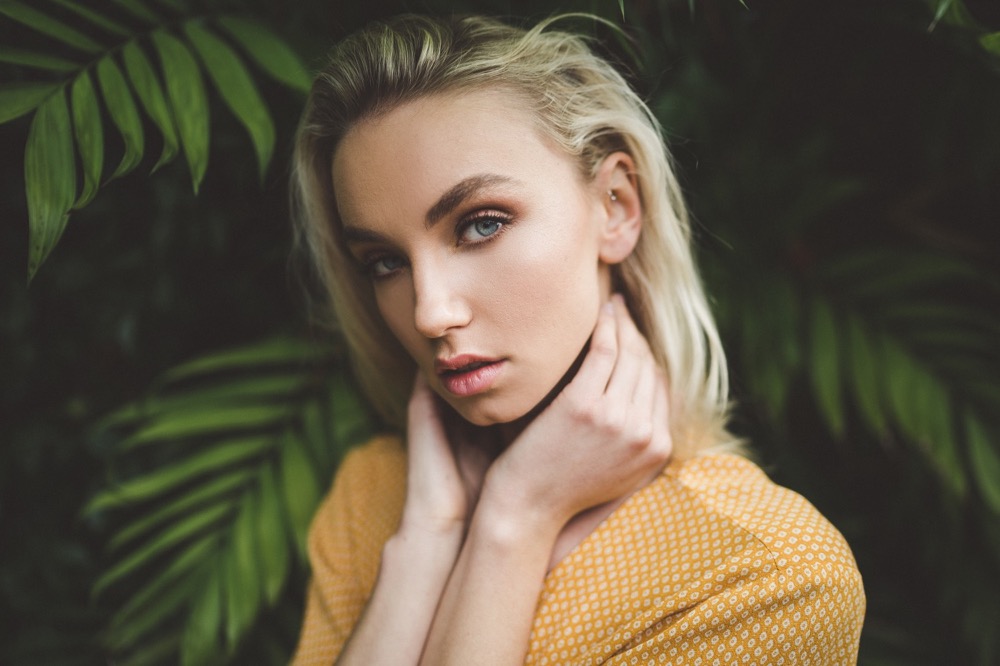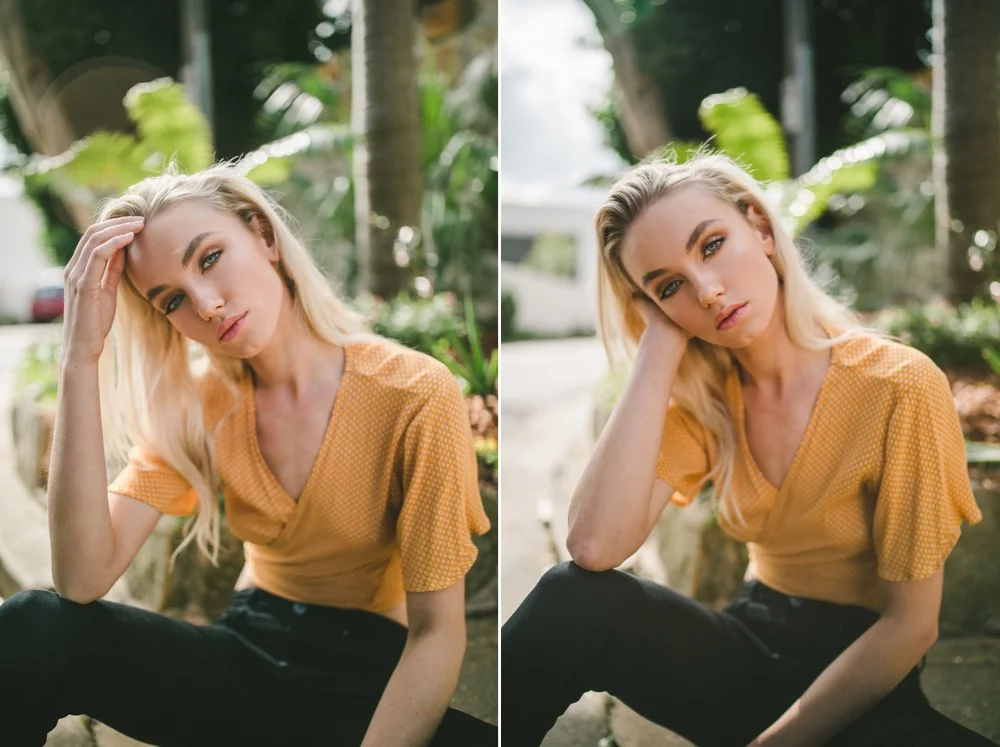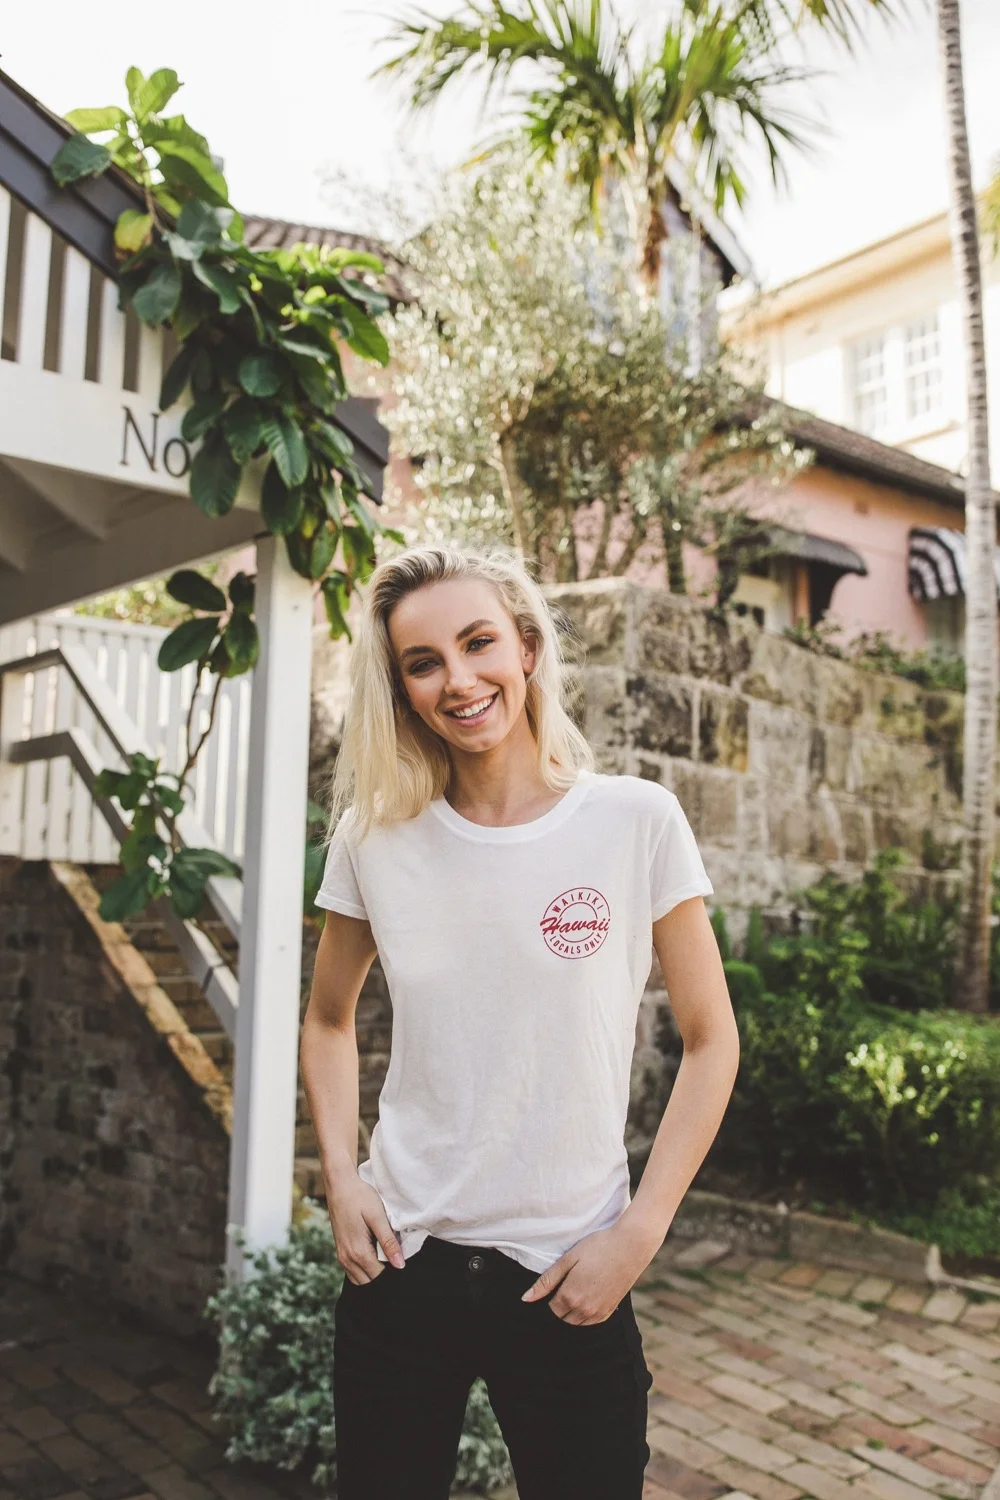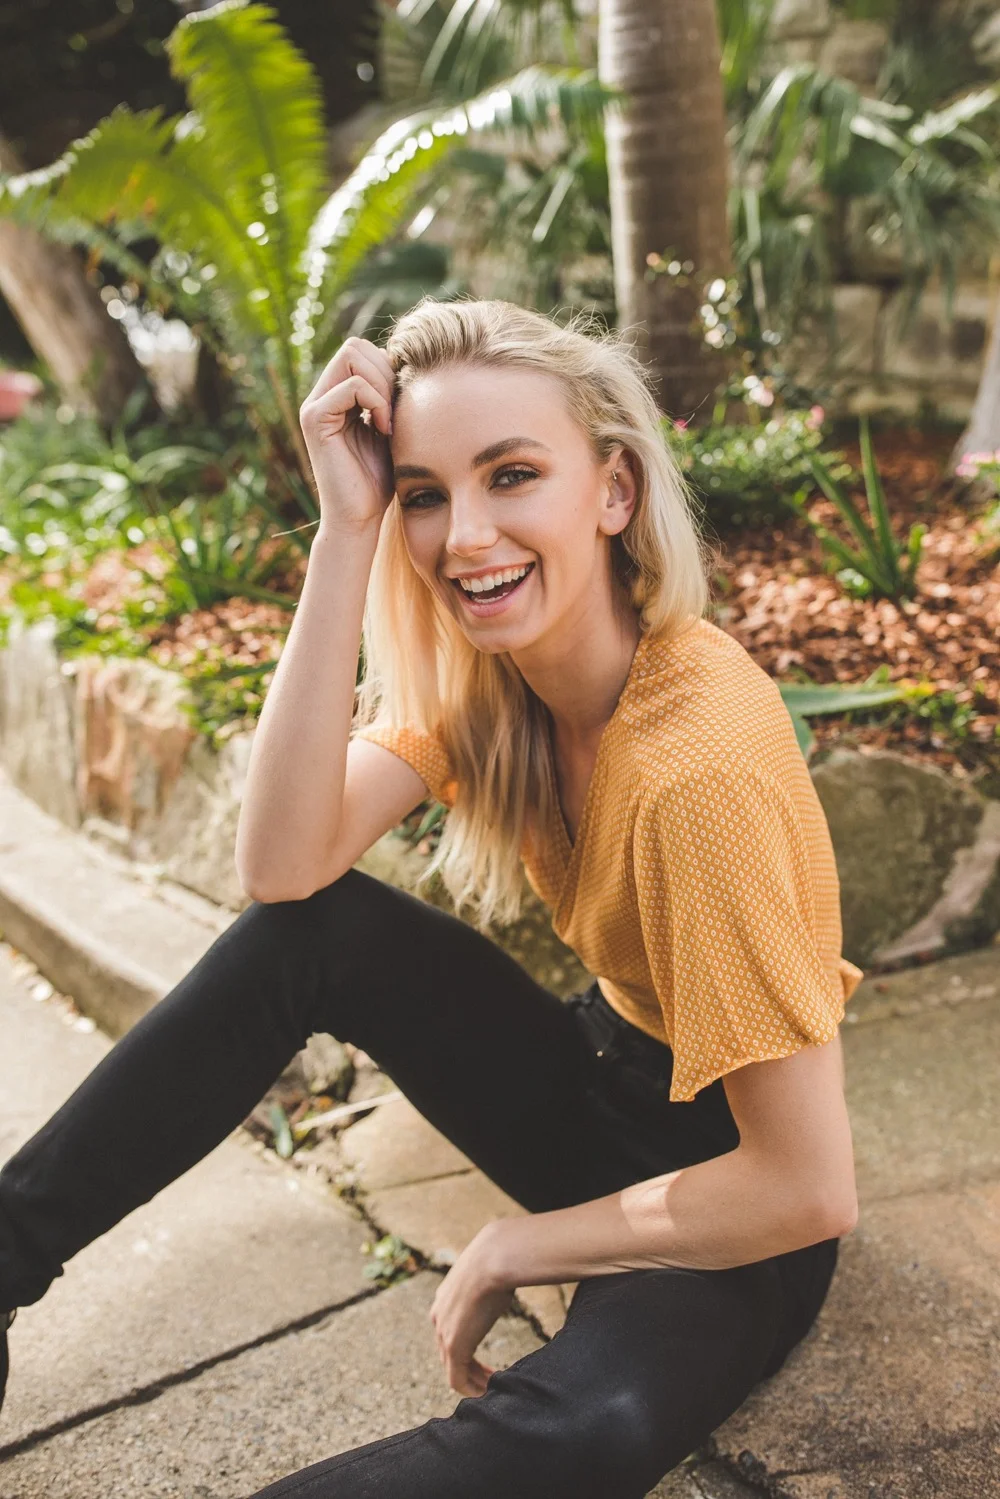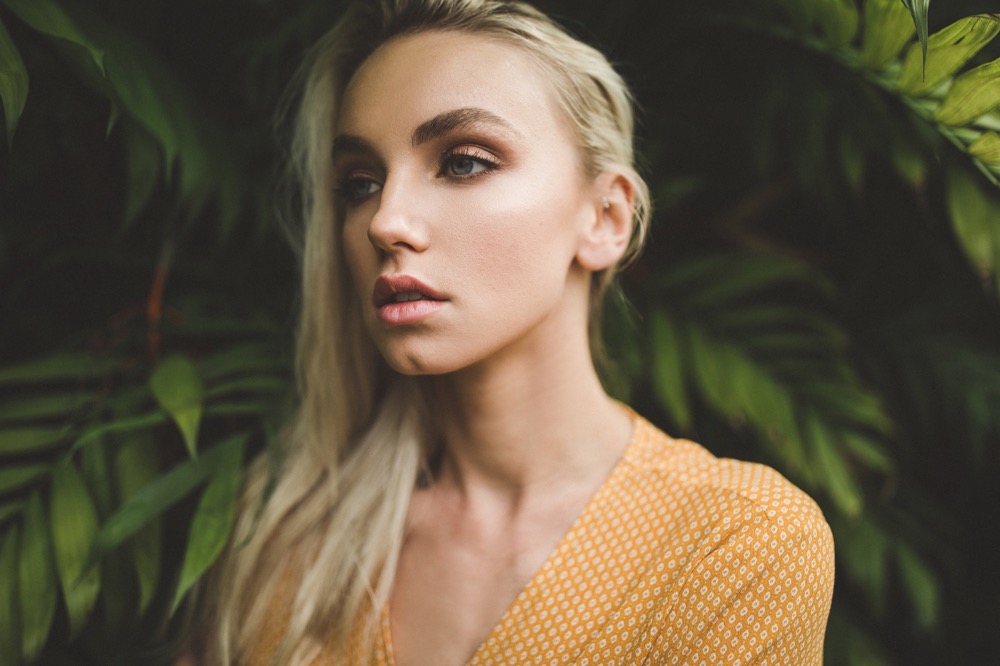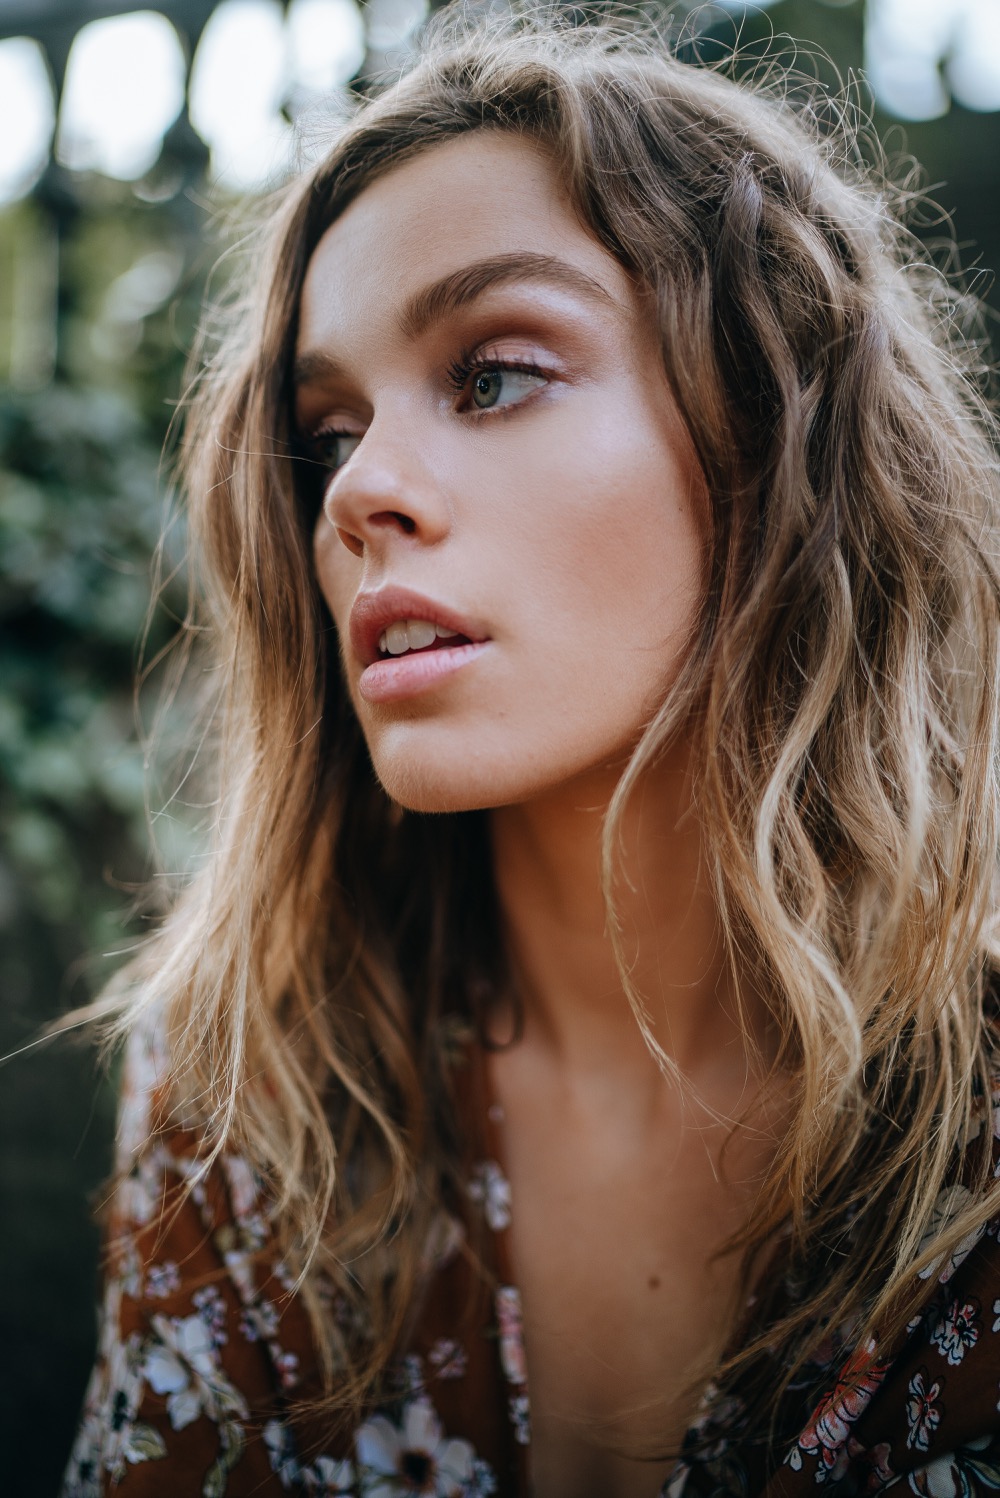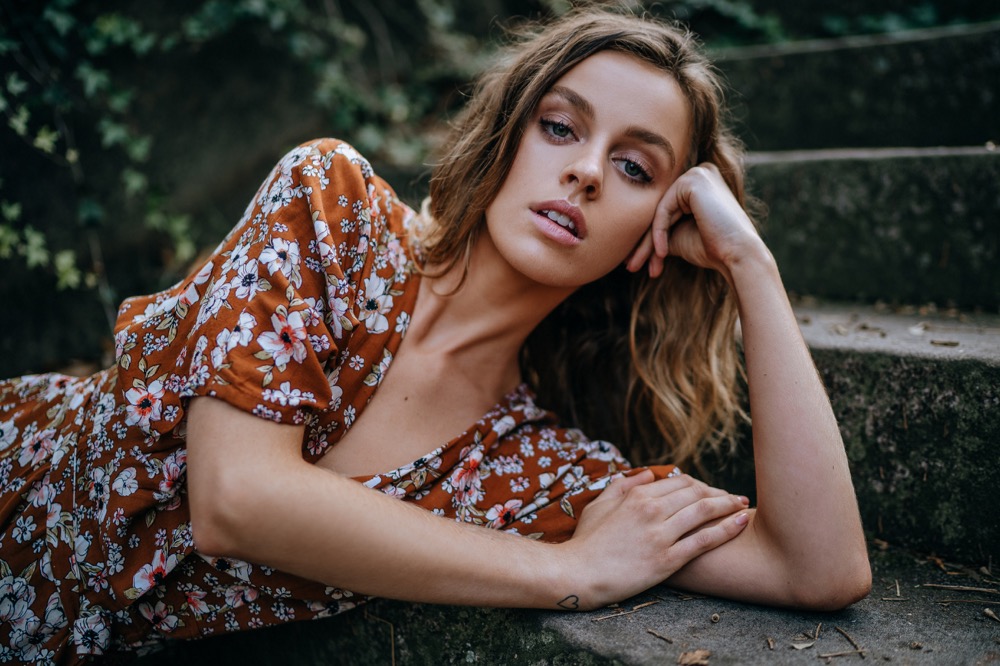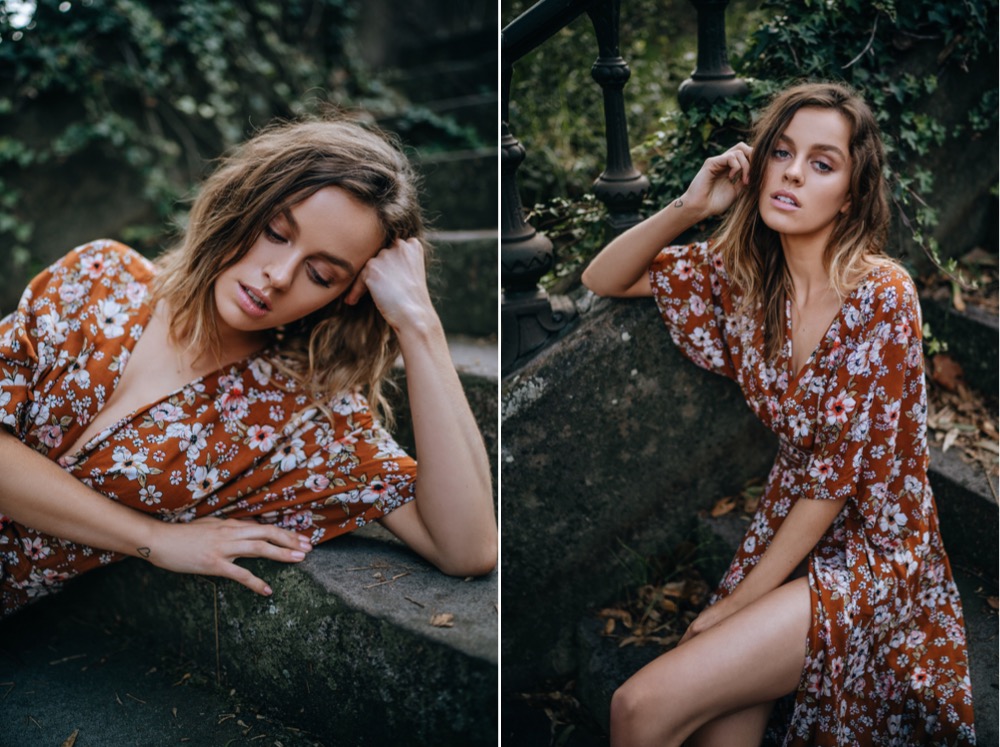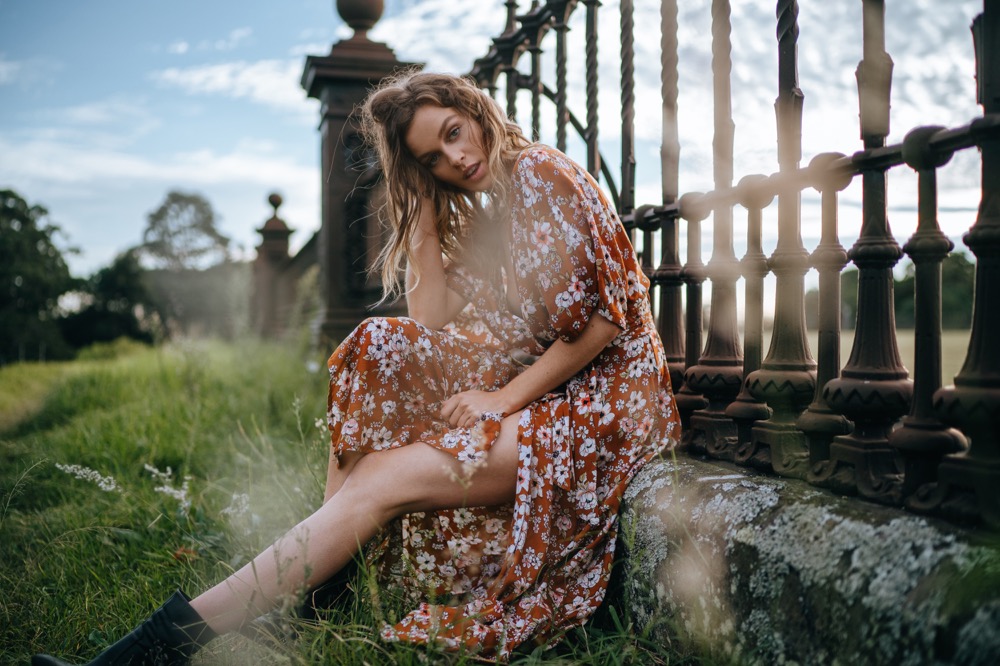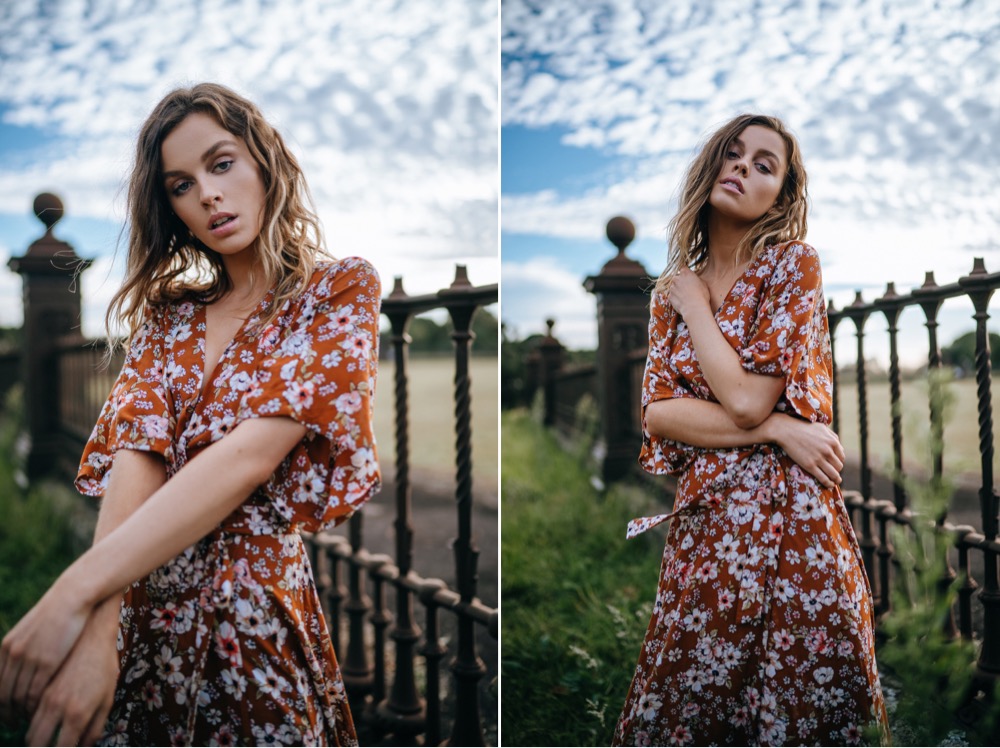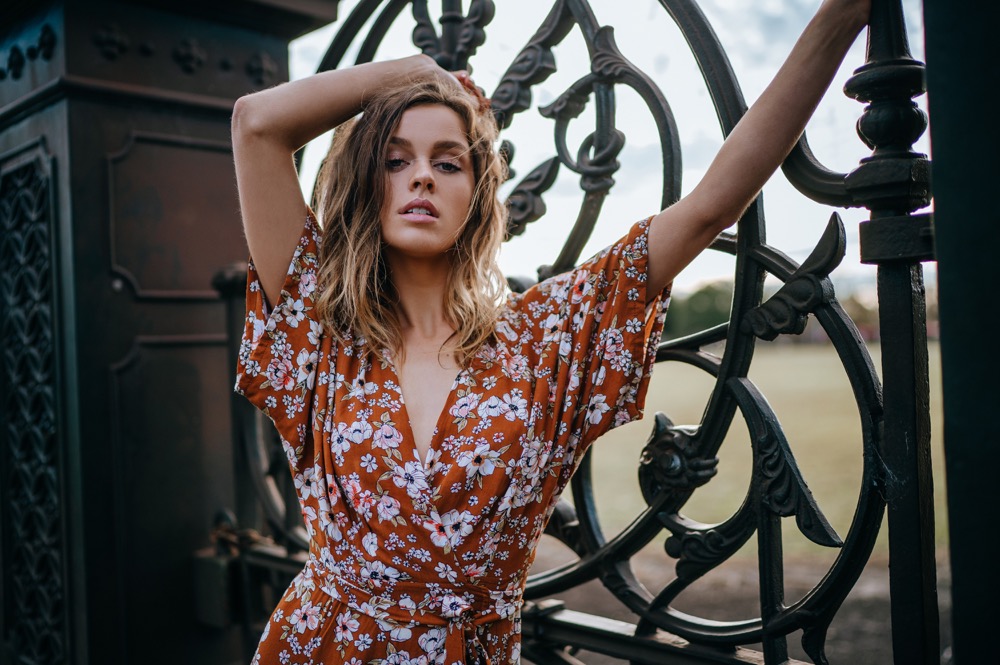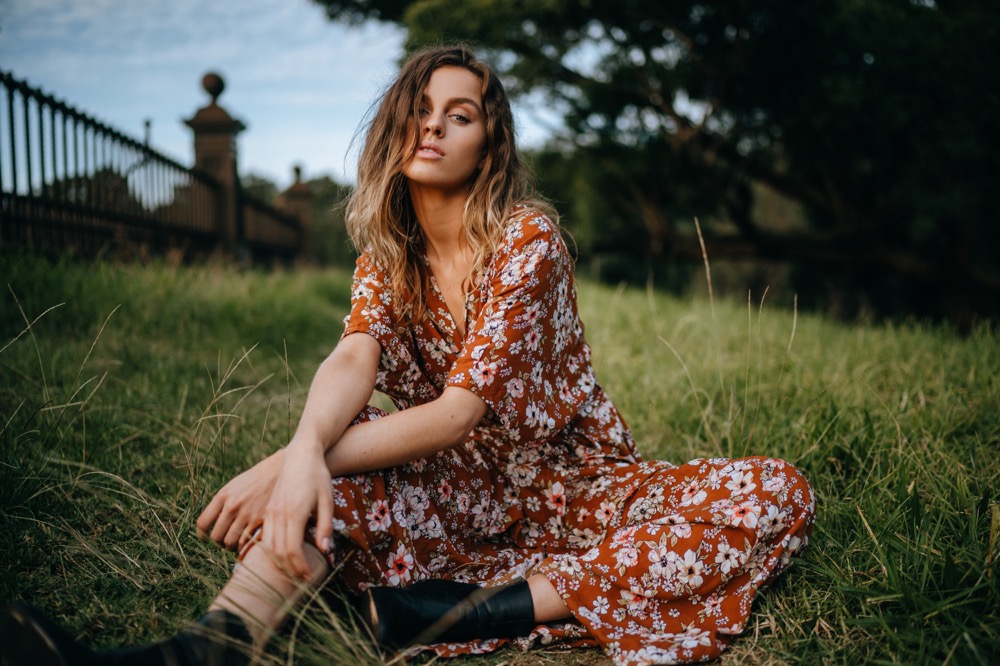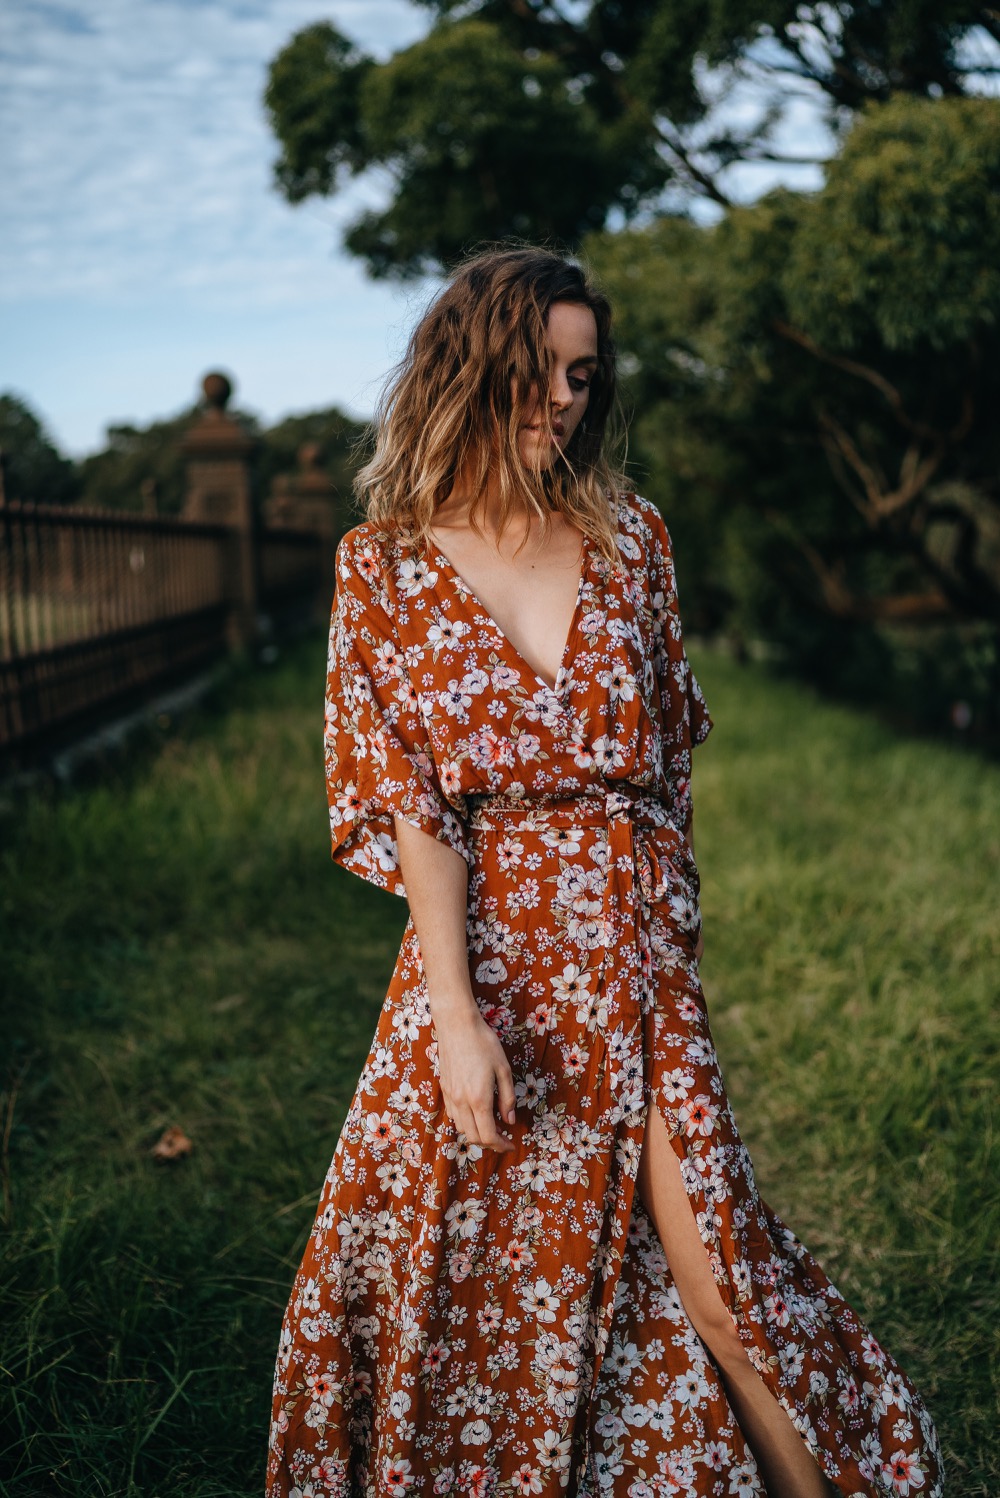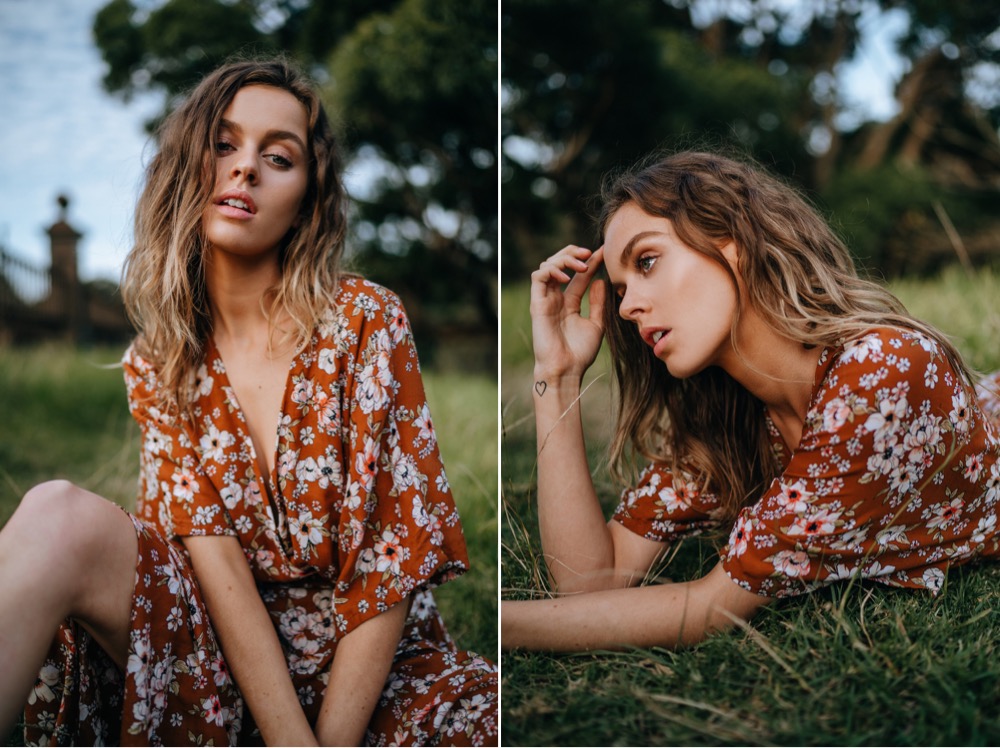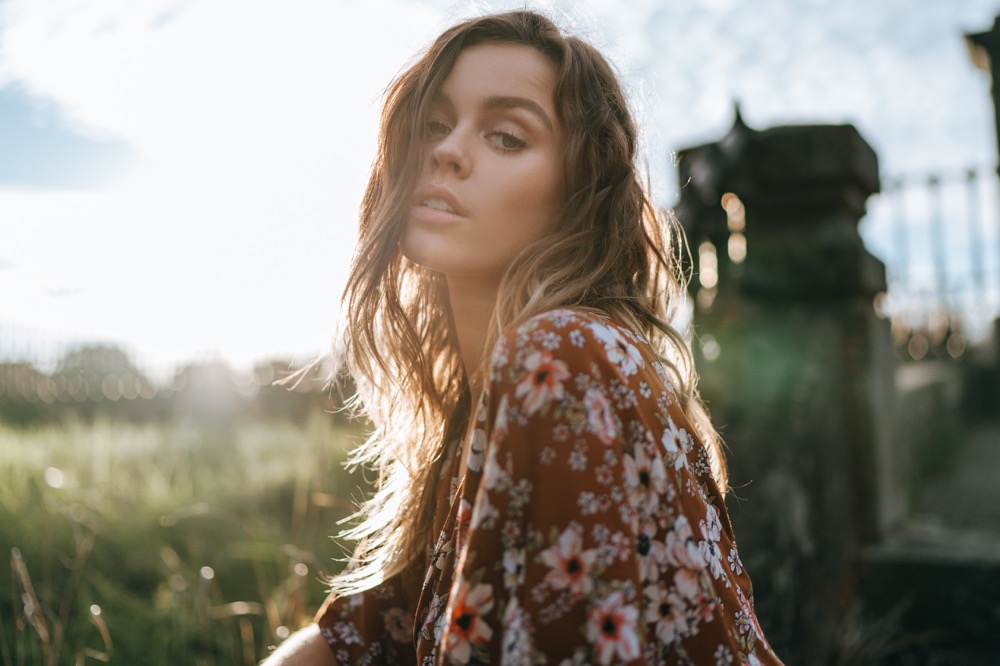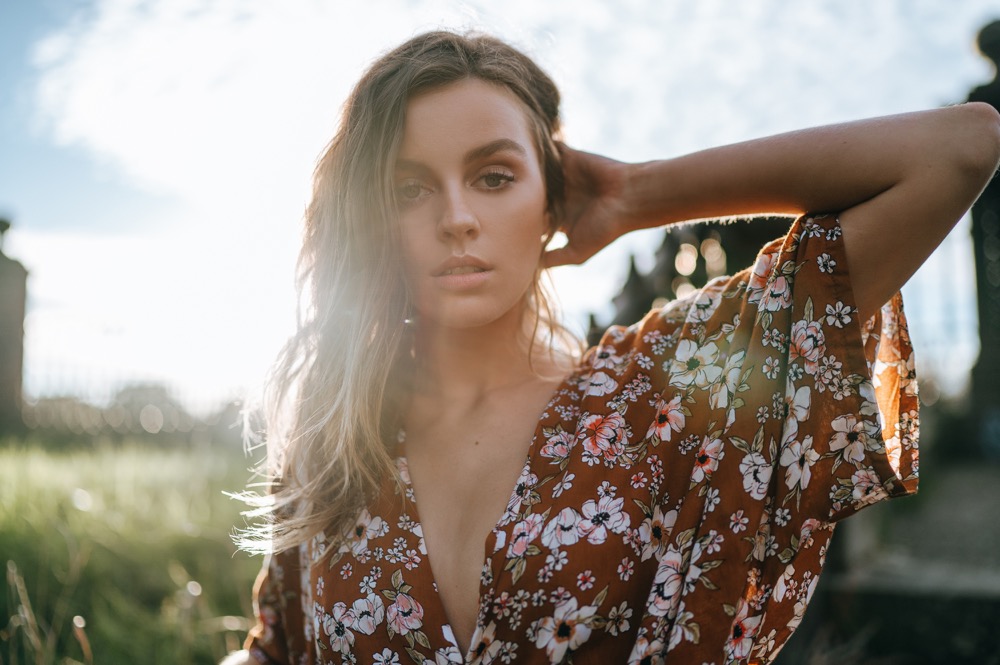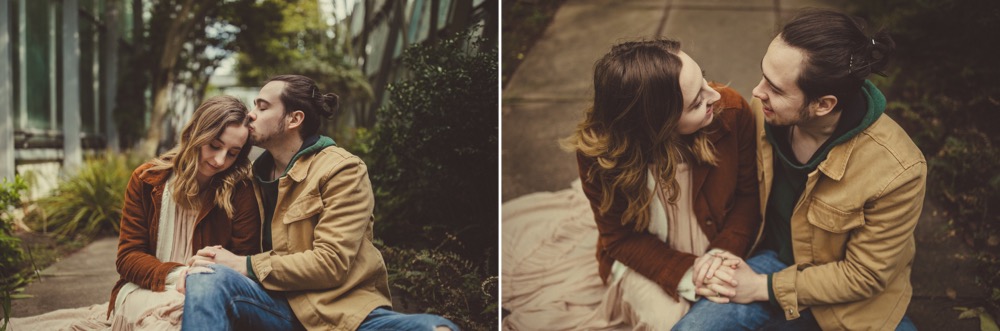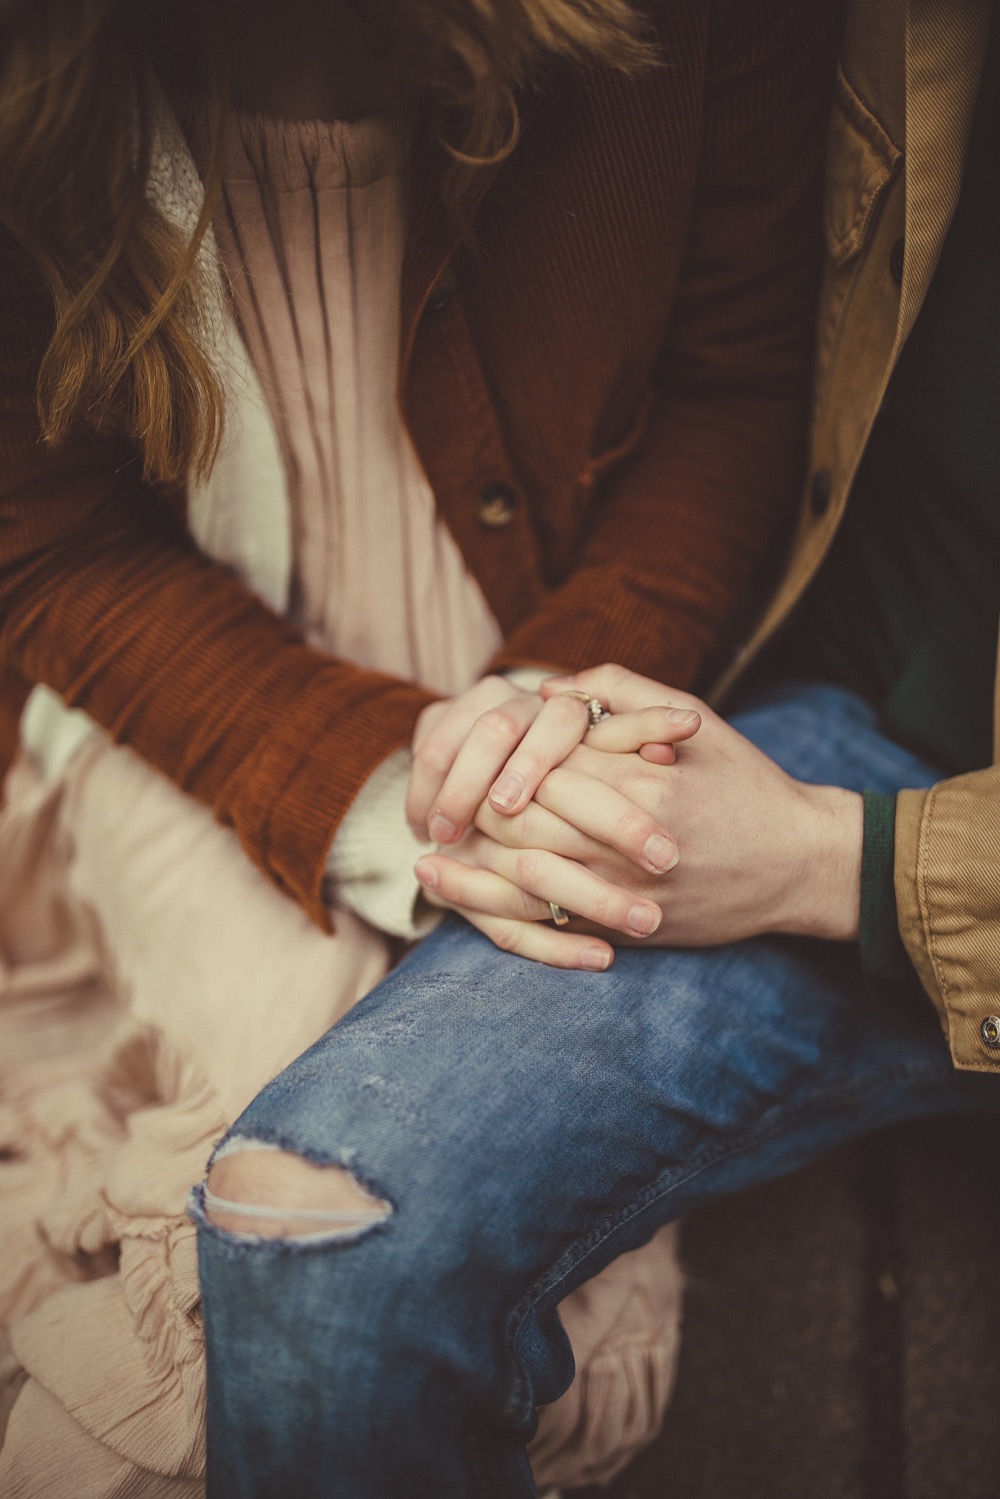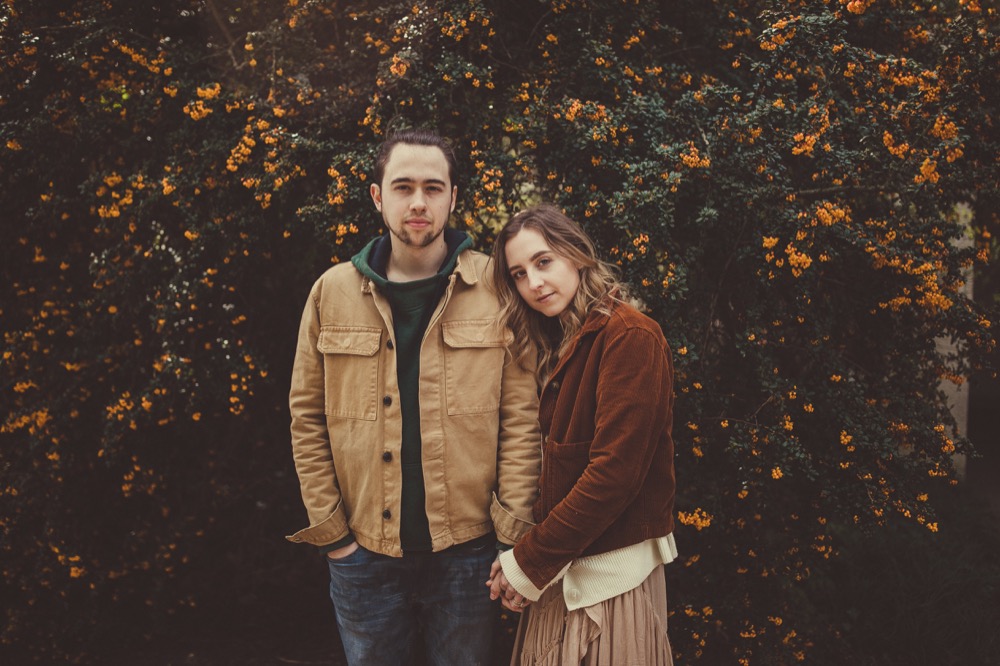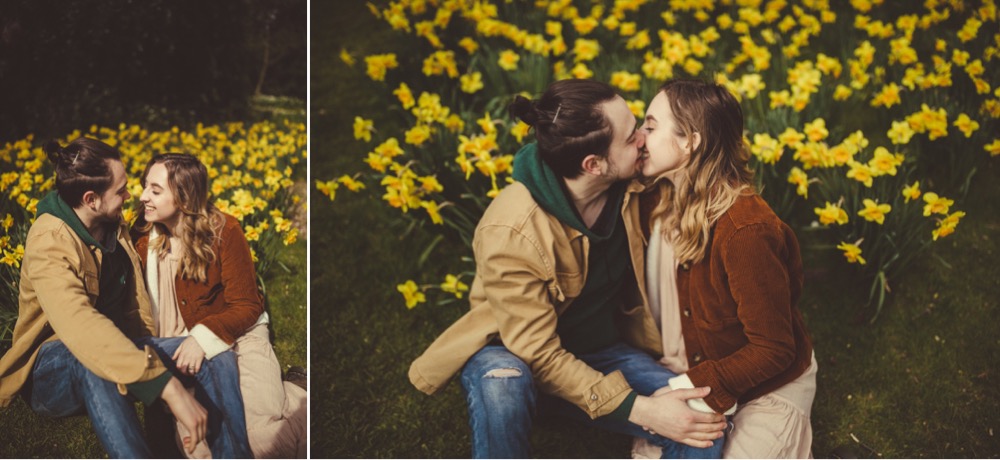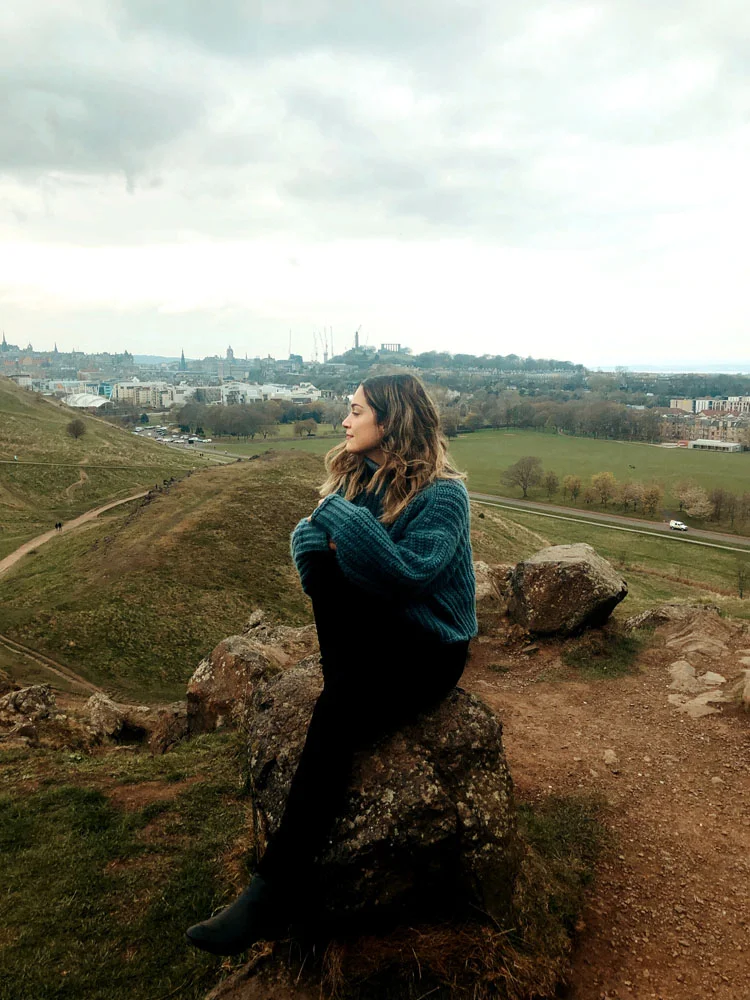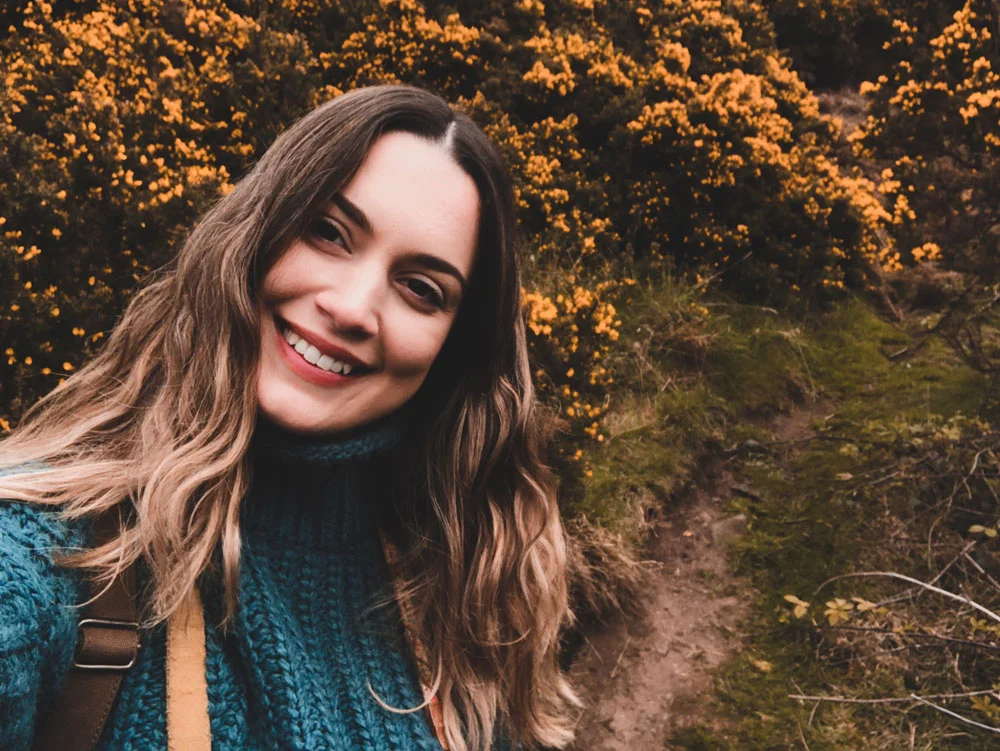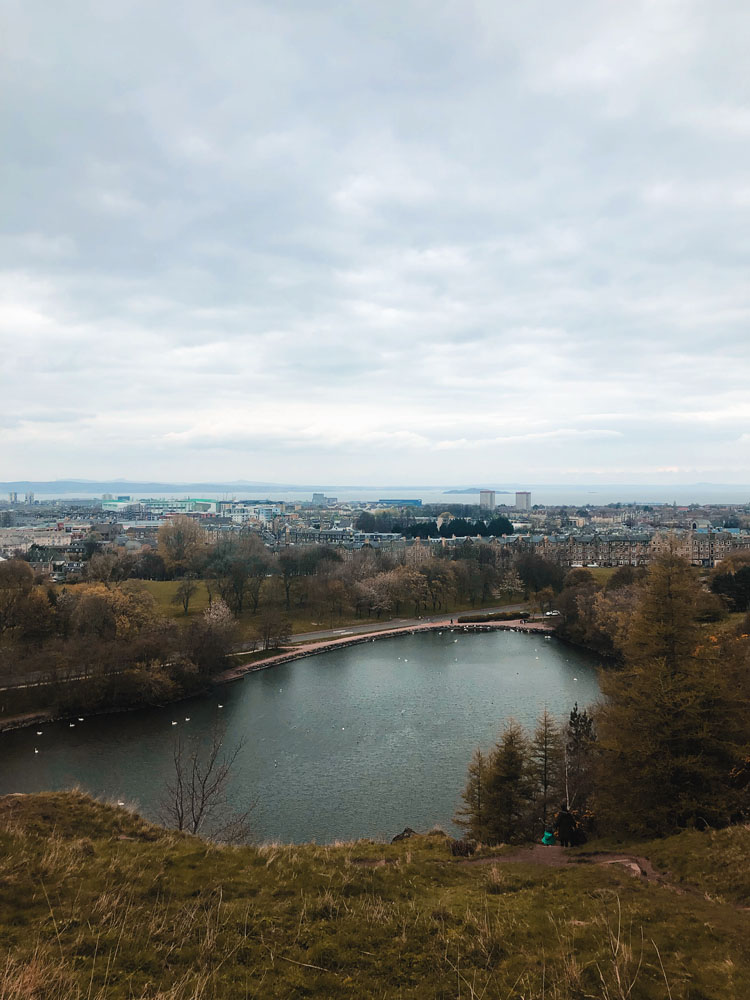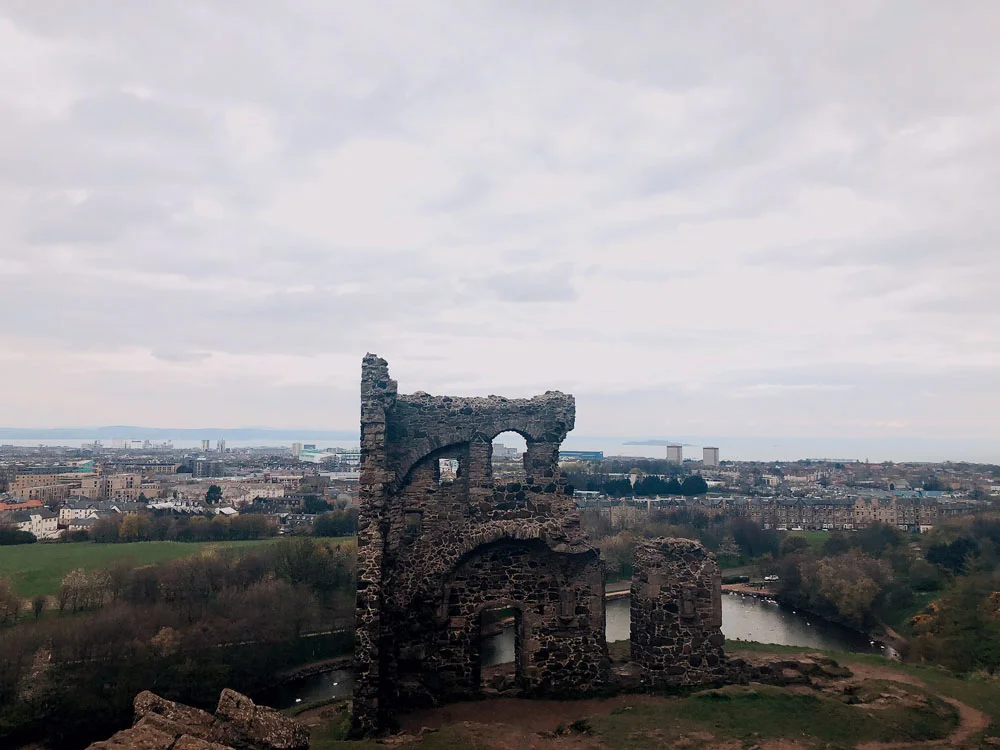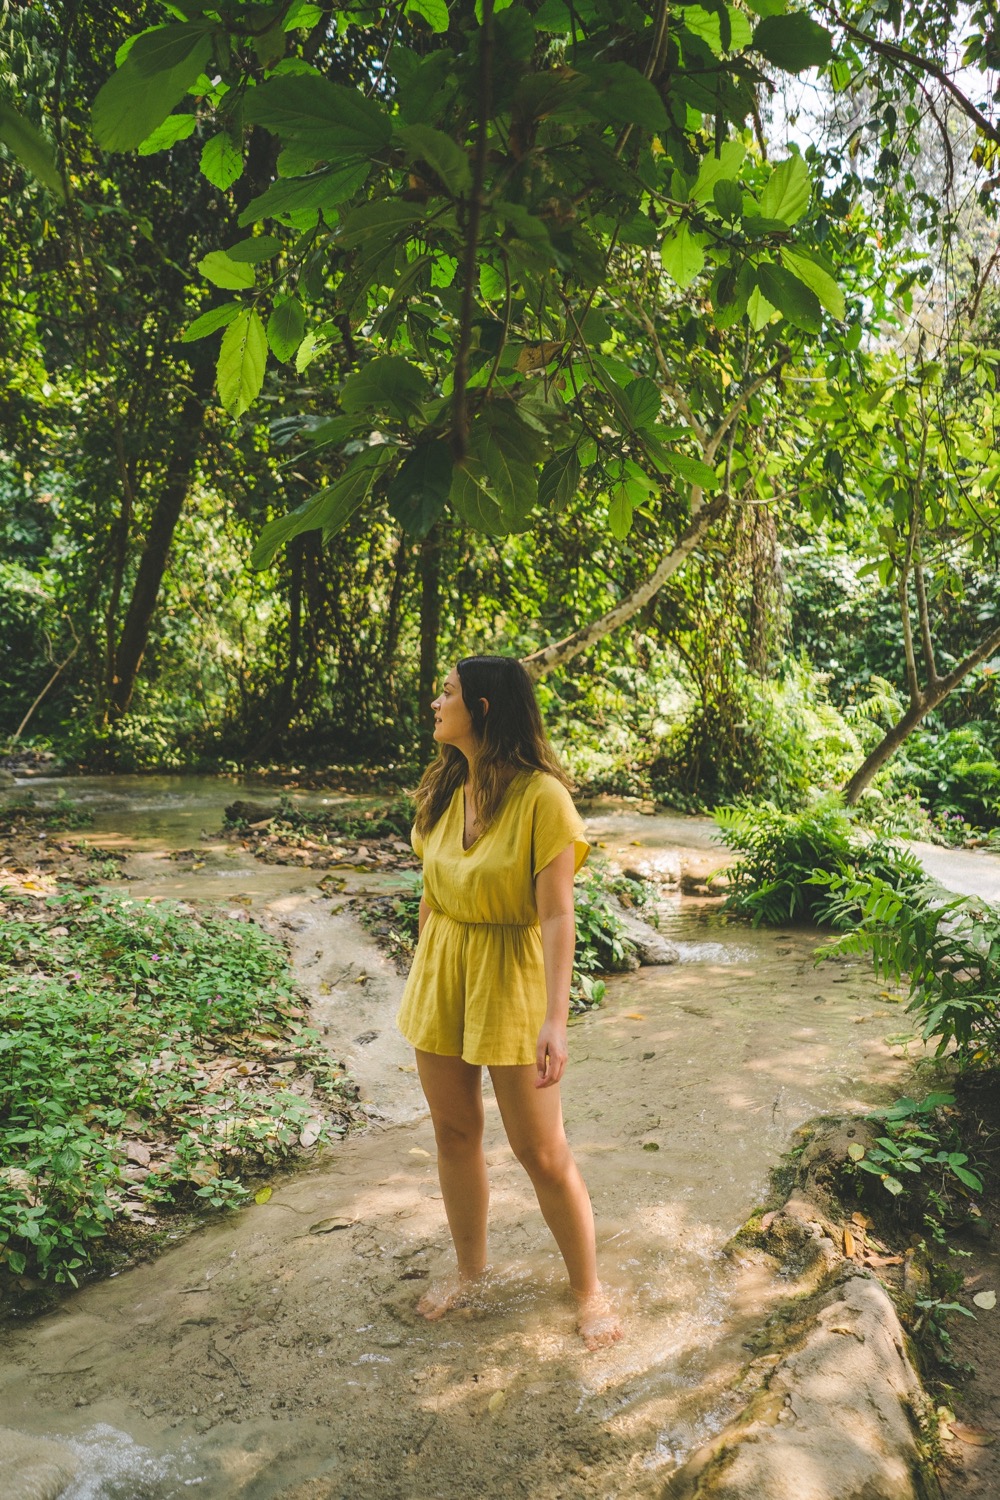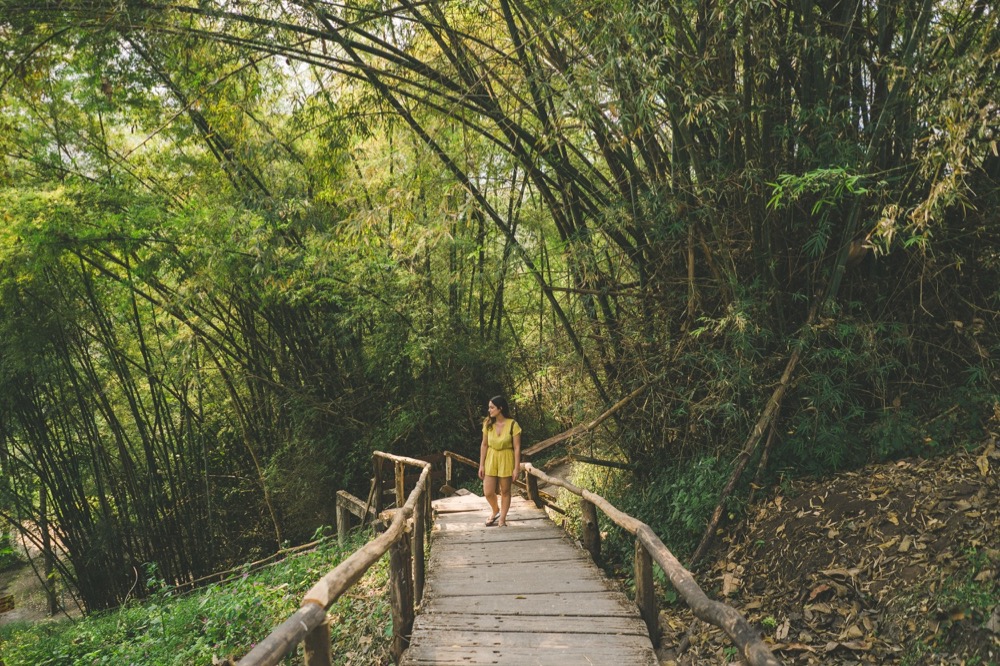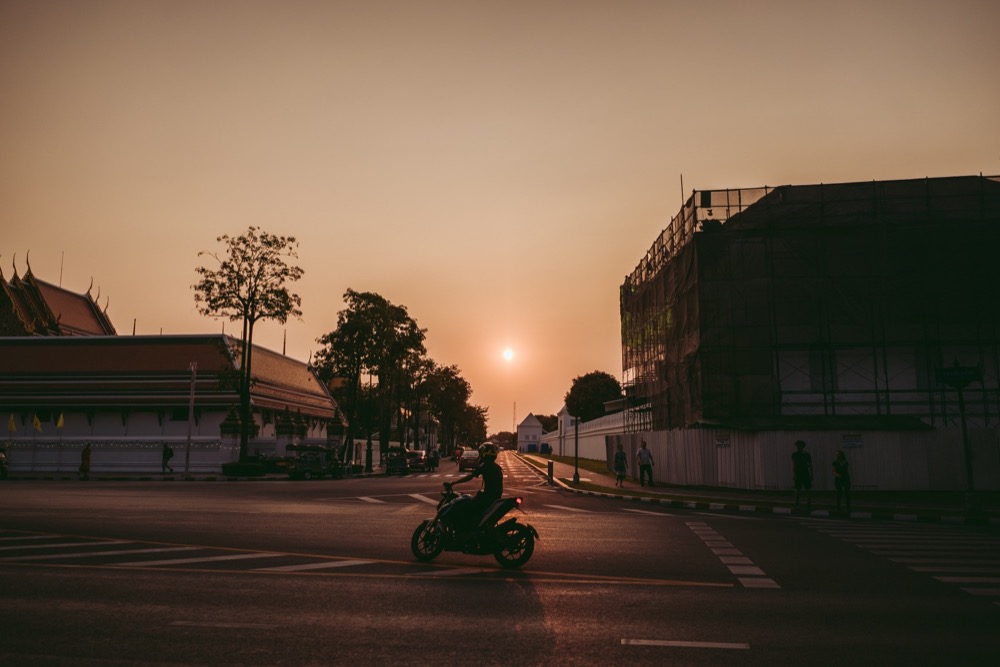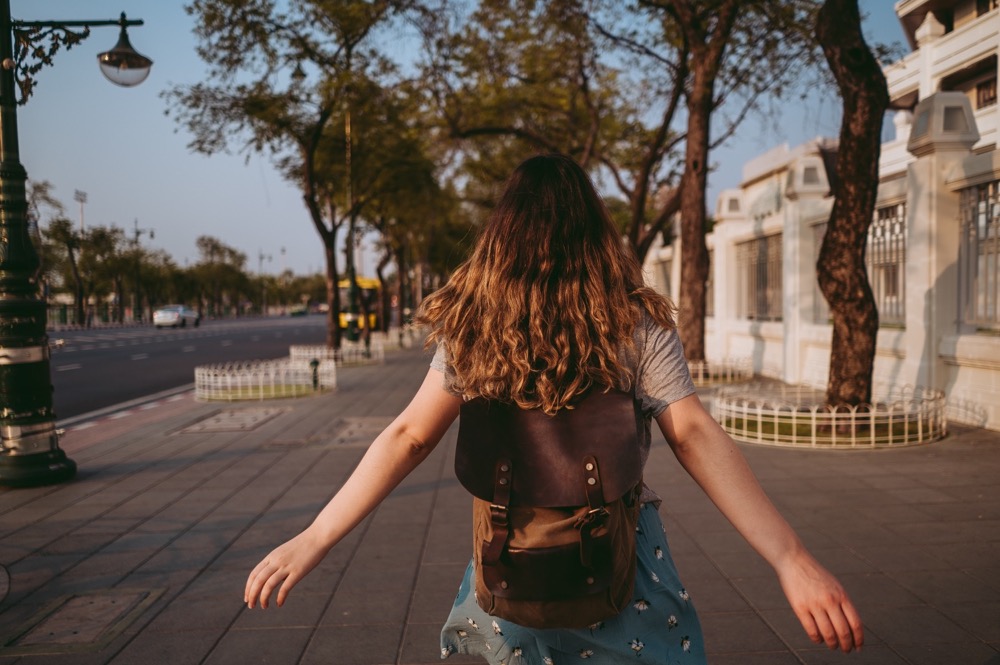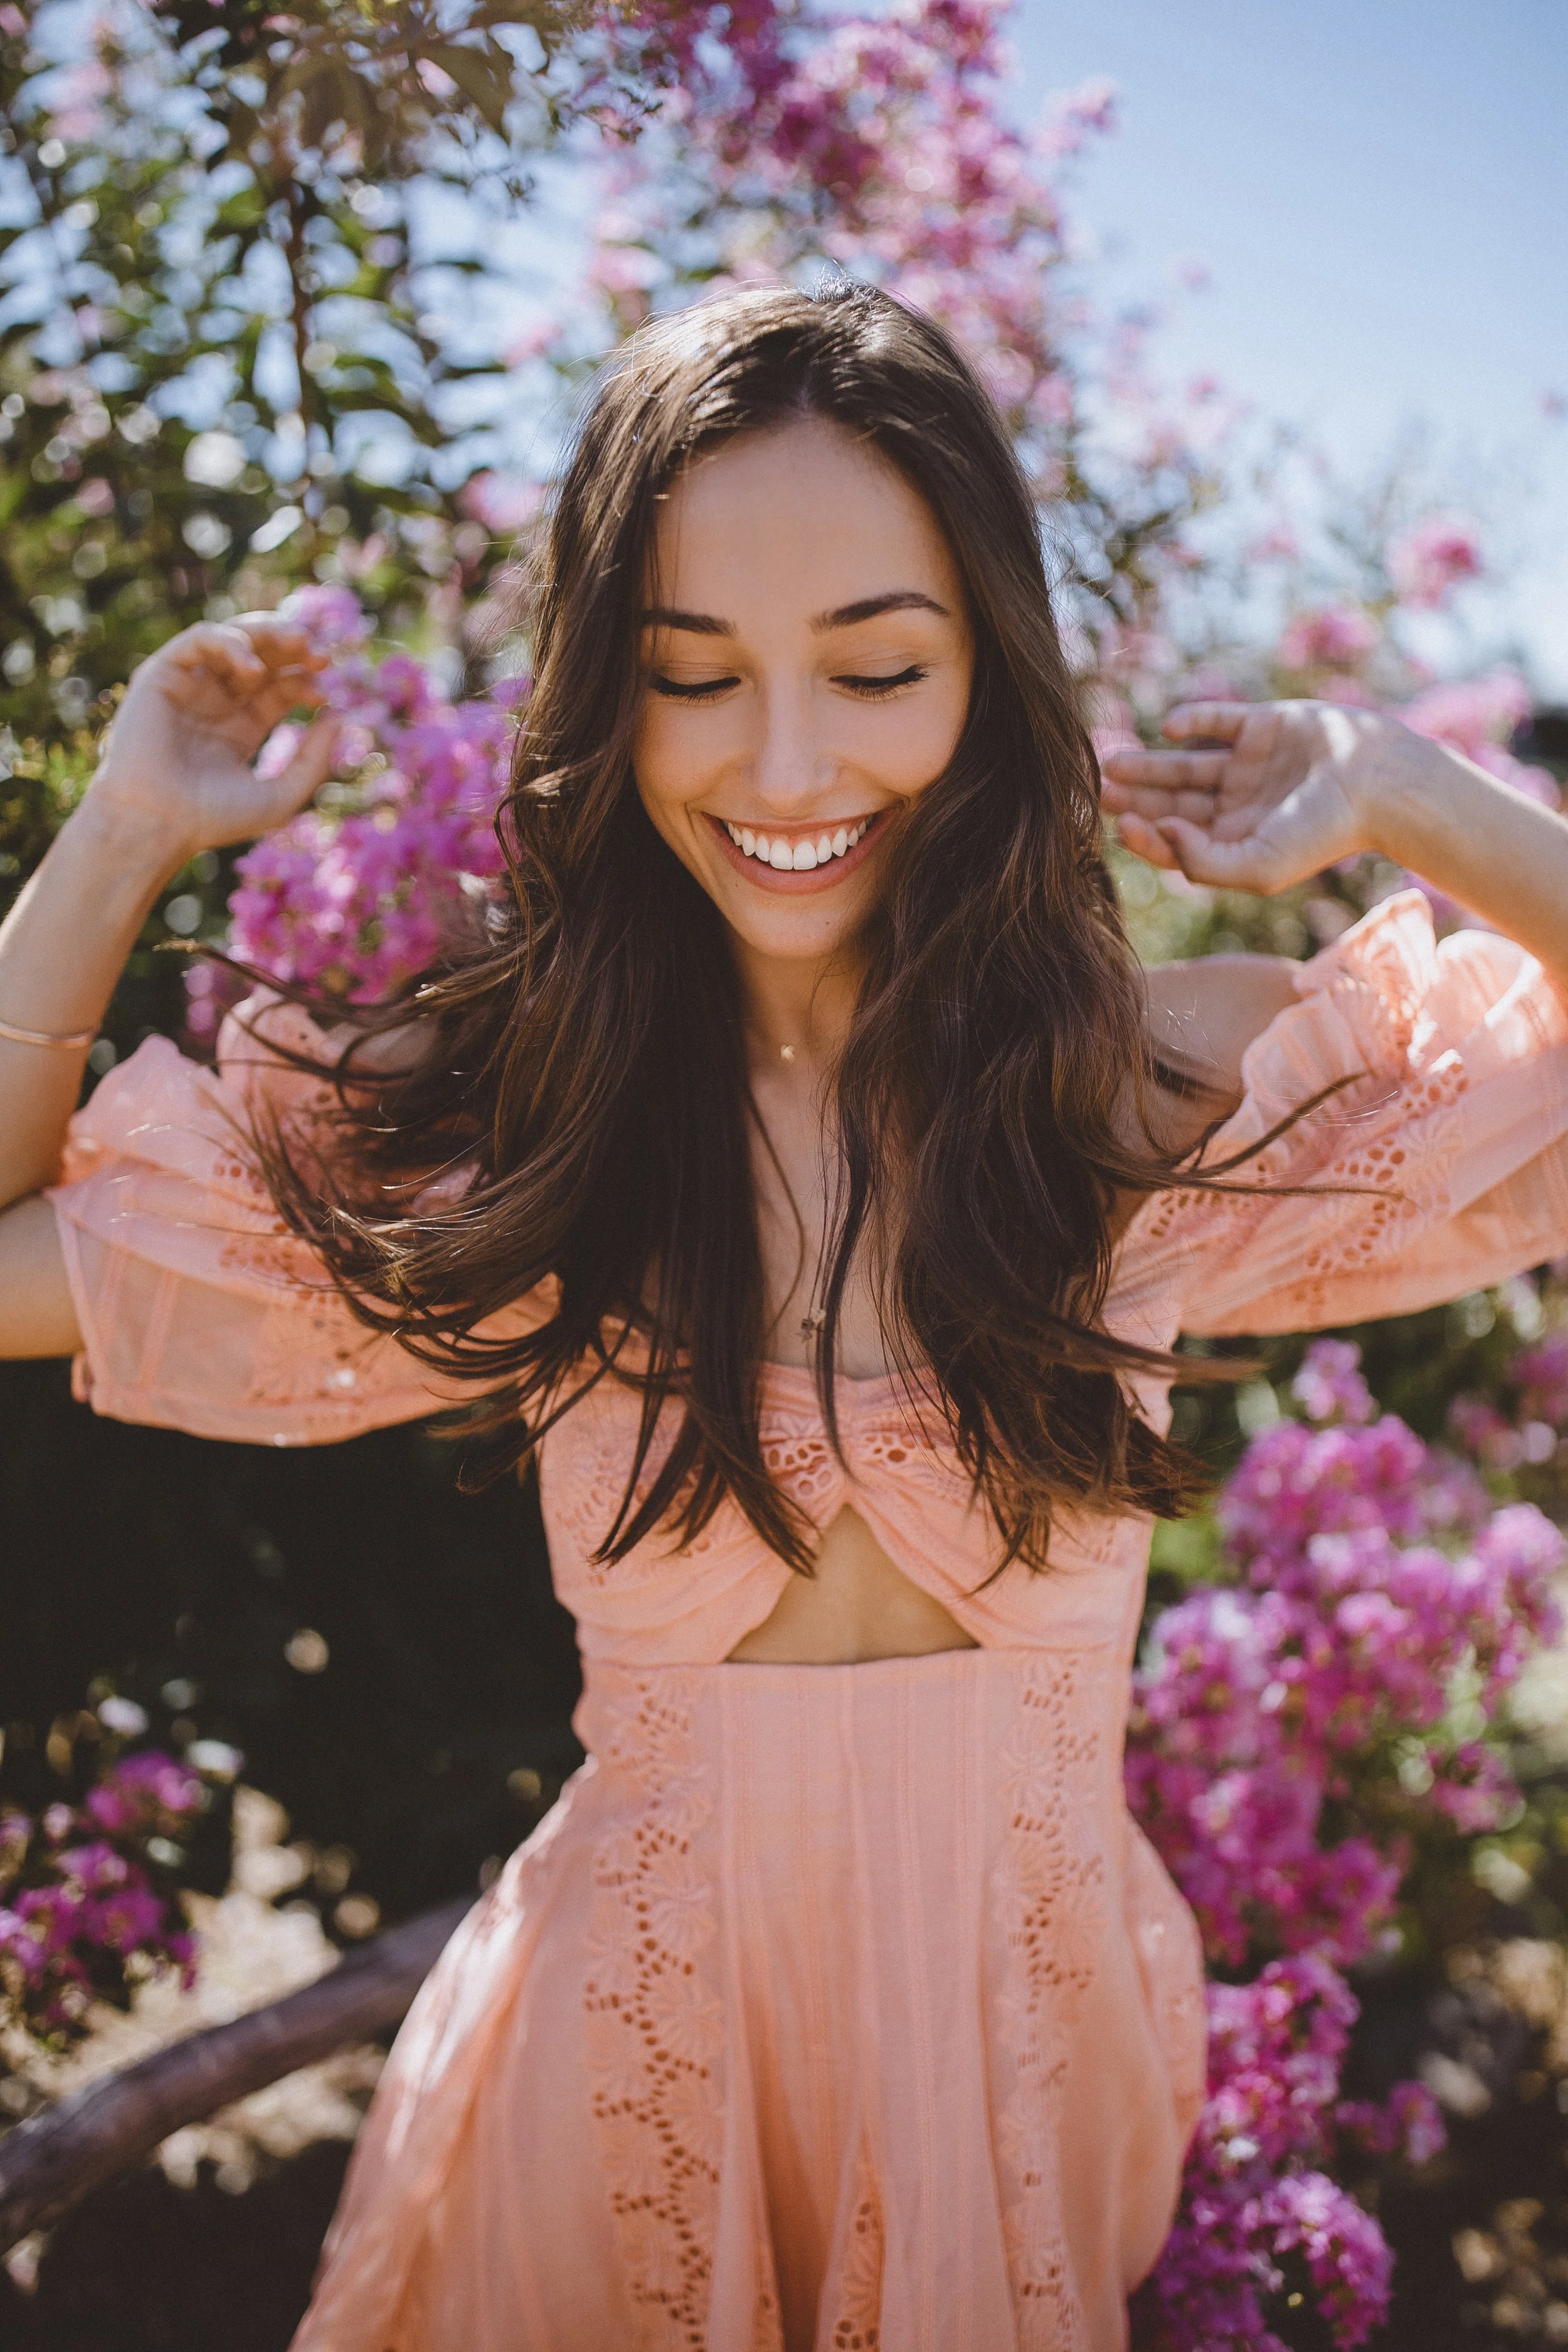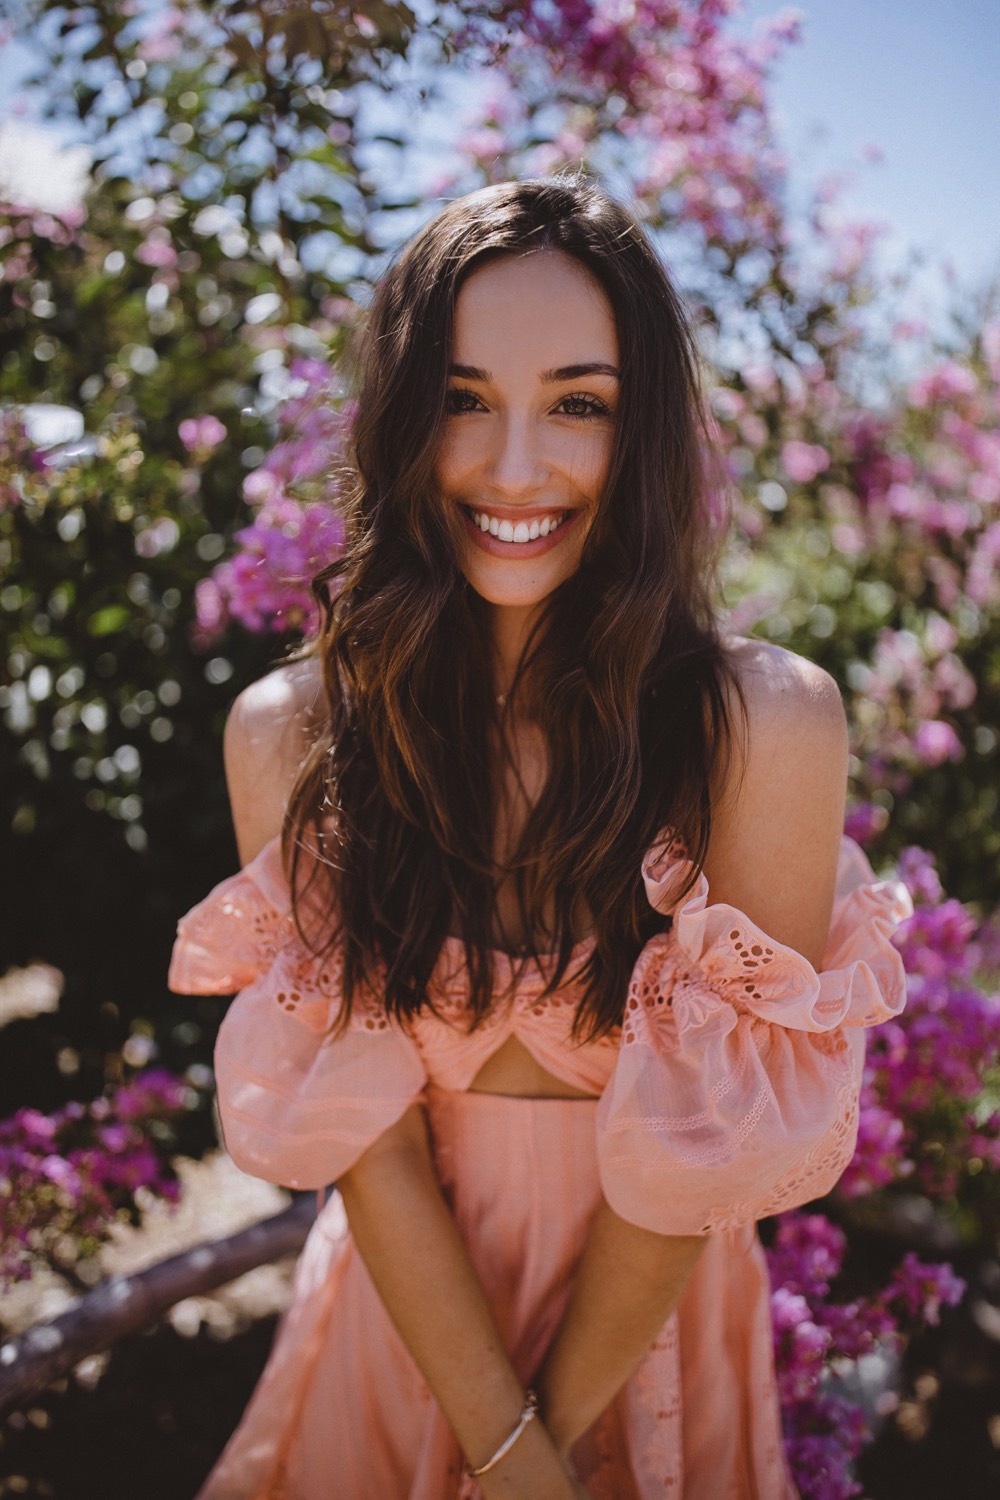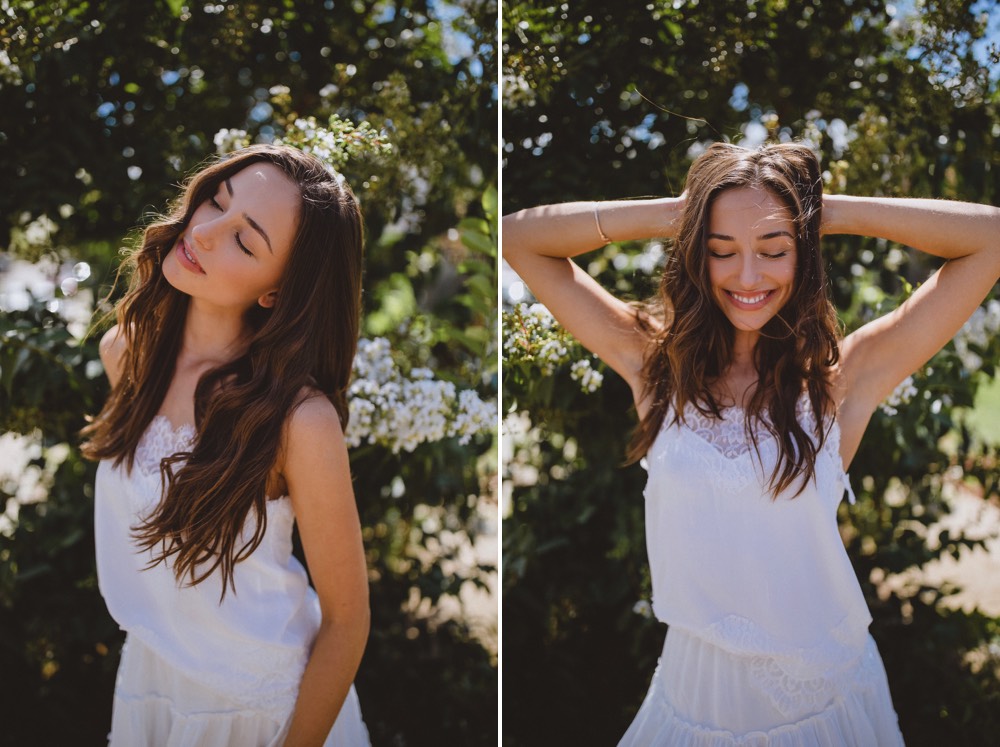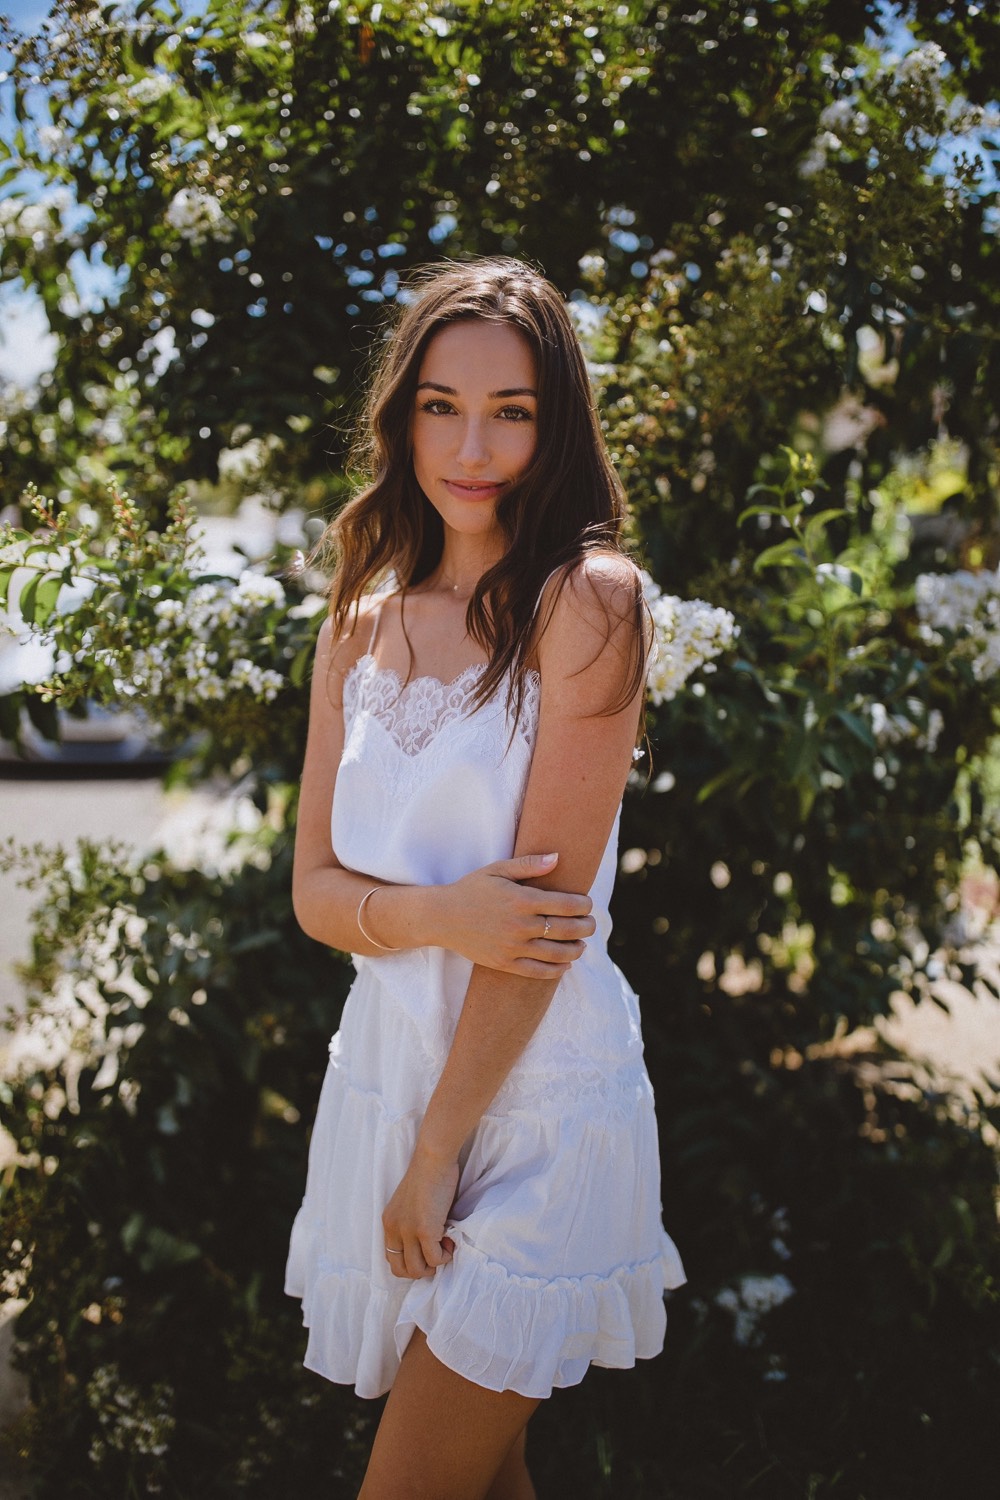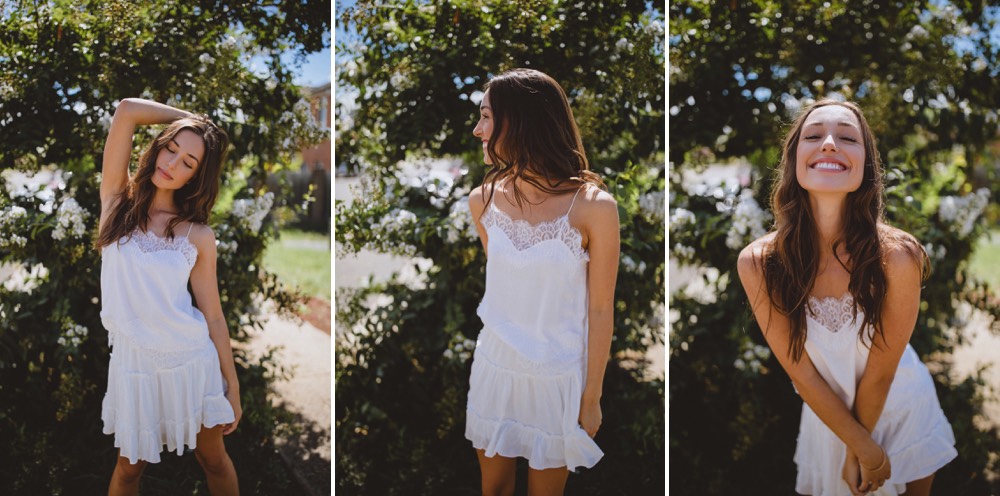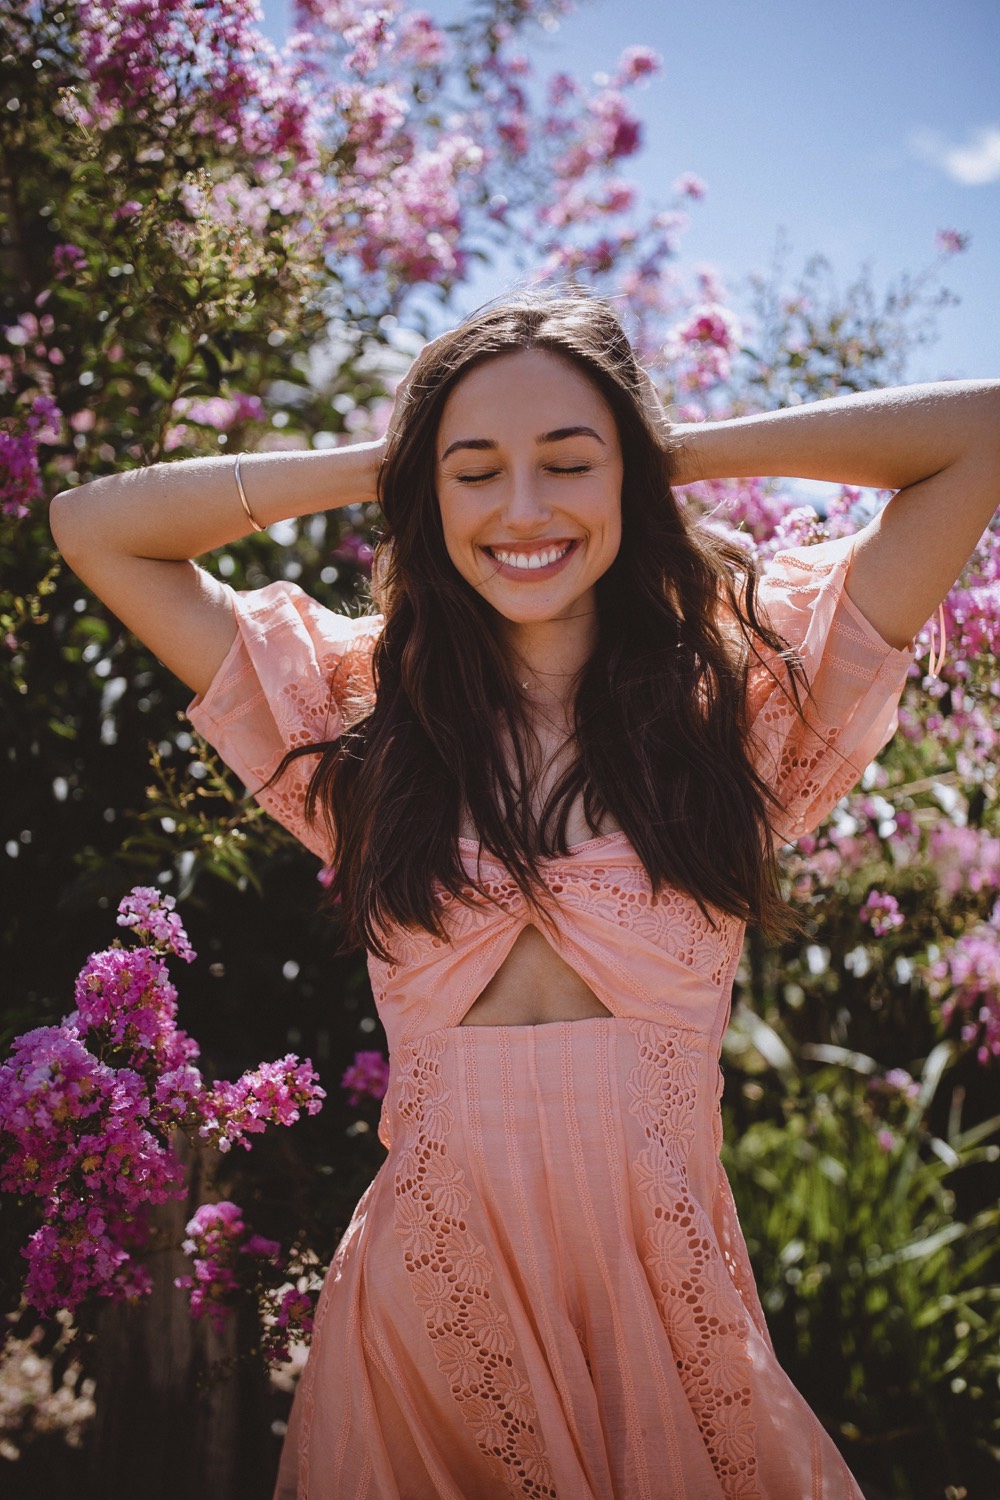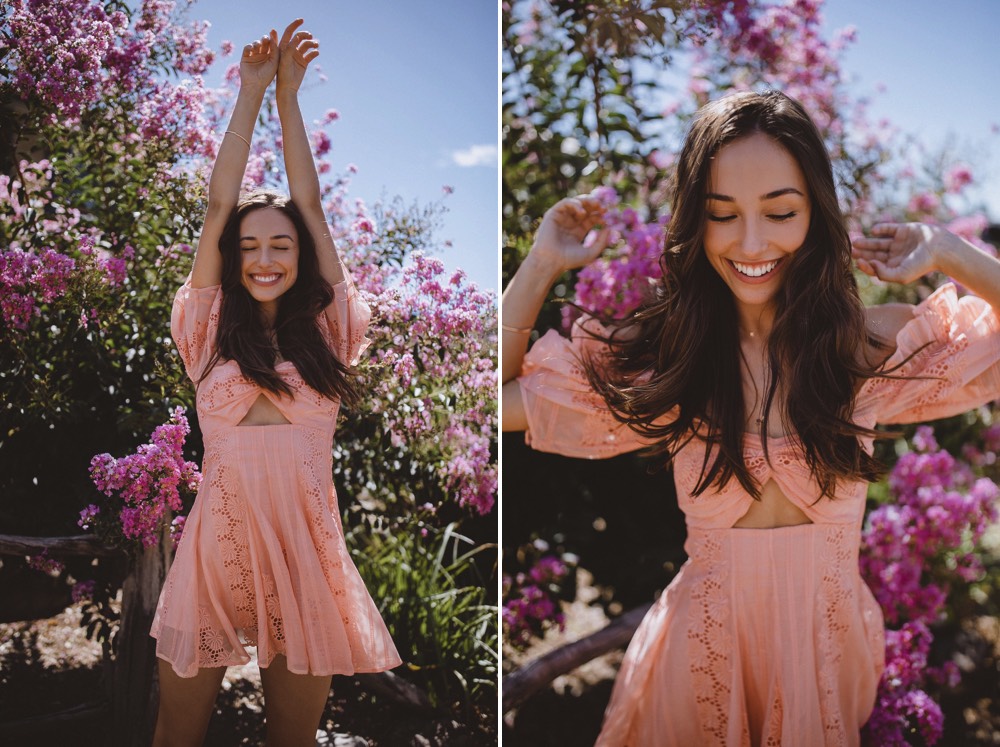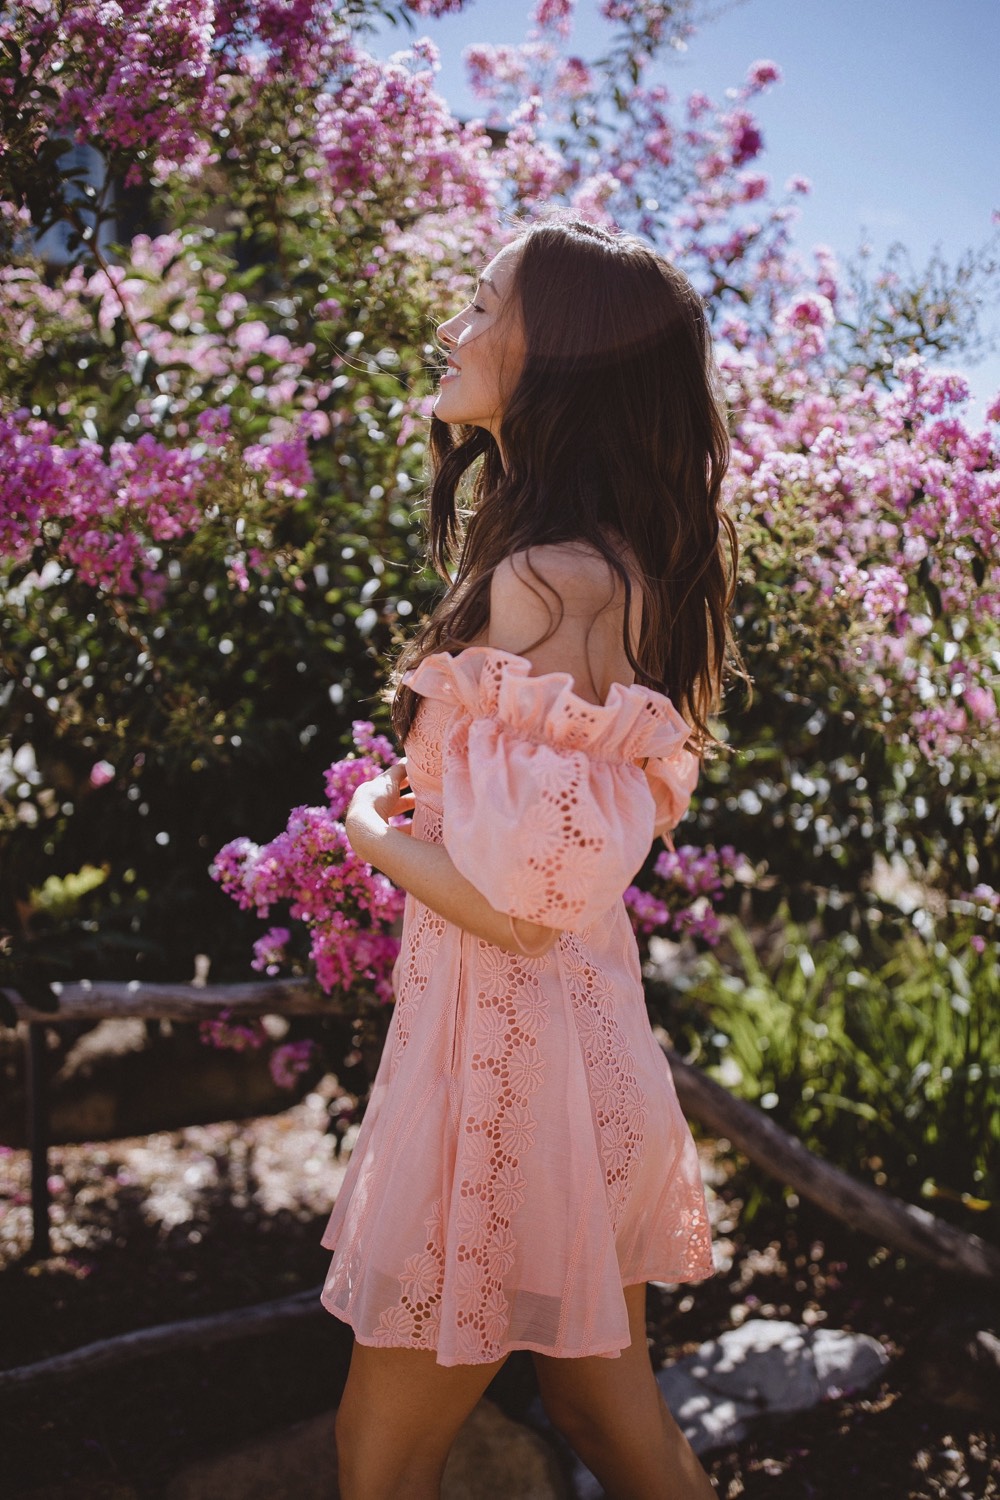
Sony A7iii + Zeiss 35mm f1.4 portrait photography | hideout

Comment

Sony A7iii + Zeiss 35mm f1.4 portrait photography | hideout

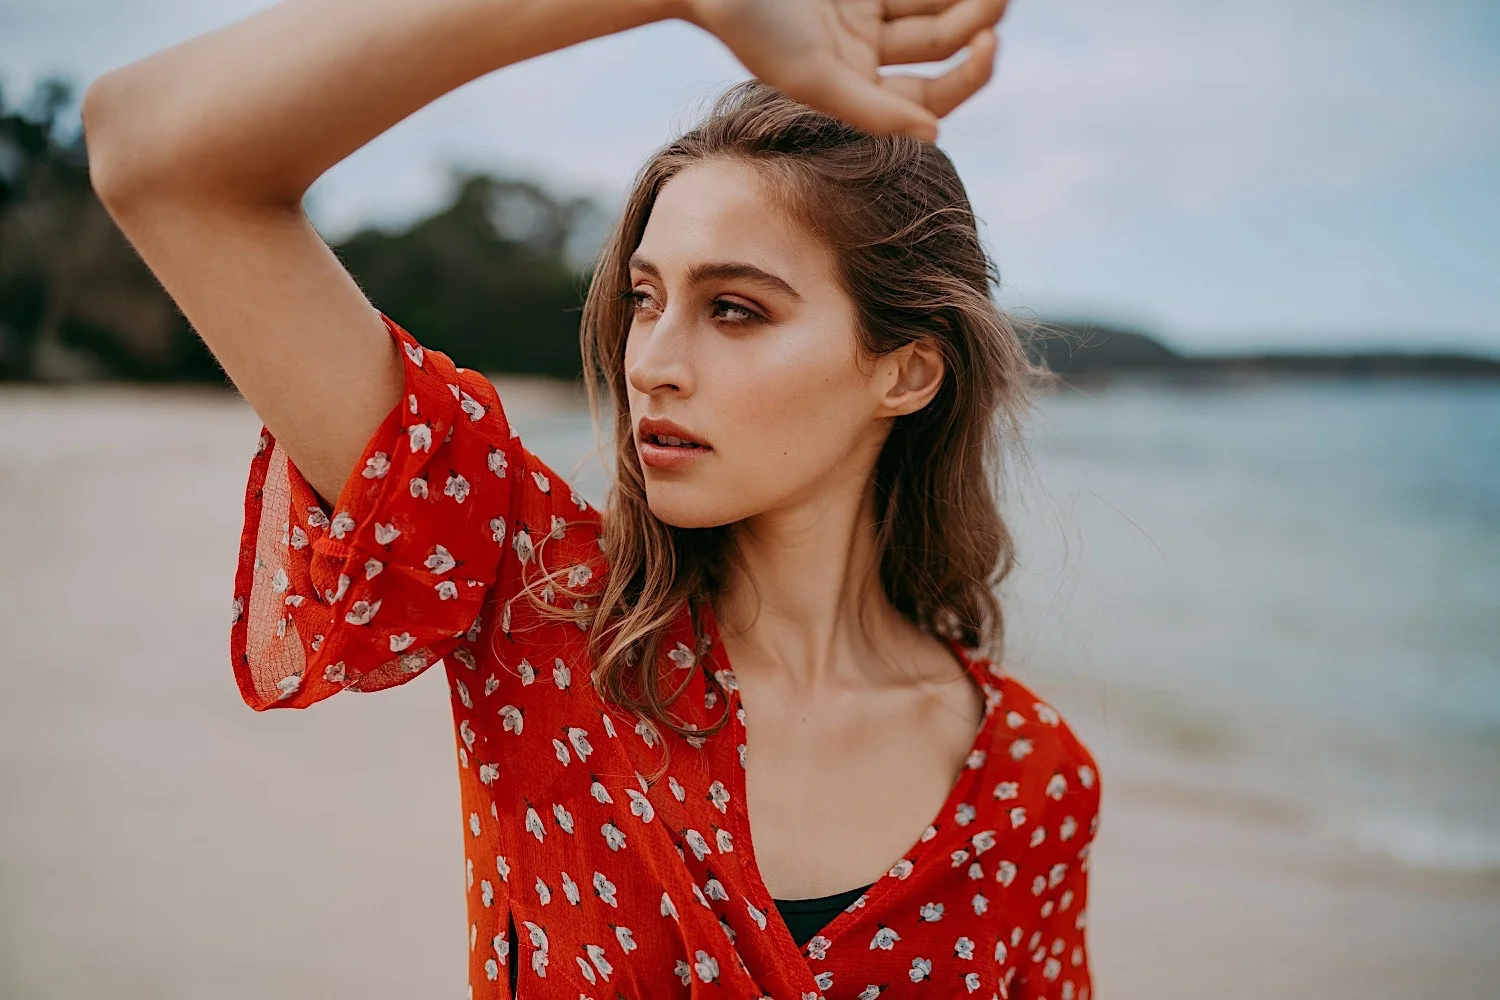
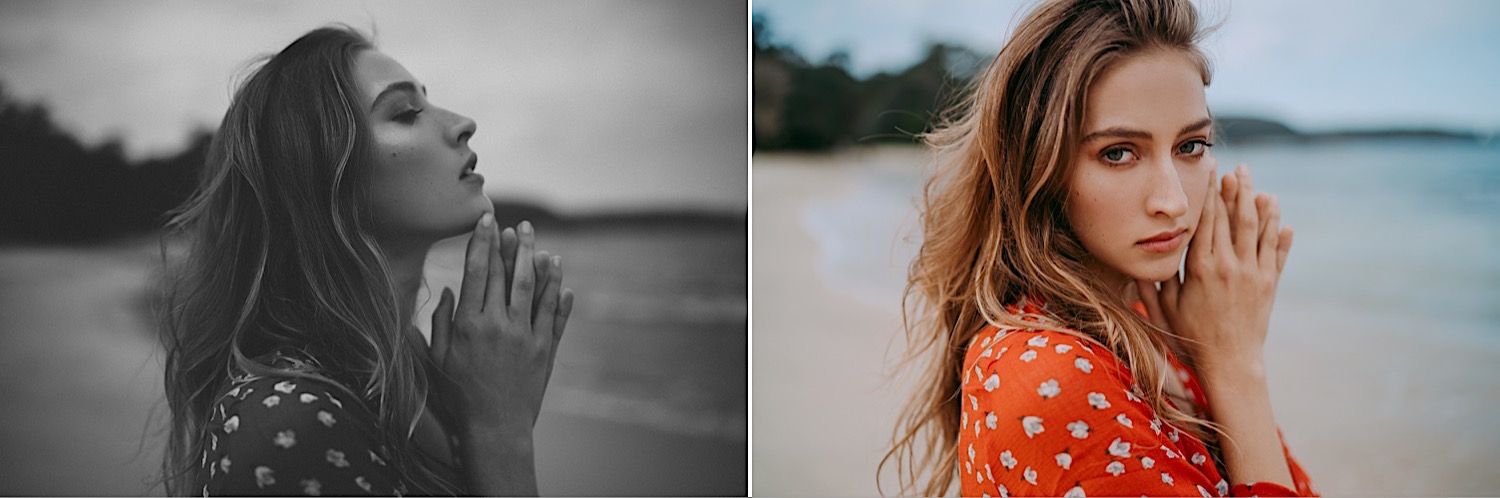
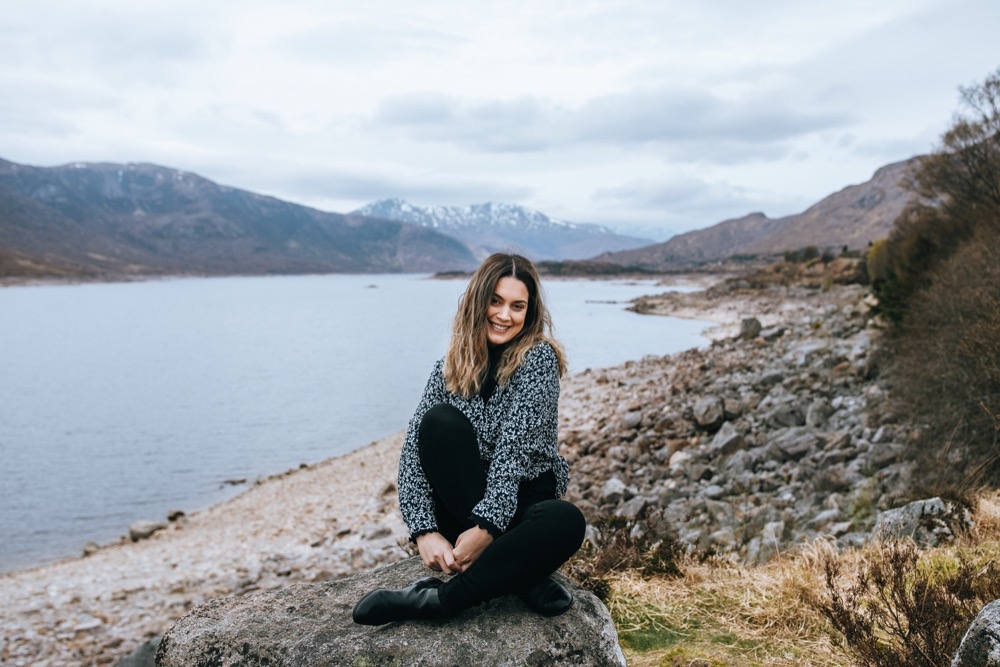
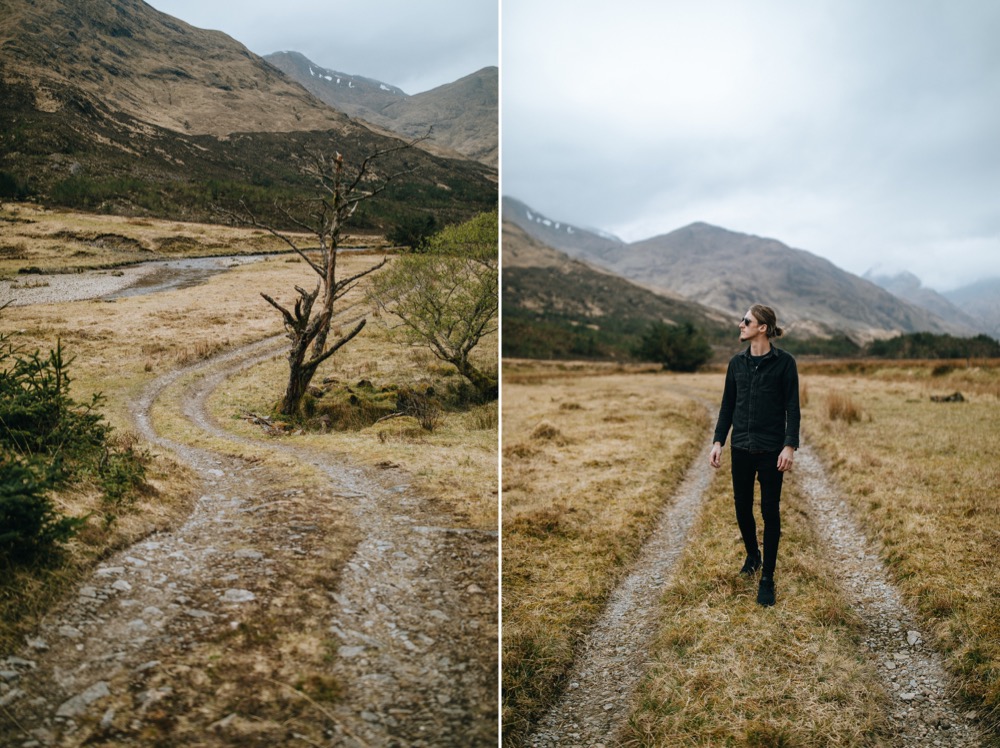
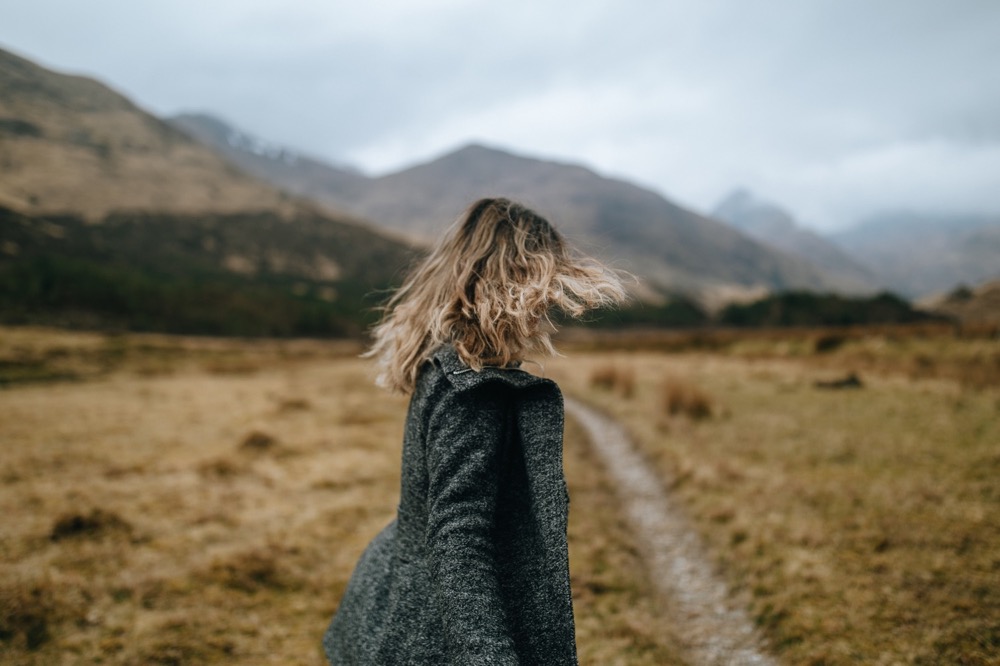
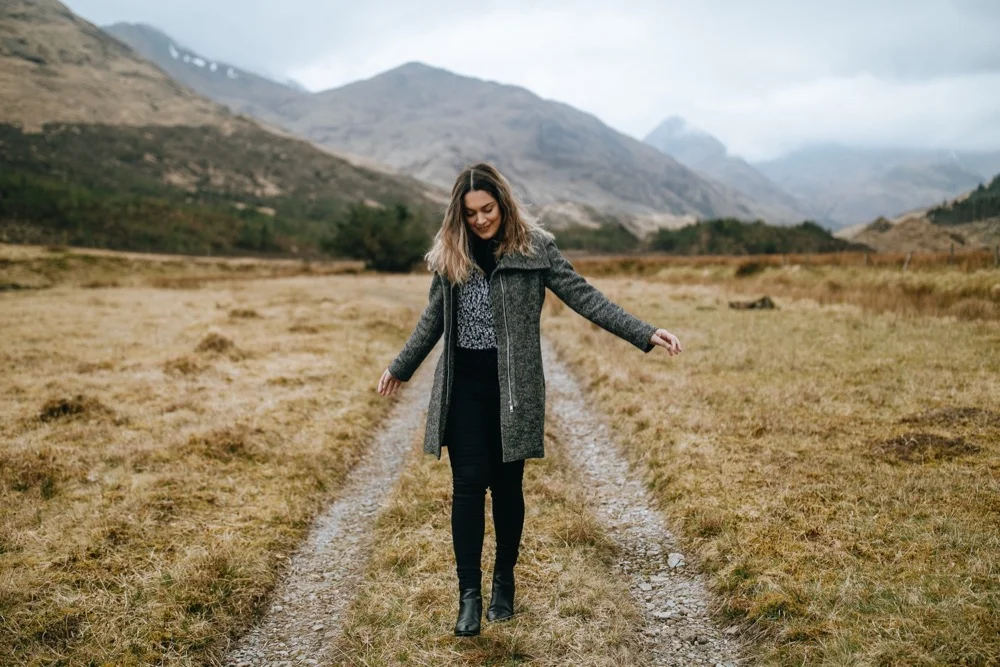
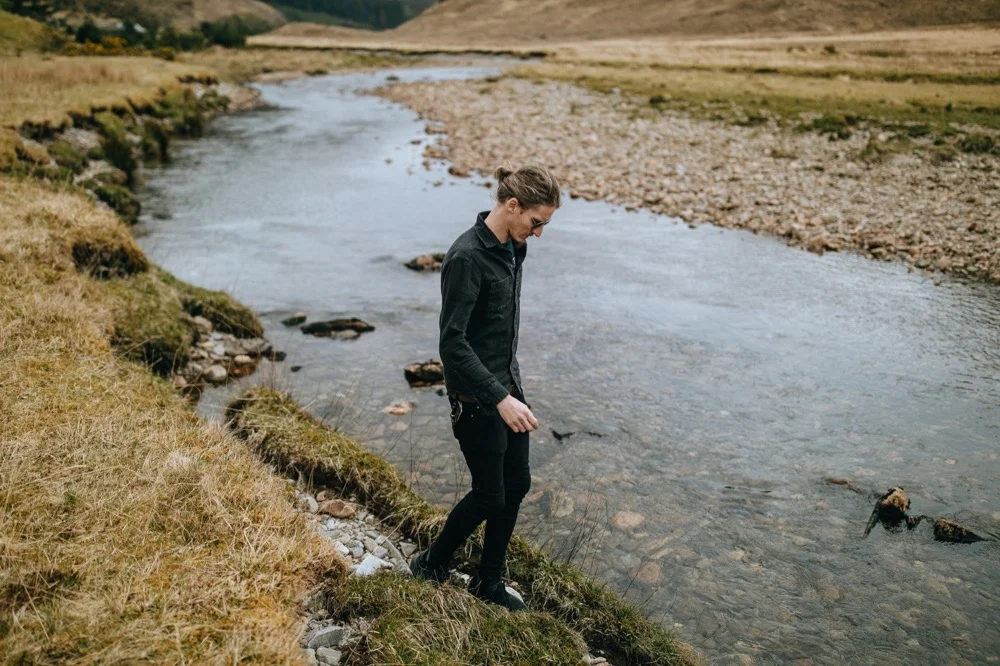
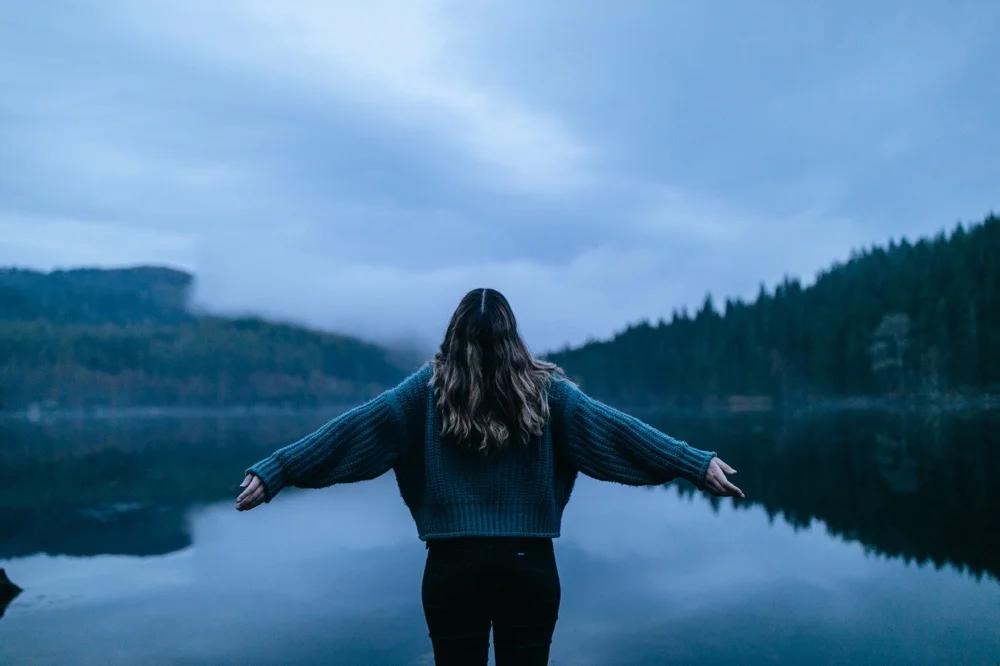
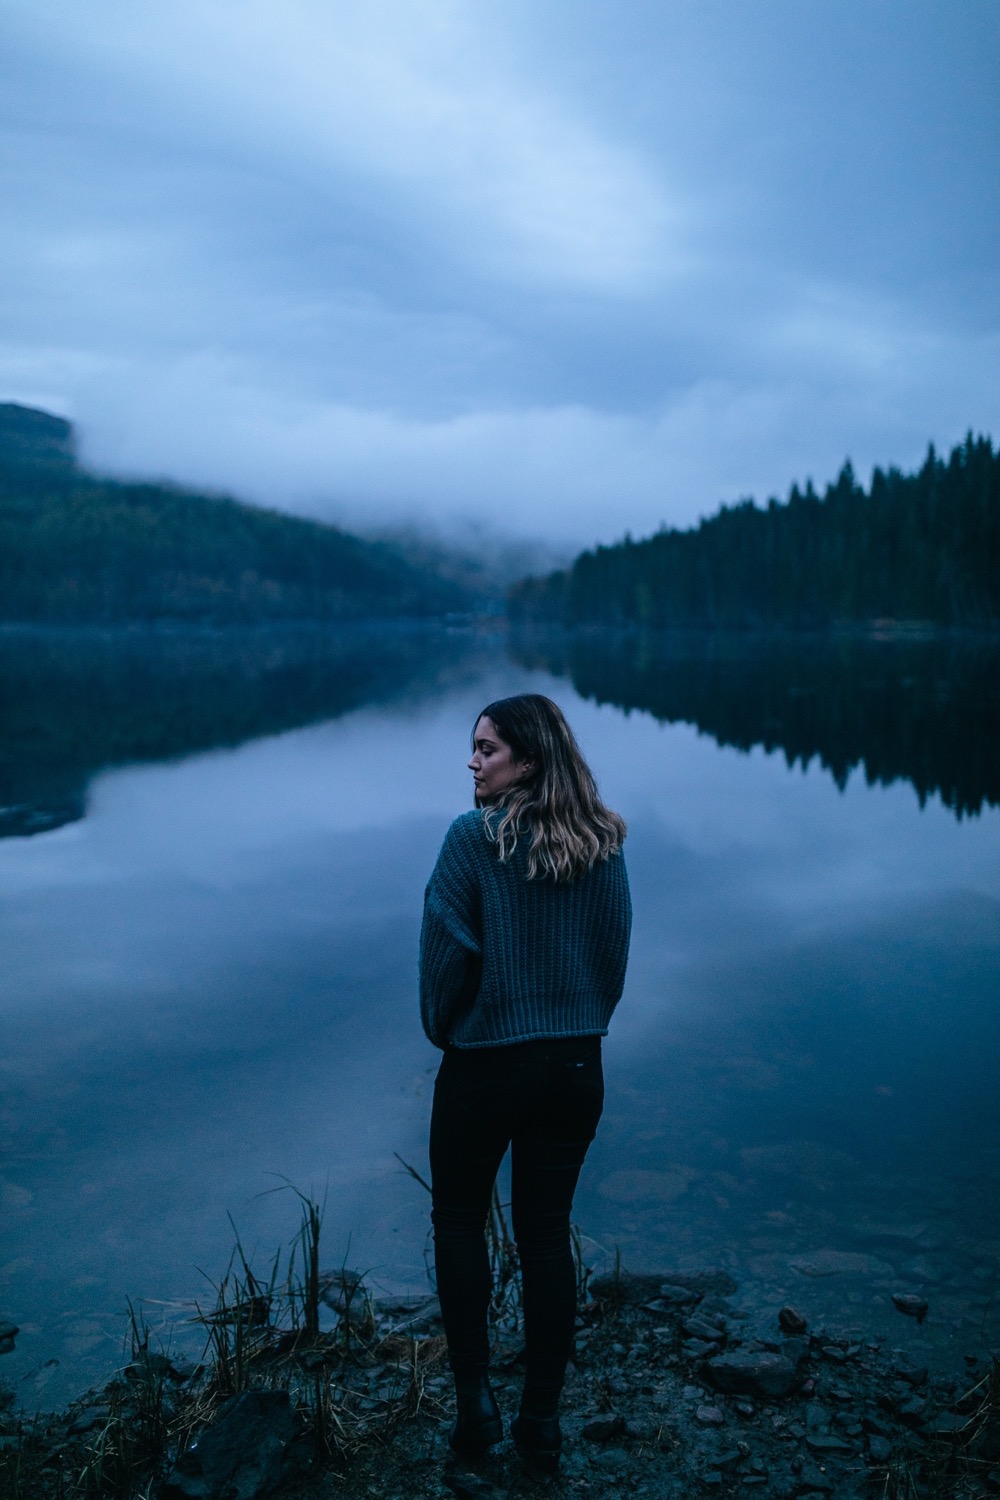
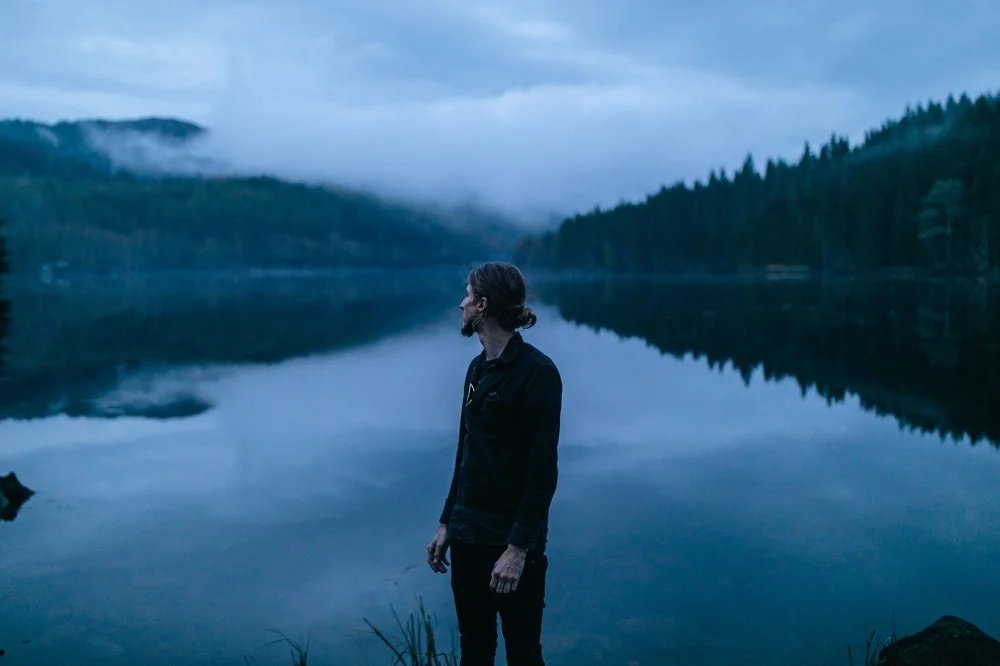
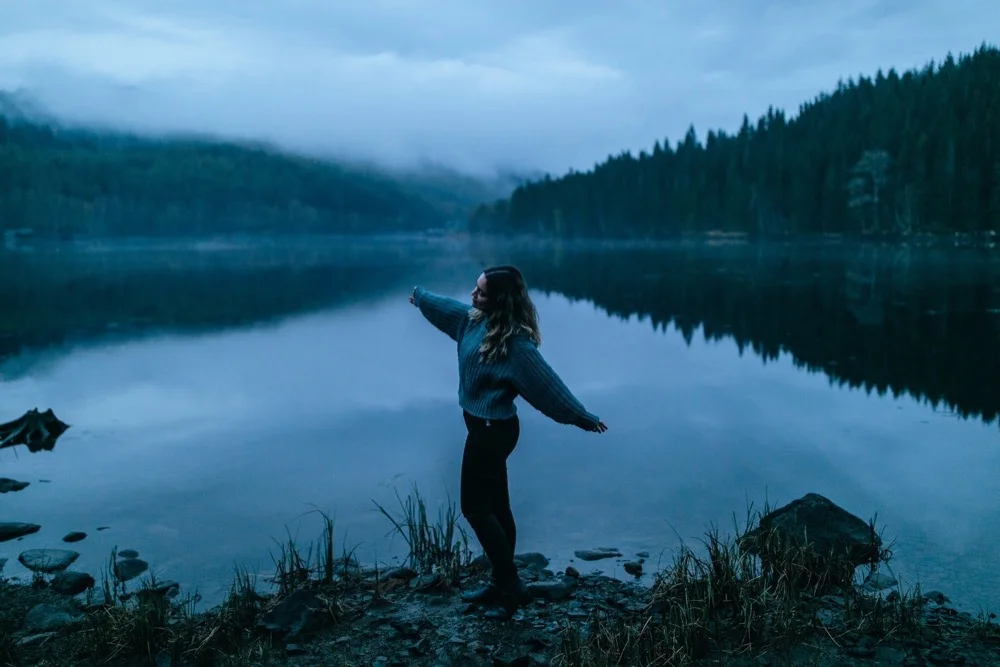
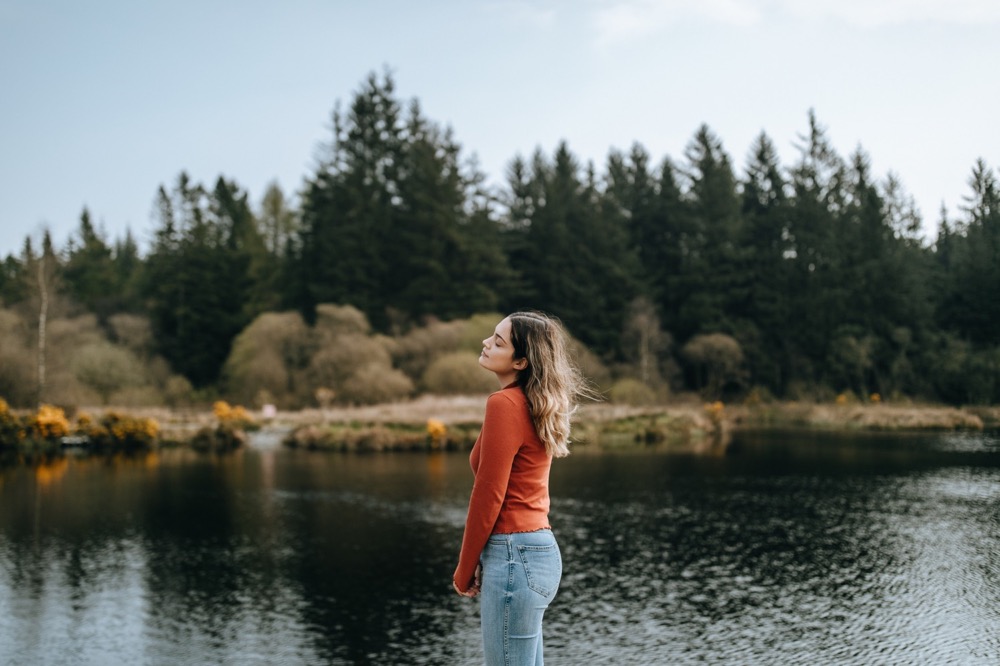
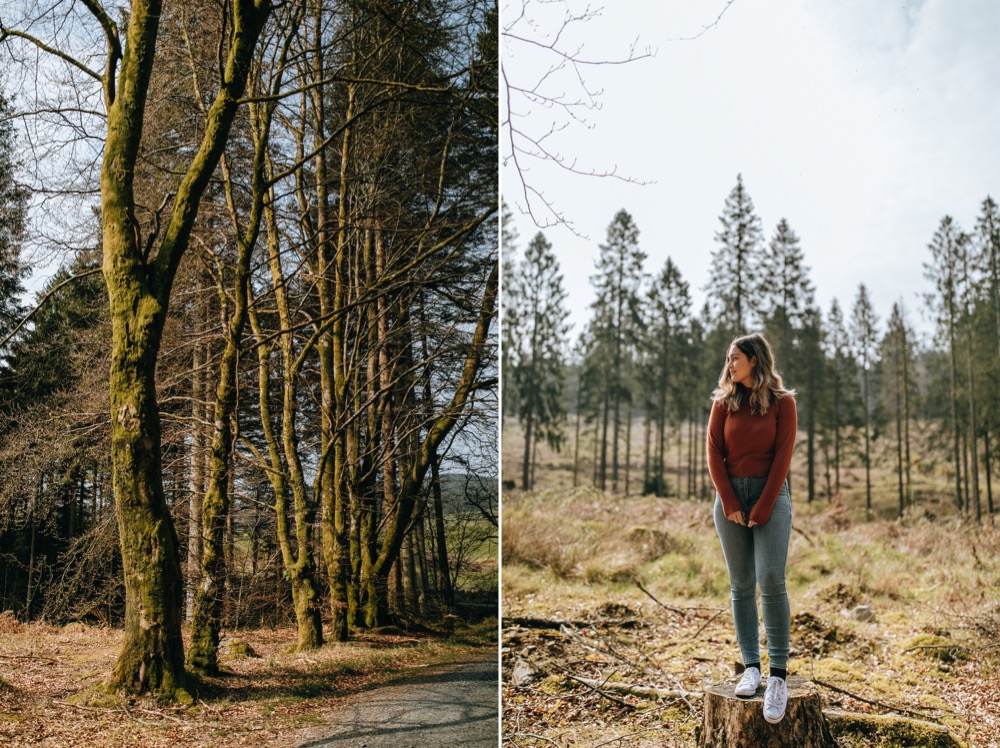
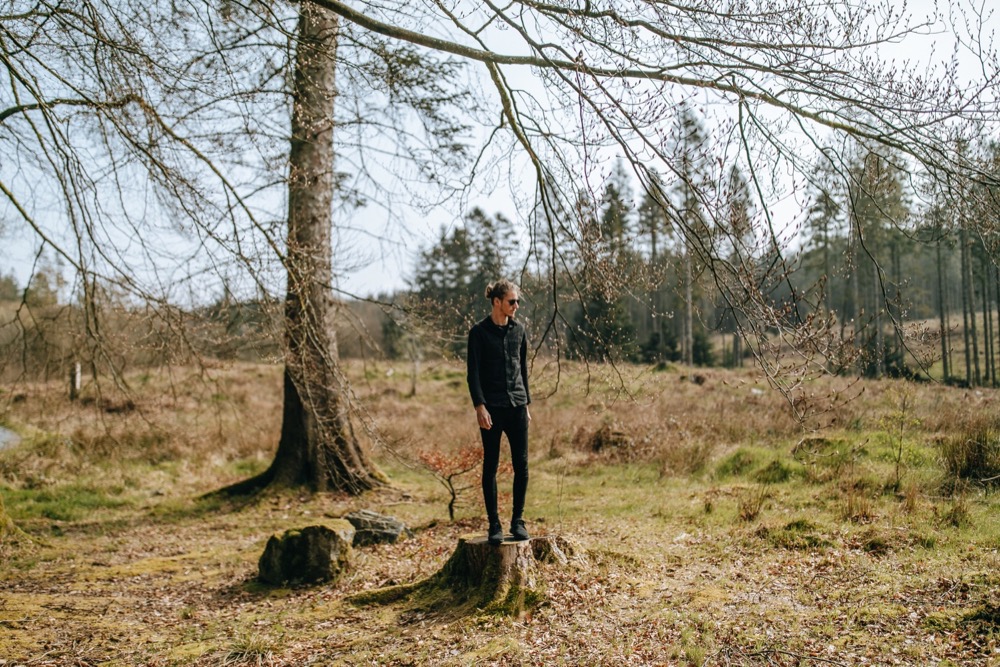
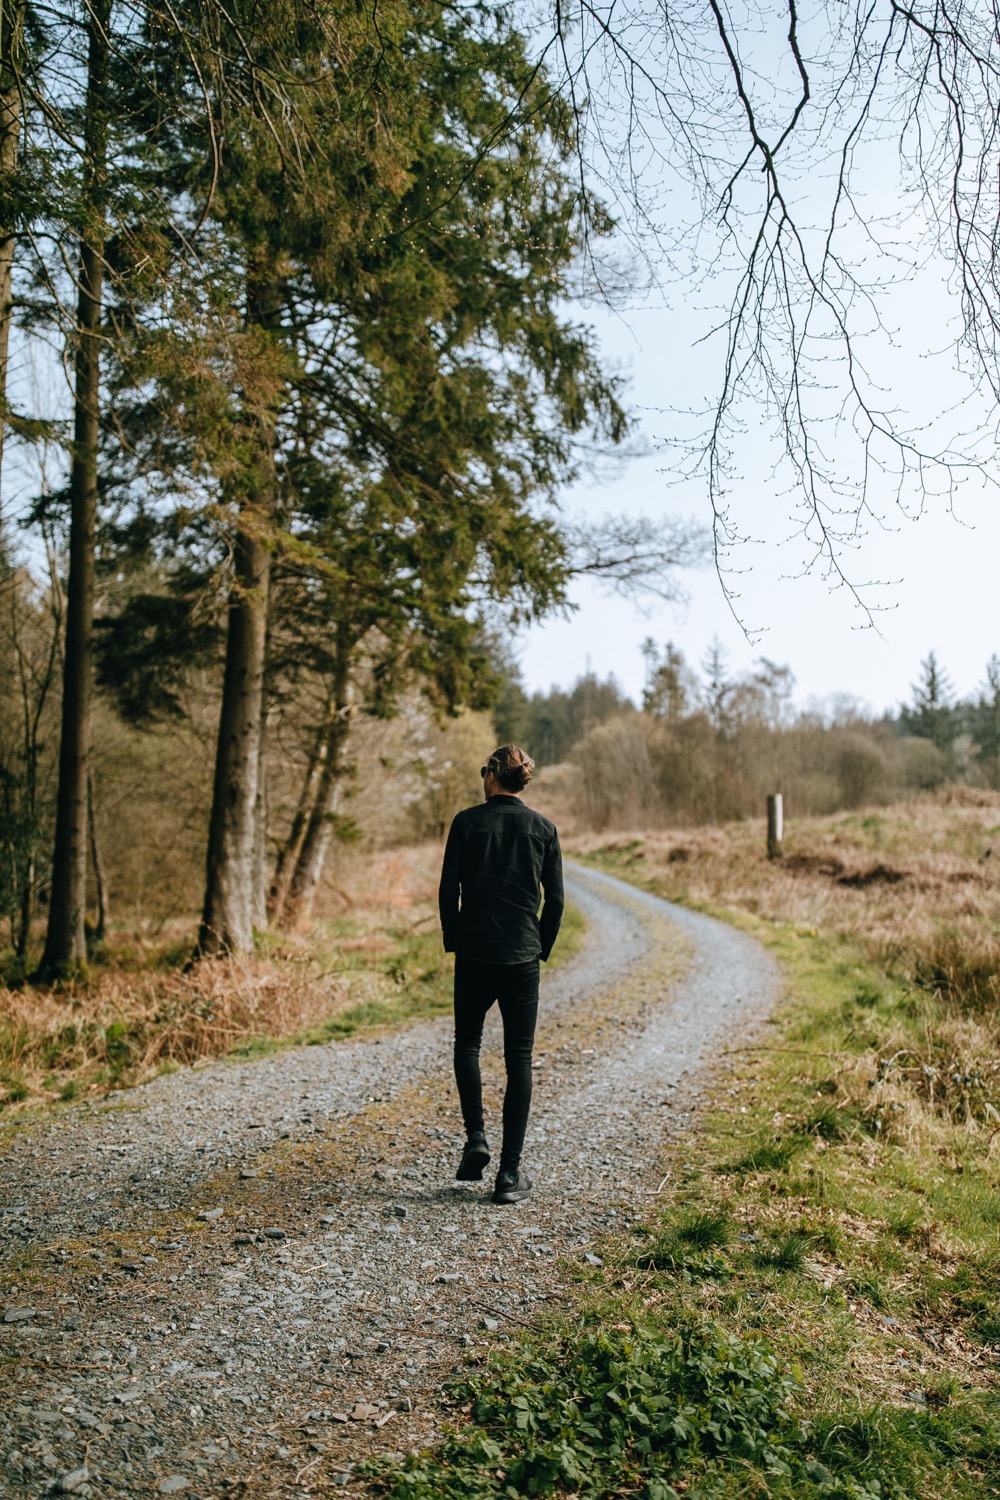
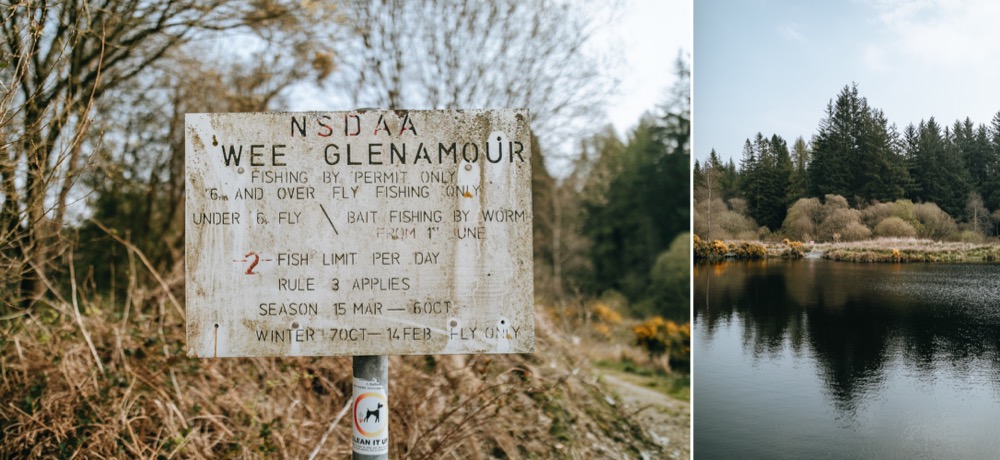
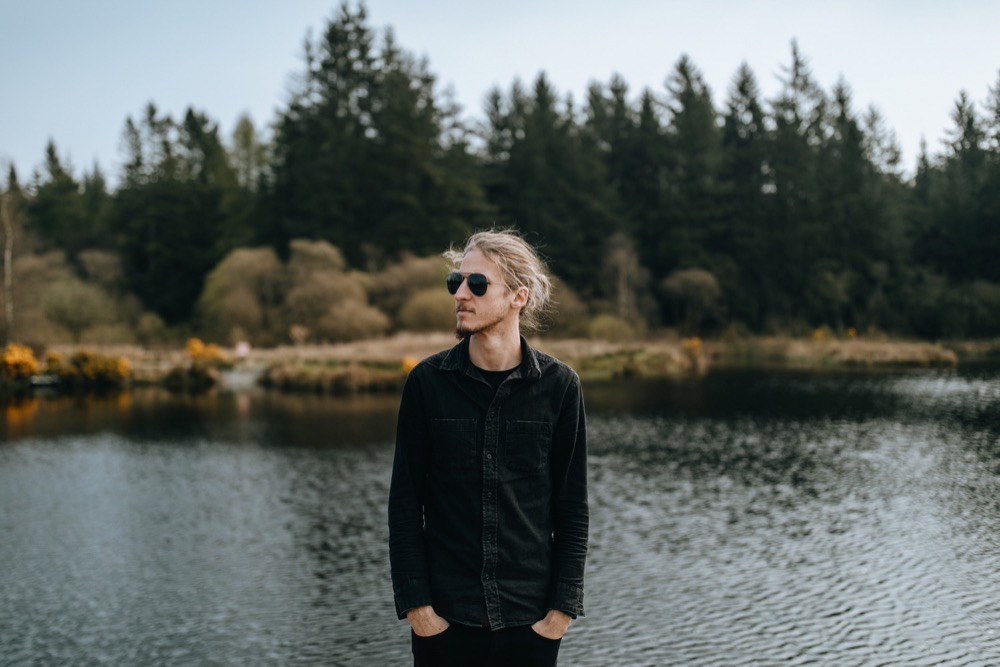
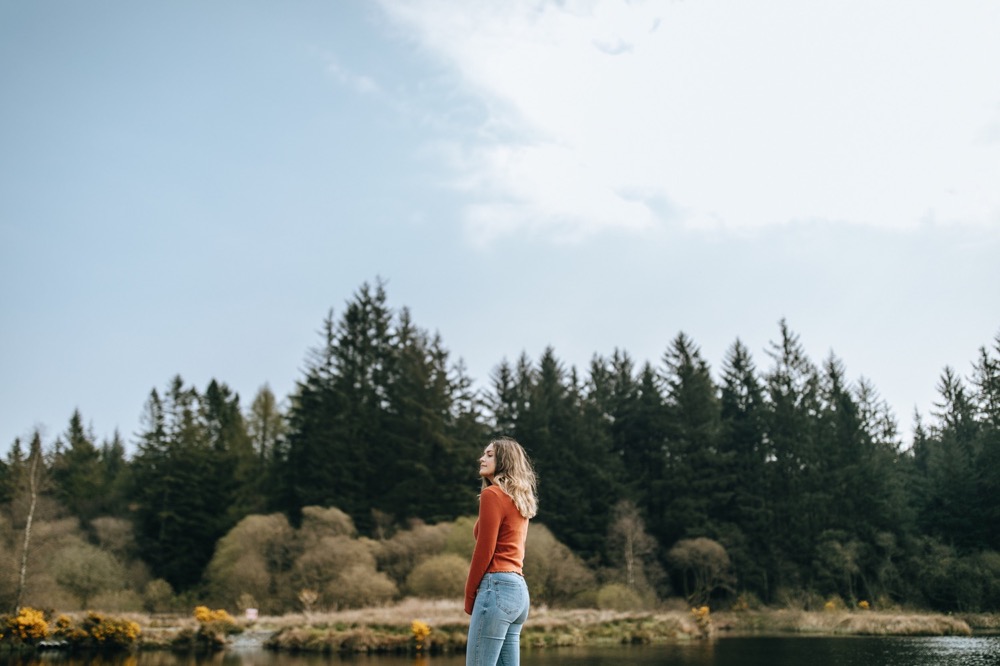
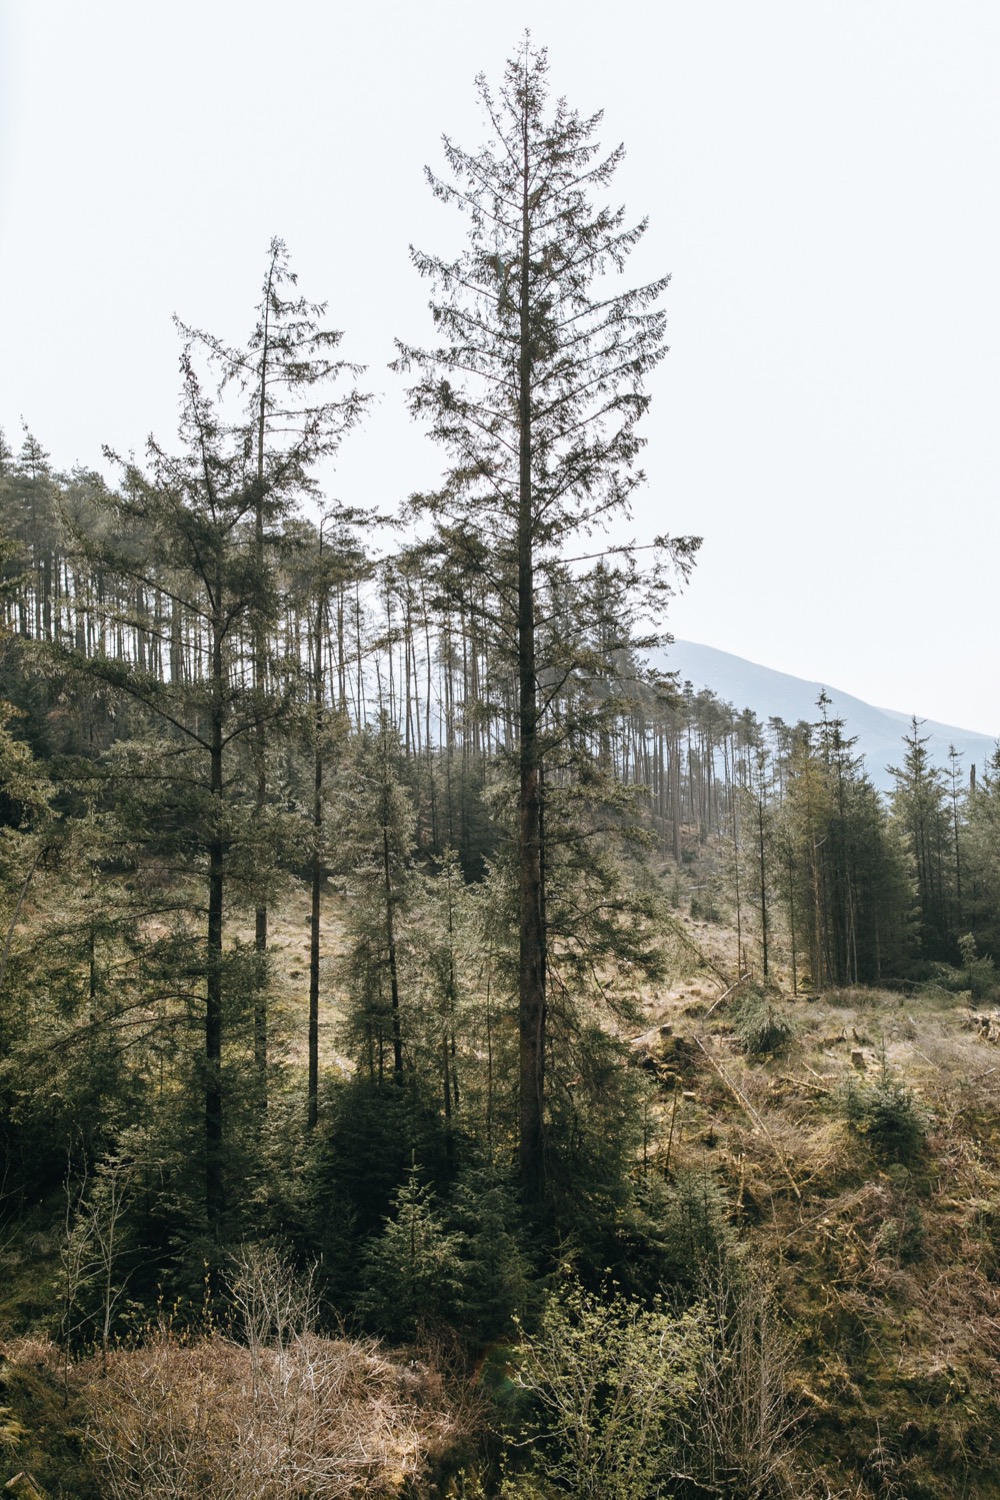
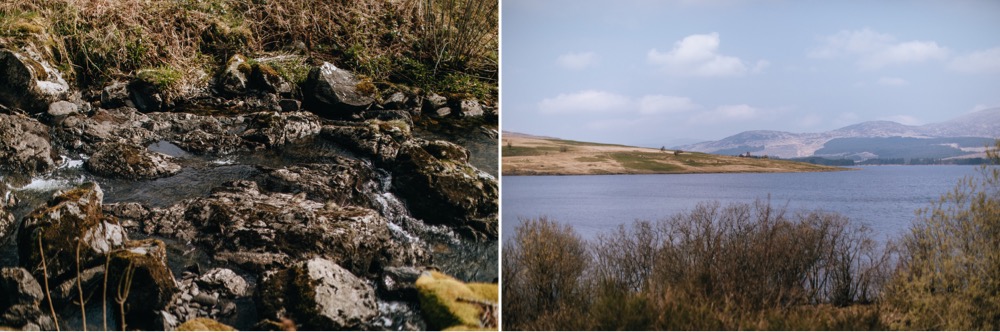
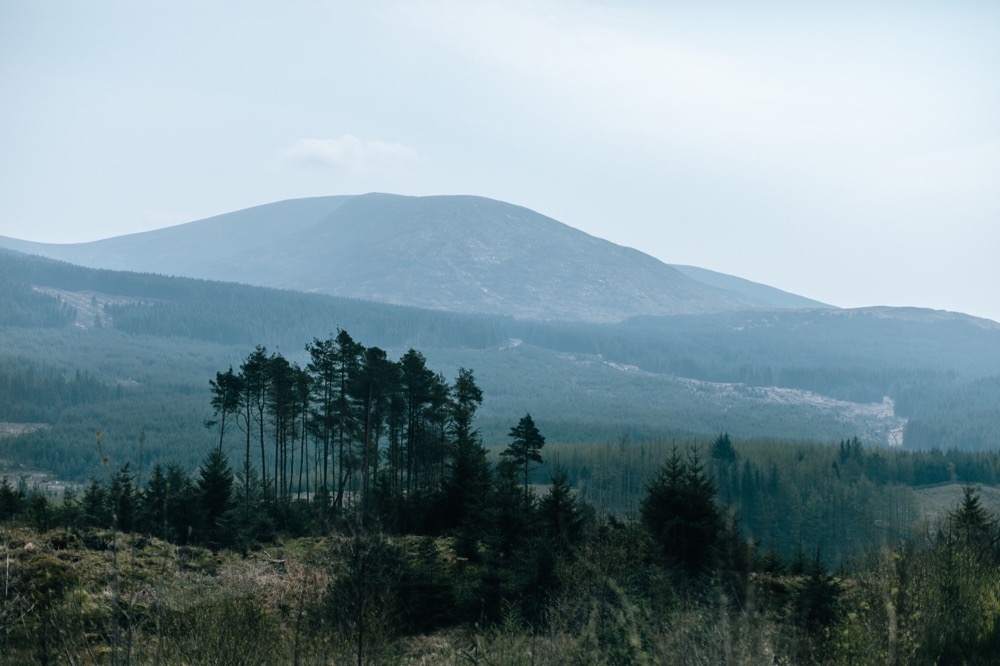
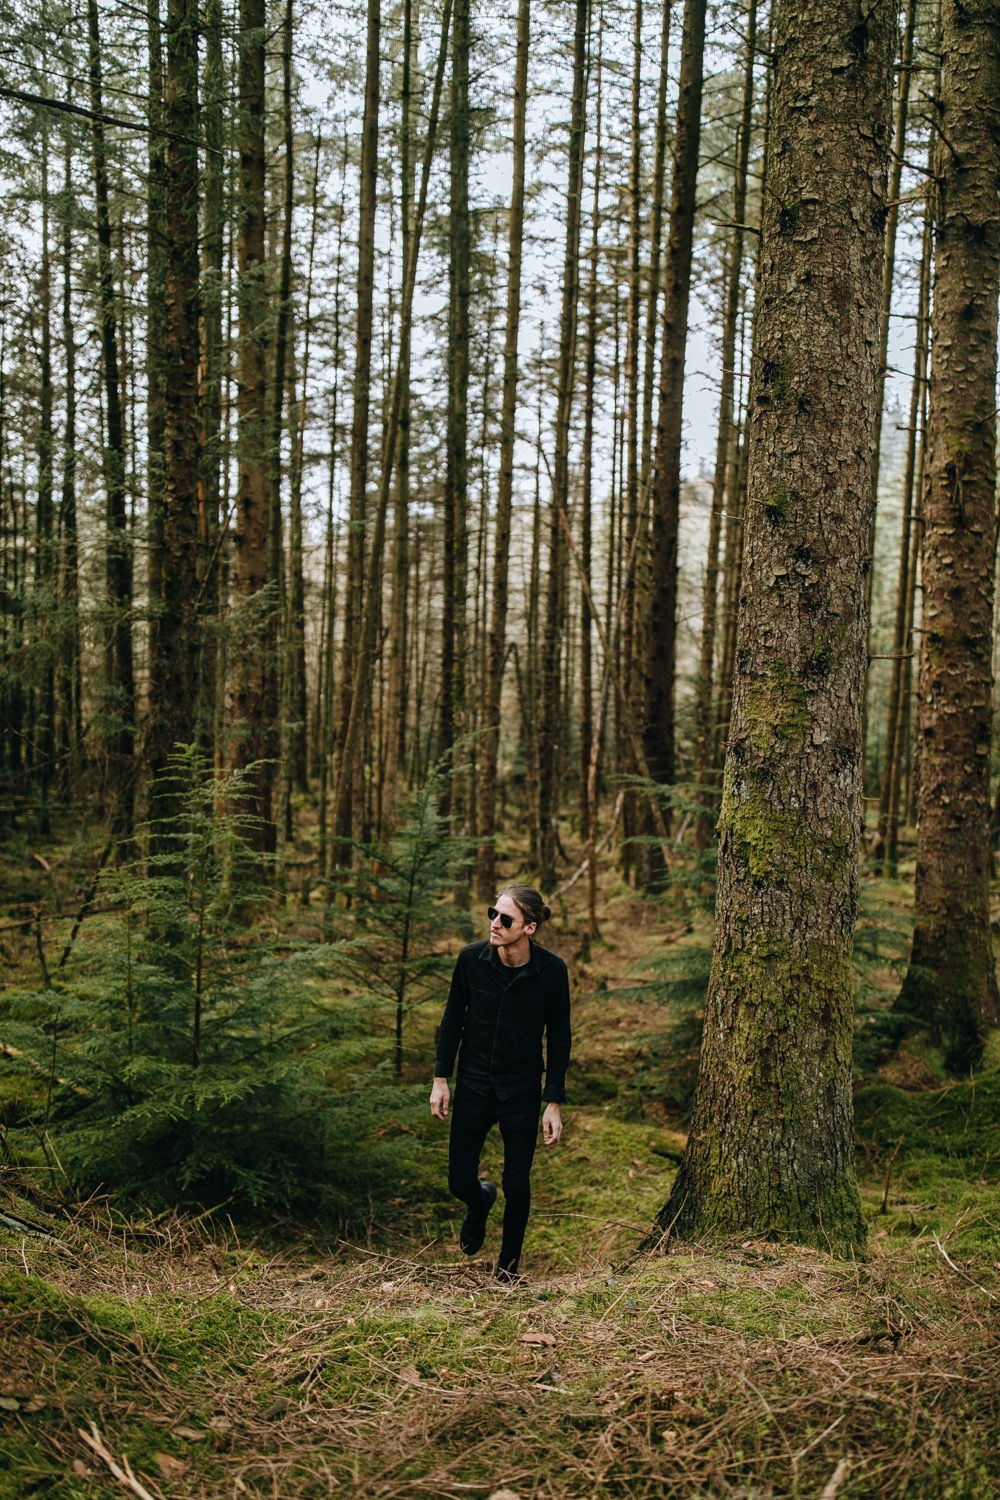
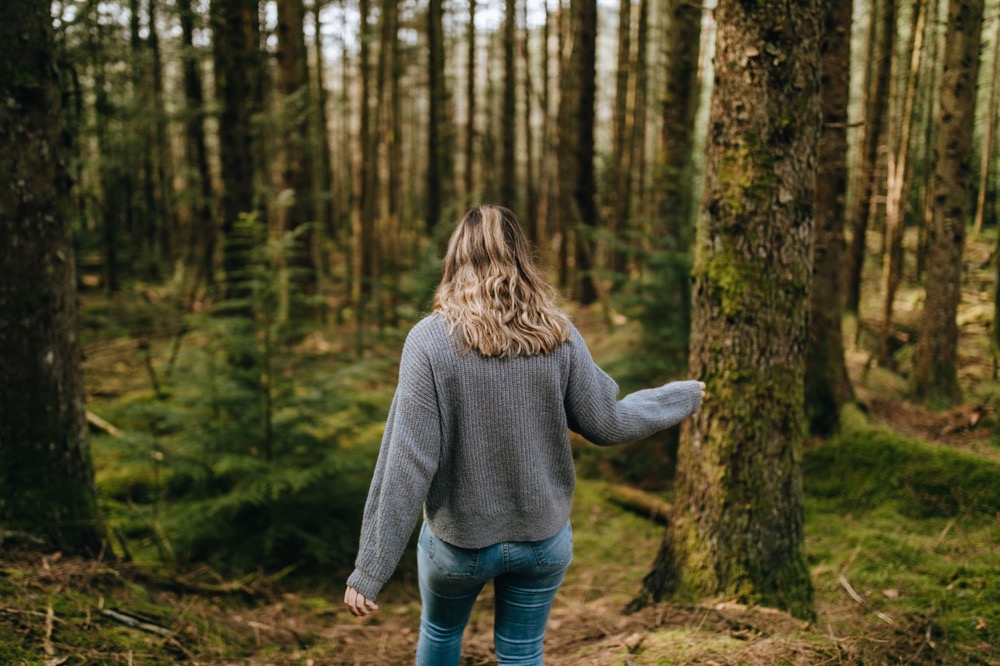
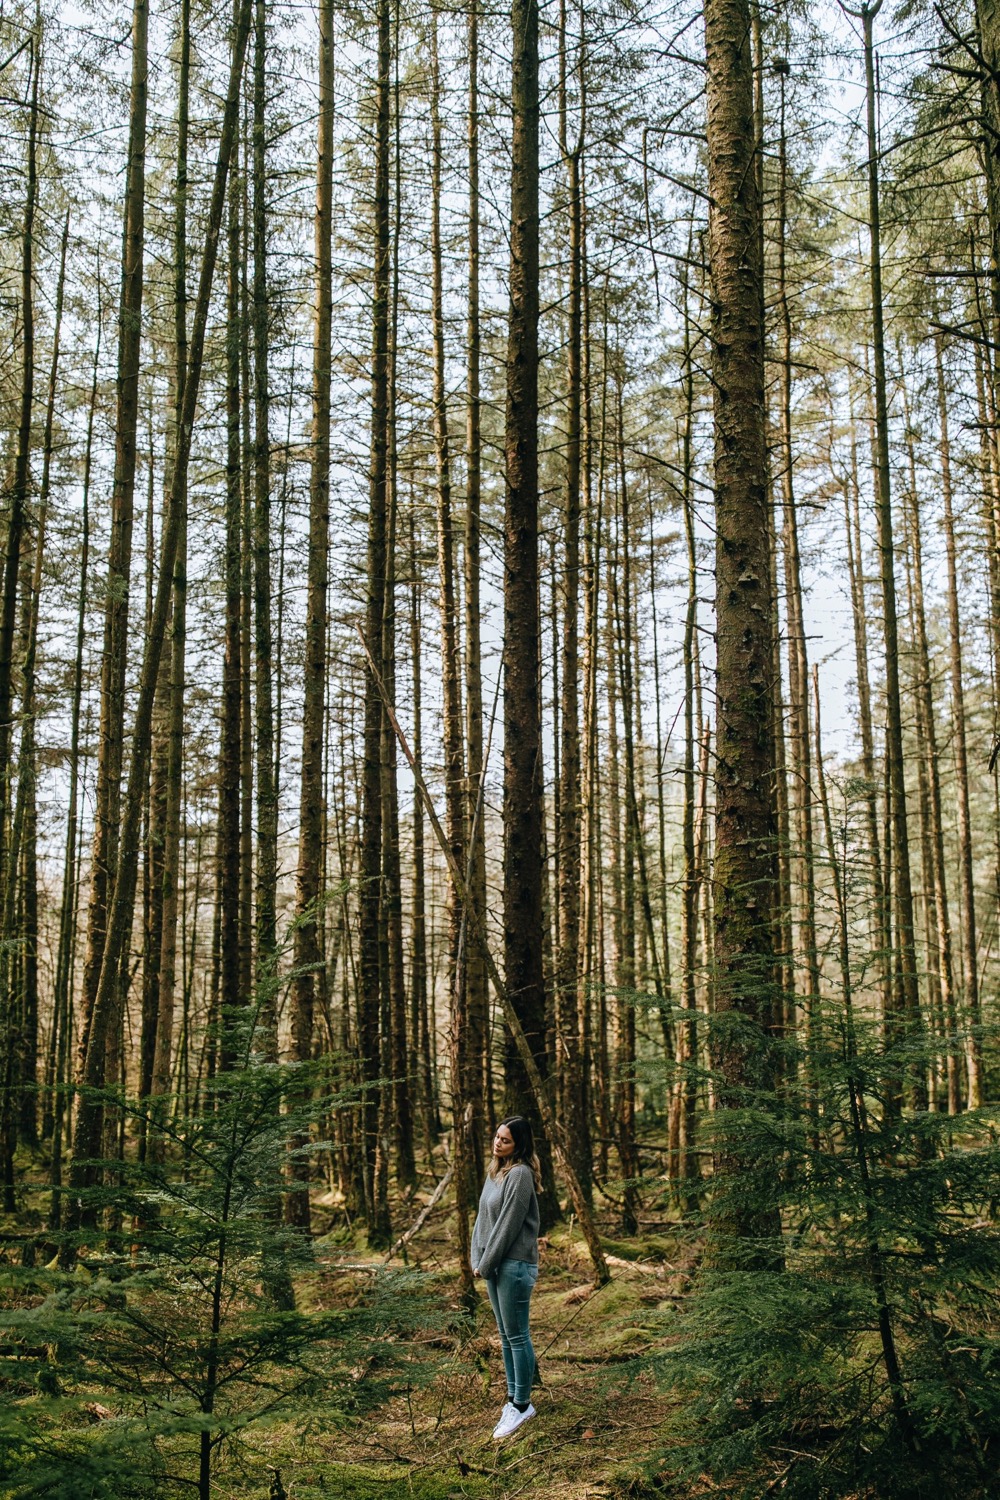
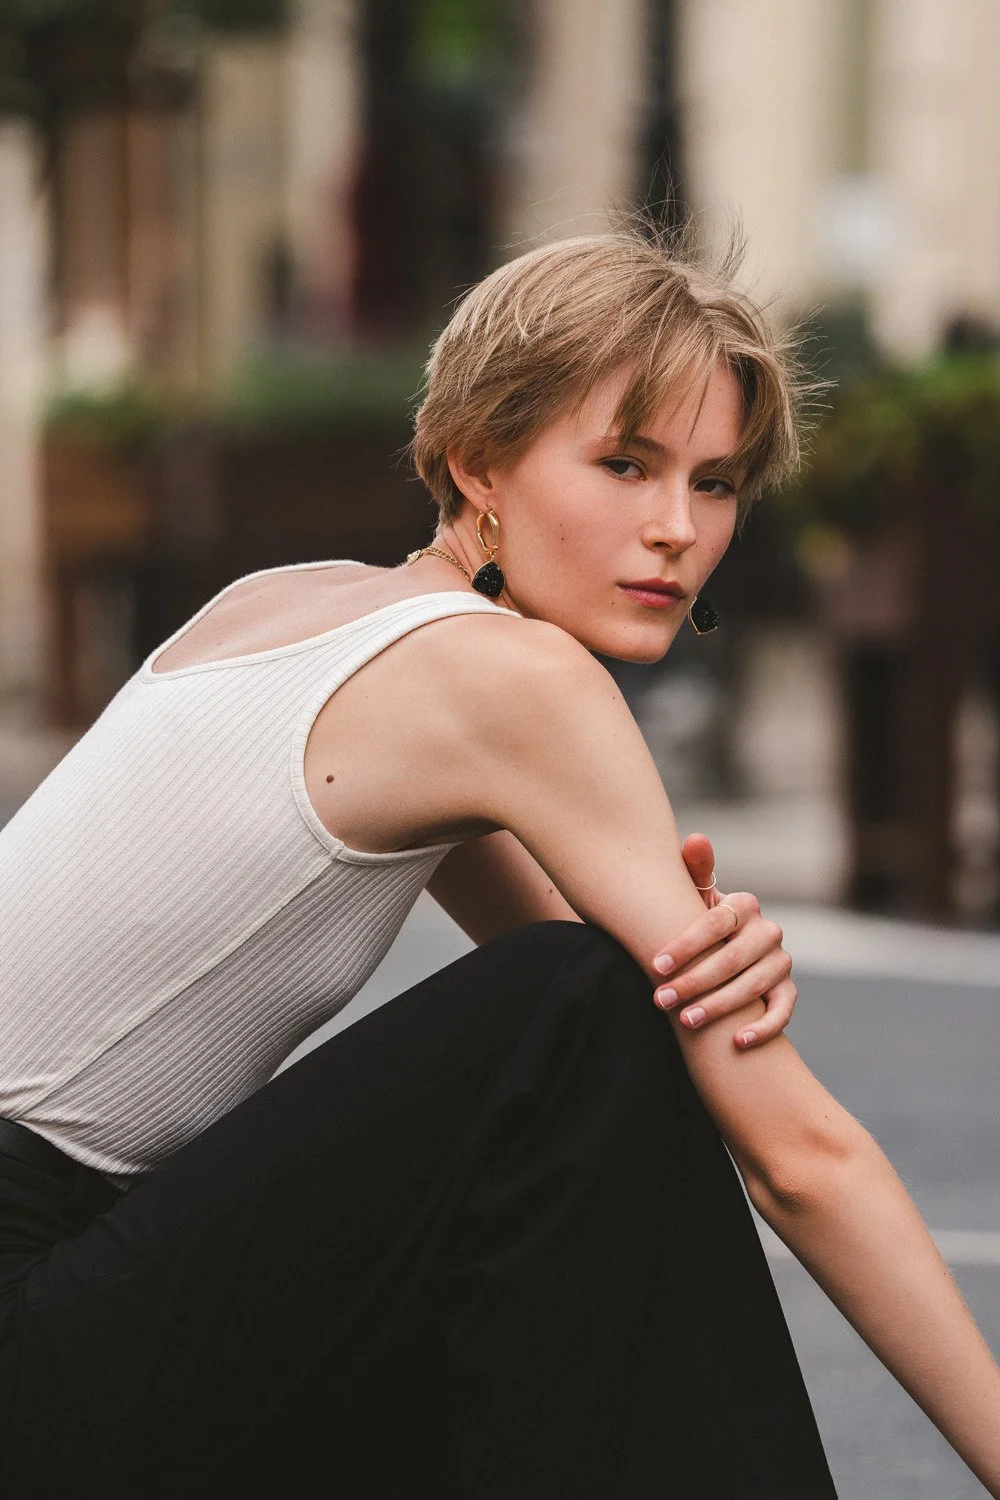
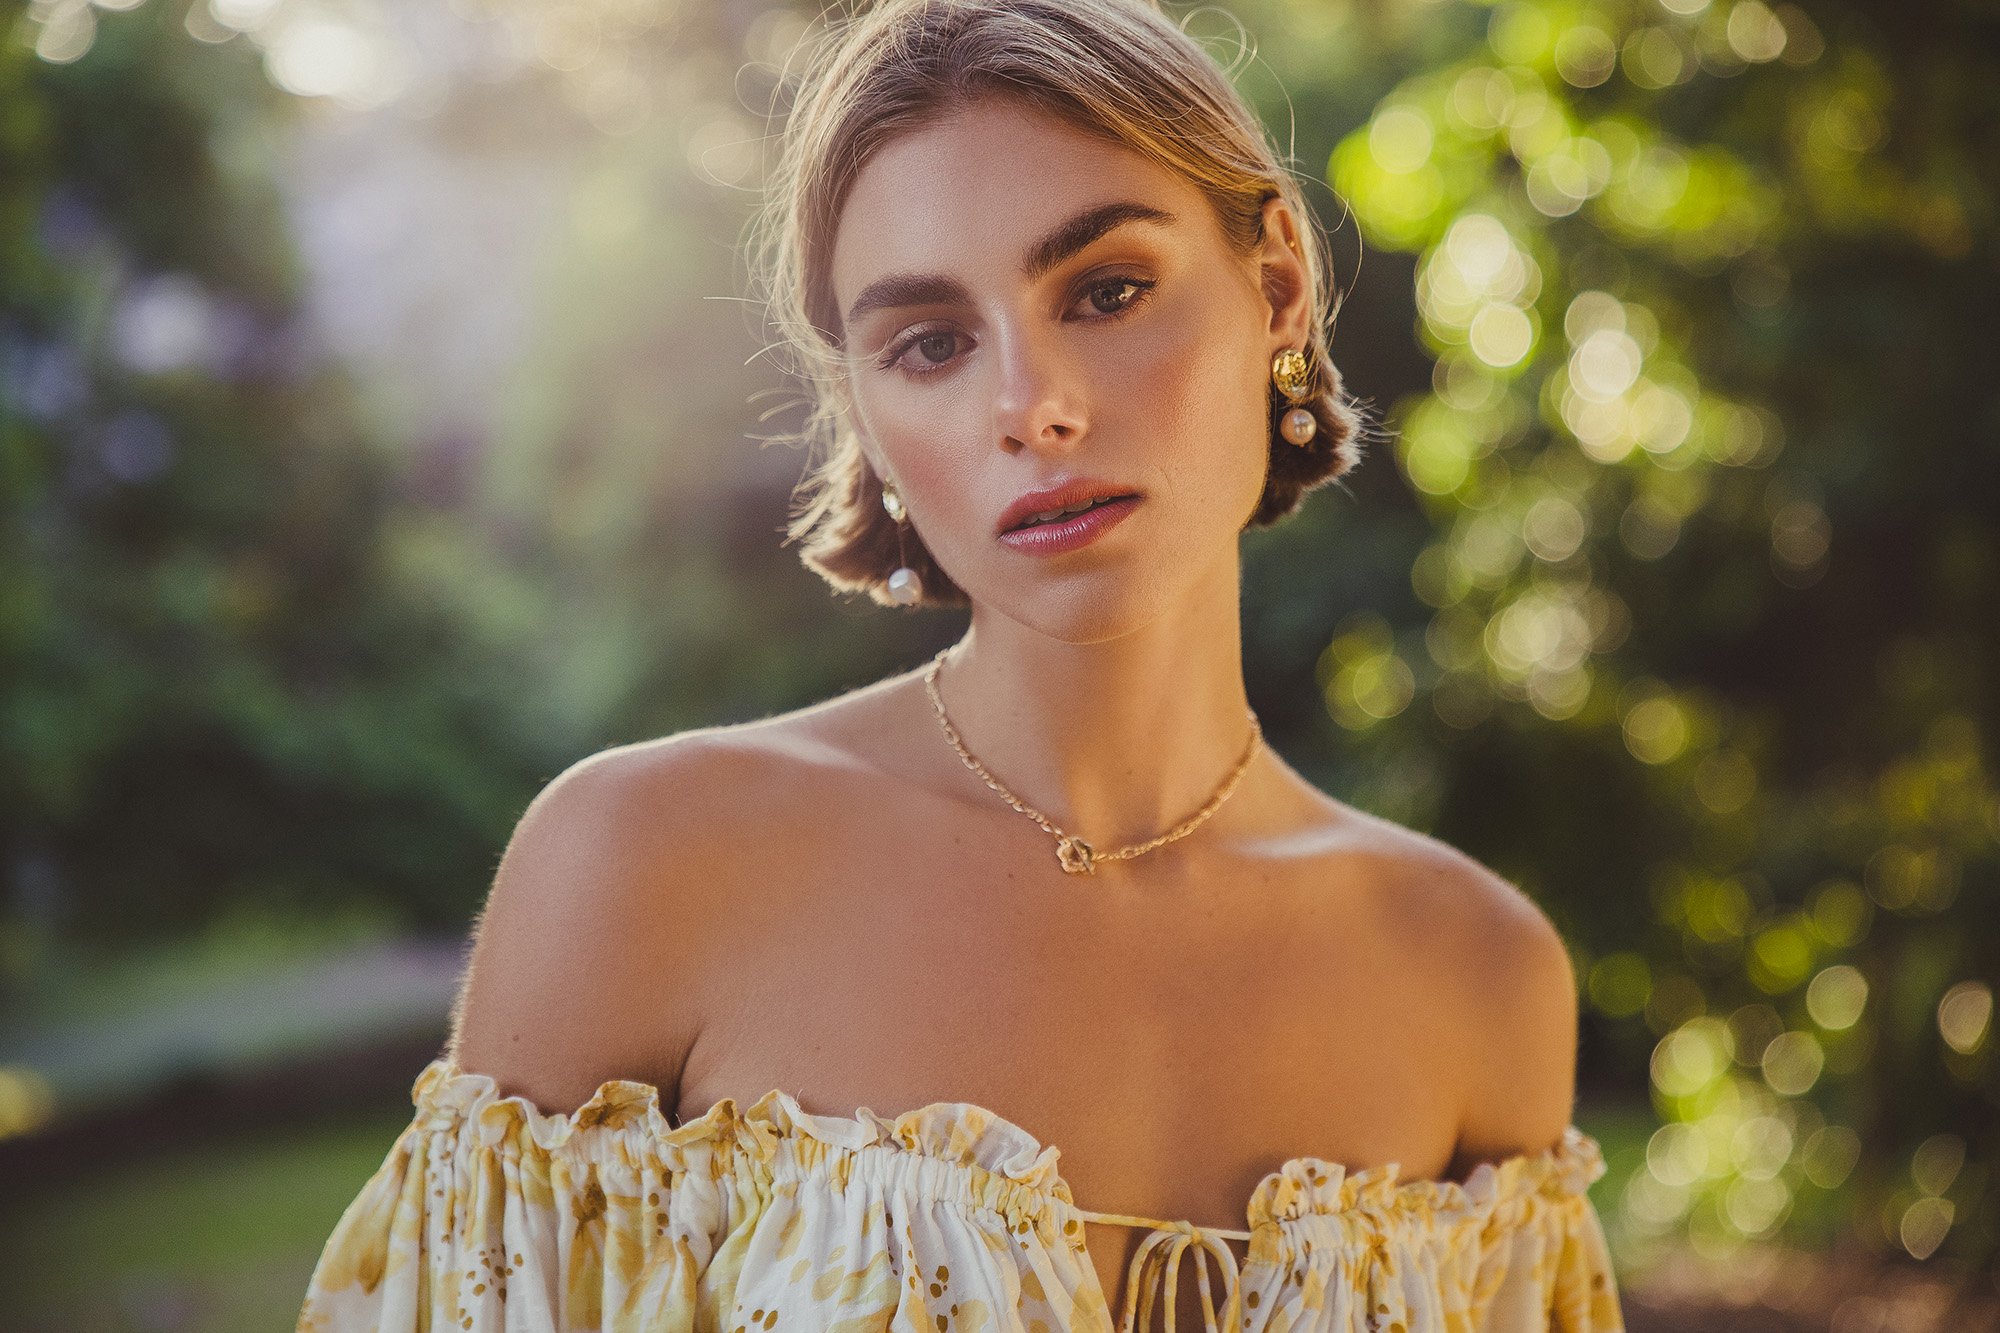
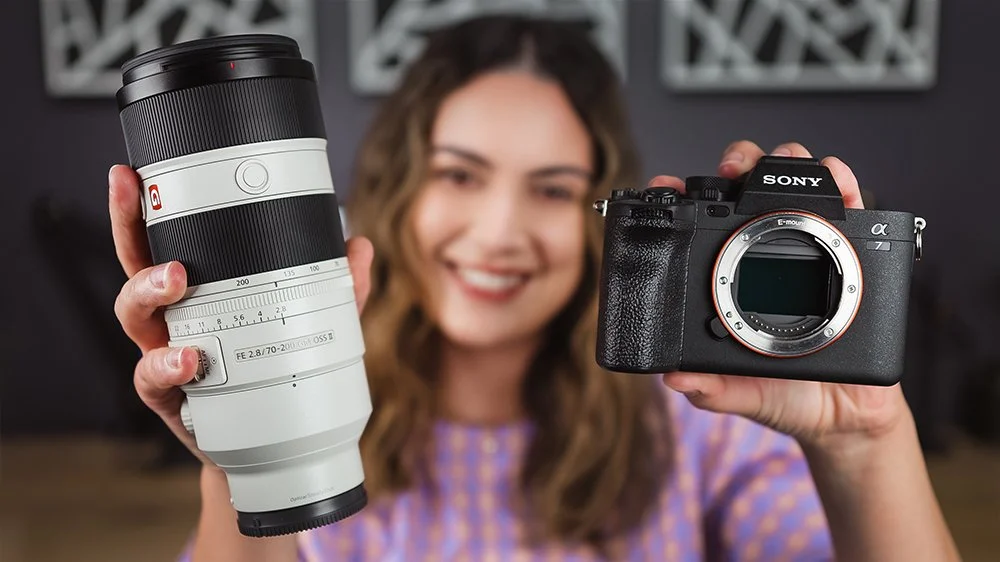
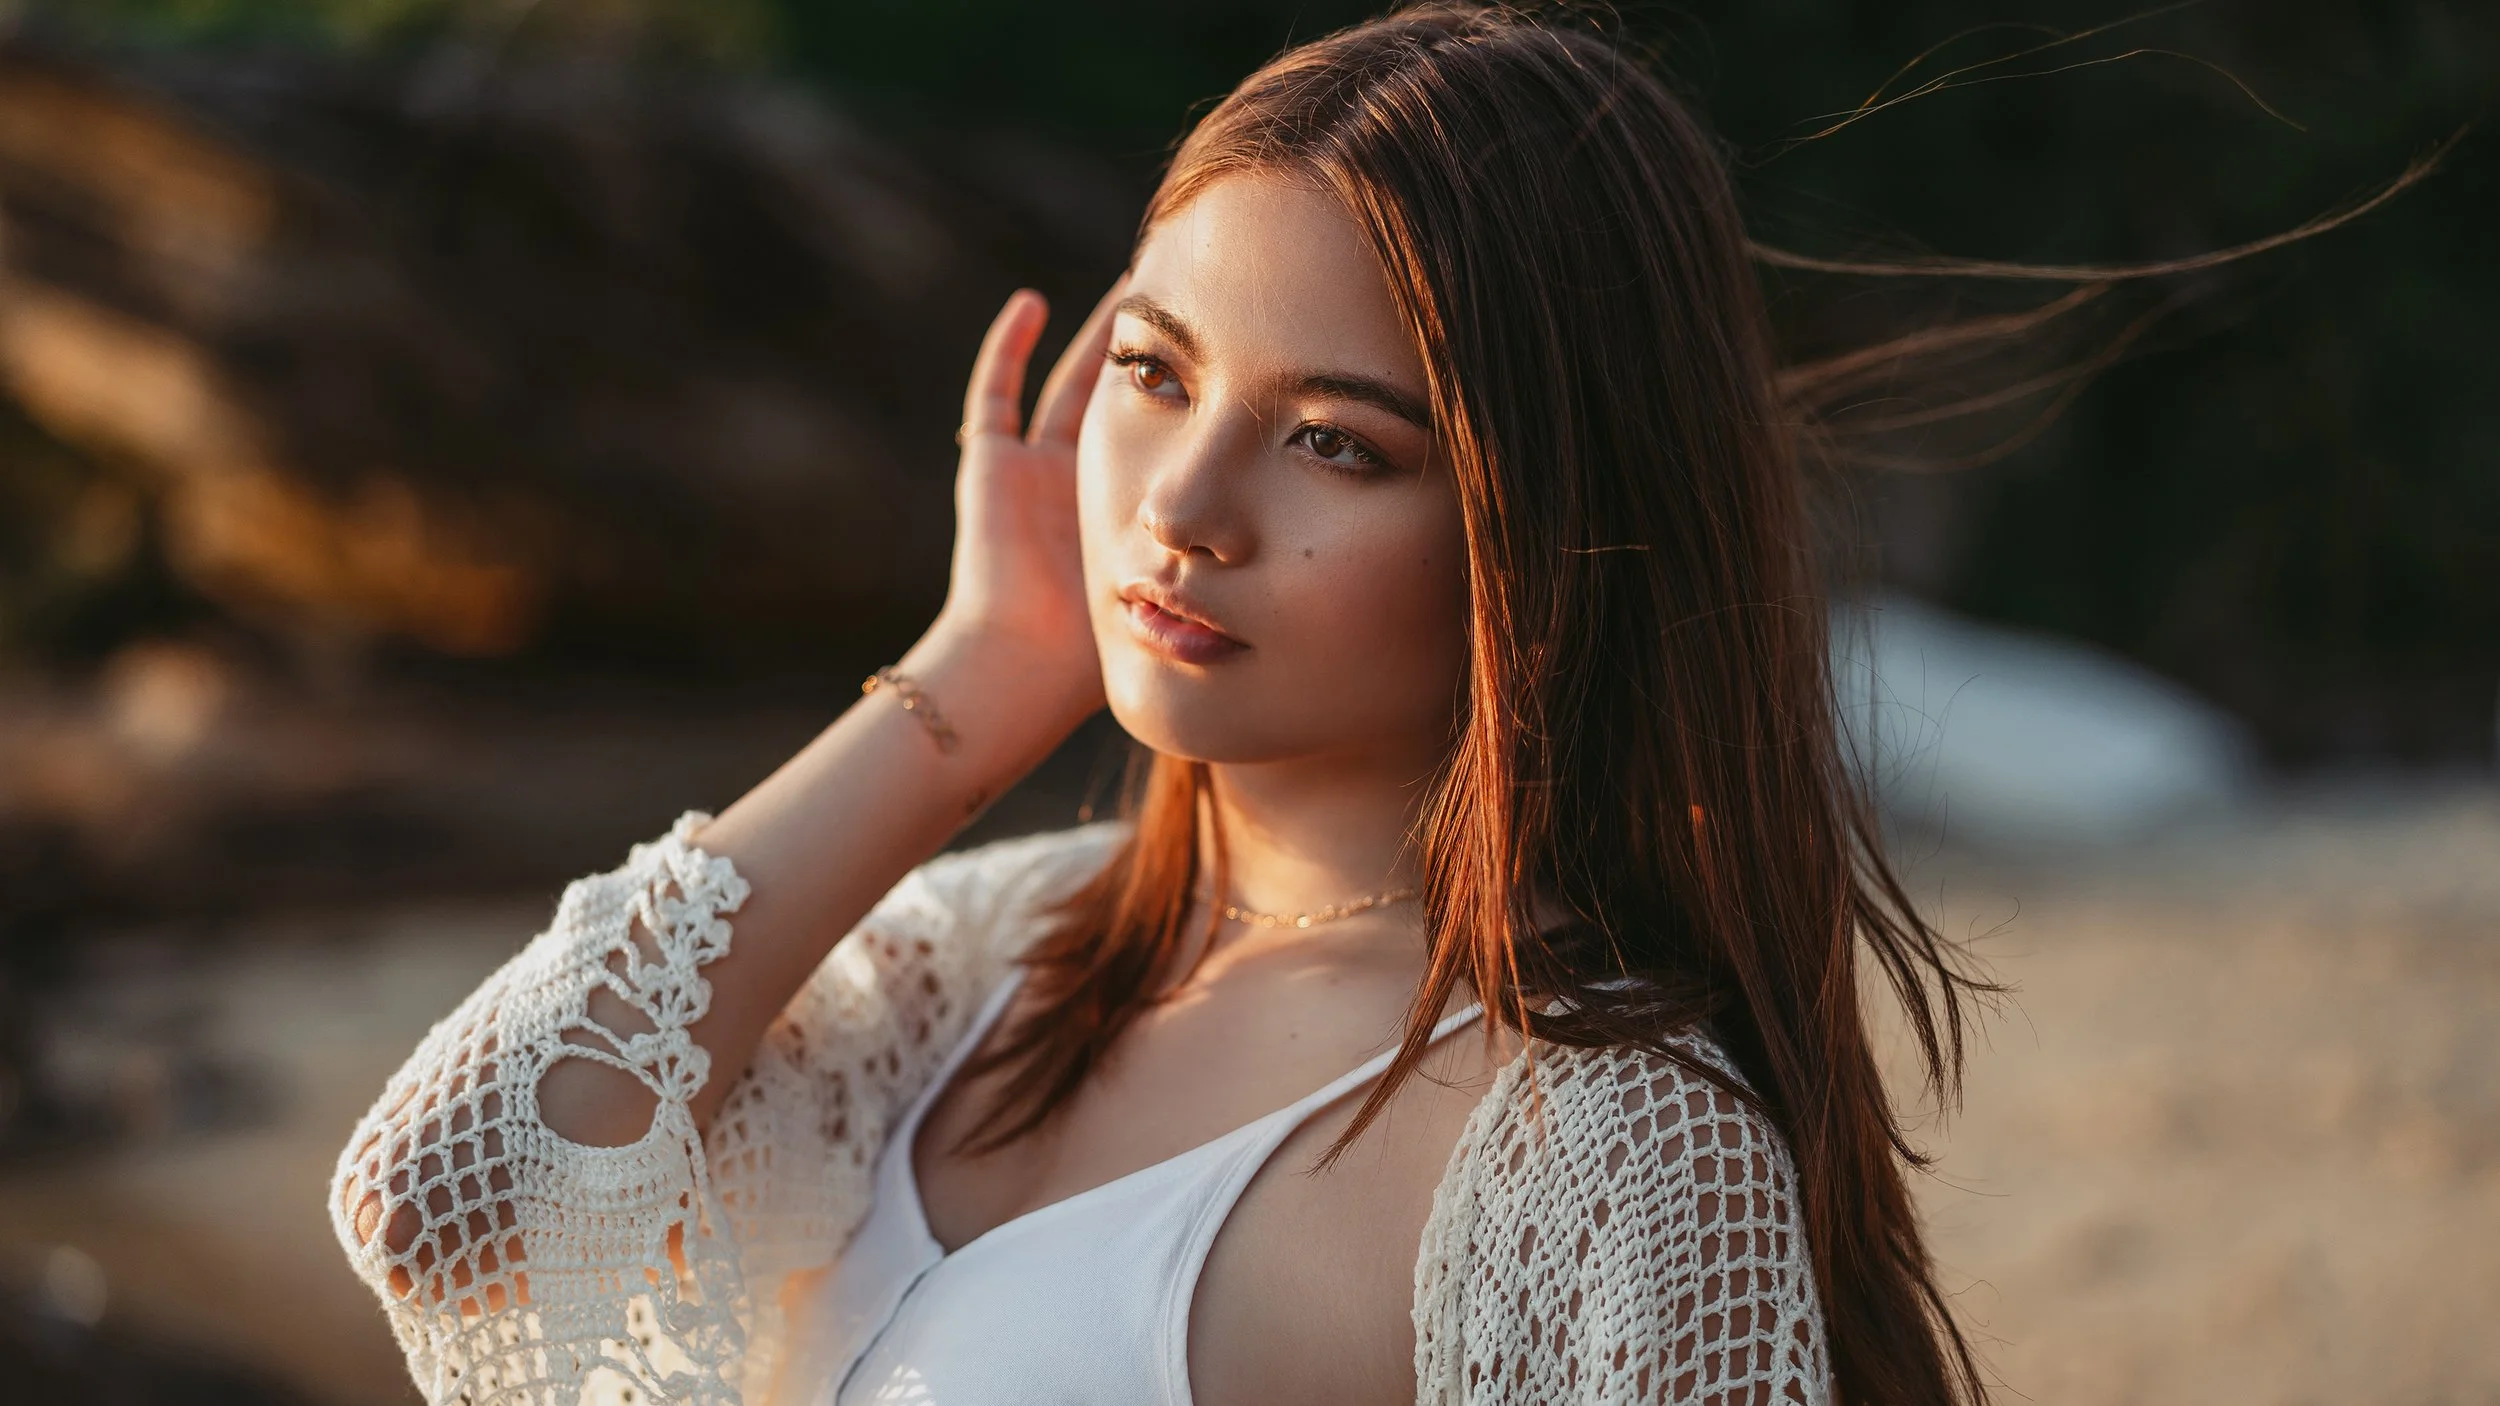
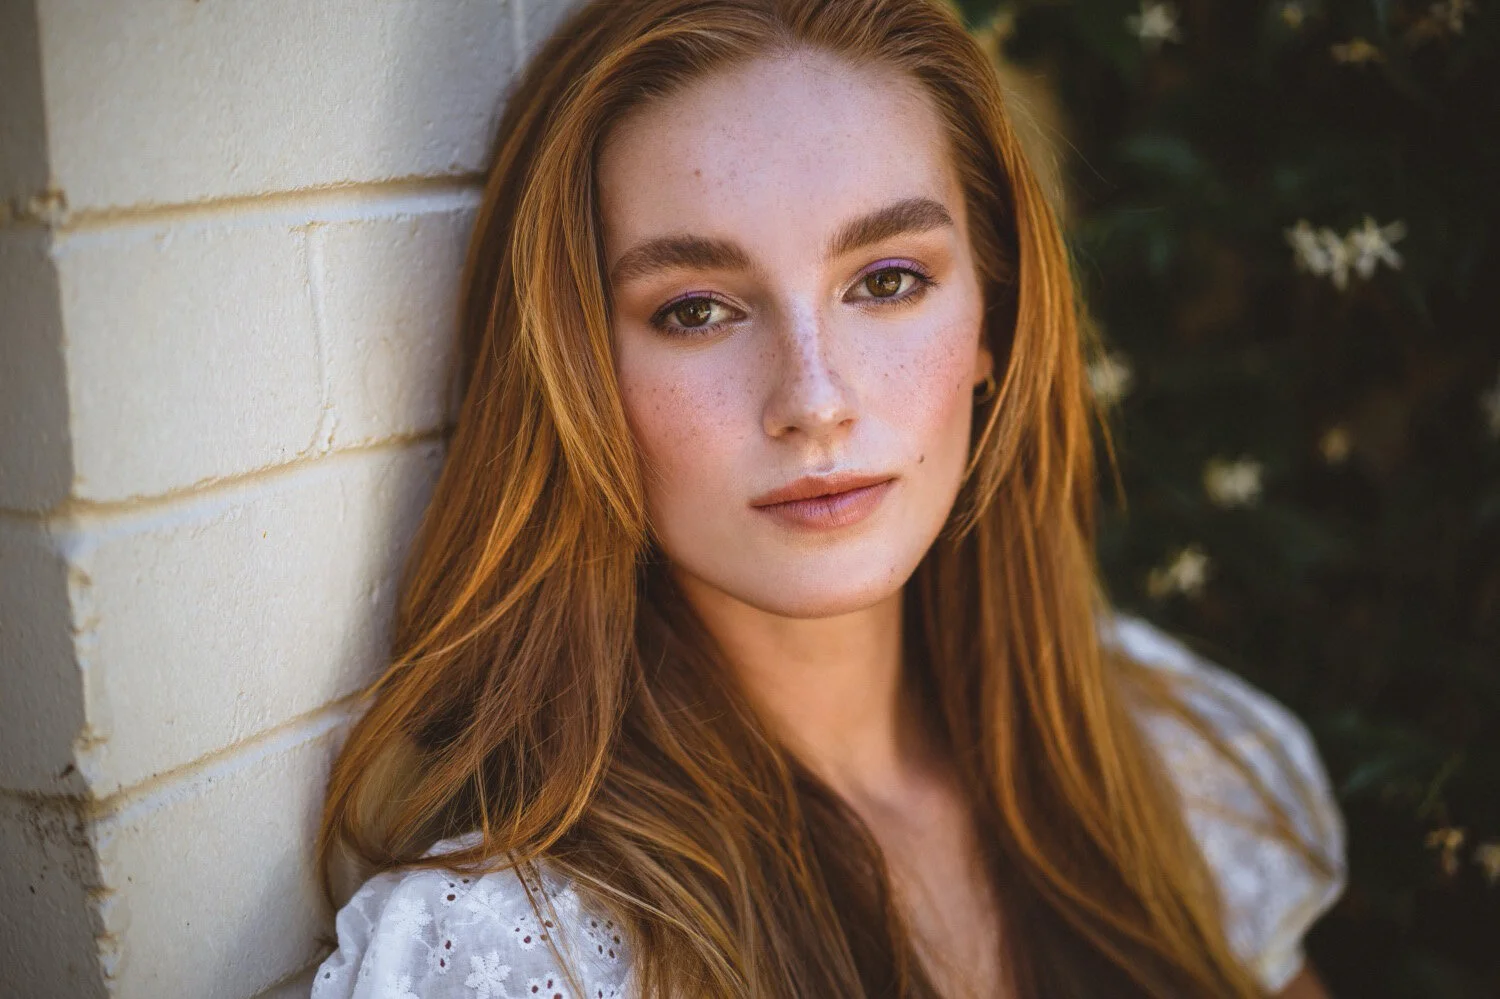
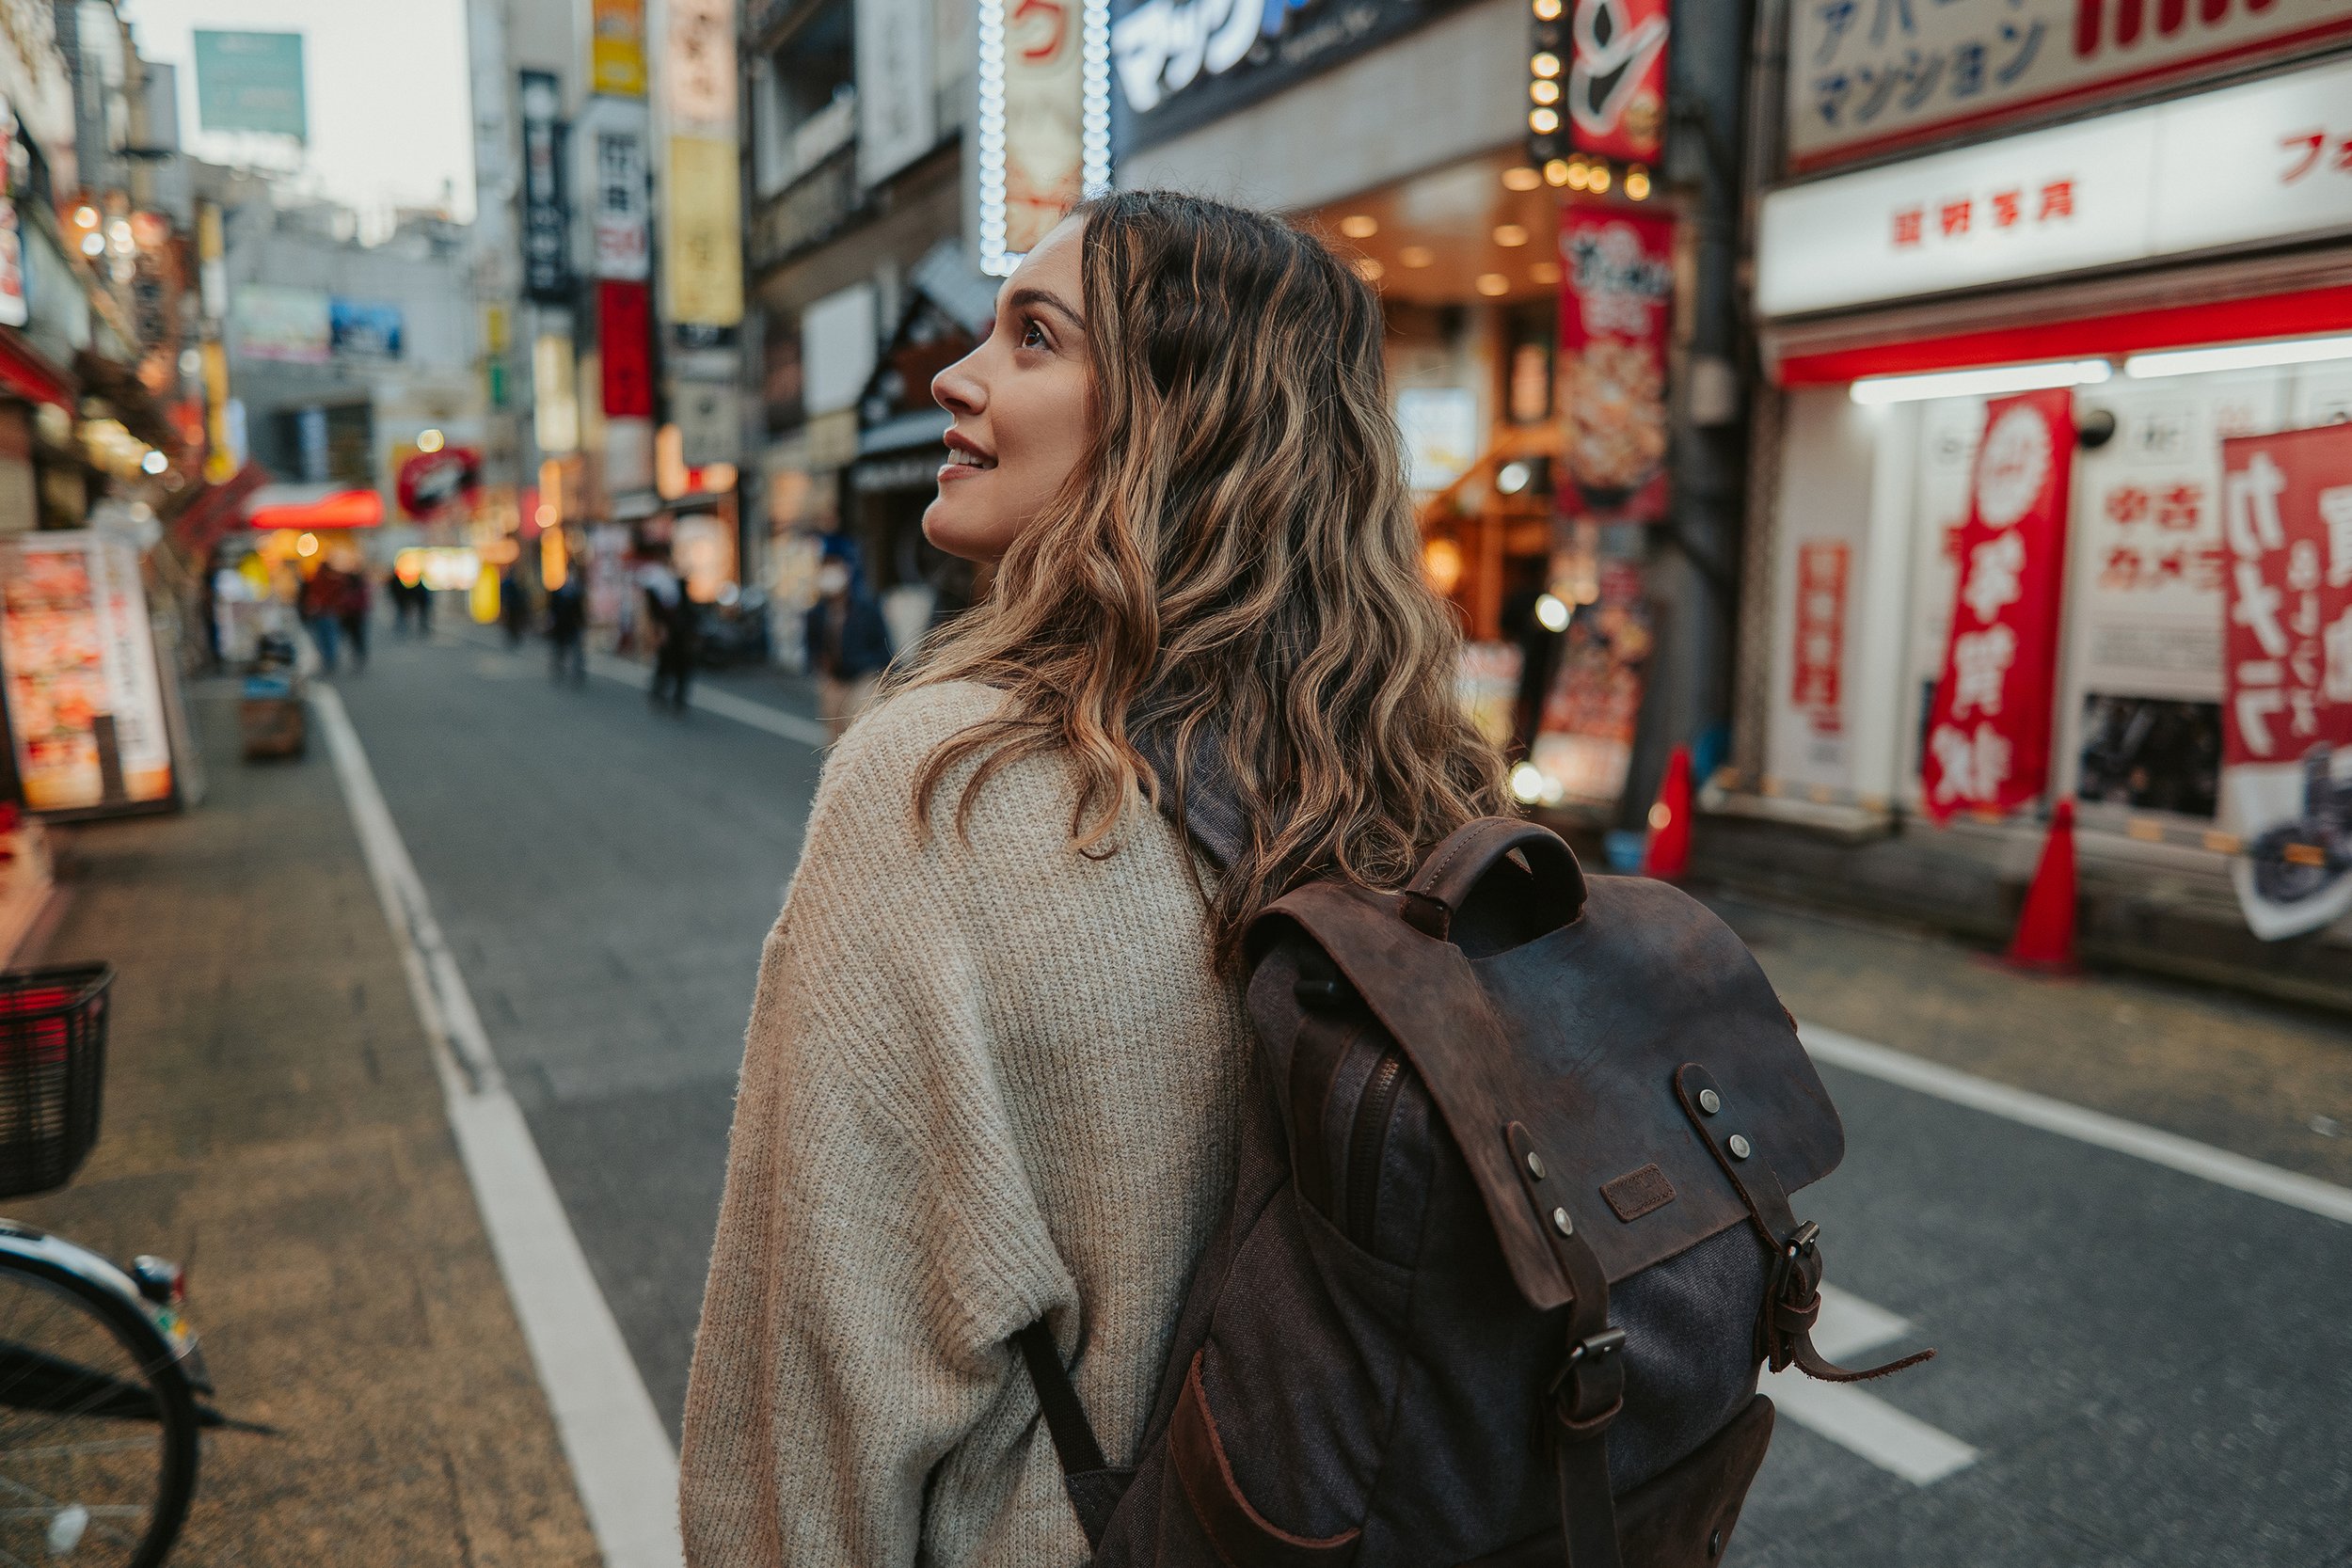
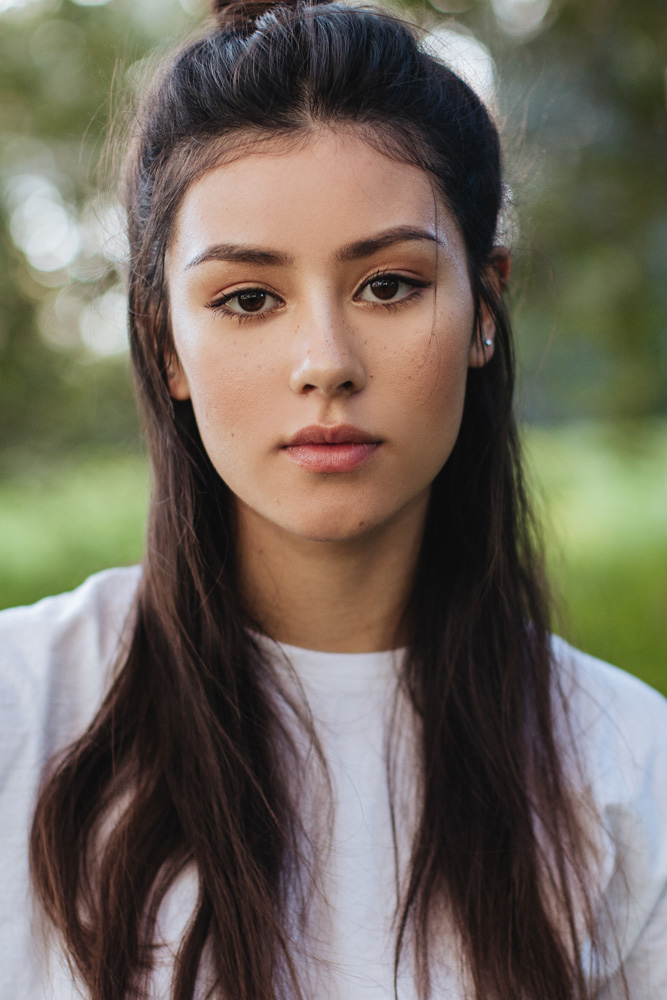
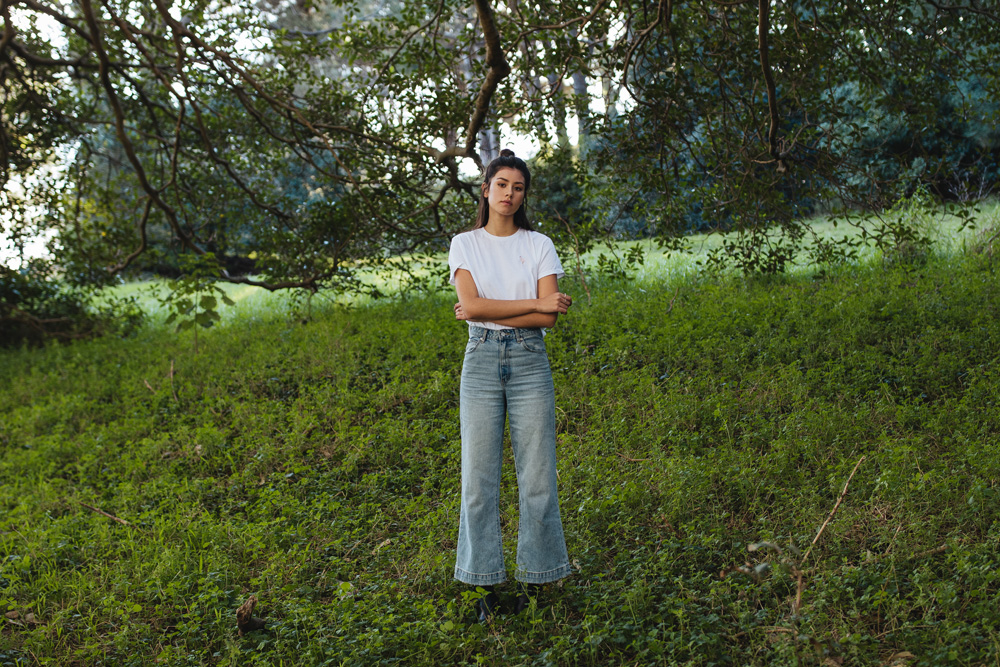
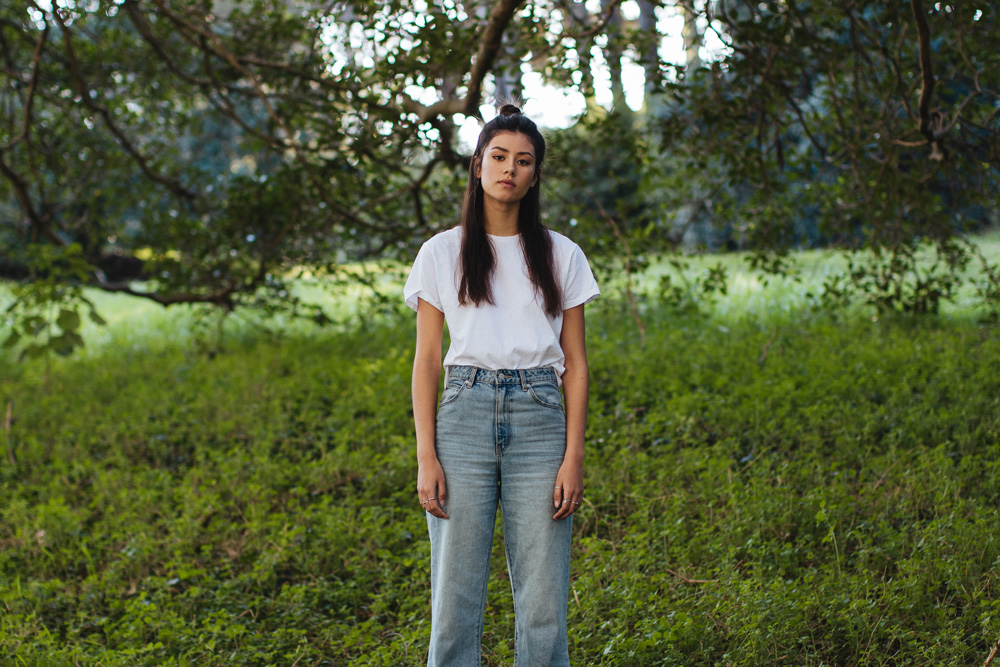
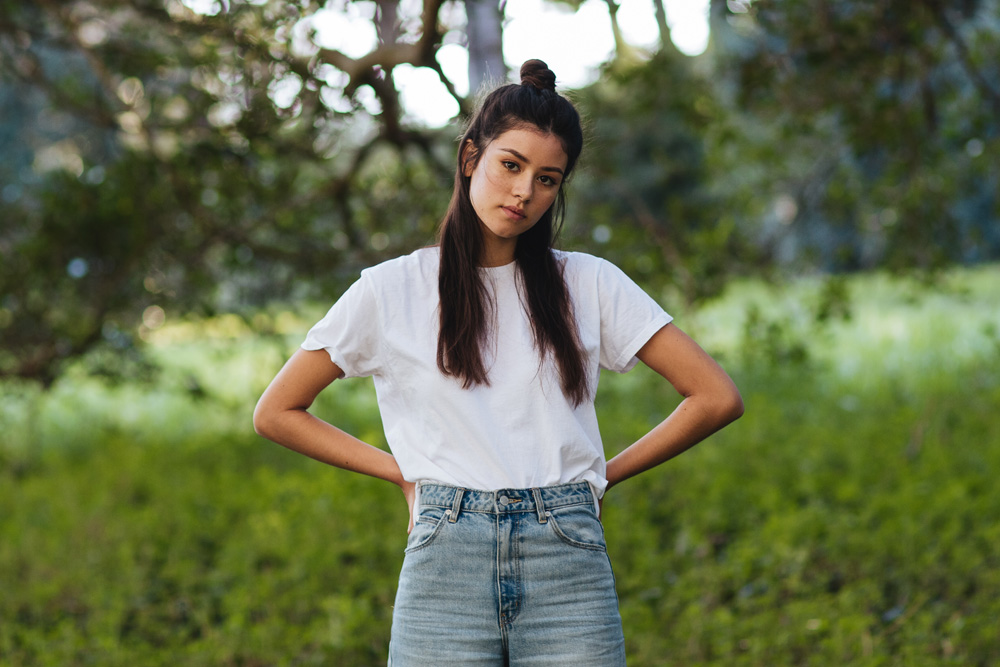
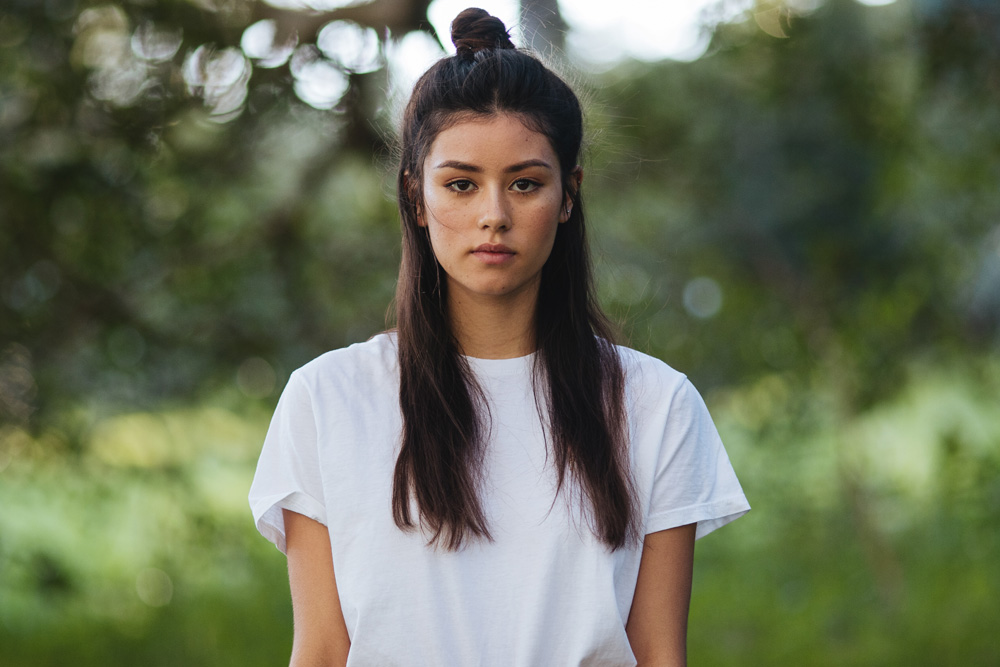
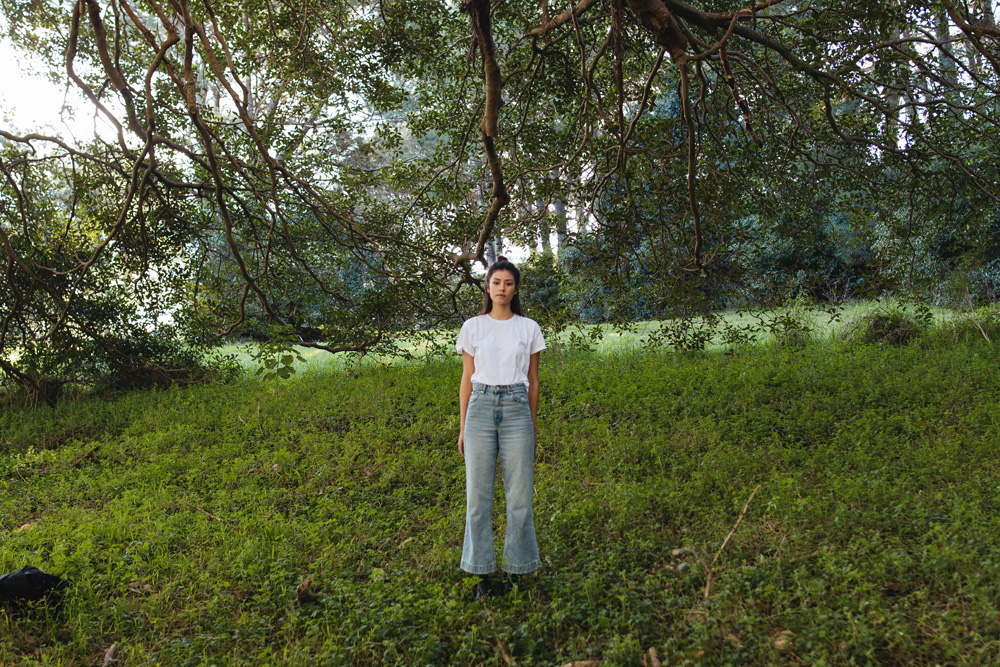
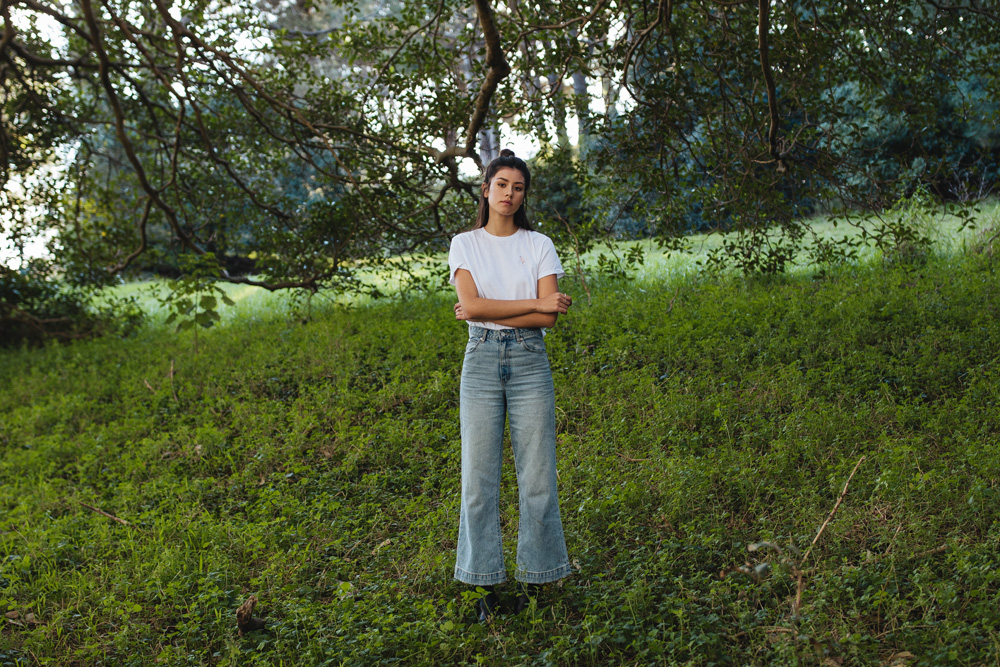
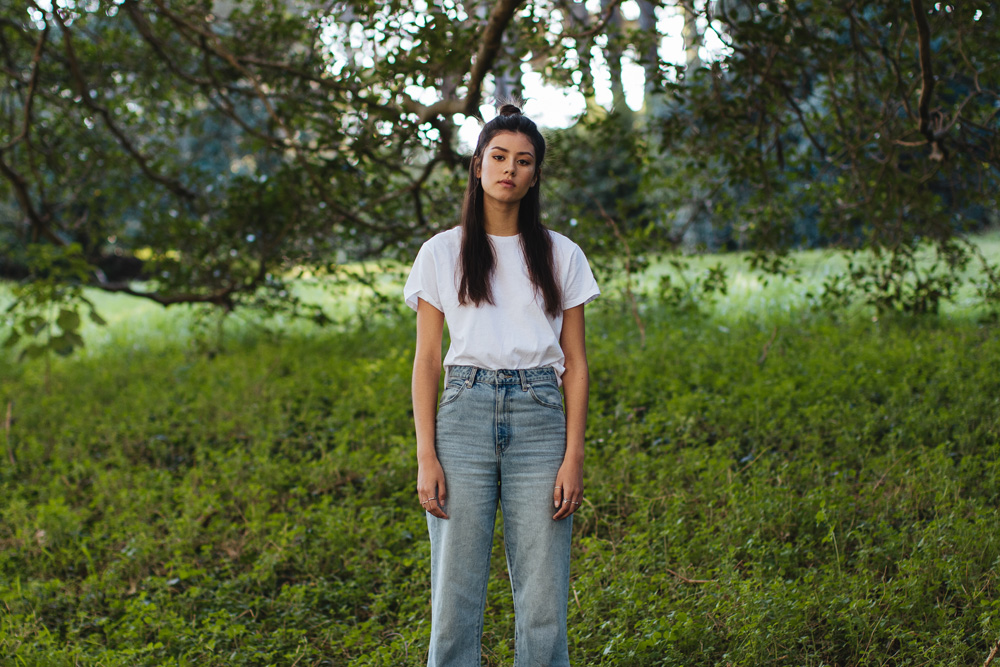
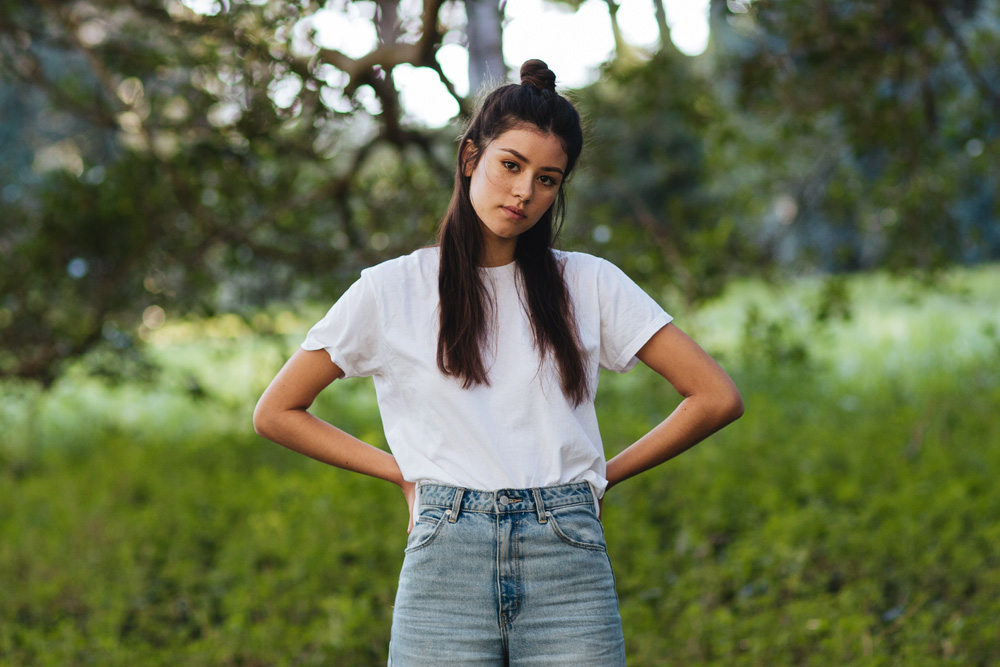
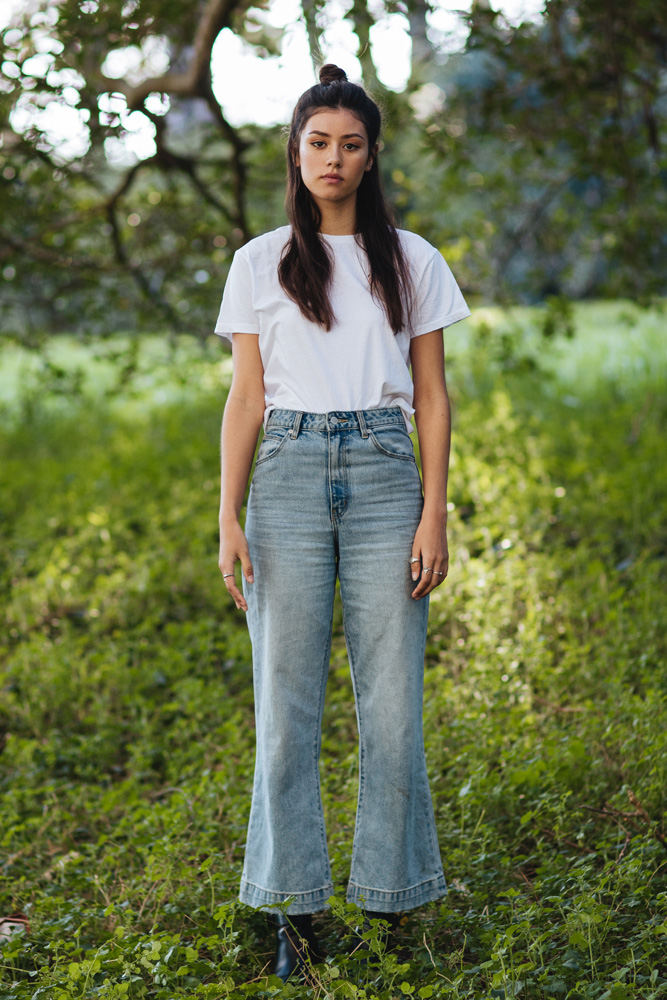
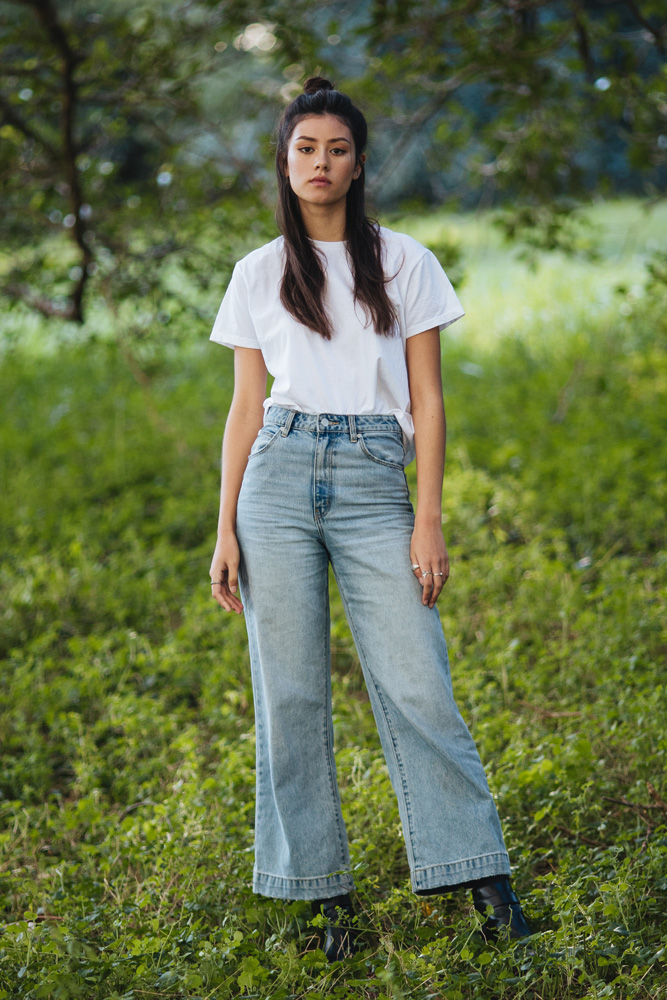
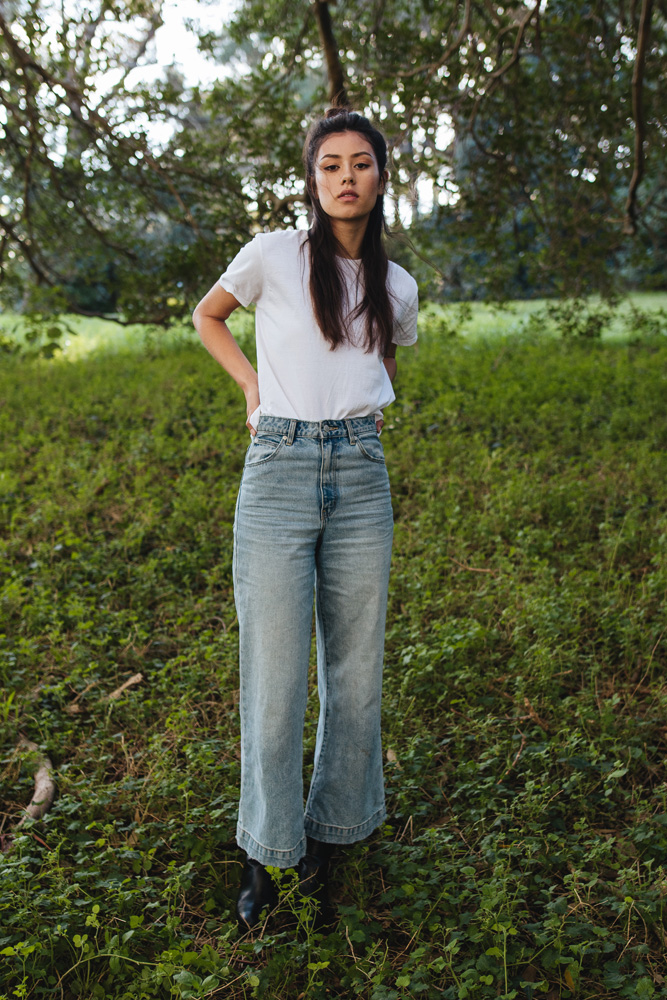
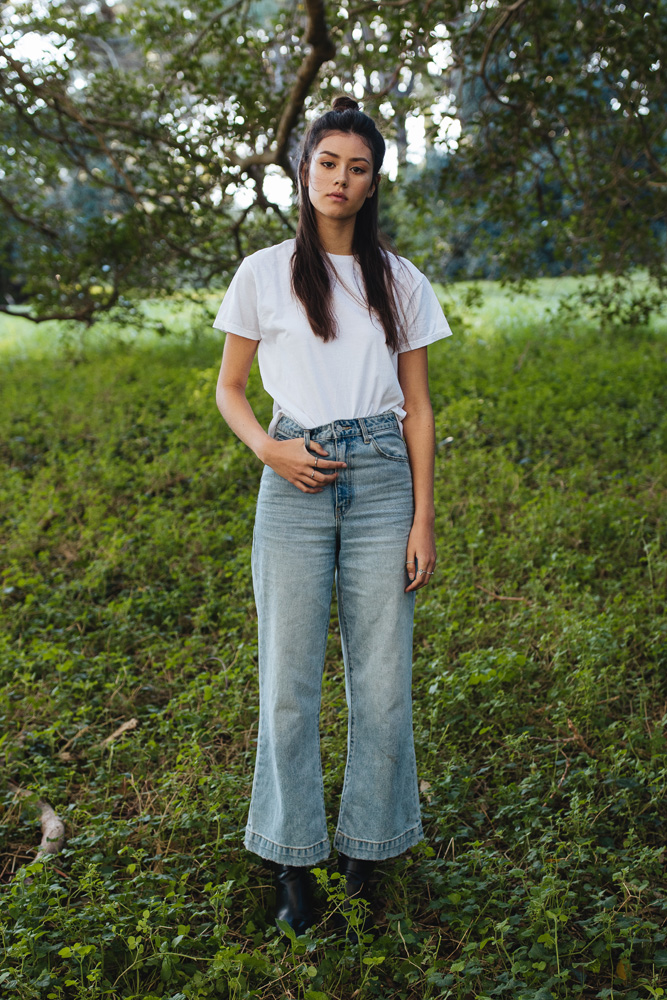
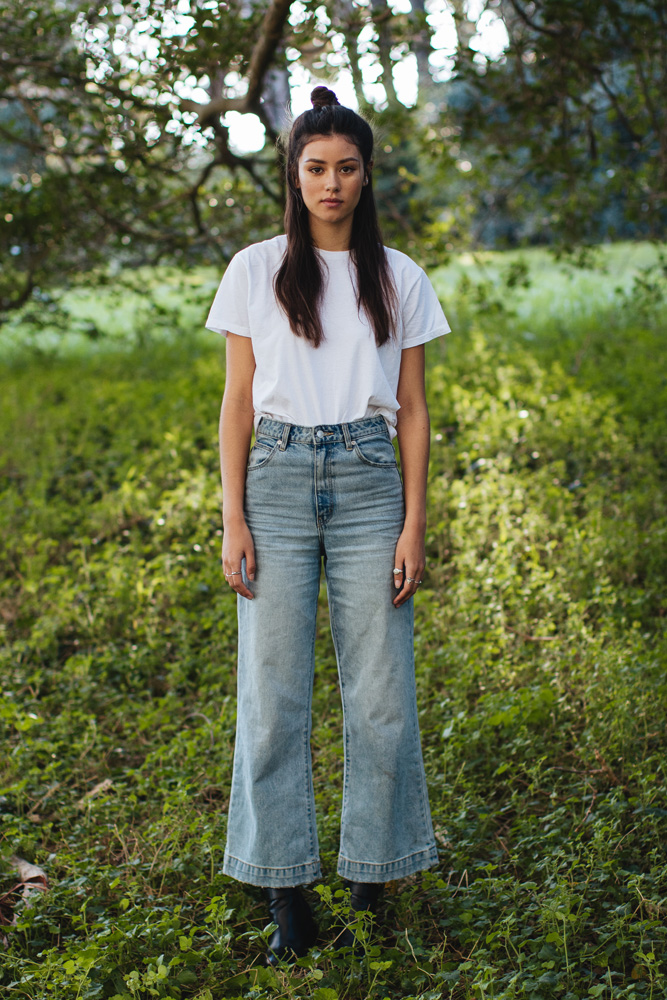
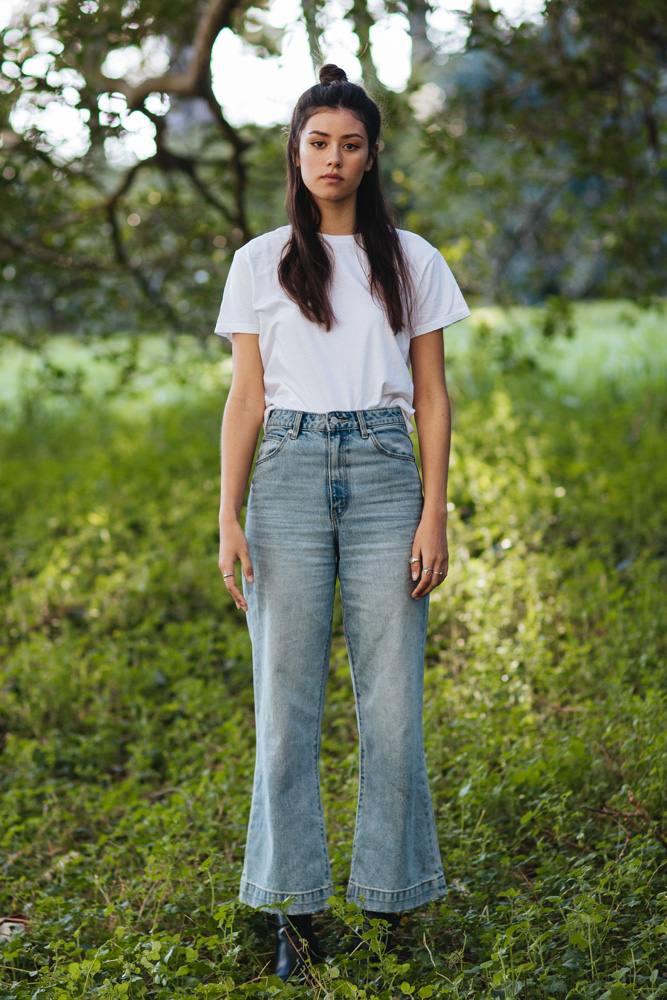
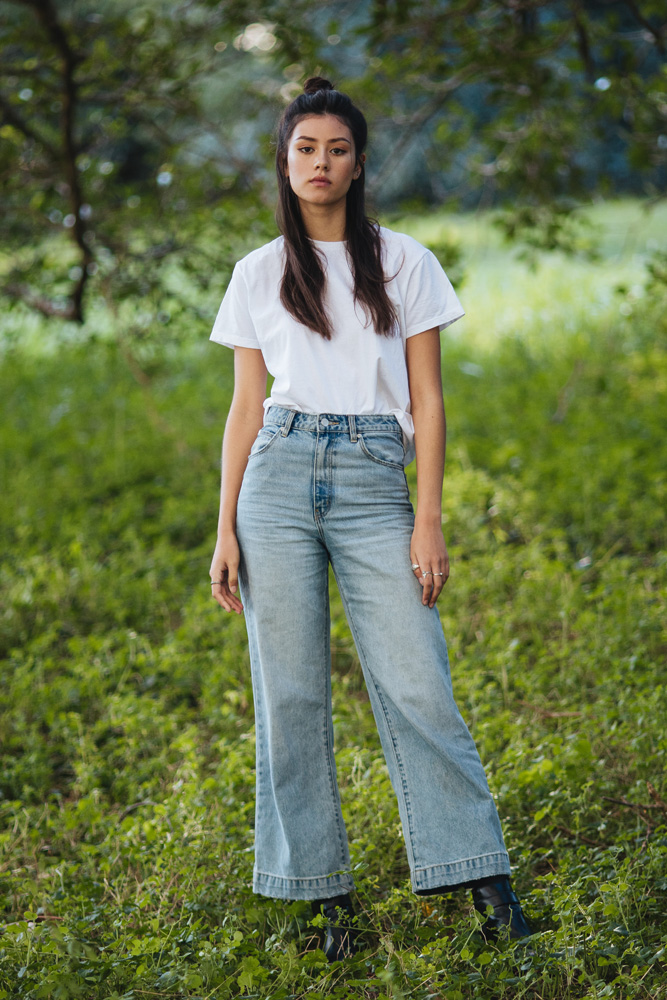
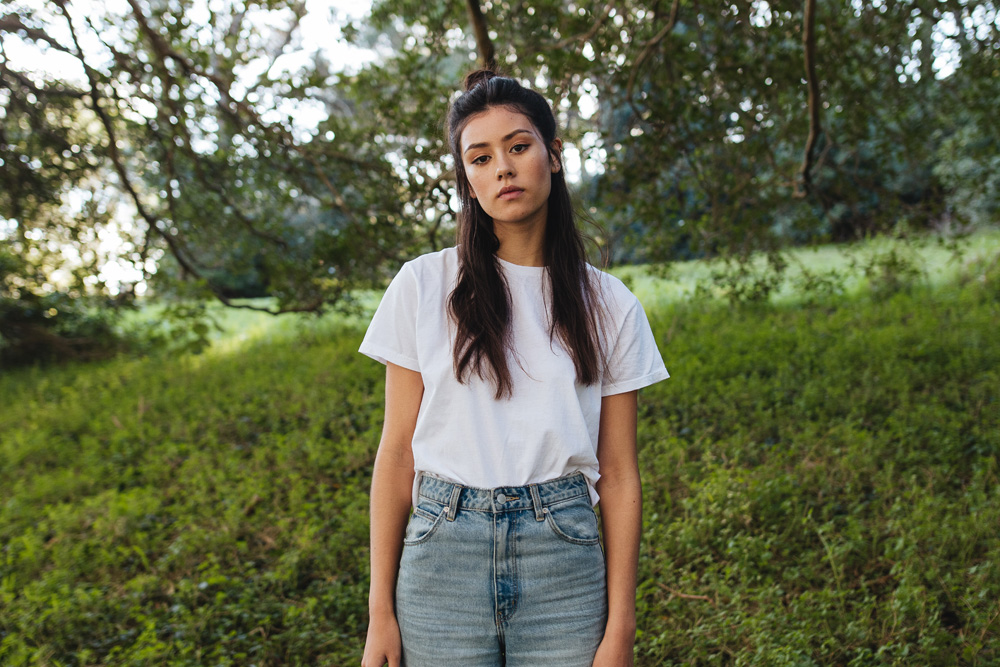
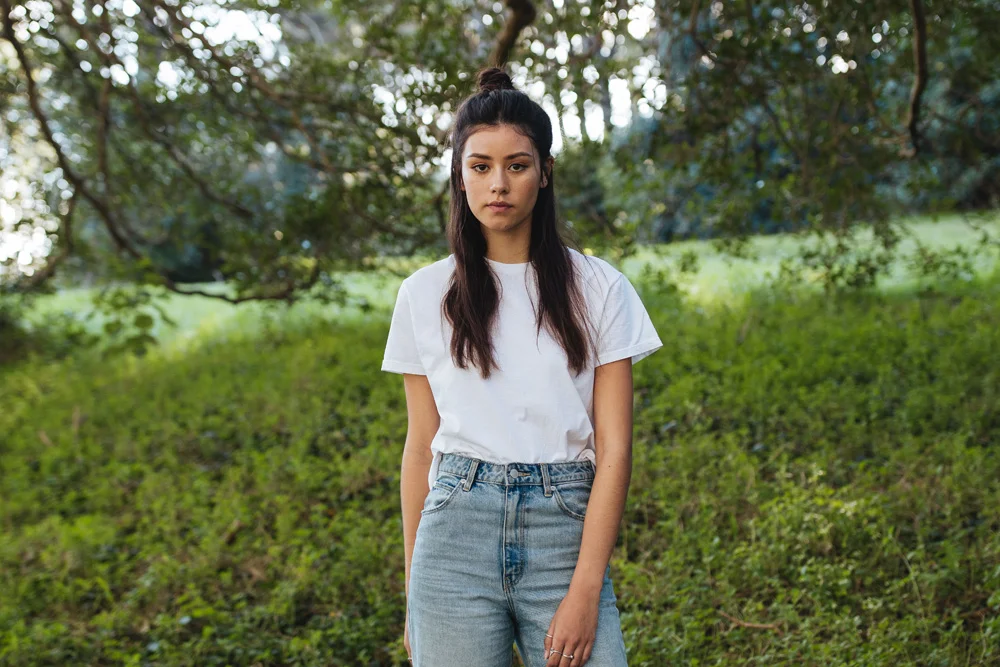
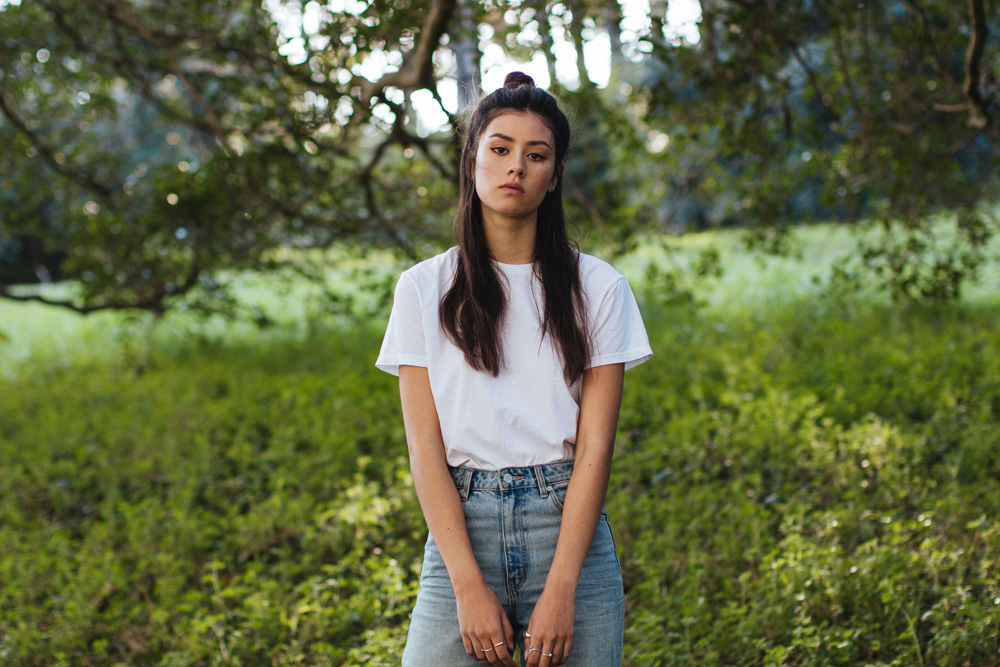
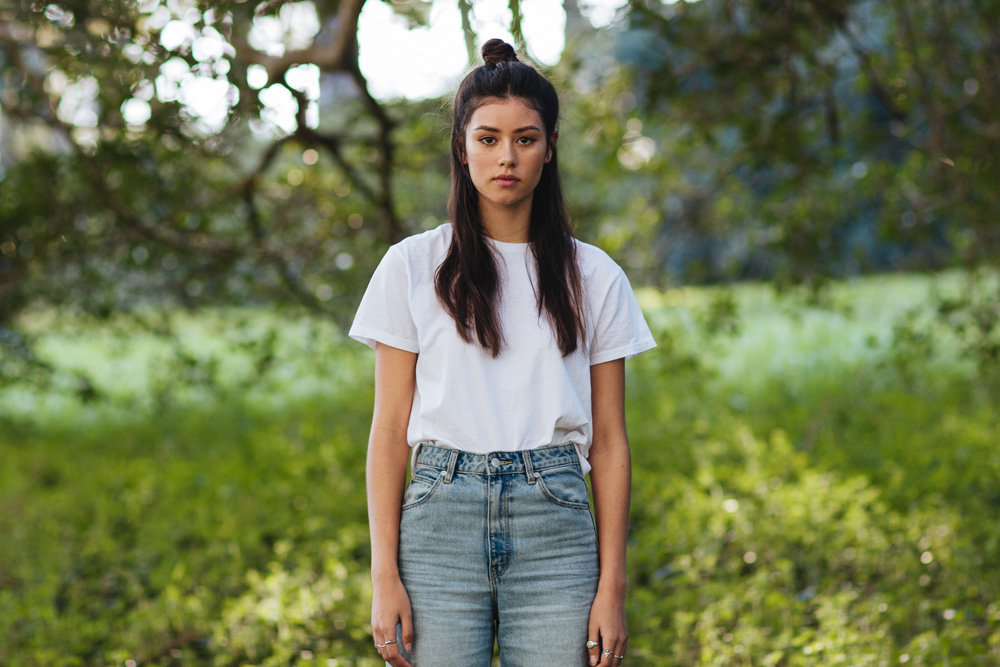
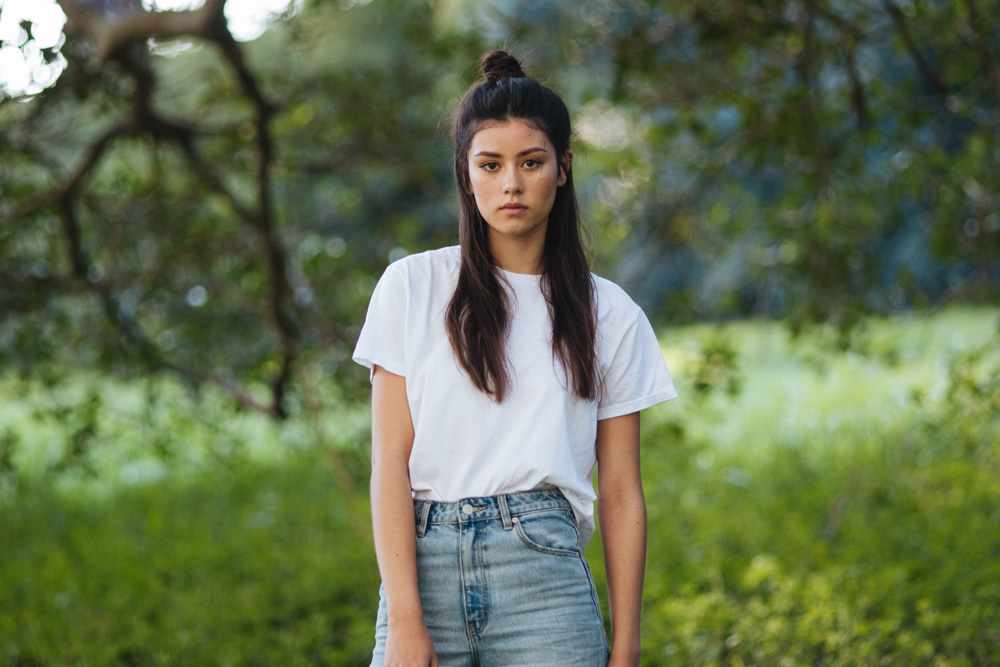
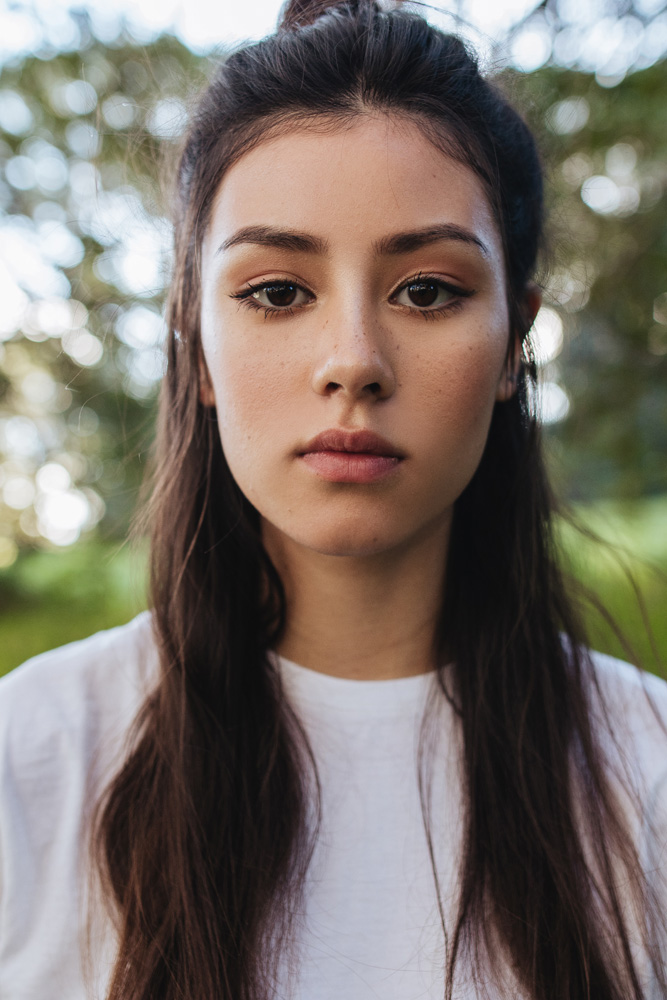
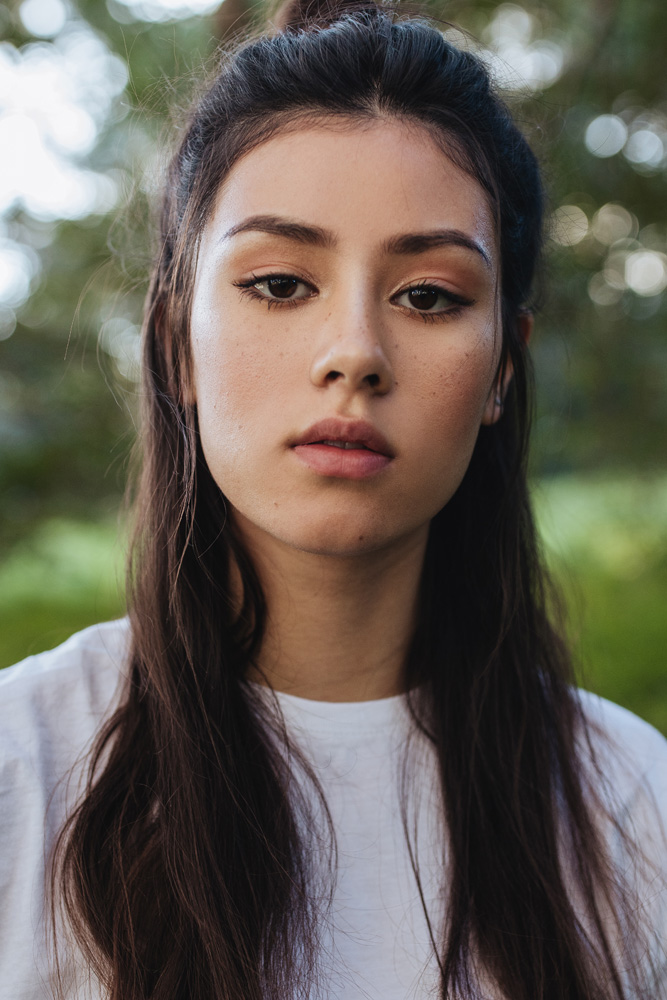
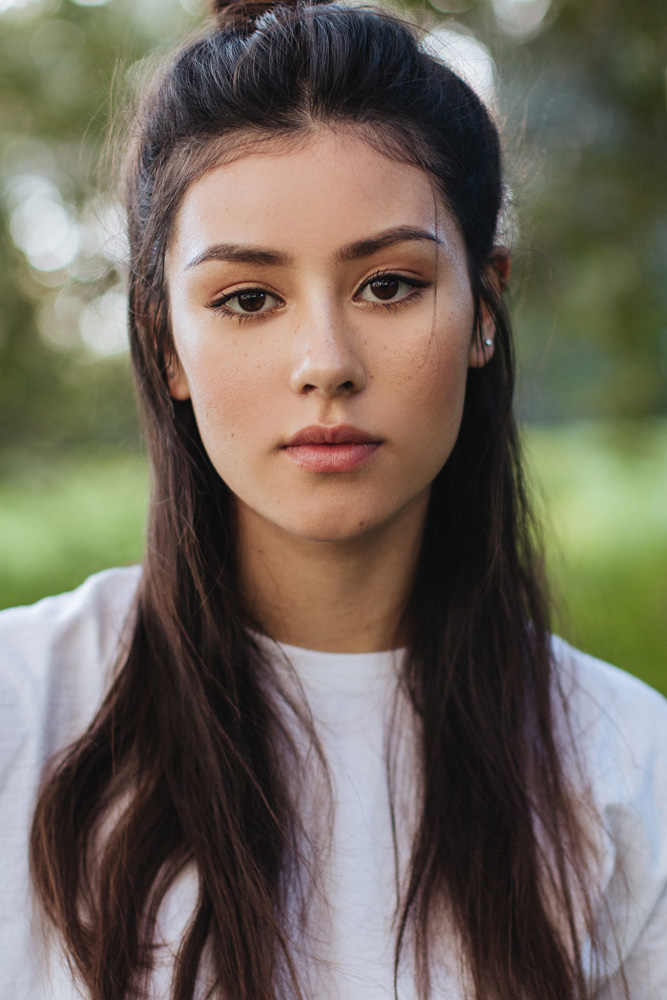
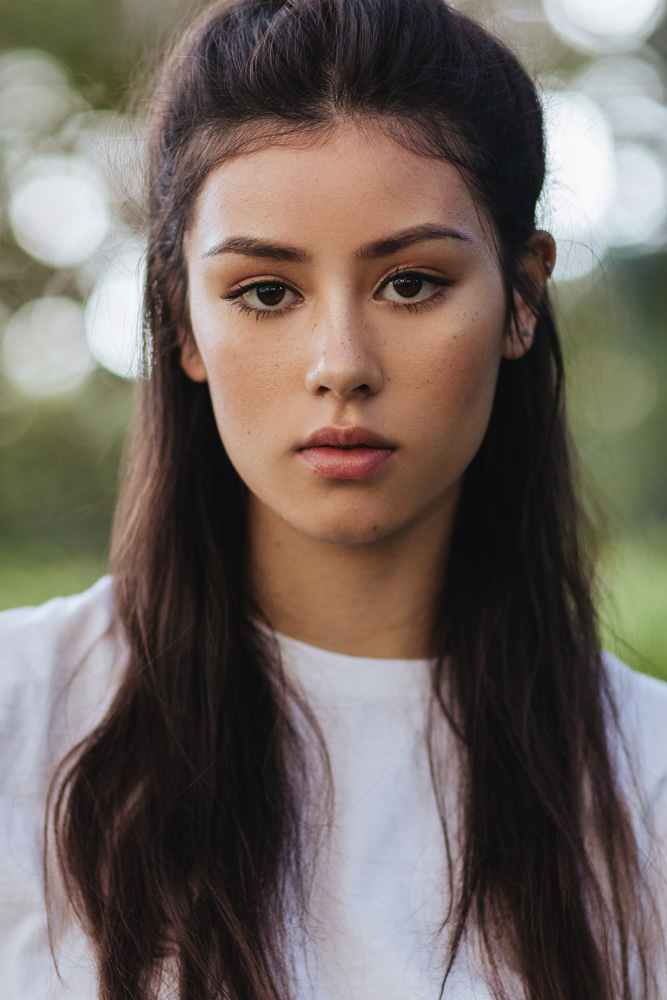
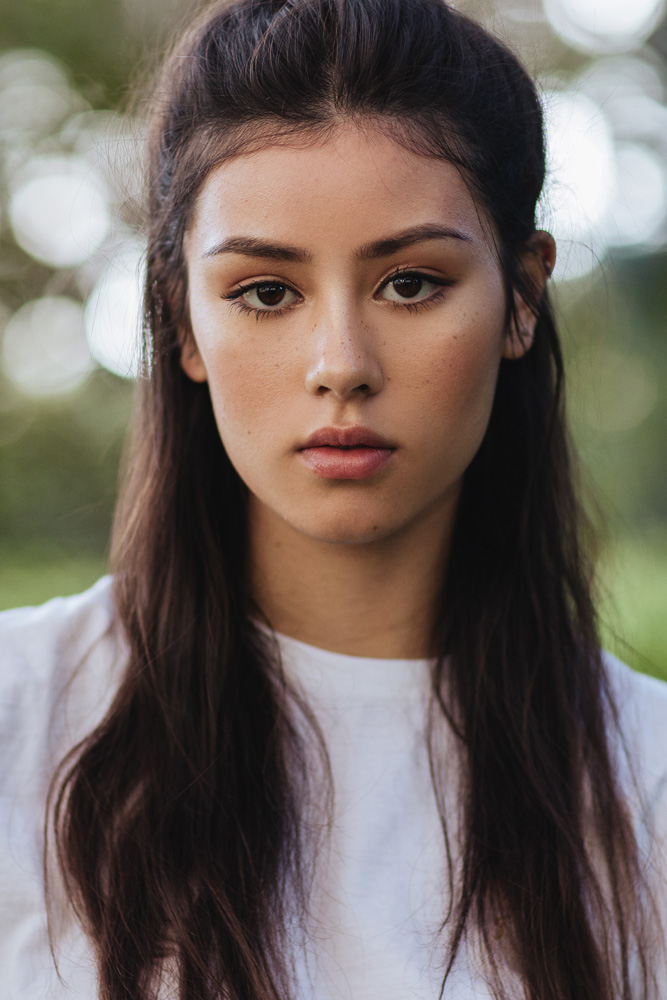
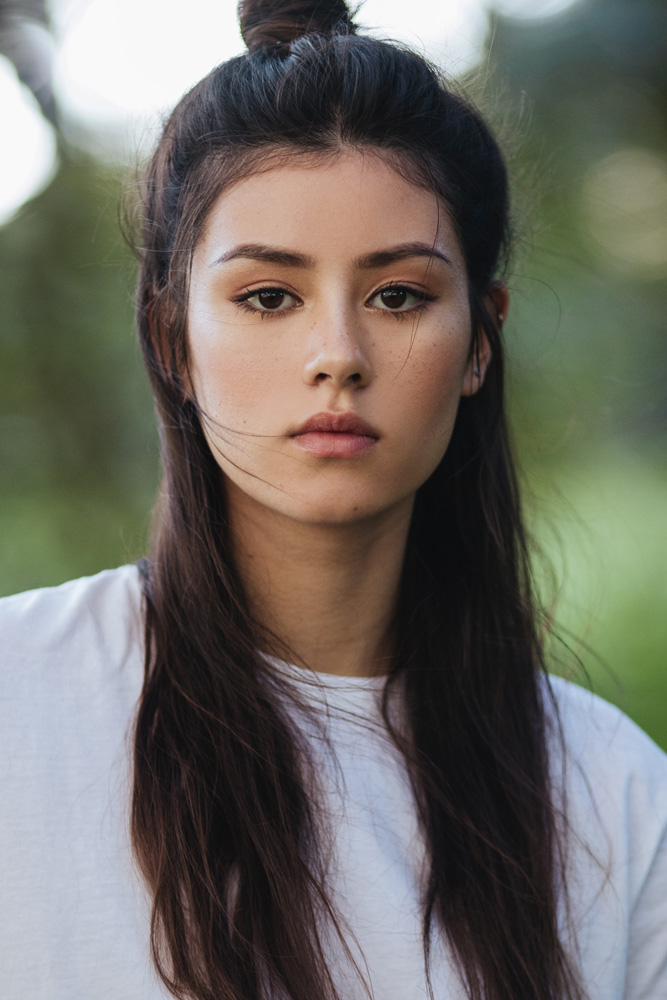
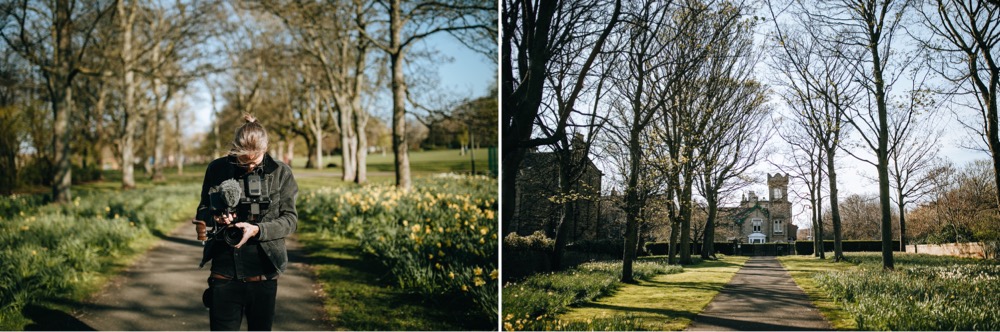
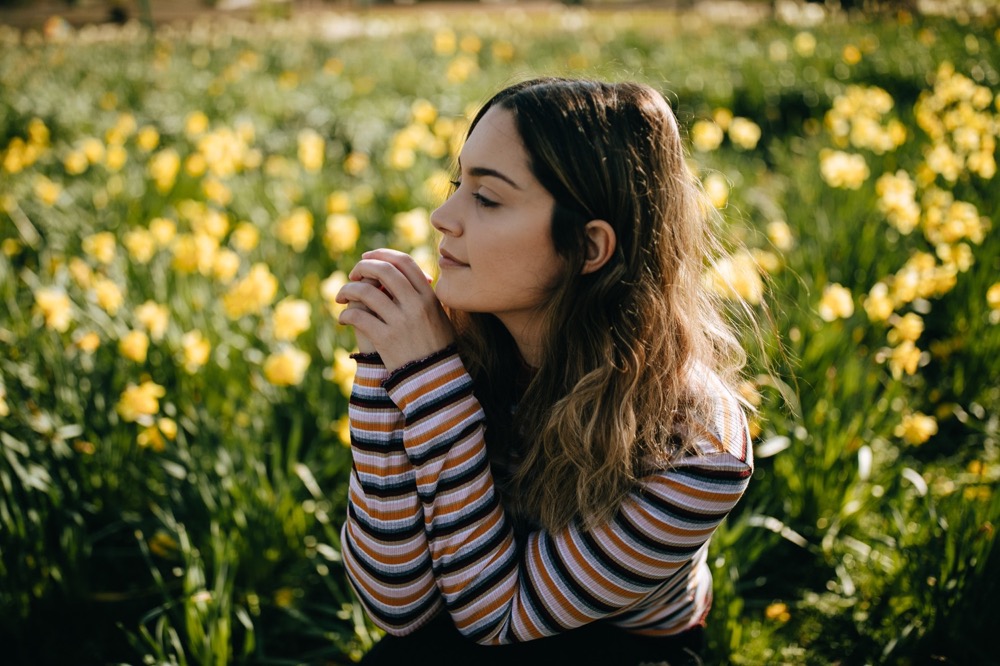
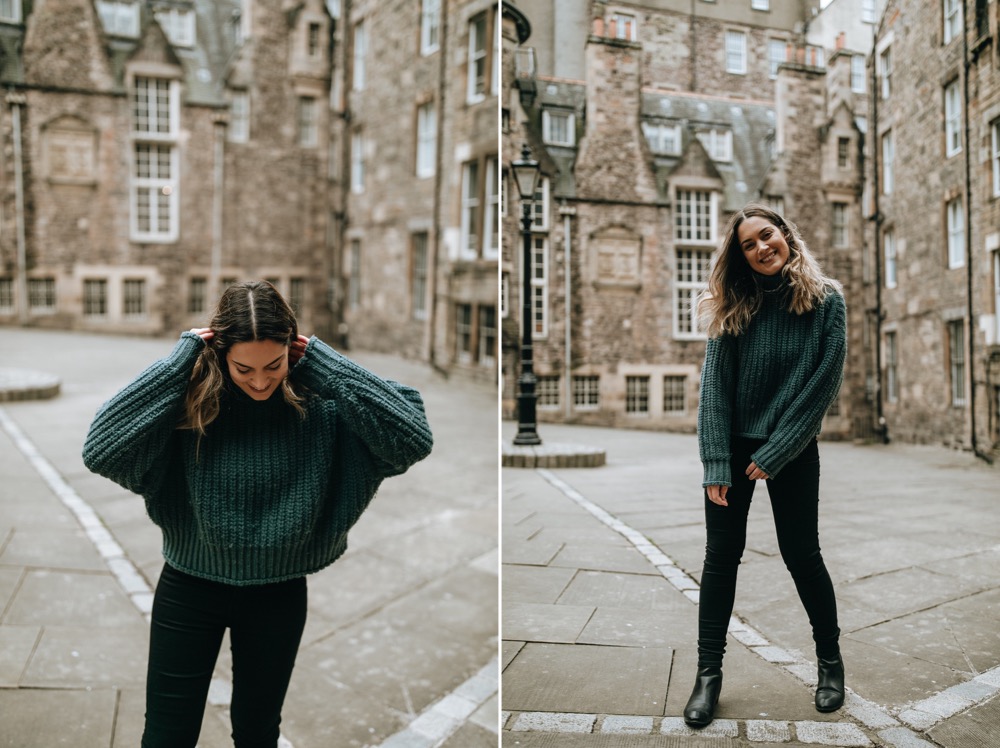
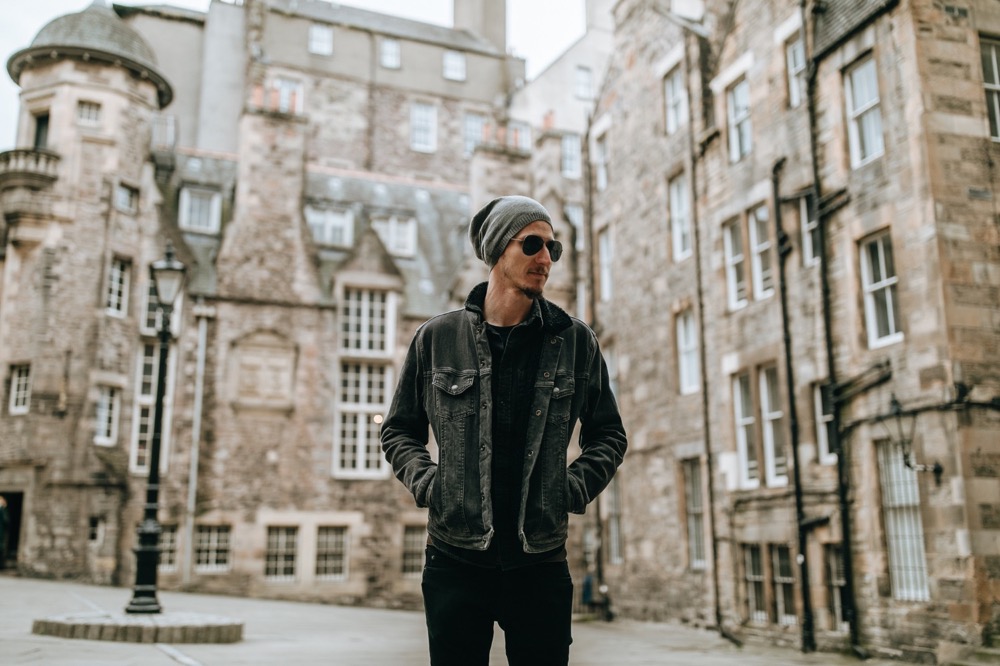
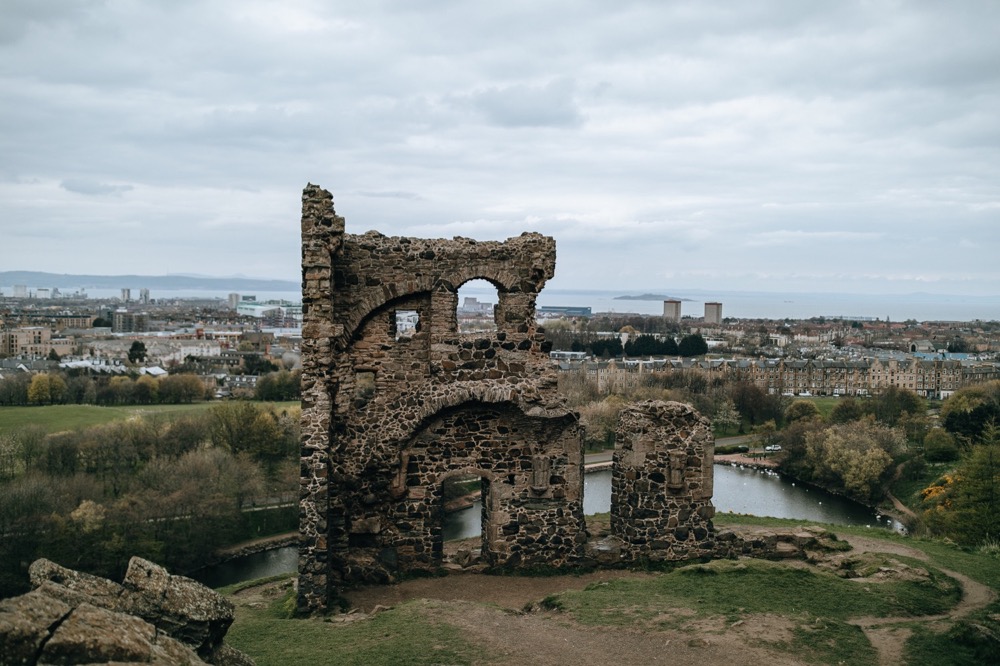
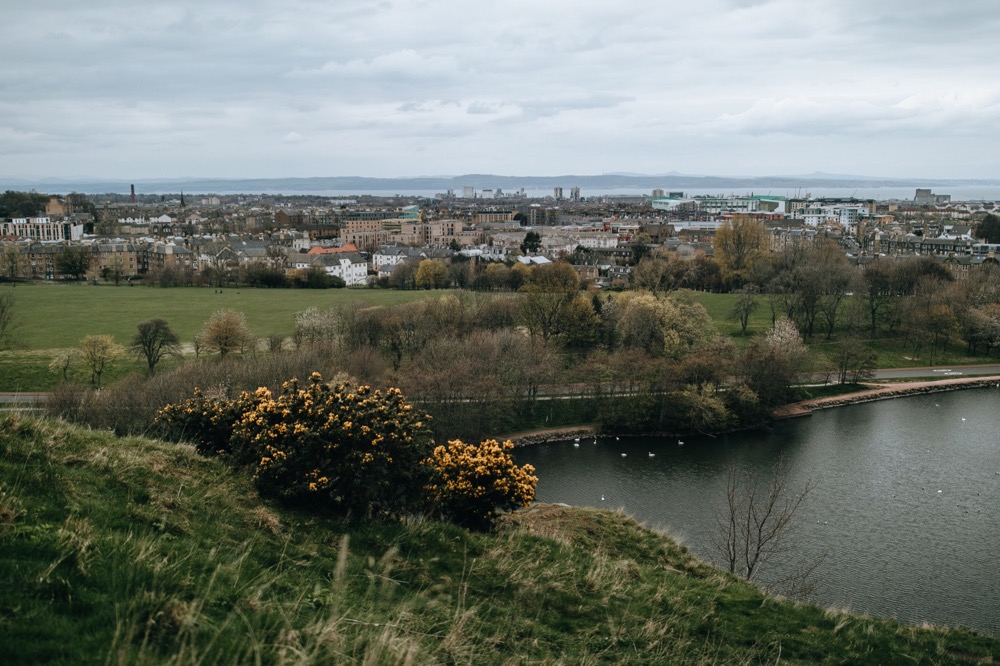
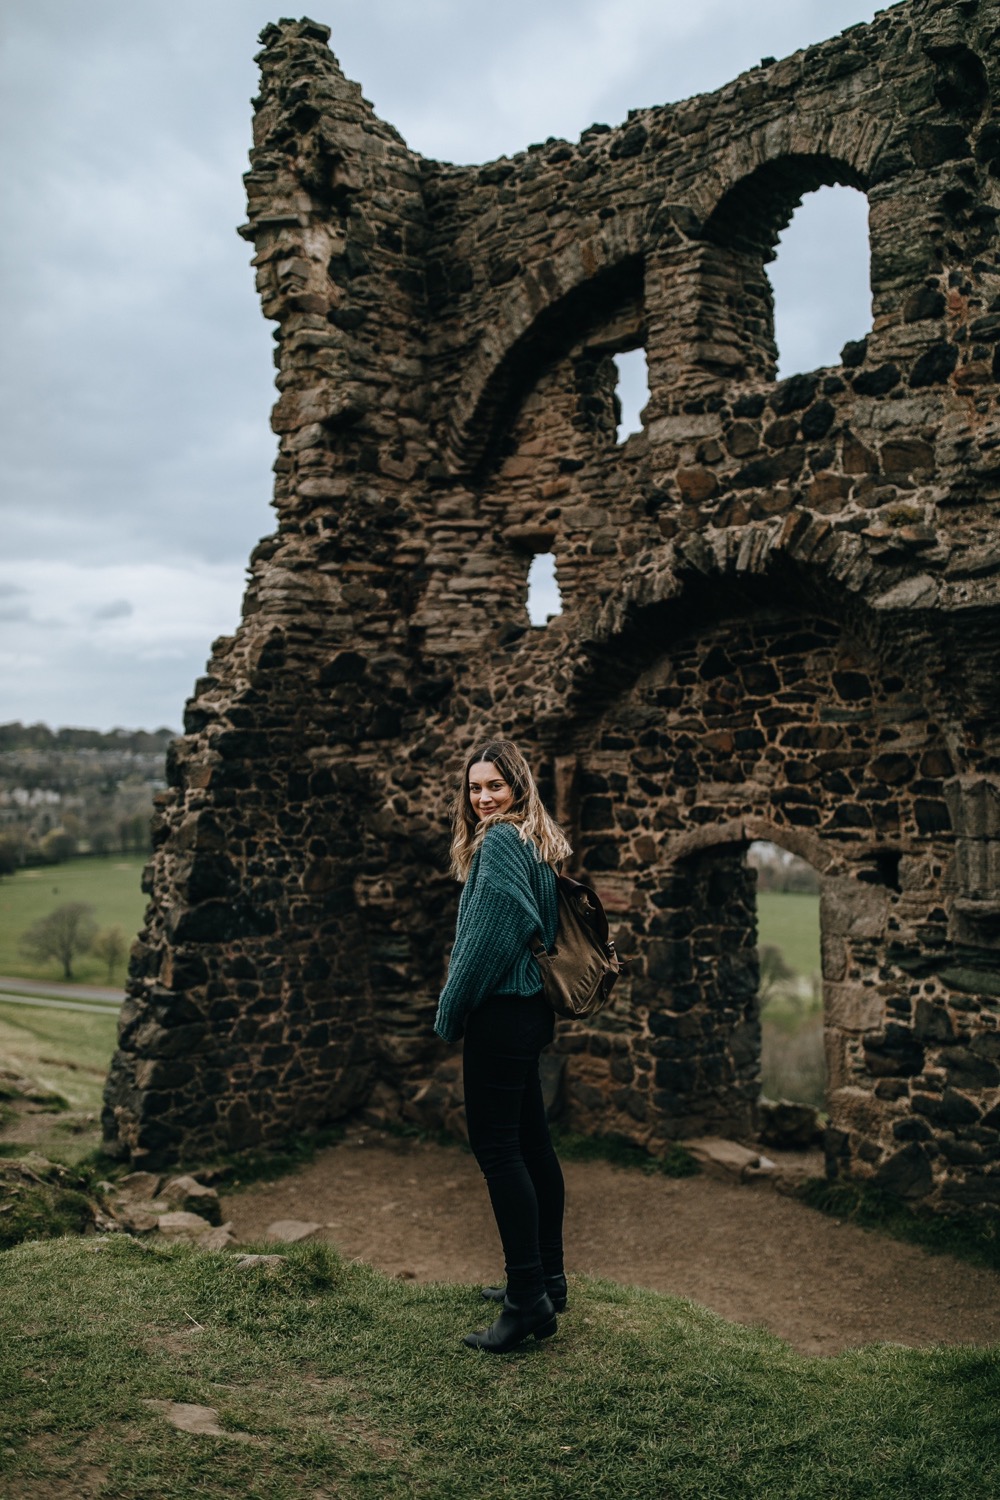
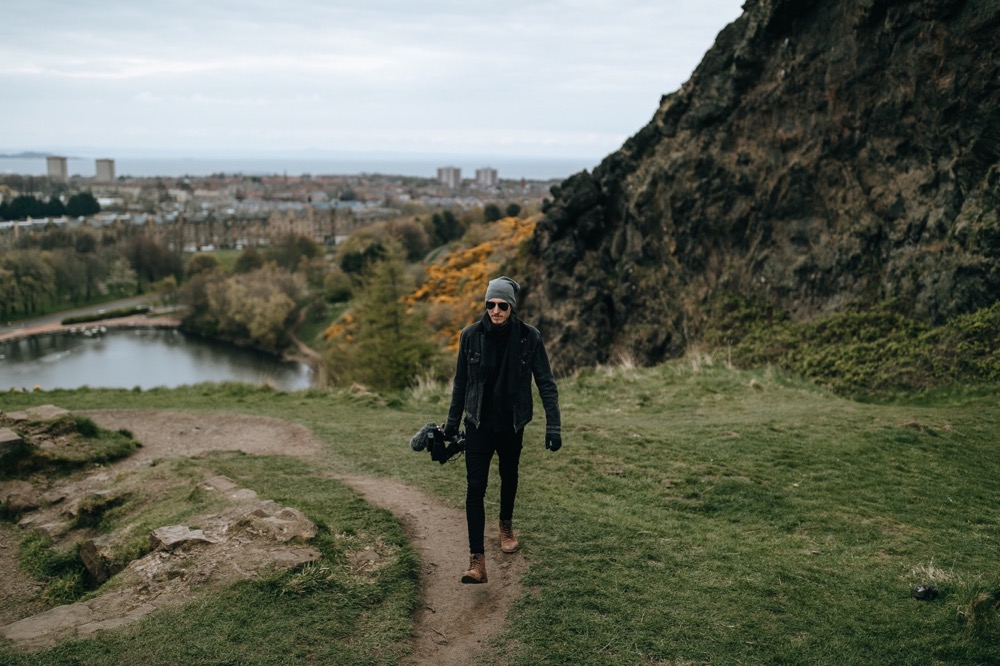
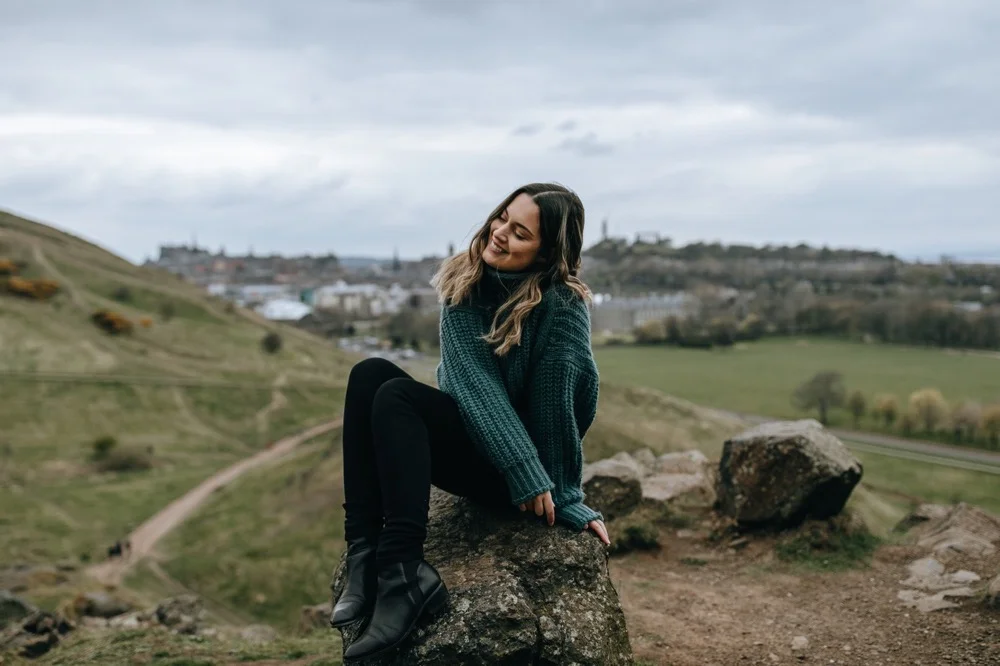
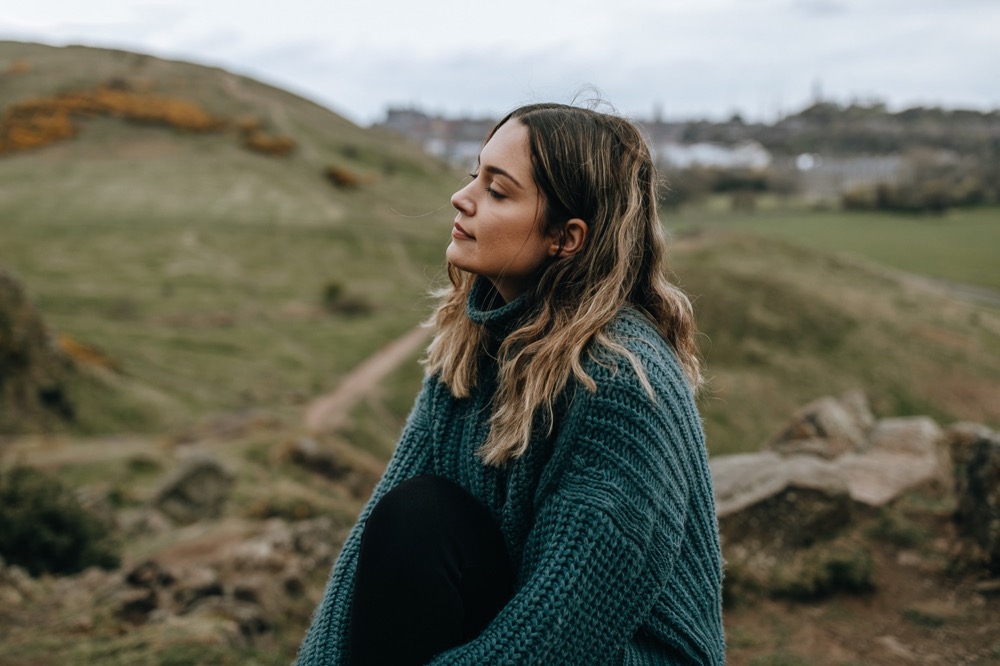
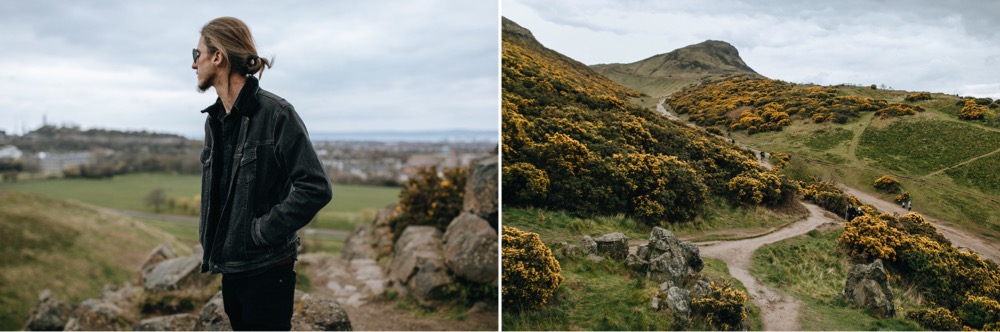
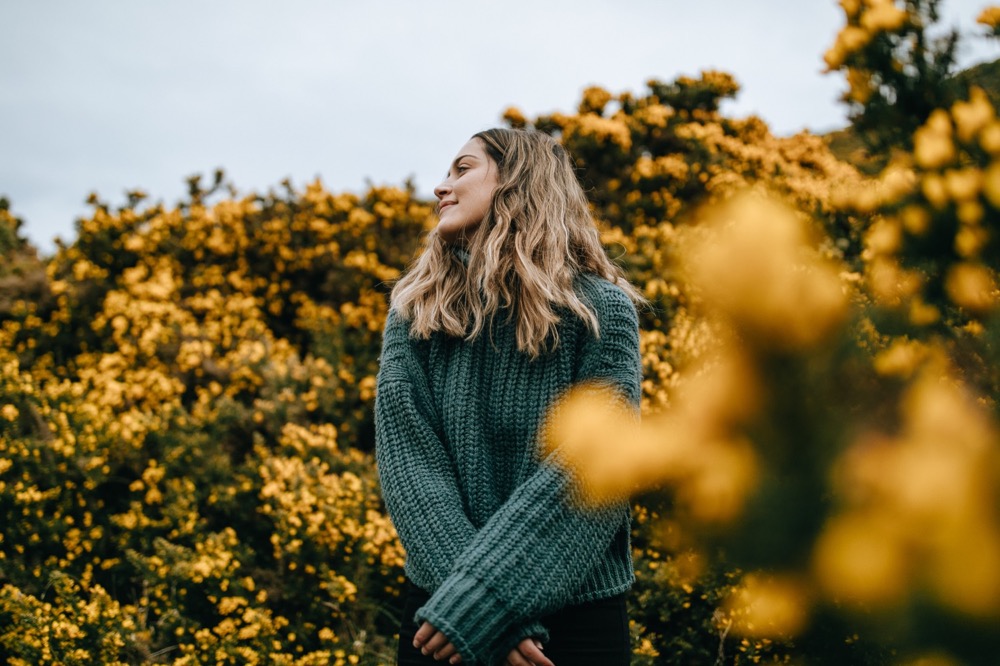
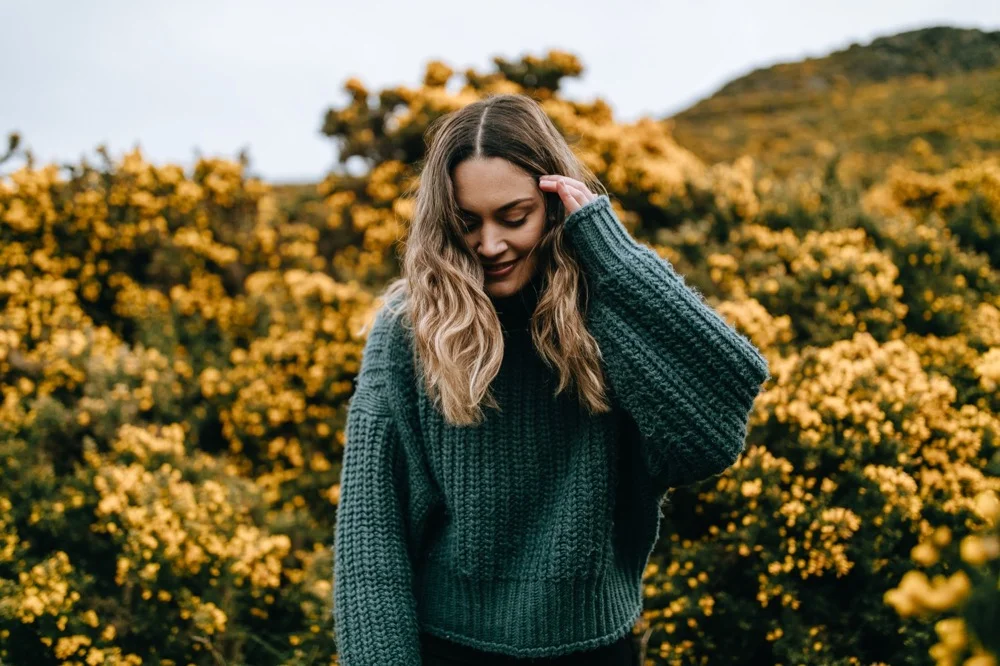
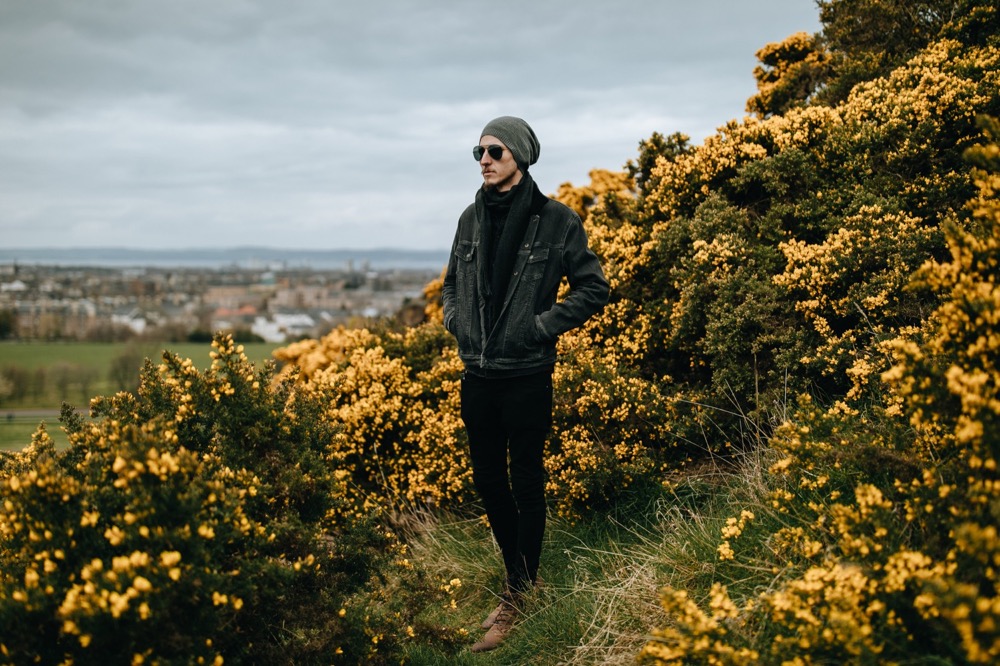
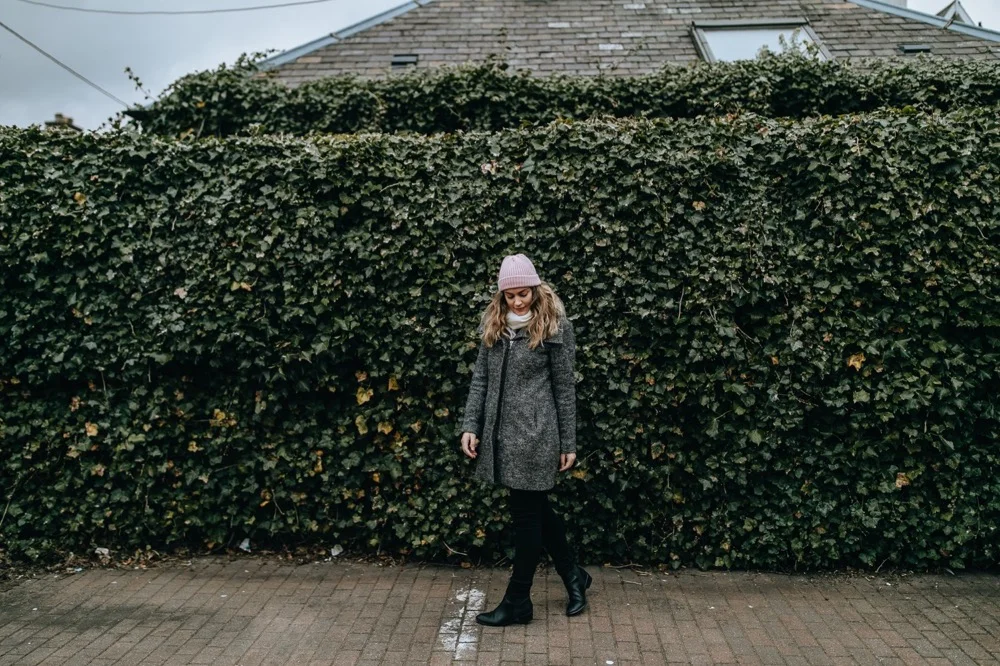
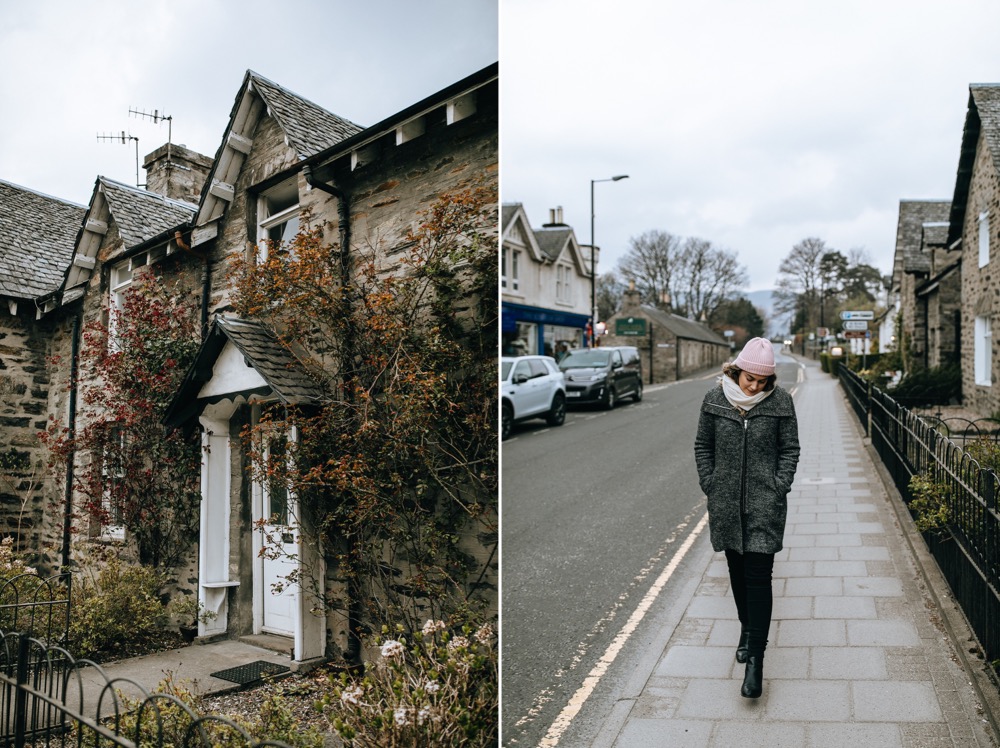
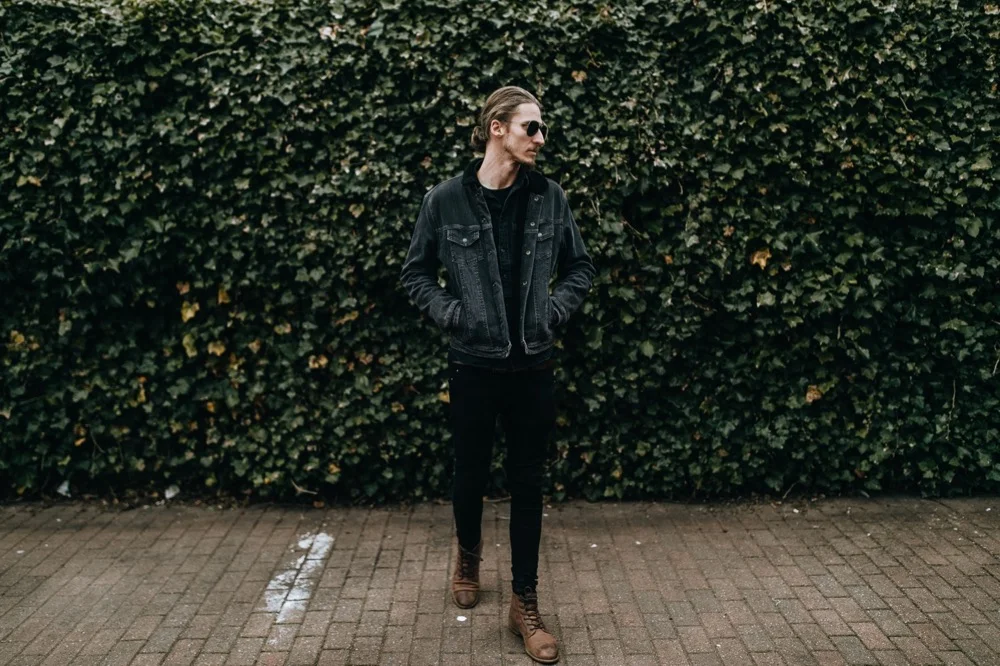
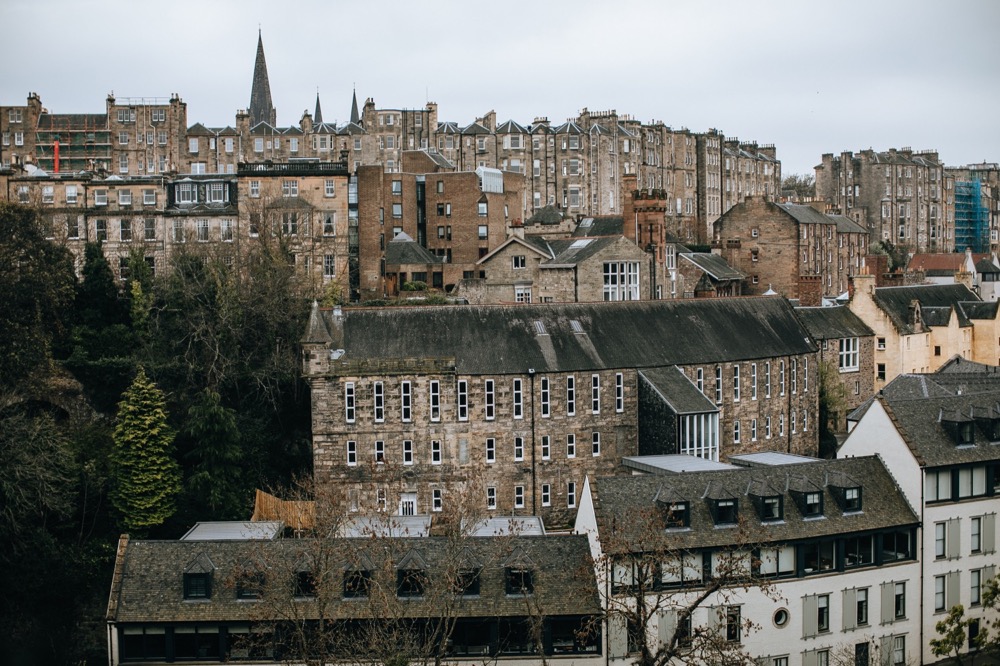
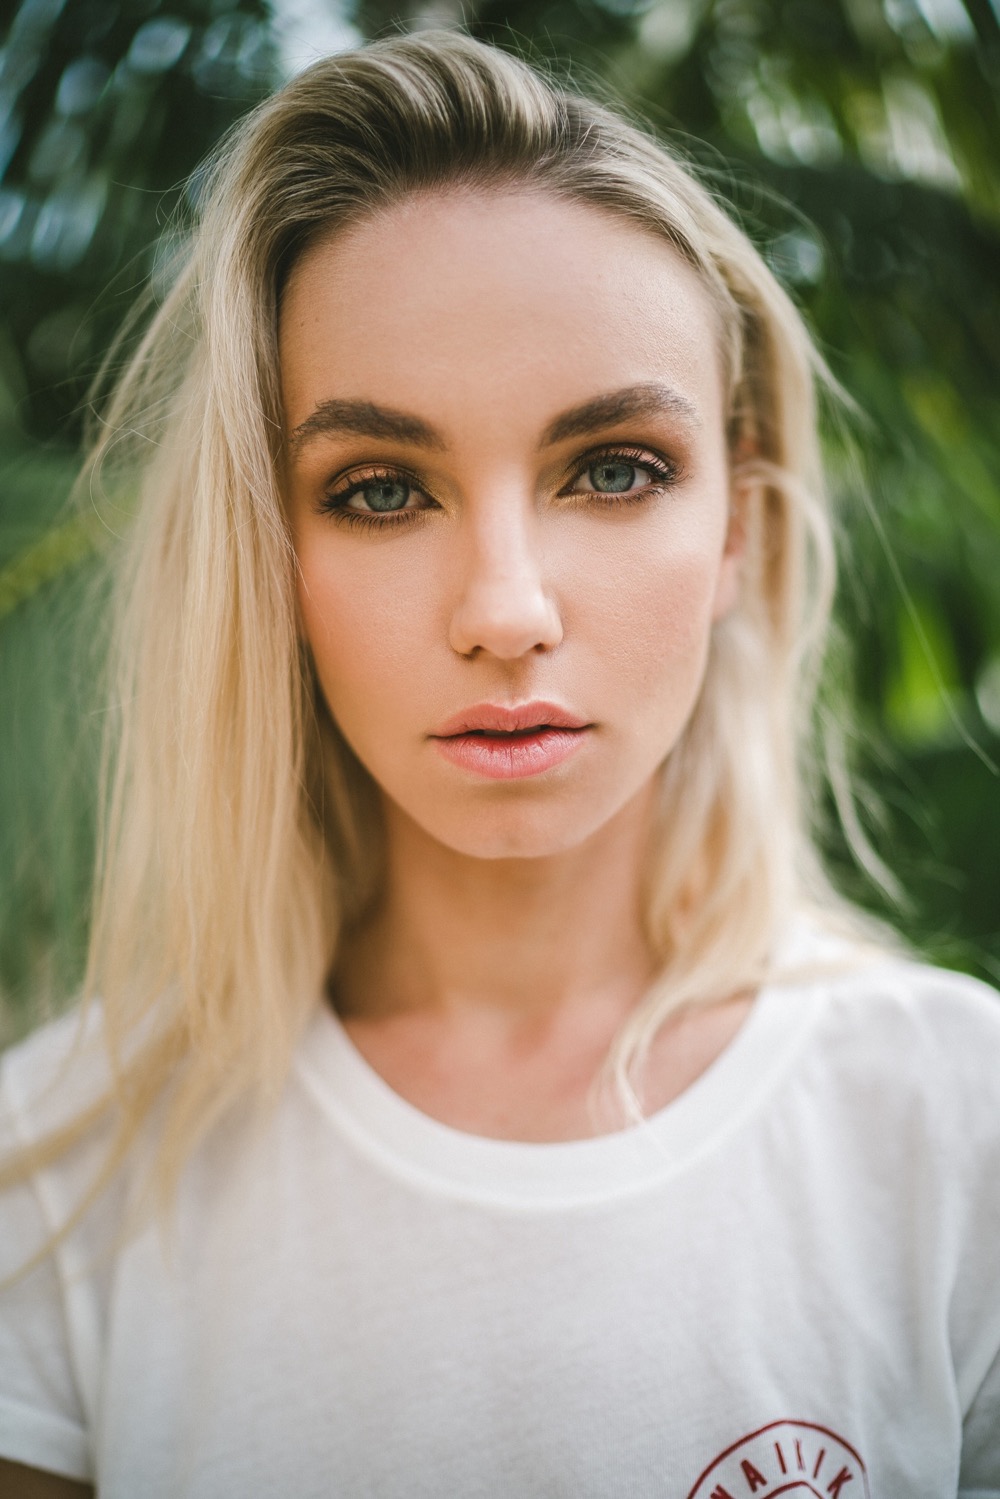
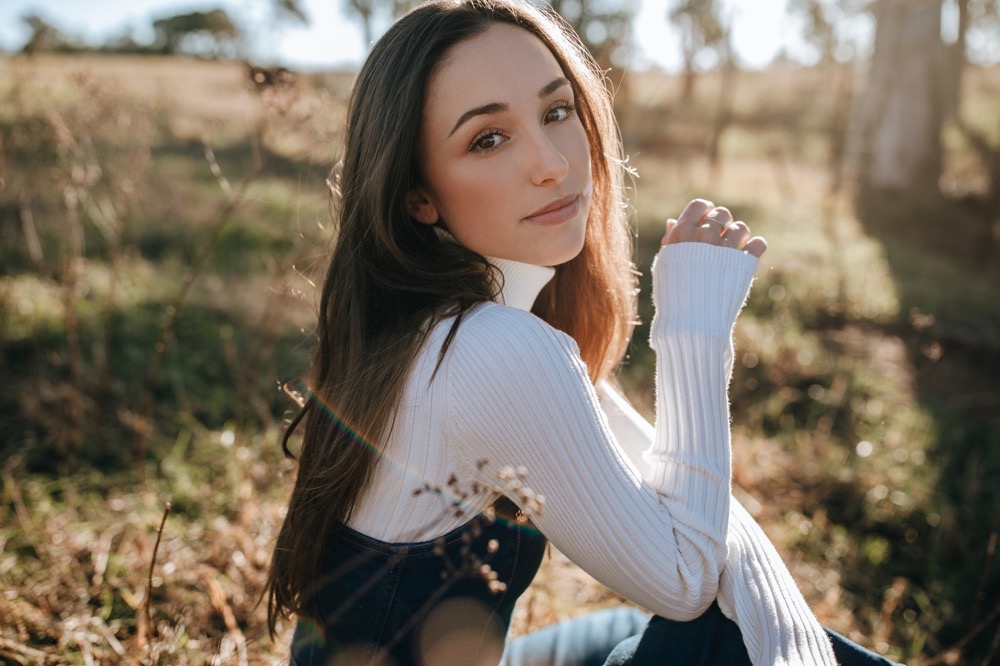
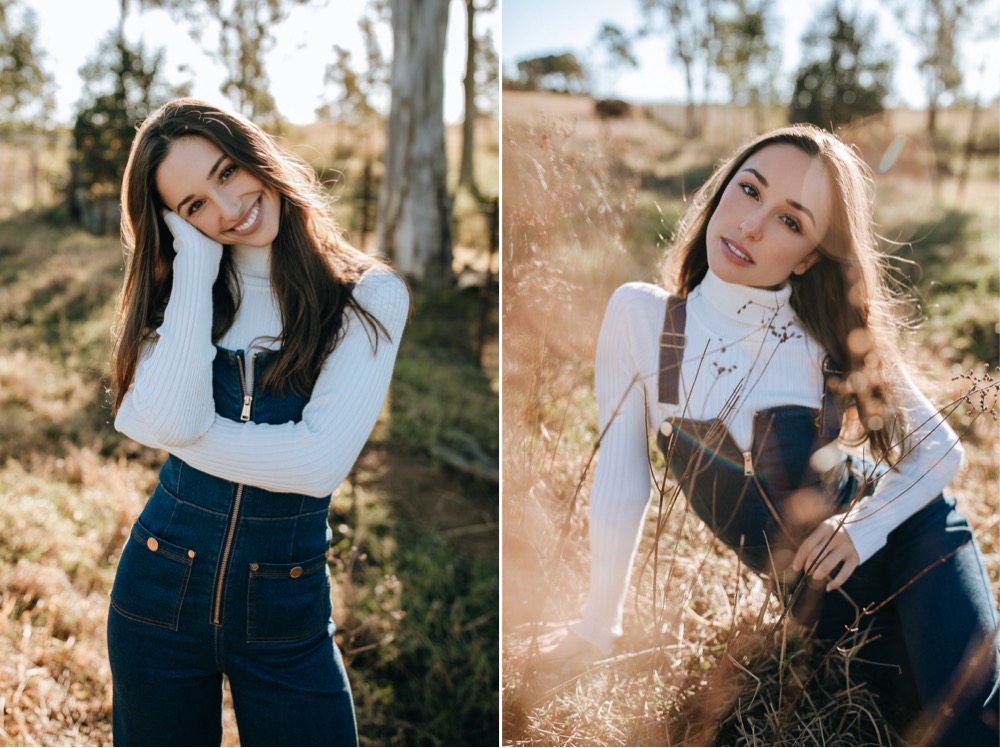
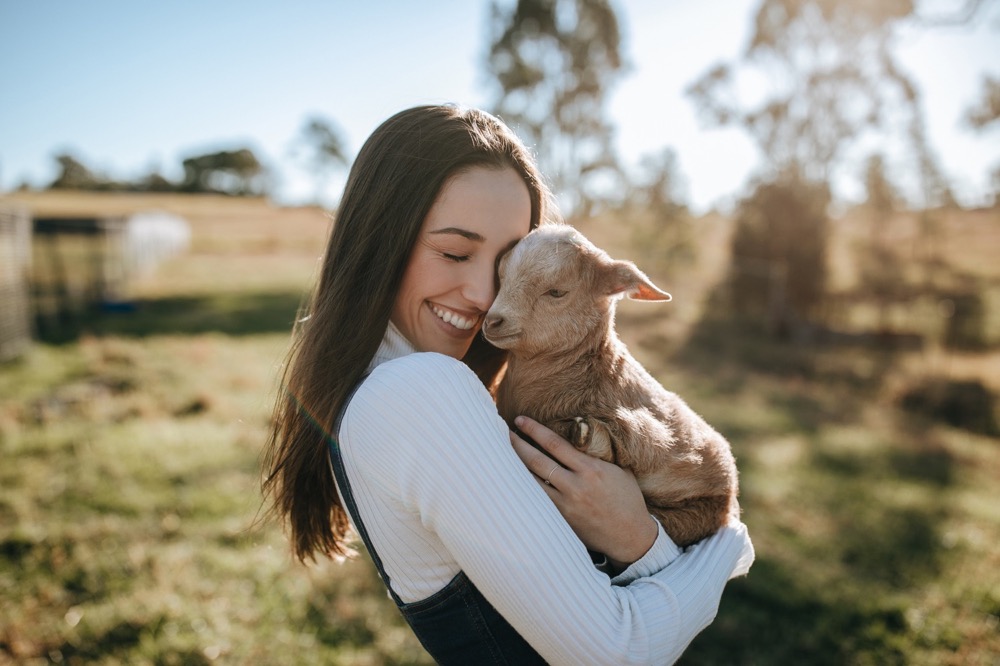
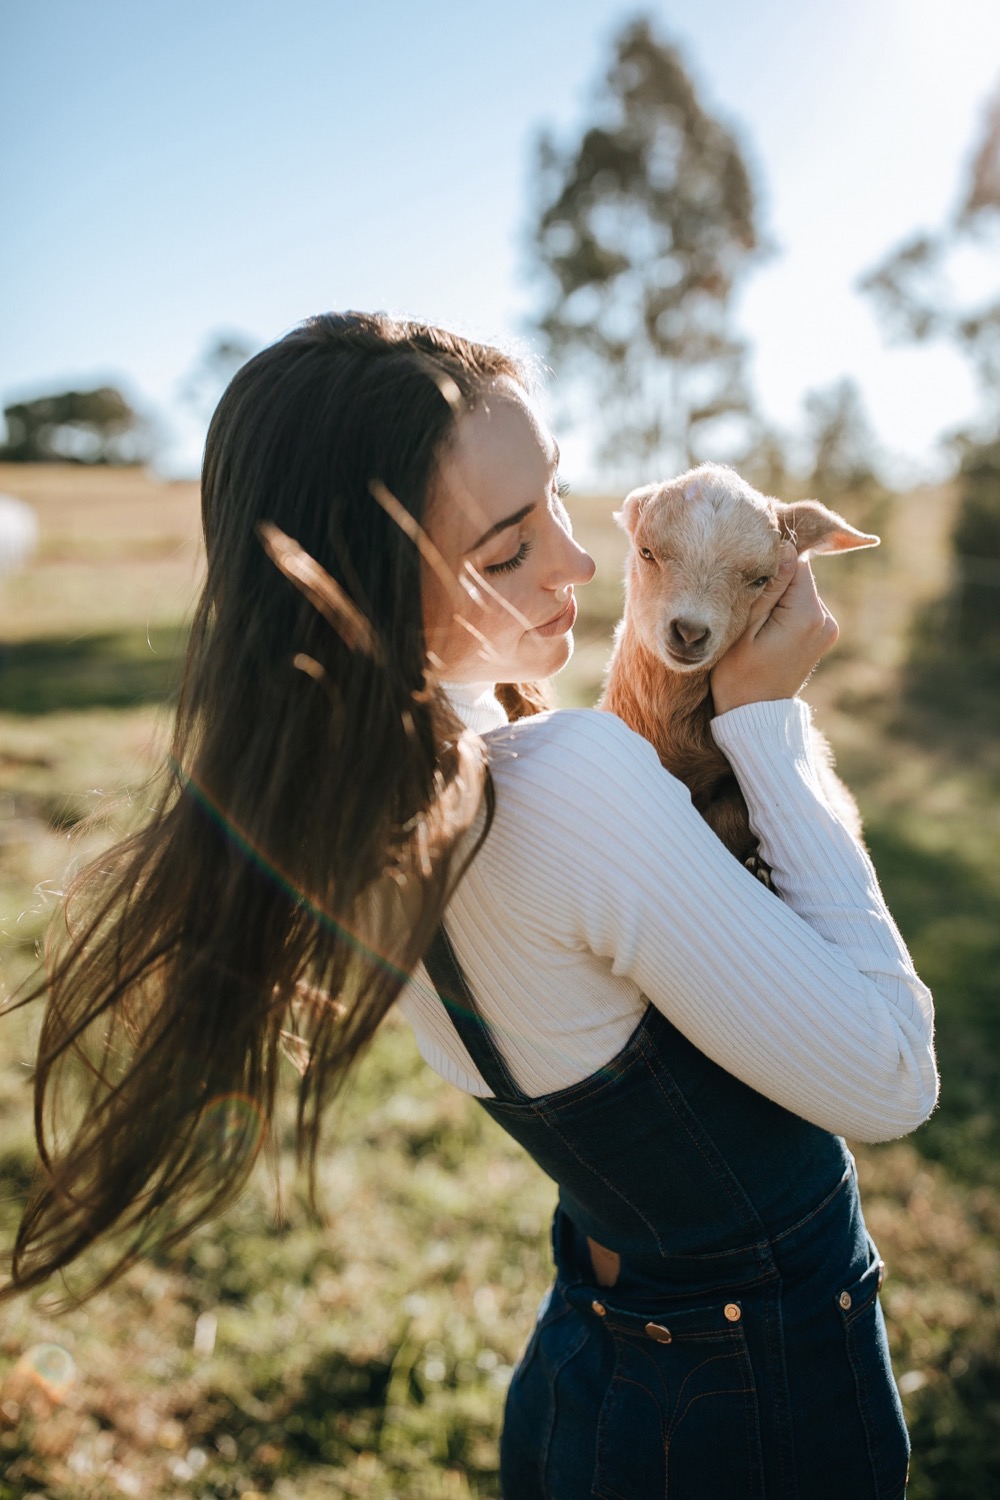
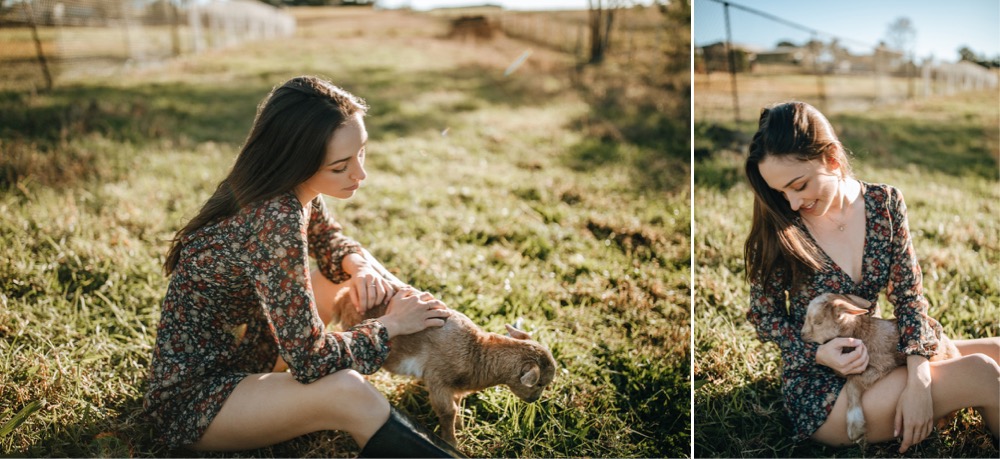
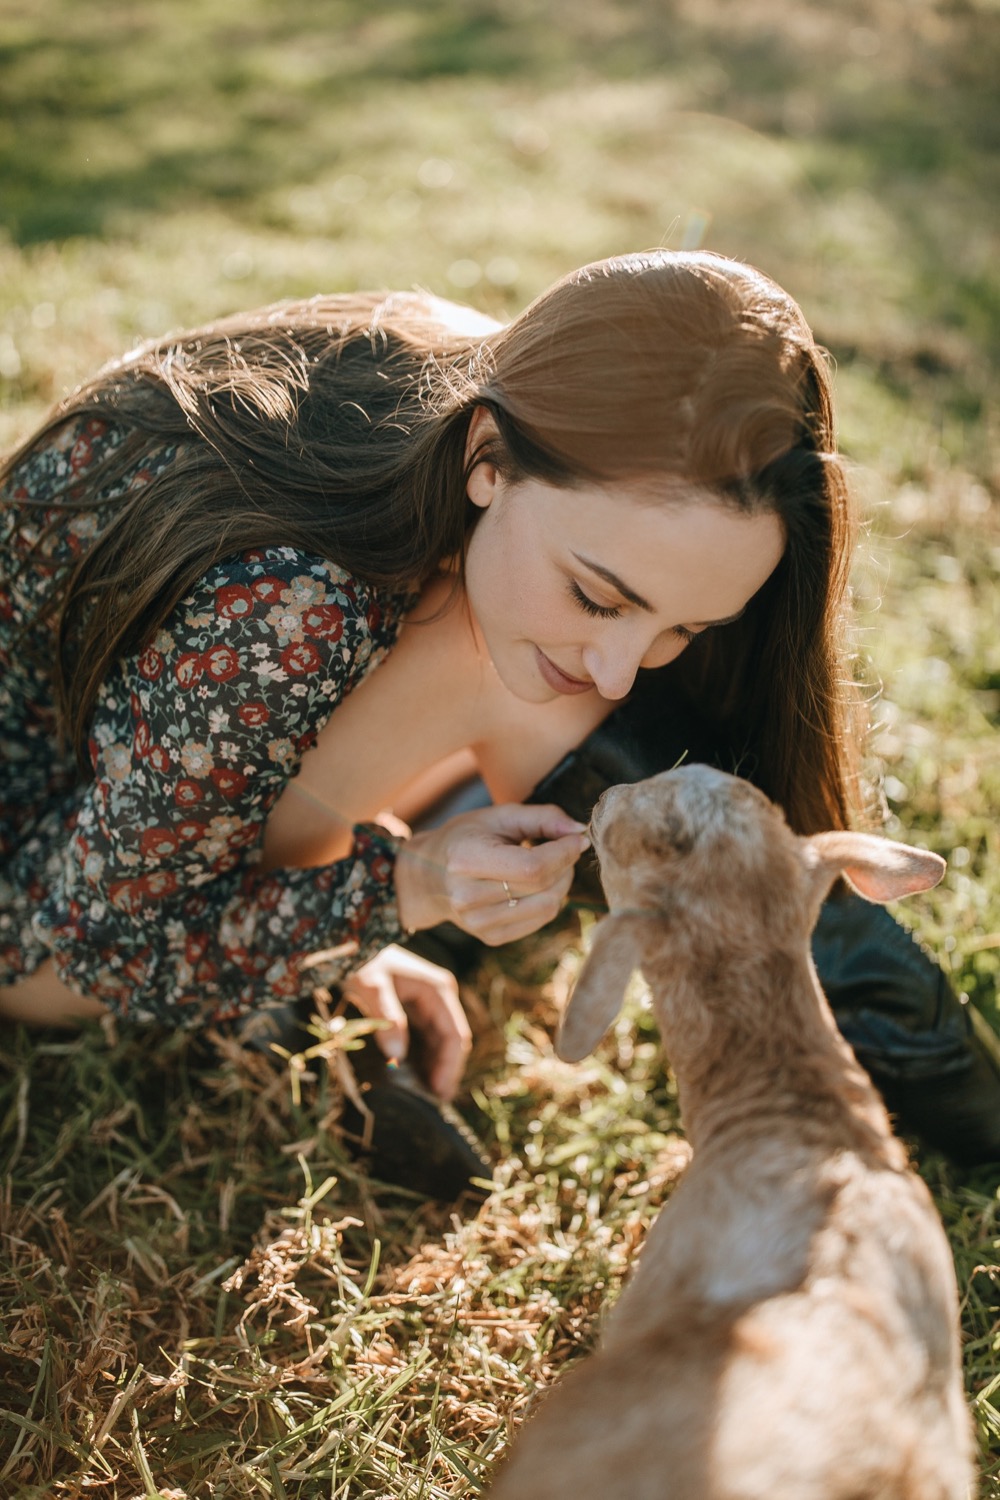
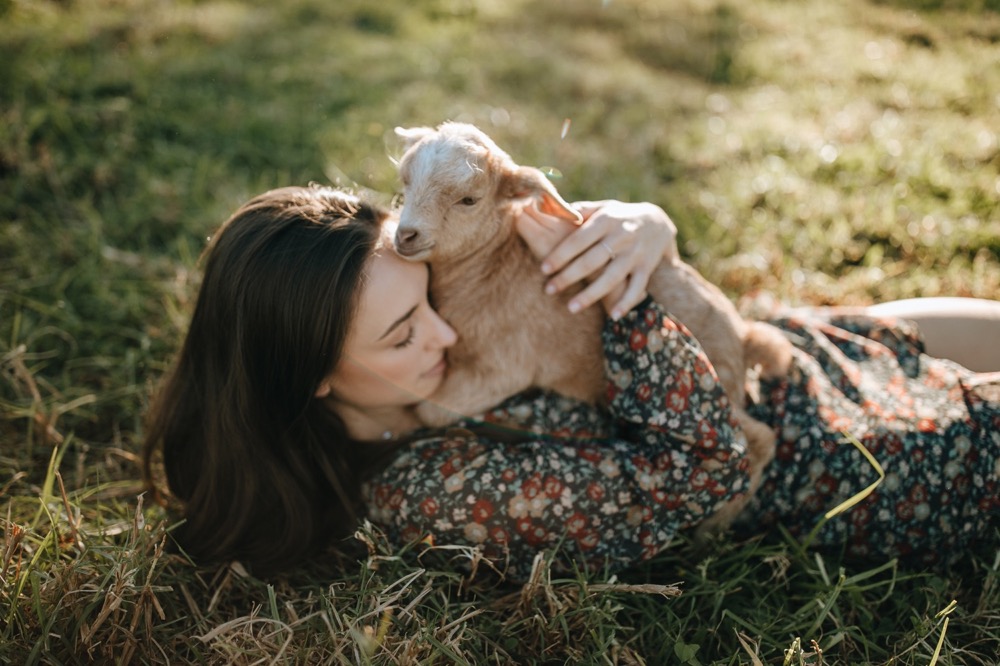
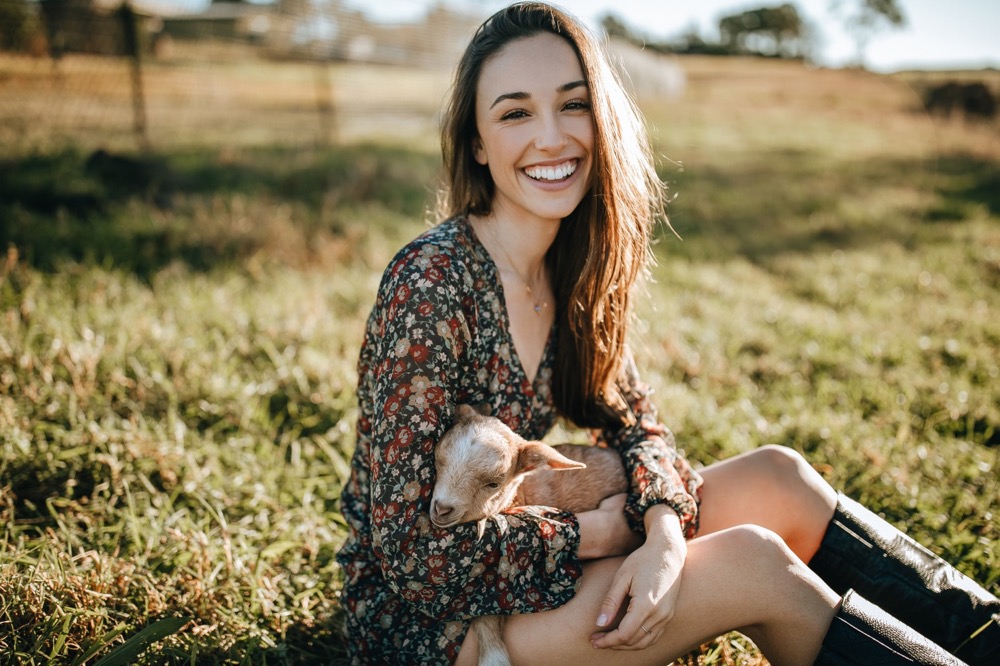
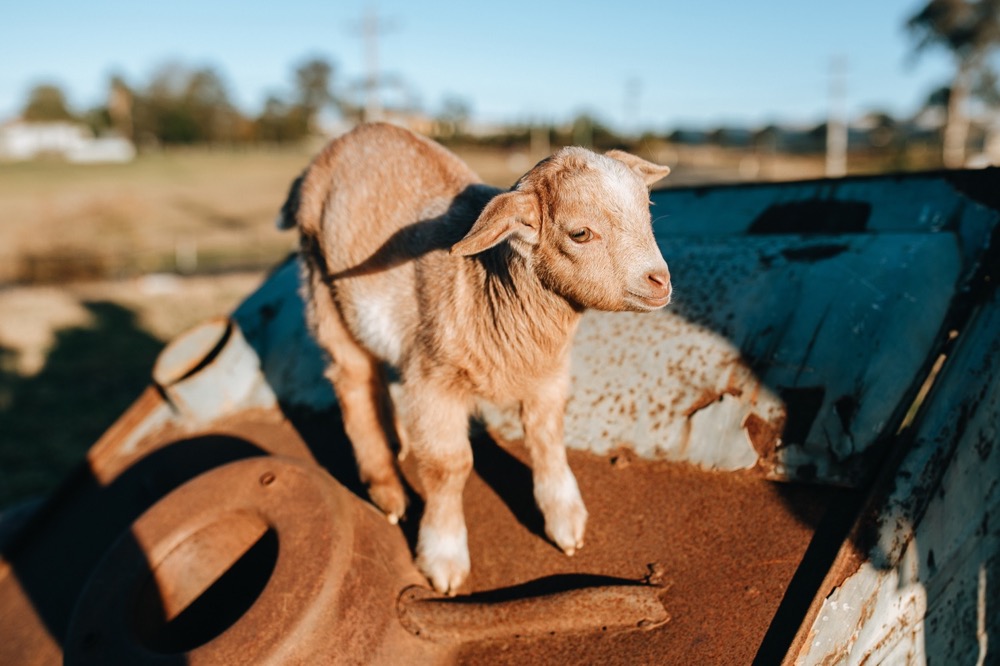
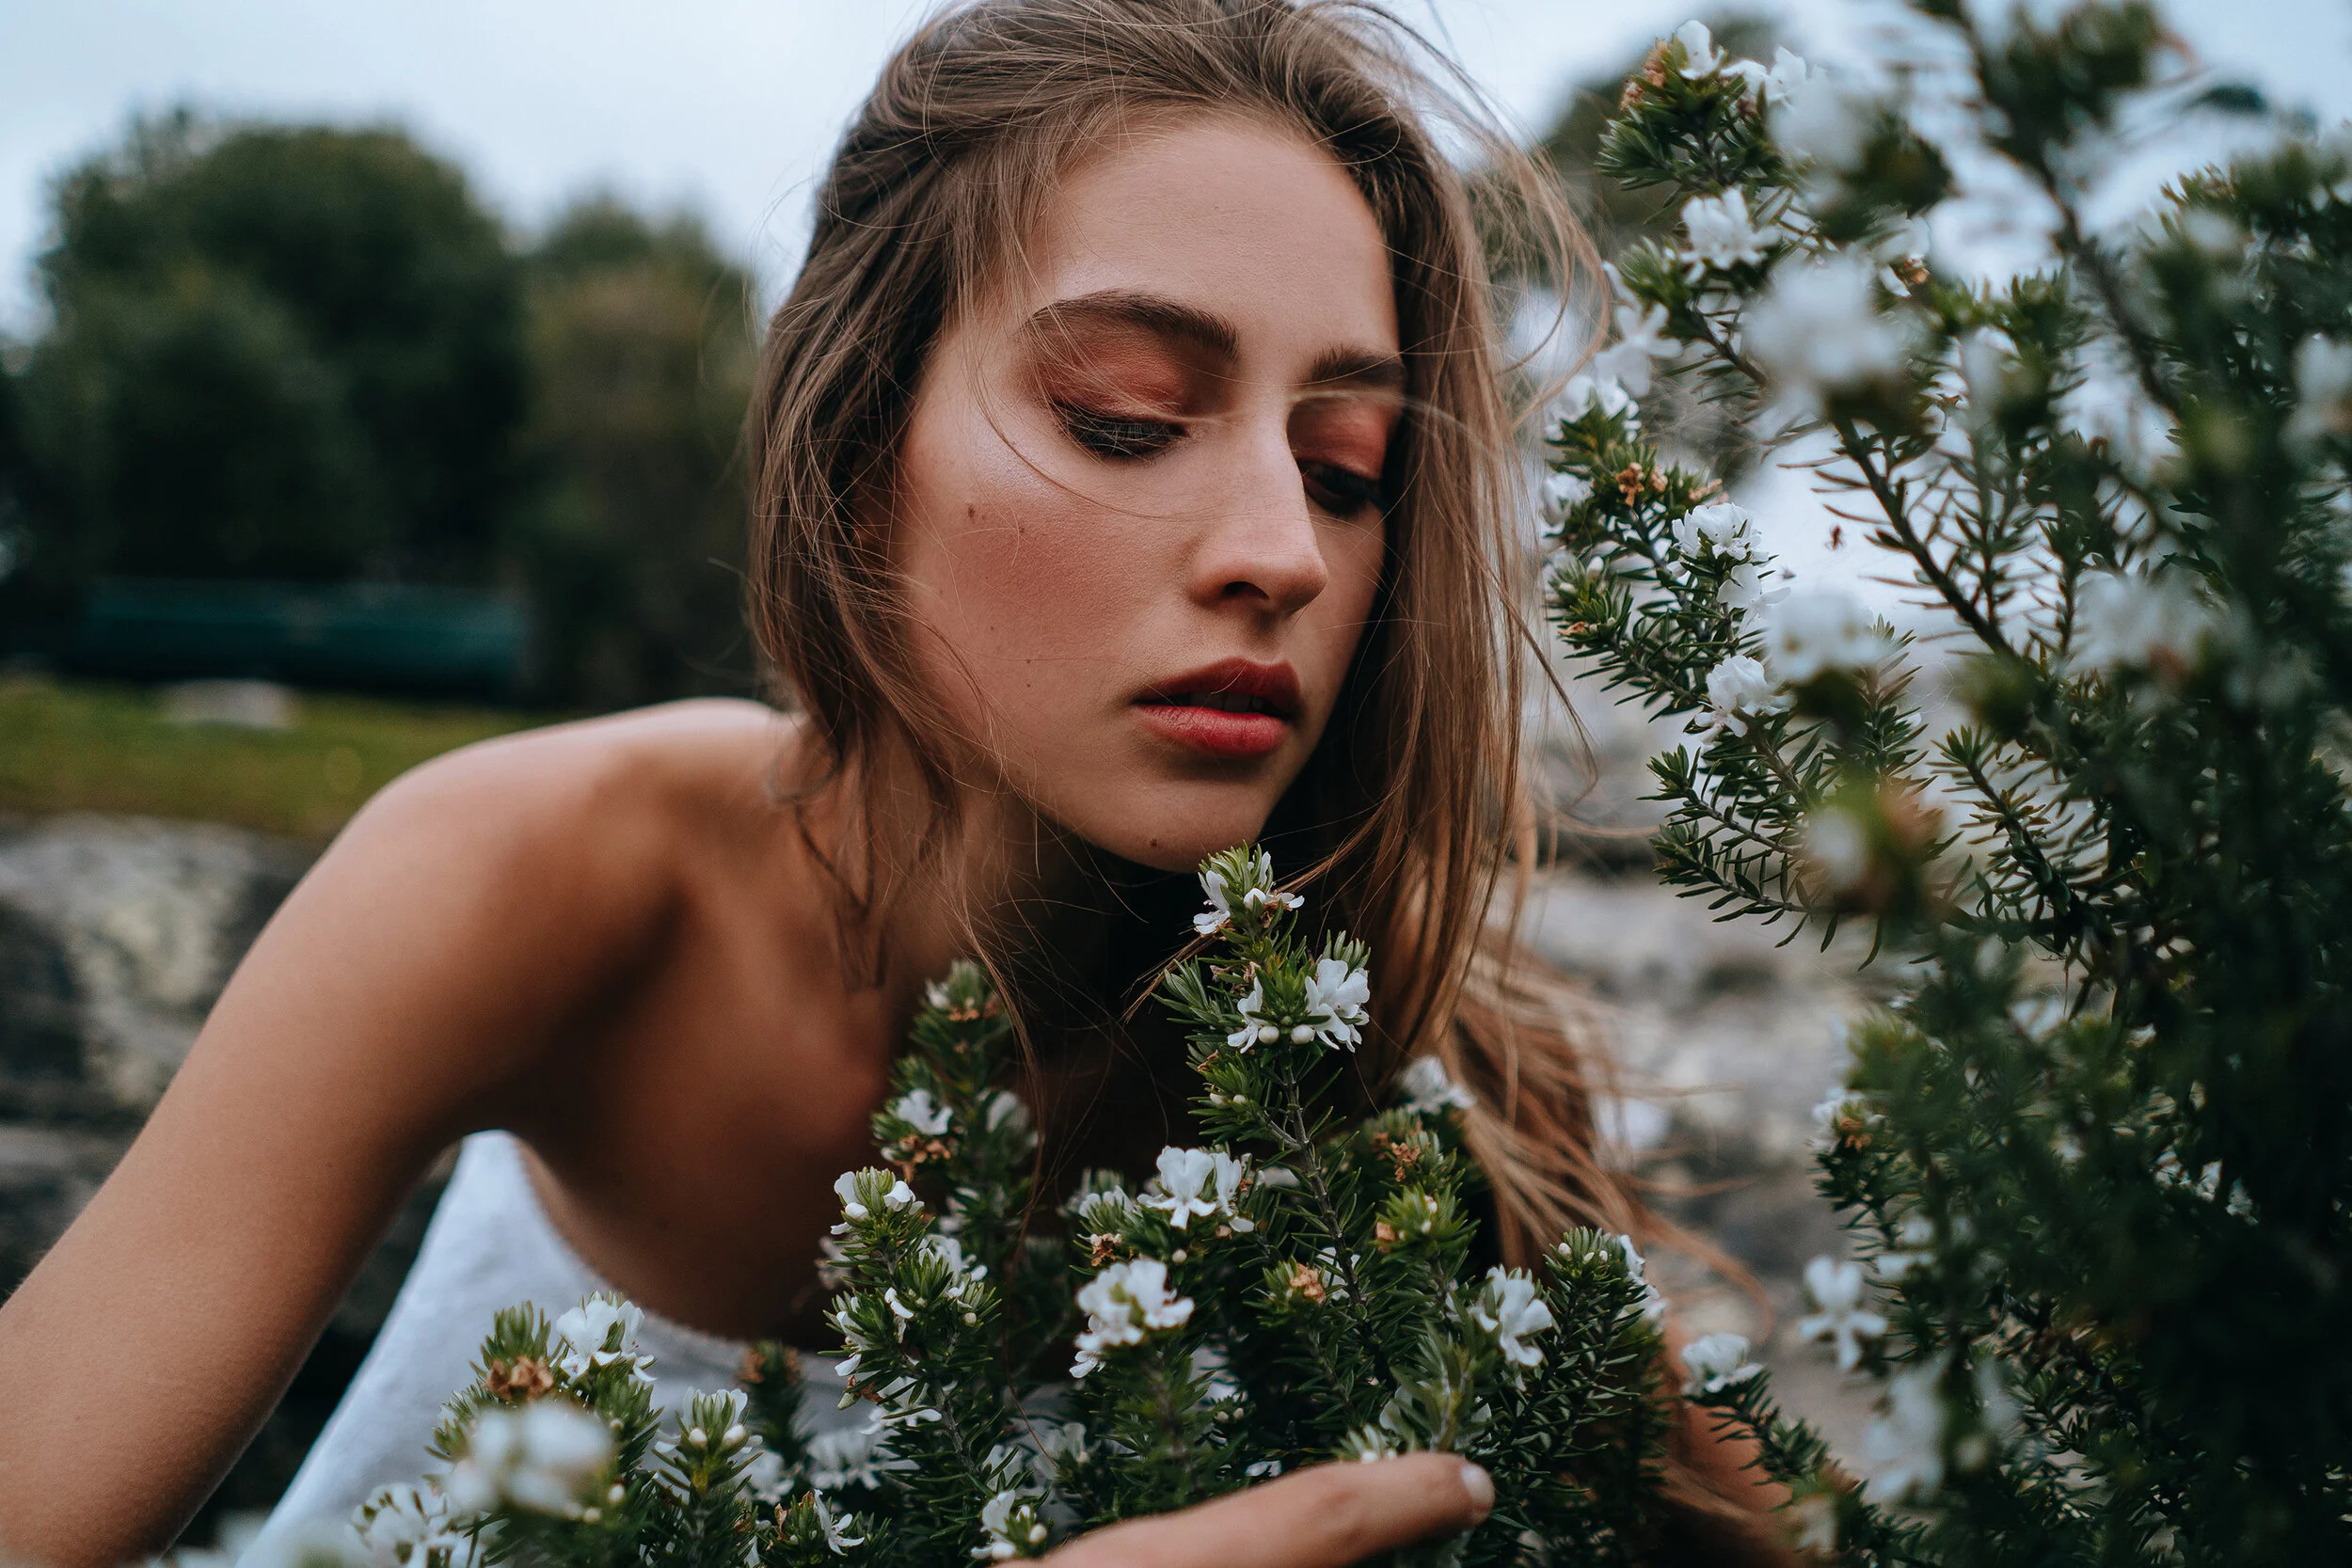
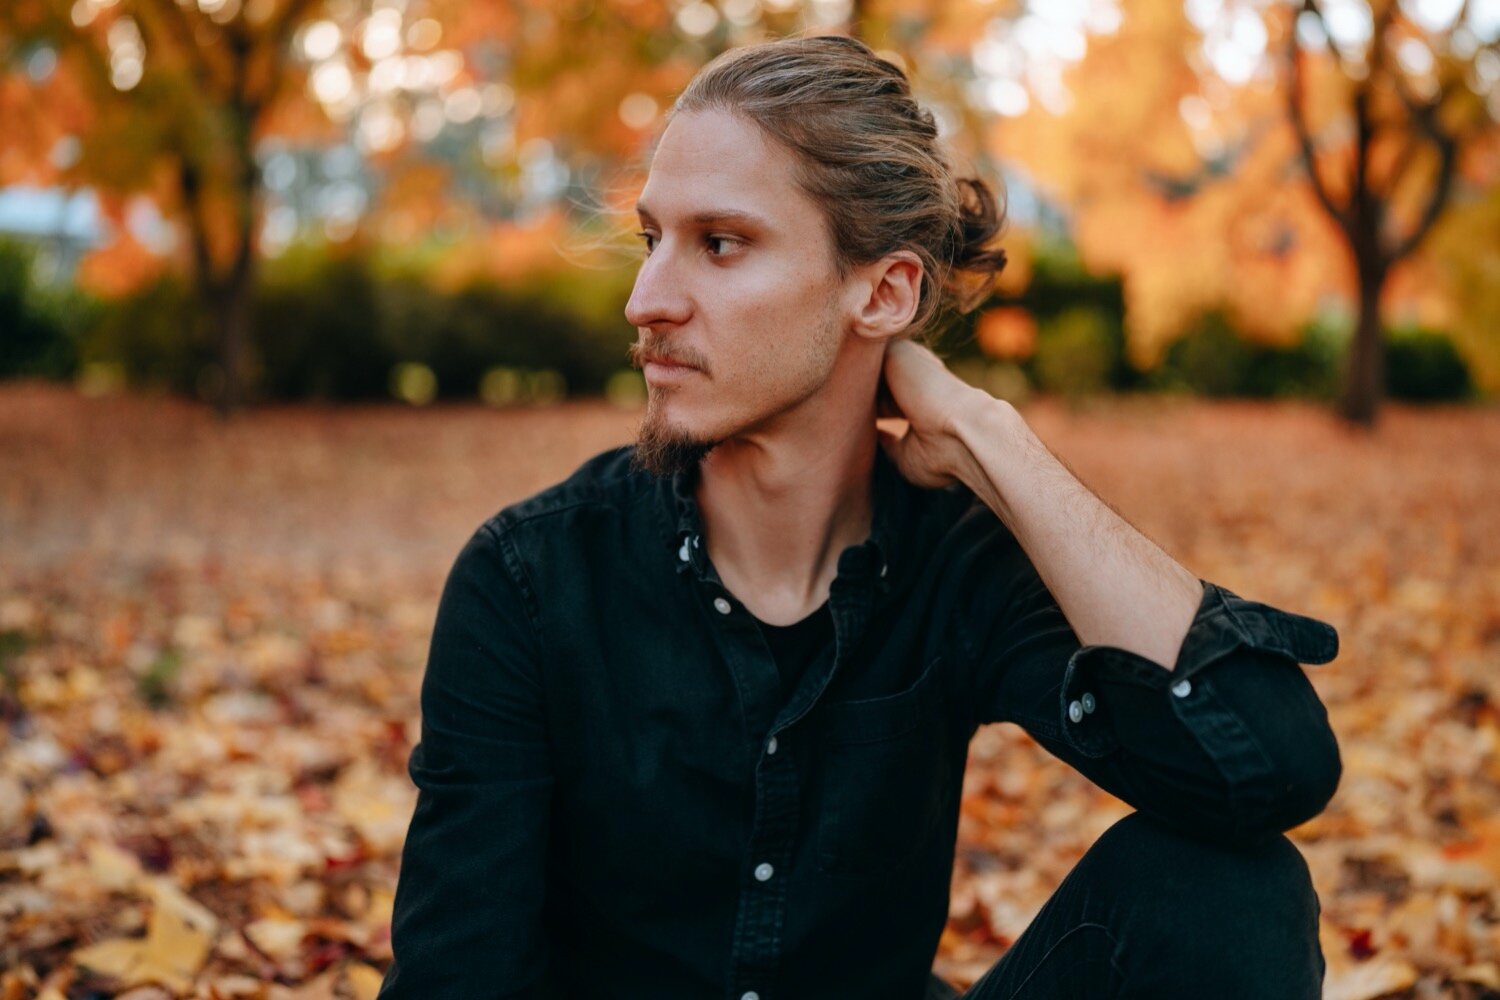
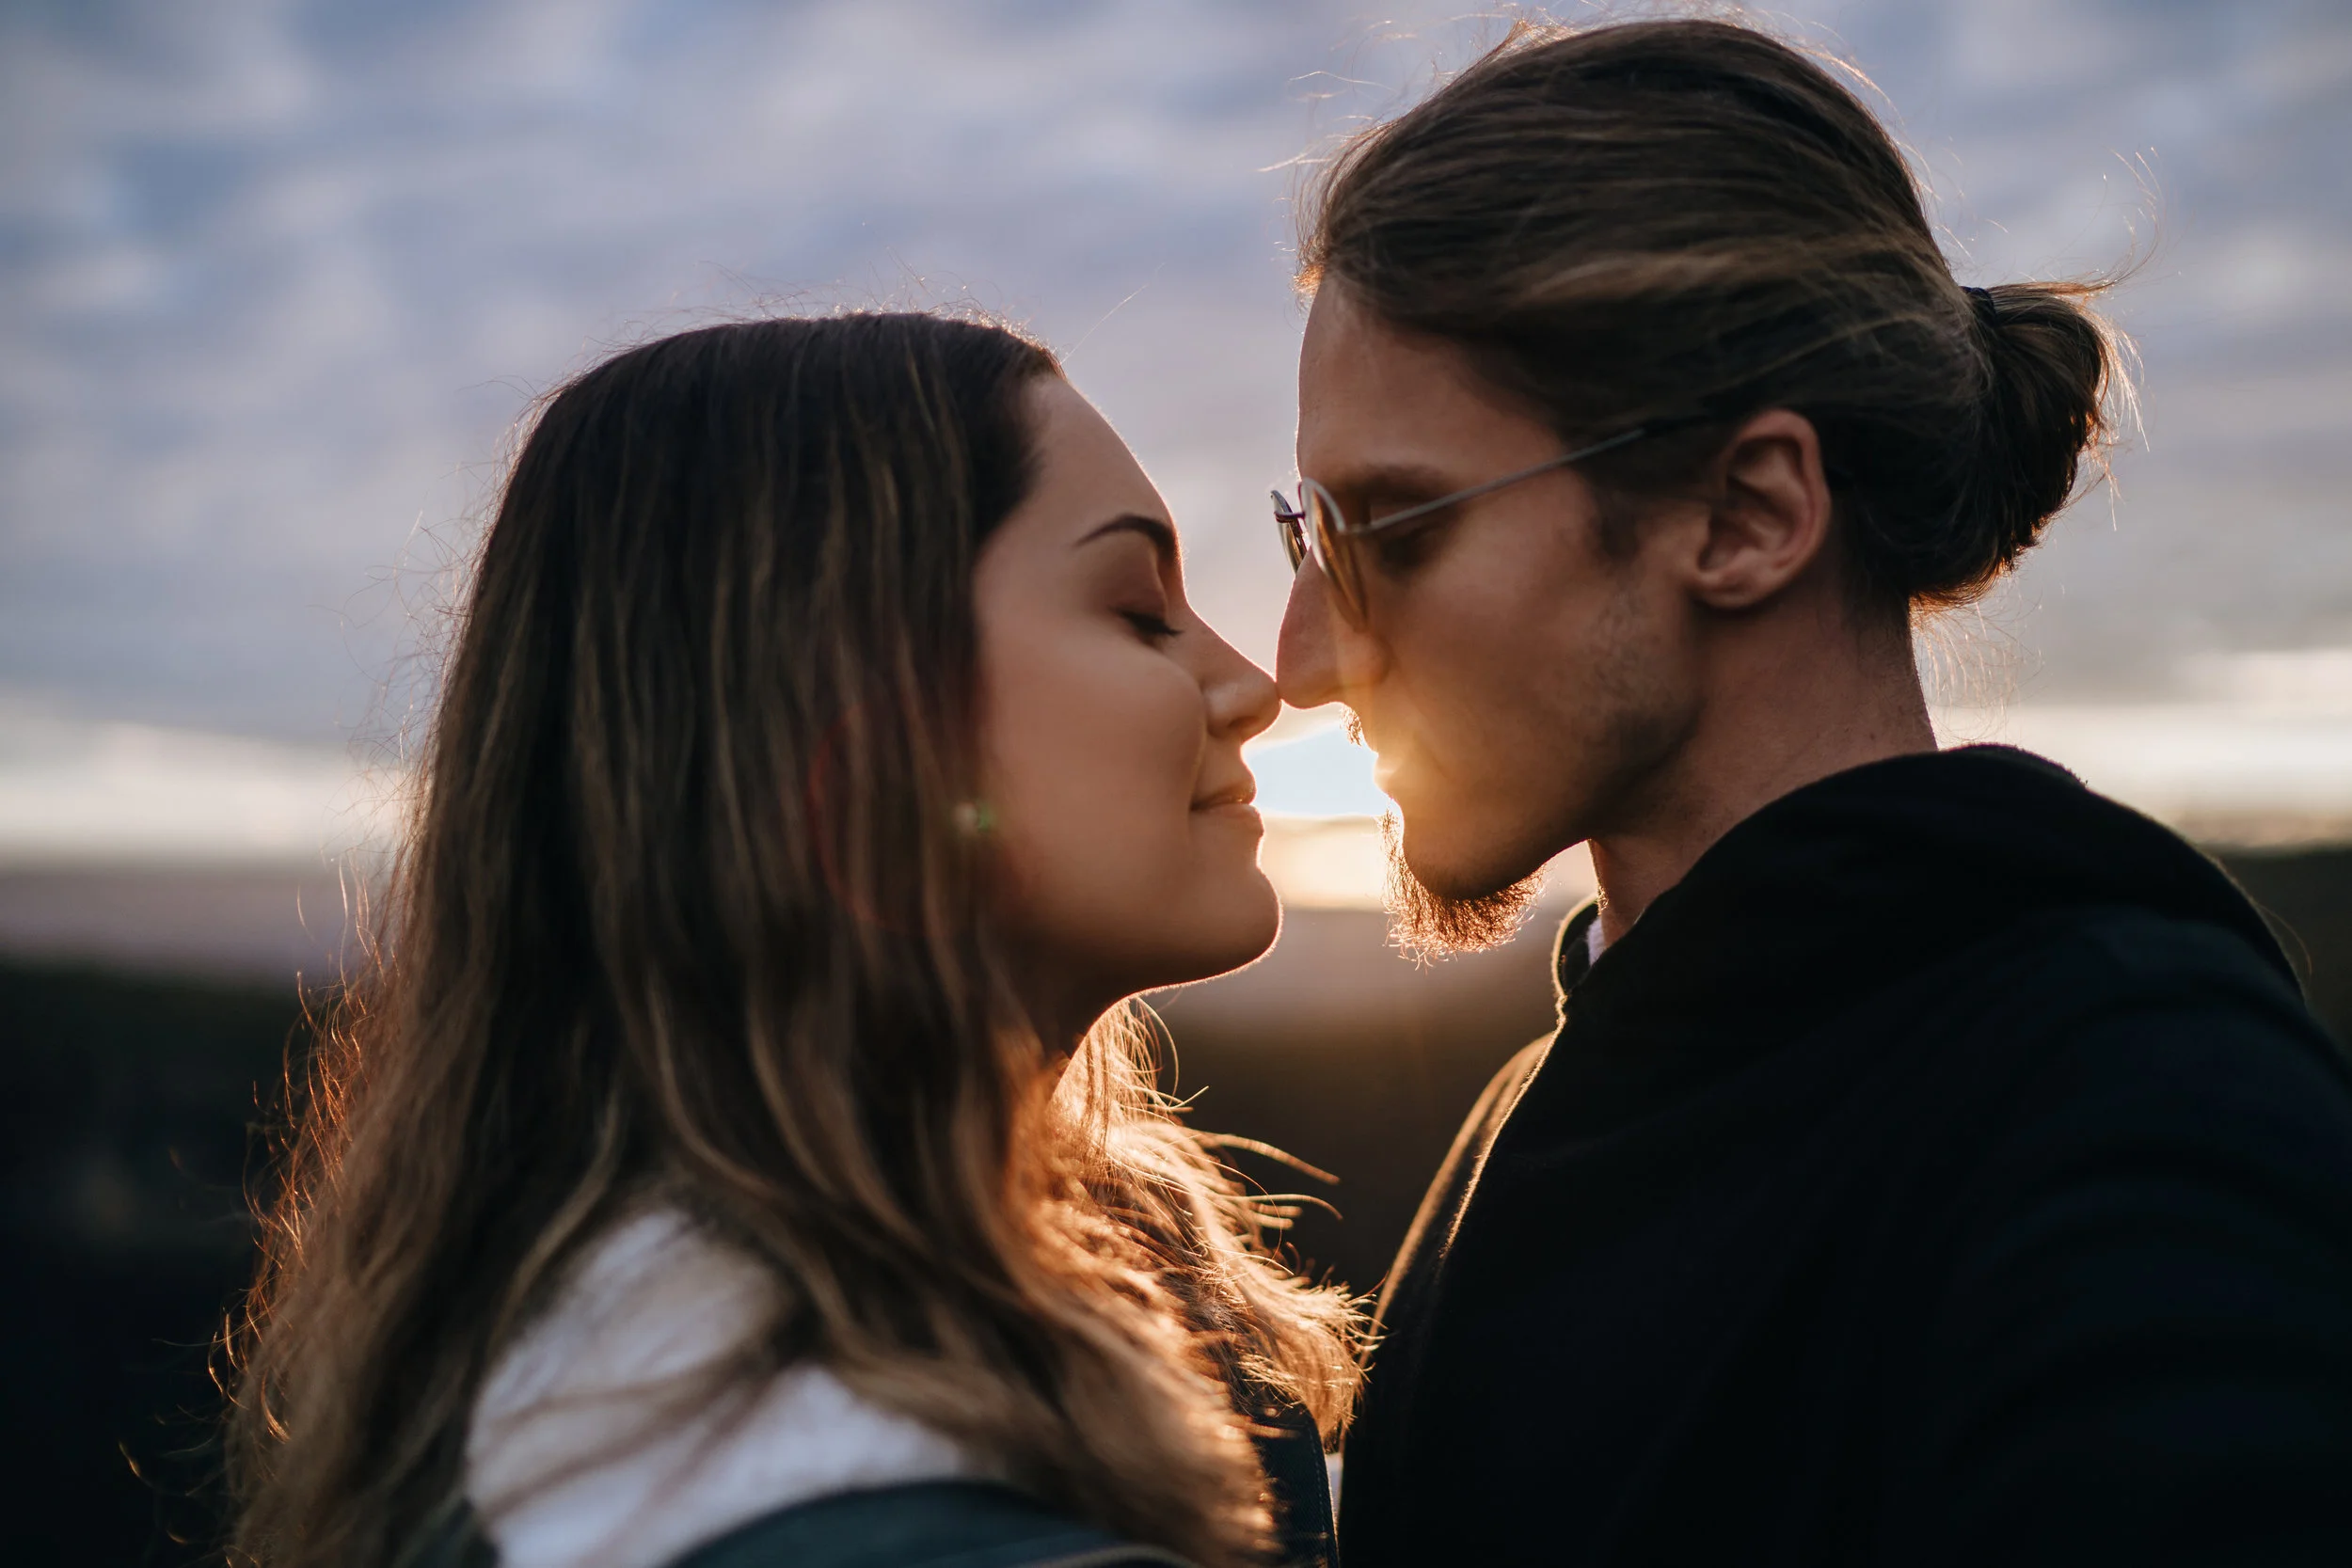
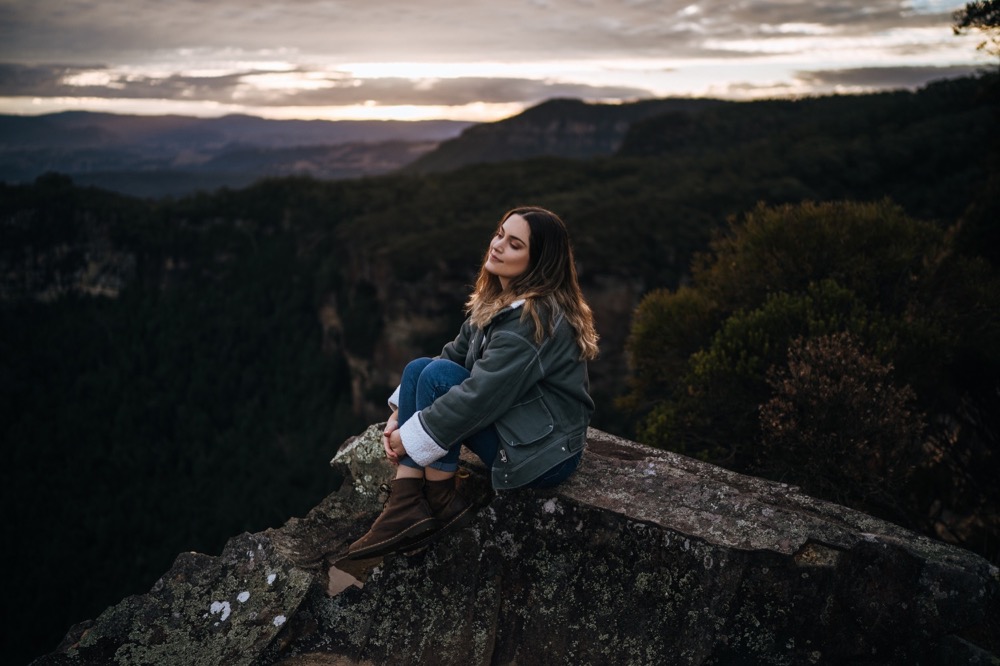
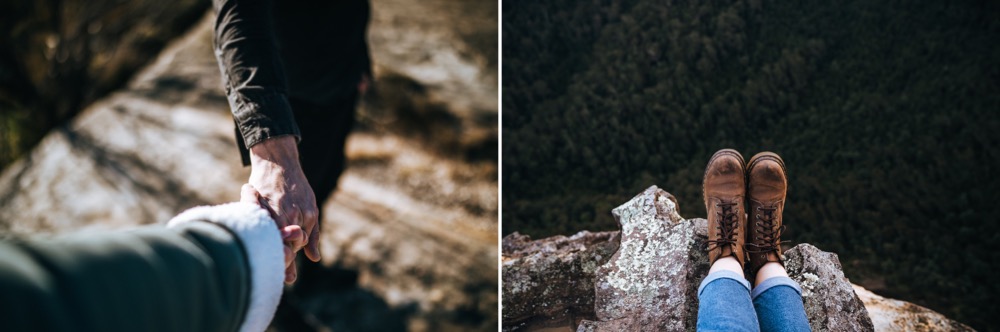
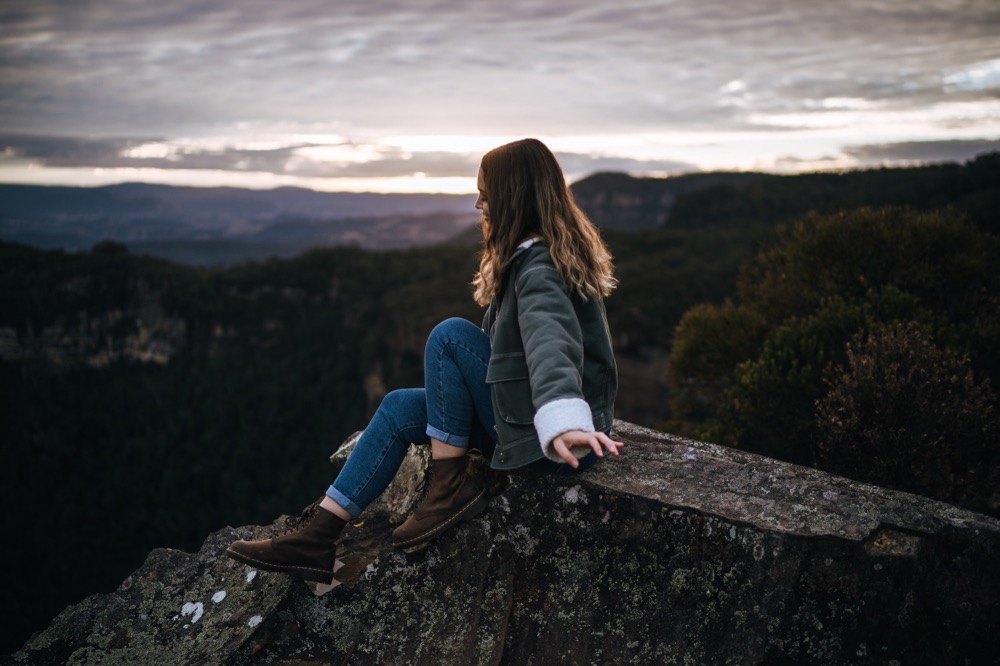
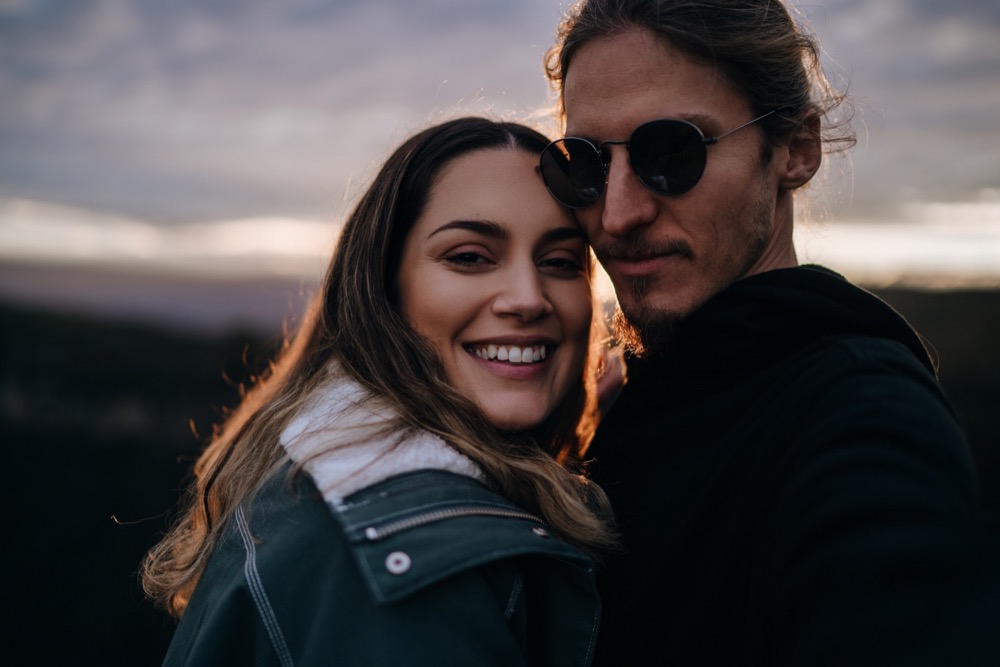
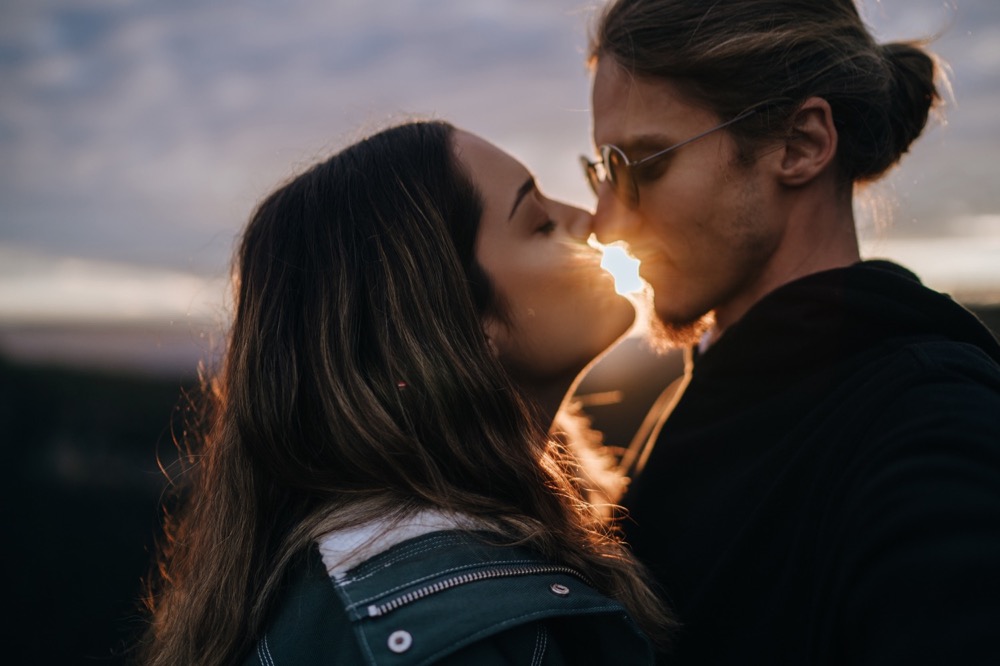
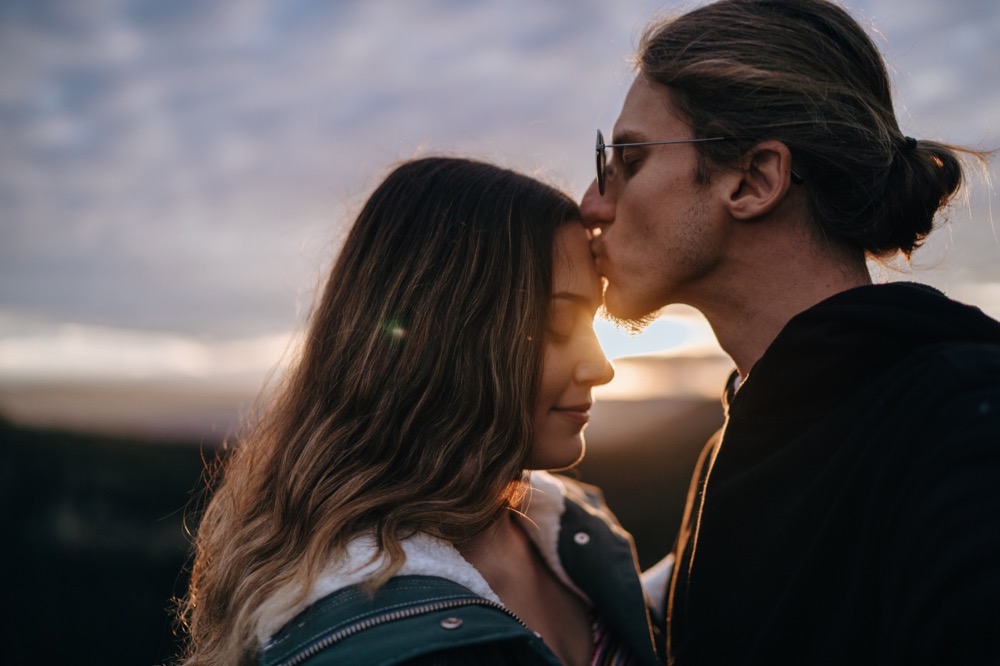
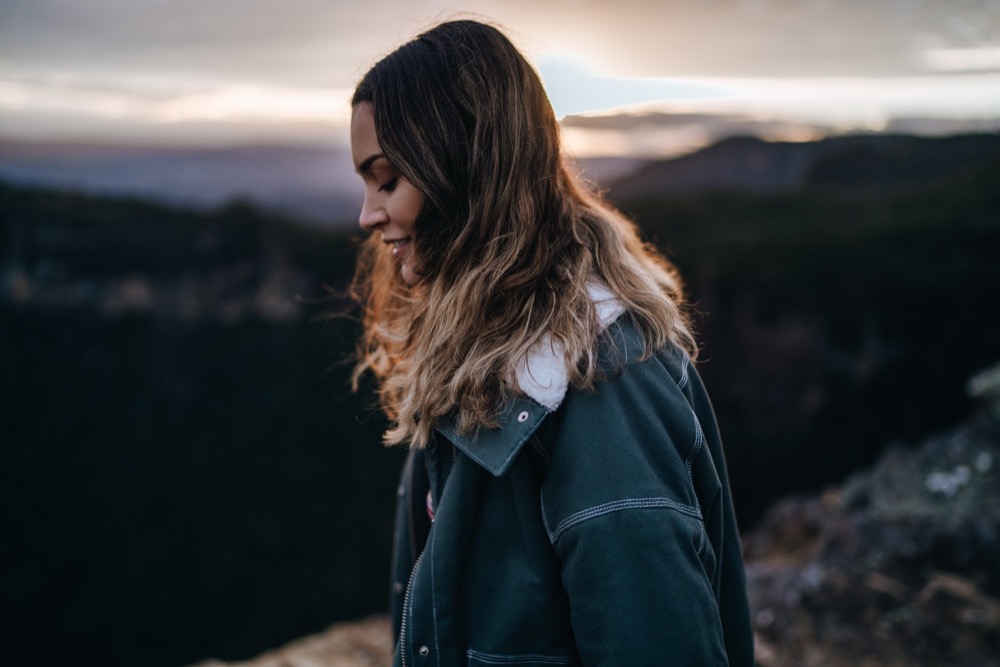
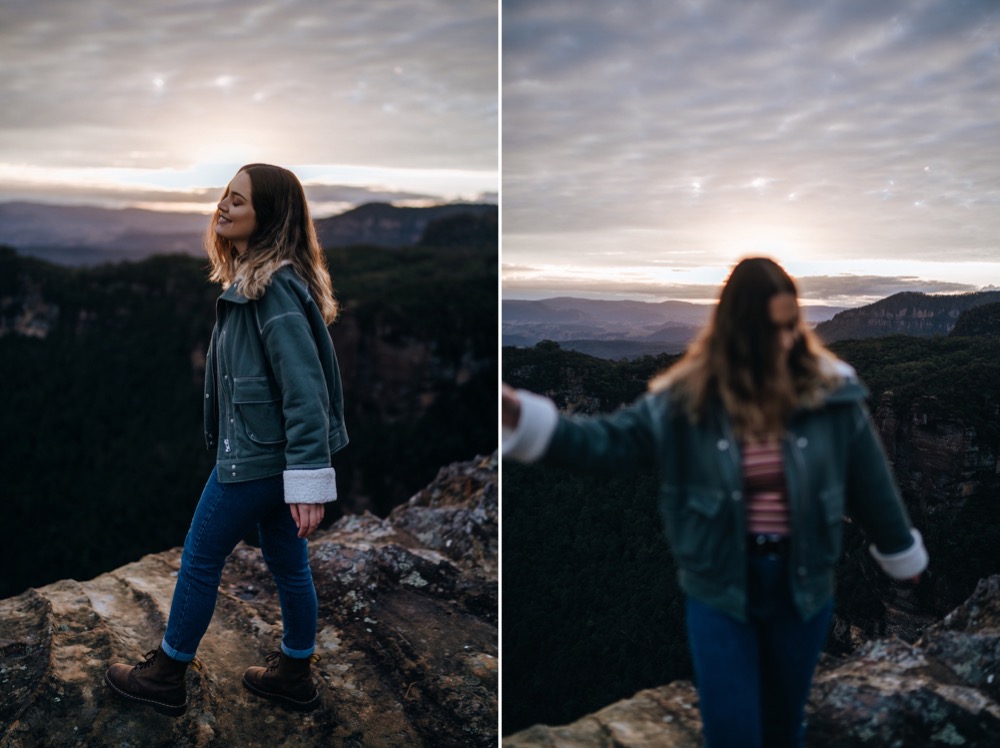
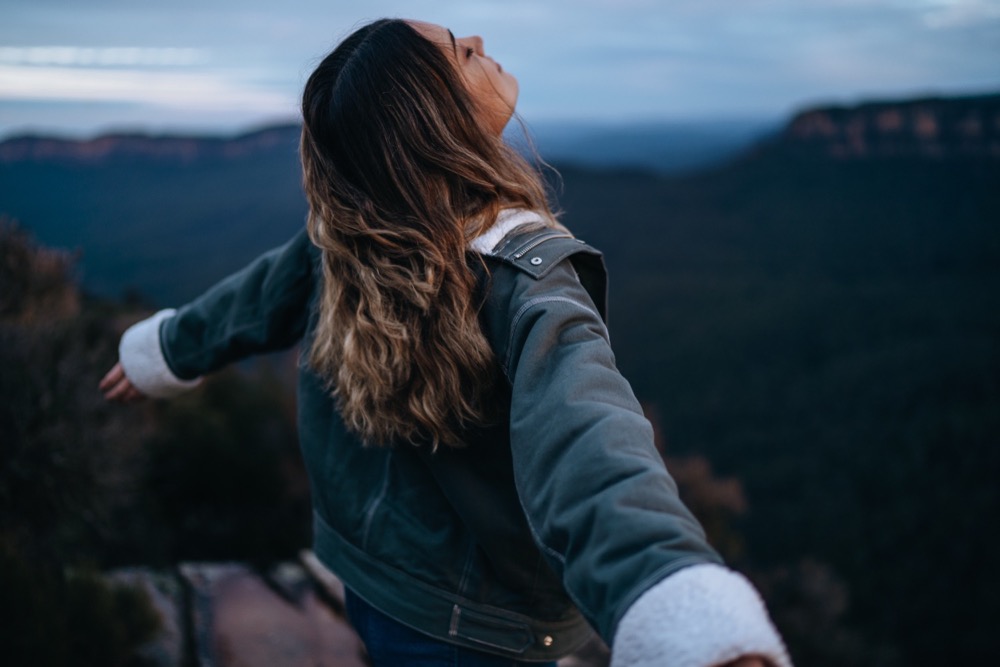
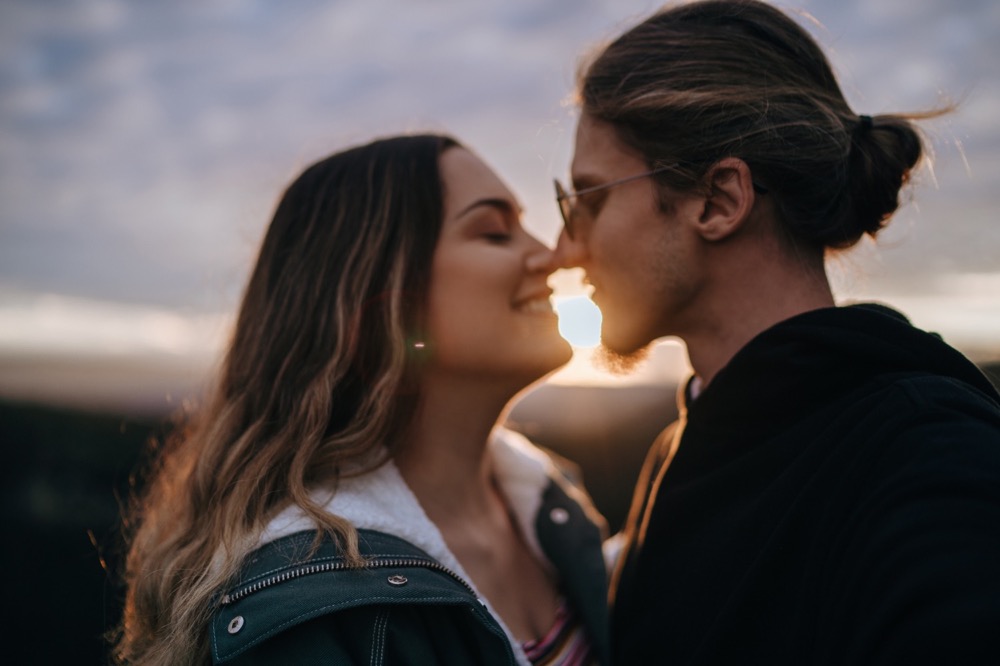
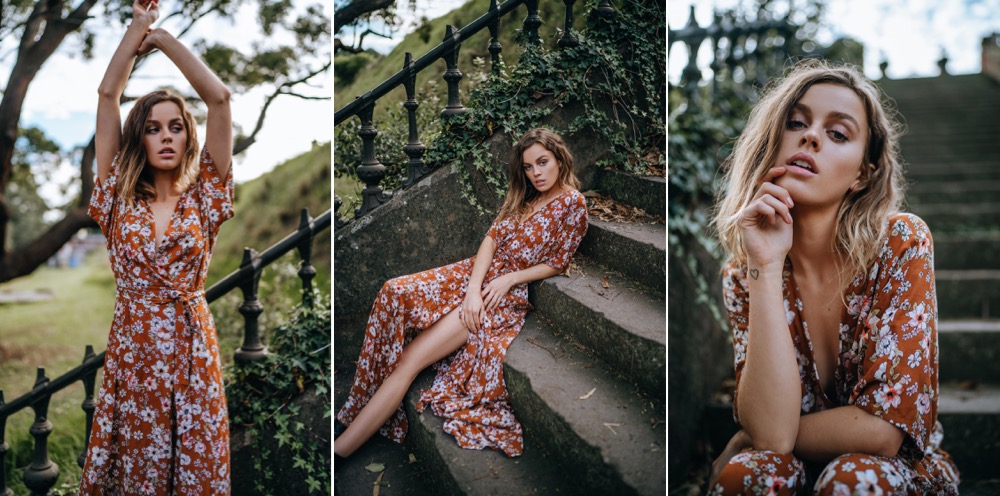
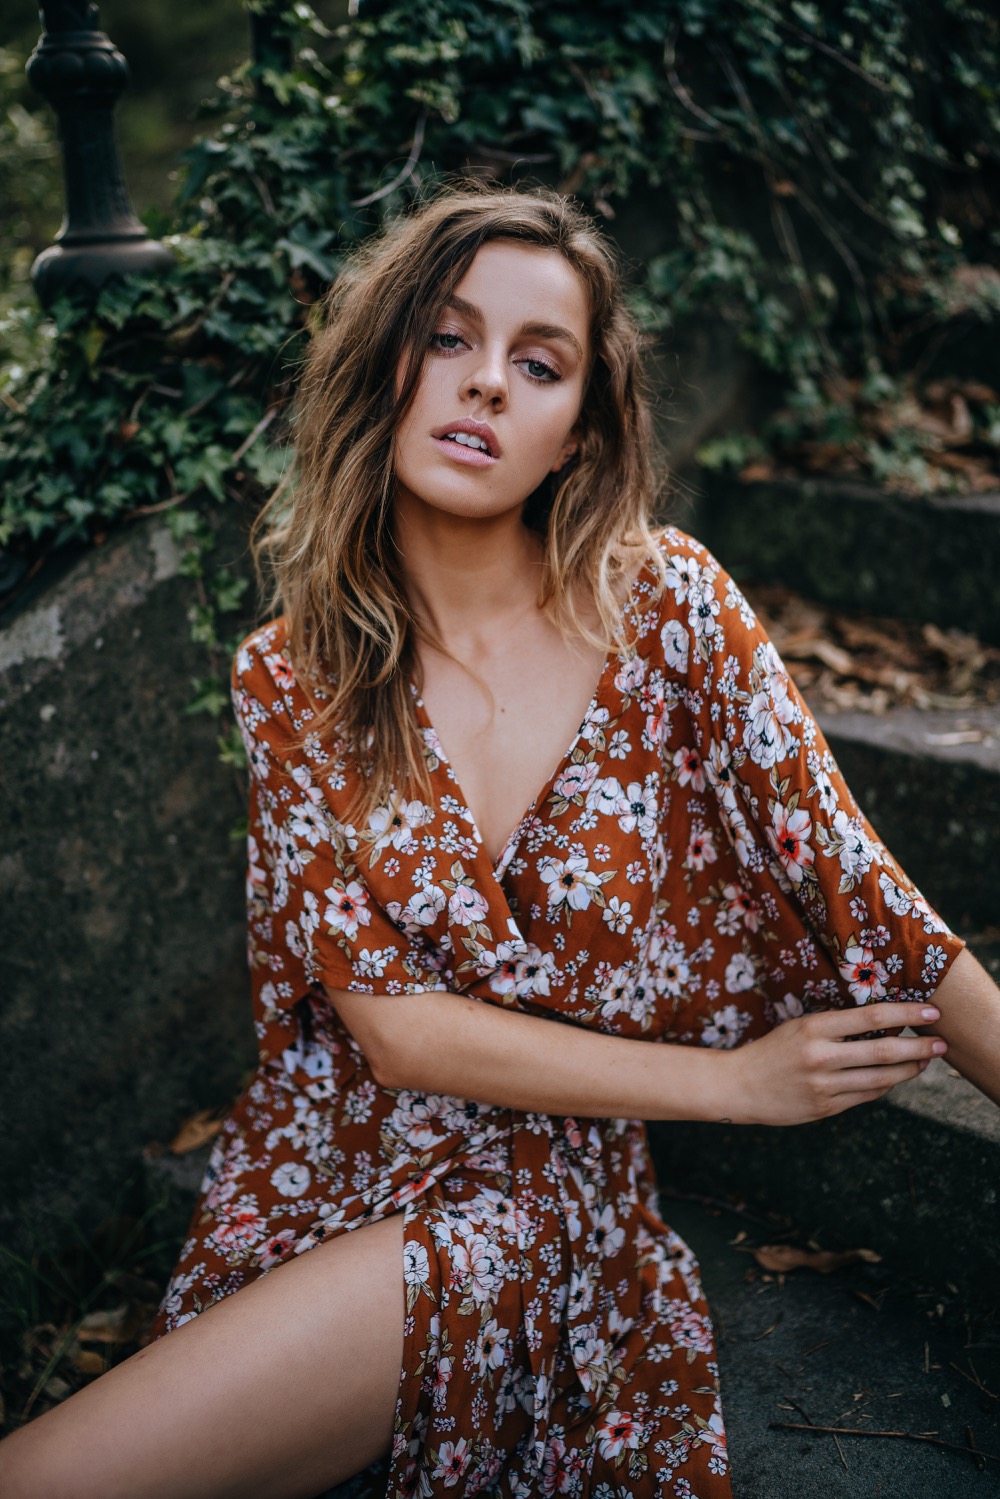
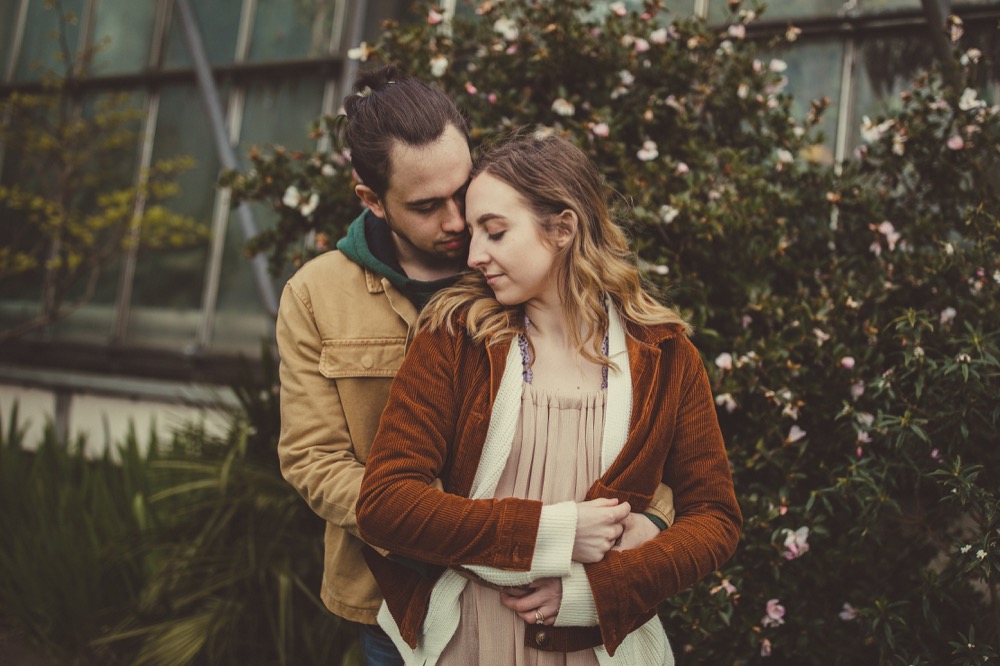
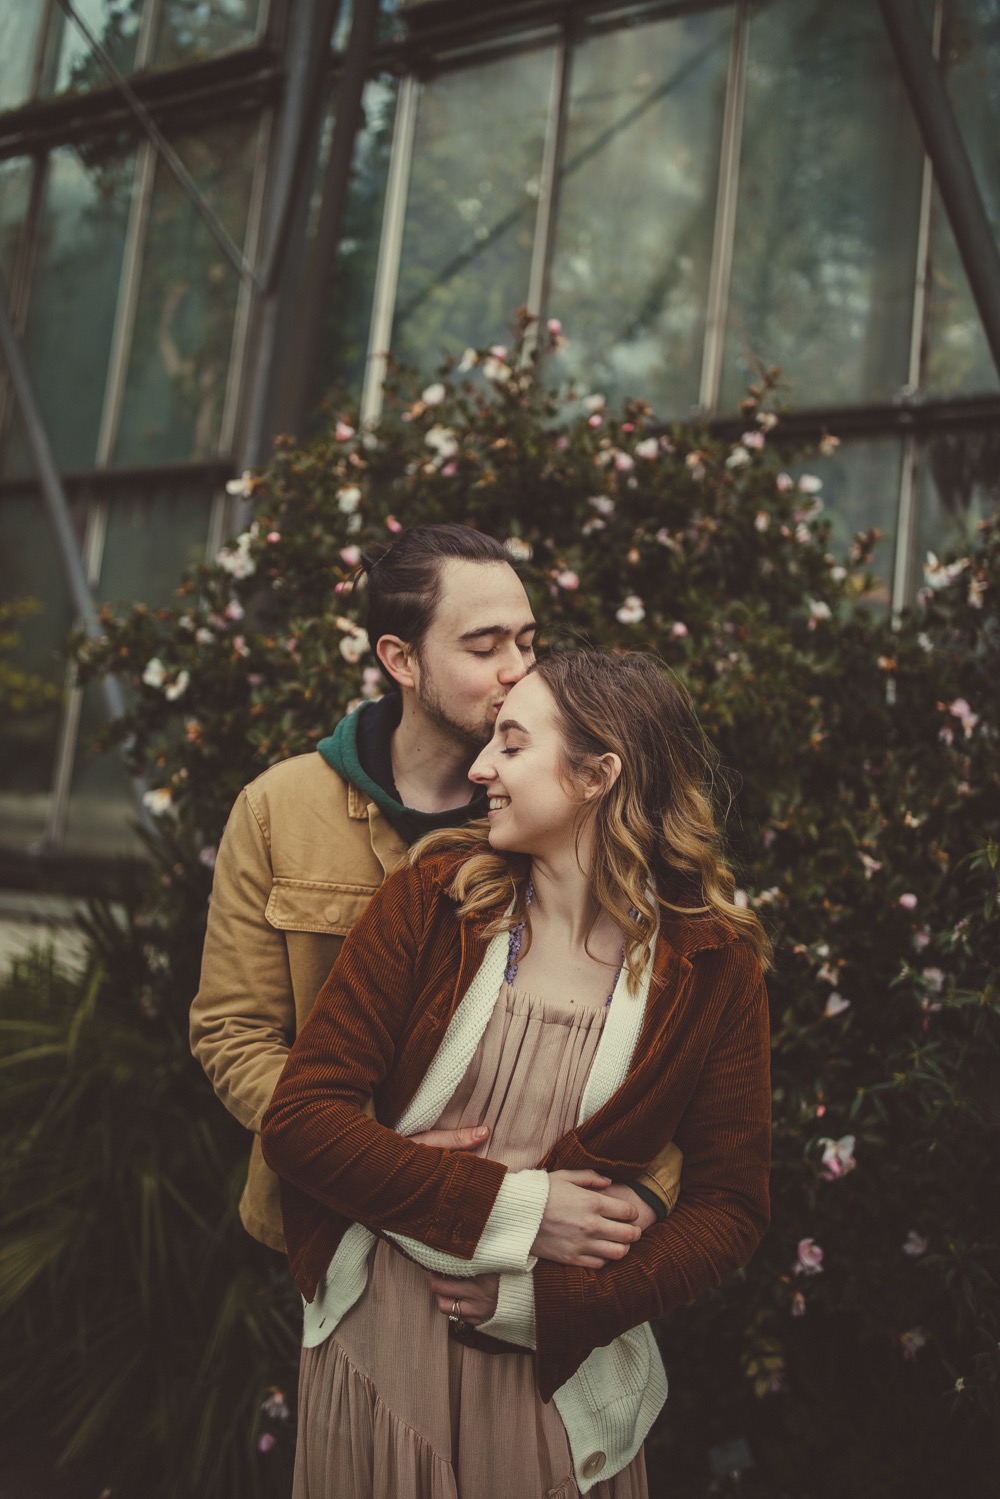
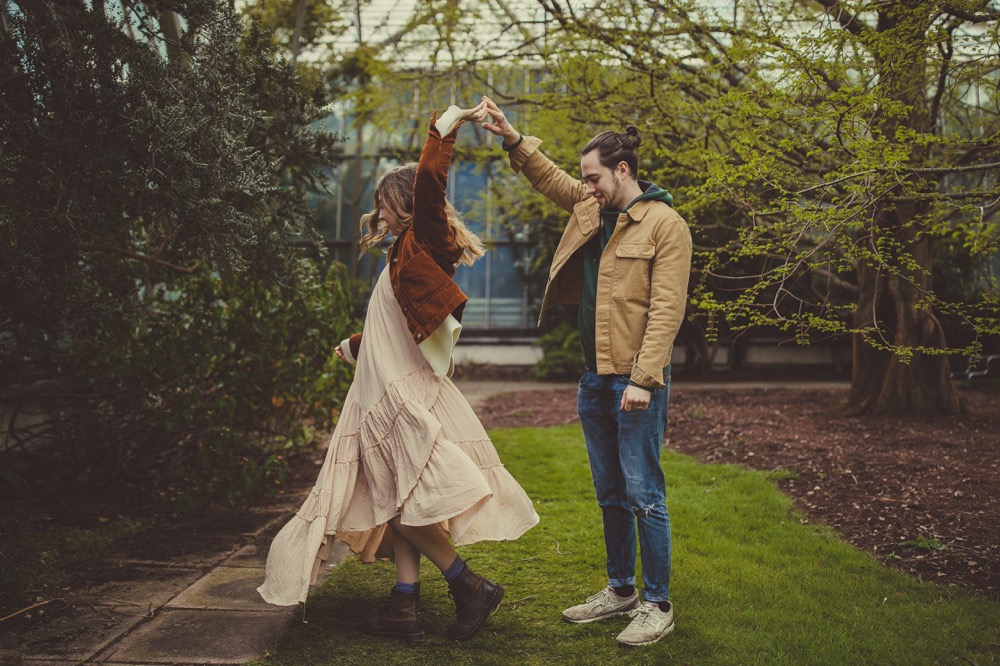
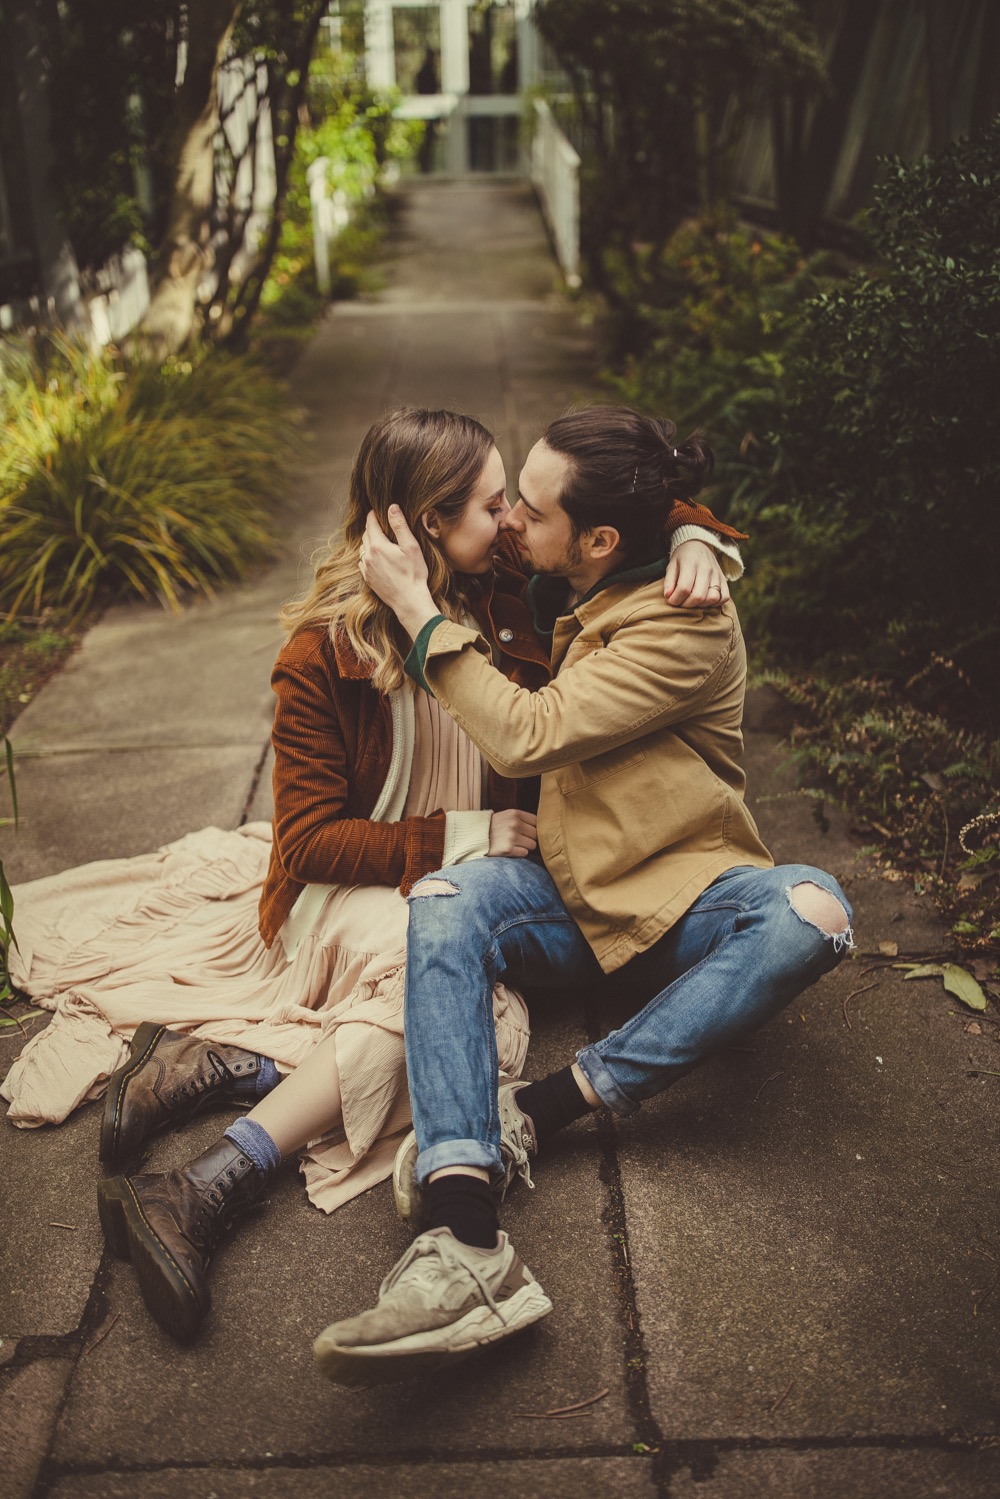
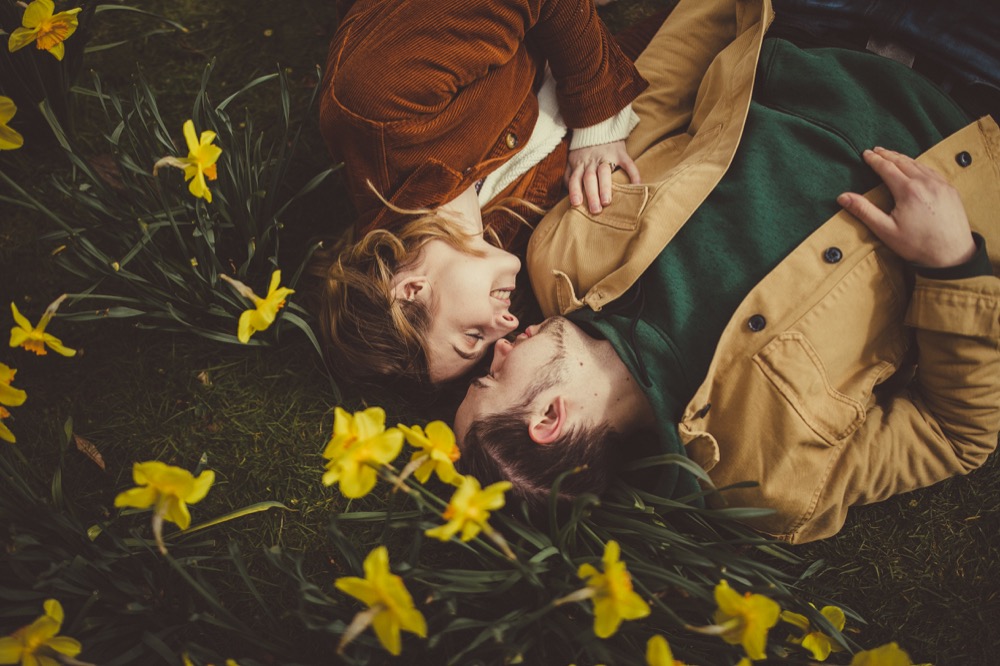
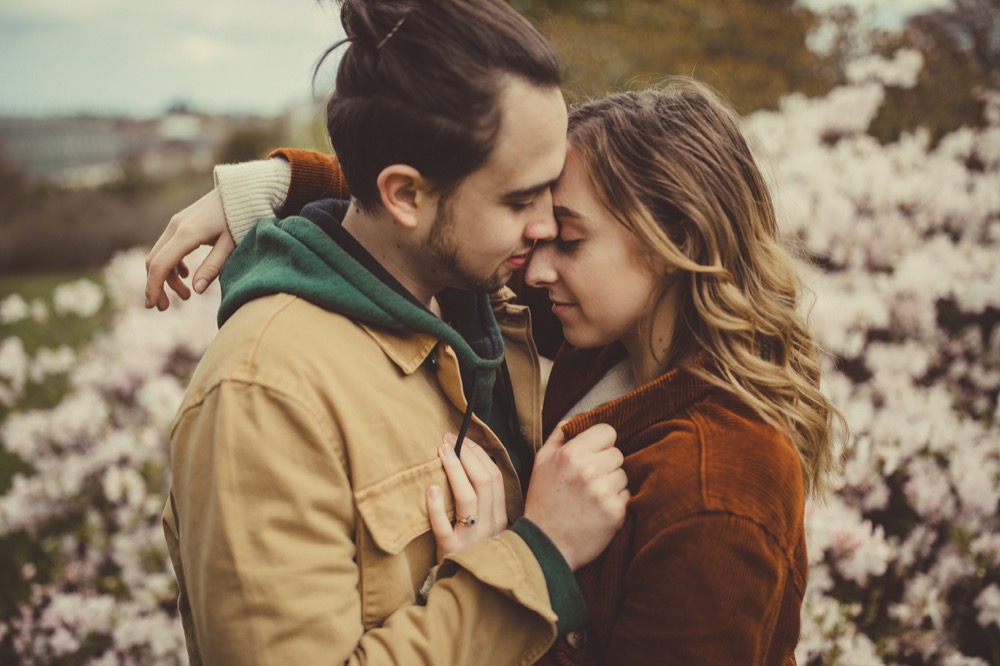
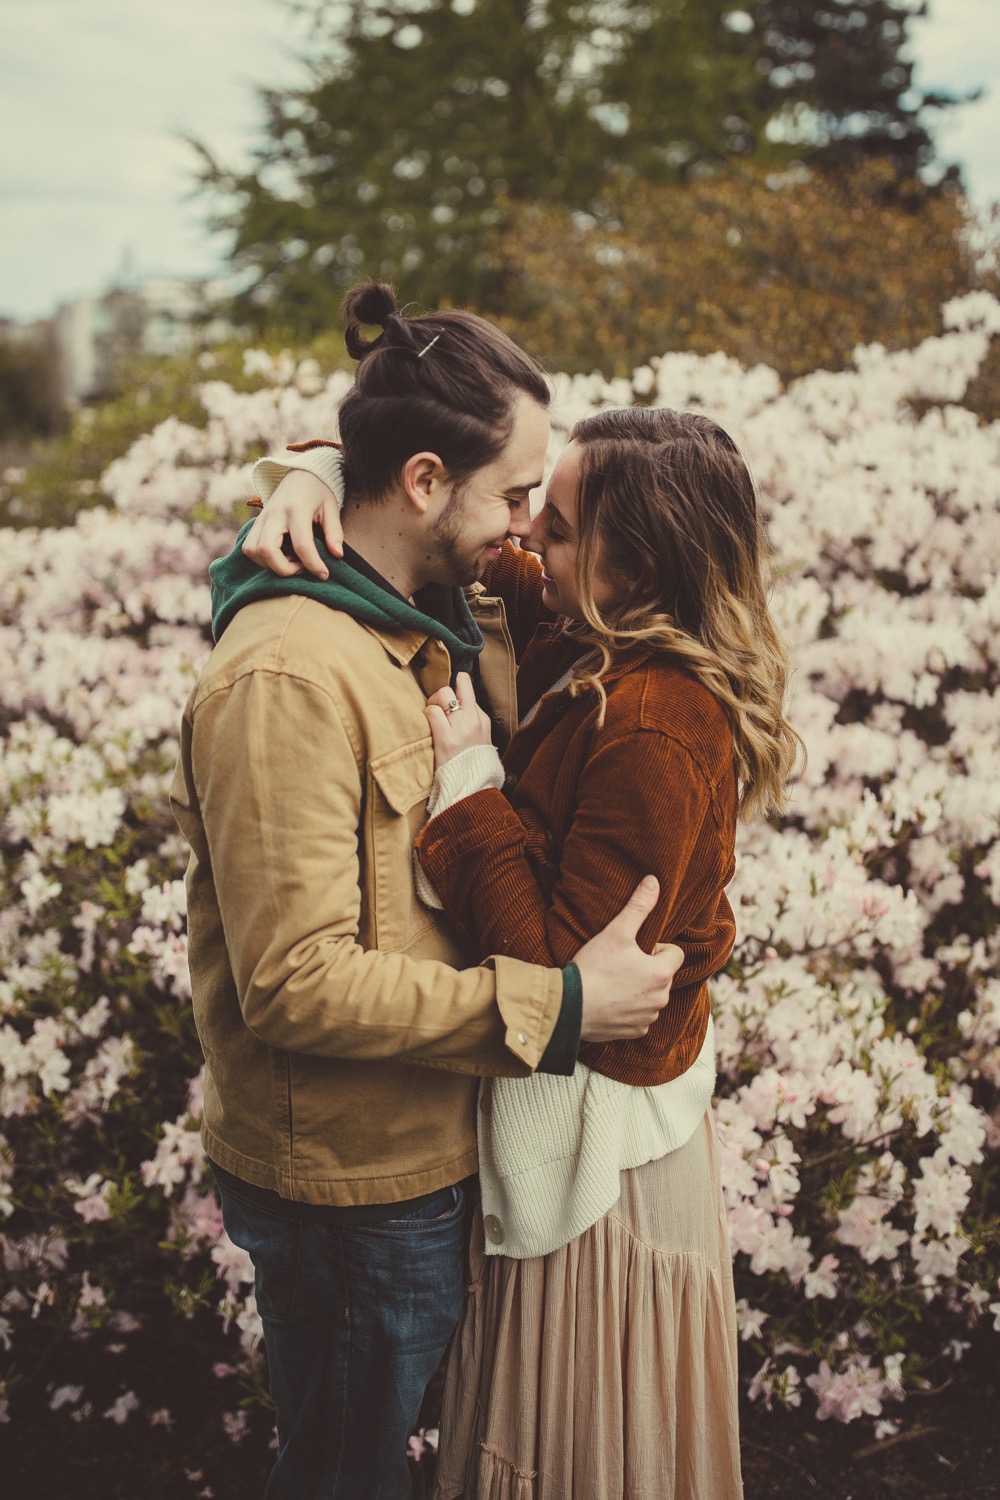
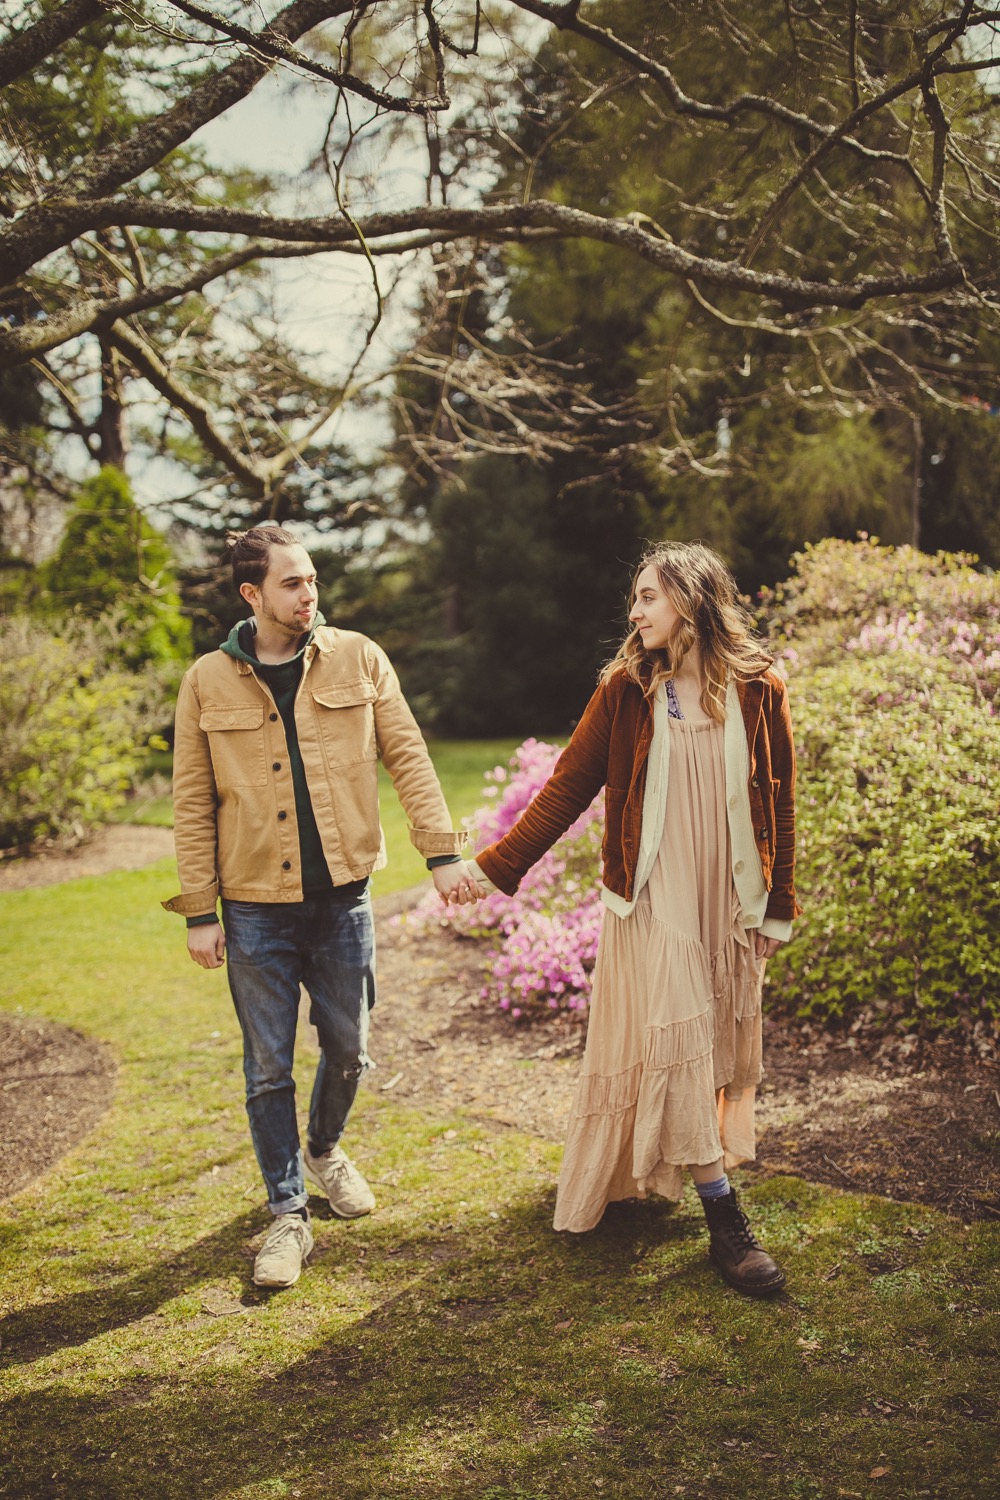
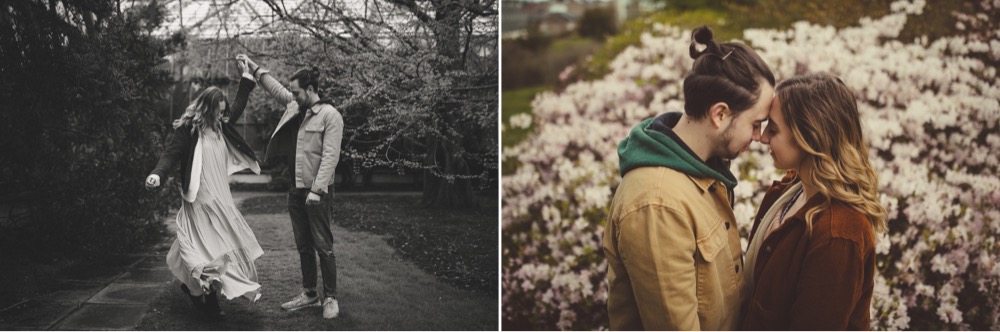
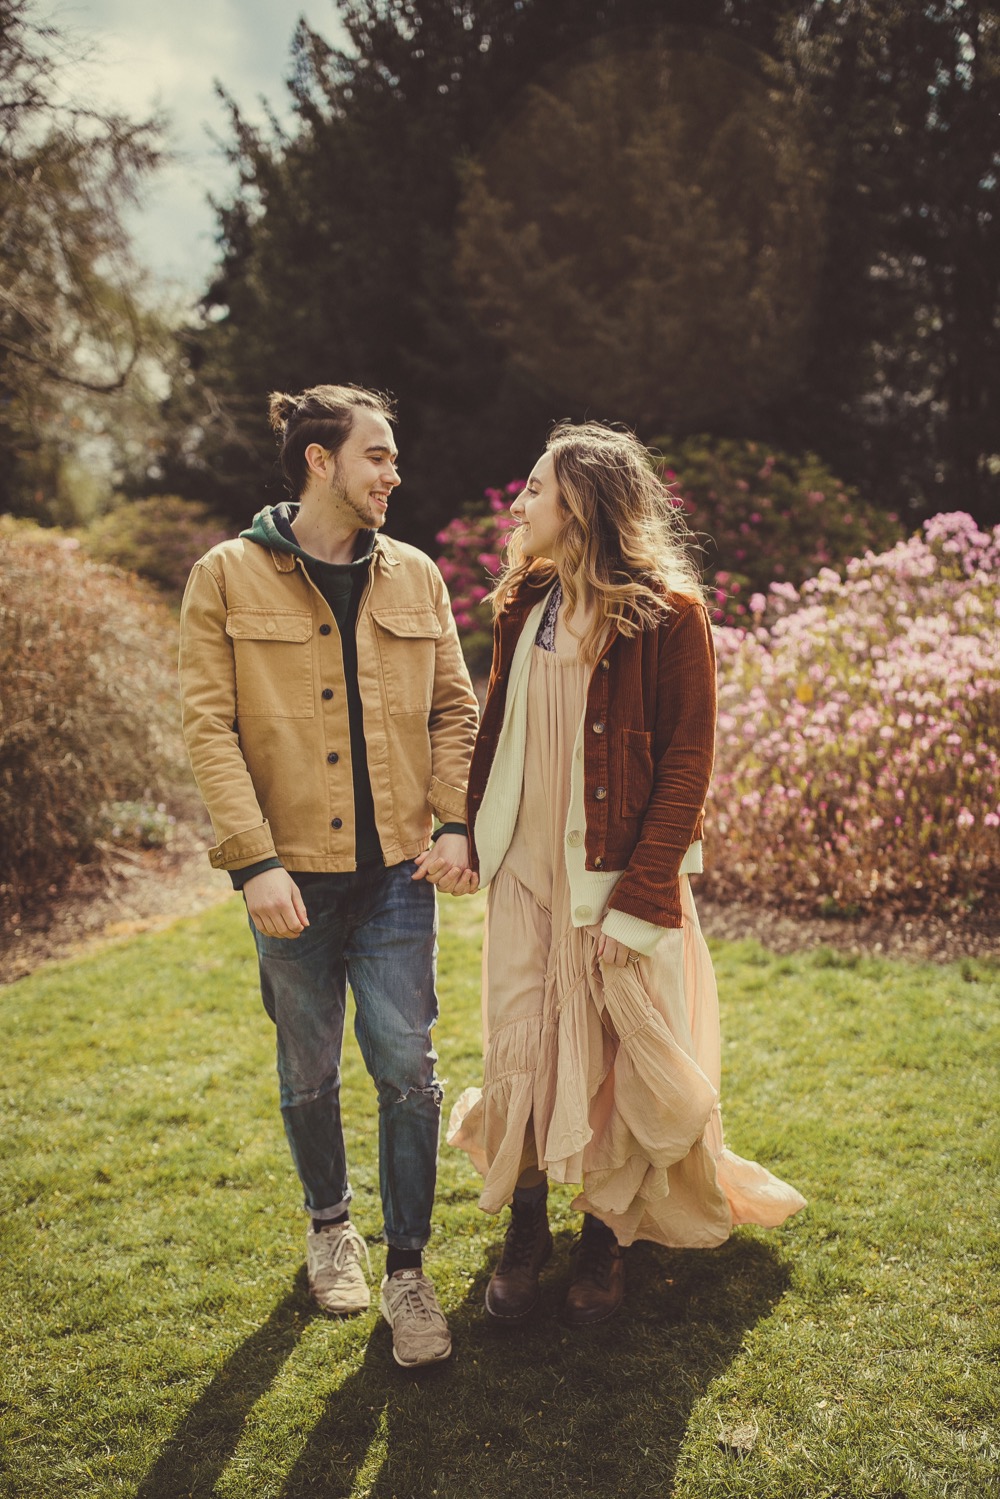
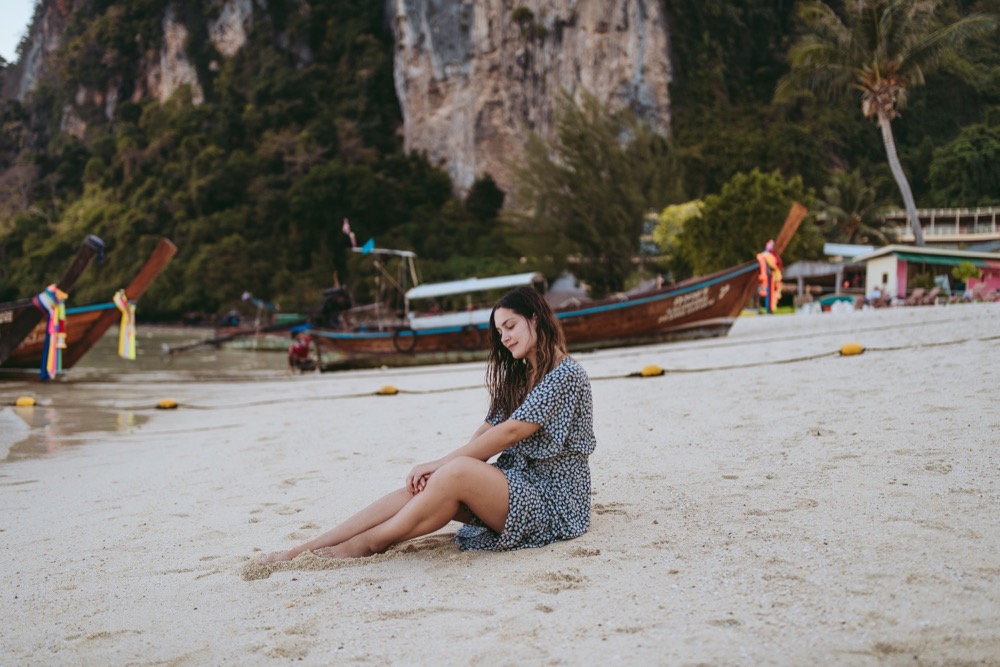
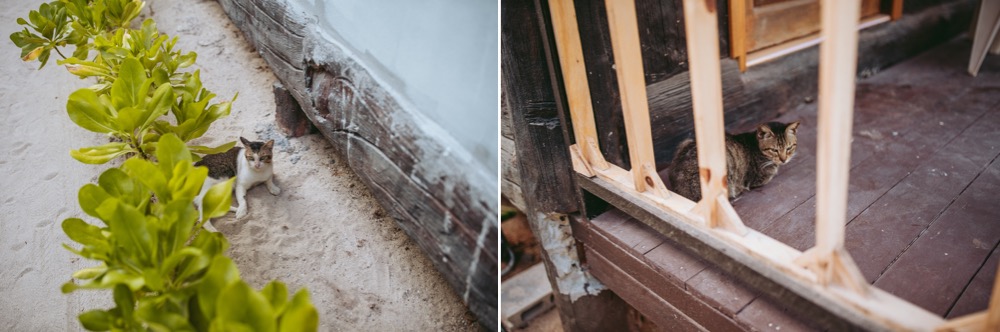
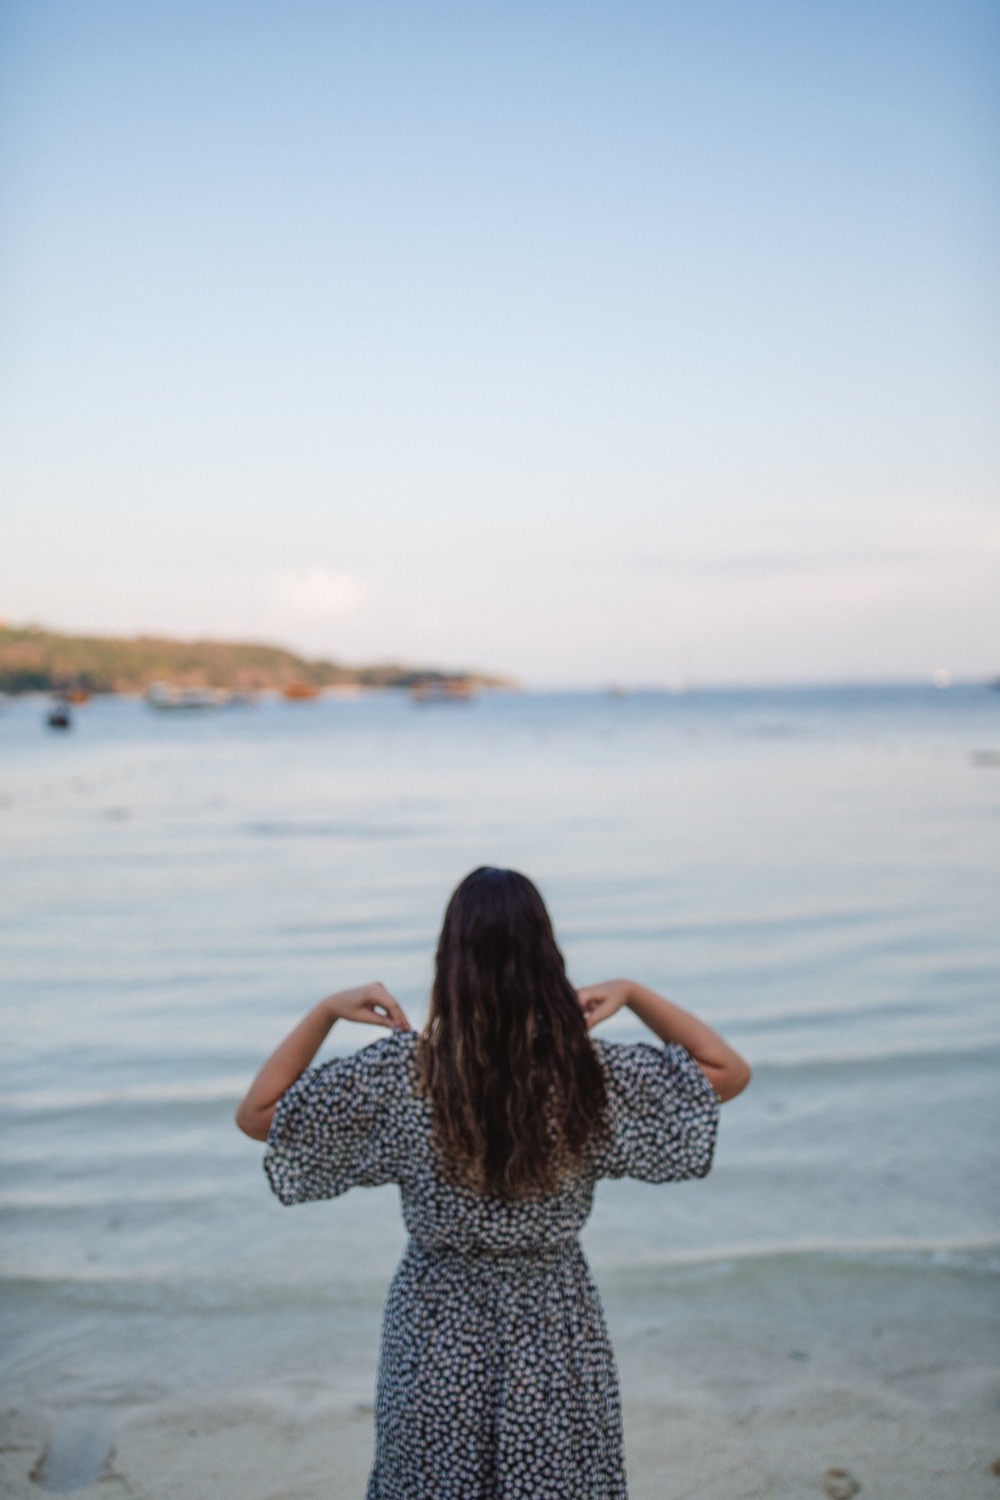
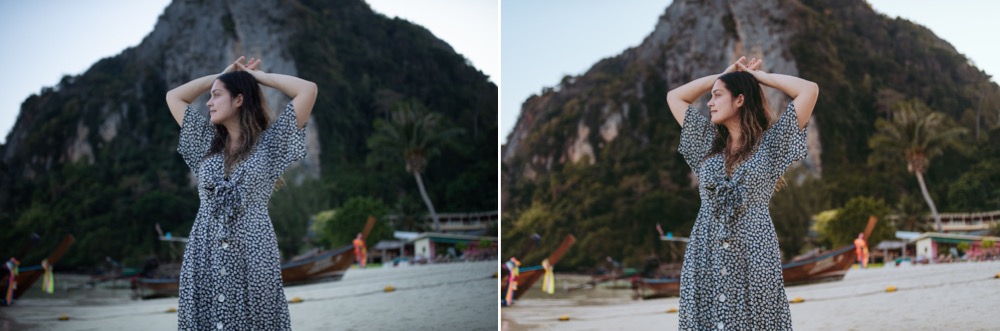
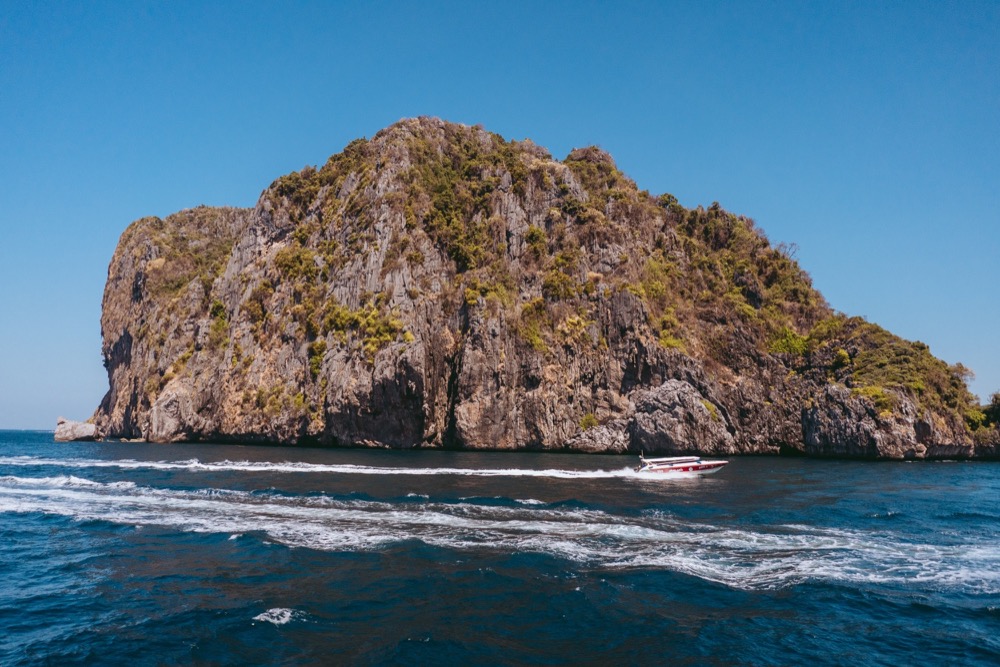
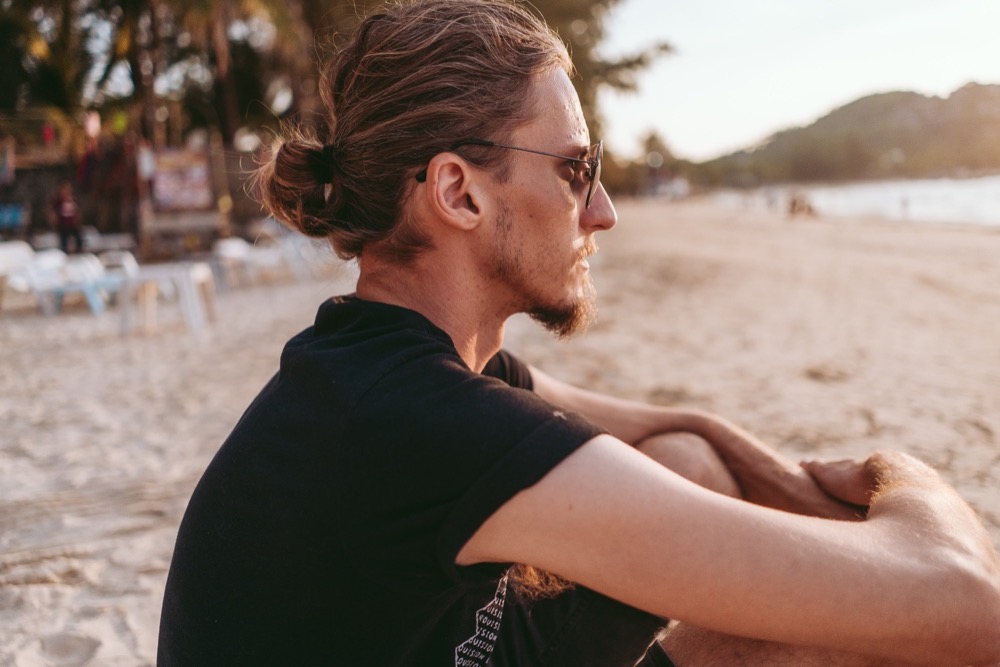
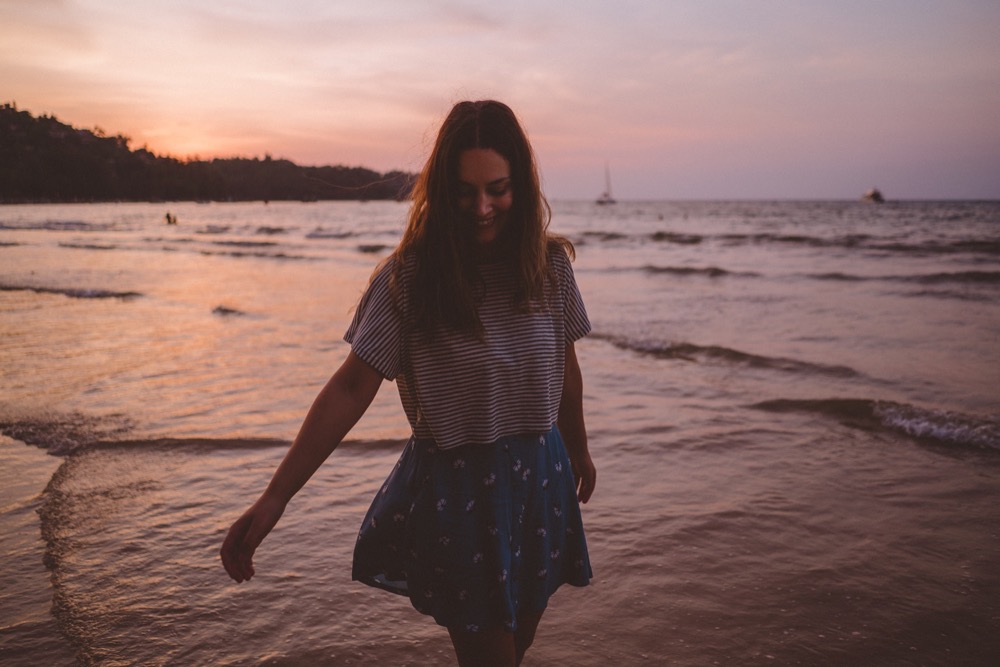
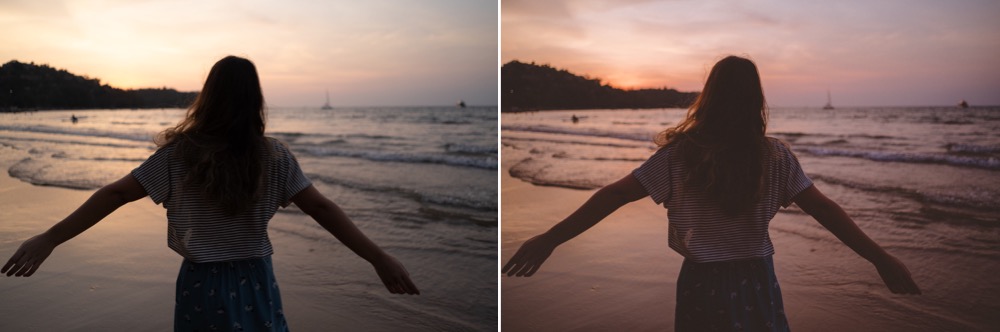
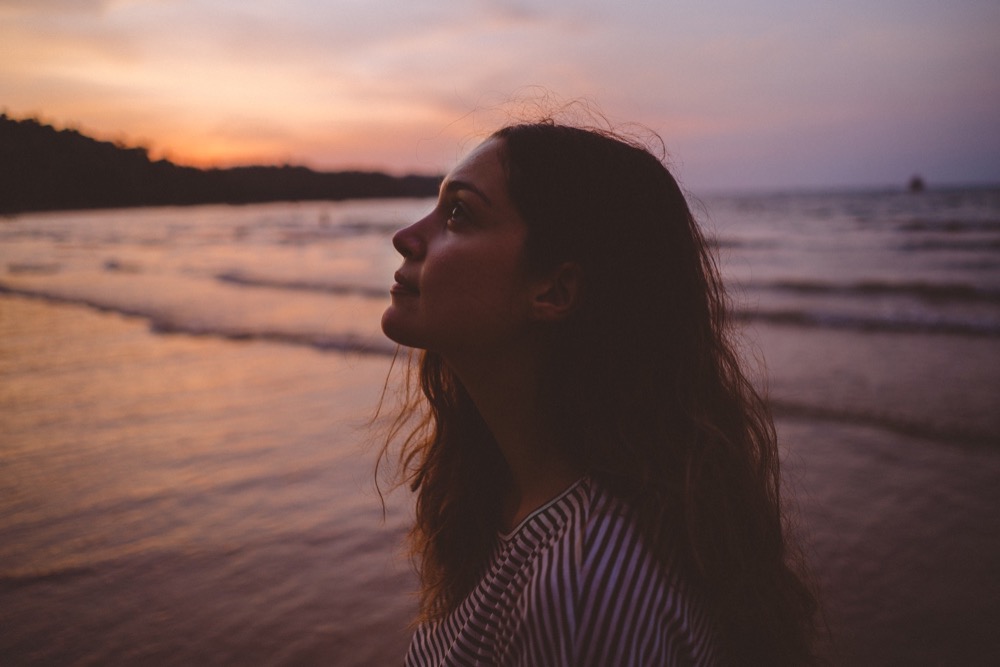
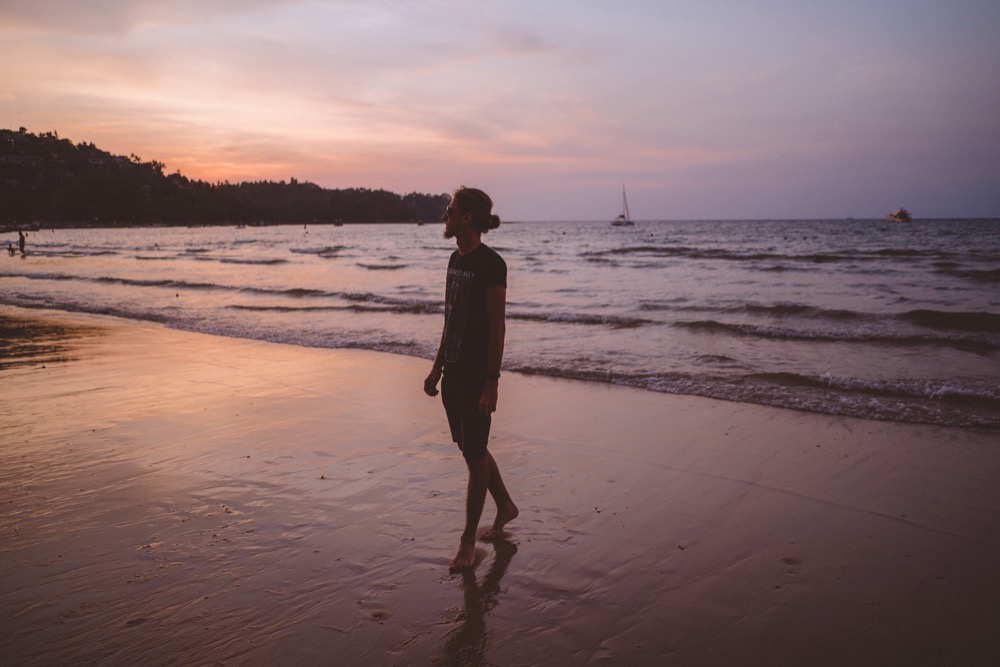
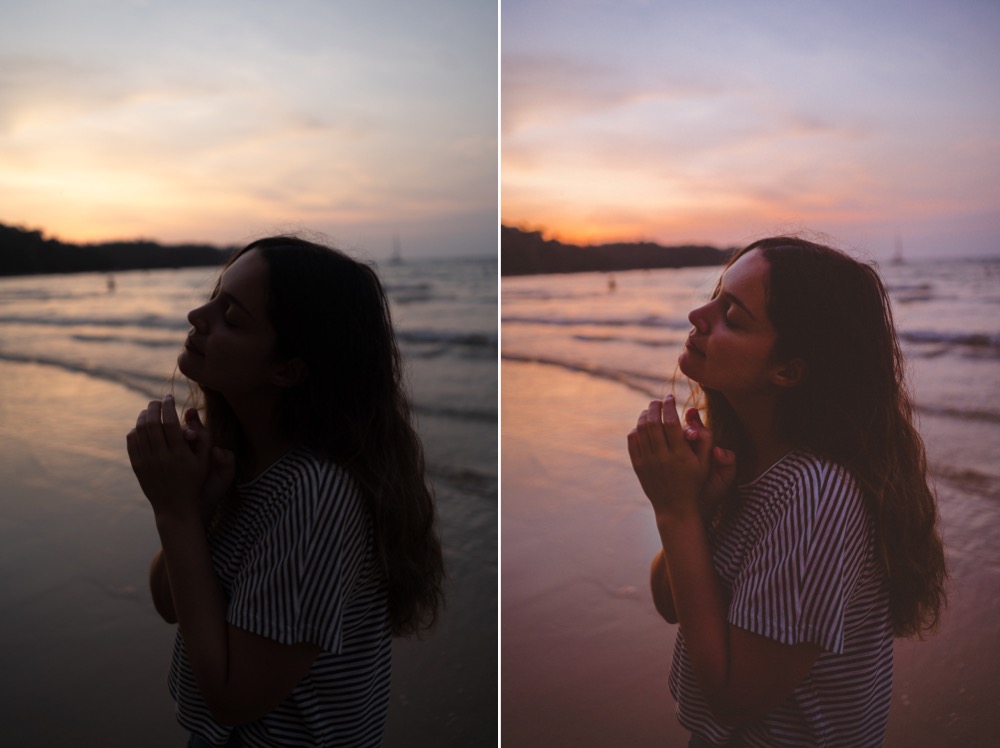
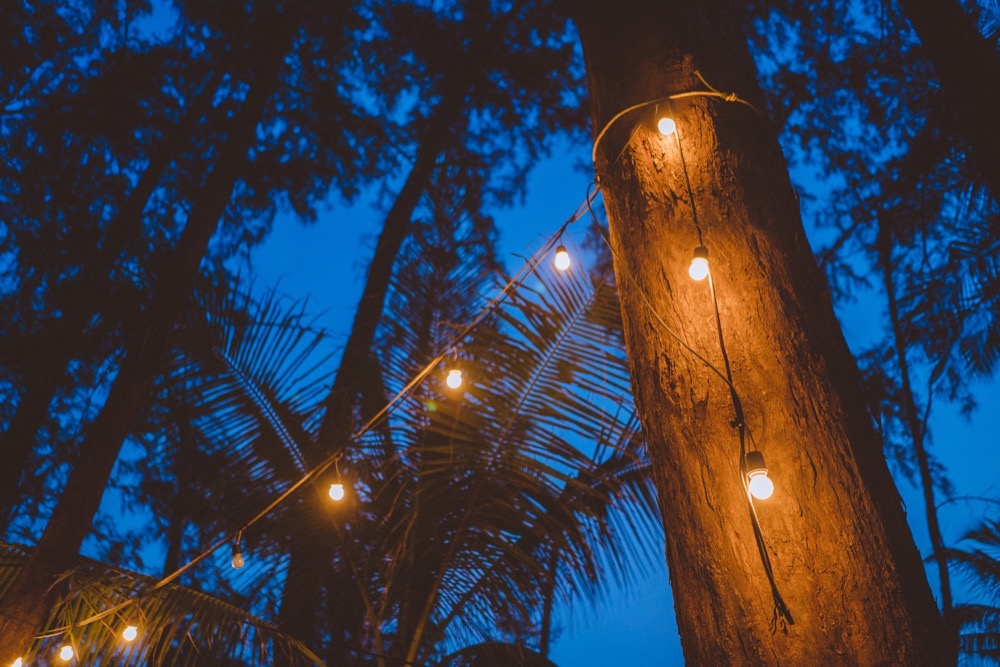
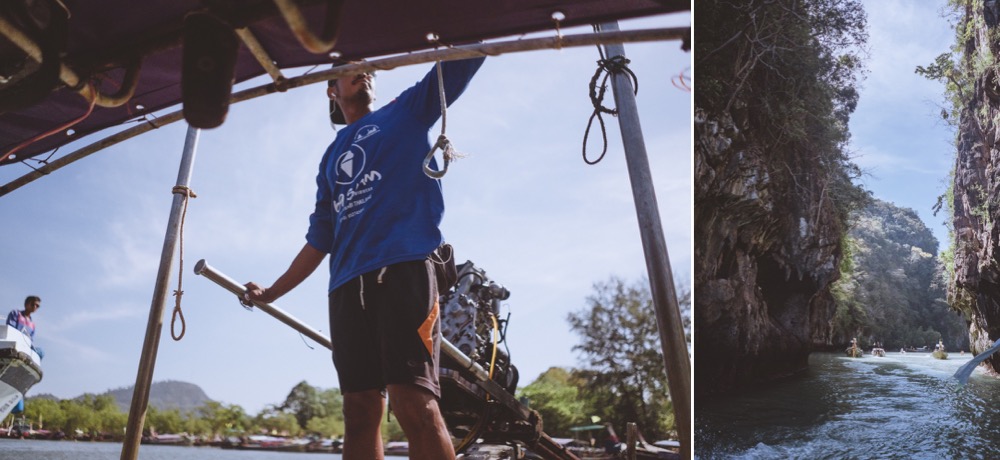
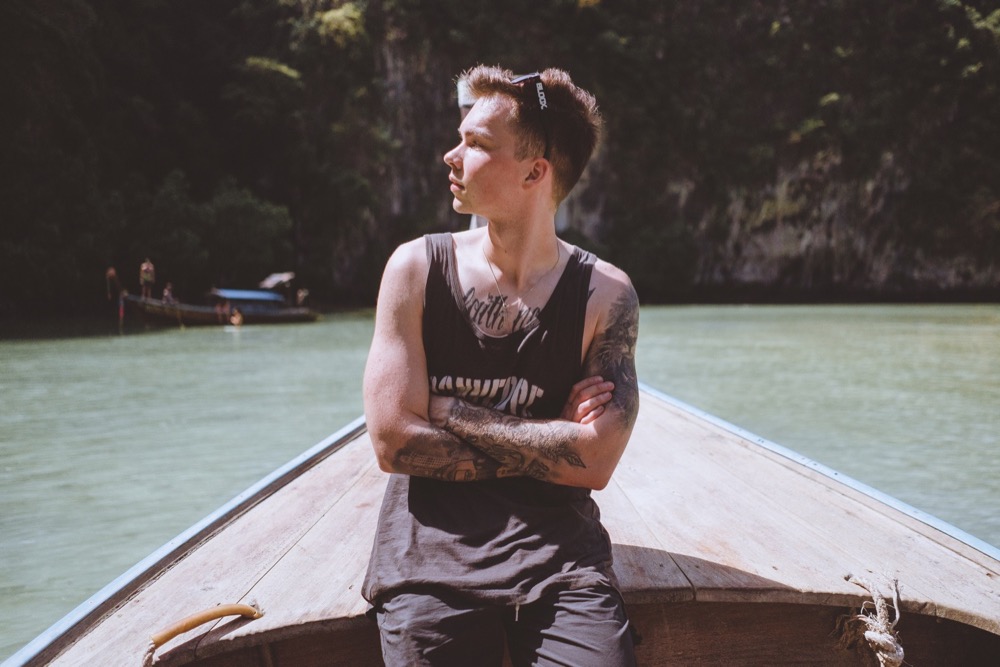
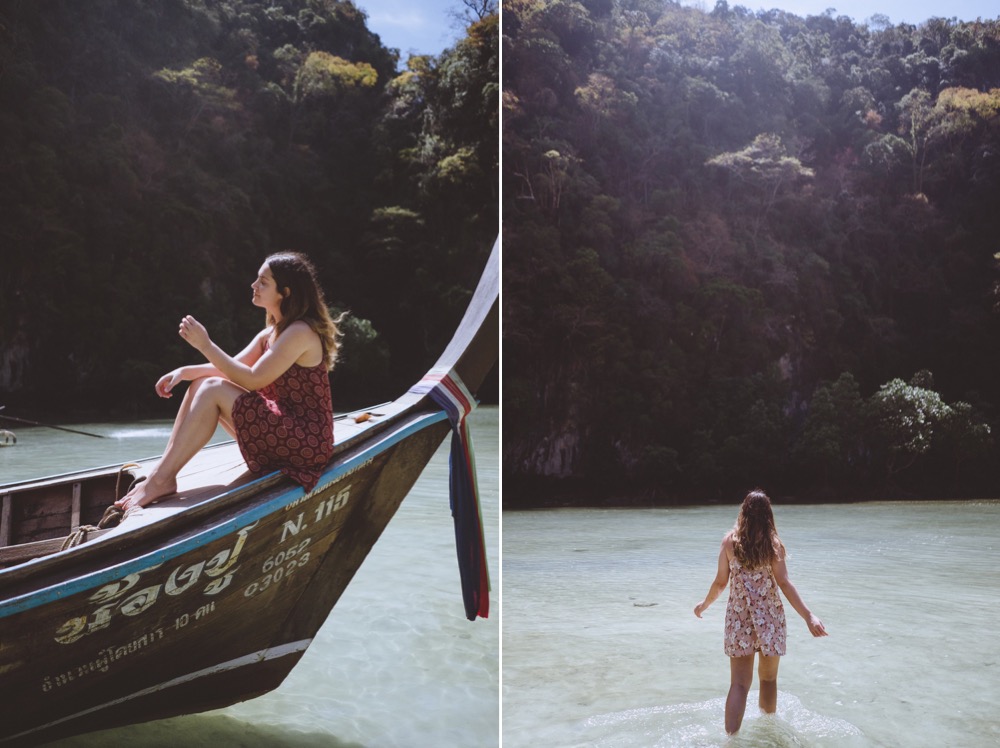
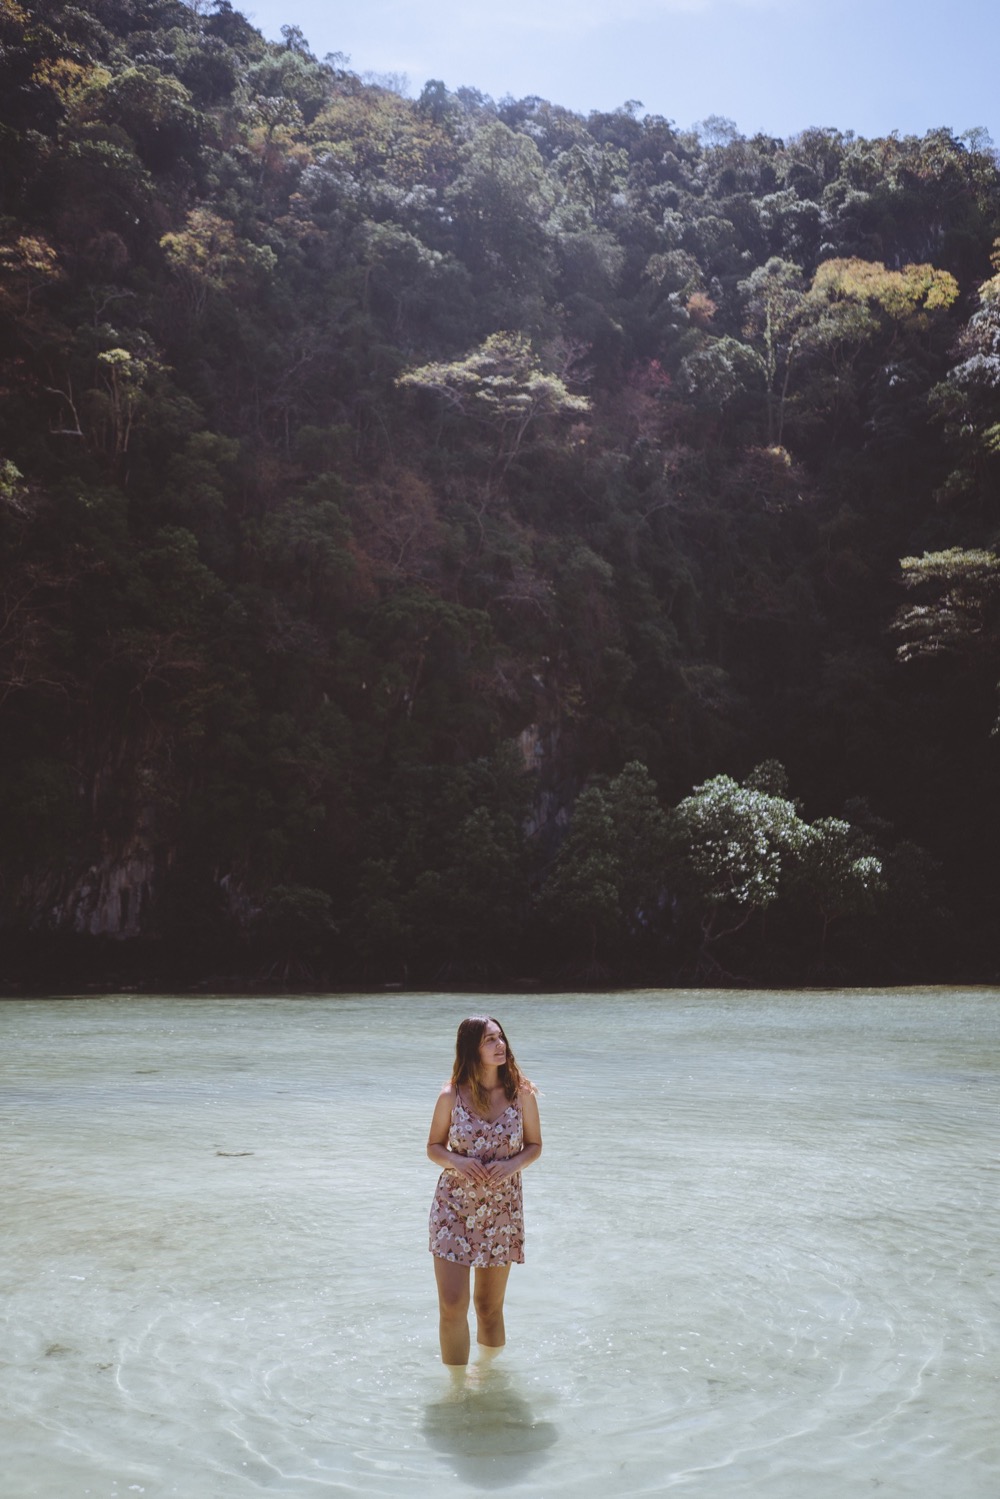
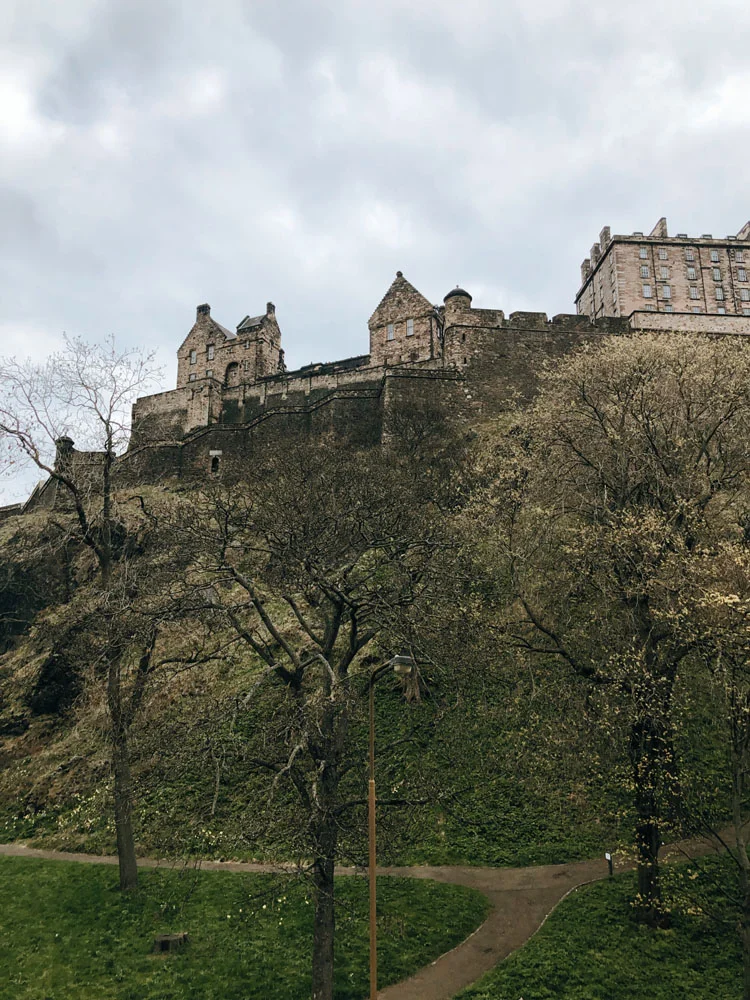
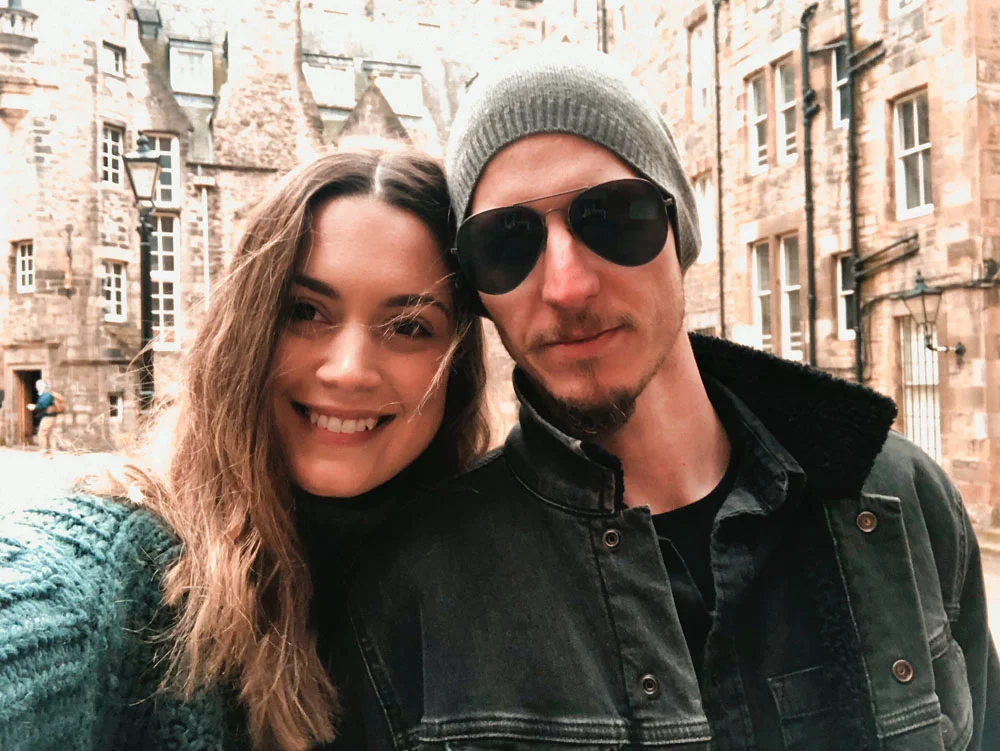
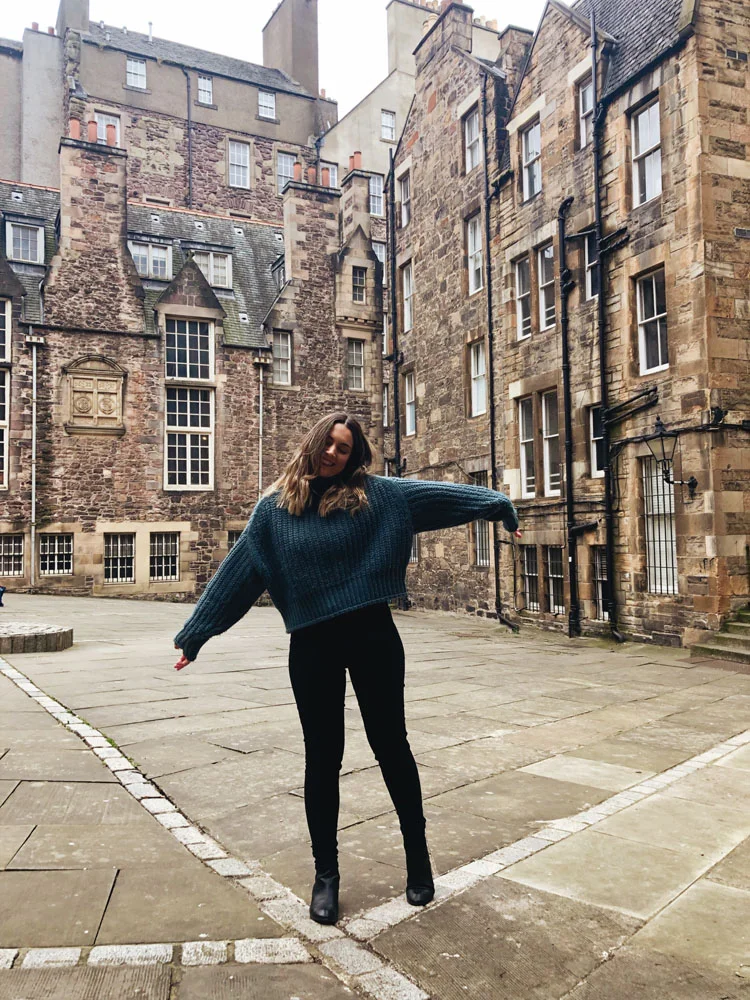
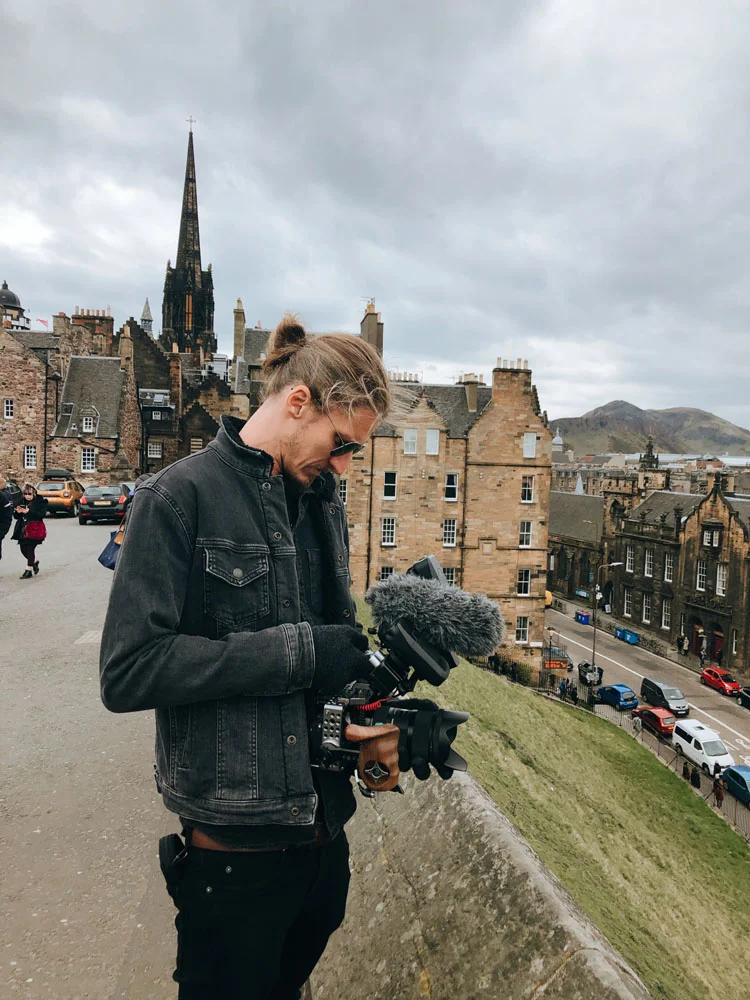
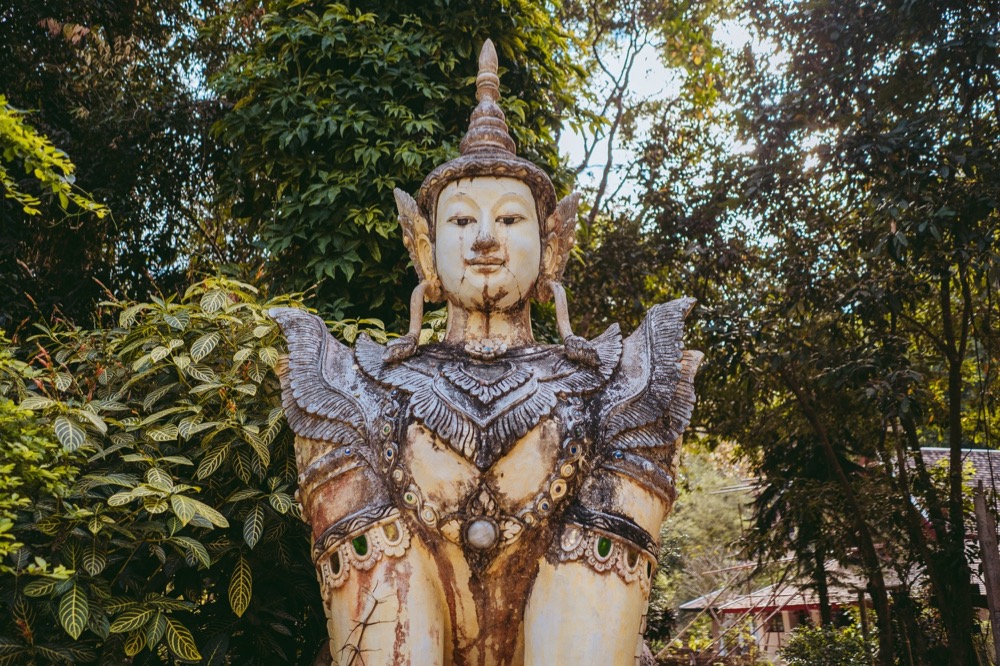
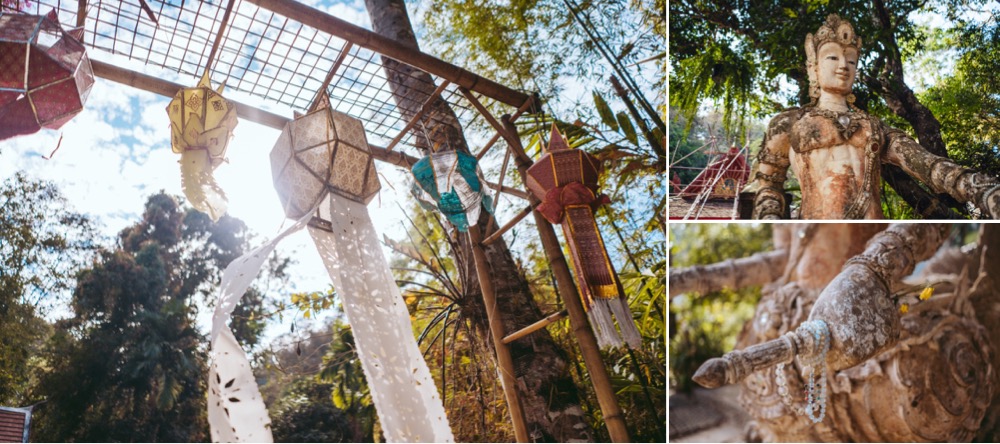
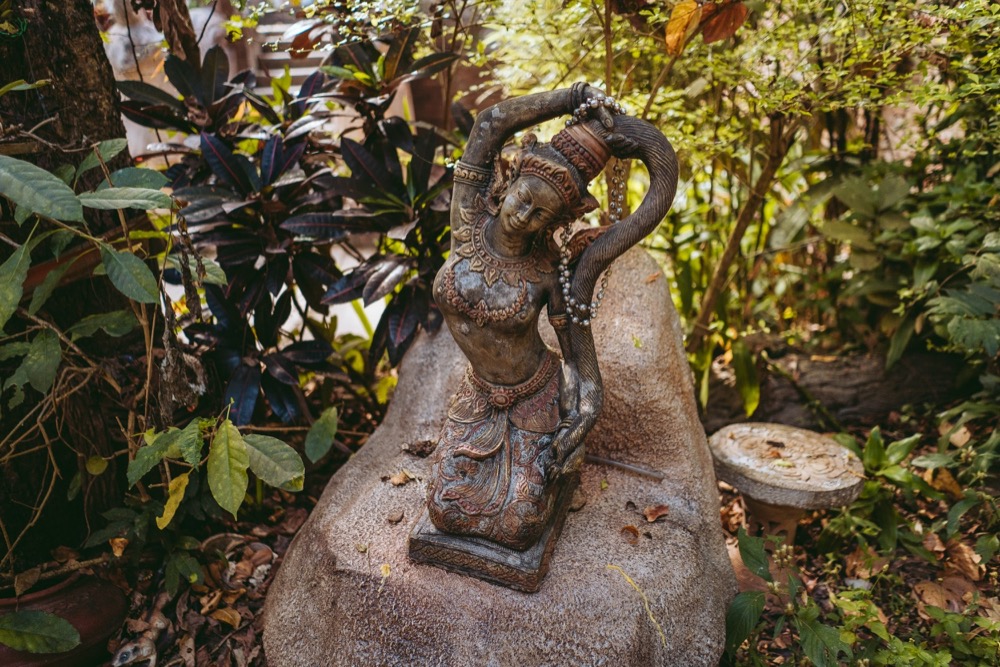
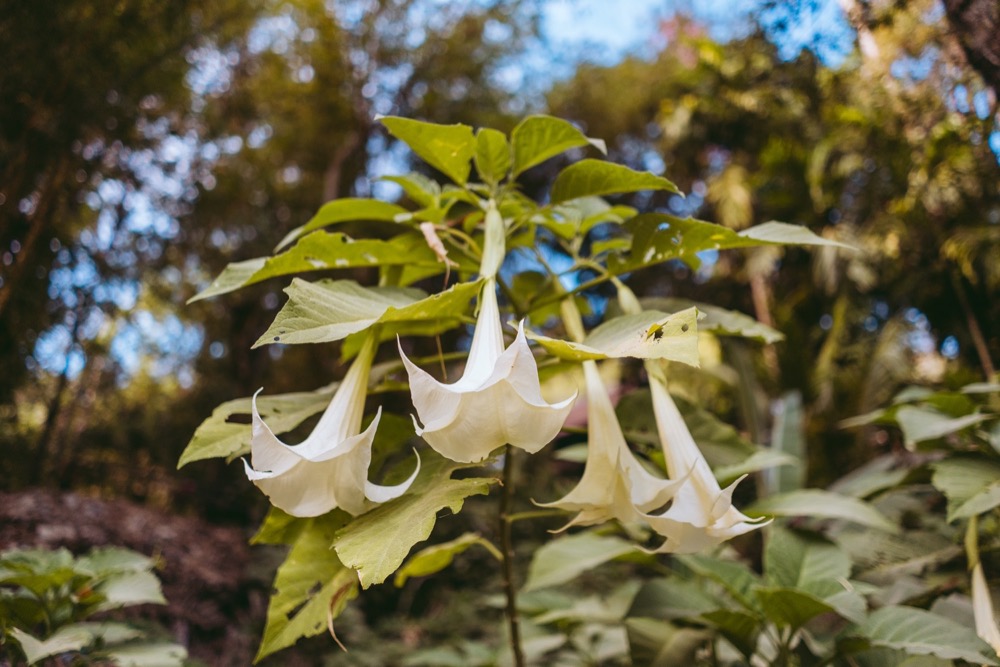
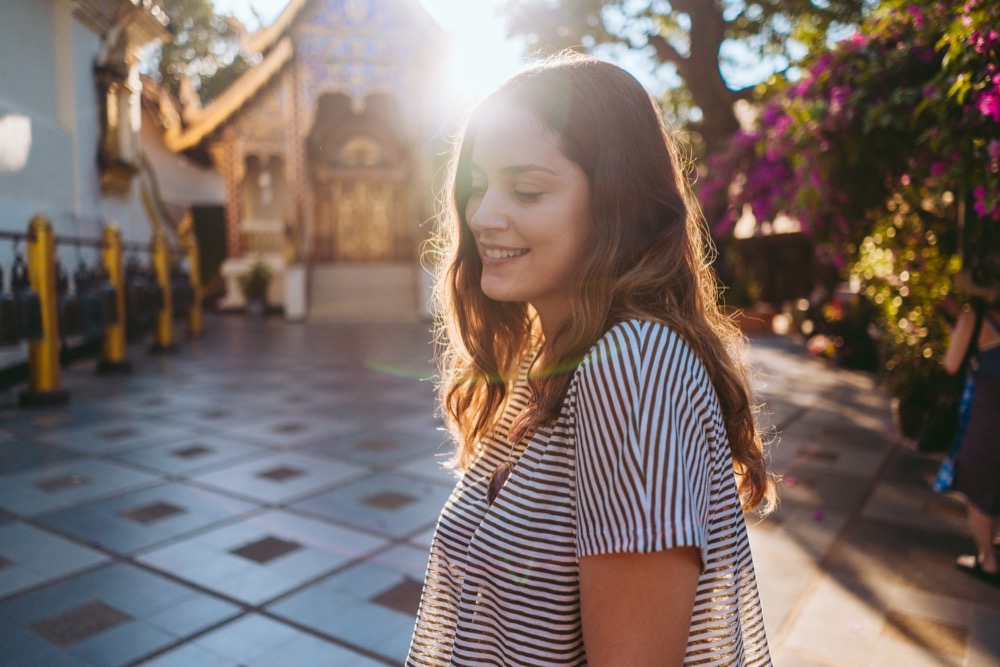
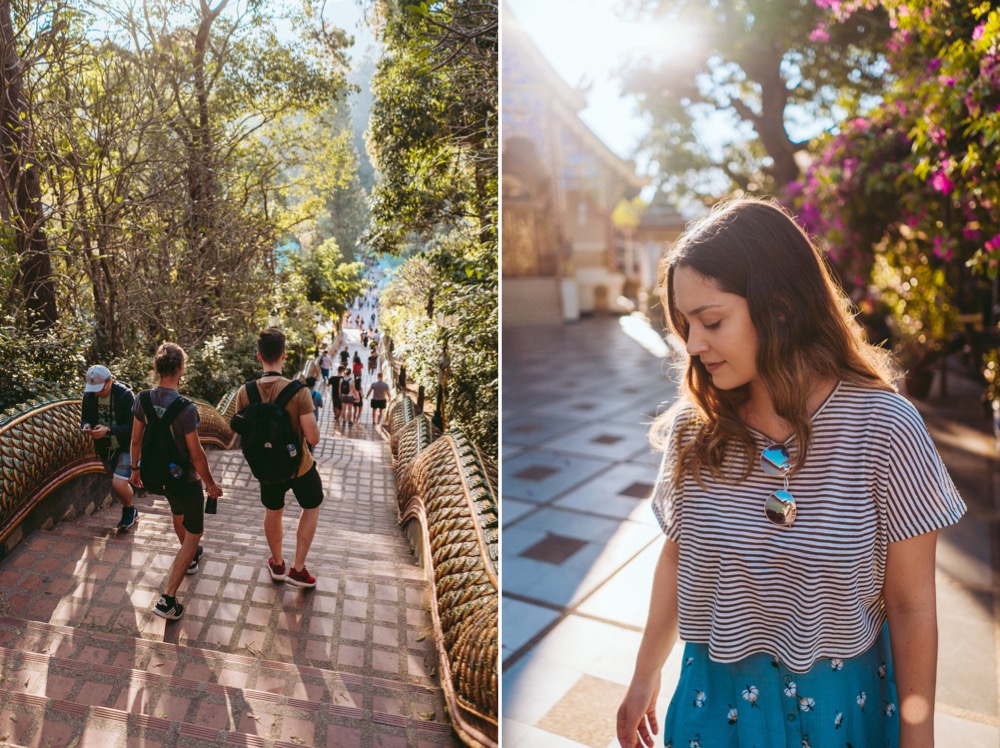
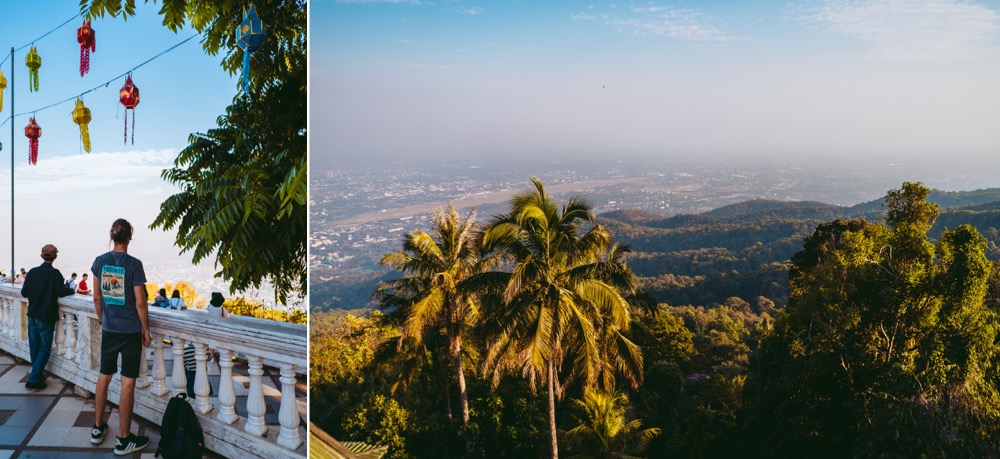
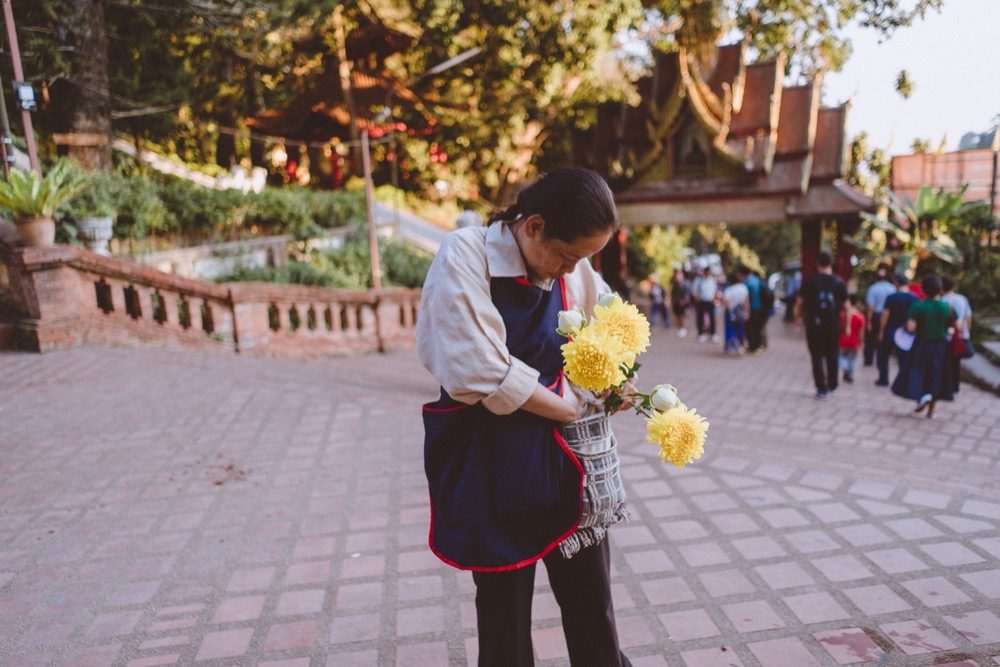
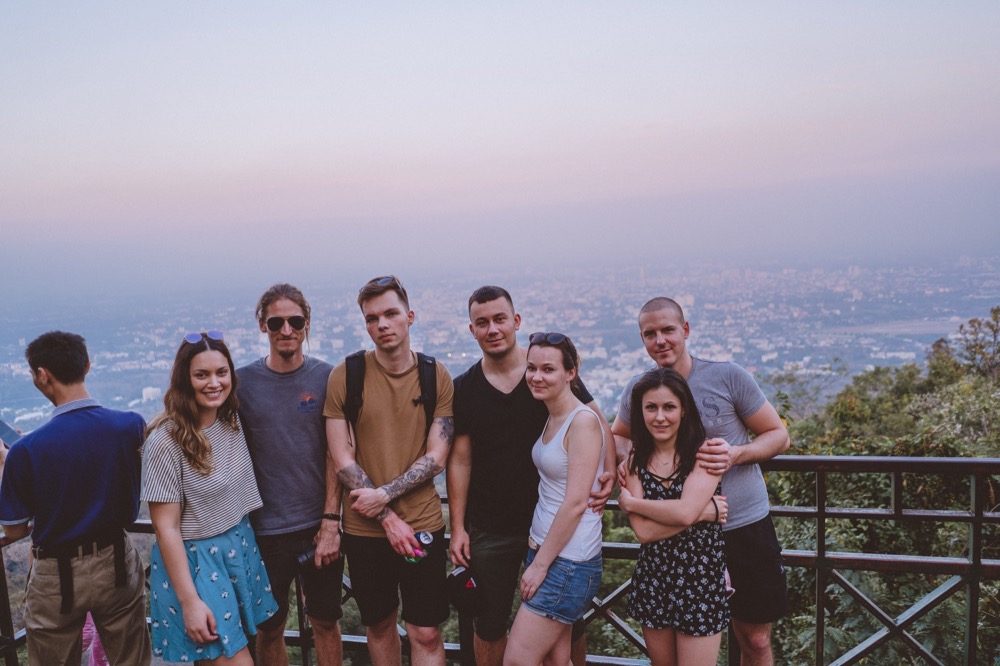
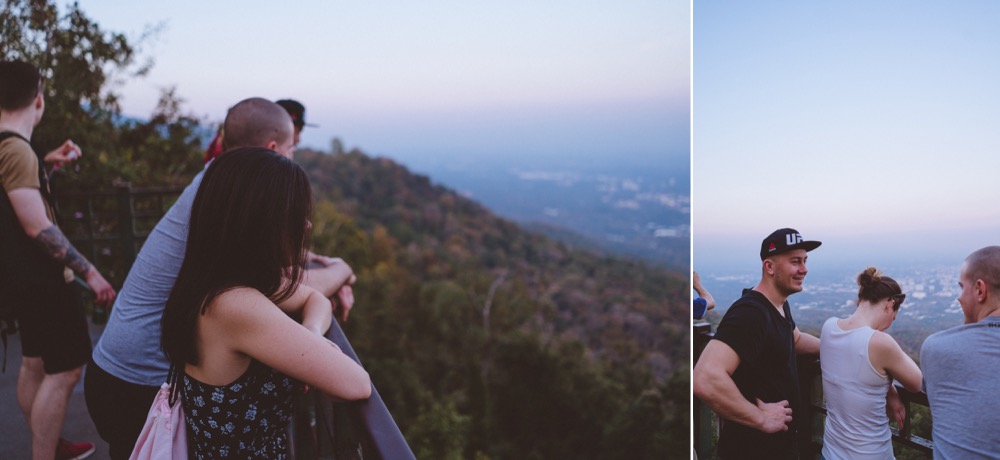
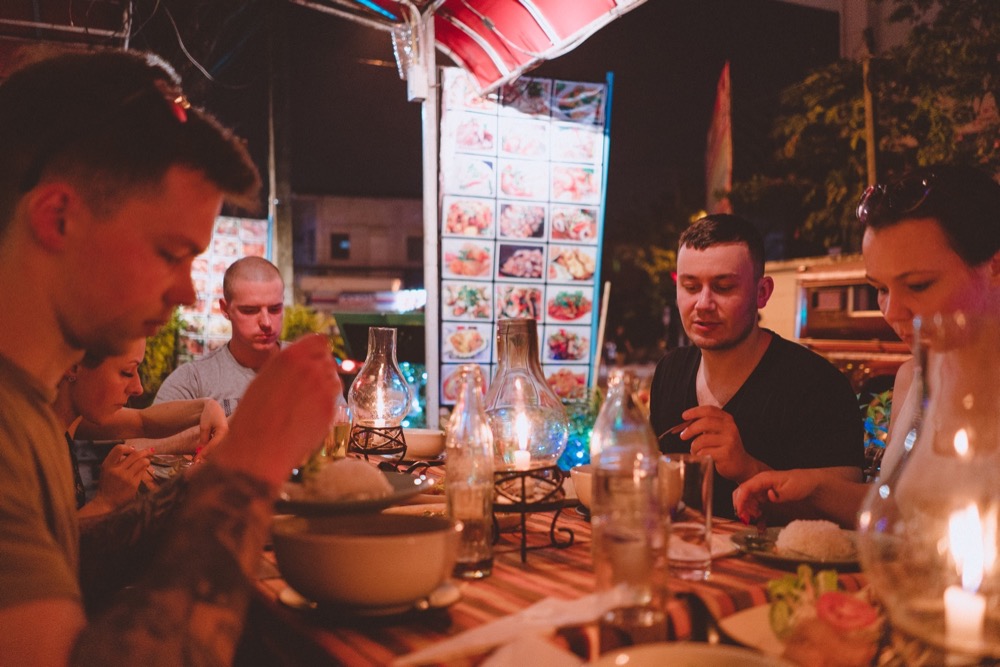
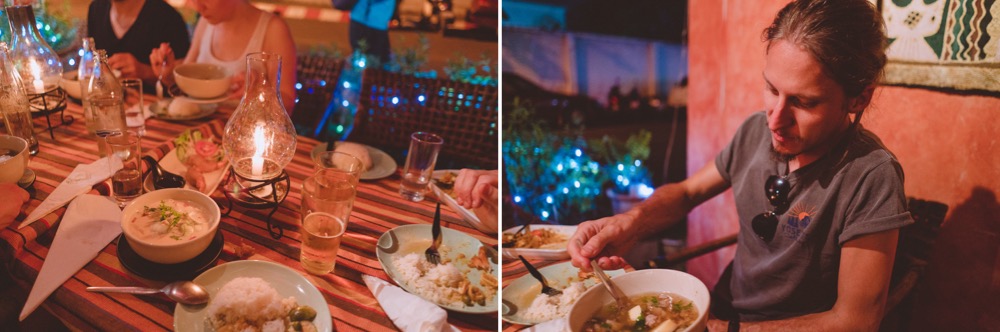
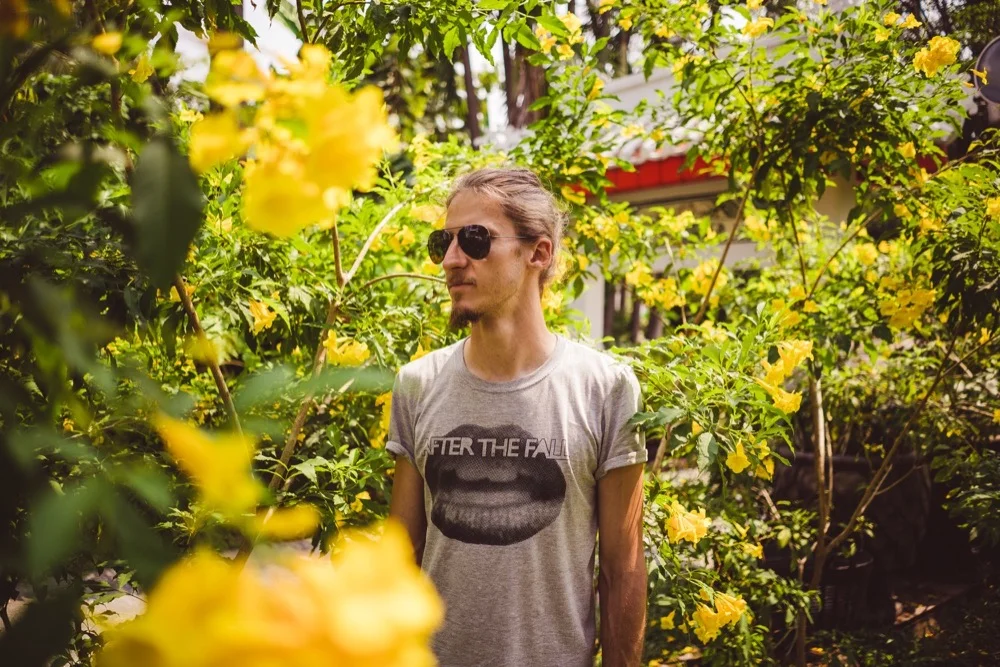
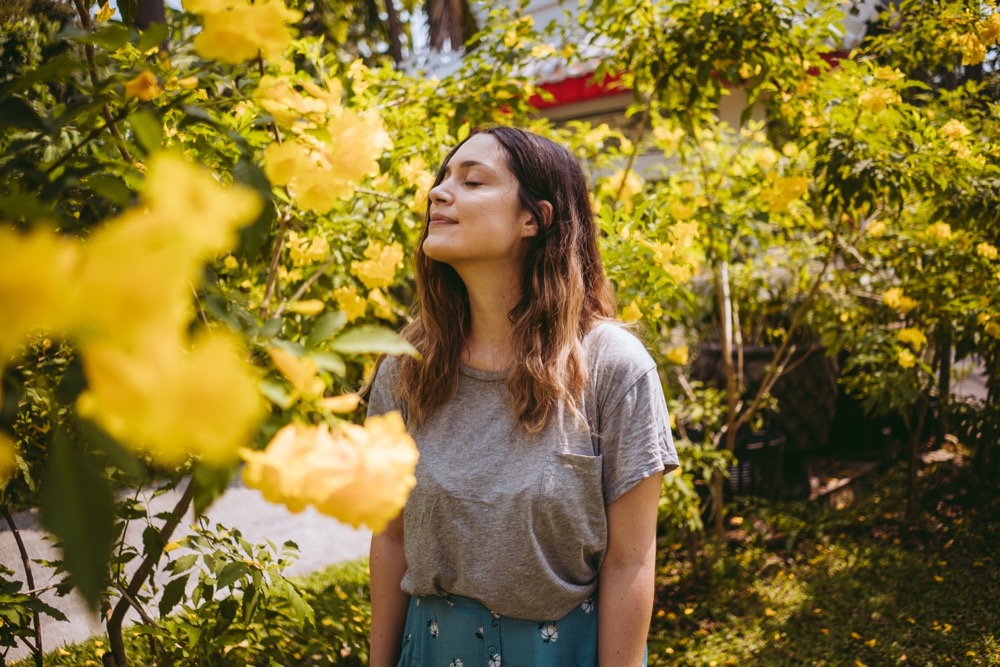
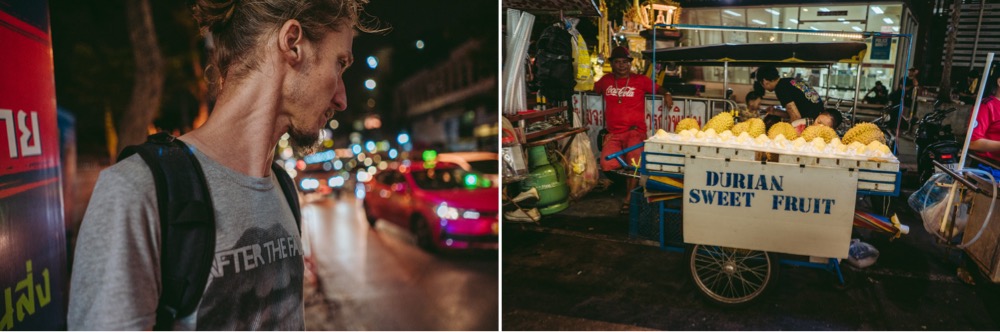
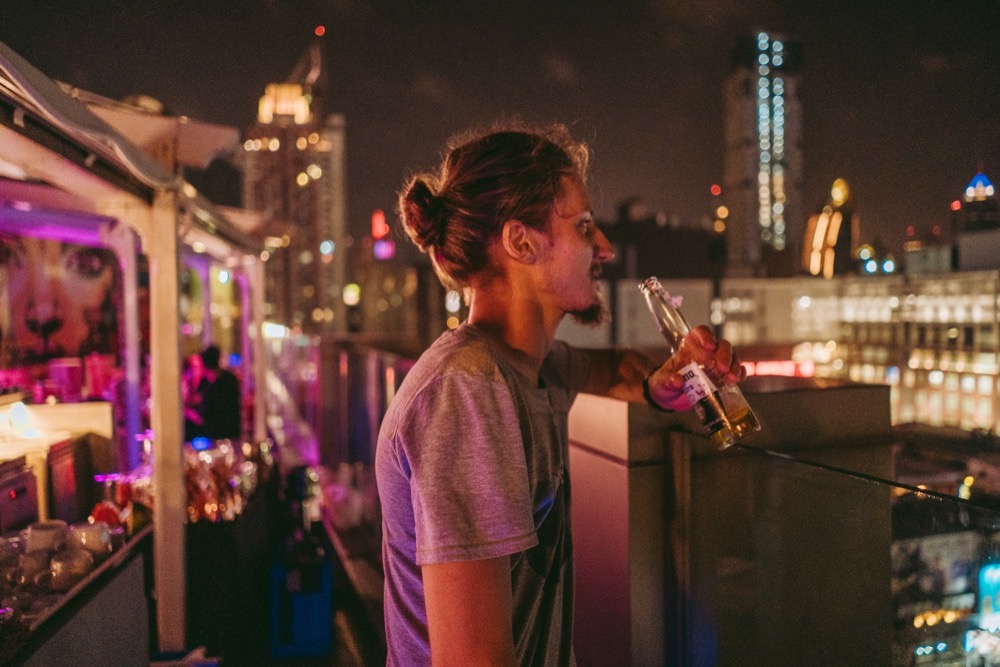
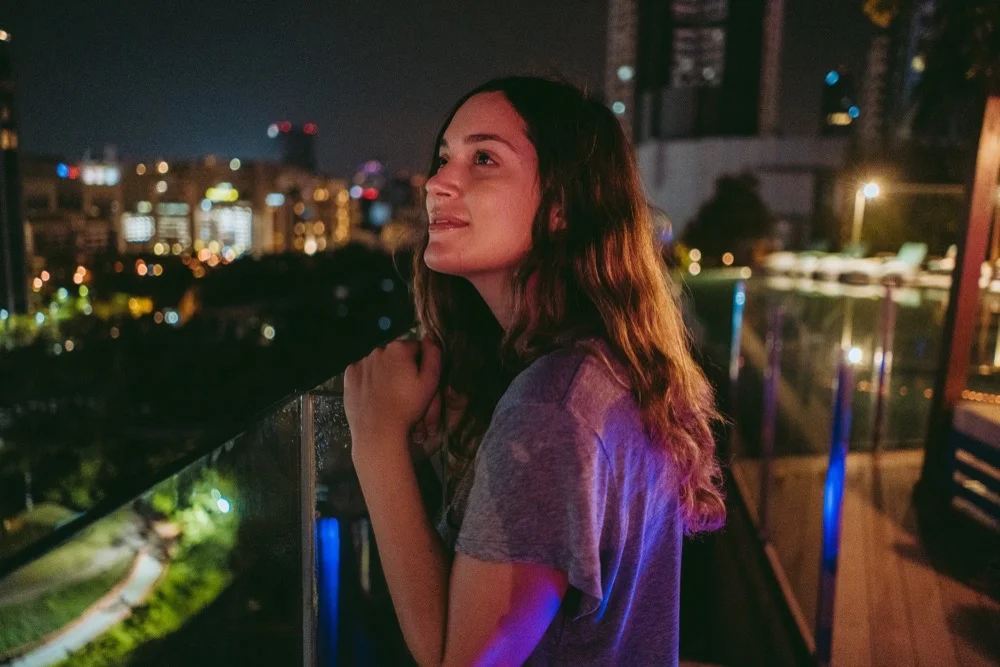
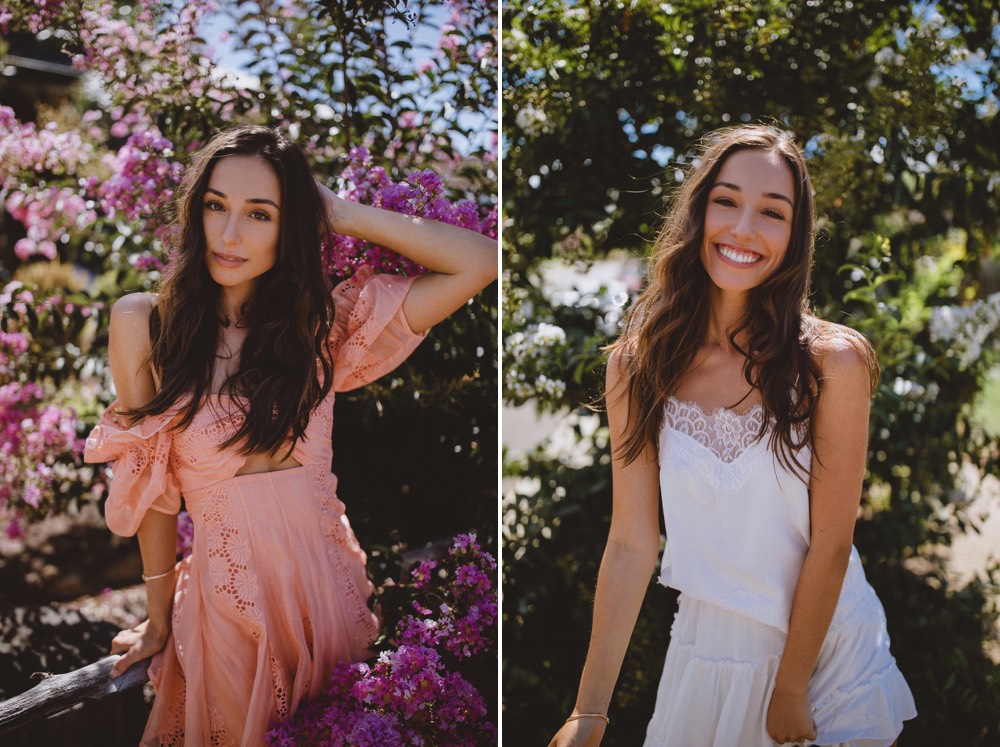
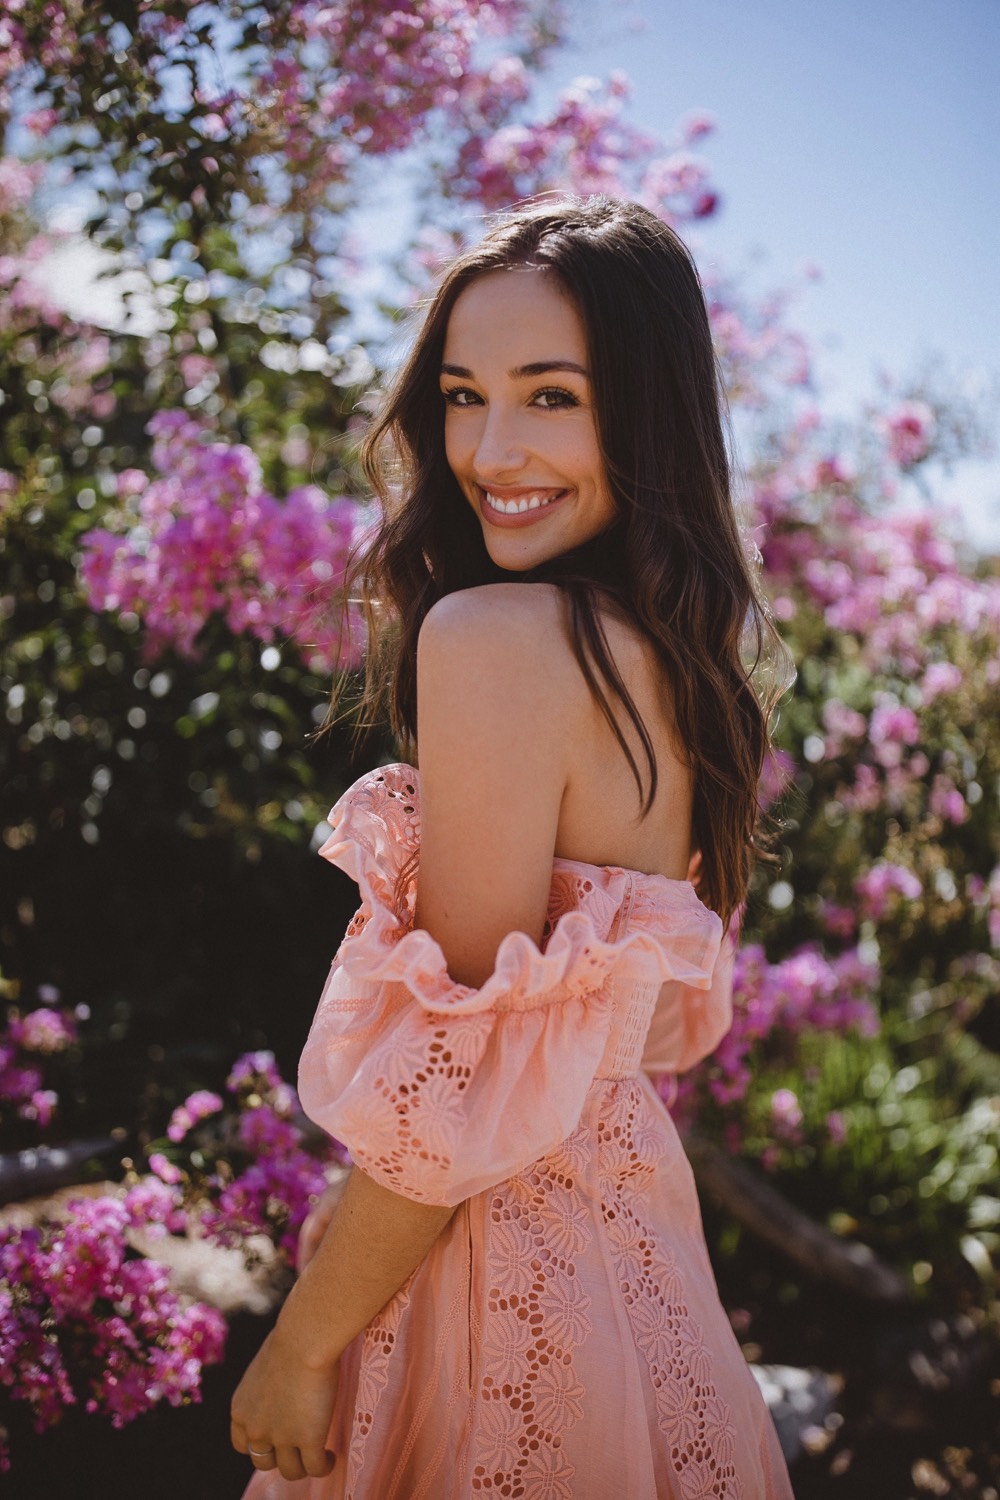
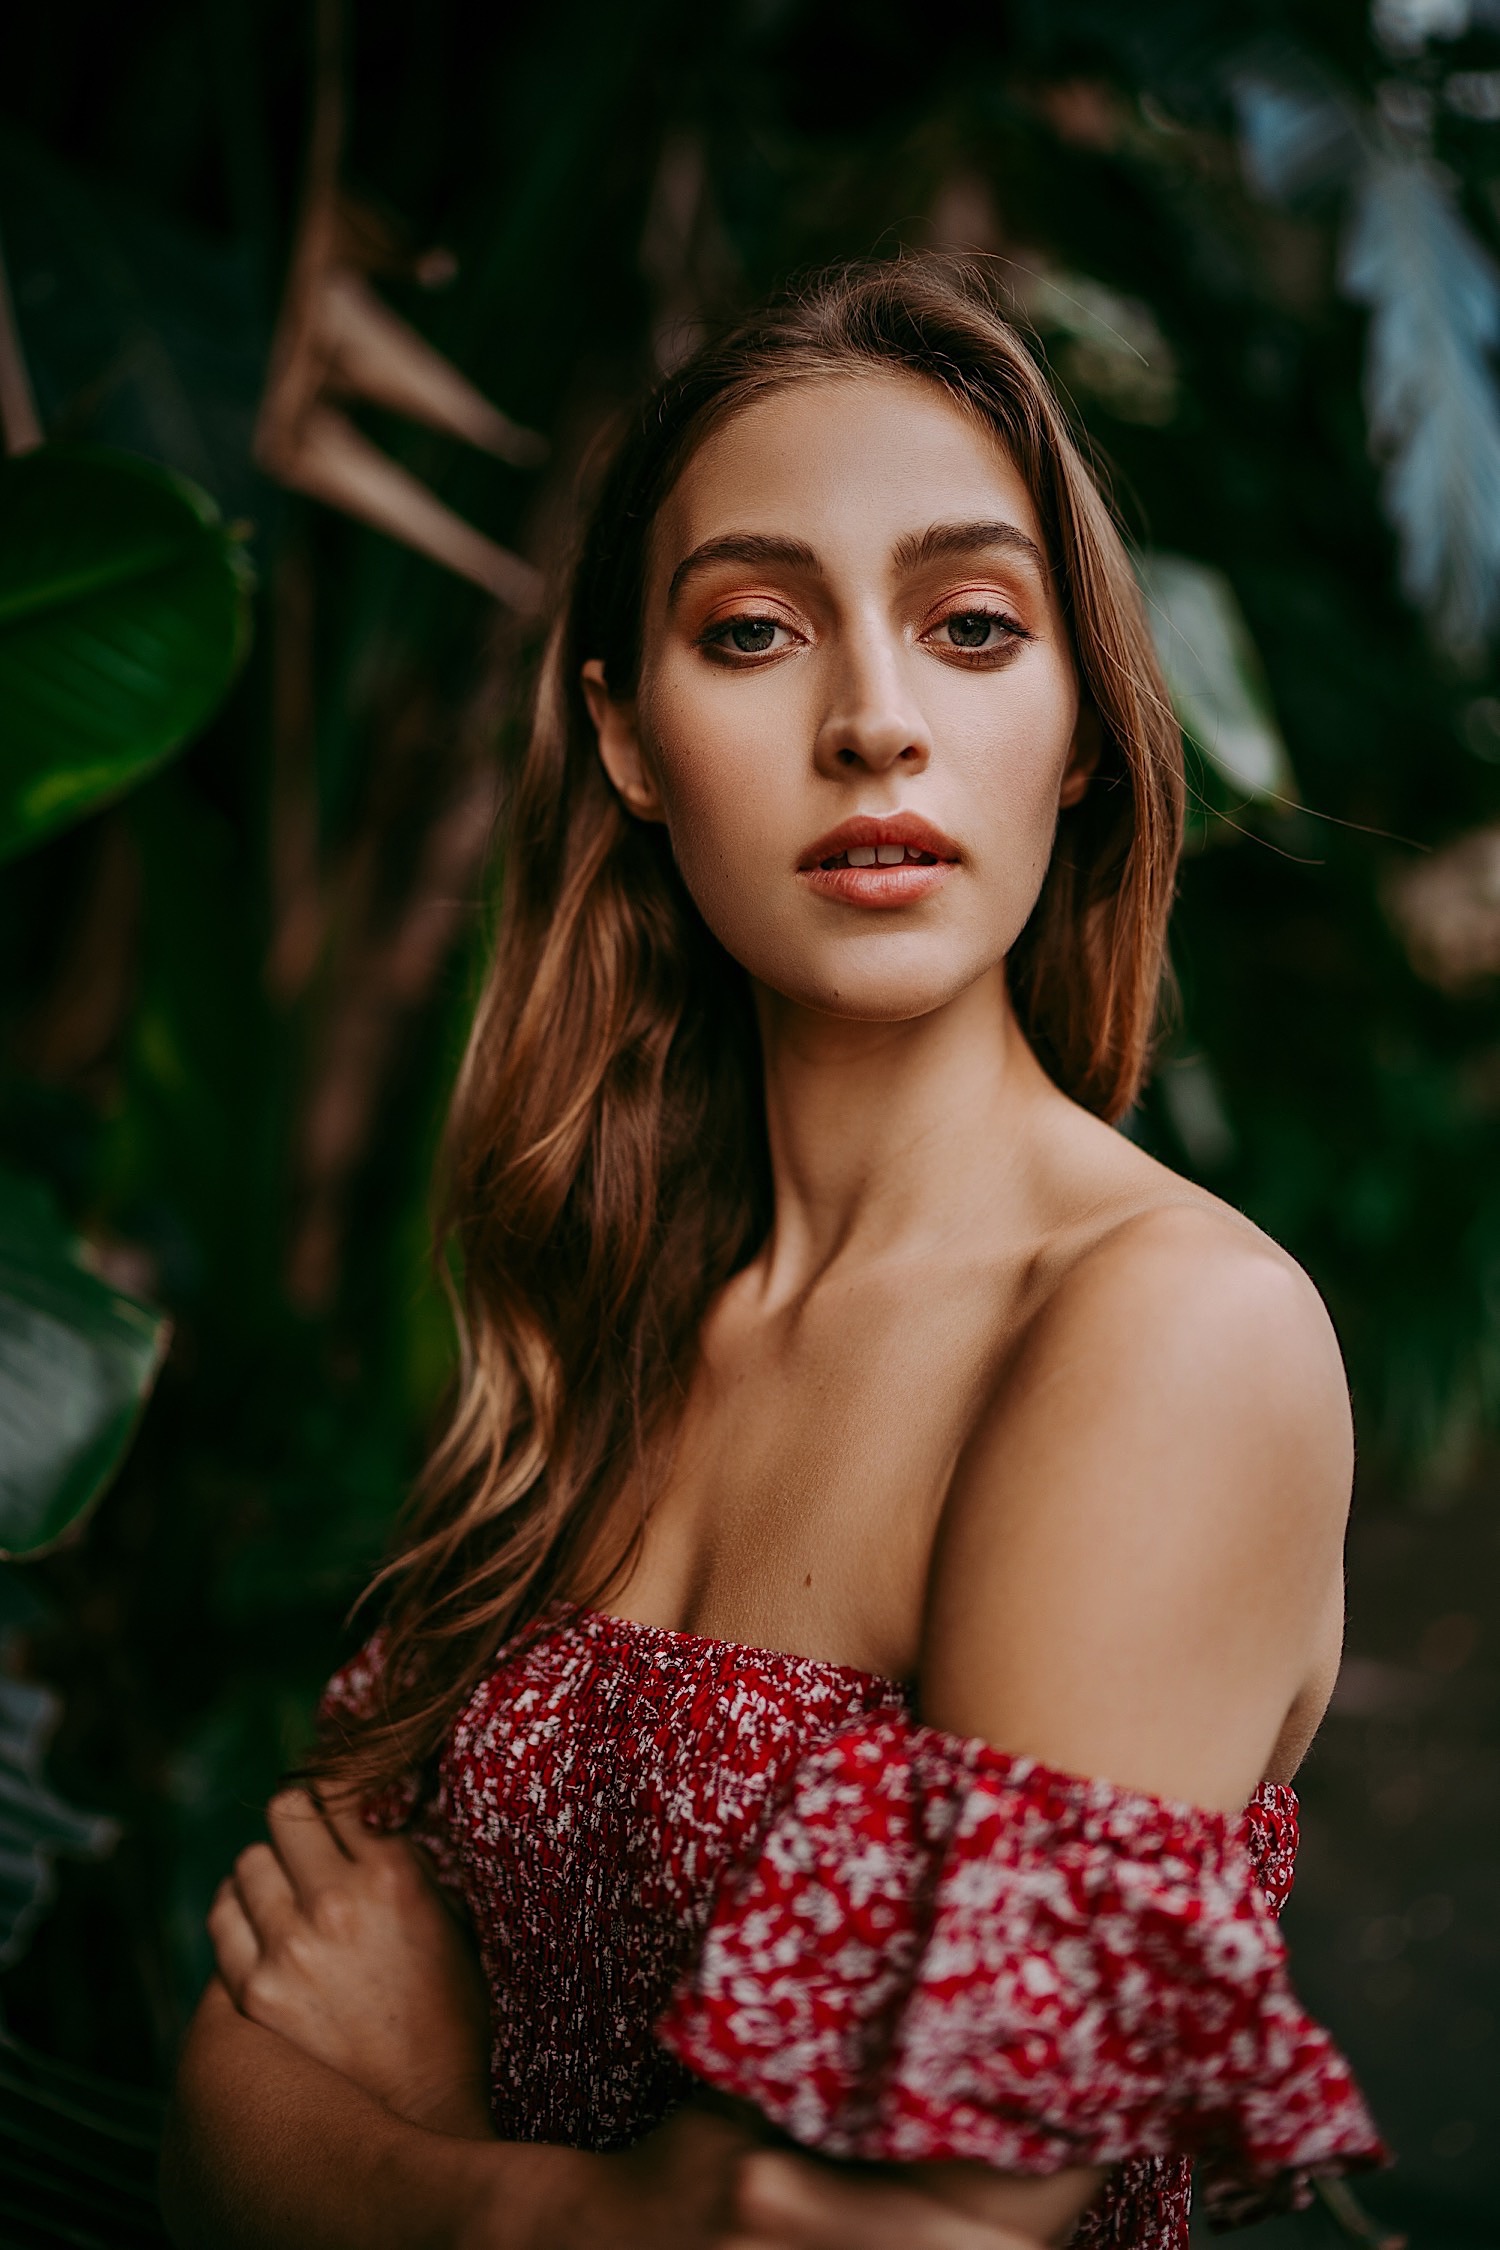
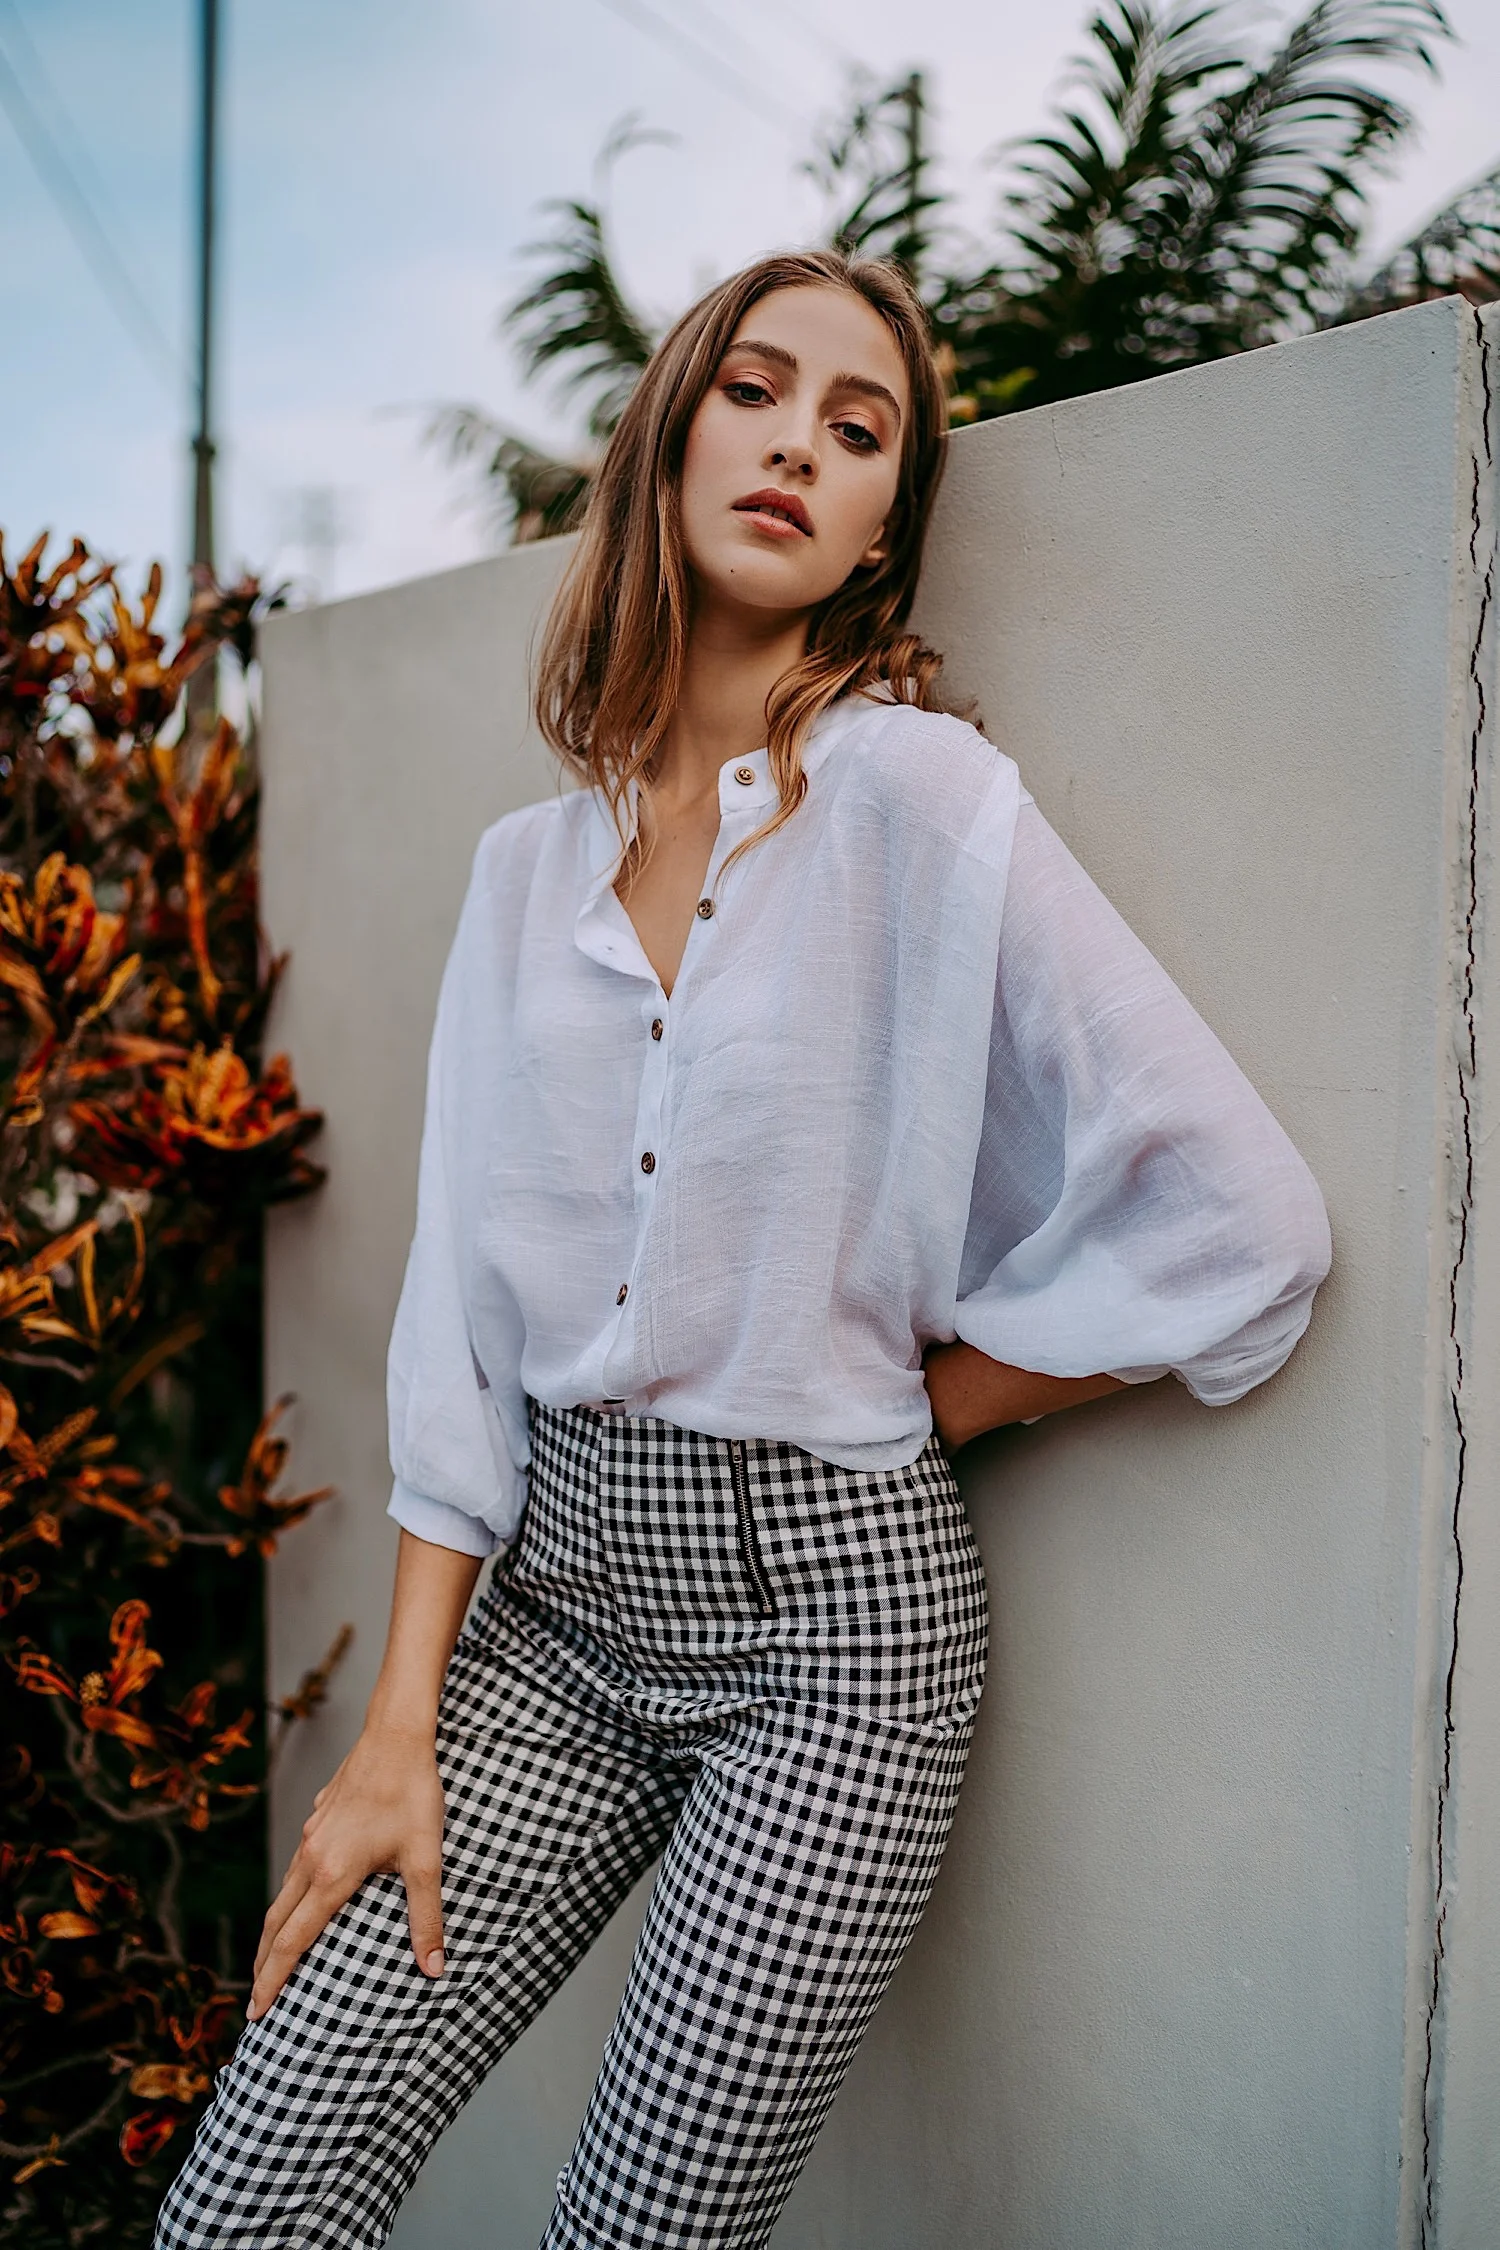
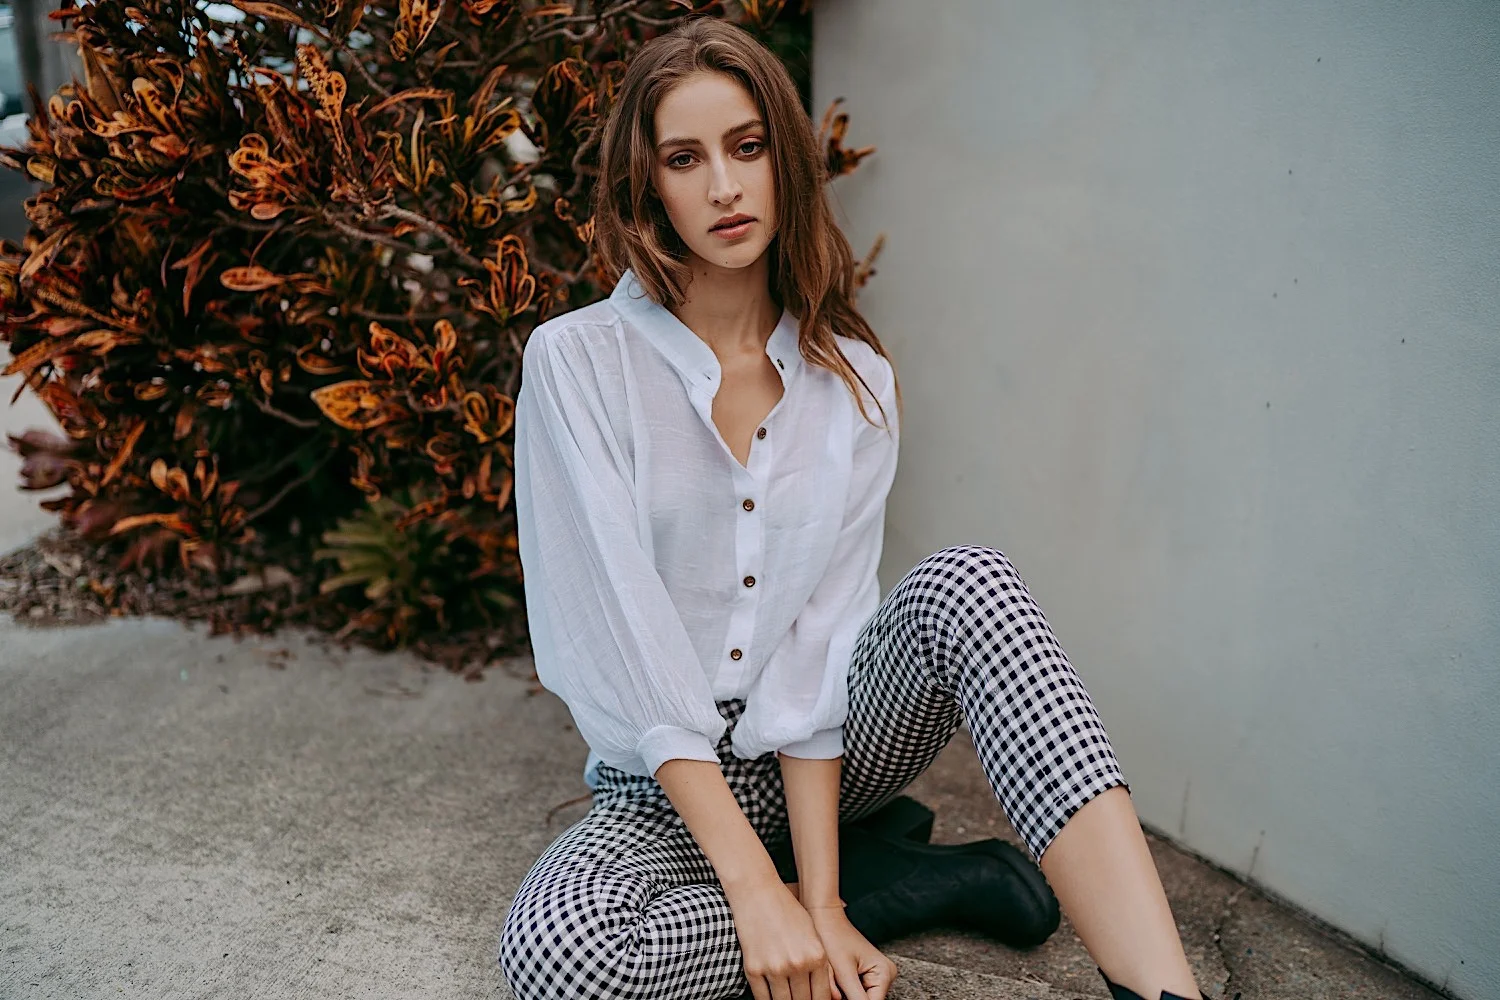
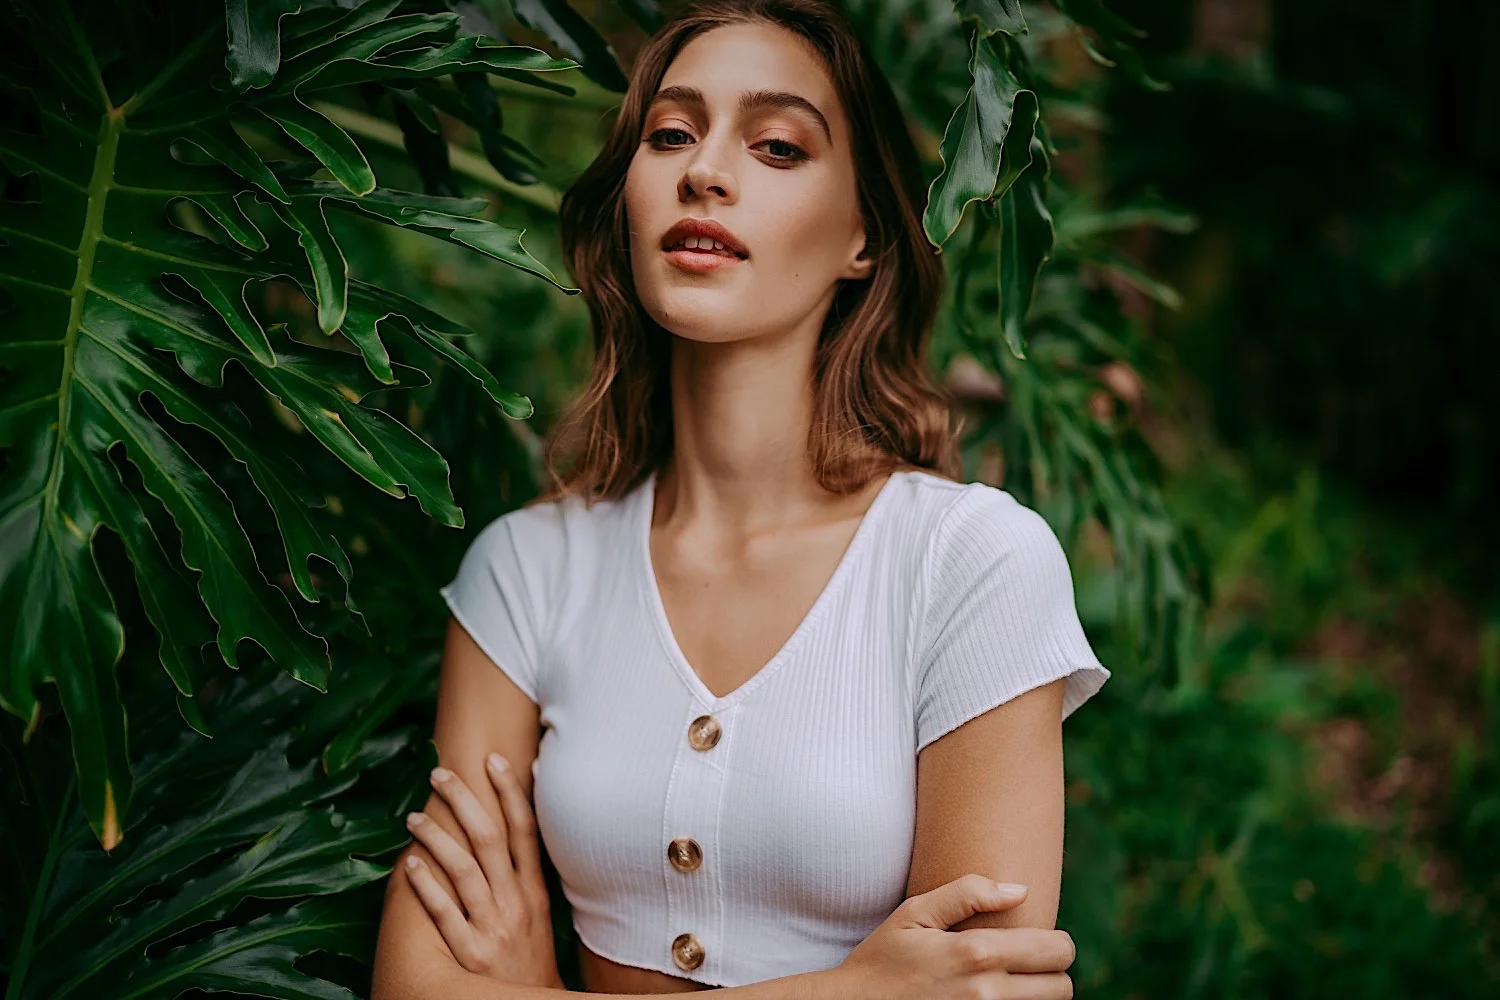
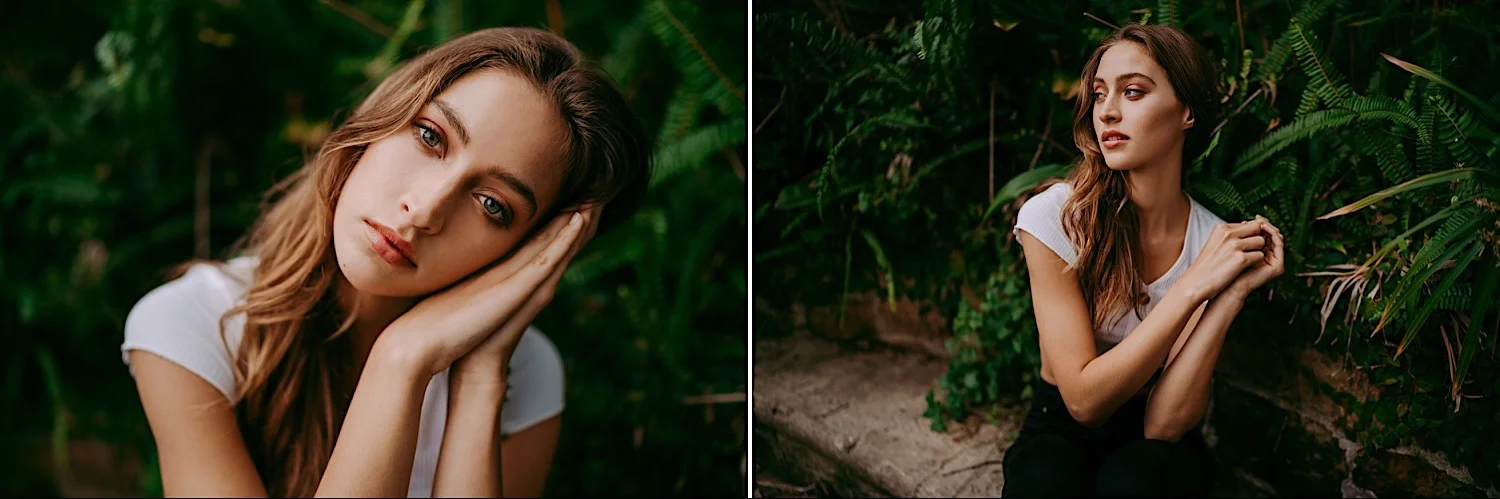
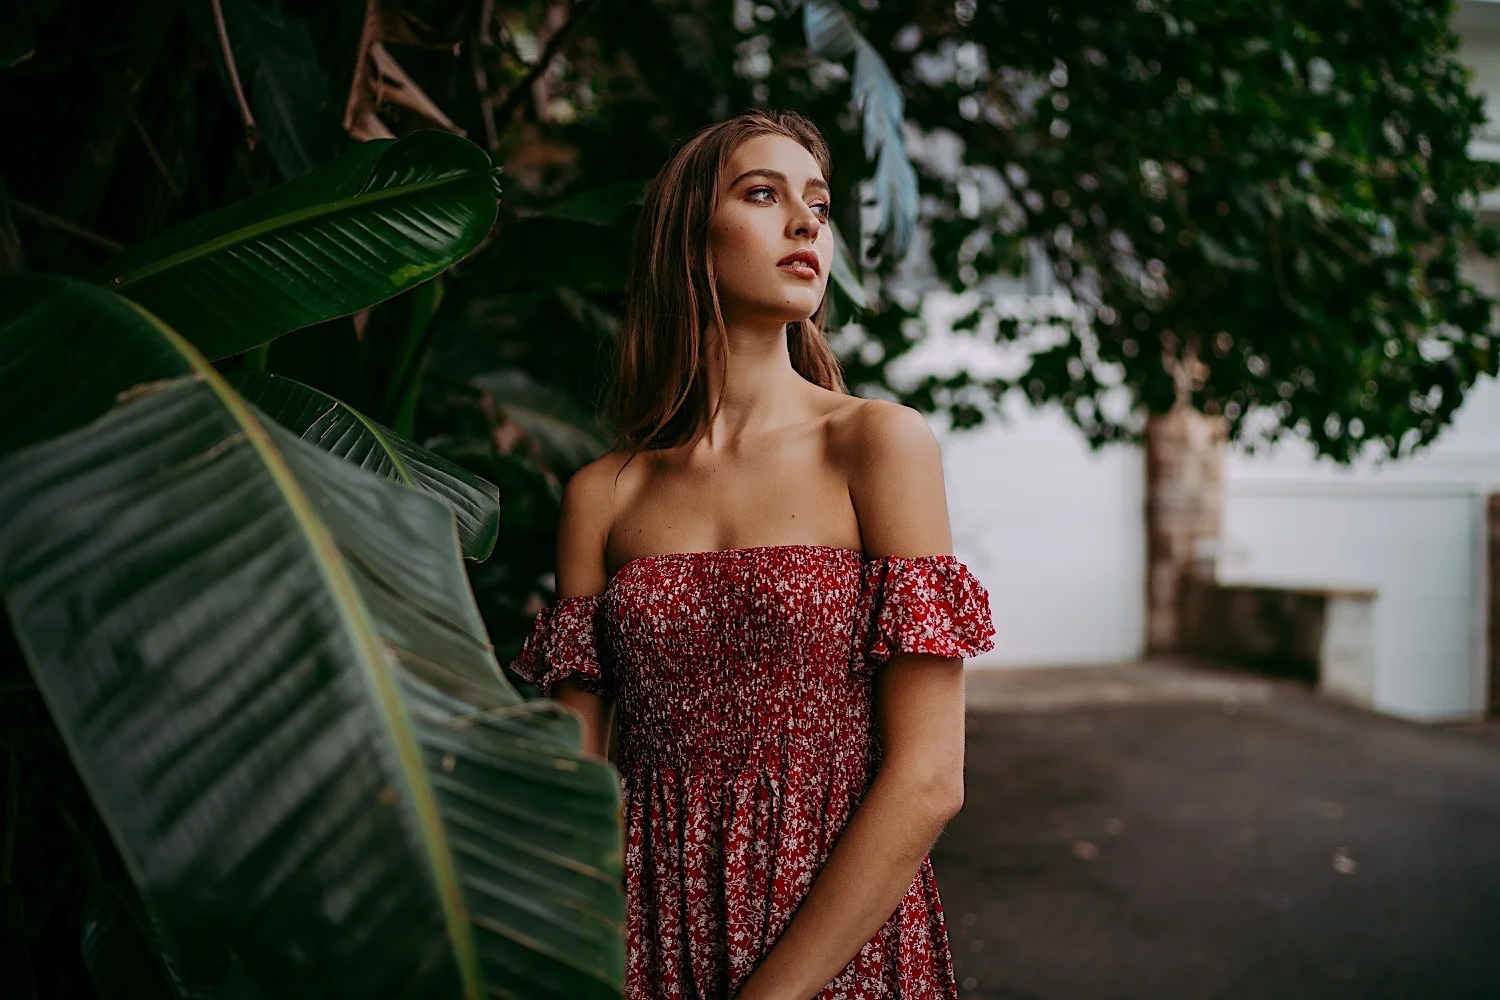
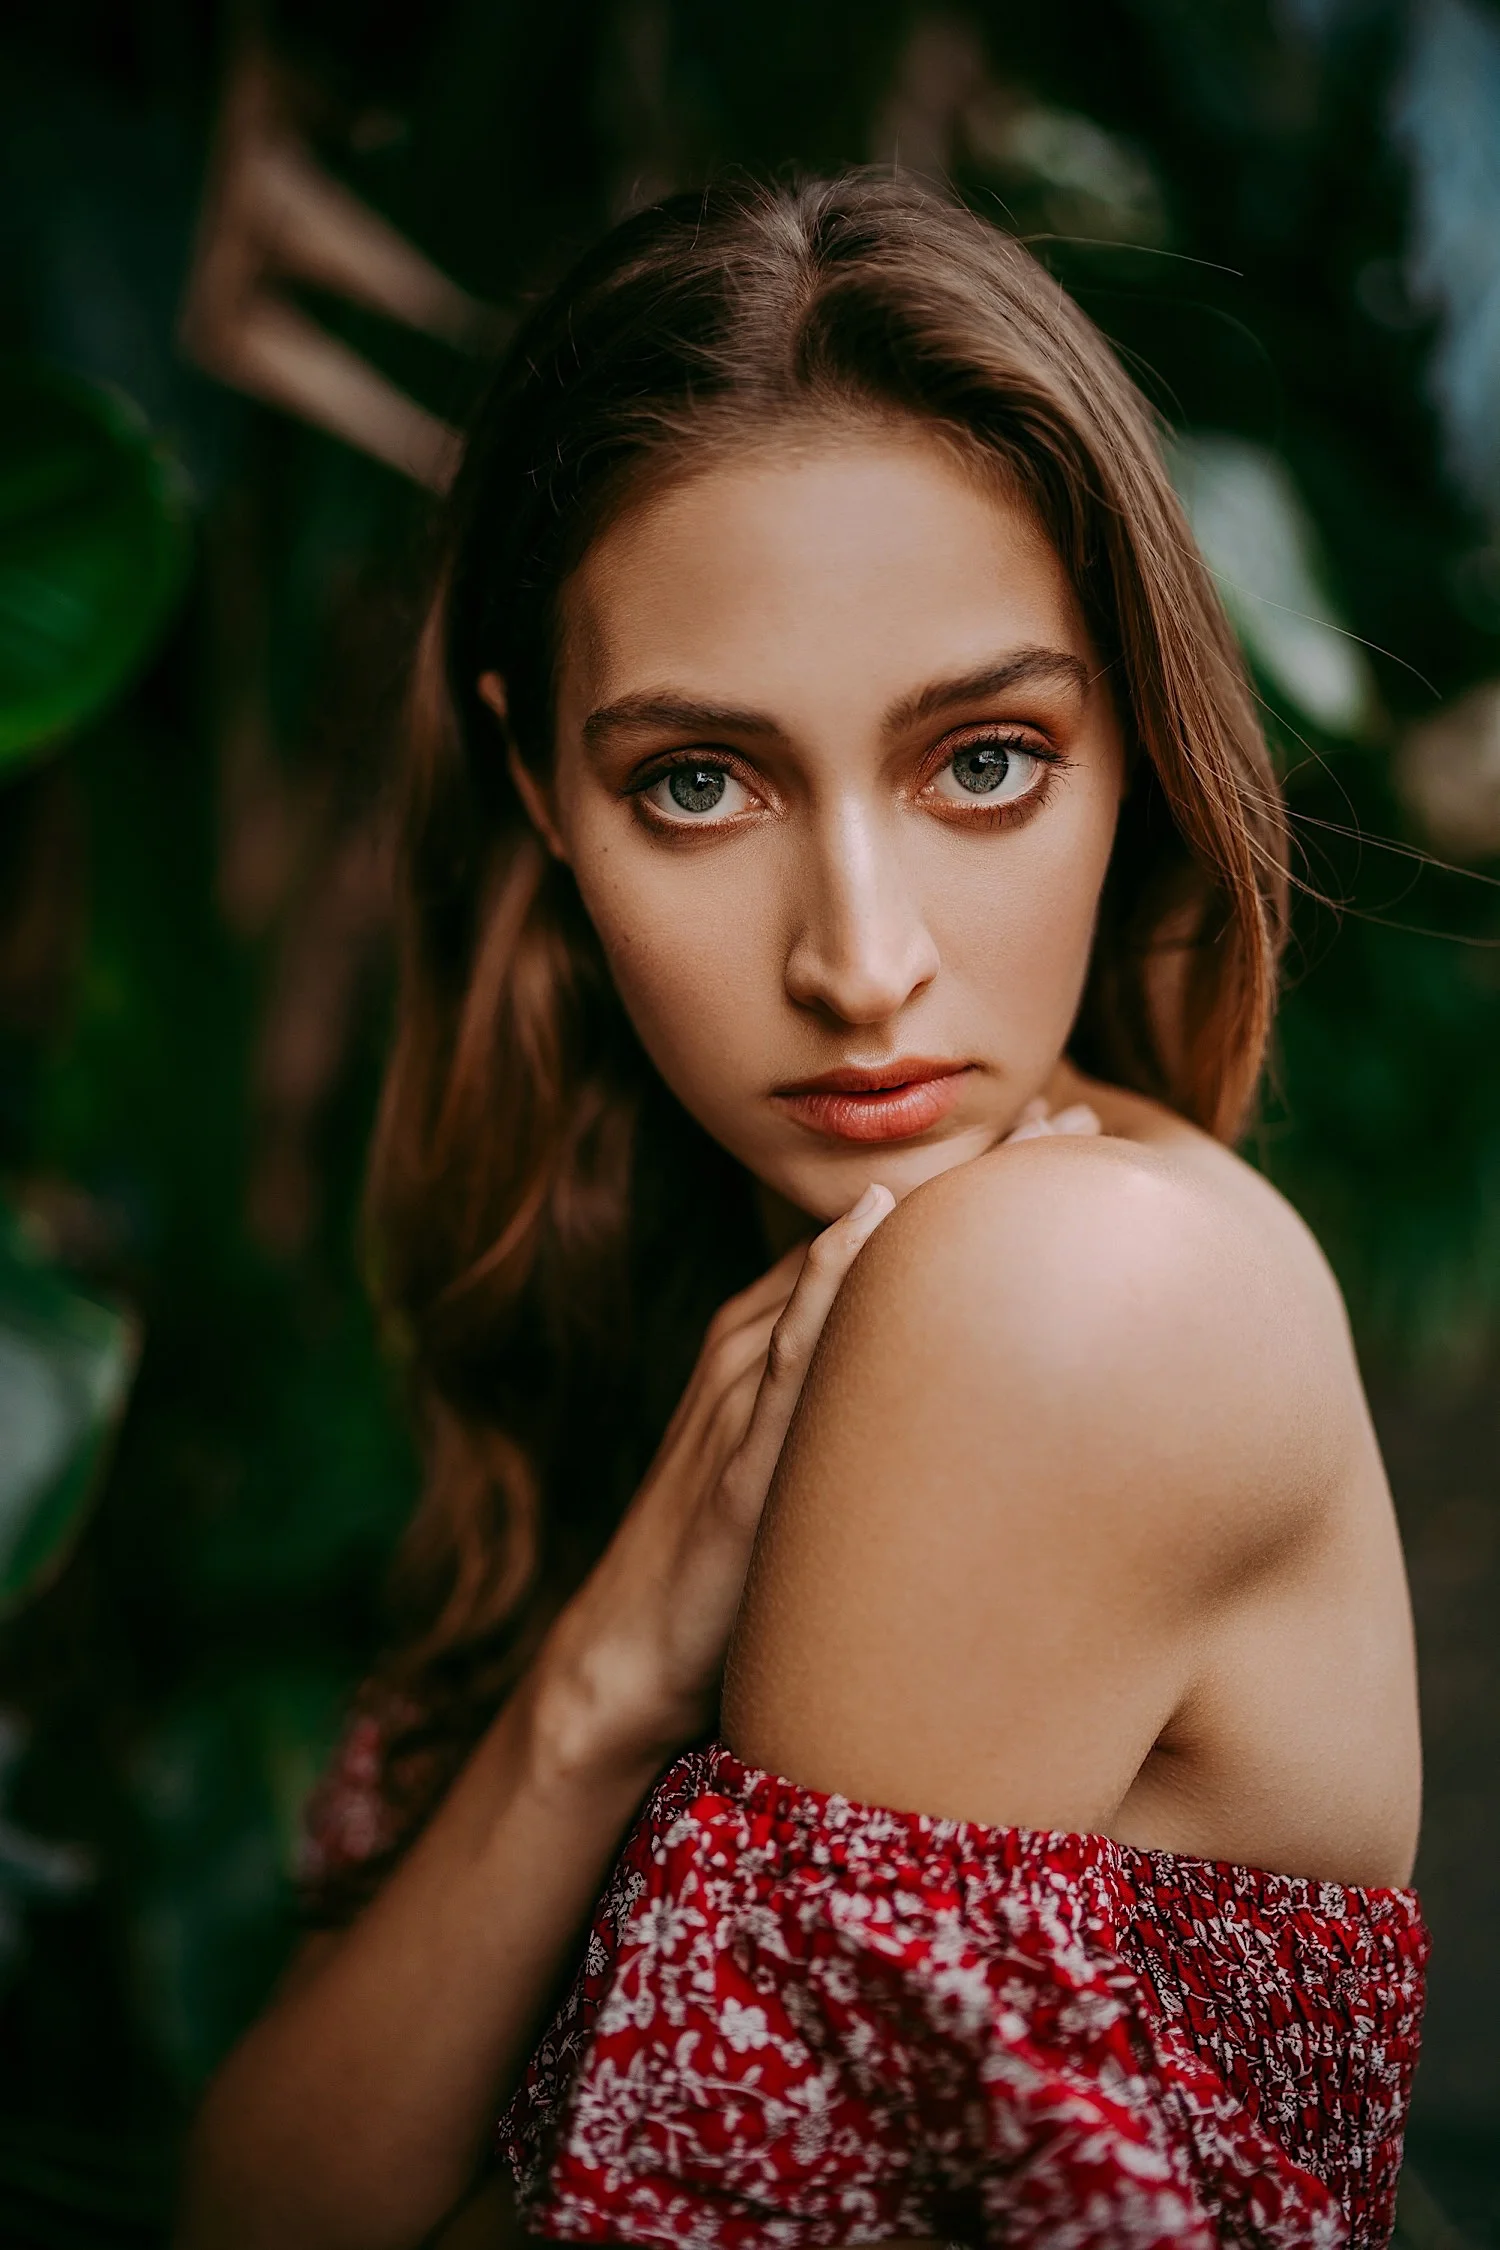
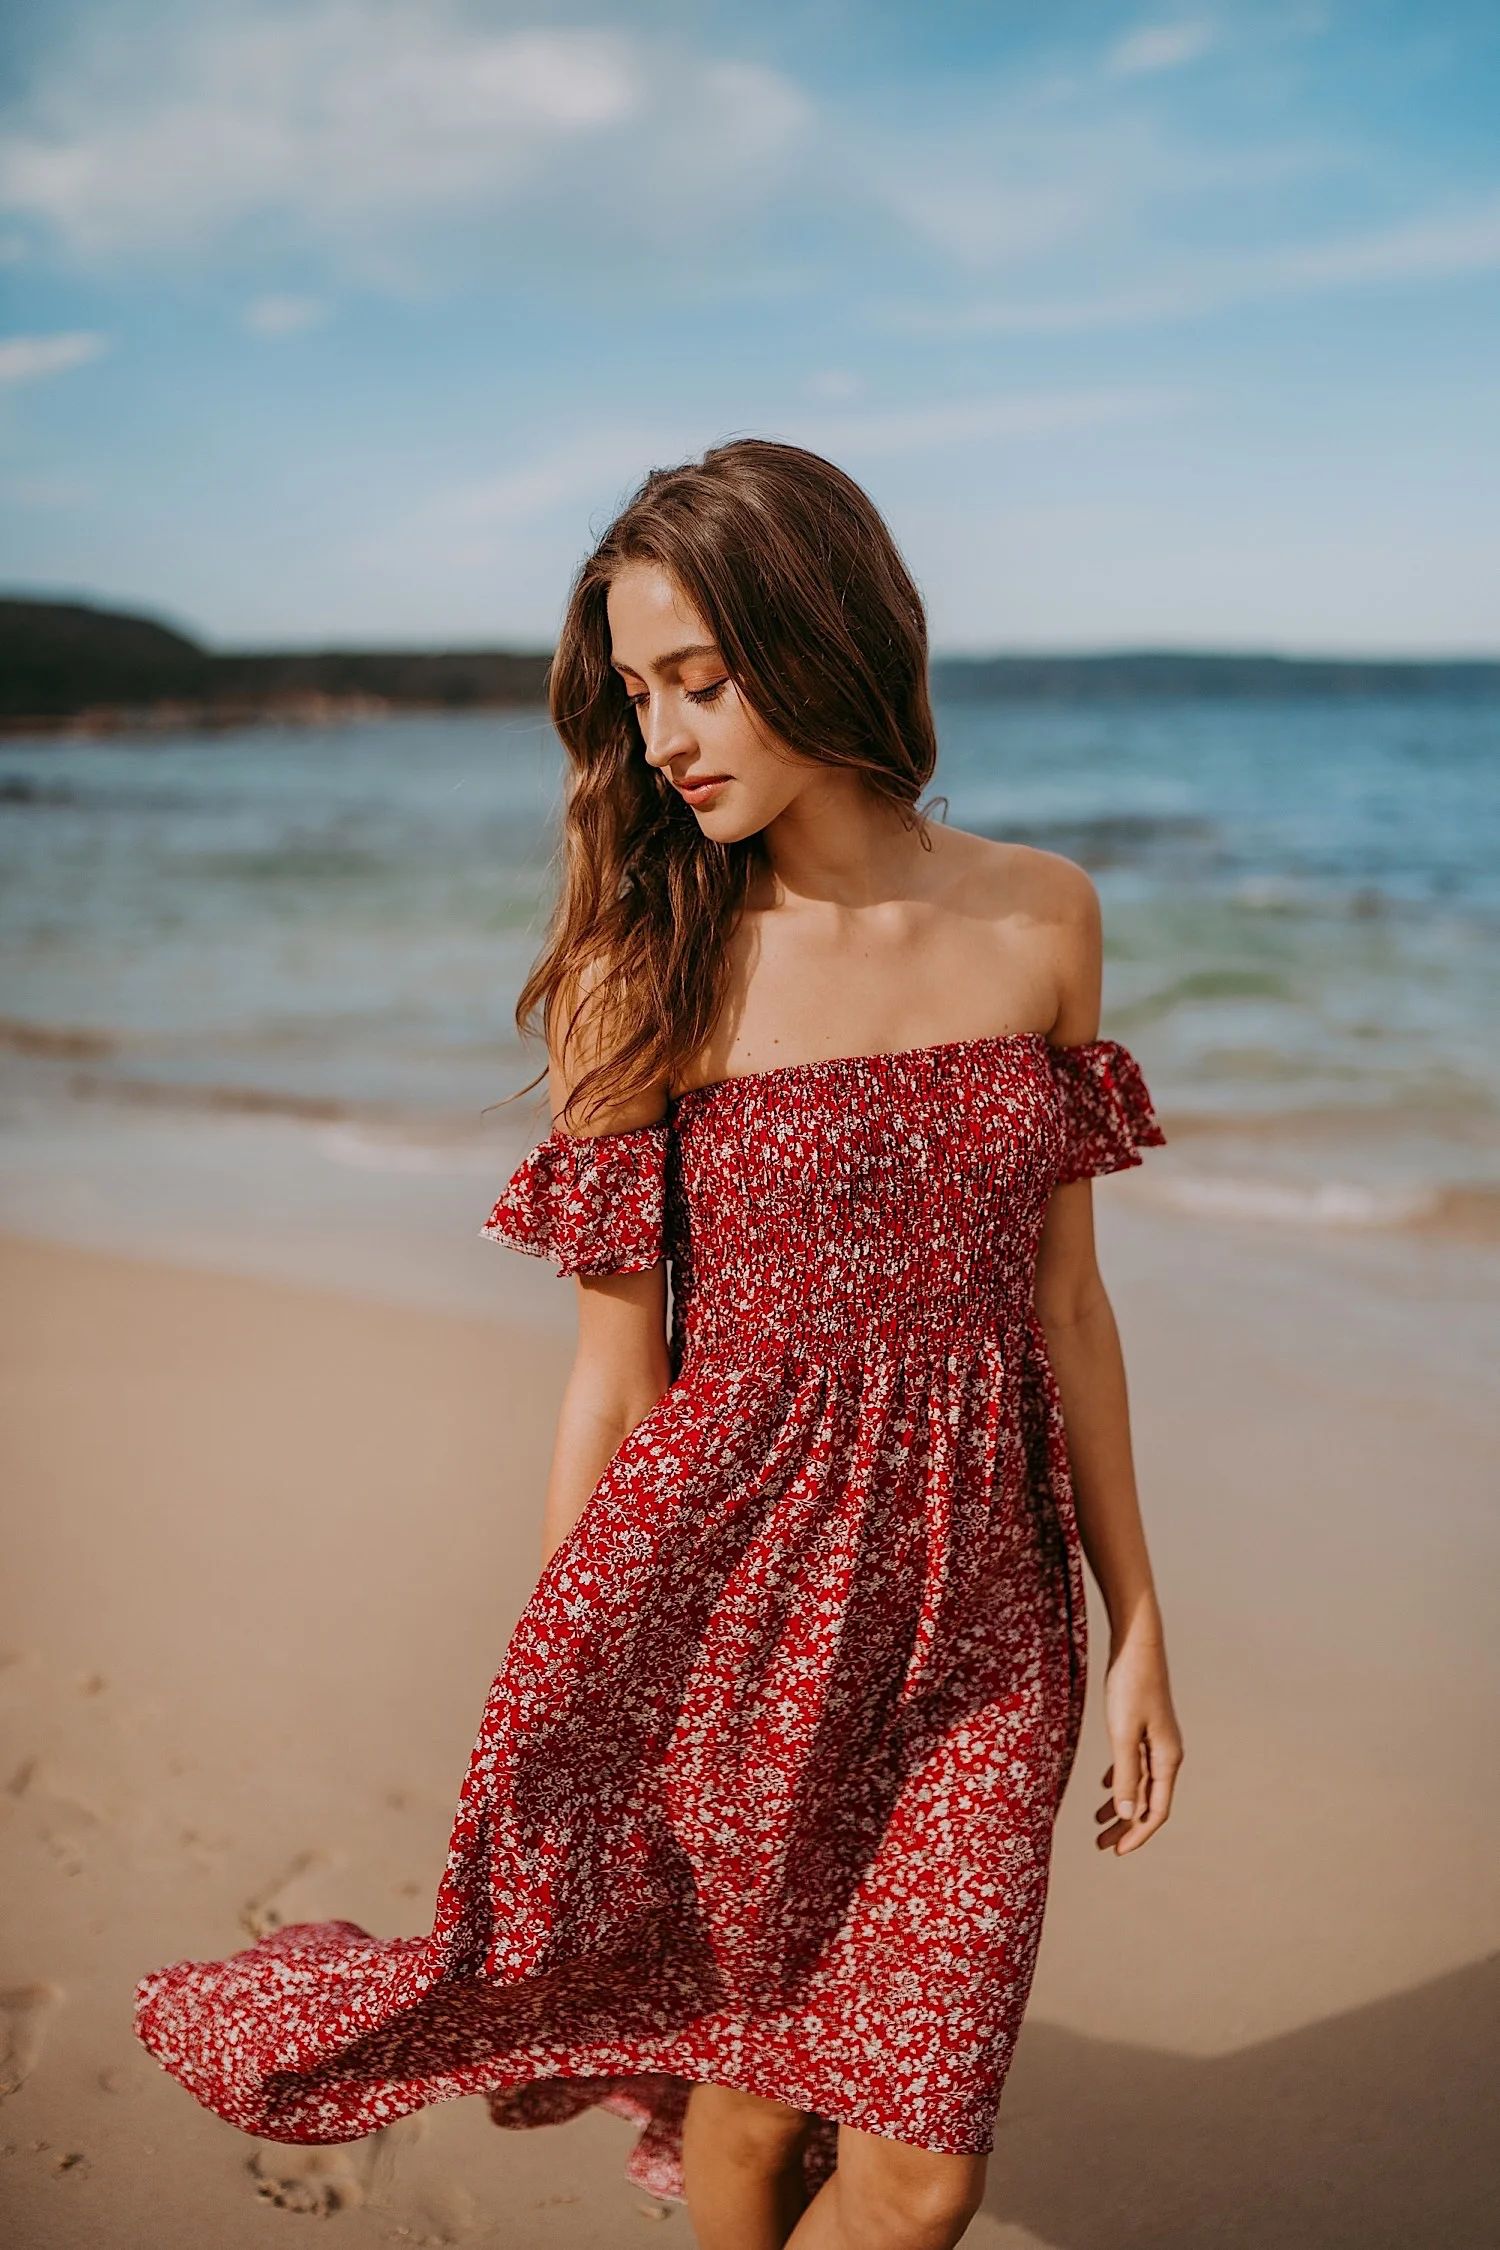
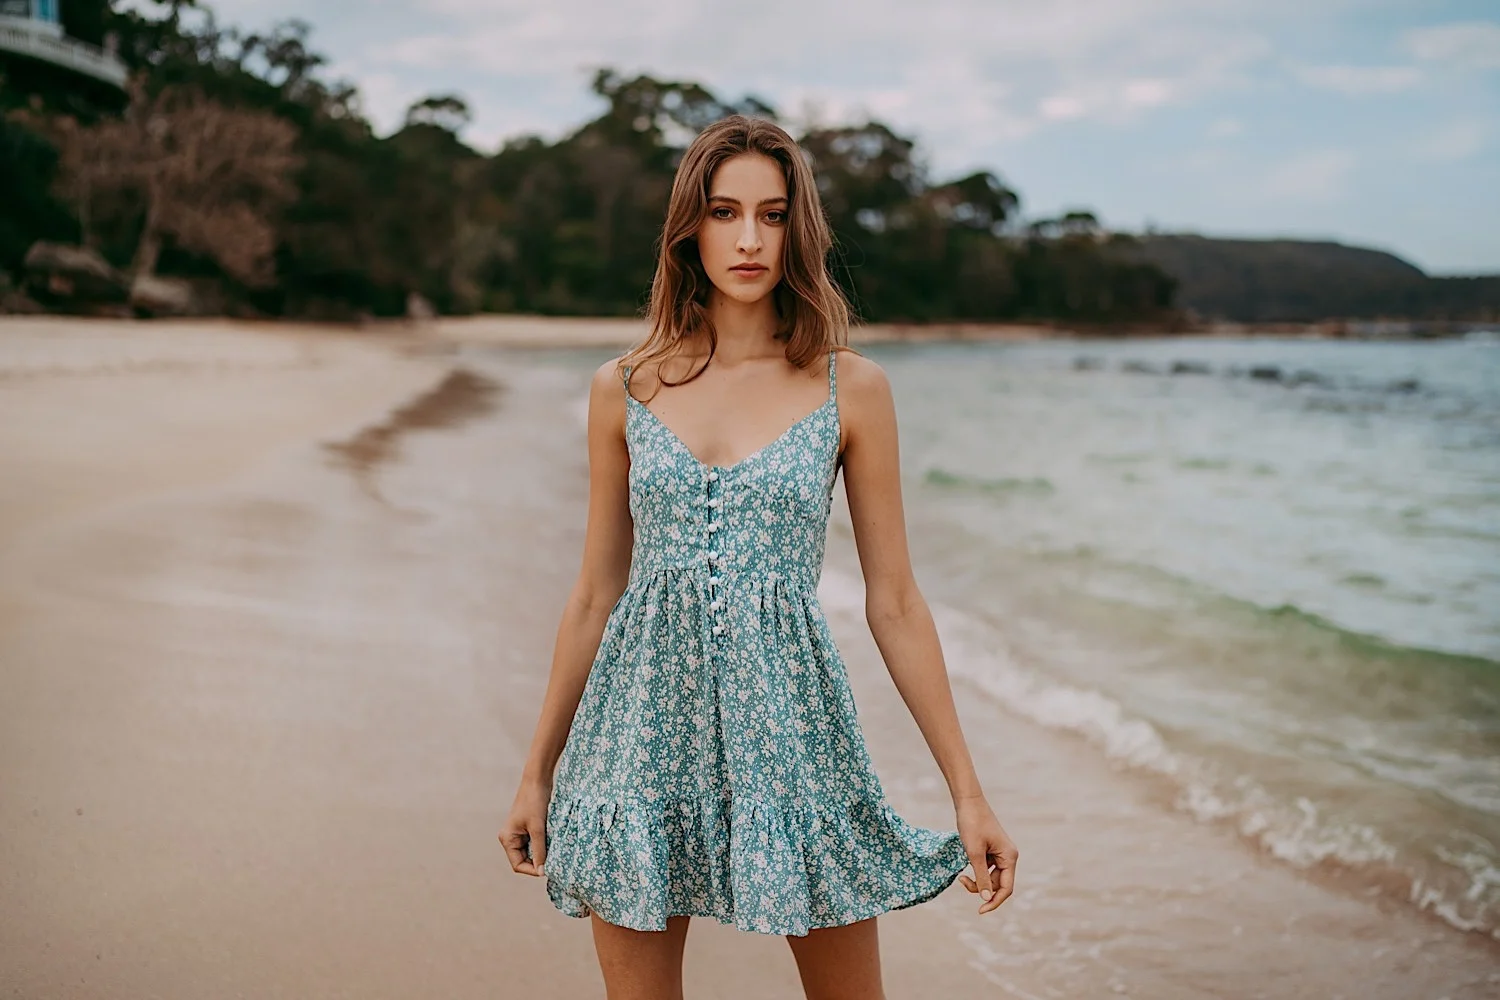
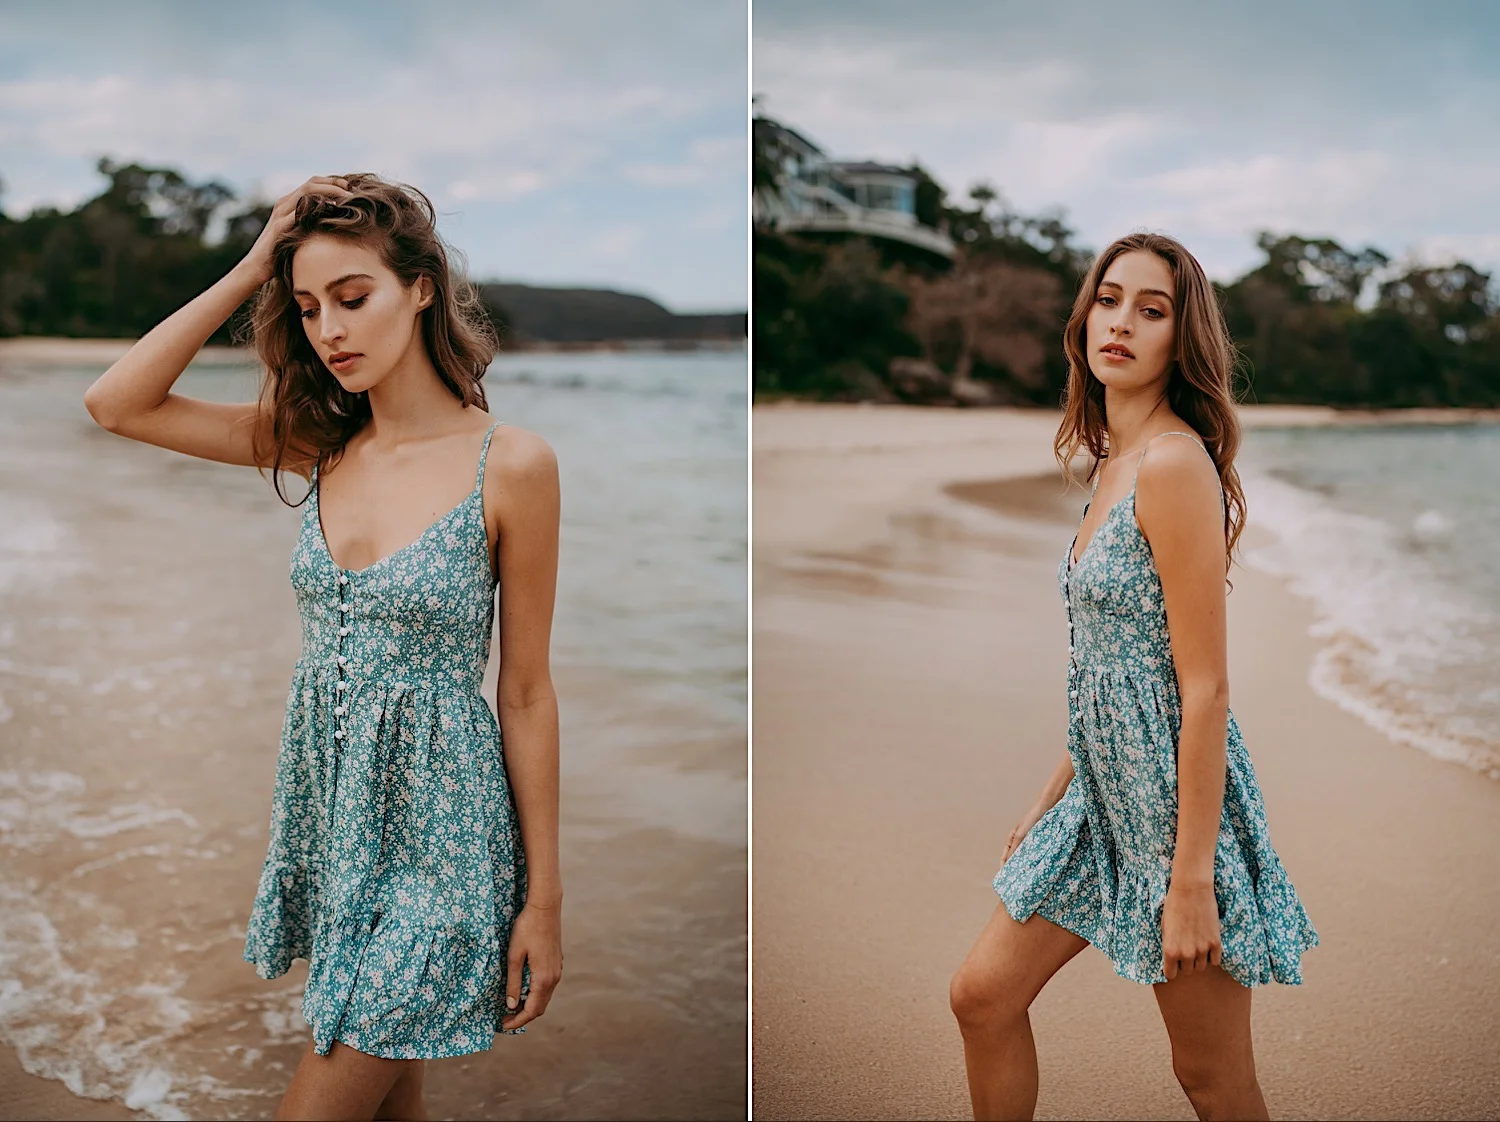
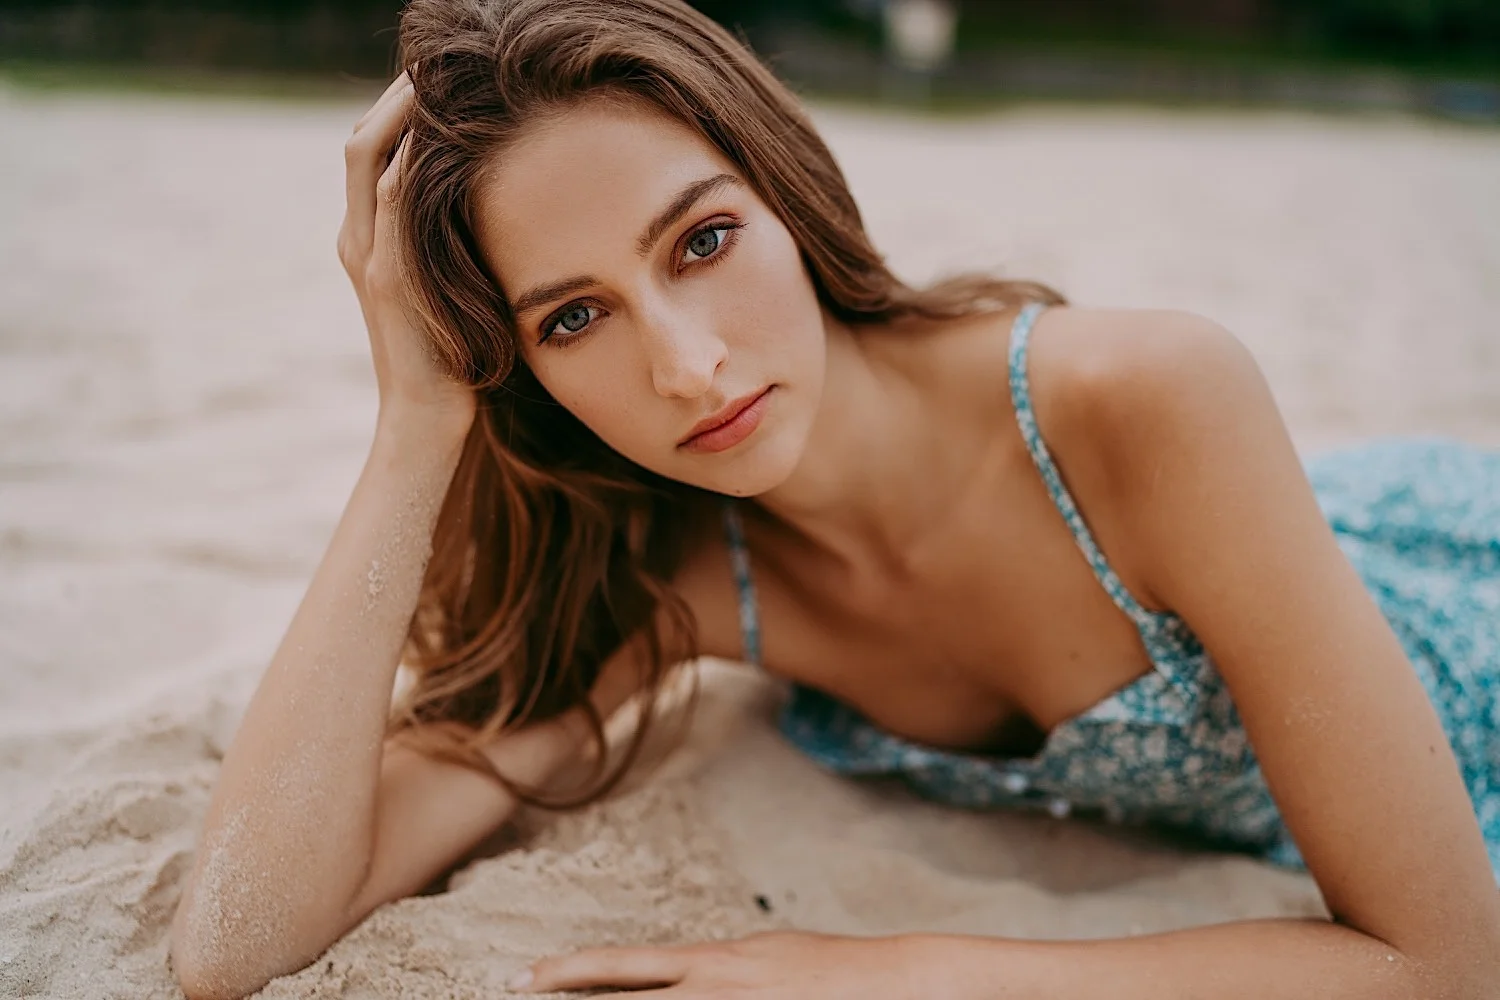
I’ve been sharing a lot of lens comparison videos recently, so I thought I’d do a good old creative photoshoot on the Sony A7III + Zeiss 35mm f1.4. We shot a few photos on the streets, finding good colours, textures and lighting for the background and then headed down to the beach for a few more fun, movement filled shots at the end. You can watch the behind the scenes below where we included a new little fun thing where you can see what I see while I’m taking photos!

Please subscribe to my channel, I share new photography videos every single Wednesday!

model katya

makeup lidija j

video dan @ i make films

outfits zaful

All photos are edited with my Mountains Lightroom Preset Pack!

This blog was put together with Narrative. I love using Narrative as part of my photoshoot culling process to see which images from a shoot I should edit and I also use it to easily & quickly be able to put together these blog posts with different layouts of images side by side. I’m really excited to say I’ve teamed up with Narrative and have a 15% discount code for you guys using the code julia15 or just clicking this link! You can download a free trial to test it out for 7 days too :)
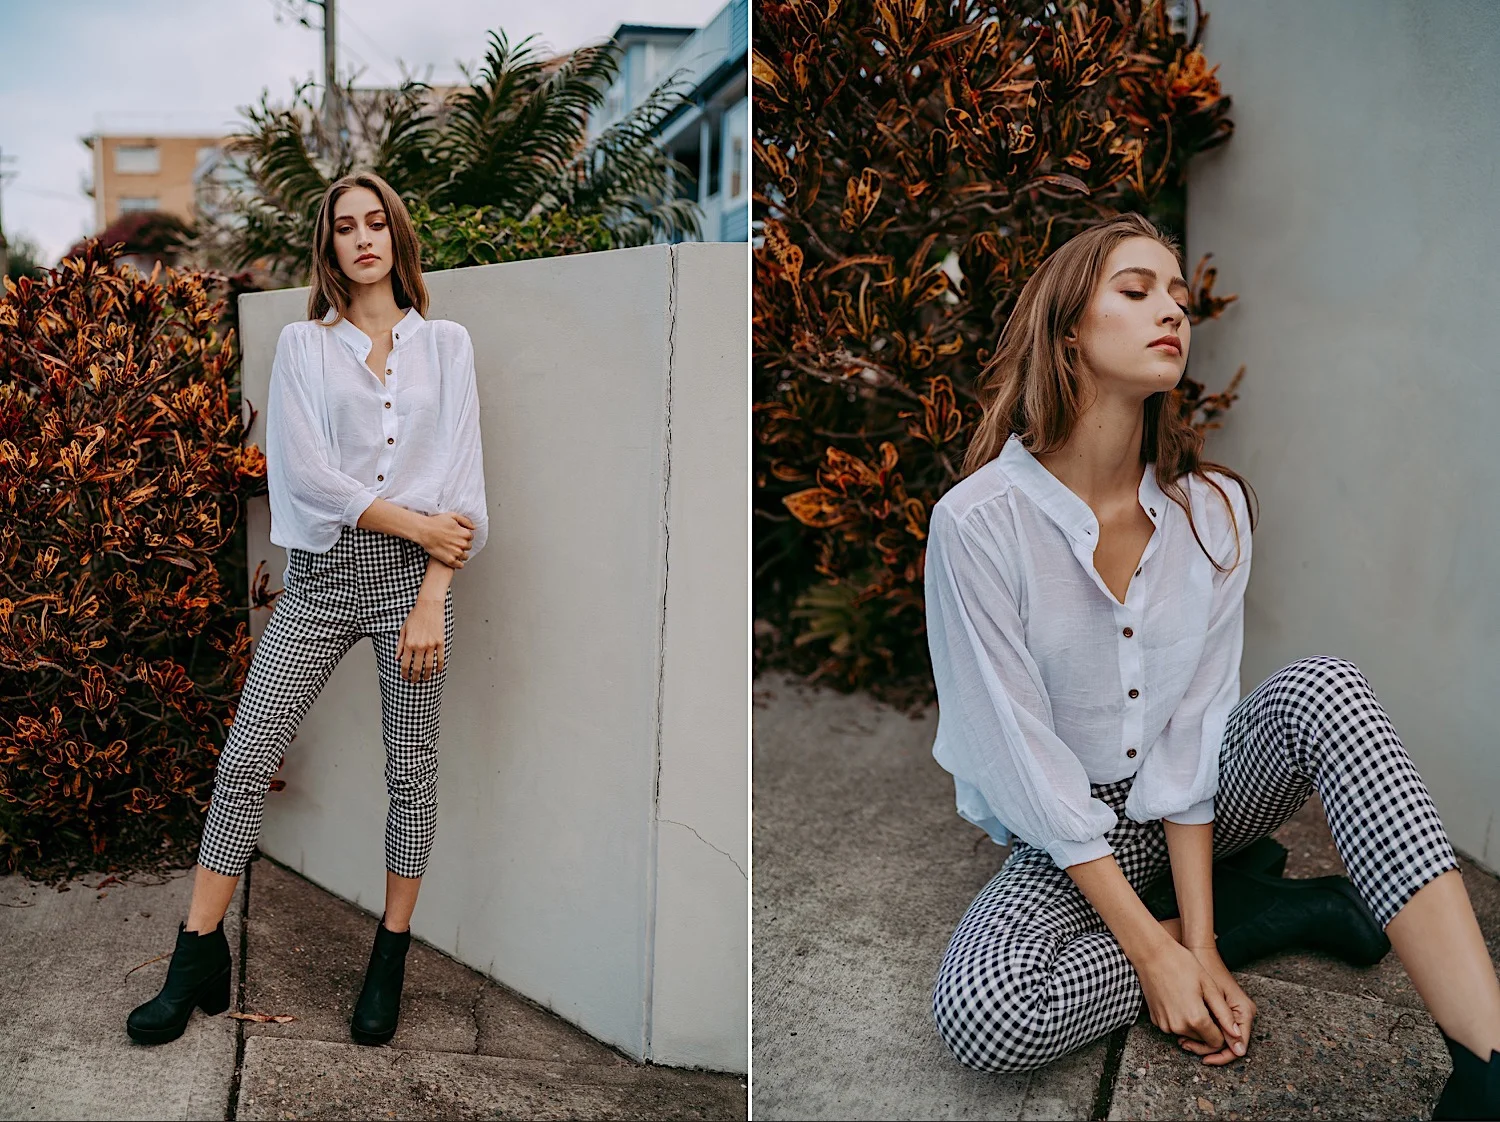
All photos are edited with my Mountains Lightroom Preset Pack!

Comment

Scotland Travel Photography Sony A7iii, Isle of Skye

2 Comments

Scotland Travel Photography Sony A7iii, Isle of Skye

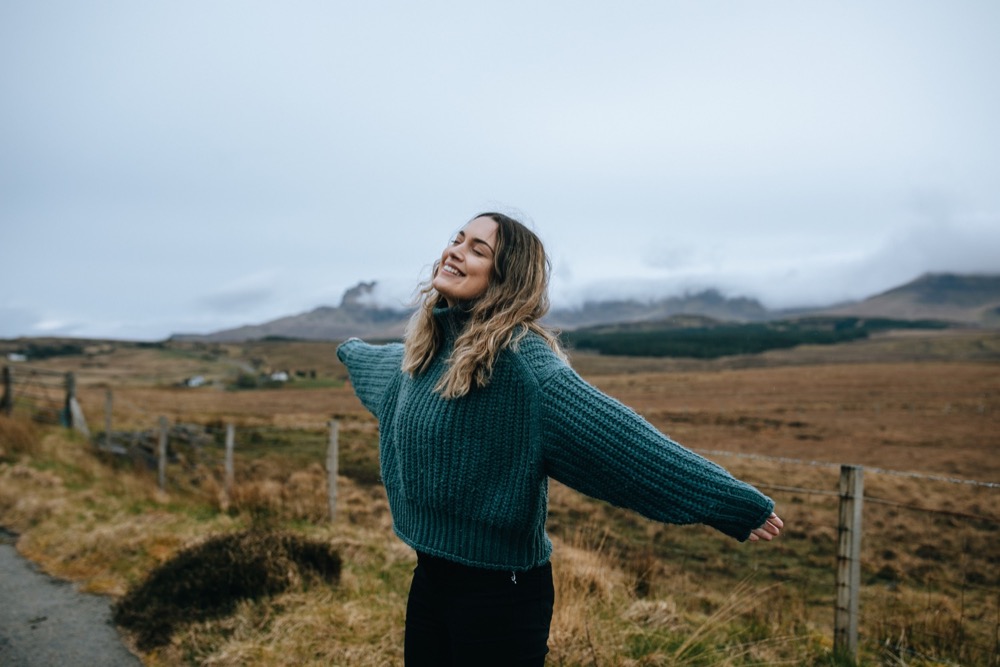
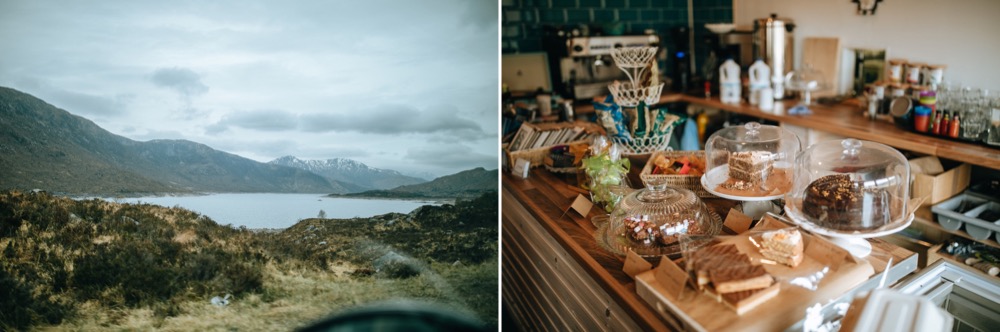
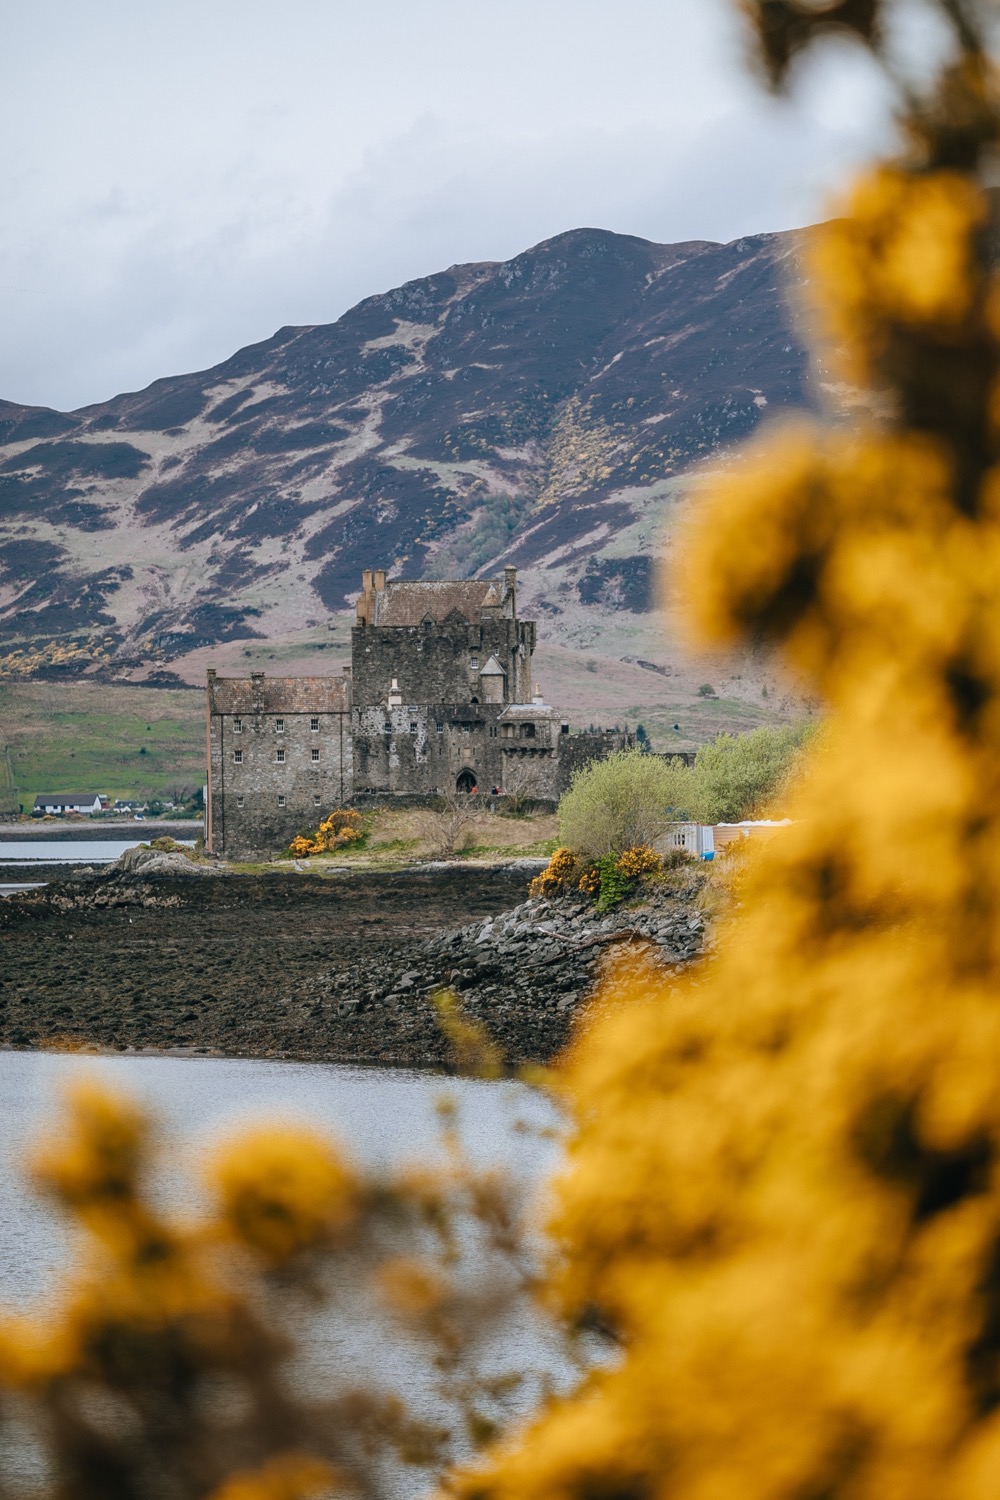
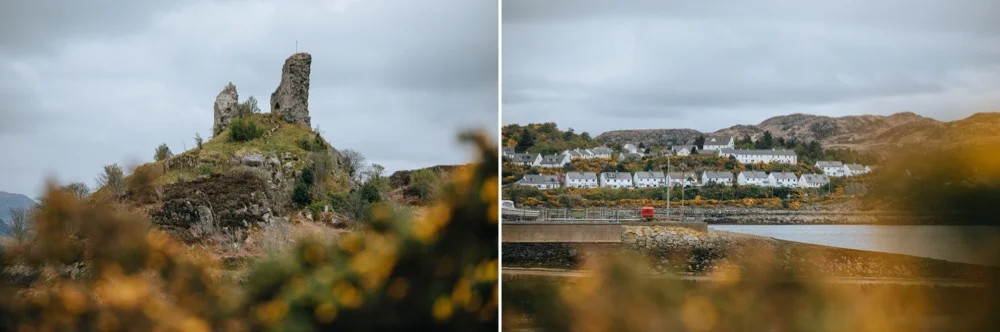
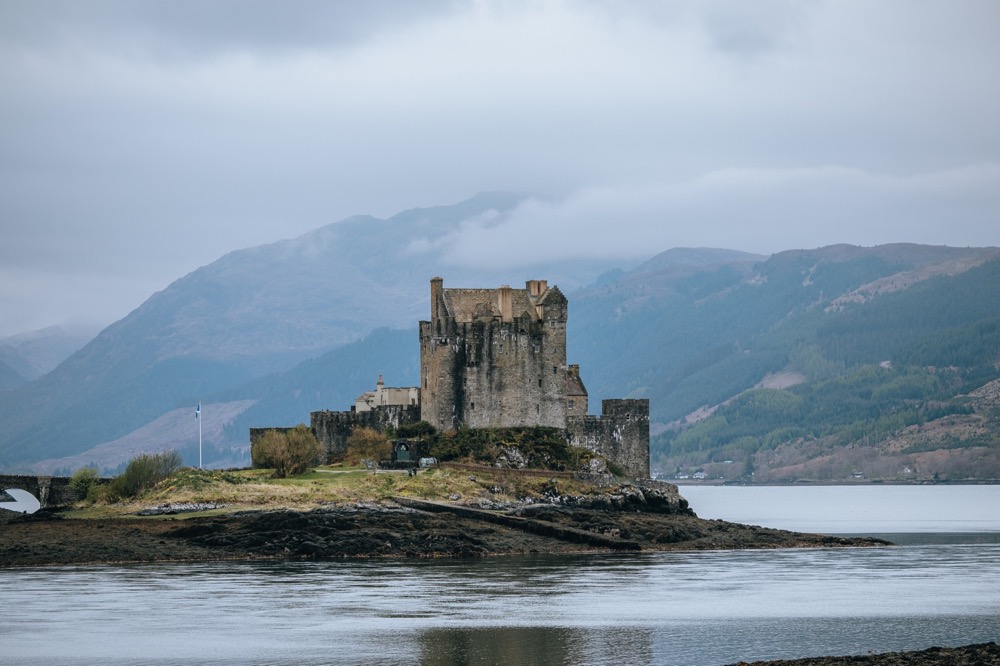
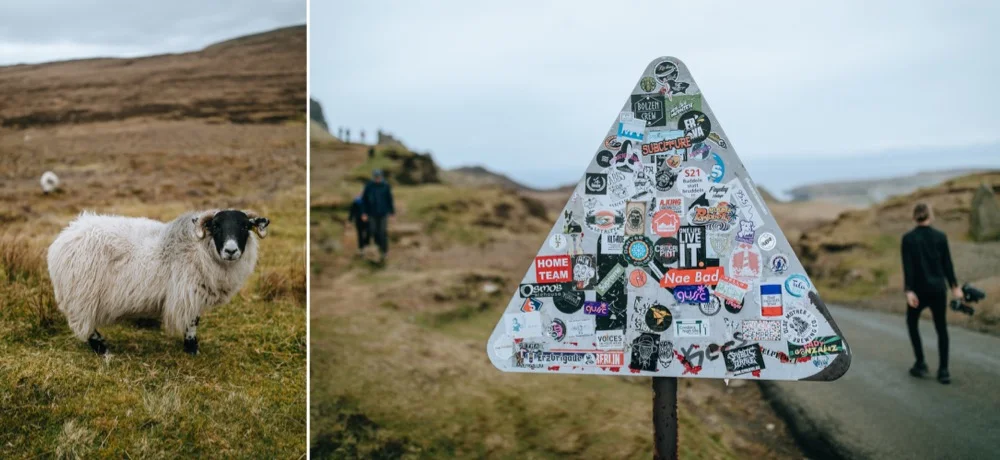
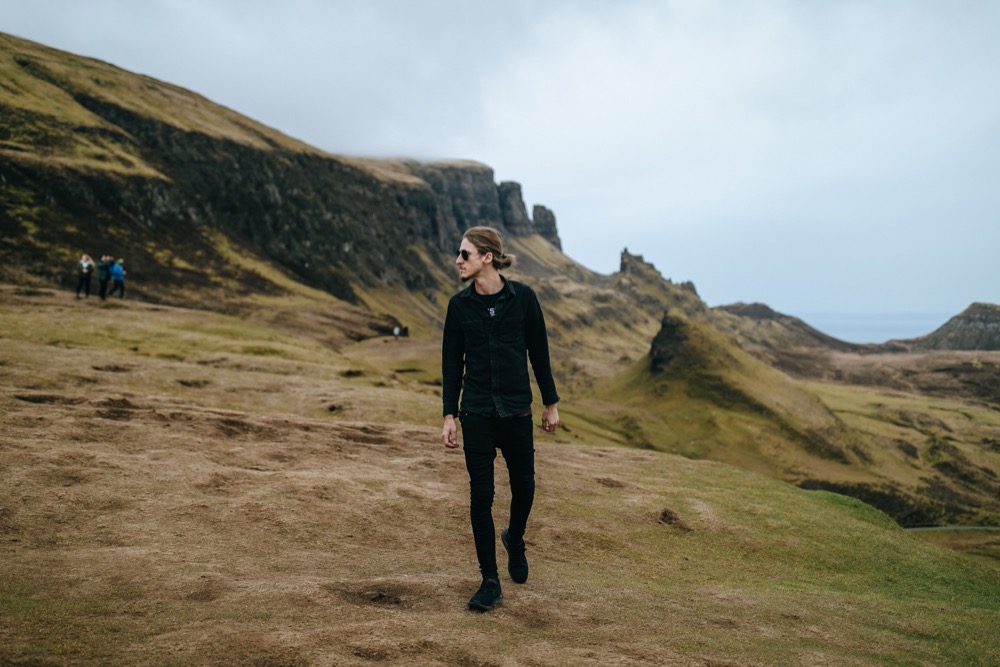
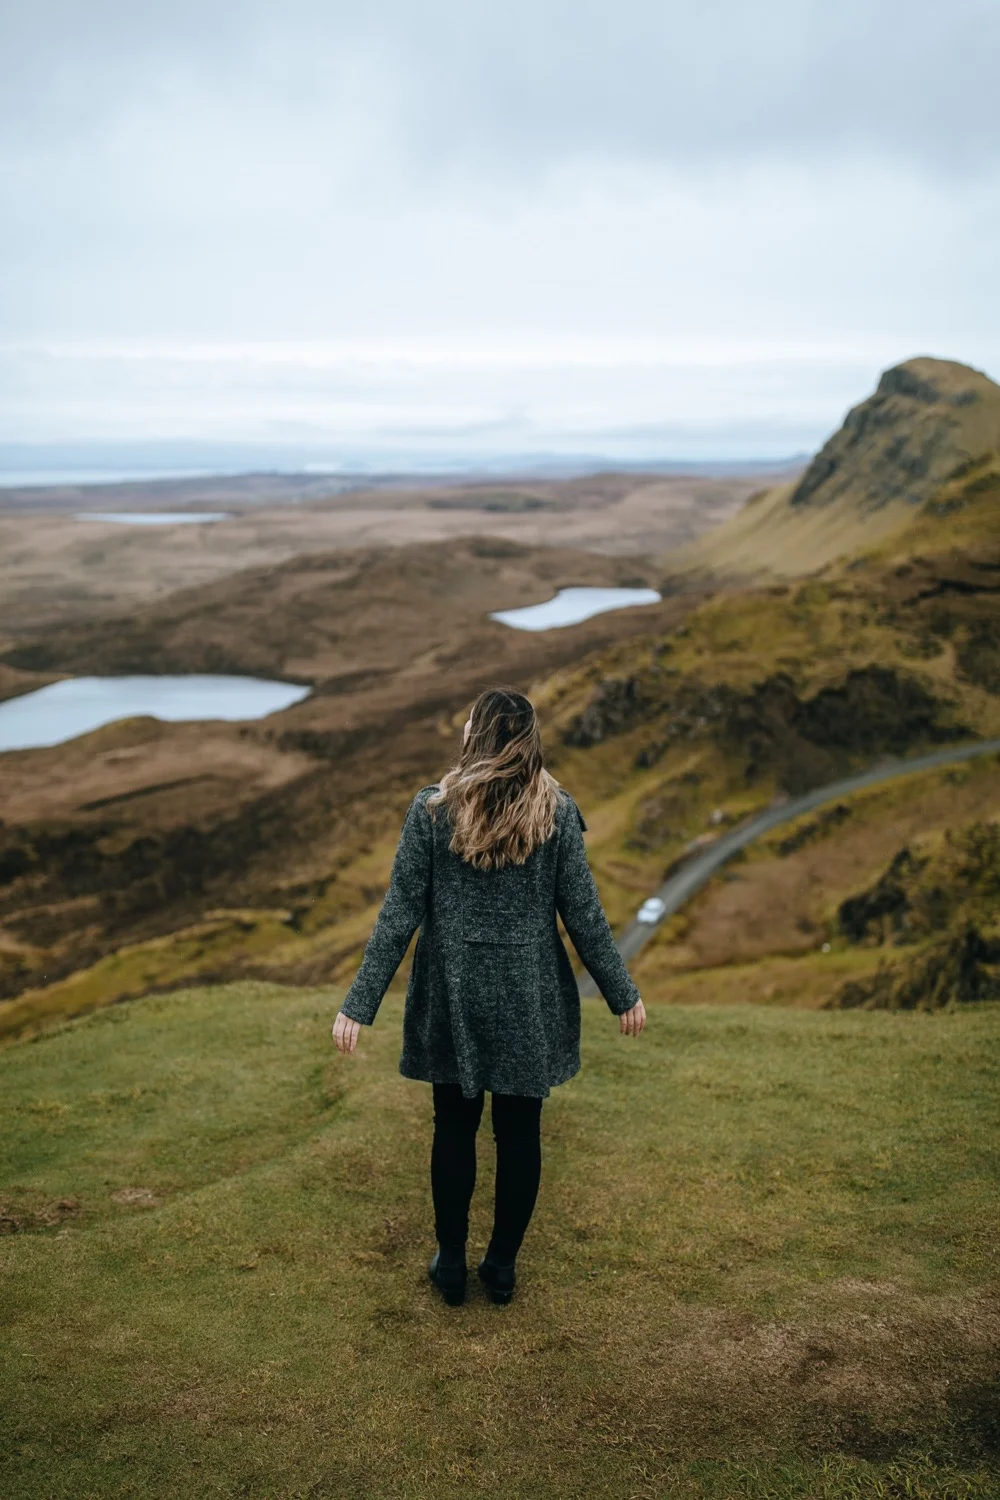
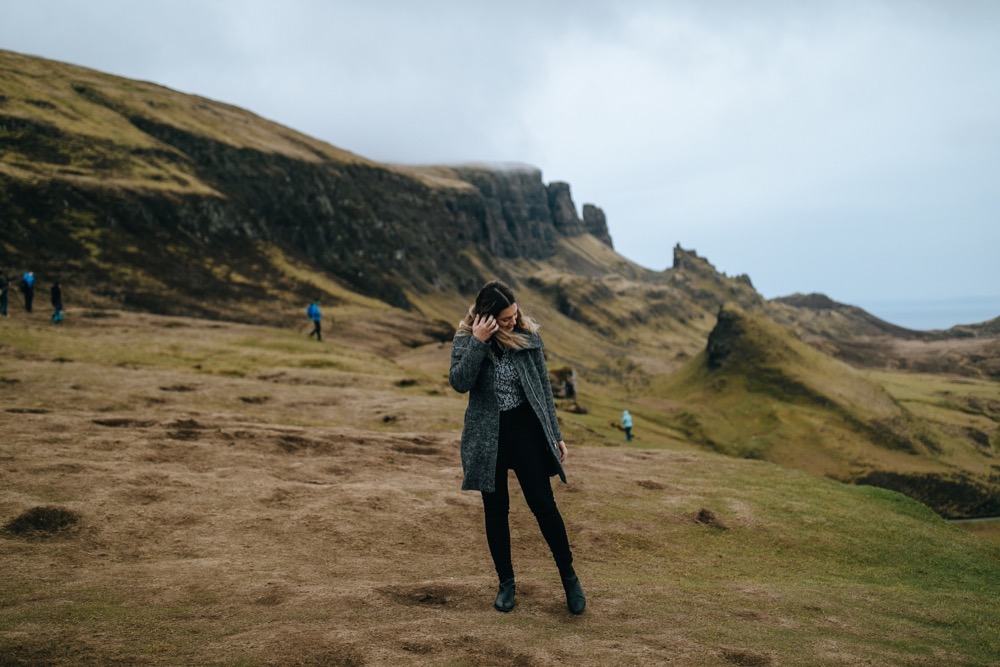
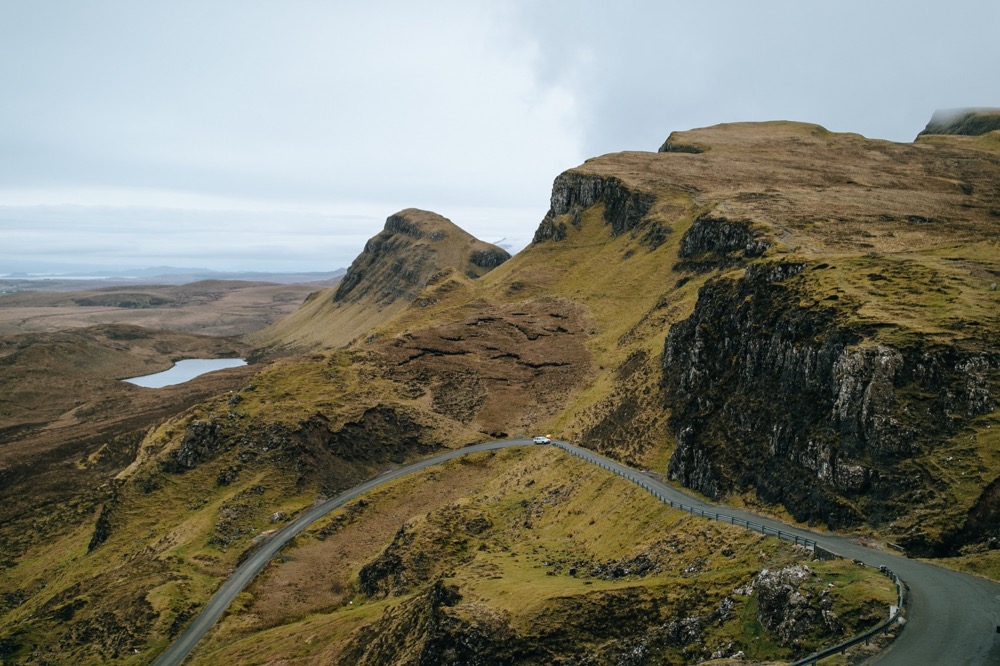
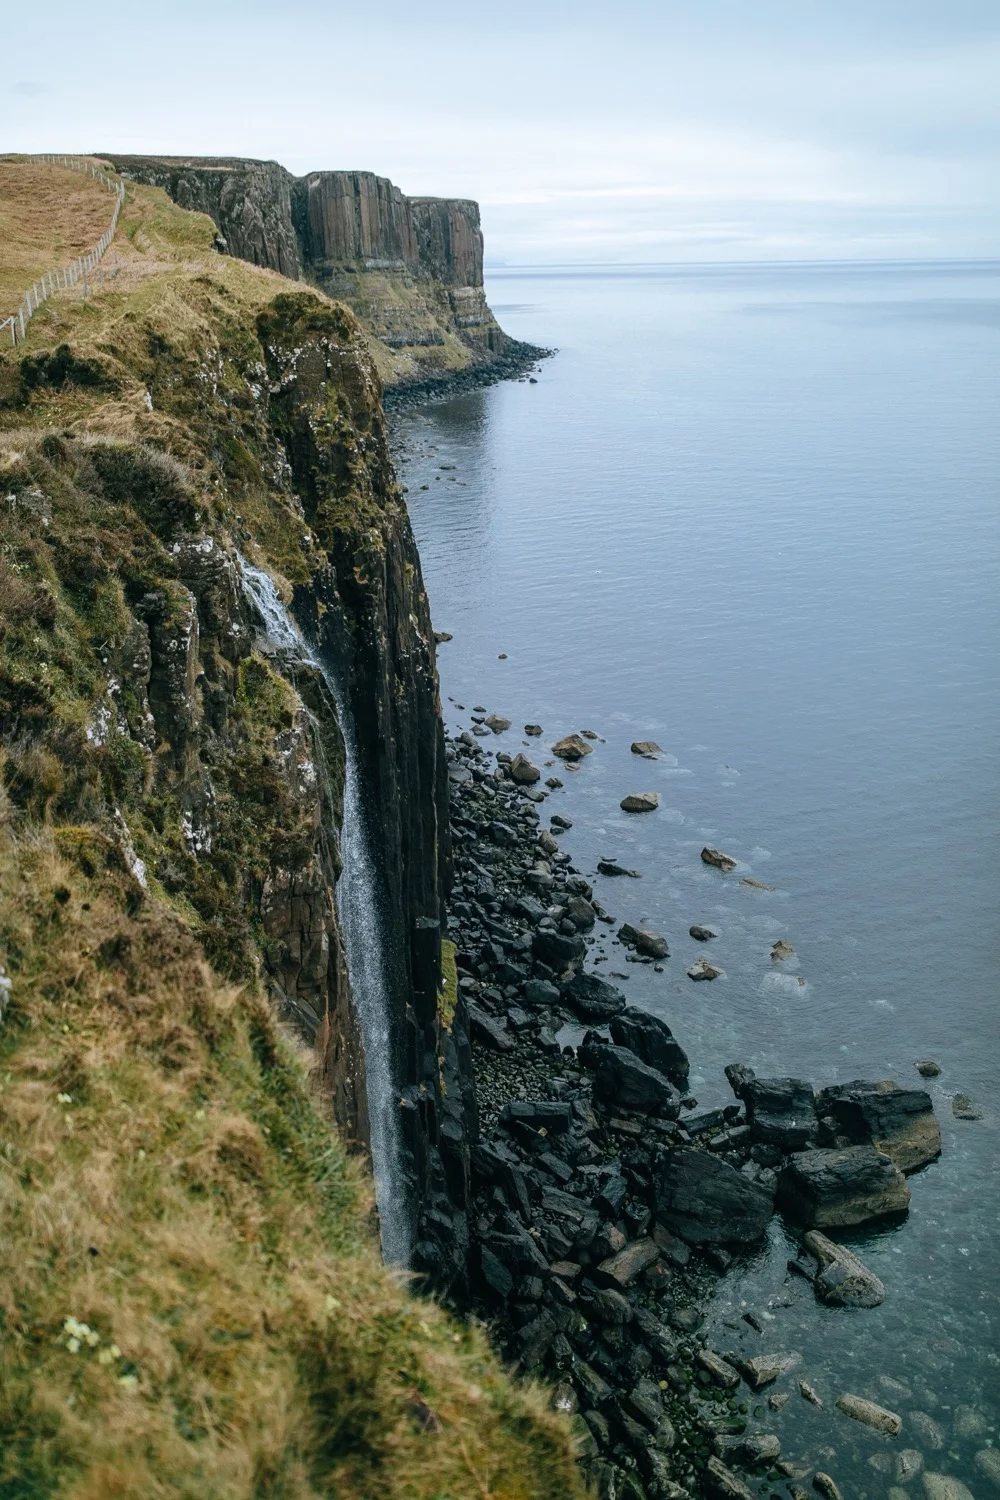
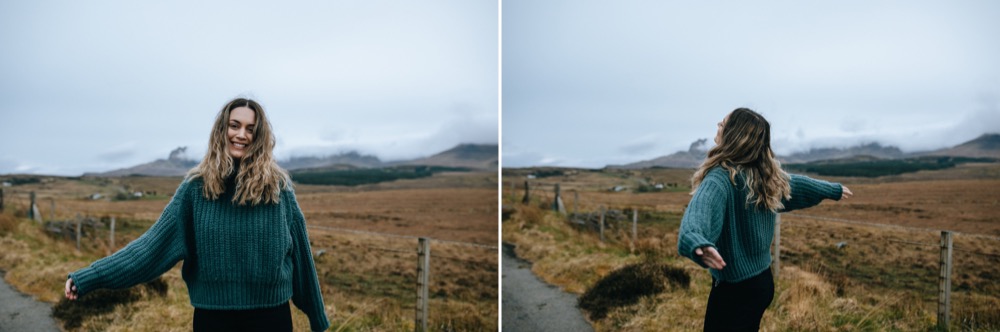
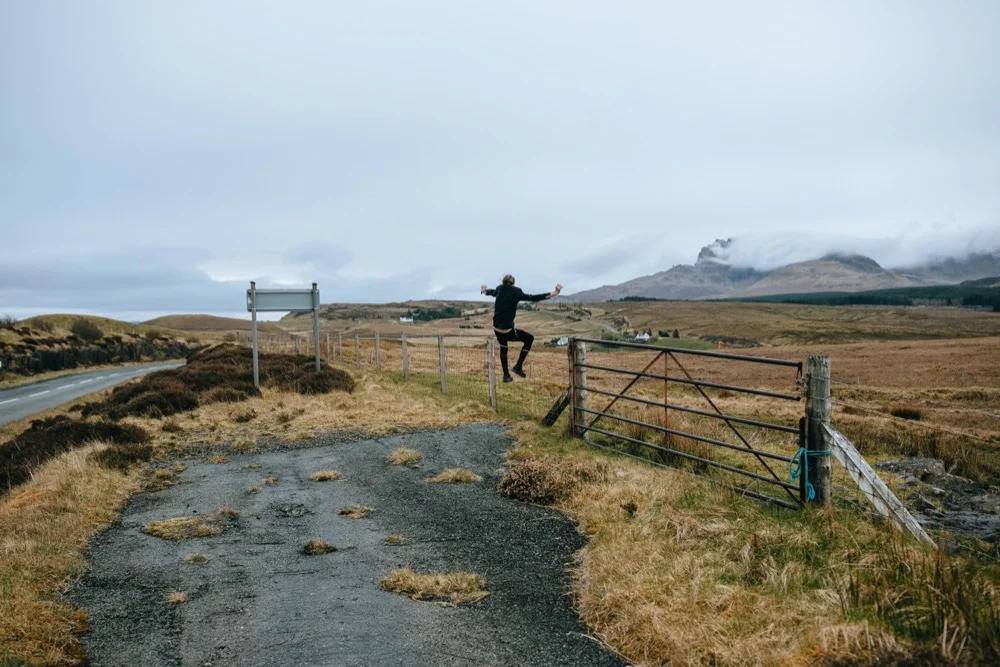
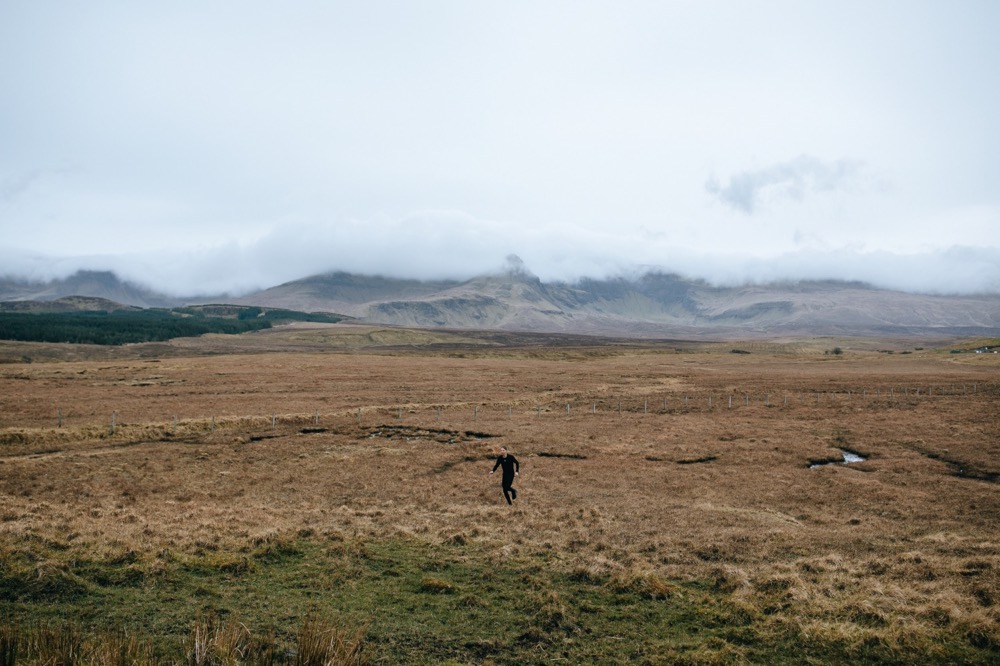
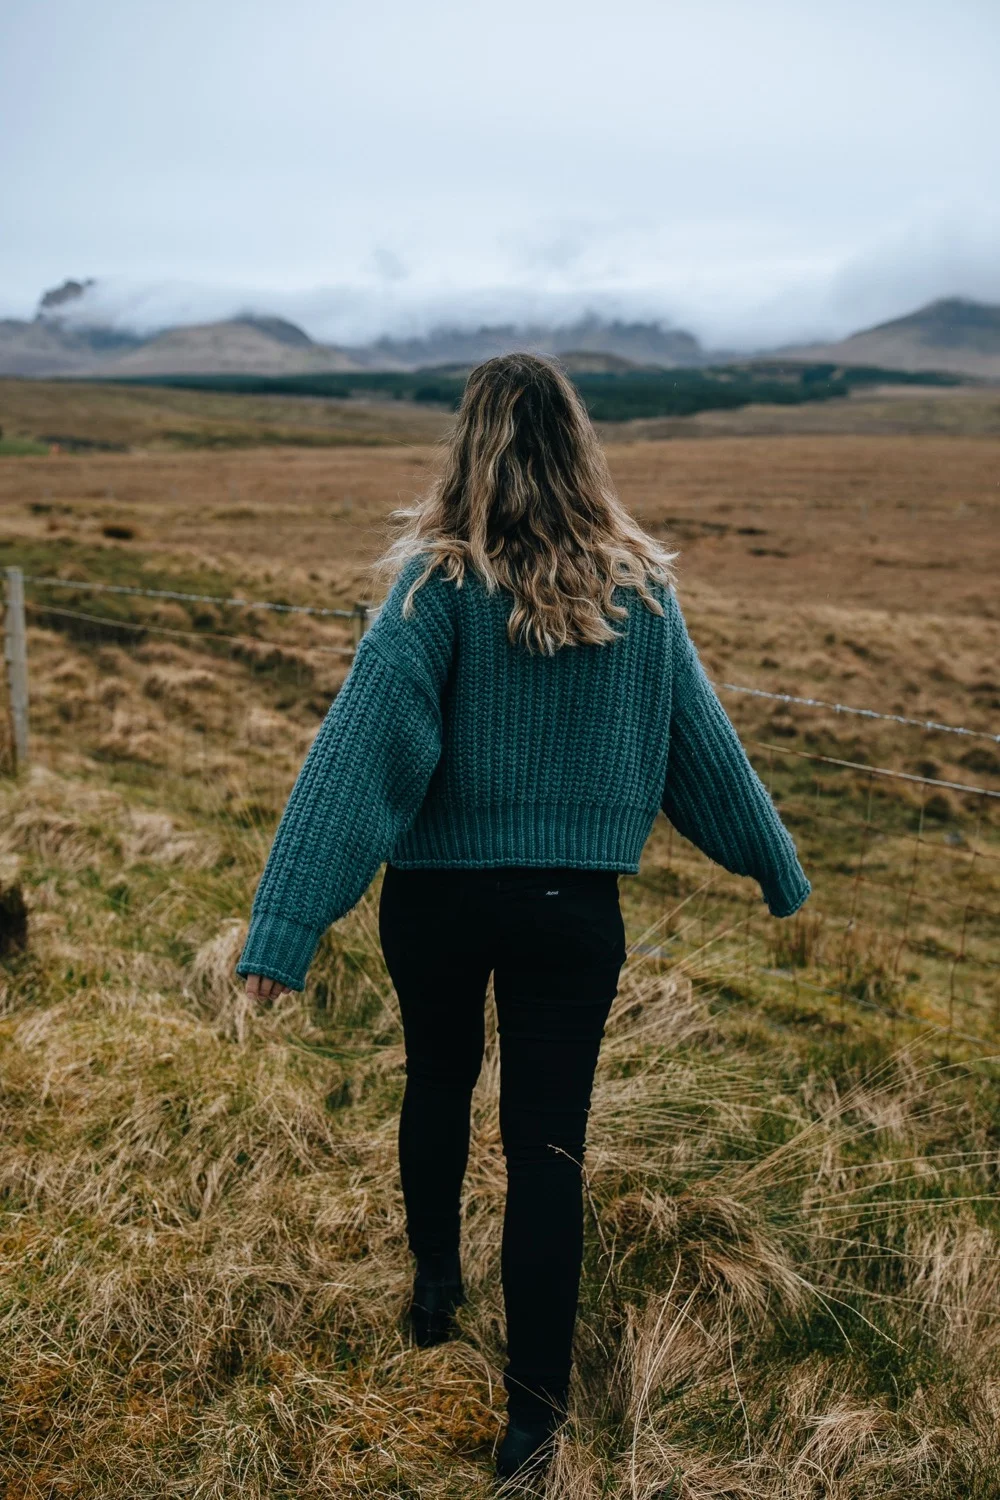
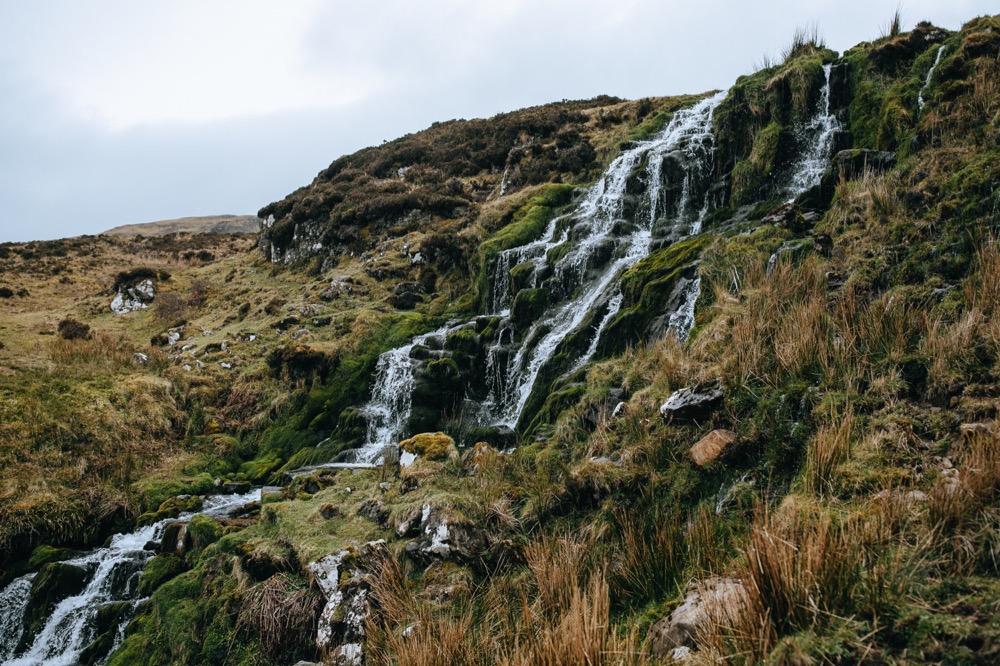
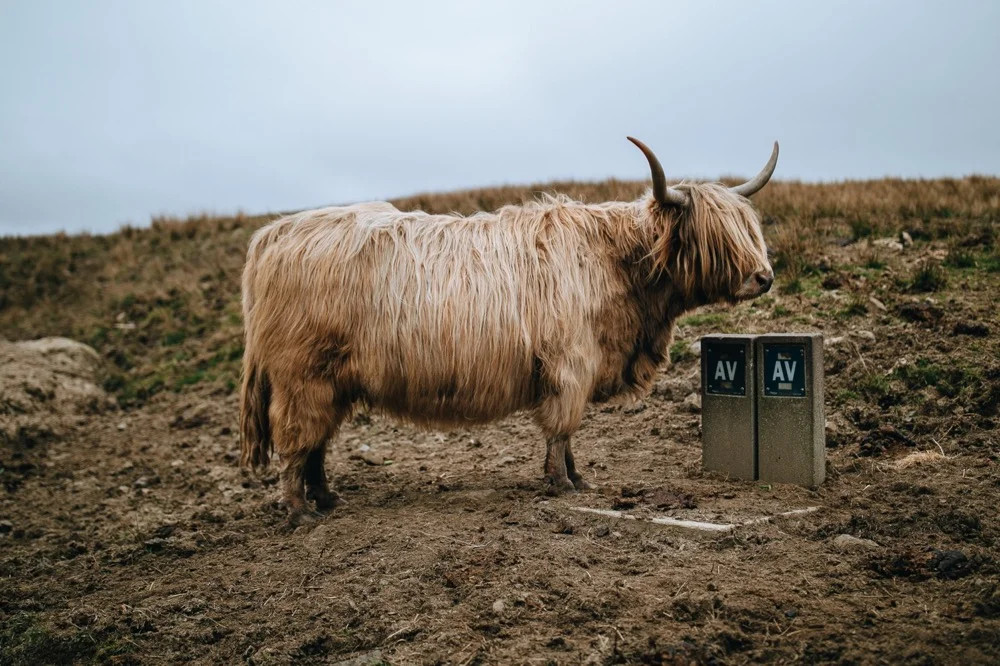
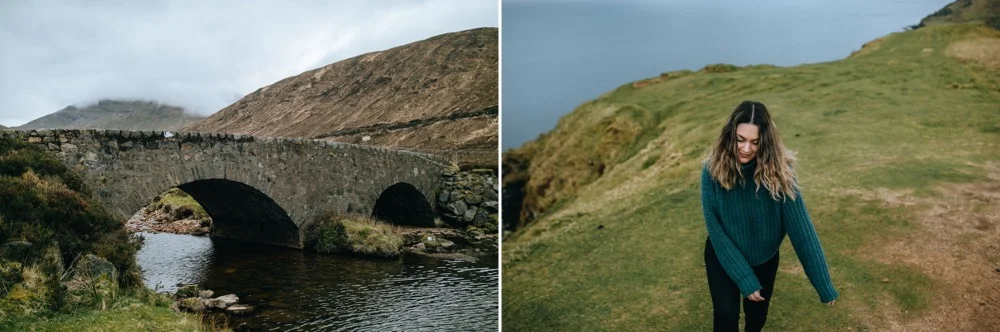
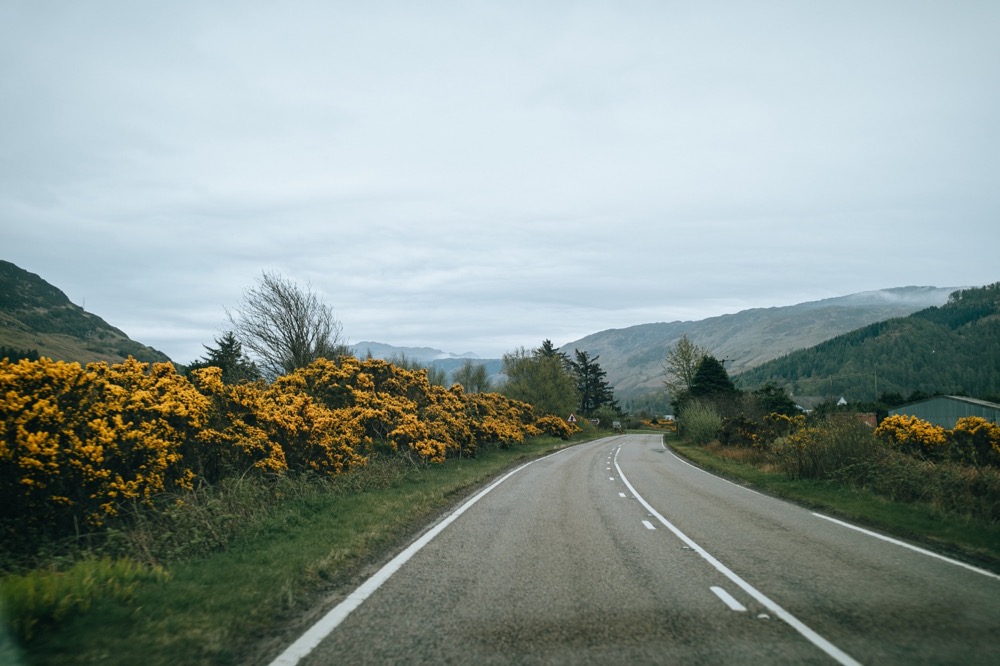
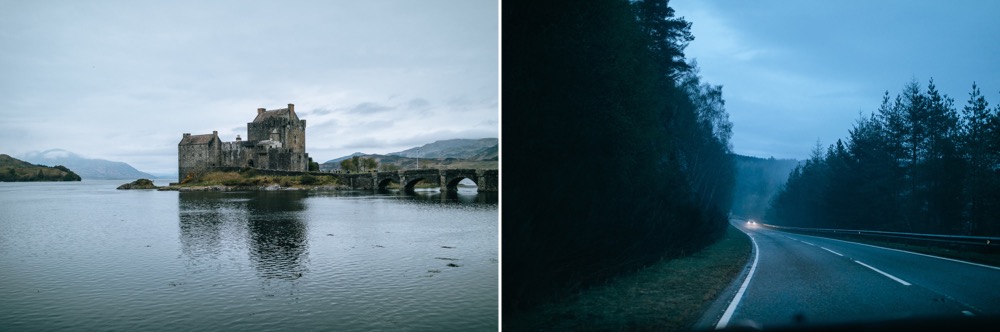
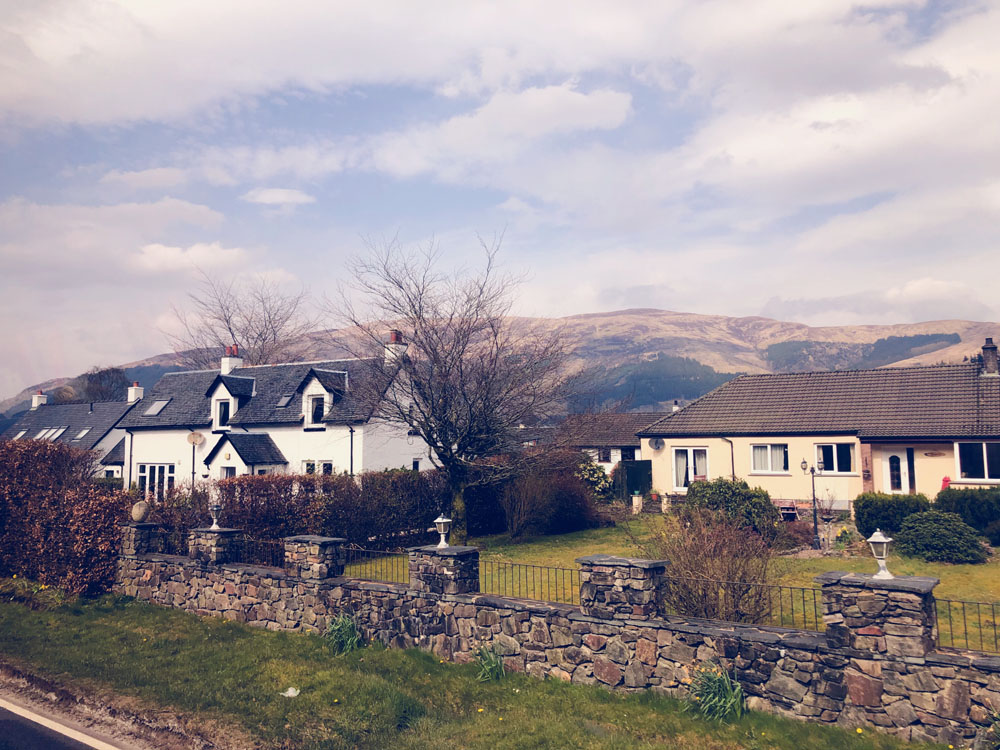
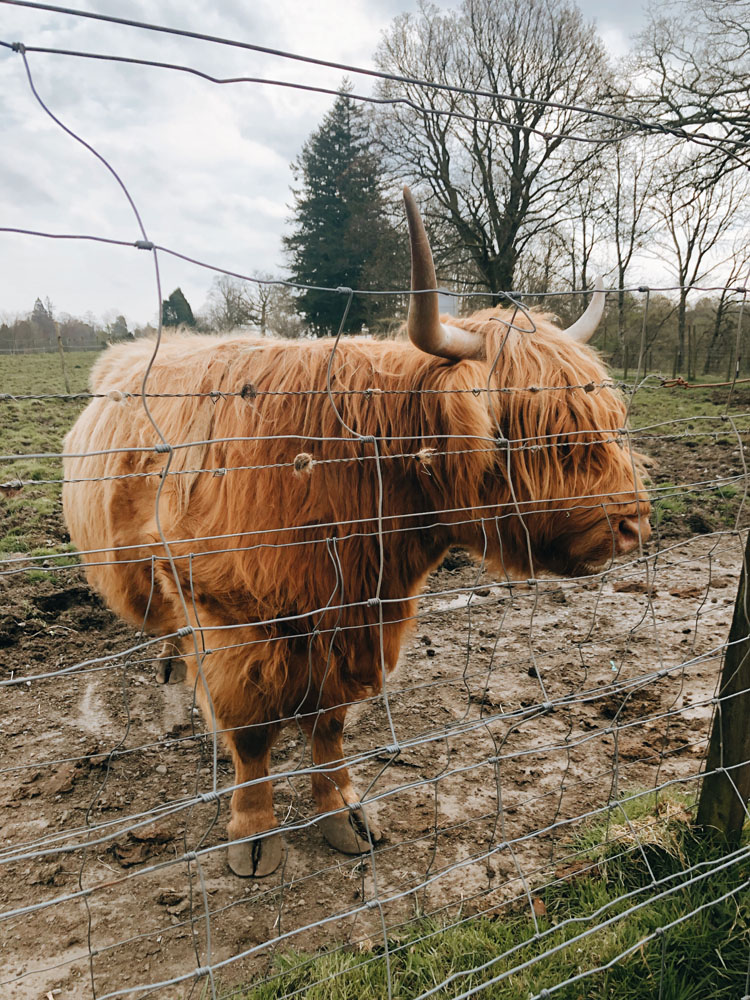
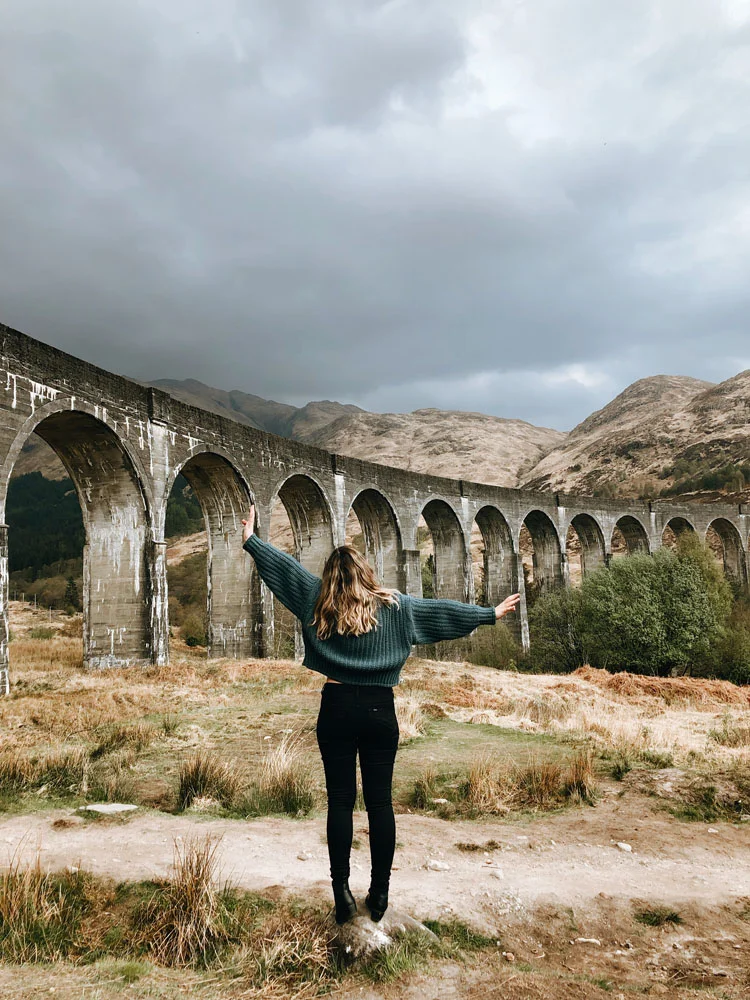
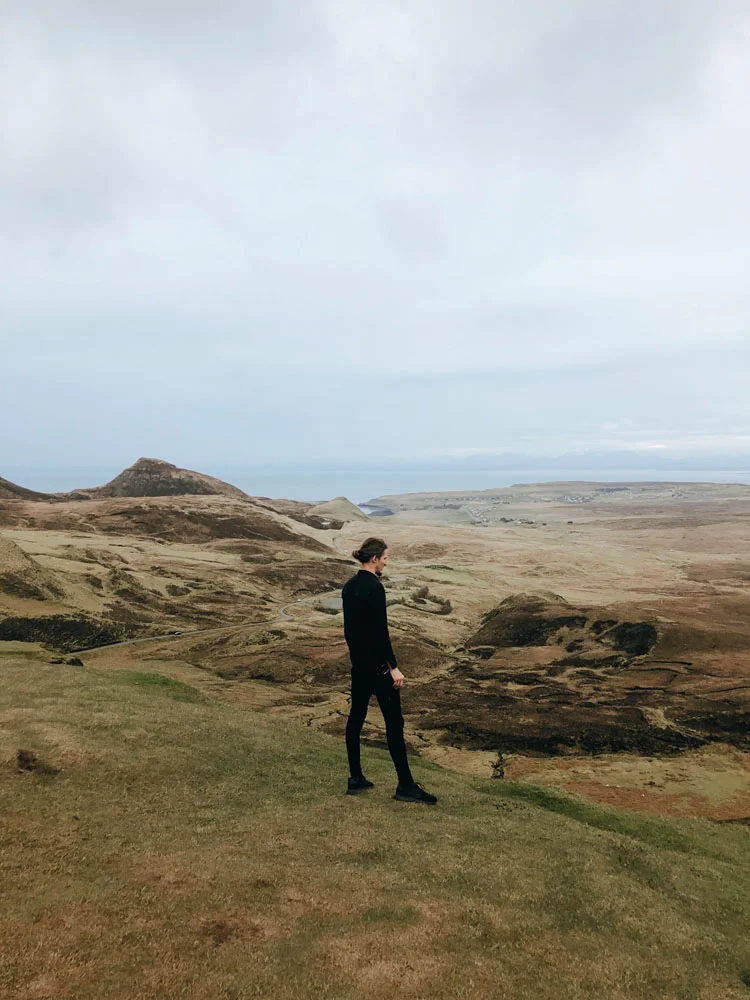
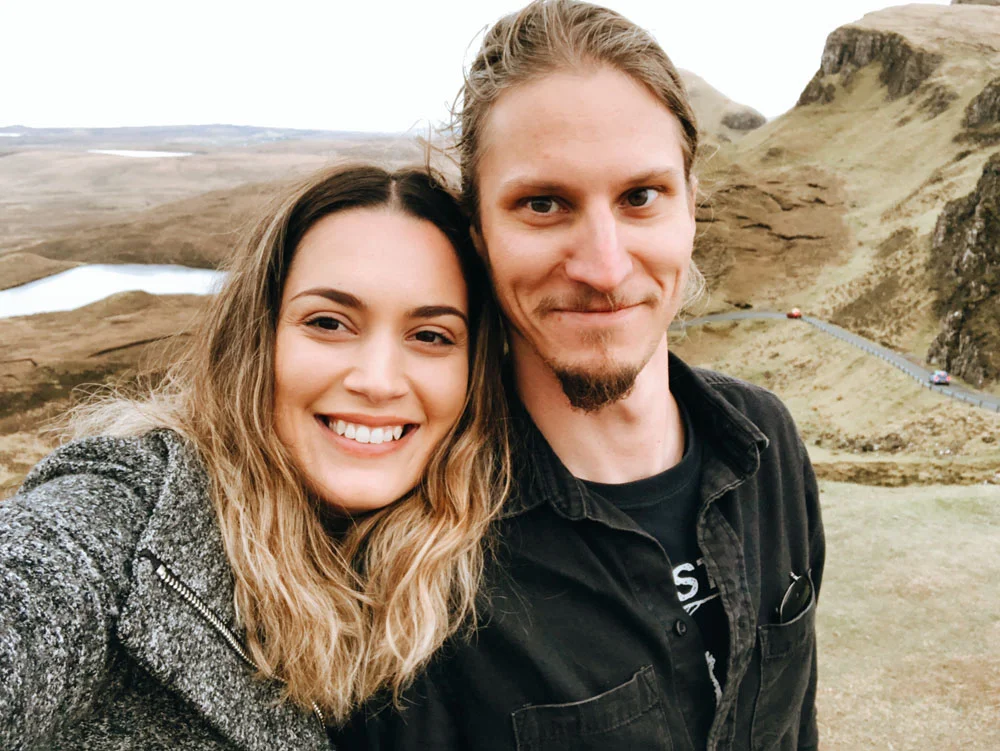
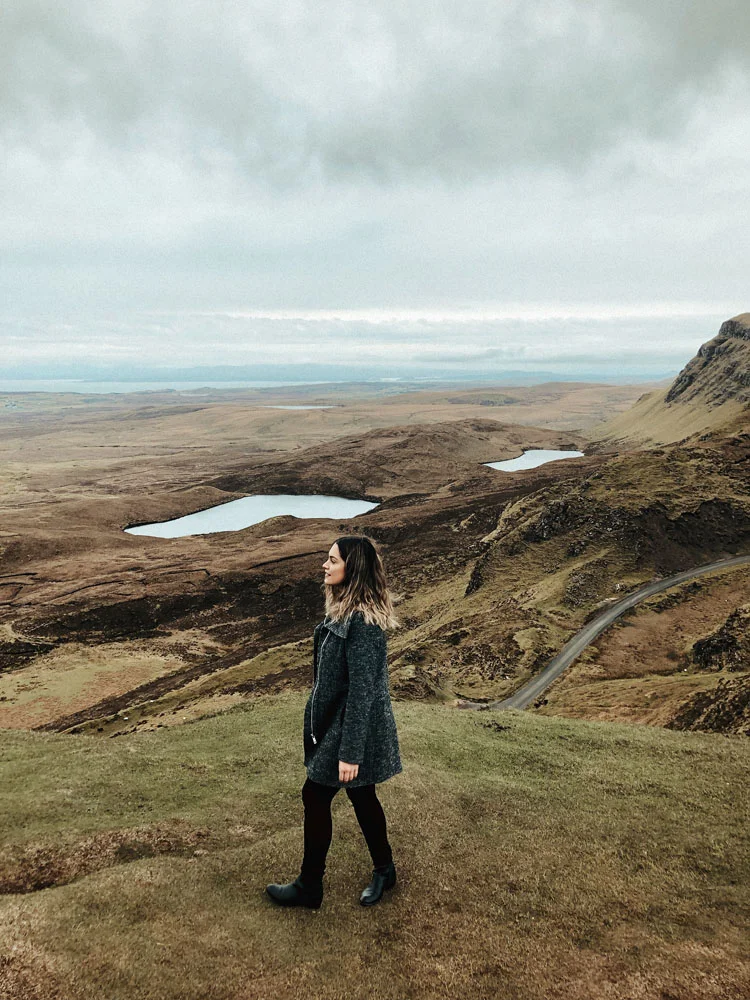
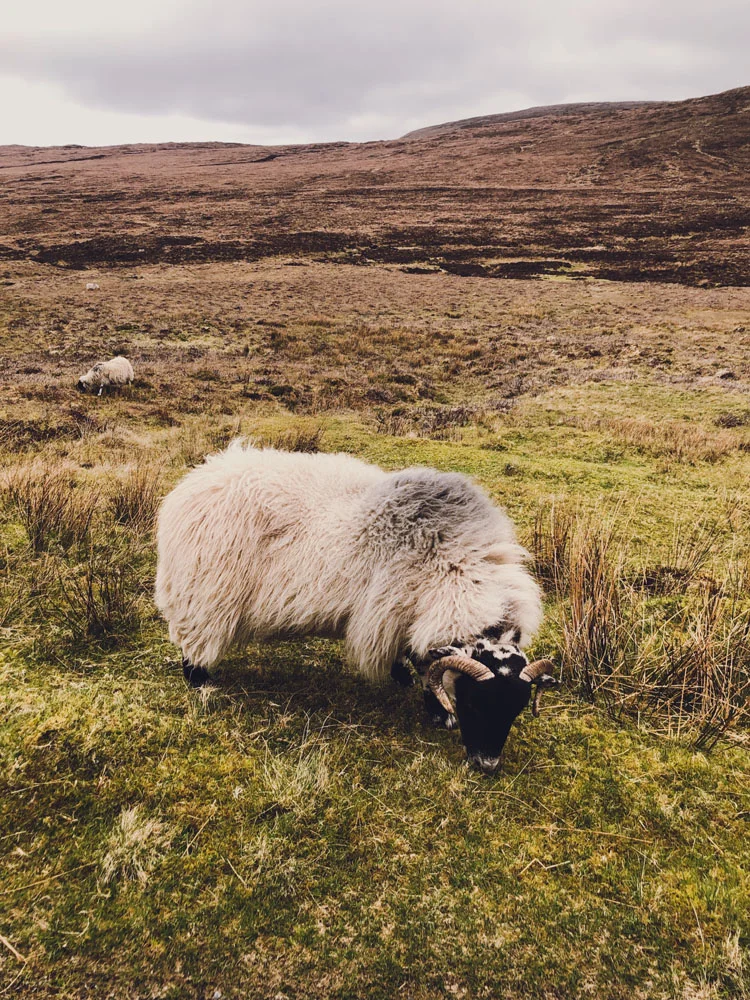
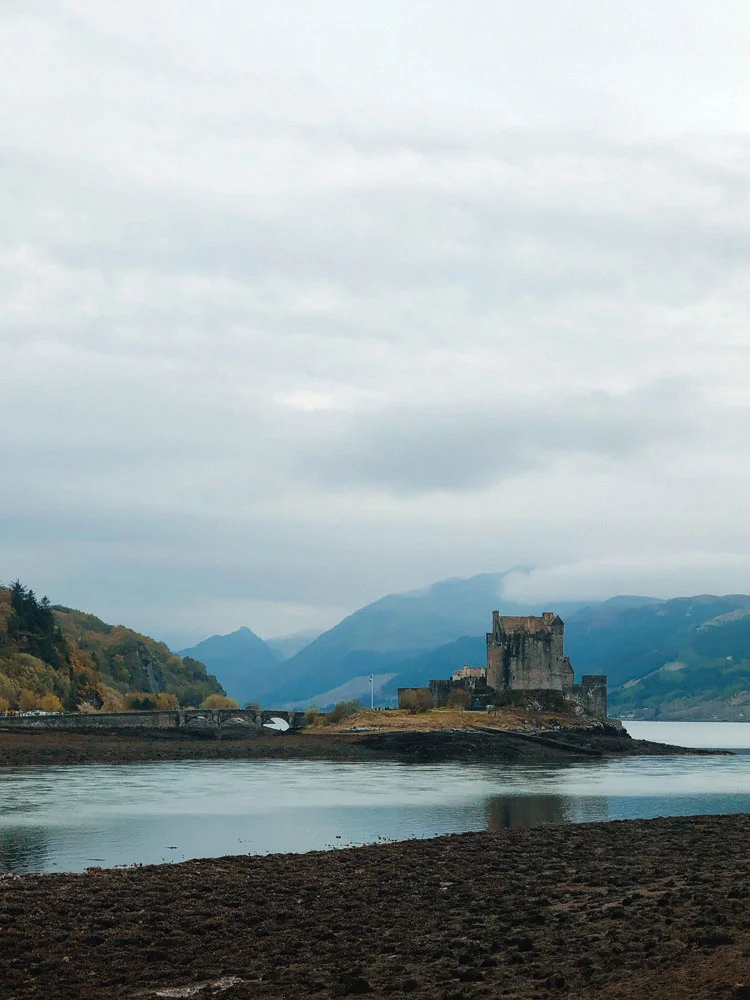
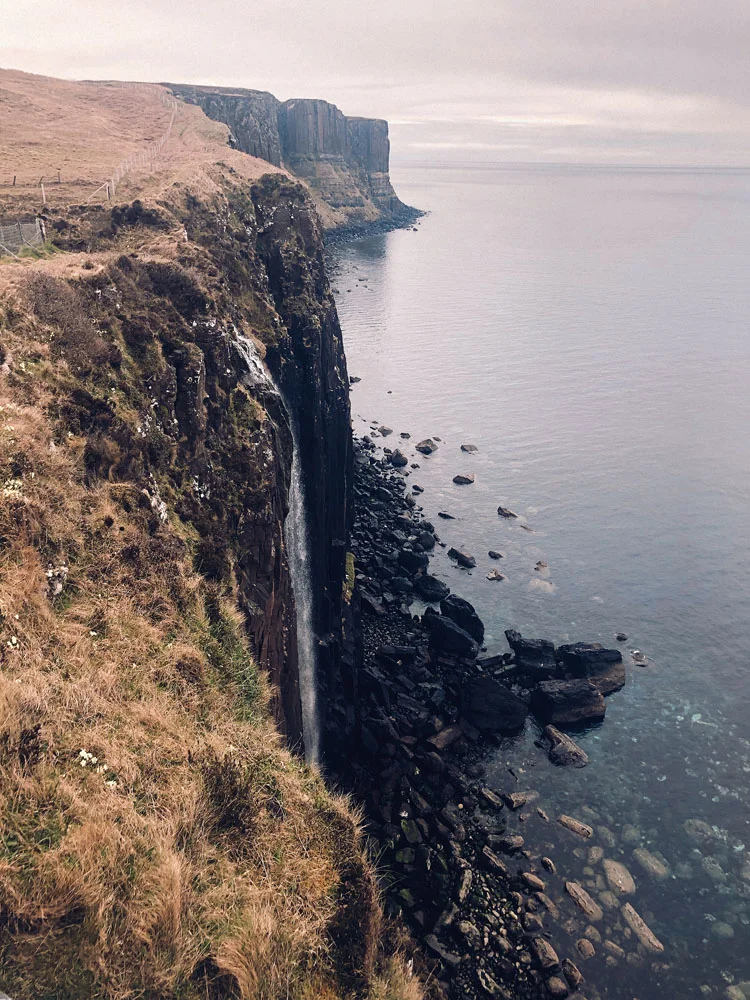
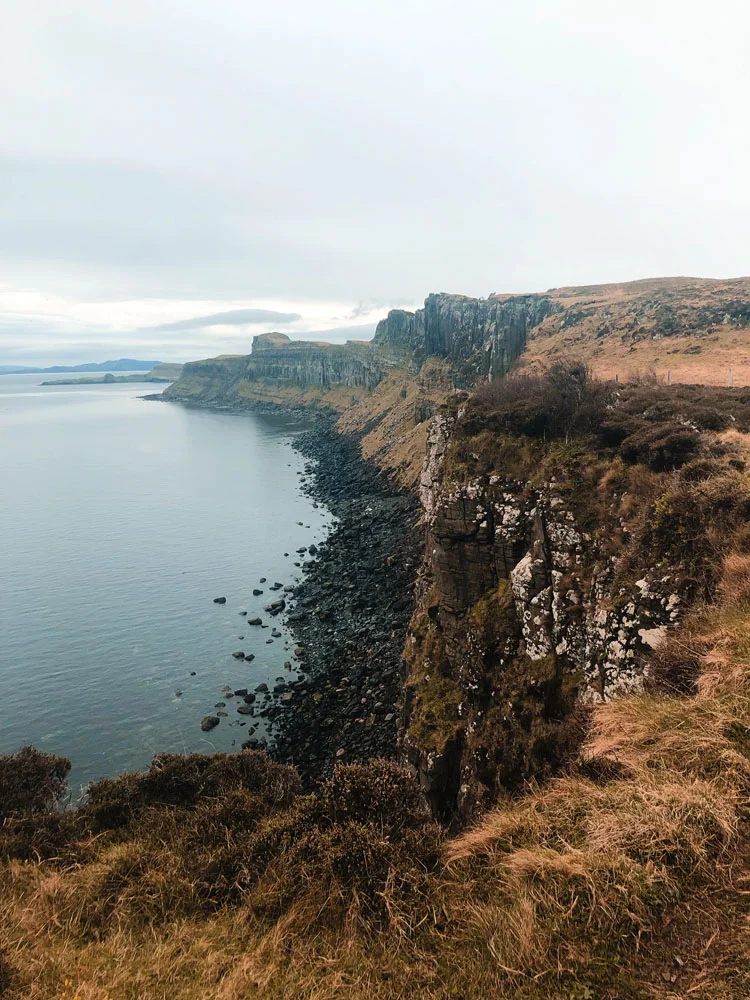
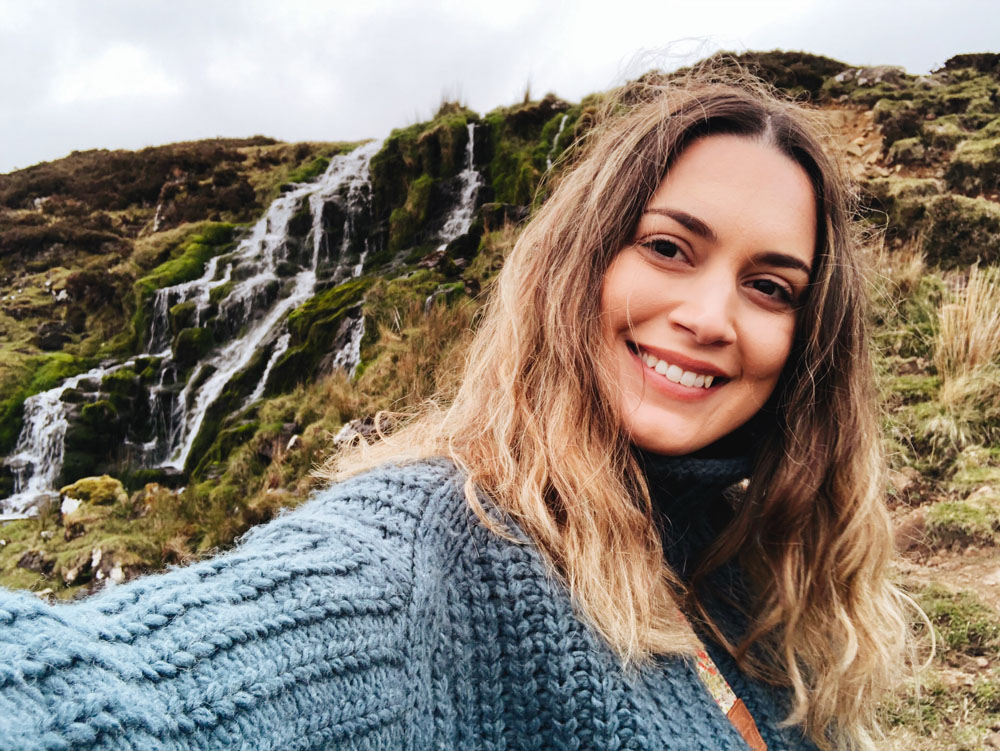
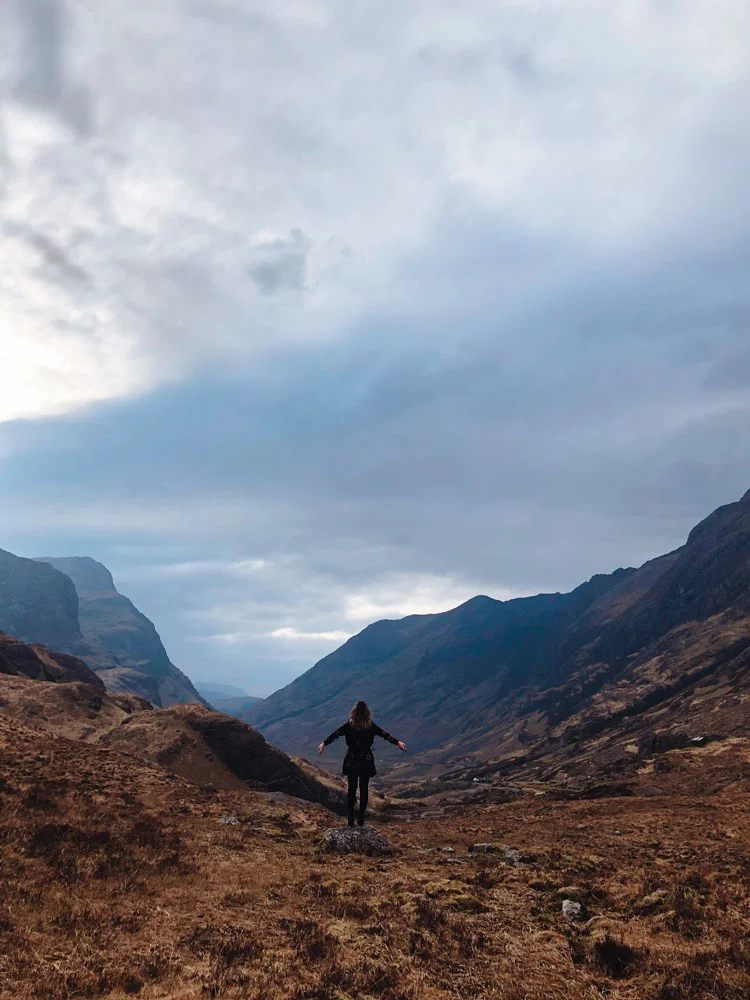
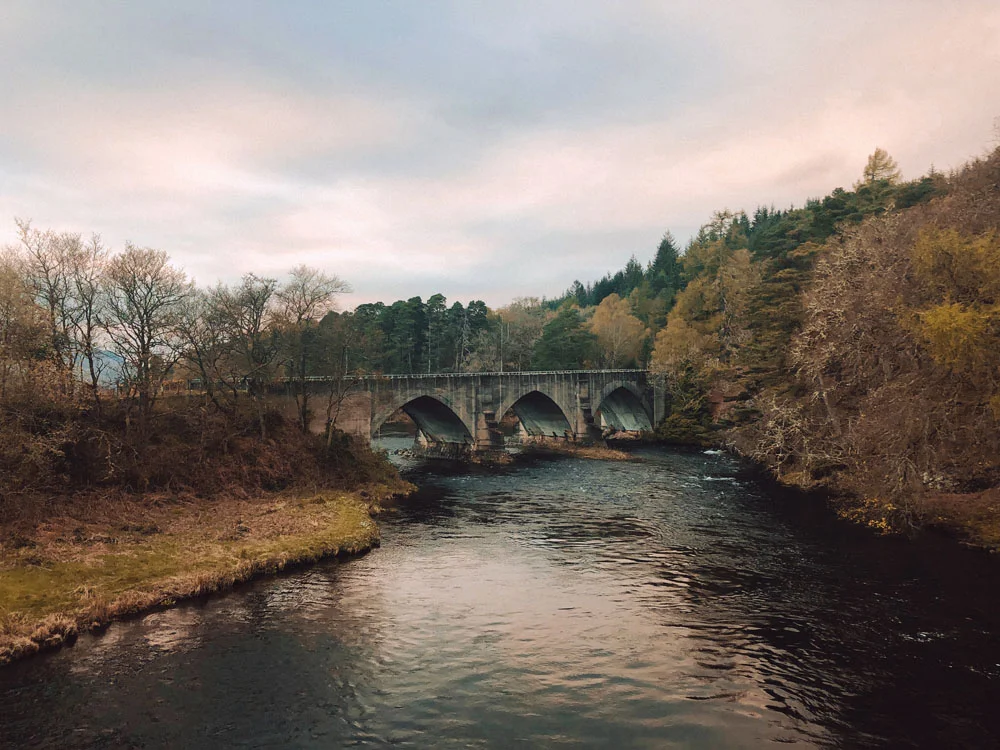
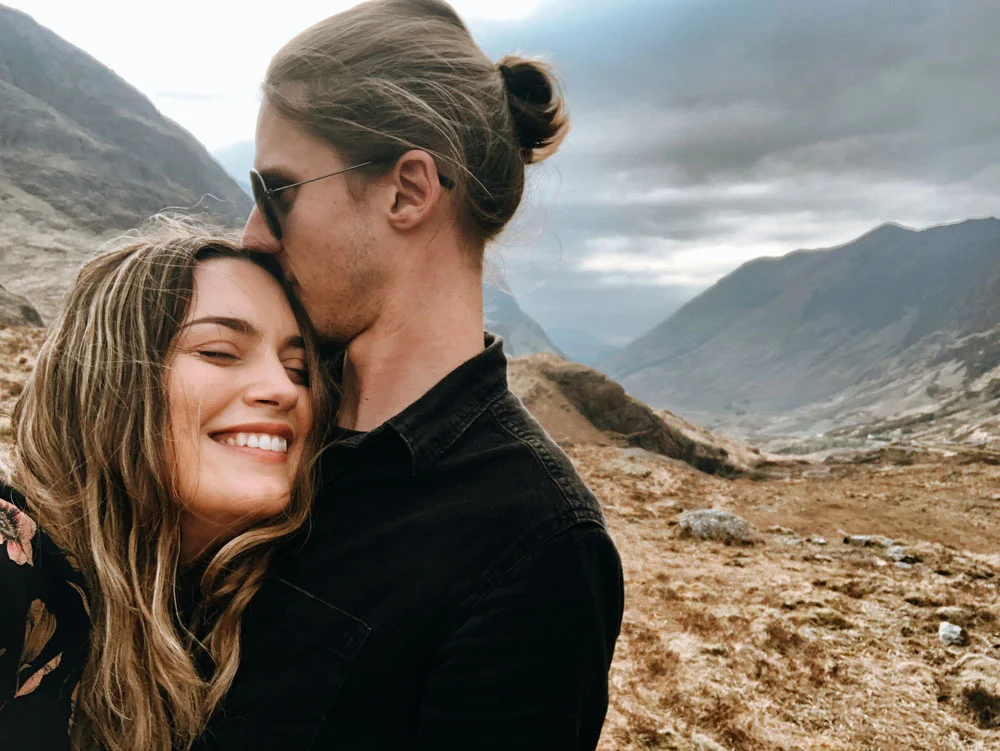
After the wedding, Dan and I only had 3 short days left to enjoy Scotland before our flights back to Gdansk, Poland. We were as far south as we could go in Scotland for the wedding, but decided to make our way all the way north in a long roadtrip to Inverness. Inverness was our base for the weekend and we spent both Saturday and Sunday going on roadtrips to explore the Scottish Highlands. On Saturday we woke up bright and early and made our way to the Isle of Skye, stopping every few minutes on the side of the road (as you can see in the vlog I filmed!) to take pictures with all the stunning landscapes around us.

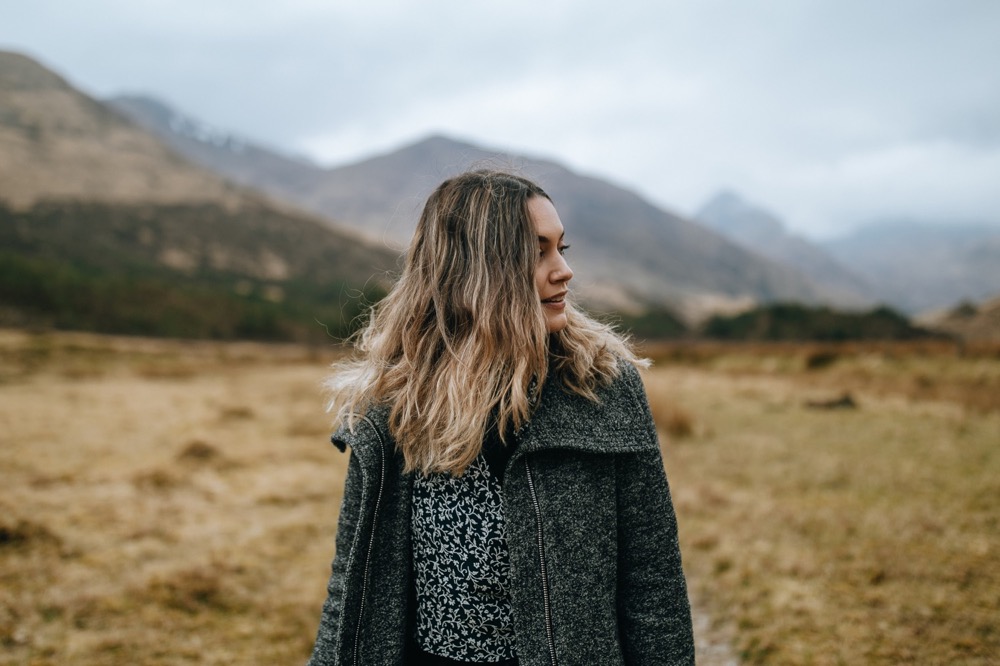
The Scottish Highlands were absolutely beautiful and I would love to go back there one day and spend more time exploring. Since we only had 2 days to see everything, we couldn’t wait for ideal lighting conditions for landscape photography, so we worked with what we had. Luckily the weather in Scotland is usually quite overcast which I absolutely loved for creating moody photos. You can see a lot more of our trip and behind the scenes of us taking photos in the vlog I created from our time there below! And if you haven’t already, please subscribe to my channel - I upload a new video every single Wednesday.

This blog was put together with Narrative. I love using Narrative as part of my photoshoot culling process to see which images from a shoot I should edit and I also use it to easily & quickly be able to put together these blog posts with different layouts of images side by side. I’m really excited to say I’ve teamed up with Narrative and have a 15% discount code for you guys using the code julia15 or just clicking this link! You can download a free trial to test it out for 7 days too :)
All photos edited with my new Mountains Lightroom Preset!

All photos edited with my new Mountains Lightroom Preset!


2 Comments

Scotland Travel Photography - Moody Portraits, Galloway Forest

2 Comments

Scotland Travel Photography - Moody Portraits, Galloway Forest

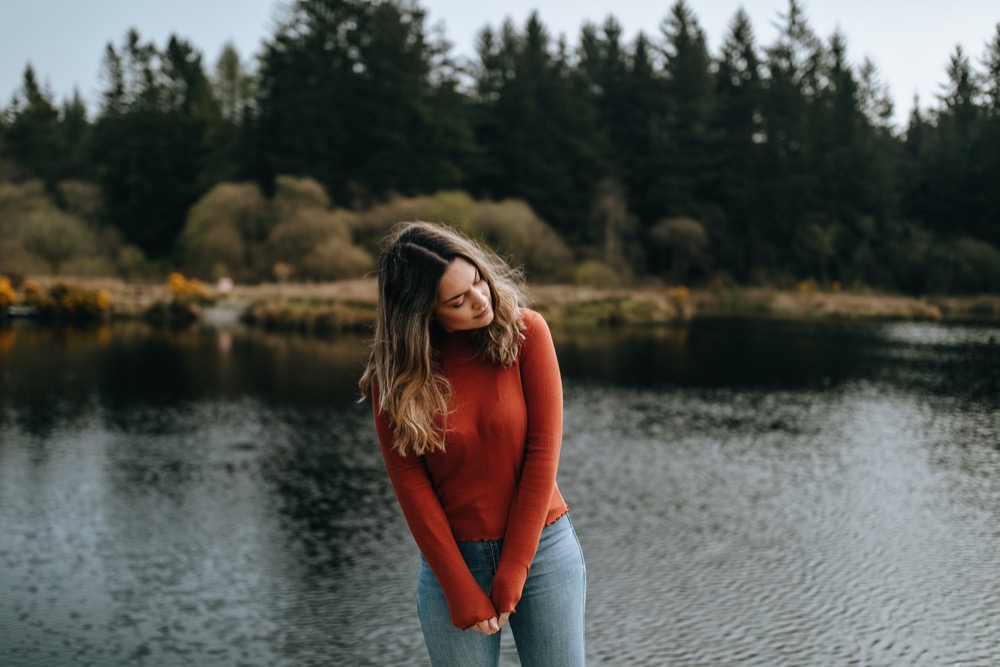
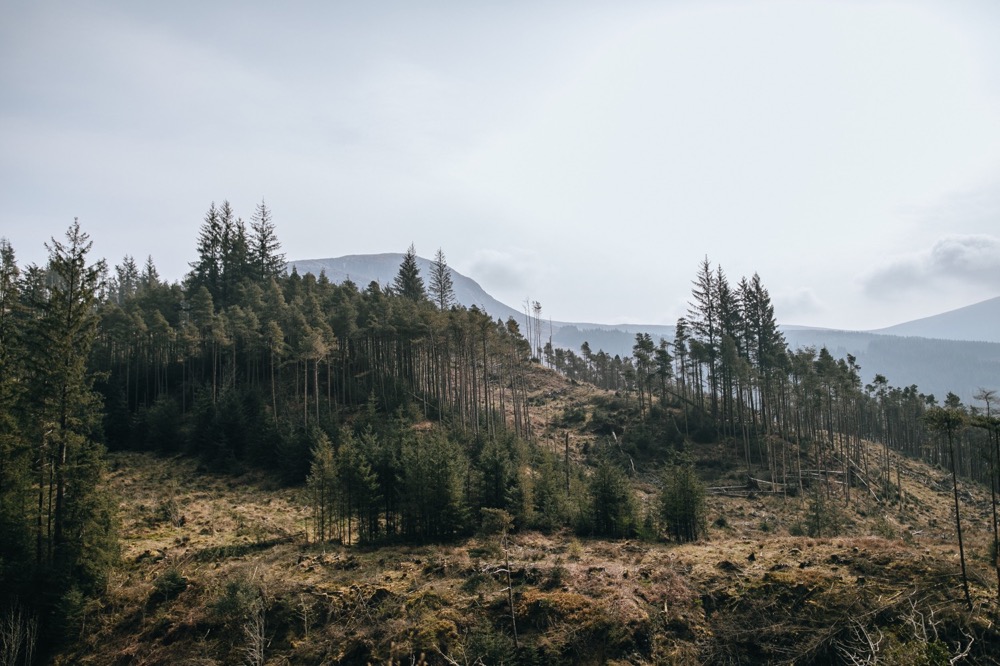
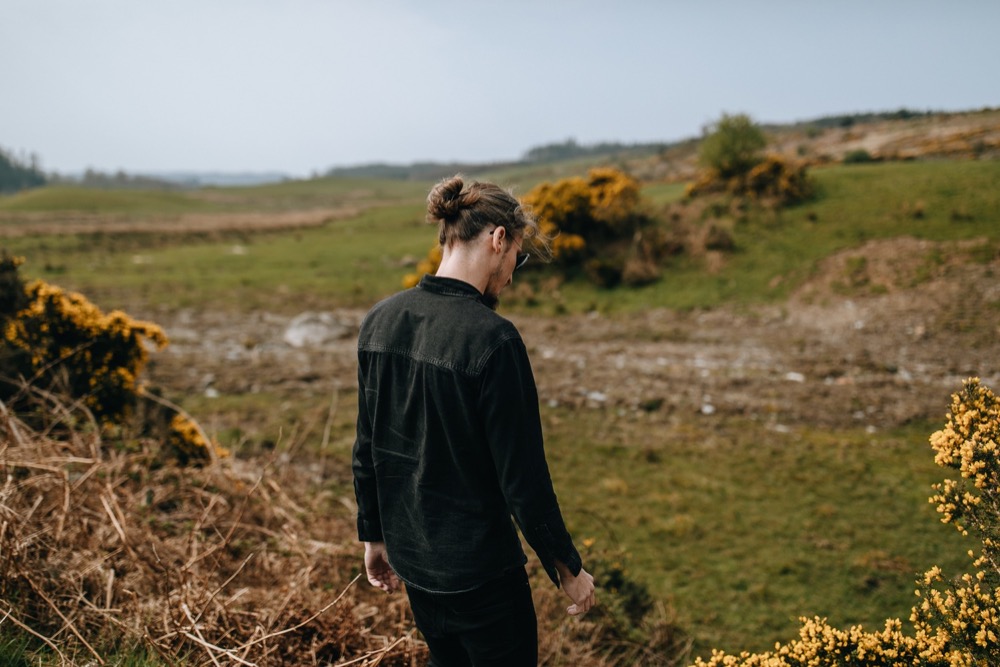
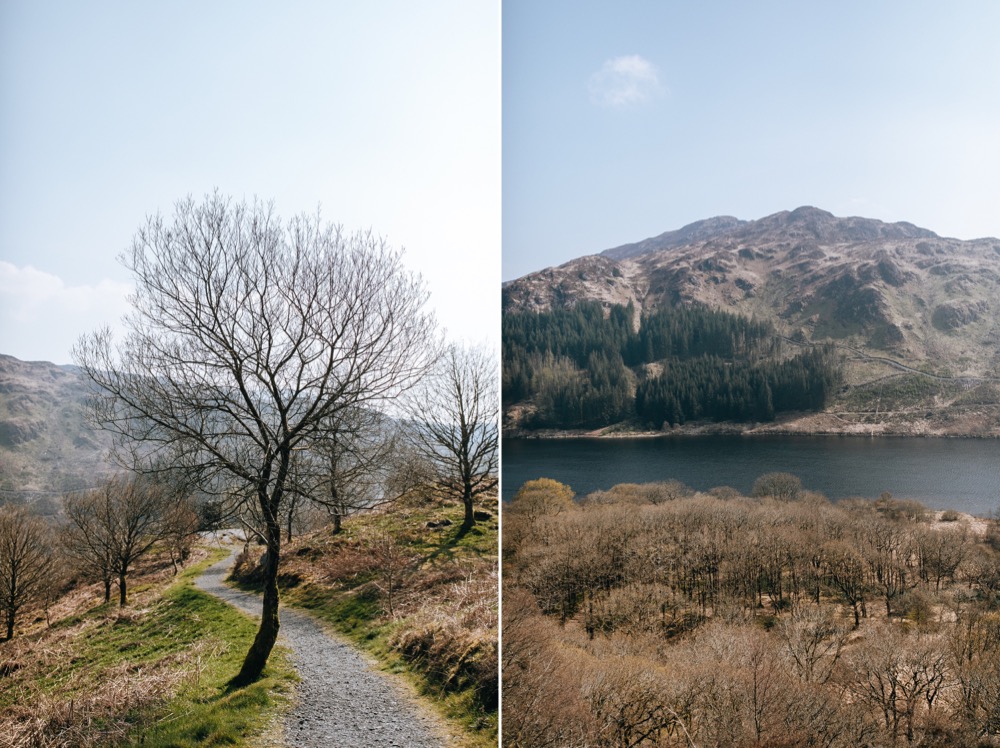
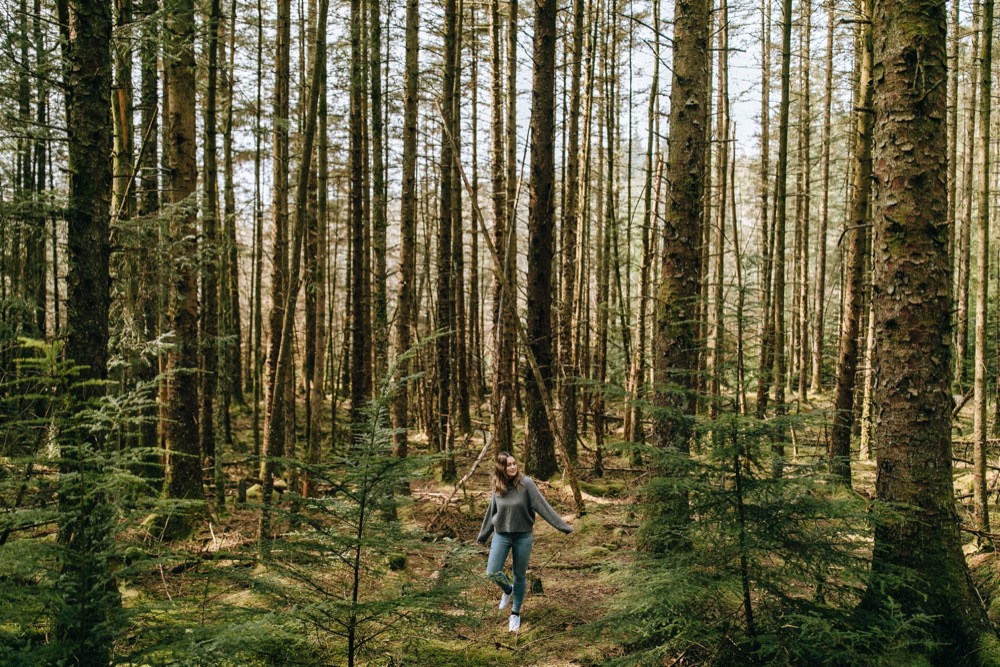
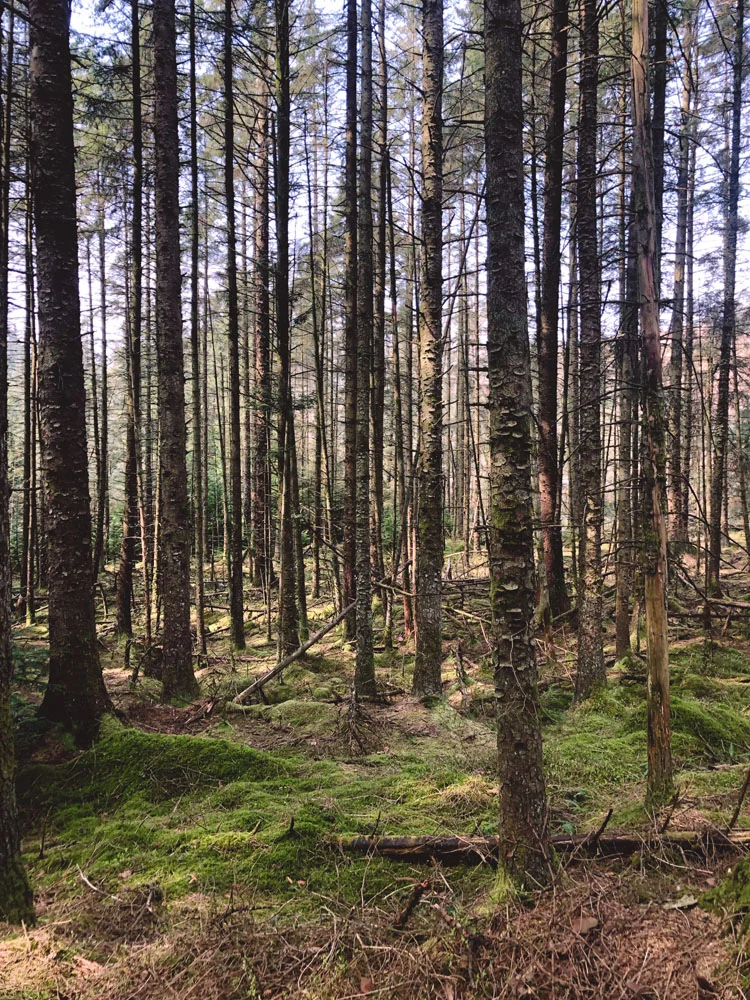
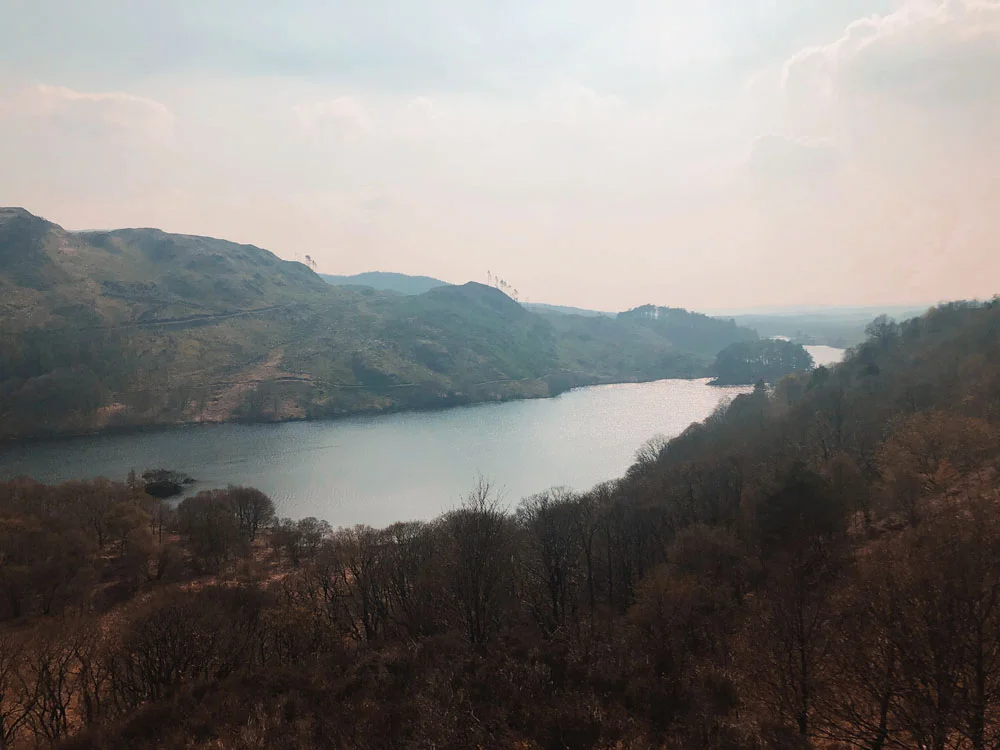
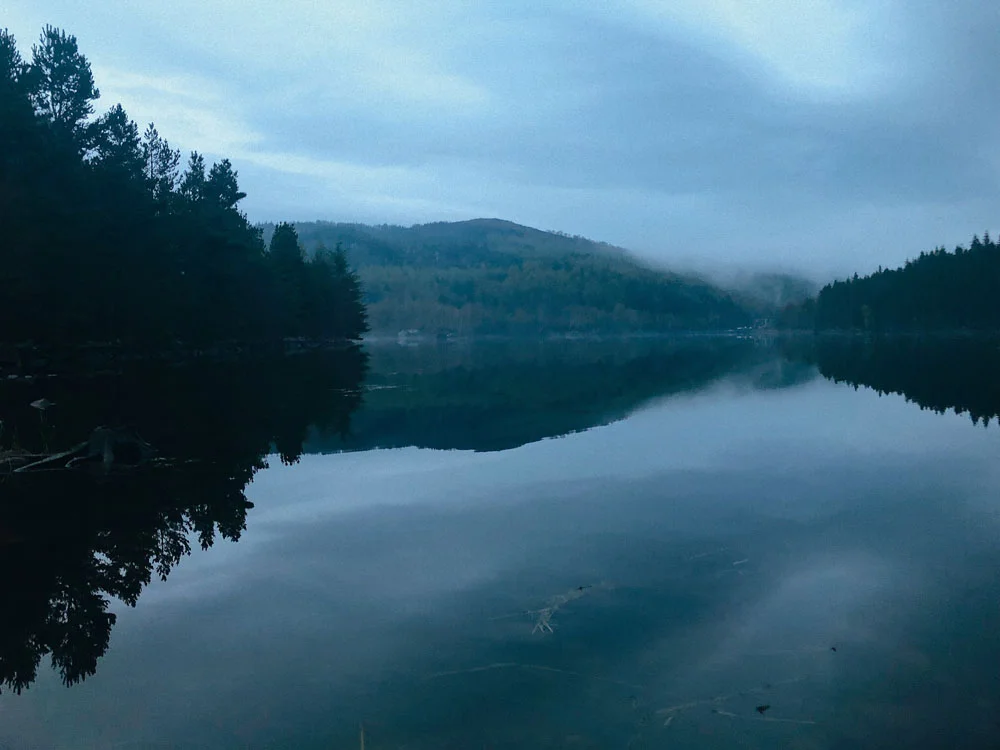
After spending a few days in Edinburgh, it was time to head to the south of Scotland to get ready for the wedding we were capturing. The morning before the wedding Dan and I headed out to explore what was in our area and stumbled across Galloway Forest which was a beautiful park full of lakes, mountain views and you guessed it - forests! We spent a few hours driving, going for walks and taking lots of photos. One thing I noticed about the lakes in Scotland is that a lot of them are a very dark colour as you can see from the photo above, which I absolutely loved! The water looked clean but for some reason also looked almost black, it was mesmerising.

We headed back to our accommodation and spent the rest of the afternoon charging up all our camera batteries and getting our camera gear ready for the wedding. You can see a few photos from Laura & Shaun’s wedding here if you’re interested in taking a peek! It was a wonderful day and we were really spoilt for choice on photo locations in the amazing Scottish countryside. You can also watch the vlog I filmed which we were in Scotland below, please subscribe to my channel if you haven’t yet, I upload new videos every Wednesday!

This blog was put together with Narrative. I love using Narrative as part of my photoshoot culling process to see which images from a shoot I should edit and I also use it to easily & quickly be able to put together these blog posts with different layouts of images side by side. I’m really excited to say I’ve teamed up with Narrative and have a 15% discount code for you guys using the code julia15 or just clicking this link! You can download a free trial to test it out for 7 days too :)
All photos edited with my new Mountains Lightroom Preset!

All photos edited with my new Mountains Lightroom Preset!


2 Comments

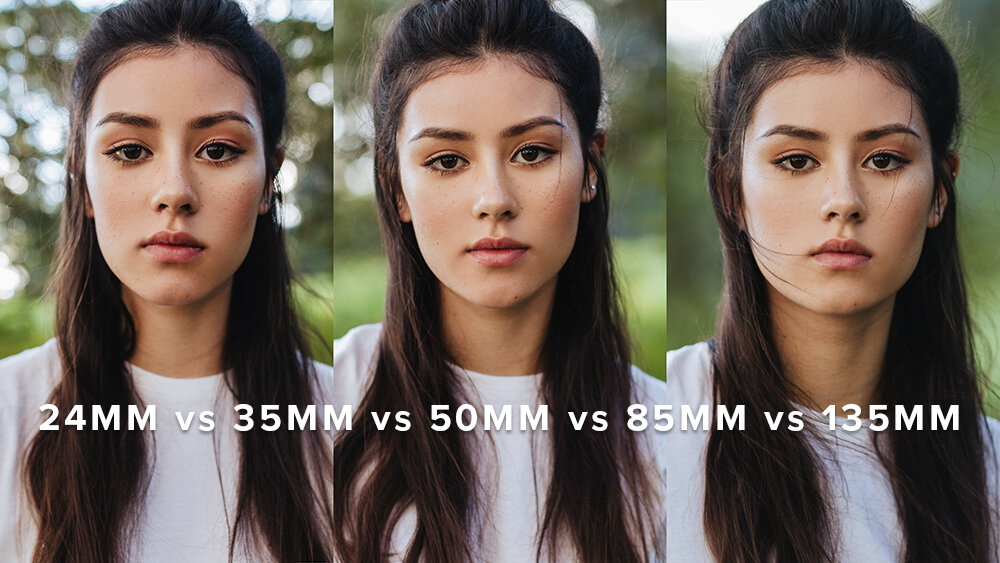
Crop Frame 24mm vs 35mm vs 50mm vs 85mm vs 135mm

2 Comments

Crop Frame 24mm vs 35mm vs 50mm vs 85mm vs 135mm

In today’s video we are comparing every single prime lens that’s in my photography kit but on a crop frame camera, the Canon 7D mk2! The lenses/focal lengths we have are:

Sigma 24mm f1.4

Canon 35mm f1.4 mkII

Canon 50mm f1.2

Canon 85mm f1.2 mkII

Canon 135mm f2

If this topic sounds familiar, it’s because I just did this comparison on a full frame camera, the Canon 5D mk4 and you can take a look at that video + those photos here if you’re interested. On top of comparing all my prime lenses on a crop frame camera, I also took a photo standing in the same spot on a full frame so we can also see the 1.6x difference a crop sensor makes! It was all a little confusing on the day having to change my lens so many times, but I think in the end run it was all worth it to see these photos side by side.

If you’re interested in seeing more prime lens and focal length comparisons you can check out the whole series I created here:

35mm vs 50mm

50mm vs 85mm

85mm vs 135mm

85mm vs 100mm vs 135mm

24mm vs 35mm vs 50mm vs 85mm vs 135mm on a full frame camera

Crop frame vs Full frame

Watch the video below to hear my thoughts on each of these focal lengths! And please subscribe to my channel if you haven’t already, I upload a new video every Wednesday.

All photos are edited with my Aspen Lightroom Preset!

To make it easier to compare what each focal length looks like, please select which 2 lenses you want to compare below.

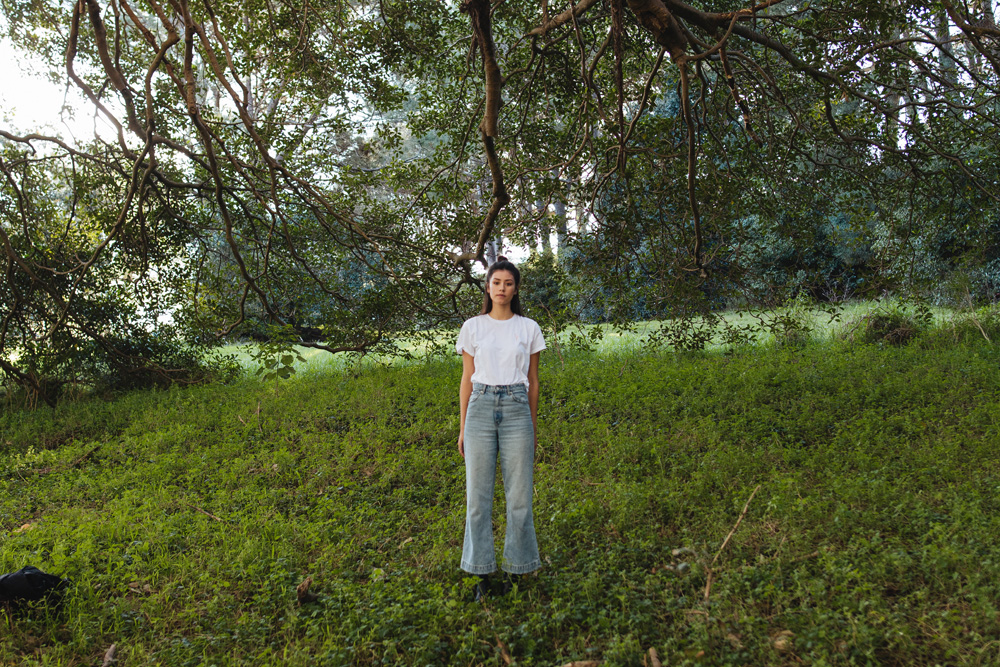
Photographer + model standing in one spot:

Full body with photographer moving around to fill the frame:

Mid length portrait with photographer moving around to fill the frame:

Close up portrait with photographer moving around to fill the frame:

All photos are edited with my Aspen Lightroom Preset!


2 Comments

Travel Photography in Edinburgh, Scotland

1 Comment

Travel Photography in Edinburgh, Scotland

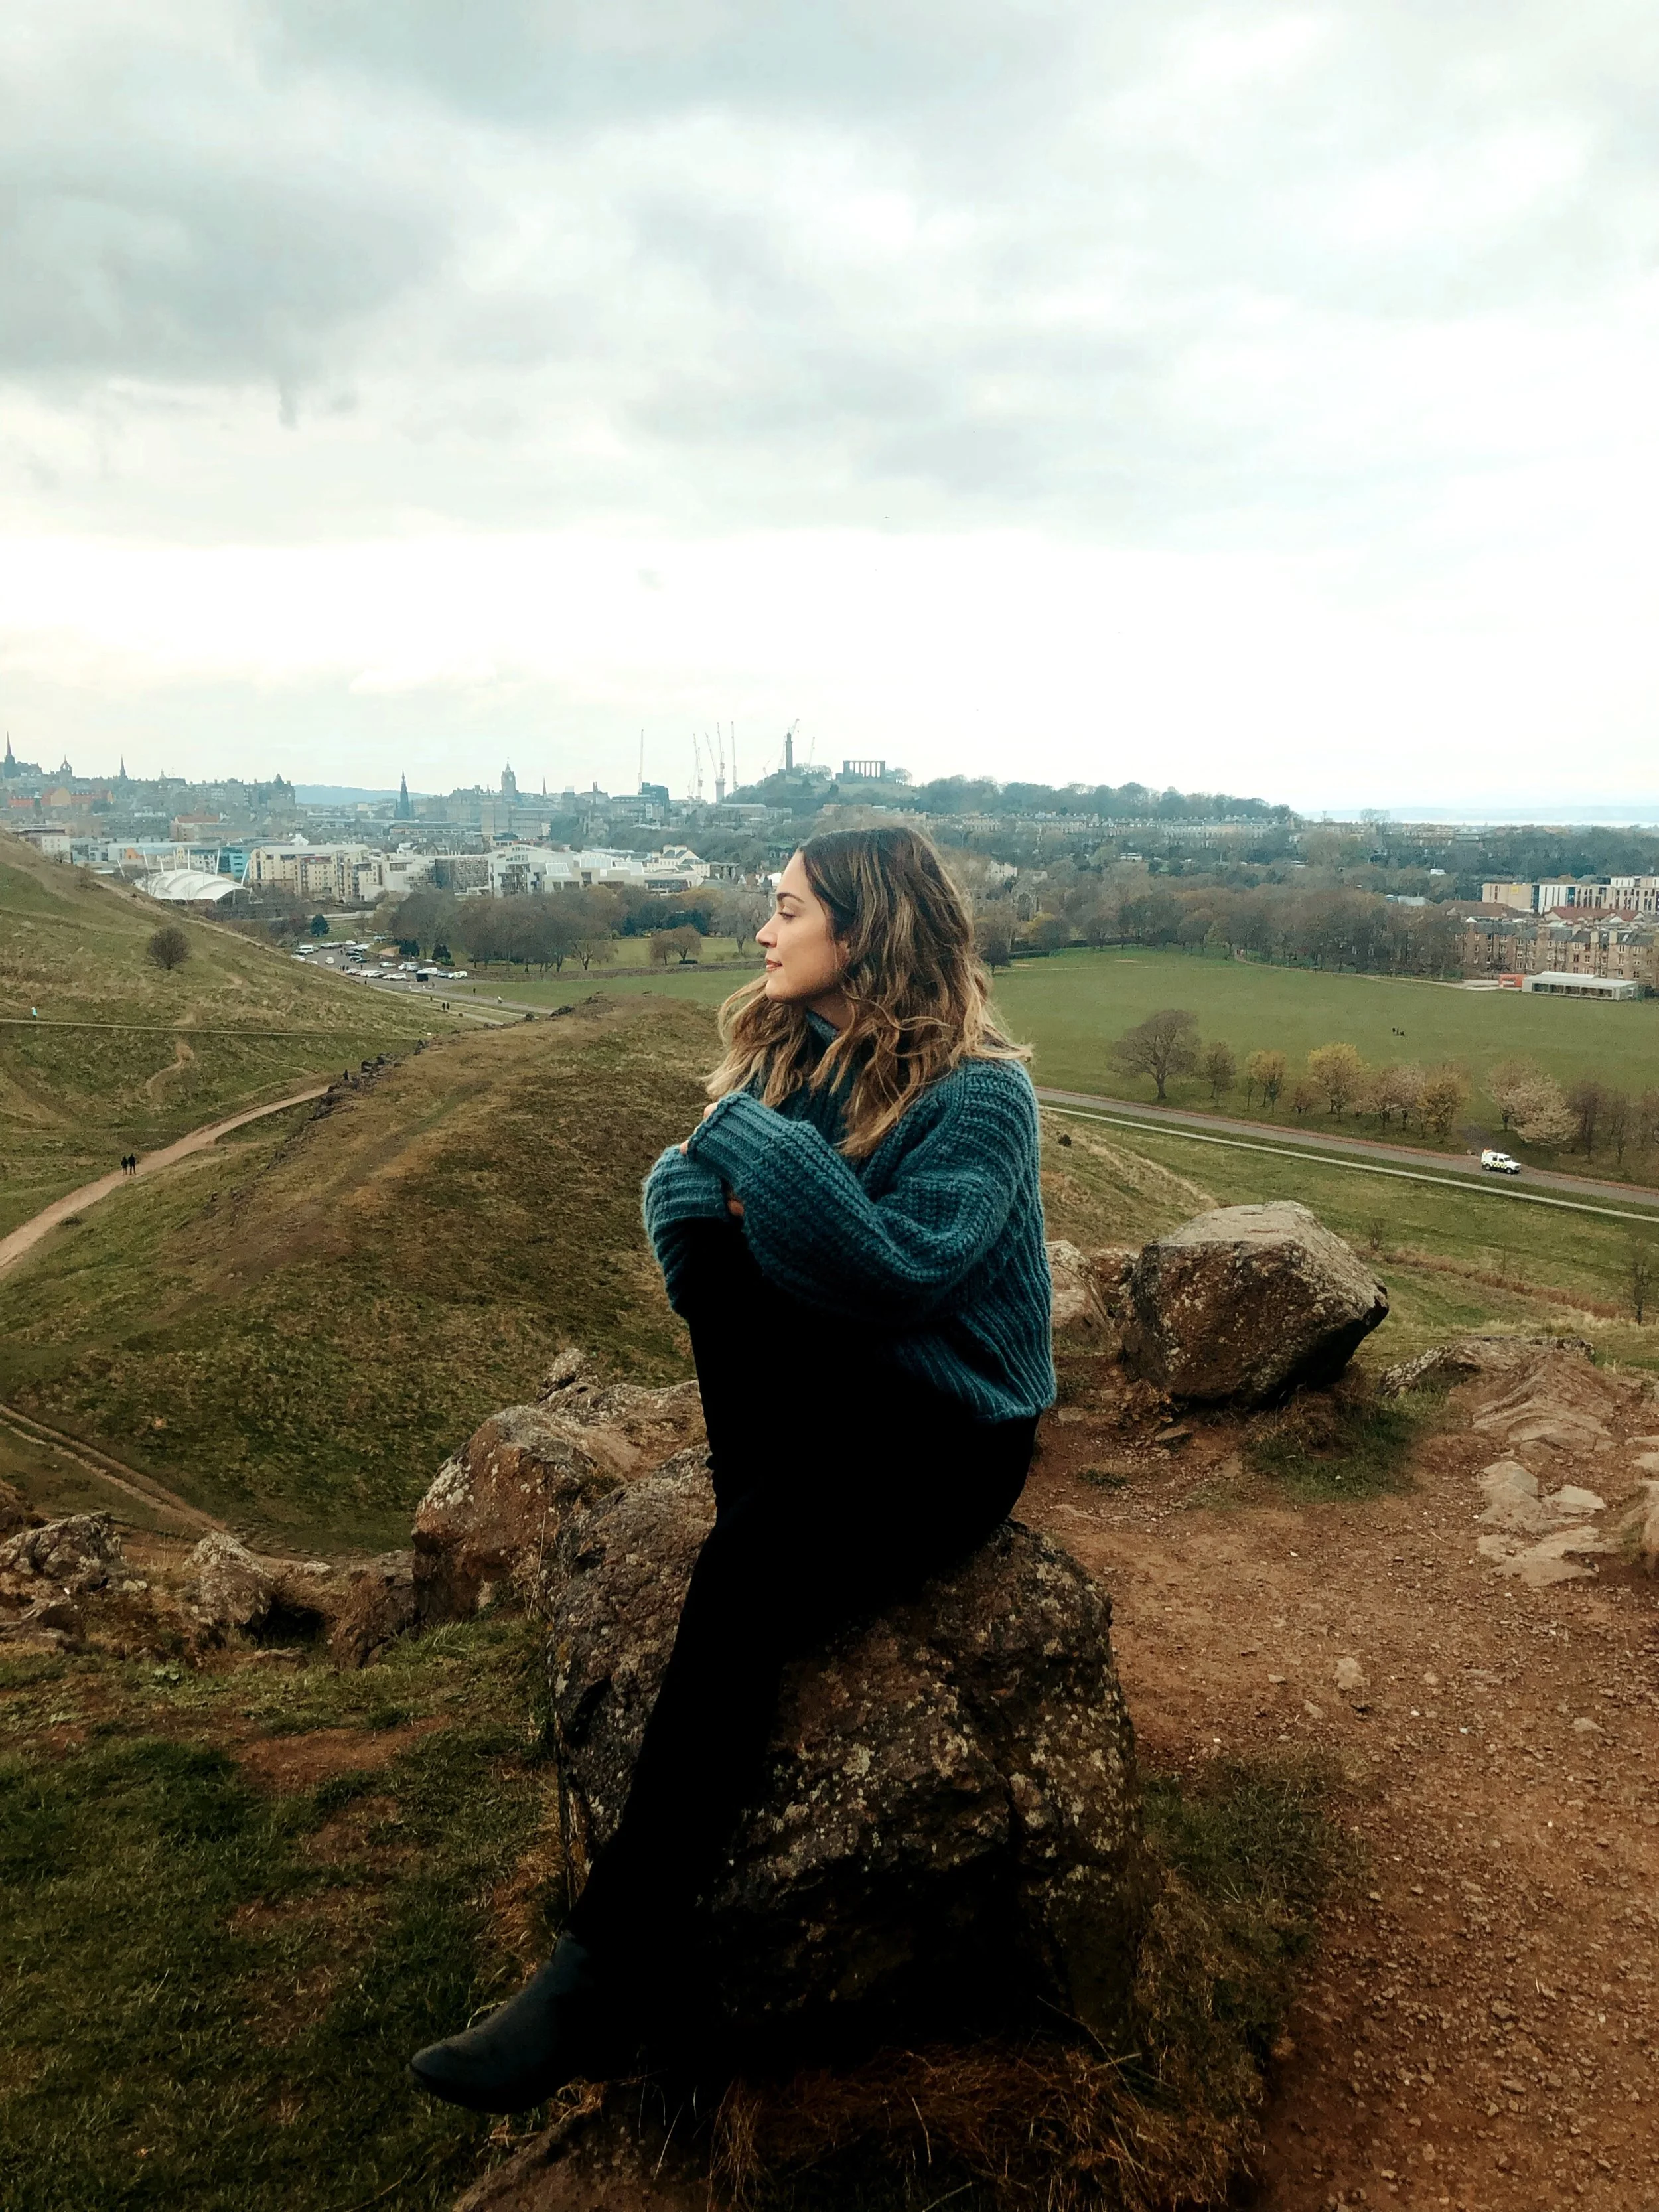
This is my first of 5 blog posts I’m going to be sharing from my time in Scotland and what better way to start than at the very beginning of our trip, in Edinburgh! After only 3 short weeks back at home after Thailand to catch up on work, capture a few weddings and do some photoshoots, Dan and I flew from Sydney, Australia to Gdansk, Poland. We spent about a week at Dan’s family’s place in the country catching up on jetlag, visiting the old town and as usual taking lots of photos and even filmed a video. Next up it was time to head to Scotland!

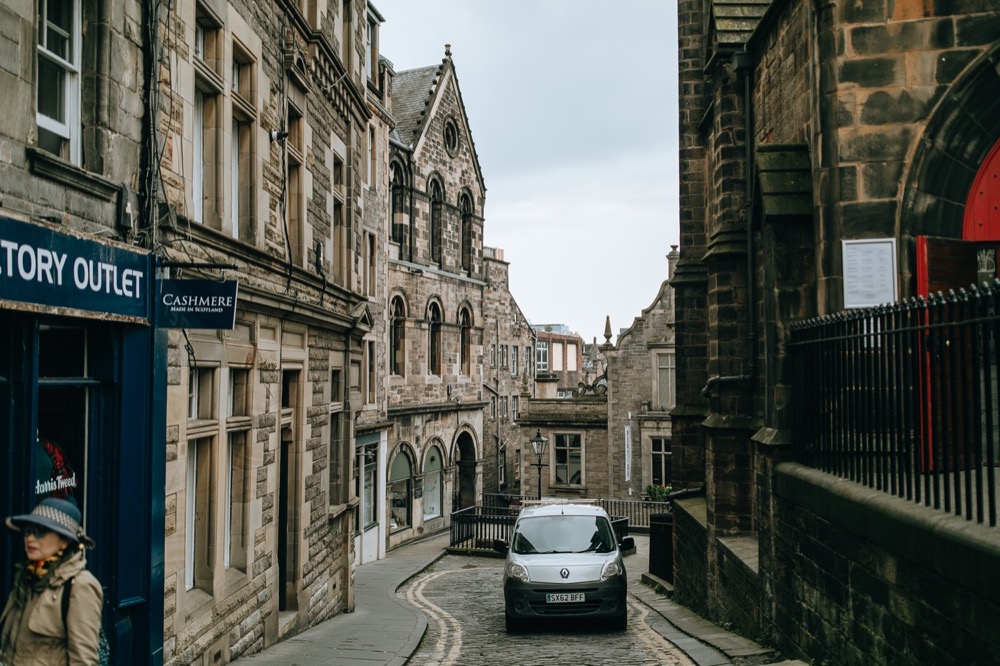
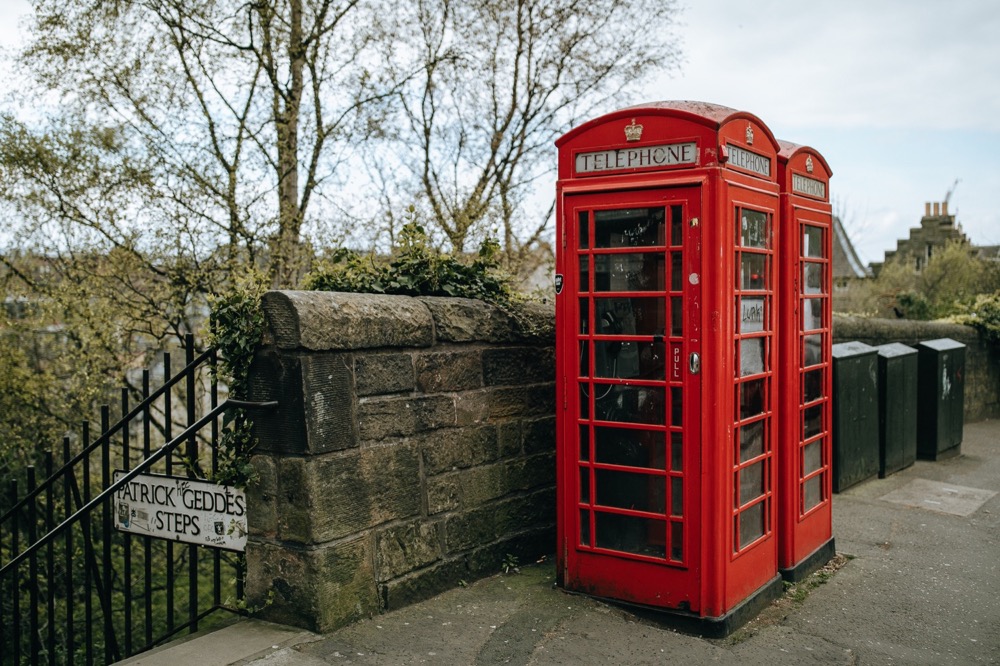
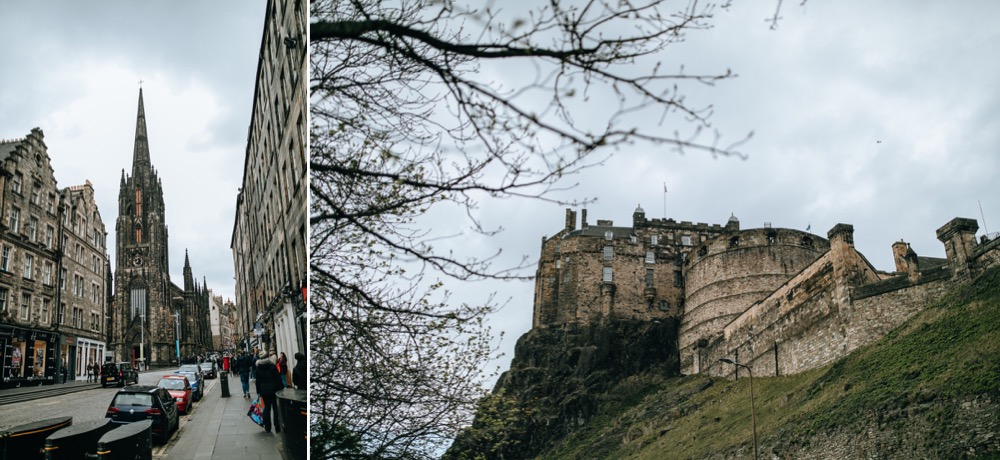
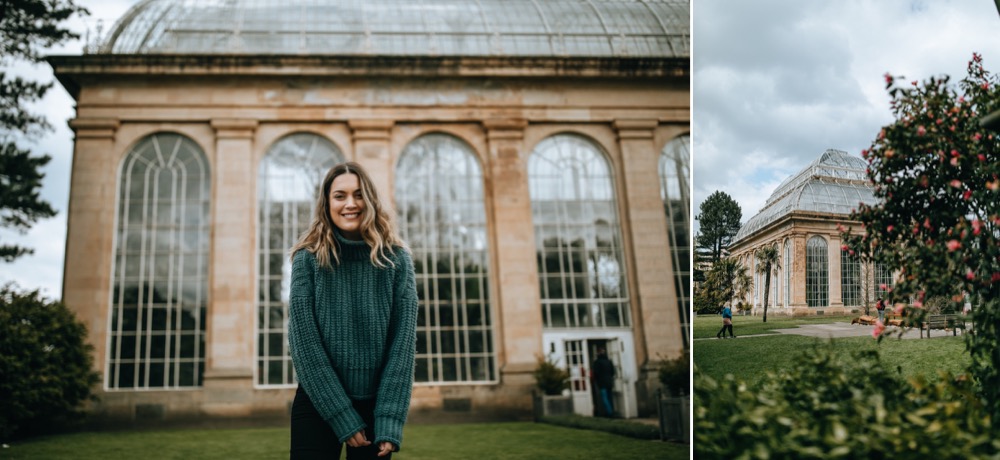
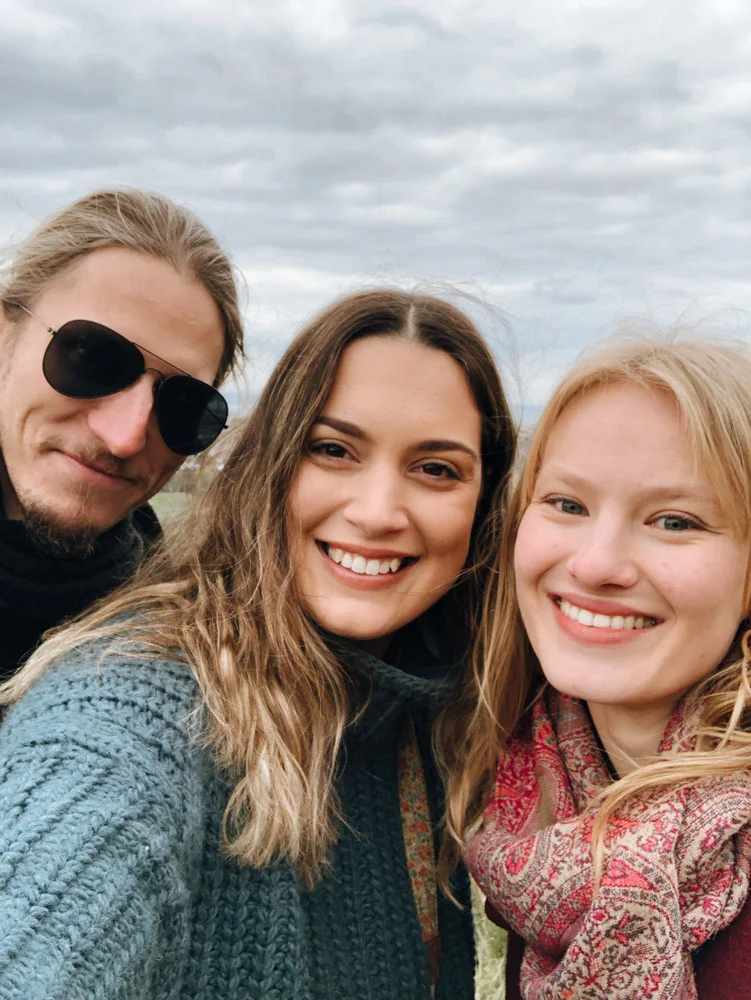
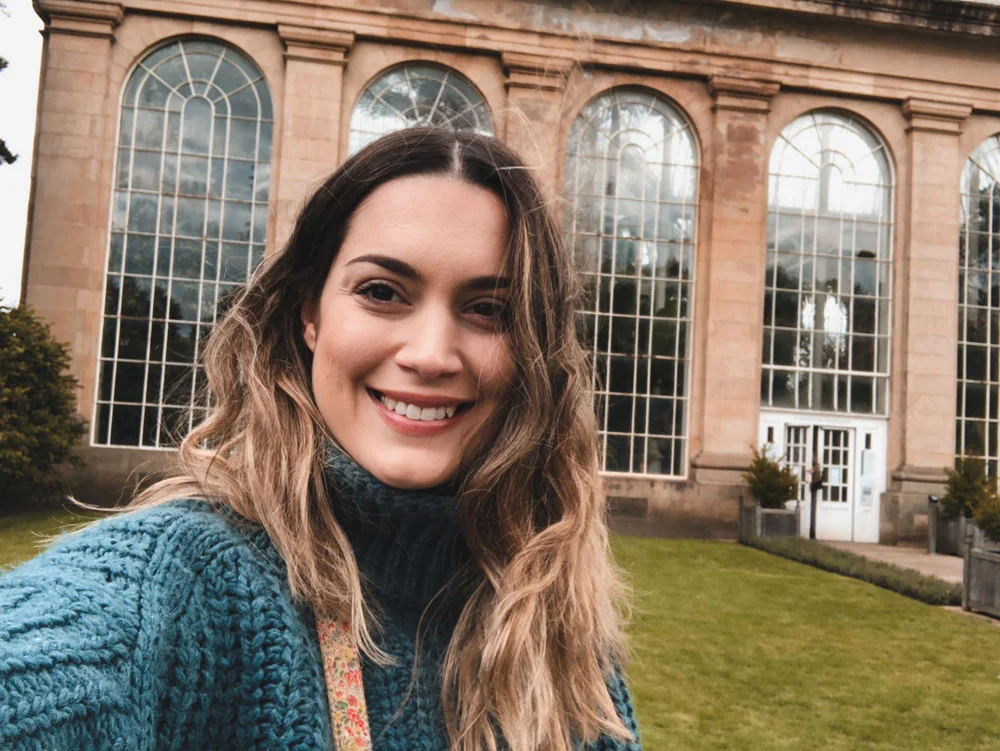
We were visiting Scotland as Dan and I were capturing a wedding while we were there. We decided to book our flights with a few extra days on either side of the wedding as Scotland is a place we both have wanted to visit for so long! Our first couple of days in Edinburgh were a whirlwind! We visited the old city, walked up to Edinburgh Castle, did a photoshoot with Tamar & Matt at the Botanical Gardens and did a photoshoot of photographer Caroline (behind the scenes for this photoshoot coming really soon!). Here are some of the pictures I captured in those first two days.

You can watch my vlog of the rest of our time in Scotland down below + it’s a sneak peek for the rest of the photo posts to come soon! Please subscribe to my channel if you haven’t already, I upload a new video every Wednesday.

This blog was put together with Narrative. I love using Narrative as part of my photoshoot culling process to see which images from a shoot I should edit and I also use it to easily & quickly be able to put together these blog posts with different layouts of images side by side. I’m really excited to say I’ve teamed up with Narrative and have a 15% discount code for you guys using the code julia15 or just clicking this link! You can download a free trial to test it out for 7 days too :)
All photos edited with my new Mountains Lightroom Preset!

All photos edited with my new Mountains Lightroom Preset!


1 Comment

50mm vs 85mm for portrait photography

4 Comments

50mm vs 85mm for portrait photography

In today’s photoshoot we are comparing the 50mm vs 85mm for portrait photography. Below are the photos I took on each of the lenses to test out a few factors that are important when photographing portraits such as the compression when it comes to full body, mid body and close up shots, any distortion in extreme closeups, lens flares, CA with backlighting and harsh sunlight.

Lenses

Canon 50mm f1.2

Canon 85mm f1.2 II

Body

Canon 5D mkiv for both lenses

model madeline

makeup lidija j

I have a whole series comparing prime lenses and focal lengths, you can check them all out here:

35mm vs 50mm

50mm vs 85mm

85mm vs 135mm

85mm vs 100mm vs 135mm

24mm vs 35mm vs 50mm vs 85mm vs 135mm on a full frame camera

24mm vs 35mm vs 50mm vs 85mm vs 135 on a crop frame camera

Crop frame vs Full frame

This blog was put together with Narrative. I love using Narrative as part of my photoshoot culling process to see which images from a shoot I should edit and I also use it to easily & quickly be able to put together these blog posts with different layouts of images side by side. I’m really excited to say I’ve teamed up with Narrative and have a 15% discount code for you guys using the code julia15 or just clicking this link! You can download a free trial to test it out for 7 days too :) And the gear links listed above are affiliate links, so they help me out as a creator and don’t cost you anything extra
Watch the video below to see the behind the scenes from our photoshoot as well as hearing my thoughts on both these lenses! Please subscribe to my channel if you haven’t already, I upload a new video every single Wednesday.

All photos edited with my San Francisco Lightroom Preset!

All photos edited with my San Francisco Lightroom Preset!


4 Comments

Zeiss 35mm f1.4 vs Canon 35mm f1.4 II

Comment

Zeiss 35mm f1.4 vs Canon 35mm f1.4 II

During today’s photoshoot I really wanted to compare the Zeiss 35mm f1.4 to the Canon 35mm f1.4 II. I’ve loved using both these lenses for portrait photoshoots in the past, but wanted to do a side by side comparison to see what the similarities and differences are. Watch the video below to hear my thoughts about it all and see lots of photo examples straight out of the camera + camera settings I used. Here are some of my fav photos from the photoshoot, edited with my Disposable Film Lightroom Preset - which in case you didn’t hear is now a pack of 4 presets instead of just a single preset!

gear

Sony A7iii + Zeiss 35mm f1.4

Canon 5D mkiv + Canon 35mm f1.4 II

model @thekarinawhite

makeup @lidija.mua

video @danpodbierezki

This blog was put together with Narrative. I love using Narrative as part of my photoshoot culling process to see which images from a shoot I should edit and I also use it to easily & quickly be able to put together these blog posts with different layouts of images side by side. I’m really excited to say I’ve teamed up with Narrative and have a 15% discount code for you guys using the code julia15 or just clicking this link! You can download a free trial to test it out for 7 days too :)
Please subscribe to my channel if you haven’t already! I upload a new video every single Wednesday.

All photos were edited with my Disposable Film Lightroom Preset!


Comment

Crop Frame vs Full Frame | Canon 7Dmkii vs Canon 5Dmkiv

2 Comments

Crop Frame vs Full Frame | Canon 7Dmkii vs Canon 5Dmkiv

During this portrait photoshoot, we compare crop frame vs full frame to answer some commonly asked questions. Is crop frame enough for portrait photography? If you are thinking of getting a camera, should you settle for crop frame? Or take the plunge and upgrade to full frame? Do you have extra benefits by upgrading to full frame?

2 Comments

Portrait Photography with Animals: Kristina & Ollie

2 Comments

Portrait Photography with Animals: Kristina & Ollie

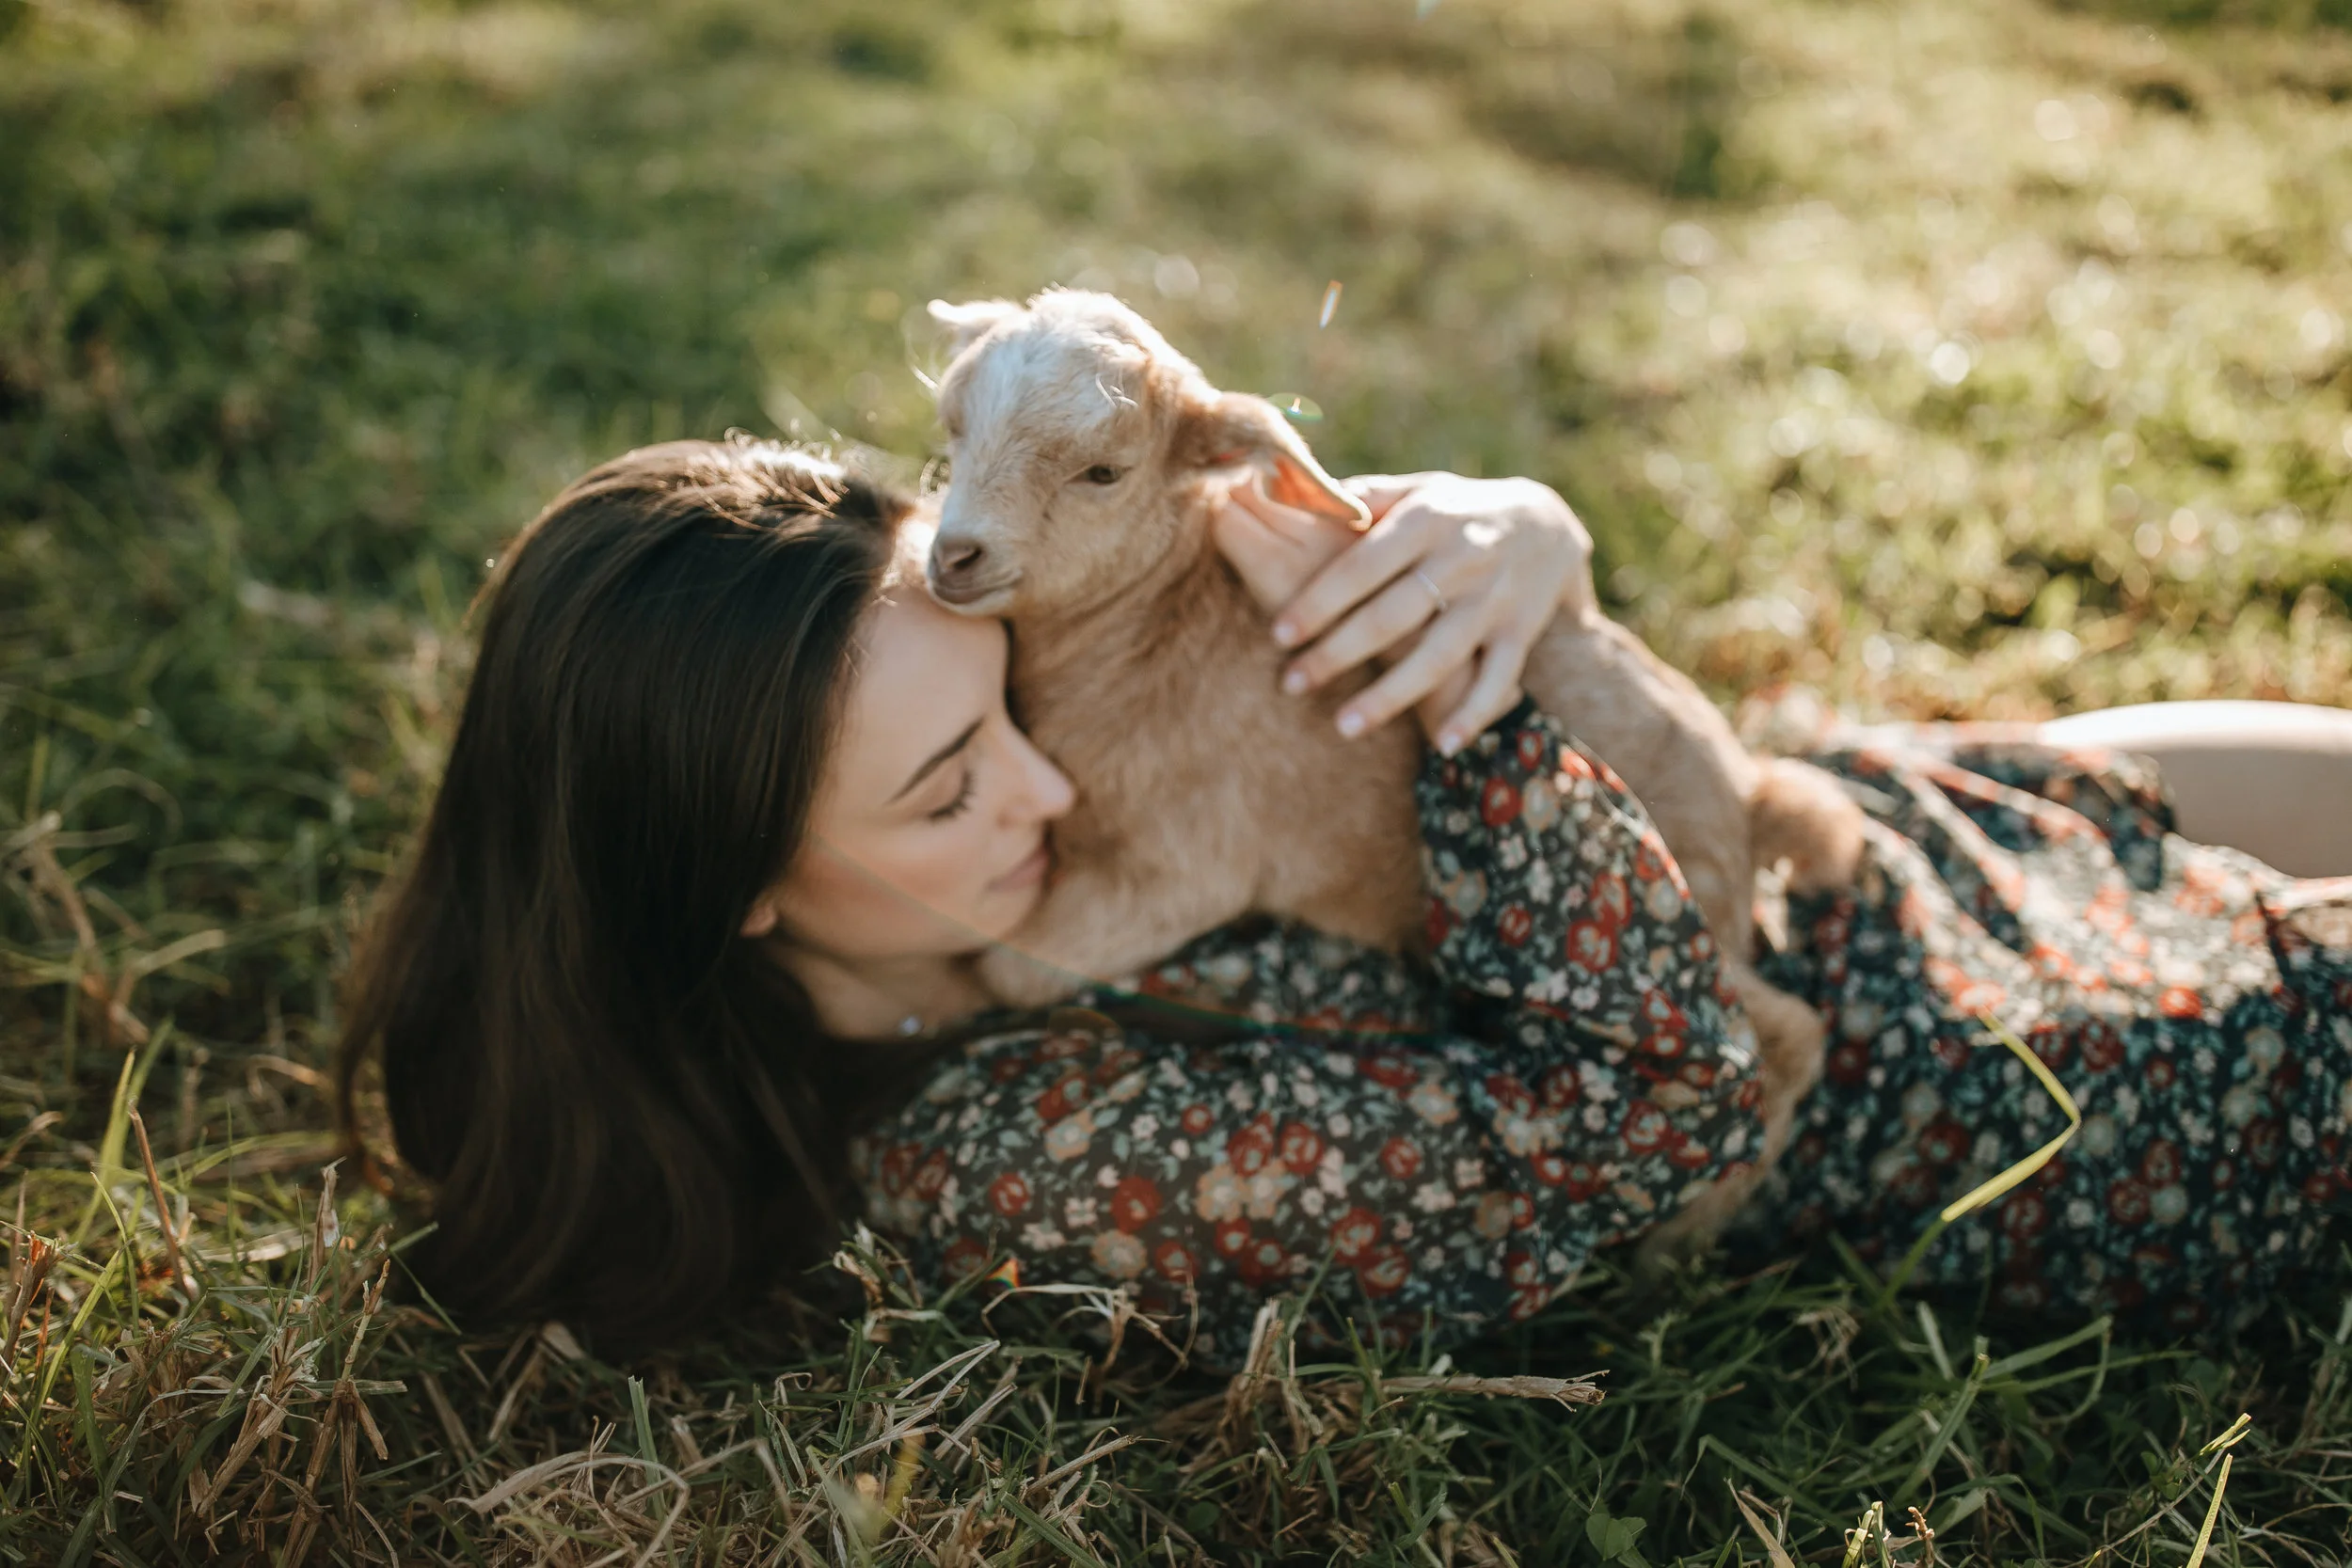
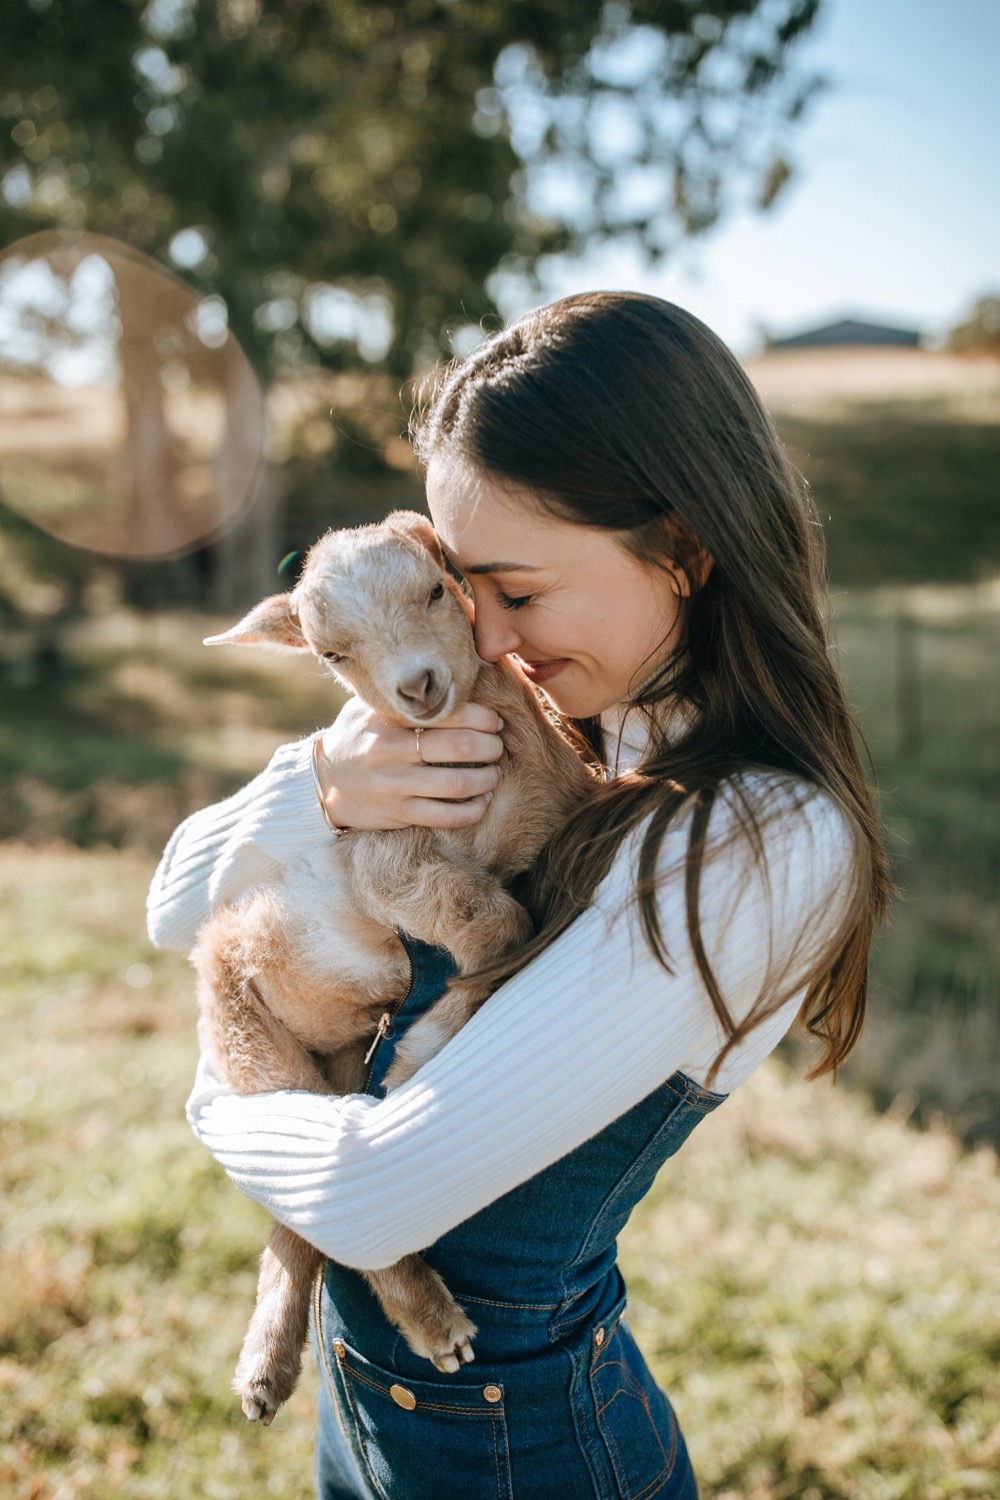
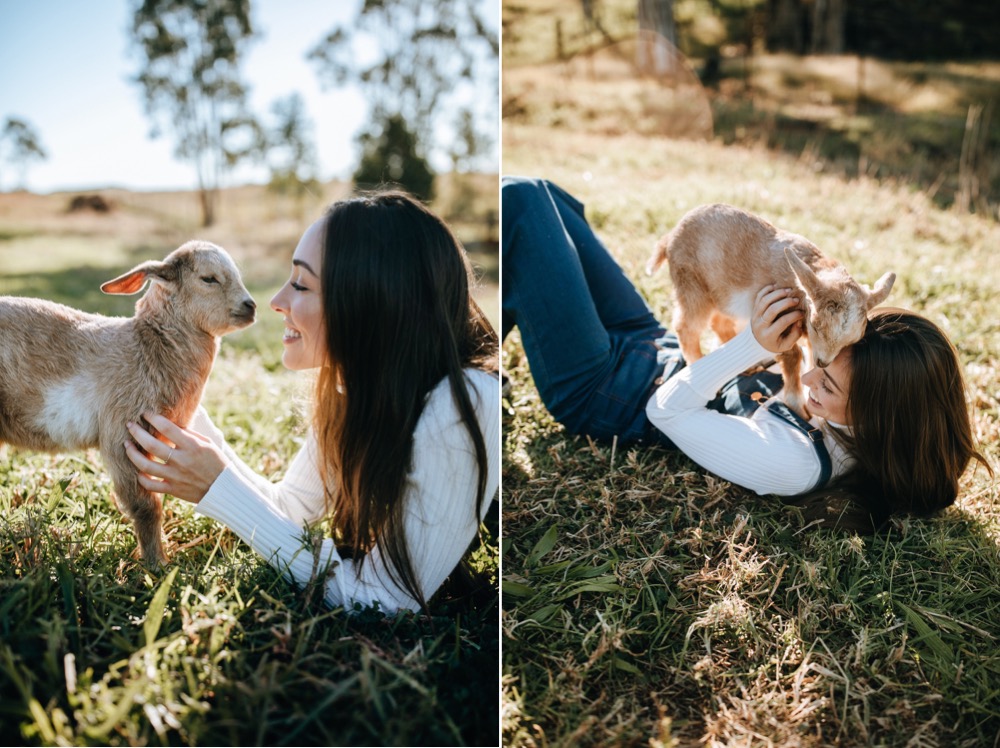
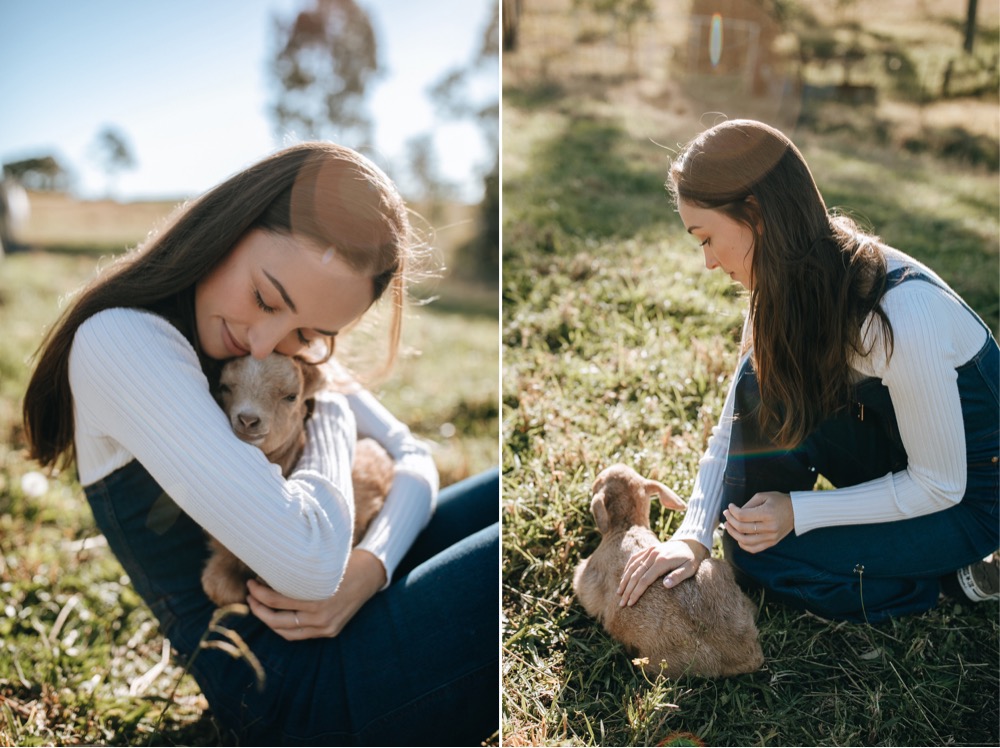
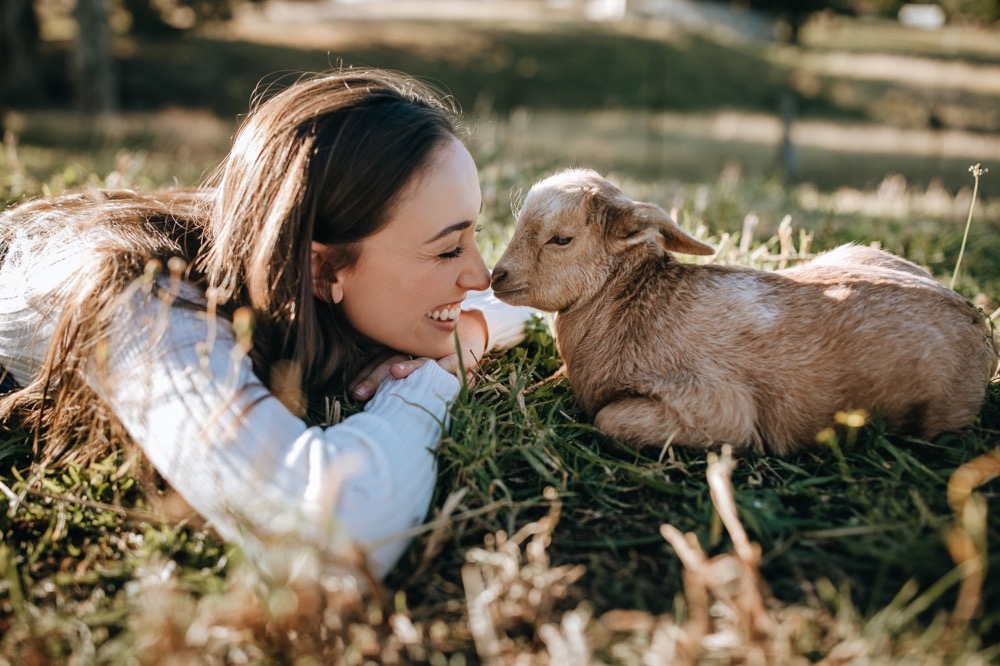
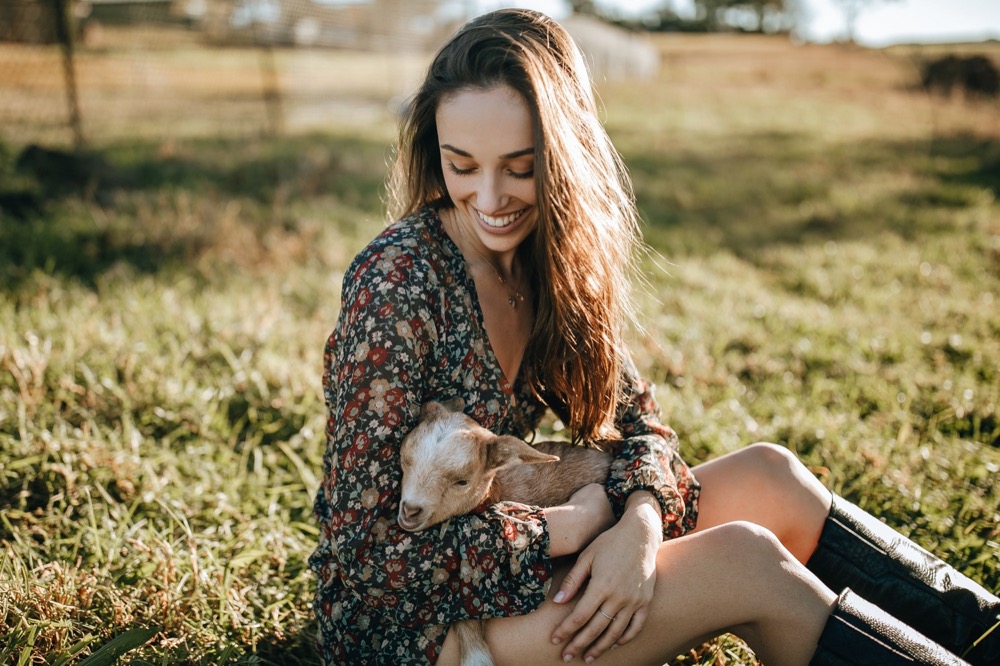
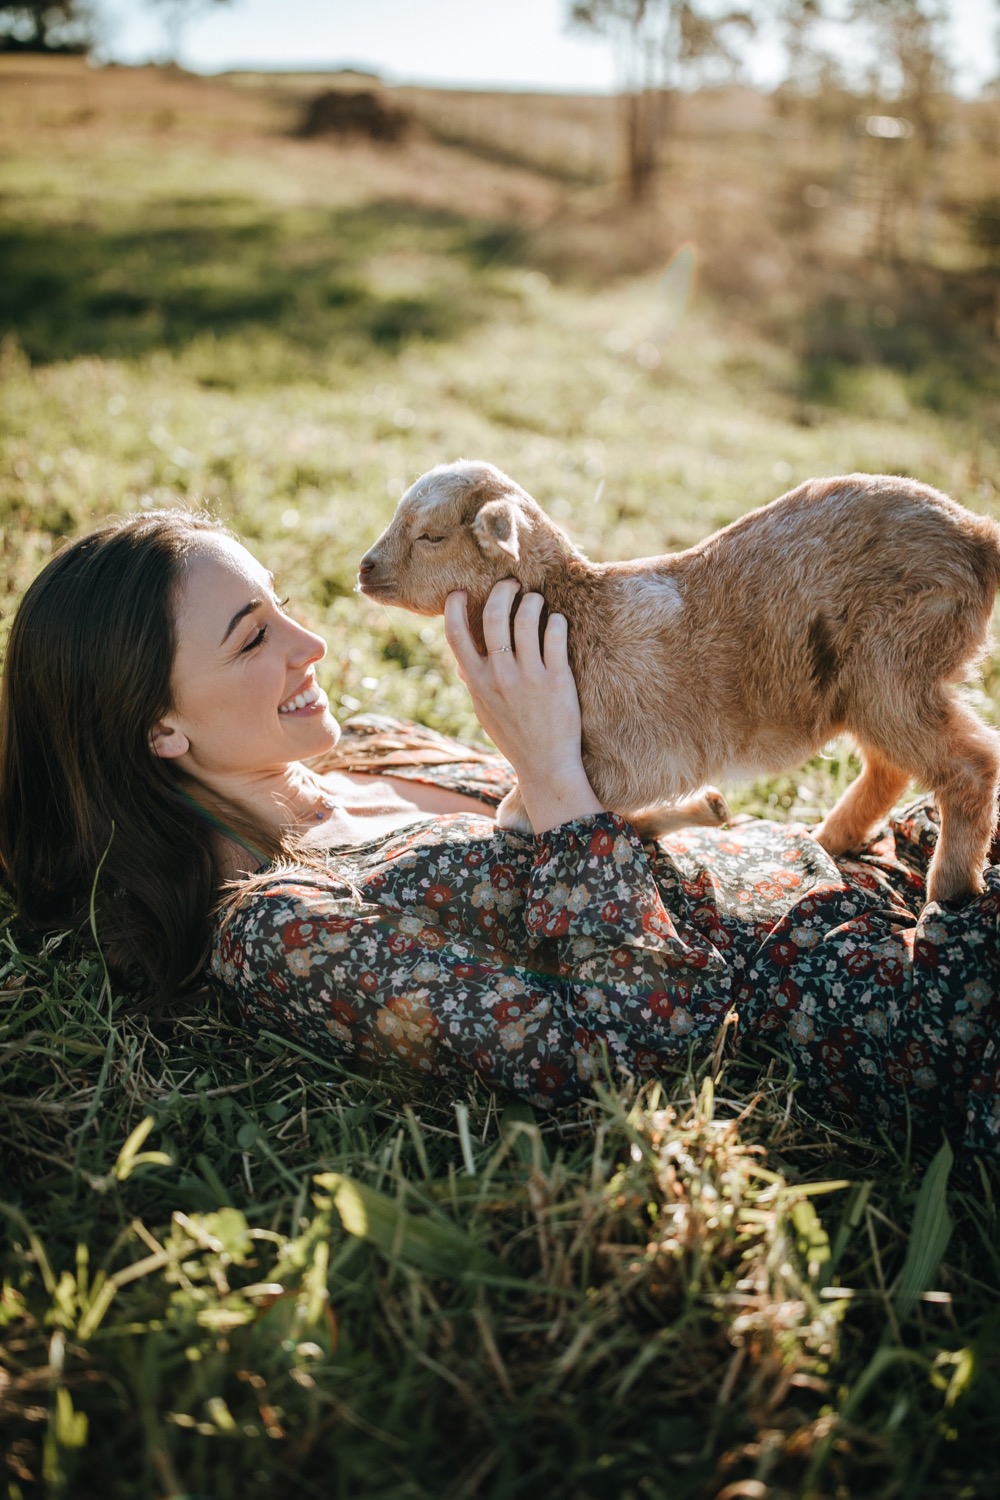
This was one of the most special portrait photoshoots I’ve ever done with Kristina and baby Ollie the goat. Ollie is absolutely so sweet and loves being around people so even though he was having so much fun running around and jumping on Kristina, we had the best time getting some photos of the two of them together. I started off the shoot on my Canon 50mm f1.2 for some classic looking portraits, then decided to jump on my 35mm f1.4 to have a little bit more reach as Ollie moved around very fast! Watch the behind the scenes of our photoshoot below!

All photos edited with my Mountains Lightroom Preset.

All photos edited with my Mountains Lightroom Preset.


2 Comments

birthday adventures

Comment

birthday adventures

A few snaps from my birthday this weekend. I spent Saturday hanging out with my family making gnocchi and my mum baked me a gorgeous cake and then Sunday adventuring in the Blue Mountains with Dan!

I took all these photos with the Sony A7III + Zeiss 35mm f1.4 and I edited them all with my new Mountains Lightroom Preset.


Comment

Sony A7iii + Sony  Zeiss 35mm f1.4

Comment

Sony A7iii + Sony Zeiss 35mm f1.4

A natural light portrait photoshoot with the Sony A7III + Zeiss 35mm f1.4. I finally got my hands on my very own 35mm lens for my Sony A7III! I was so excited to be using it for the first time at a portrait photoshoot.

From the moment I bought this lens, I took it out with me every day to shoot and take daily photos. So it was a great experience taking it for an actual portrait photoshoot in this beautiful location. Our shoot with the Zeiss 35mm f1.4 was during golden hour turned to blue hour in a gorgeous, overgrown location.

In this behind the scenes video I share my SOOC Zeiss 35mm f1.4 photos so you can see the quality and sharpness of this lens. We test autofocus performance while capturing movement shots and utilising different lighting situations.

Since this photoshoot, the Zeiss 35mm f1.4 has become my workhorse lens on the Sony A7III. I use it to photograph my client work alongside my Zeiss 50mm f1.4 and Sony GM 85mm 1.4. I also use it heavily for wedding photography, it's my most used lens on a wedding day!

The Sony GM 35mm f1.4 was announced in 2021 and you can watch my real world review video about it here. The Zeiss 35mm f1.4 is a fantastic lens with beautiful image quality, sharpness and autofocus performance. It served me very well for over a year shooting heavily with it. However, Sony have improved many features the Zeiss 35mm f1.4 was missing in the new GM 35mm f1.4.

I decided to pre-order it the minute I finished my review video on the GM 35 - that's how quickly I fell in love with it! You can see an updated what's in my camera bag video here. The Zeiss 35mm f1.4 was my first native Sony lens and coincidentally, the first of my Sony lenses to be replaced.

model Madeline

hair + makeup Lidija

Watch the behind the scenes of our photoshoot below to hear all my thoughts about the Zeiss 35! And please subscribe to my channel if you haven’t already, I upload a new video every single Wednesday.

All photos edited with my new Mountains Lightroom Preset Pack!

All photos edited with my new Mountains Lightroom Preset Pack!

If you enjoyed this set of photos, you might want to check out my natural light portrait photography on the new GM 35mm f1.4!


Comment

Creative Couples Photography Ideas: Tamar & Matt | Edinburgh, Scotland

Comment

Creative Couples Photography Ideas: Tamar & Matt | Edinburgh, Scotland

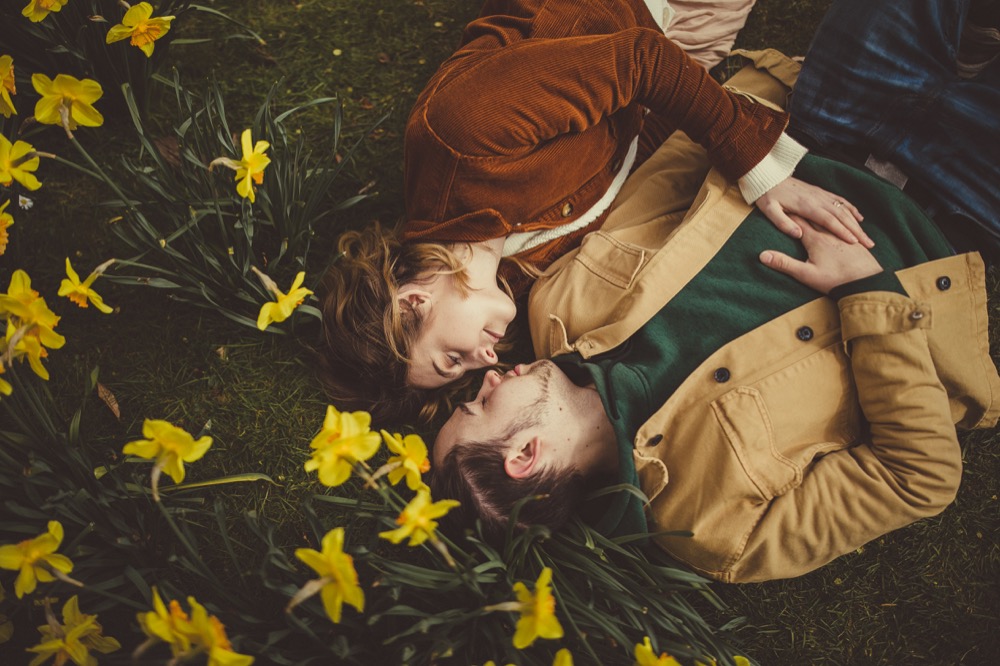
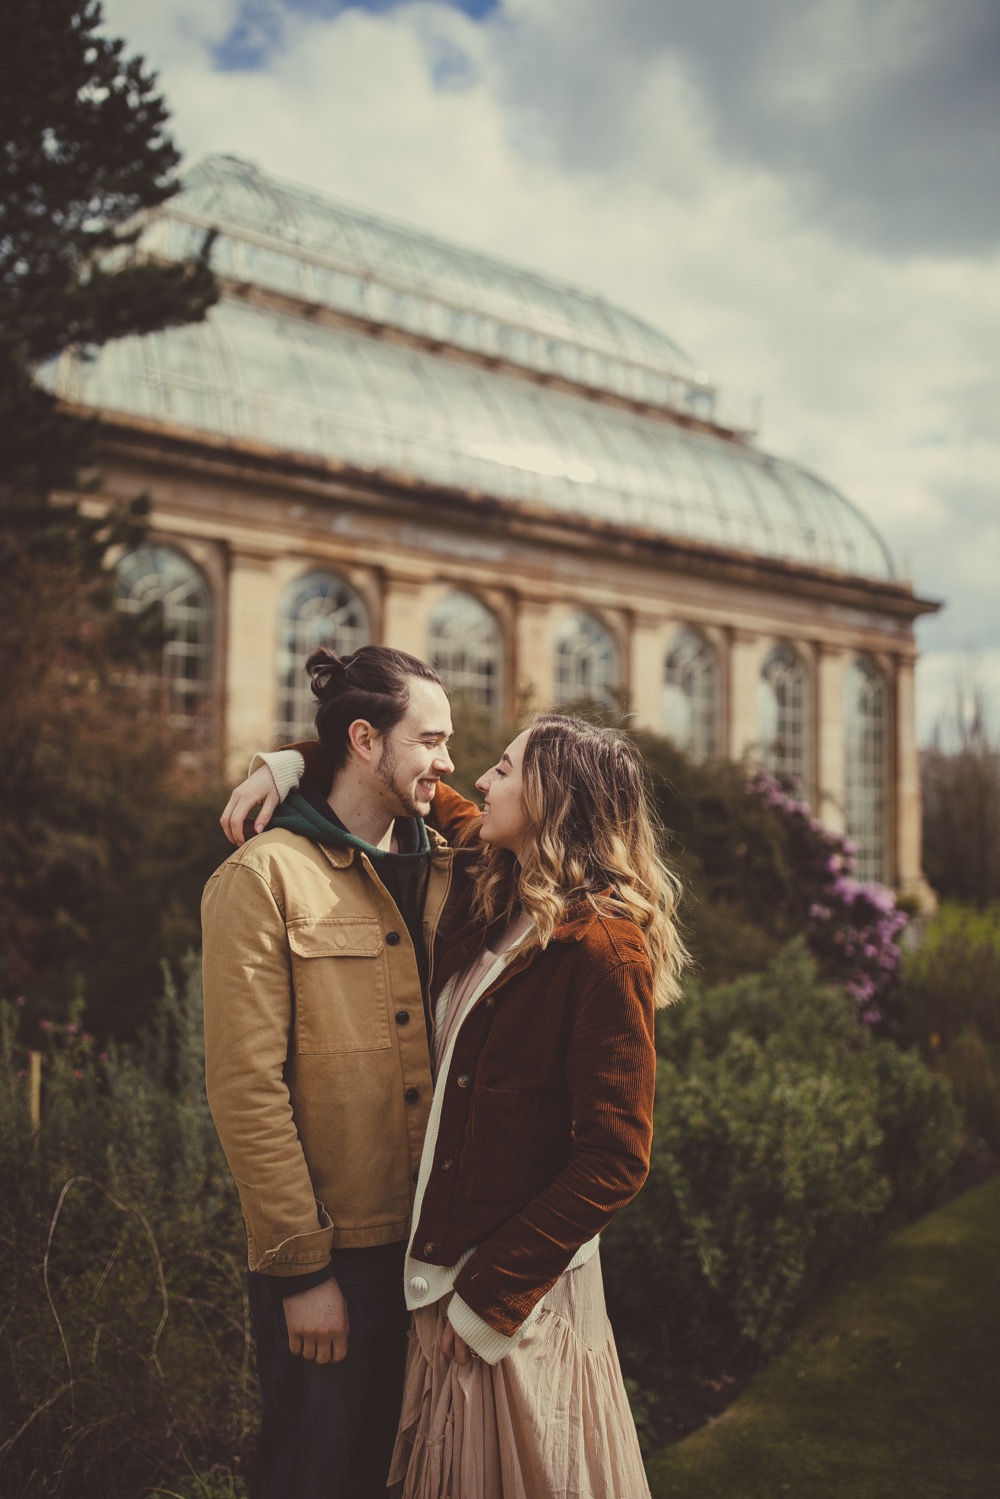
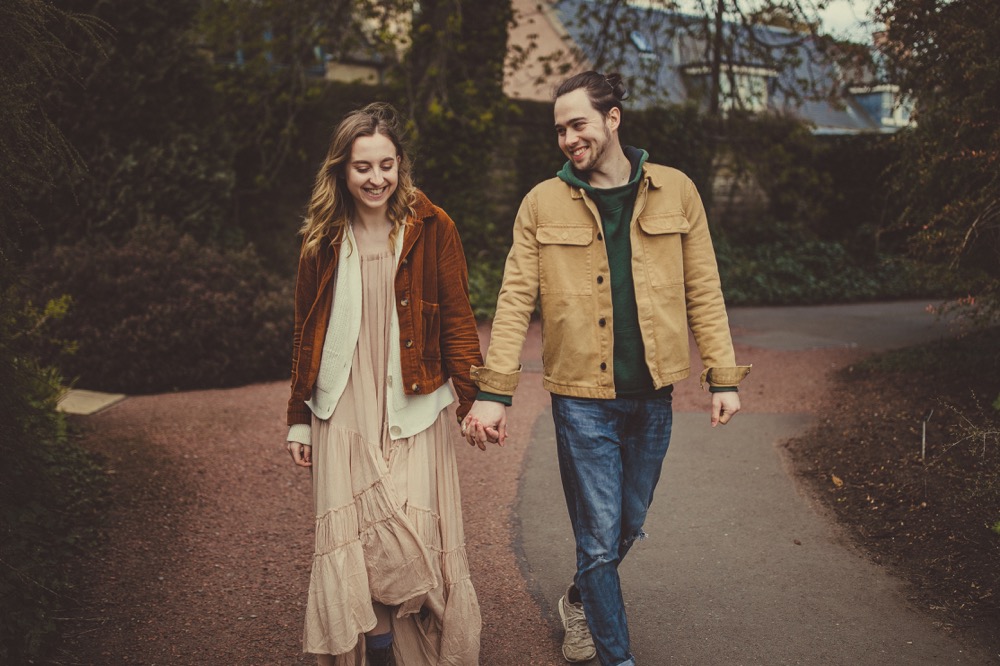
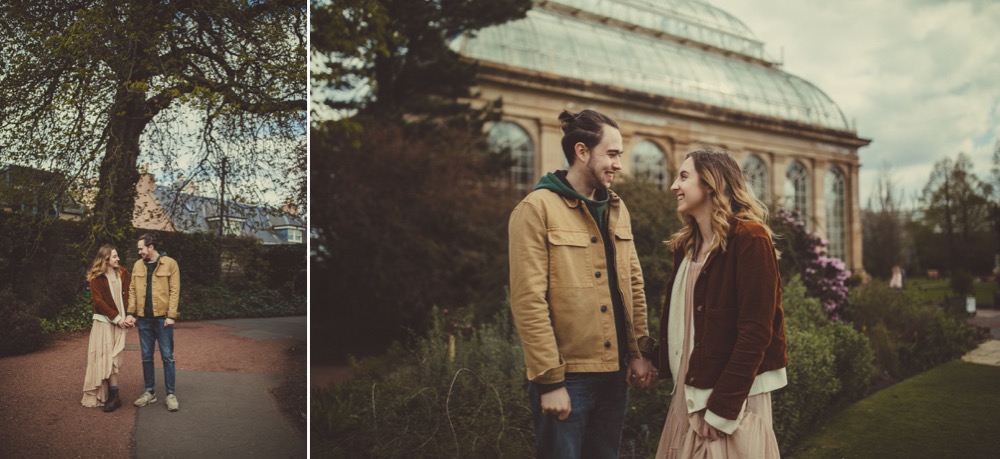
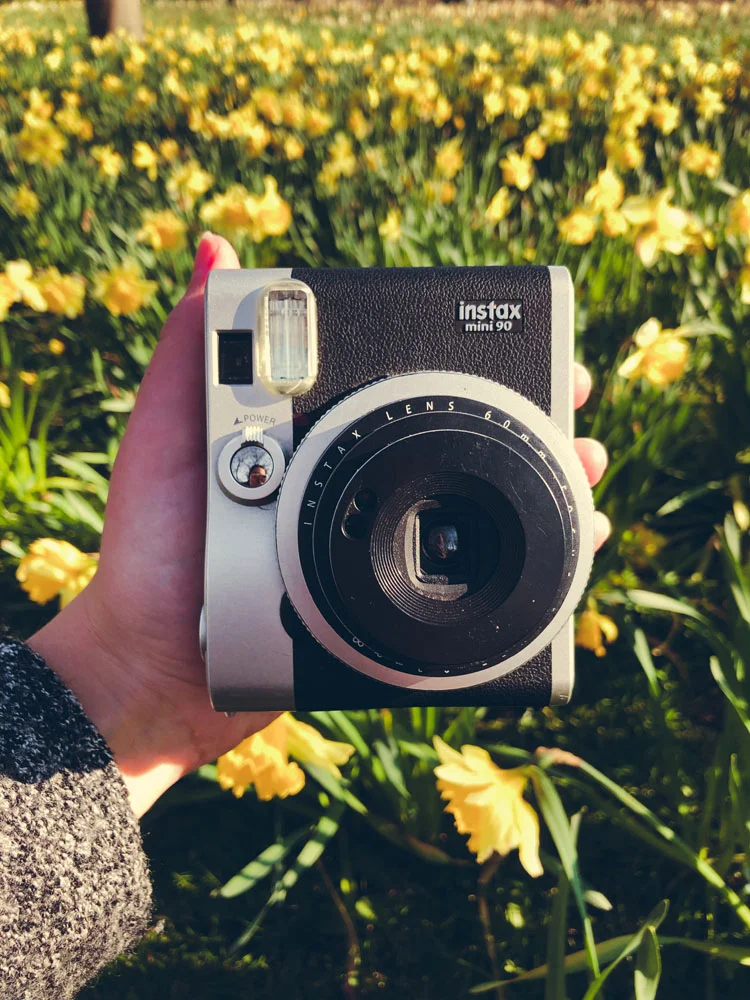
While visiting Edinburgh, Scotland I had the chance to meet up and photograph photographer-videographer couple Tamar & Matt (please check out their Instagrams that I linked, they are absolutely amazing at what they do!)! We wandered around the Edinburgh Botanic Gardens and I was obsessed with all the beautiful backdrops we had to work with such as the greenhouse and the field of Daffodils which is almost impossible to come across in Australia.

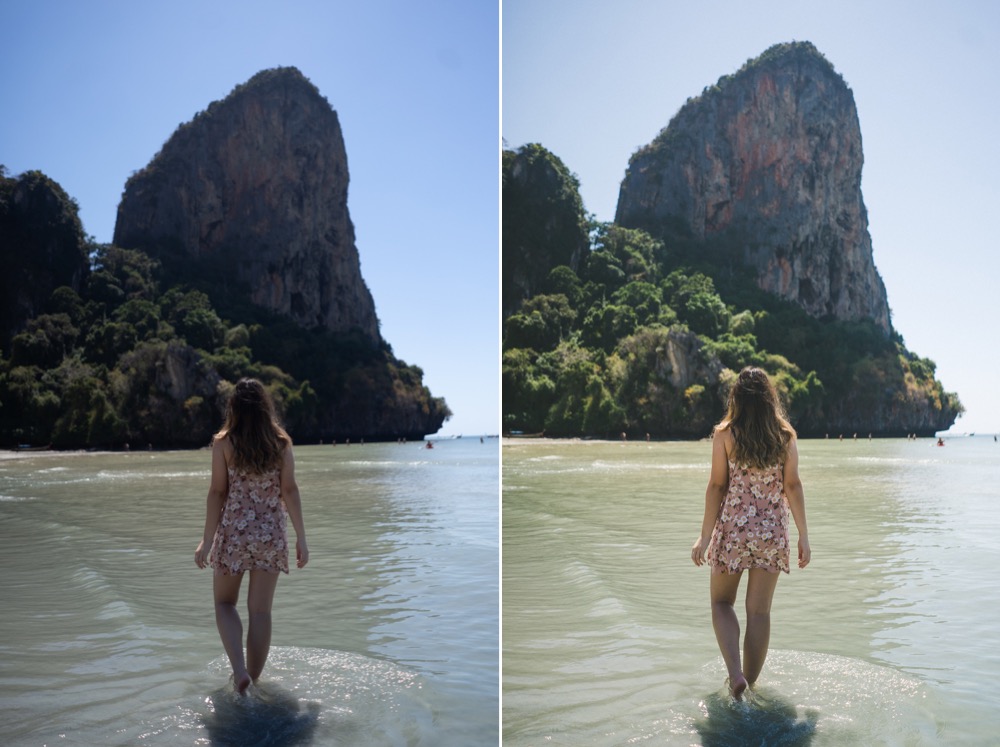
We also filmed our portrait session, so if you want to watch the behind the scenes of our afternoon, it’s down below! I’ve also included some before and after images so you can see what my shots look like straight out of the camera and also edited! I edited all of these with my New York Lightroom Preset as I wanted a warm, vintage look to the photos.

Please subscribe to my YouTube channel below, I upload new videos every single Wednesday!

All photos edited with my New York Lightroom Preset


Comment

thailand instagram diary

2 Comments

thailand instagram diary

My Thailand Instagram diary! All photos were taken on my iPhone 8+ and edited on my FREE Digital Film App which you can download for iOS here.

Main Instagram account @juliatrotti // Personal account @juls.trotti


2 Comments

Travel Photography Ideas: Phi Phi + Phuket | Thailand

Comment

Travel Photography Ideas: Phi Phi + Phuket | Thailand

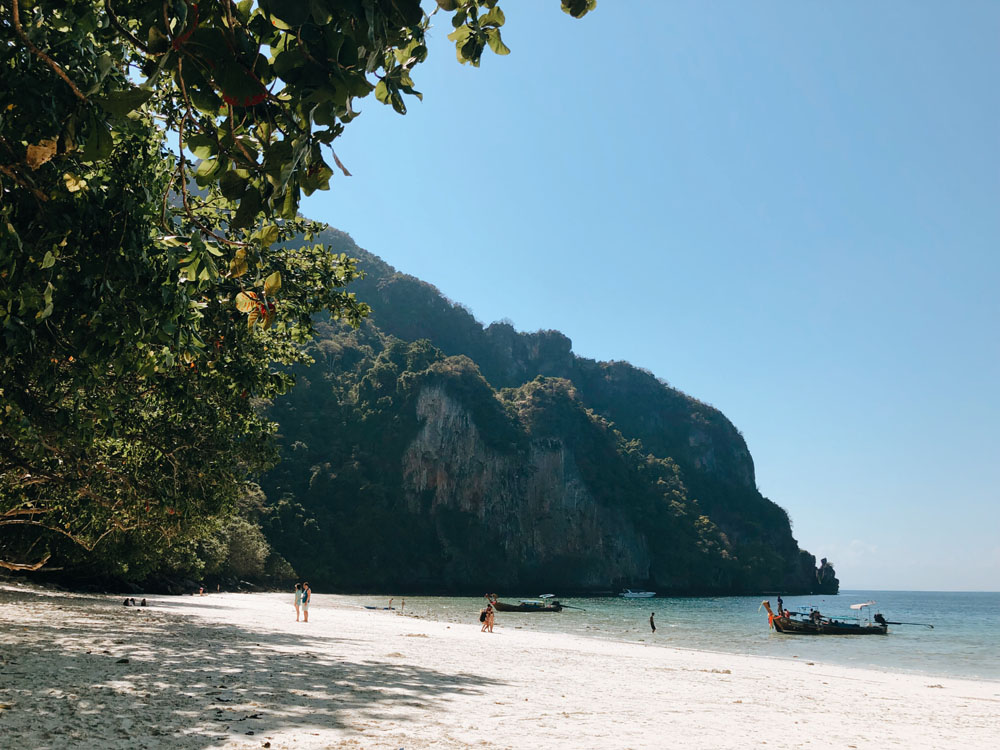
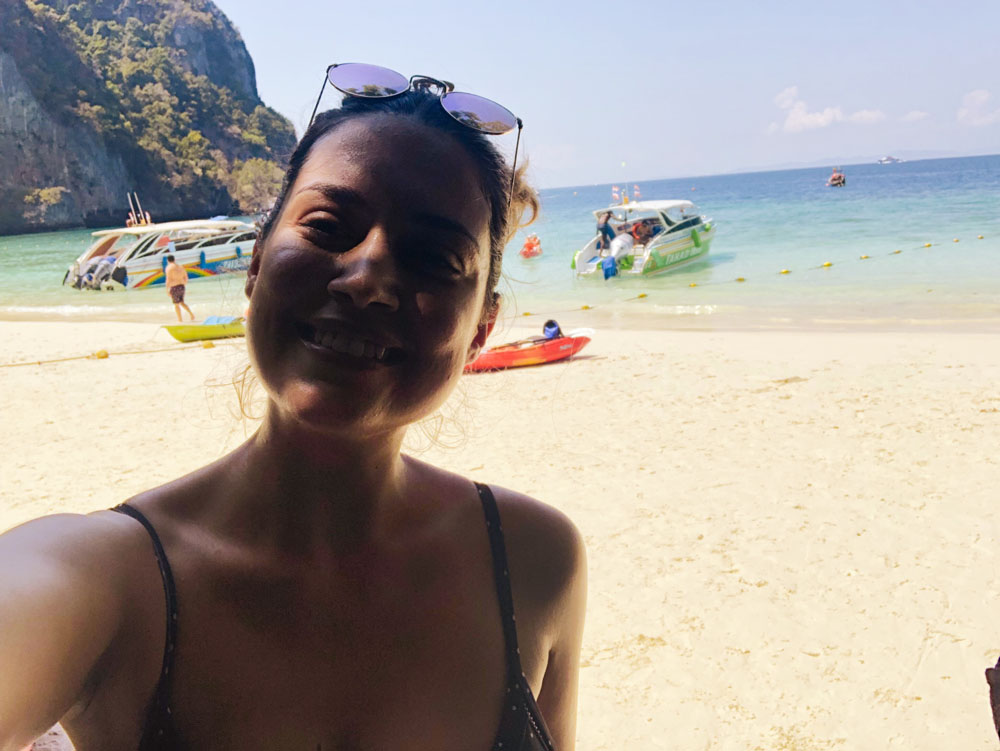
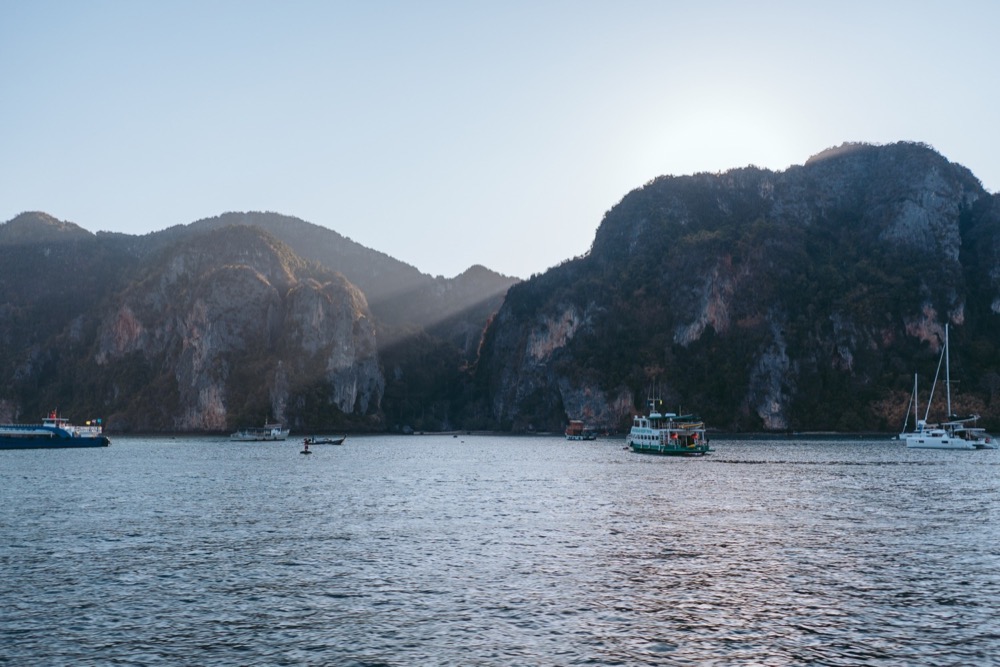
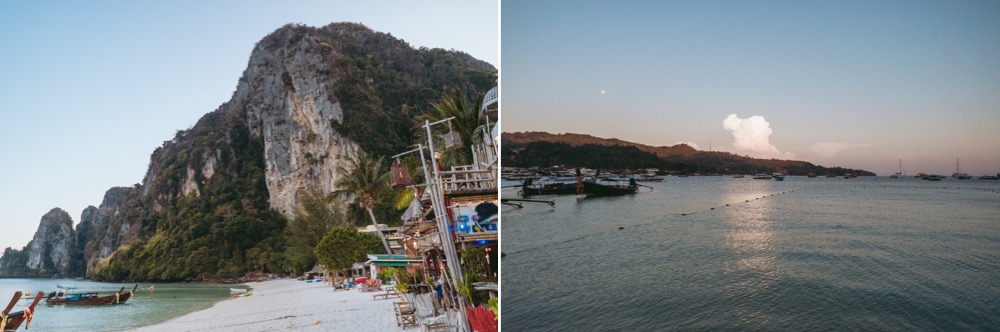
After visiting Krabi, Dan and I split off from our group of friends and decided to stay a couple of nights on Phi Phi rather than just making a day trip like they had already done. We took the ferry from Krabi to Phi Phi and when we arrived to the island, we were able to walk to our accommodation - I didn’t realise how tiny this island really was! Our time on Phi Phi was exactly what I needed to clear my mind and feel refreshed. We spent our days swimming in the ocean, we hired a kayak one day and made our way to Monkey Beach to snorkel which was really fun and went on little walks to explore the island.

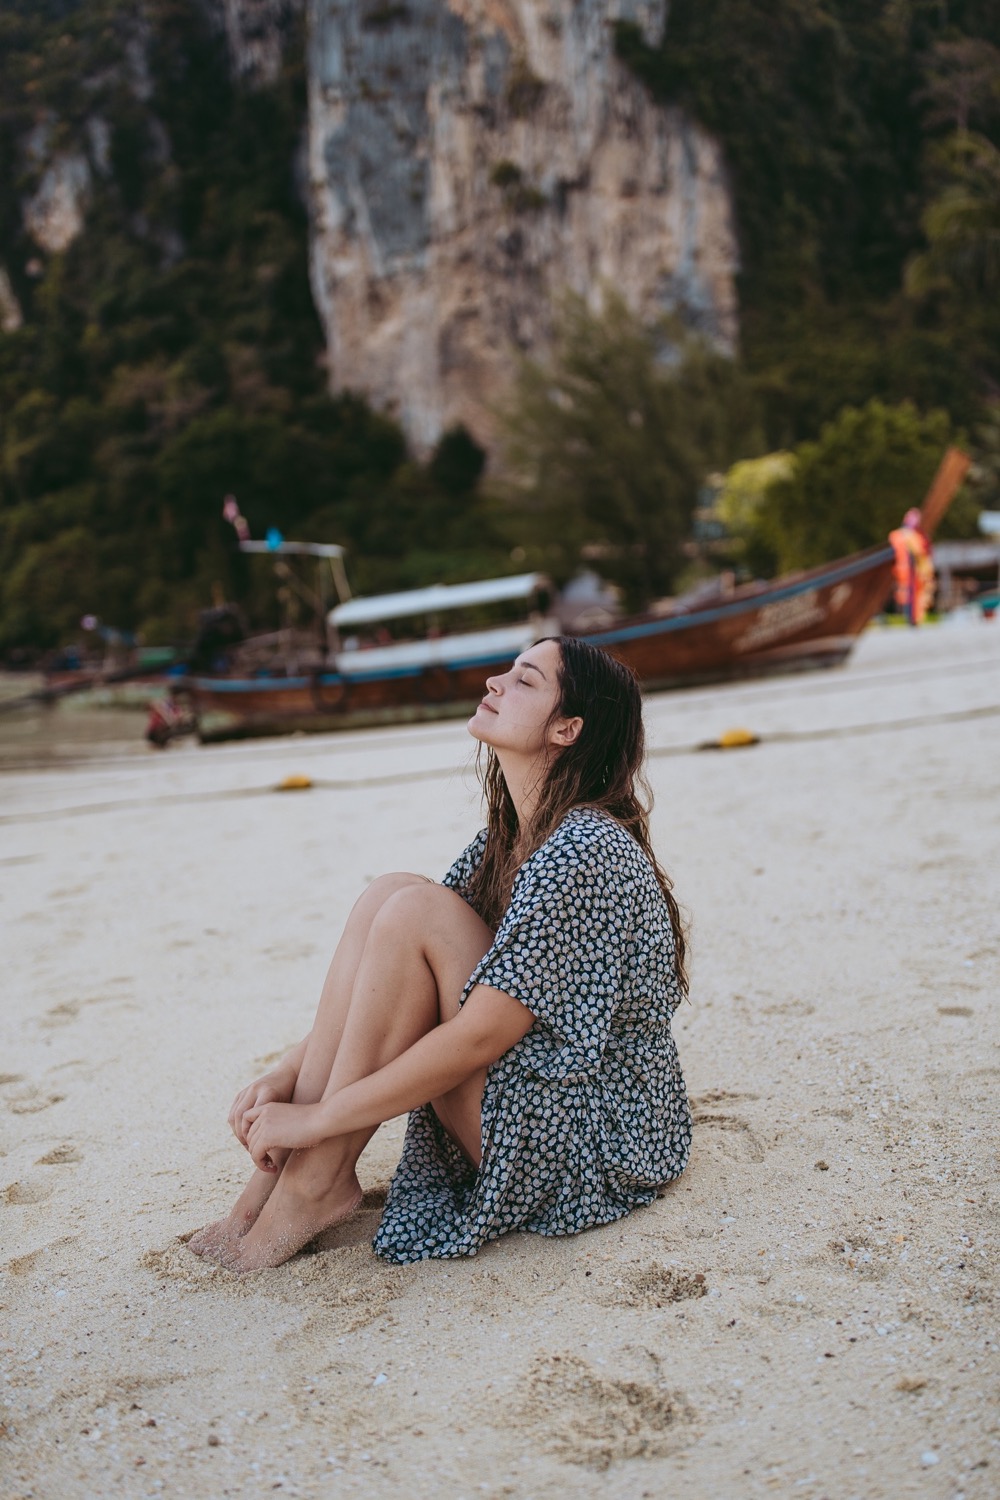
On Phi Phi was the ONE time I took out my Canon 35mm f1.4 with me to take a few portraits at the beach right in front of our hotel - which are the photos in the maxi dress just down below. The rest of the trip and time I only took photos with the Sony 28mm f2.

After Phi Phi, we took the ferry to Phuket where we reunited with our friends. Phuket is such a busy city and not really what I personally prefer when travelling - I would much rather be on a quieter and calmed island such as Phi Phi or Krabi. Regardless, we spent a couple of days at the beach soaking in the sun (with lots of sunscreen!) and swimming in the almost wave-less ocean. Unfortunately on our second day in Phuket I came down with food poisoning so the rest of my time in Thailand is a bit of a blur and a bore trying to get some rest to feel better. I’m not sure what I got sick from, but at one point or another everyone from our group of 7 fell sick to something expect for 2 people - Dan and Anetta (lucky them!).

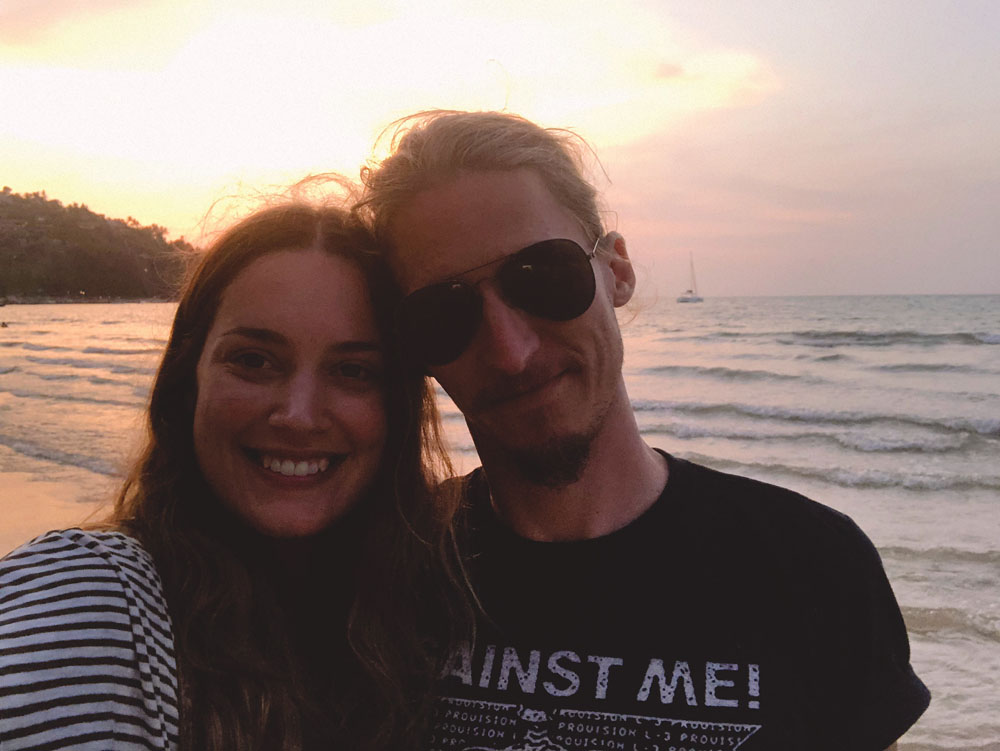
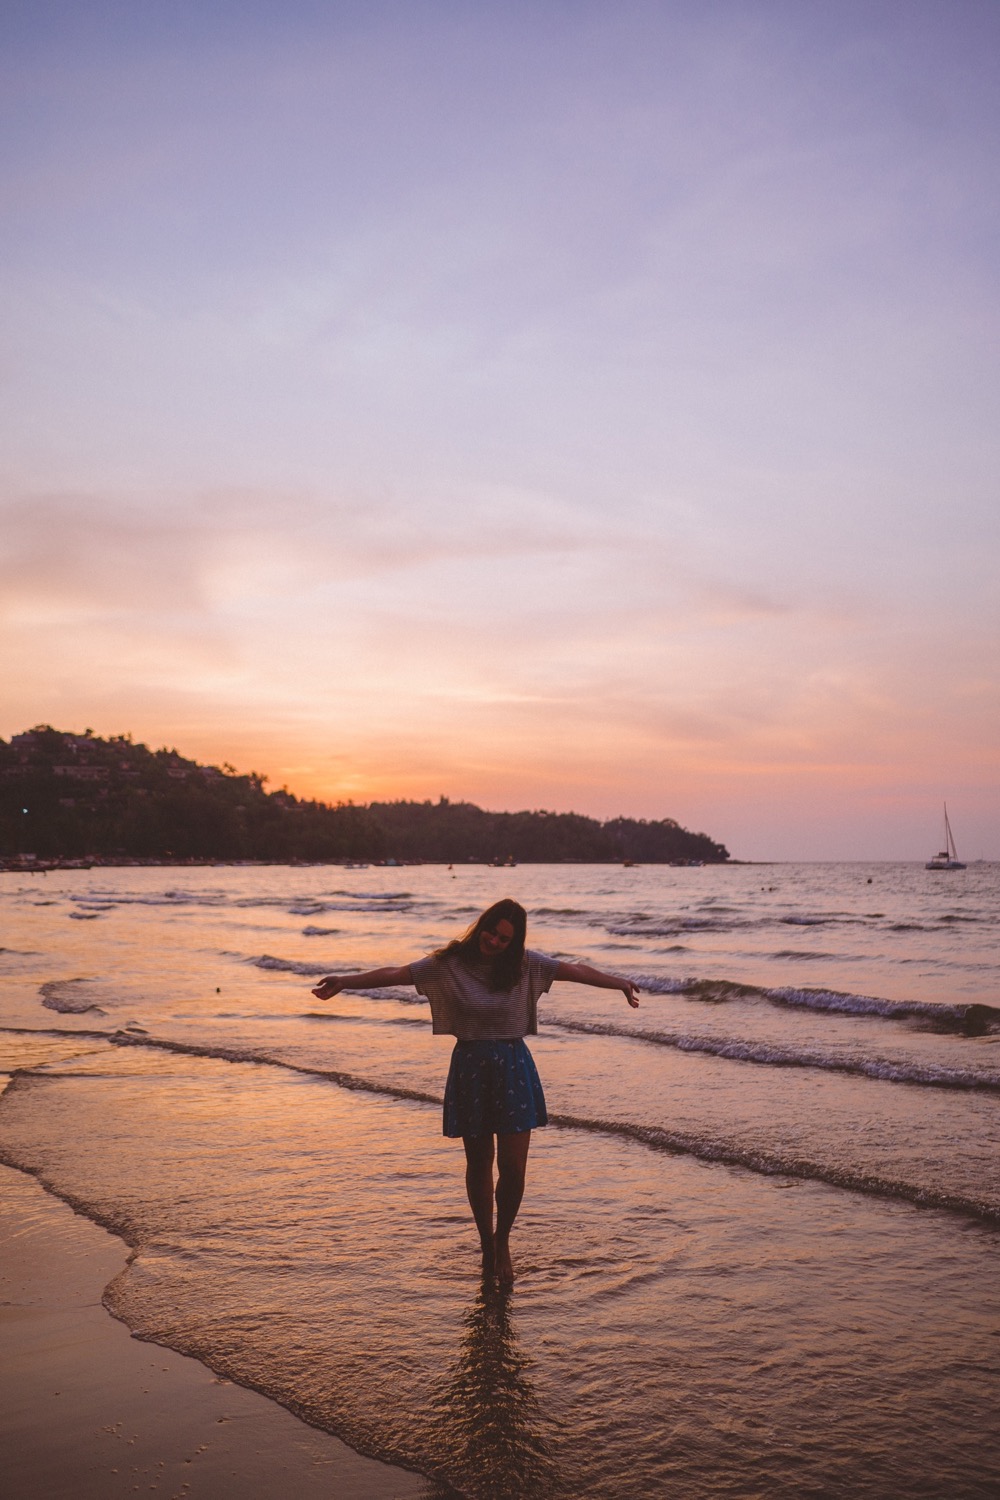
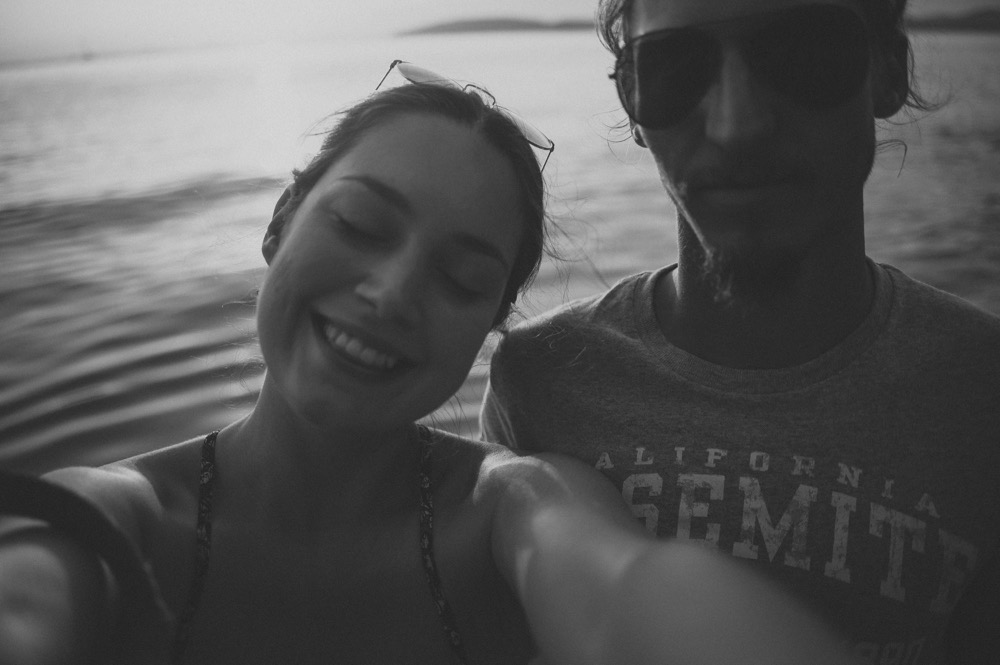
Phuket was too busy and loud for Dan and I’s taste, so we decided to move hotels further up north to a quieter part of the Phuket area called Bangtao. I was too sick to even move, so Dan was very sweet and packed up my suitcases (which everything was strewn around our hotel room lol) and with shaky legs, we got into a cab and spent the last few days hanging out at a beautiful beach where we took some of my favourite portraits of the trip with the sunset.

You can watch the video of my time in Thailand below which includes behind the scenes of how I took some of the photos in this blog post. And please subscribe to my YouTube Channel if you haven’t already! I upload new photography related videos every single Wednesday.

All photos edited with my Aspen Lightroom Preset + Florence Lightroom Preset!

This blog was put together with Narrative. I love using Narrative as part of my photoshoot culling process to see which images from a shoot I should edit and I also use it to easily & quickly be able to put together these blog posts with different layouts of images side by side. I’m really excited to say I’ve teamed up with Narrative and have a 15% discount code for you guys using the code julia15 or just clicking this link! You can download a free trial to test it out for 7 days too :)
All photos edited with my Aspen Lightroom Preset + Florence Lightroom Preset!


Comment

Thailand Travel Photography, Krabi

Comment

Thailand Travel Photography, Krabi

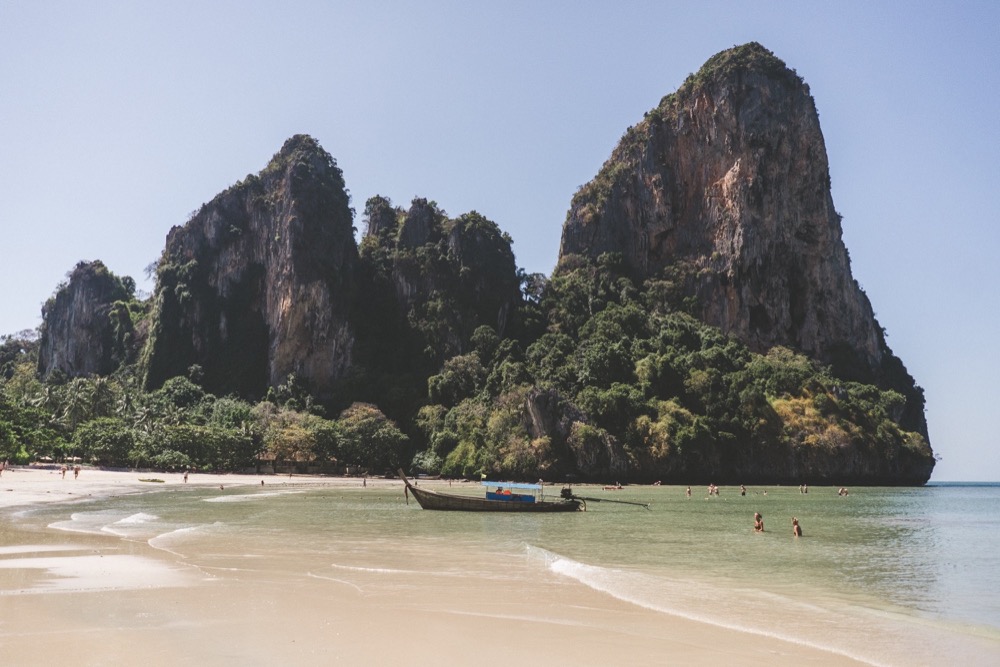
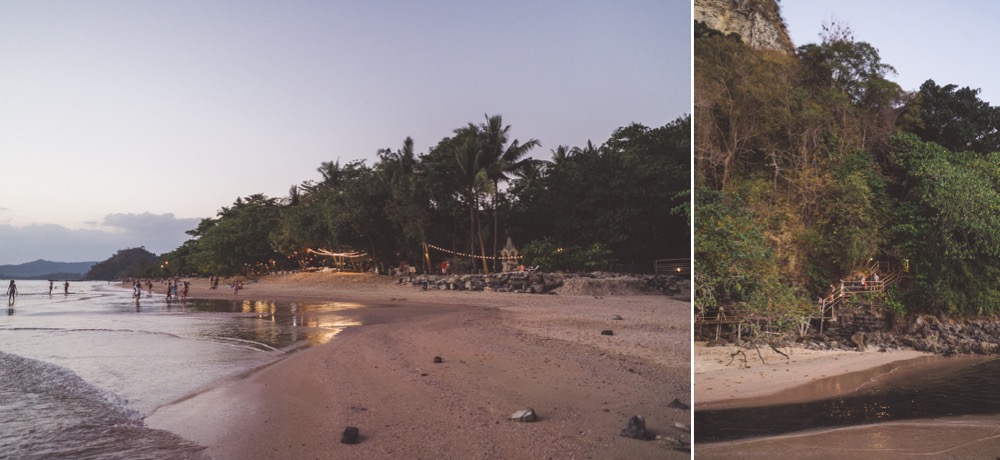
From Chiang Mai, we took a flight to Bangkok and then a flight down to Krabi. Dan and I have been working extremely hard this first half of the year, we had a lot of weddings to capture, lots of YouTube videos to make and just lots of editing, meetings, working in general which has been pretty stressful! So I was really excited to finally make it down to the beach where we could split our time between exploring and relaxing, soaking up the bright sun by the clear water.

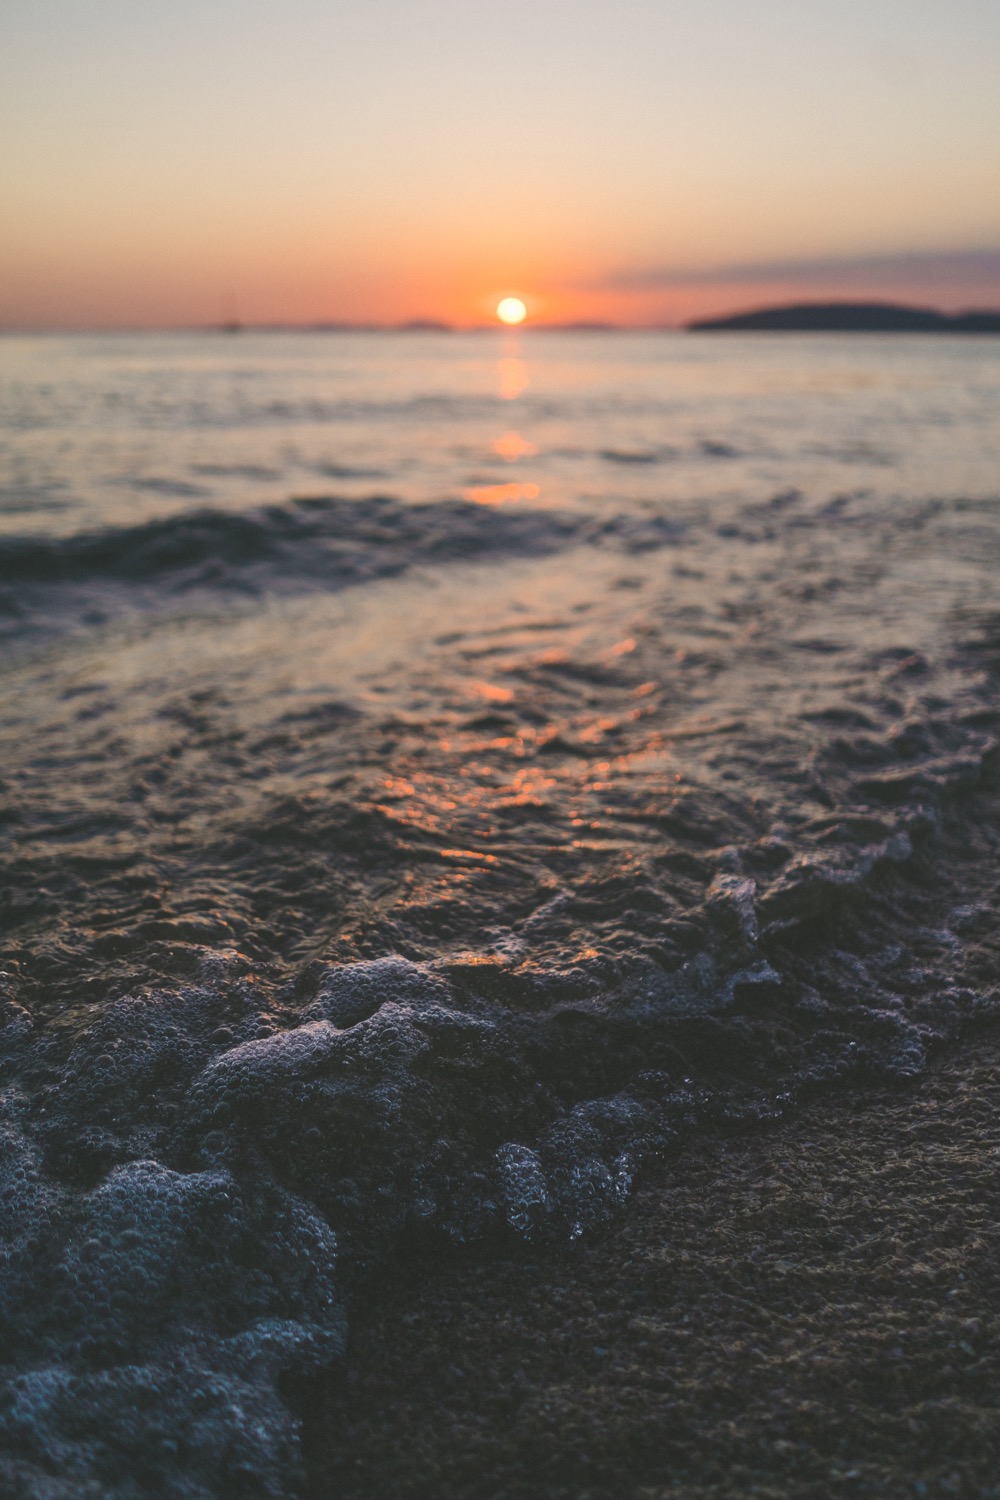
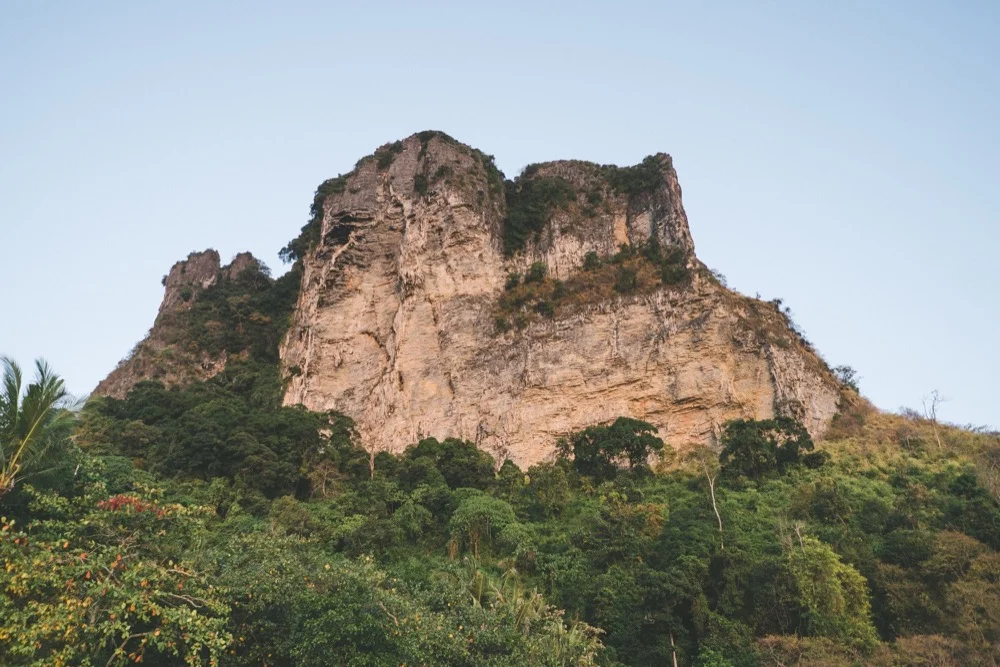
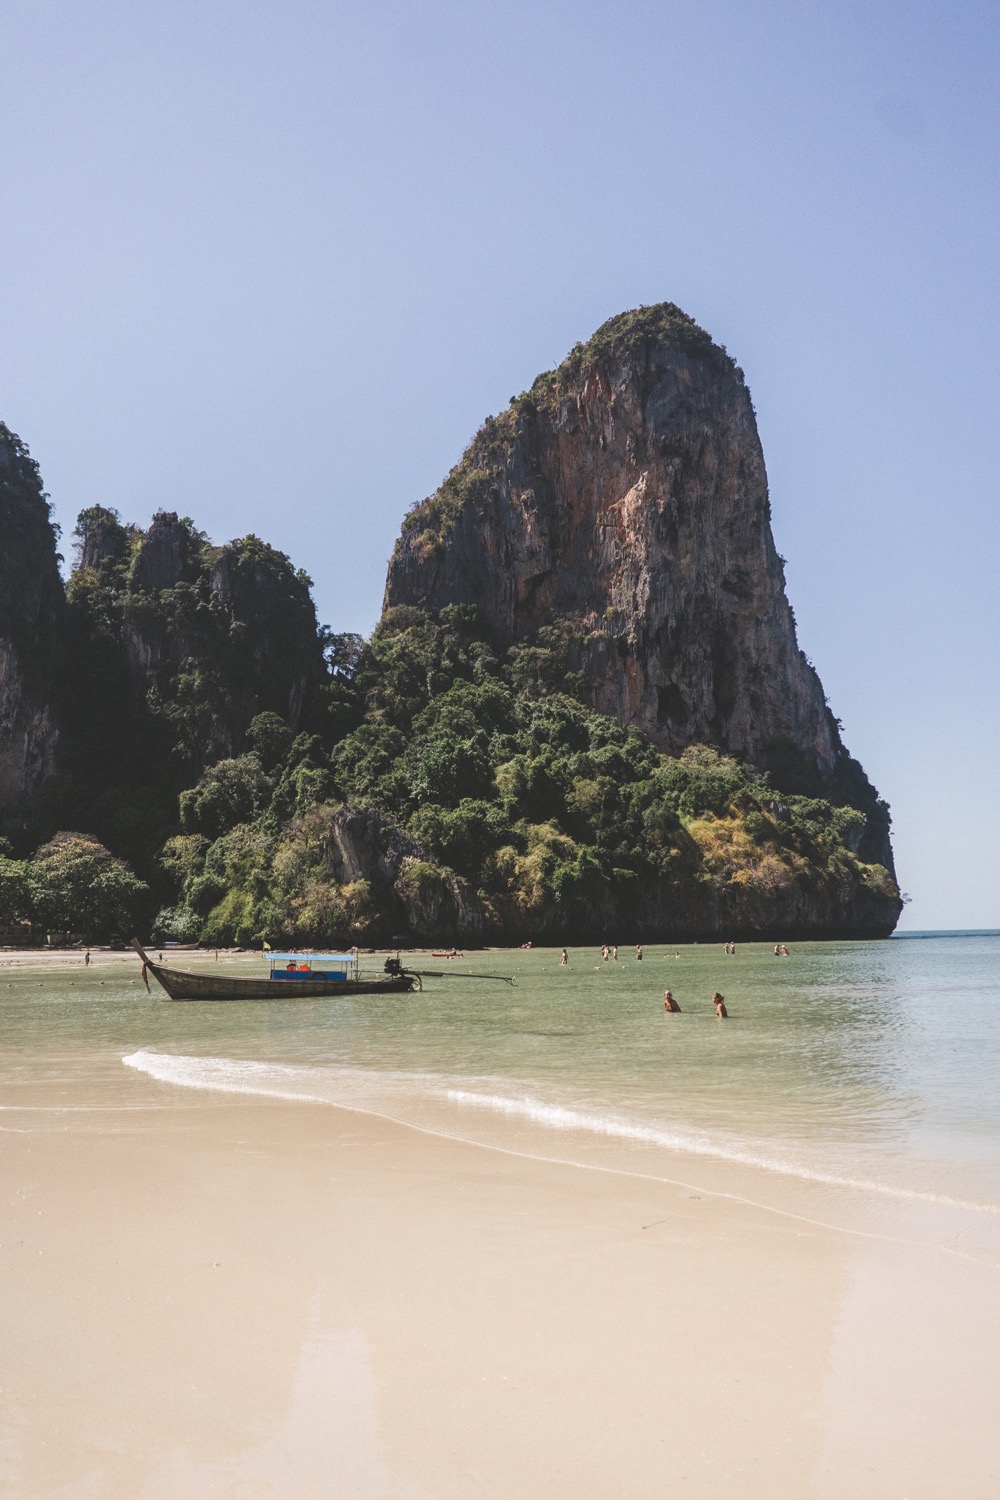
We spent our first afternoon lazing around on Ao Nang with our group, we had some Changs in the ocean and watched the sun set over the water. It was a very calm afternoon and I couldn’t wipe the smile off my face. The next day, we took a long-tail boat to some beaches, the first stop was Railay where the cliffs and rocks hanging over the water were absolutely beautiful! Luckily we had a big group of 7, so we were able to take the long-tails whenever we wanted instead of having to wait for other people to have a big enough group for the locals to want to take us to another location. I only took a handful of photos this day as I was swimming and didn’t want to get my Sony A7III too wet or sandy by taking it out of my bag every few minutes!

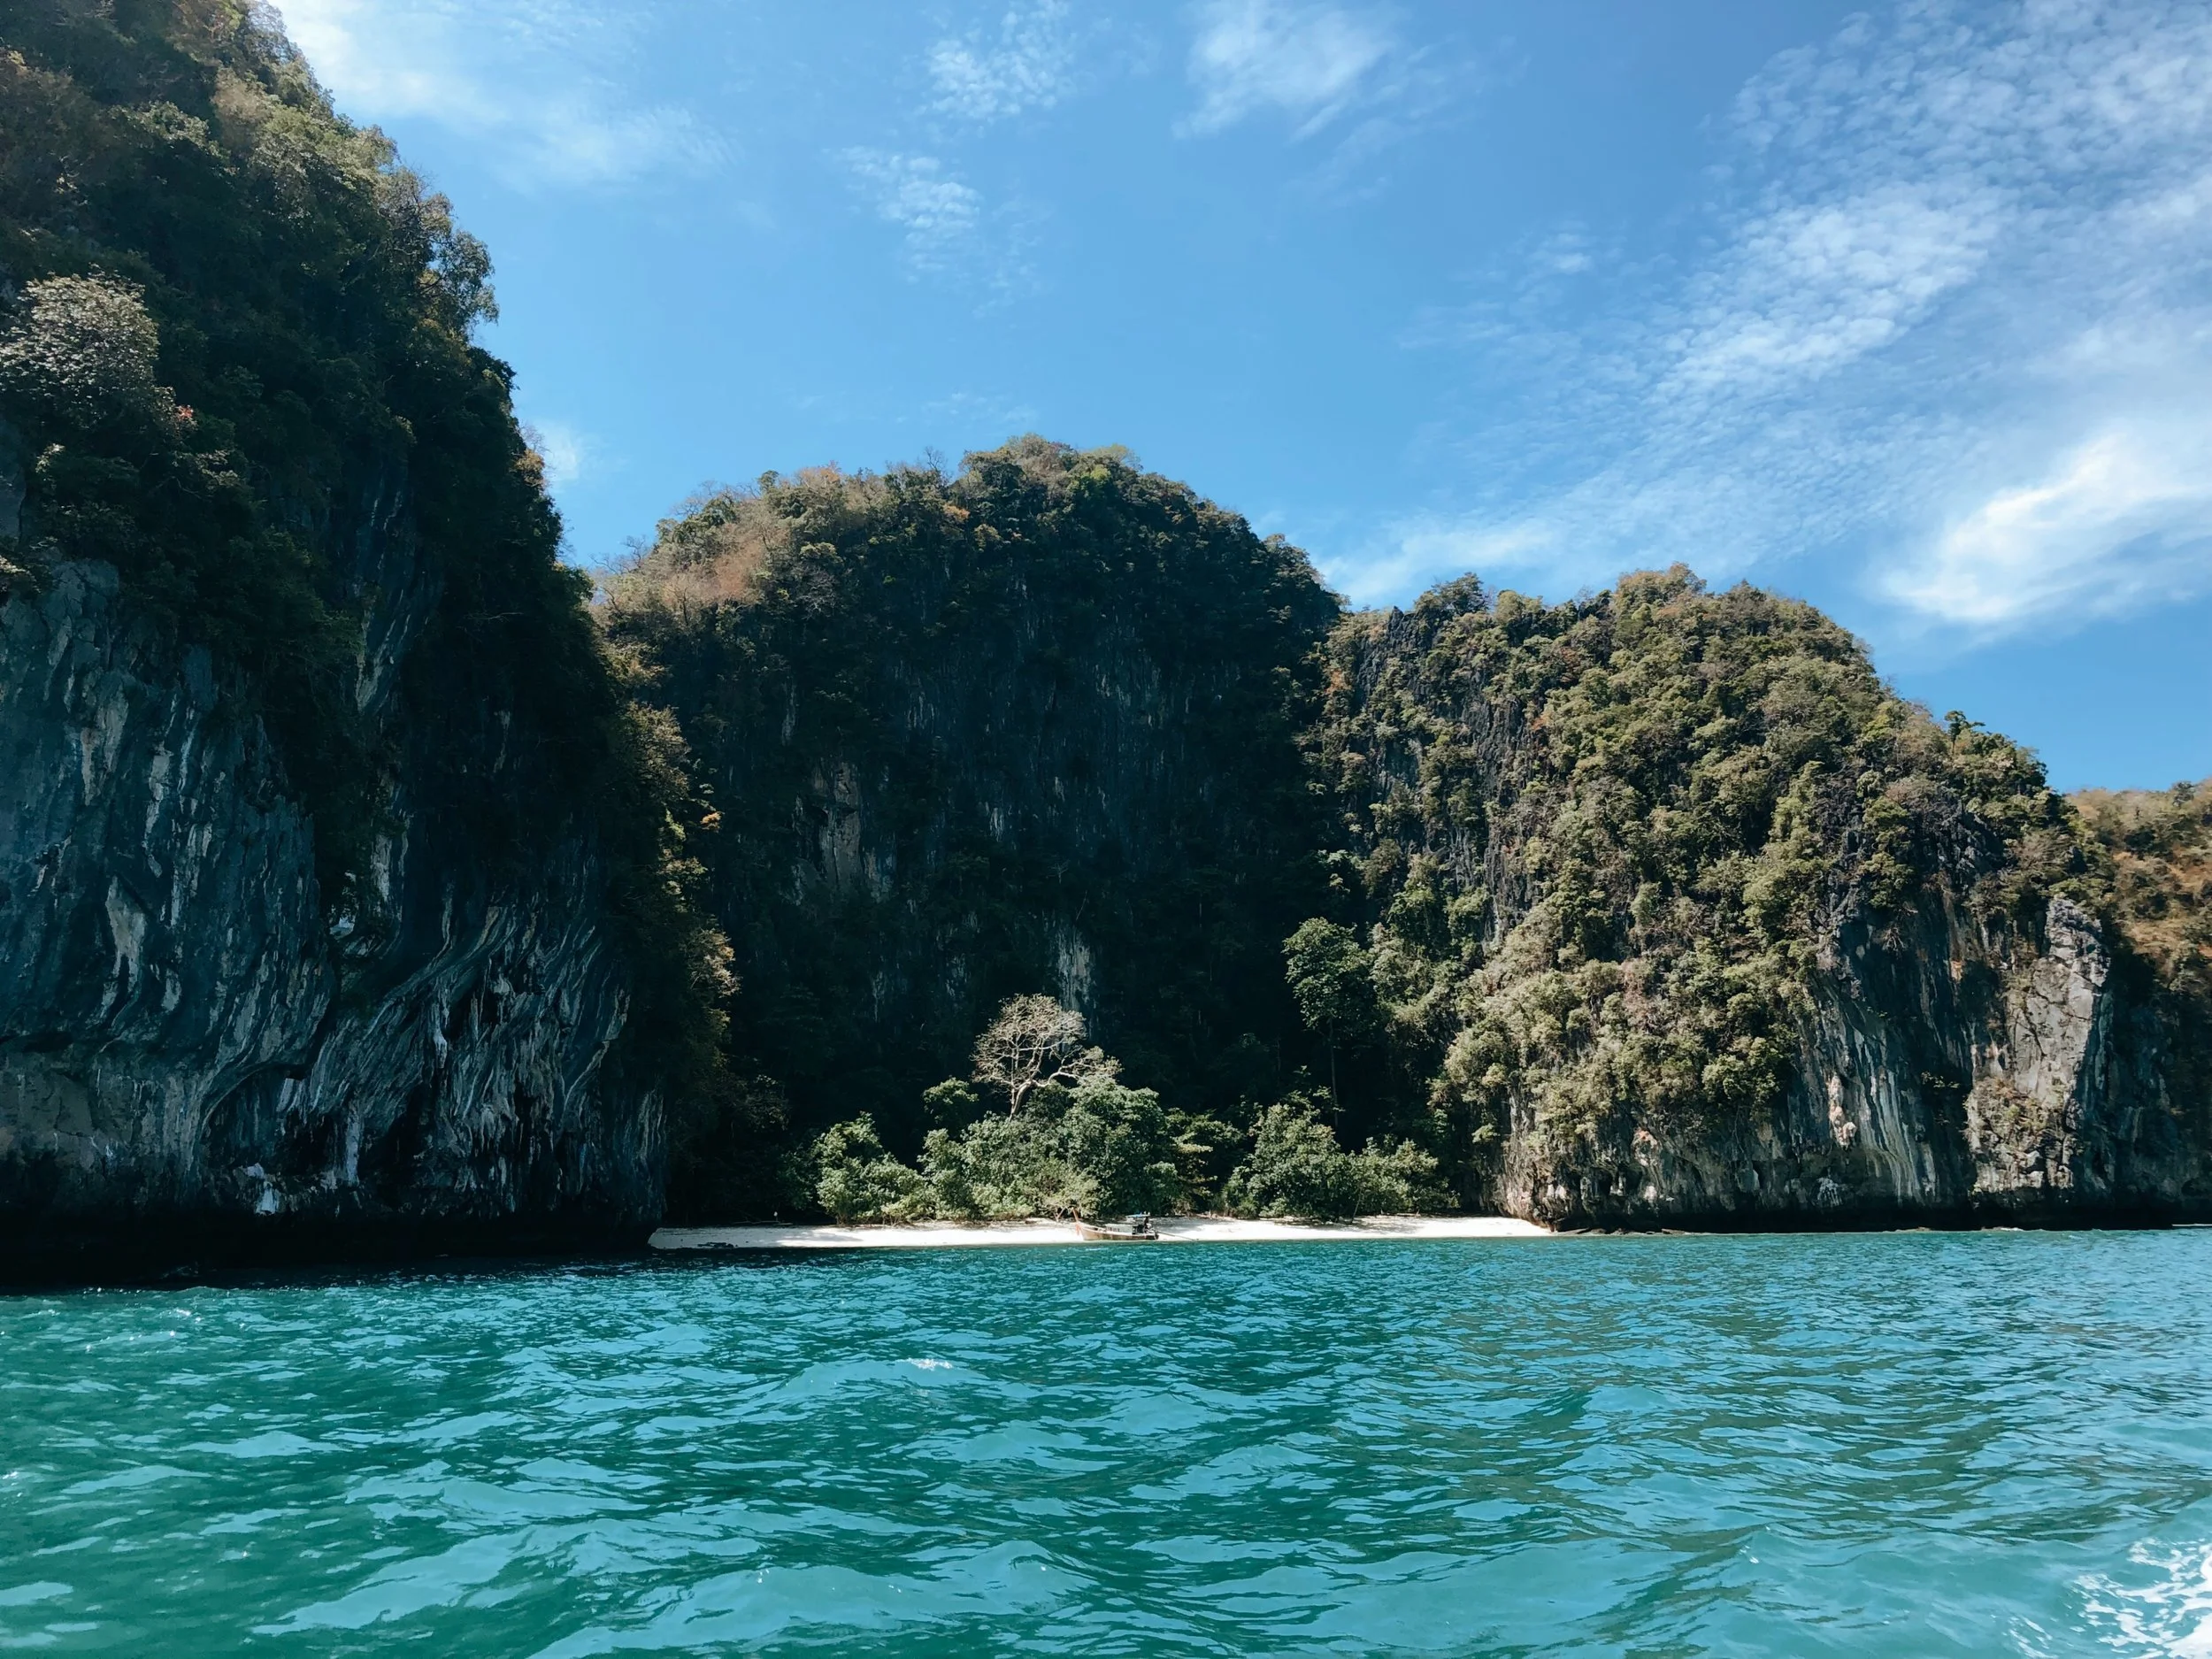
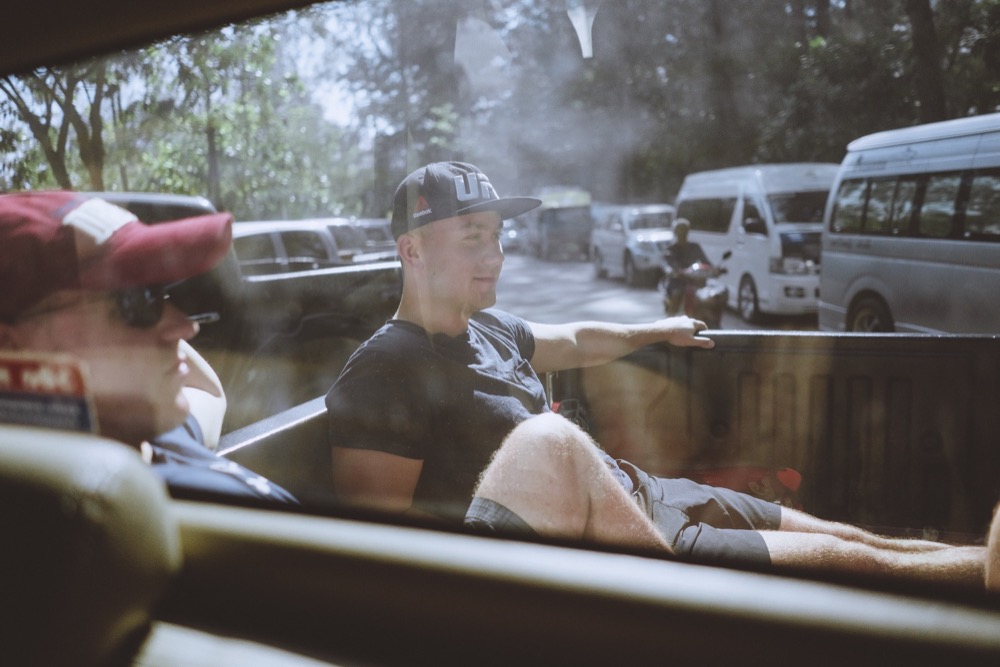
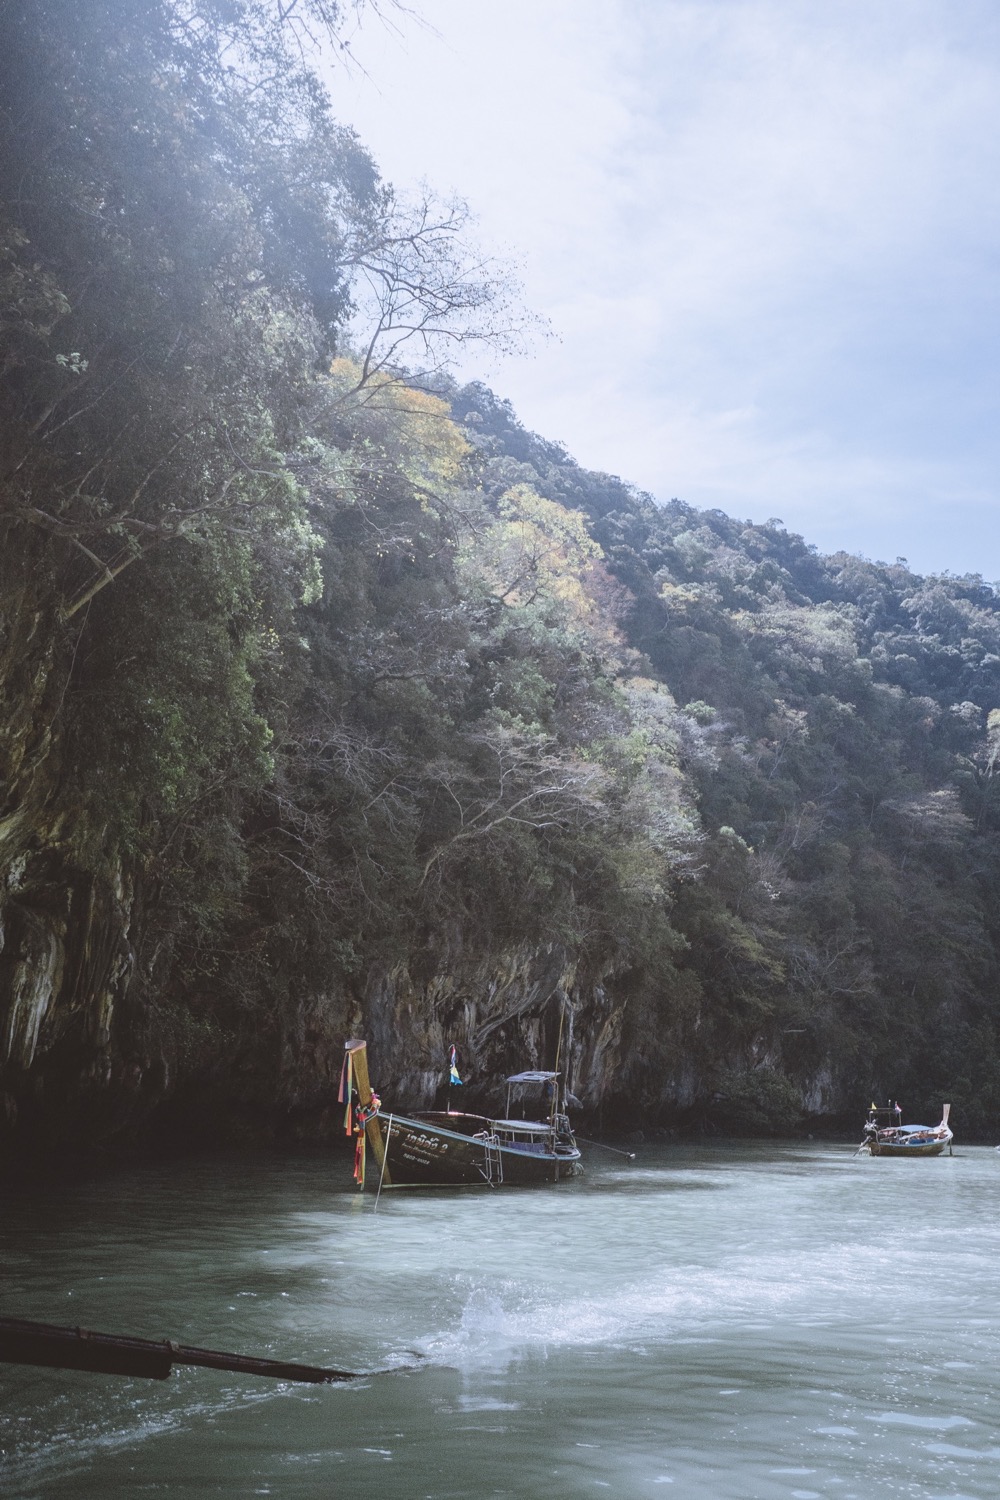
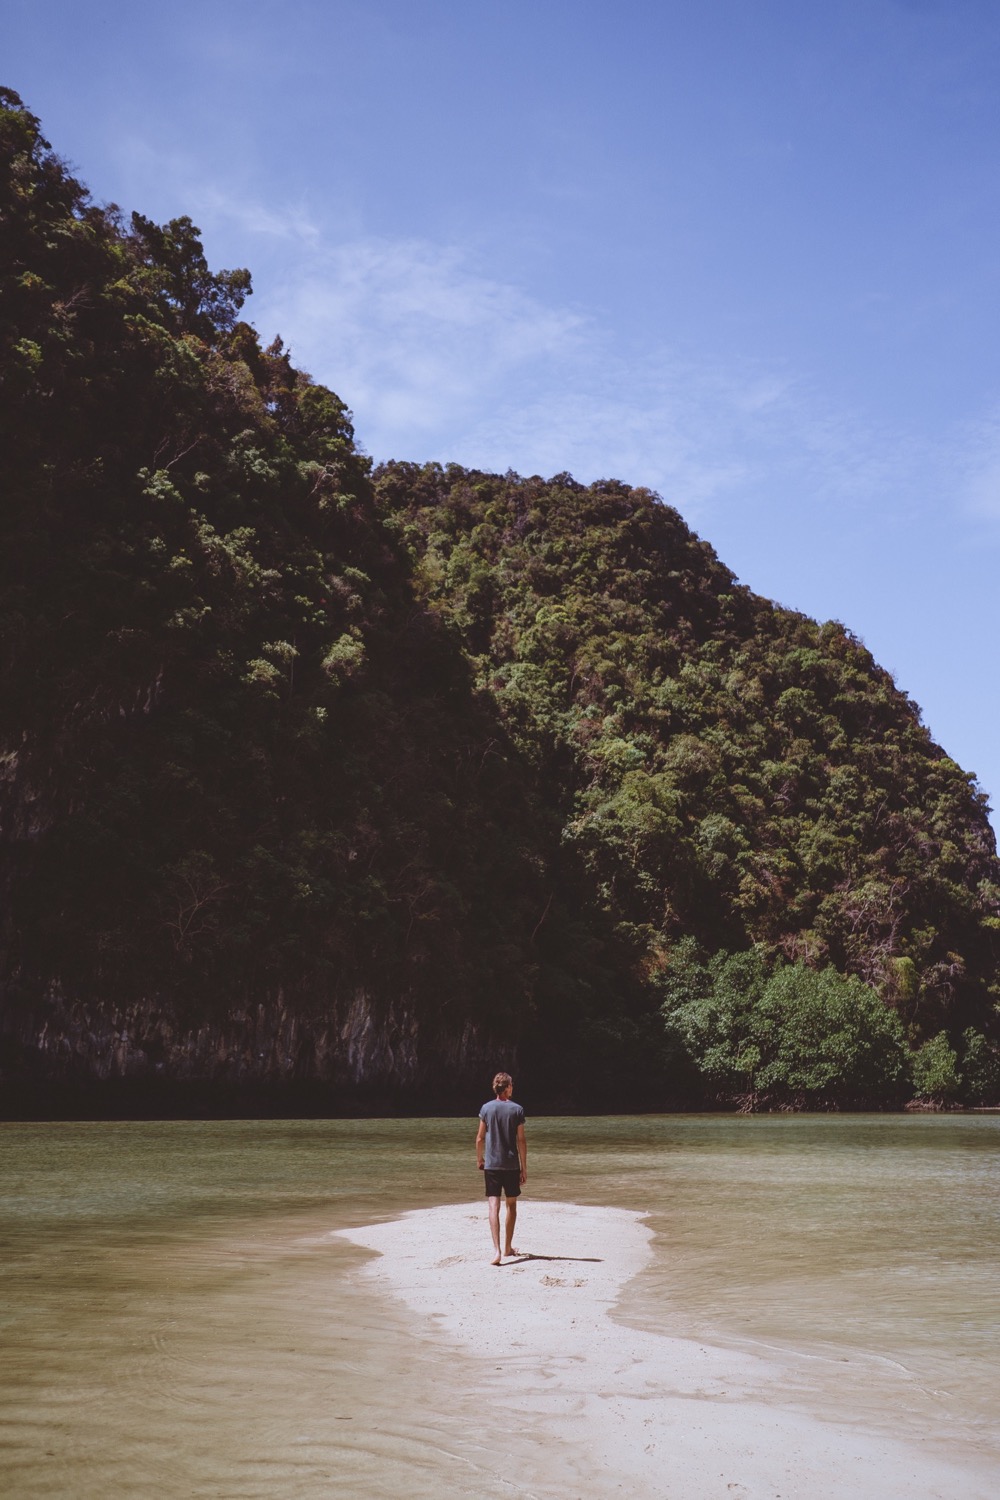
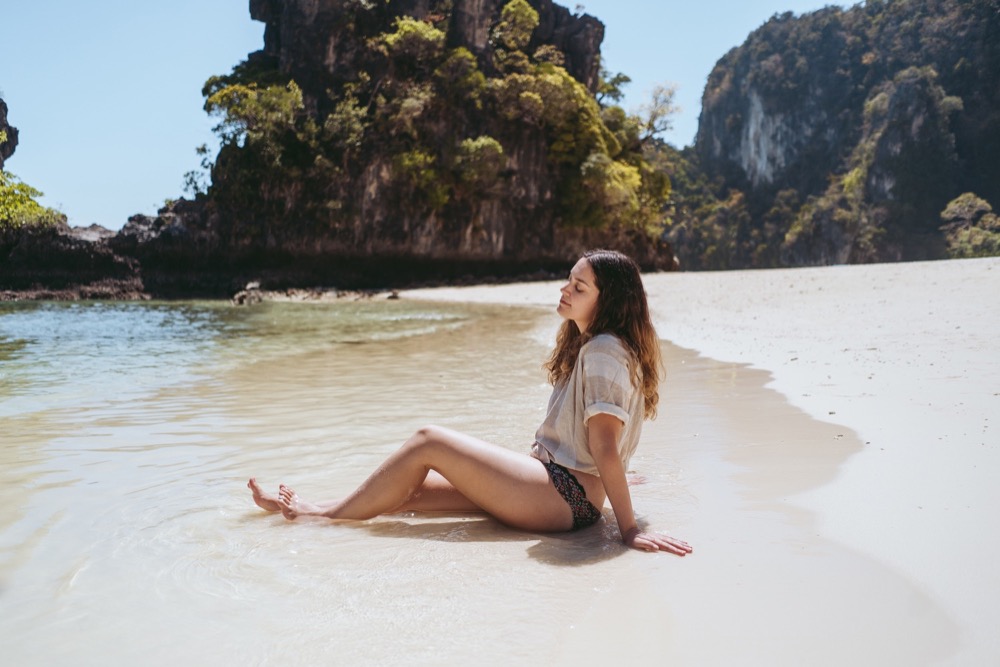
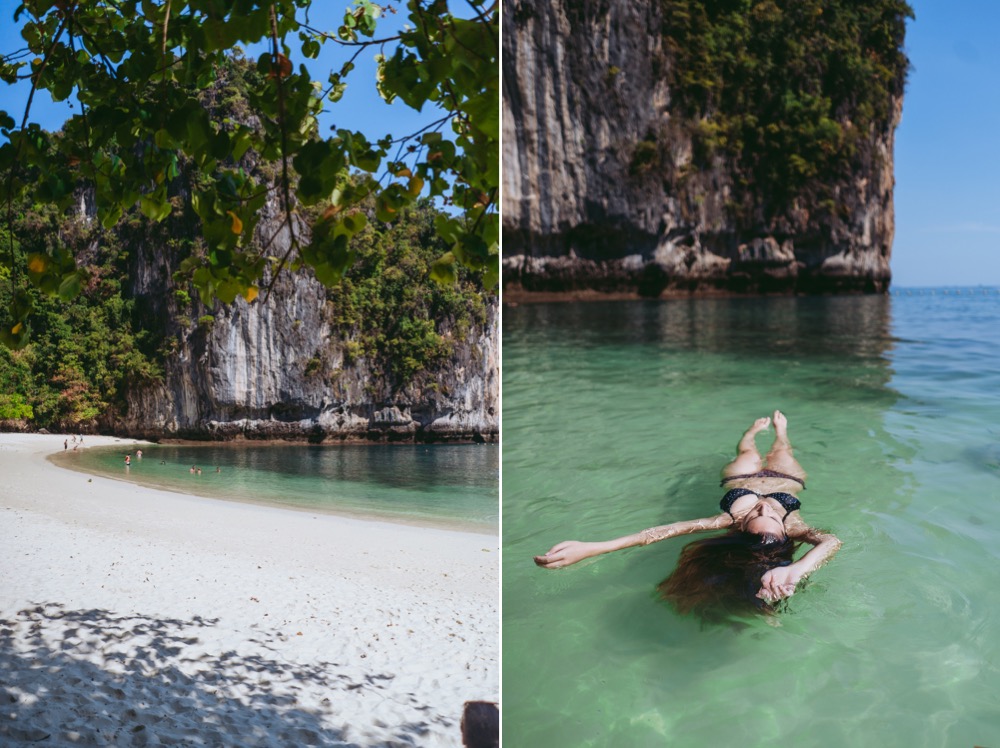
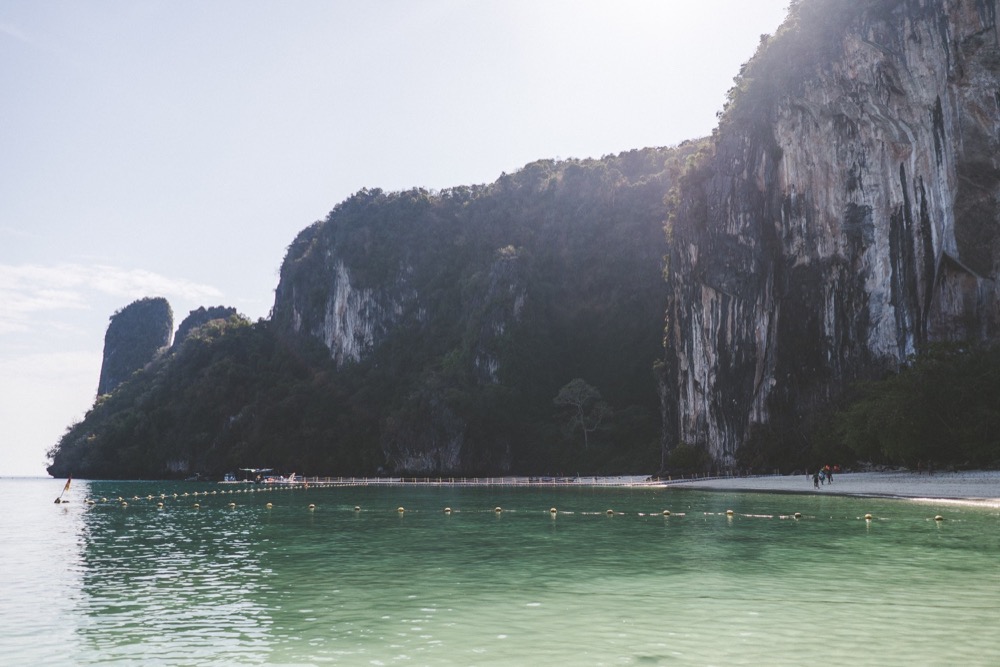
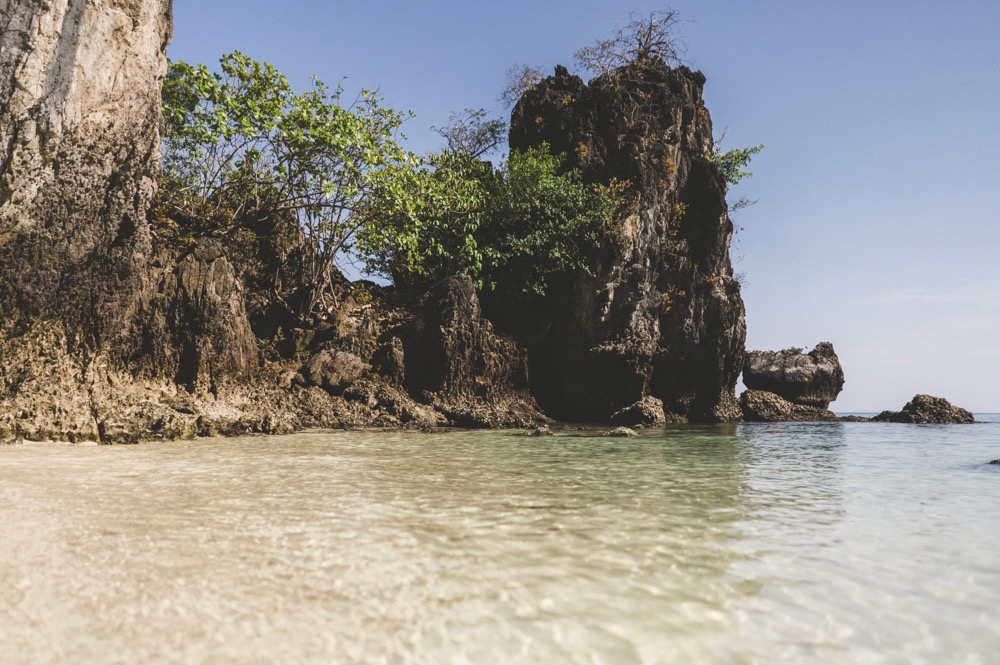
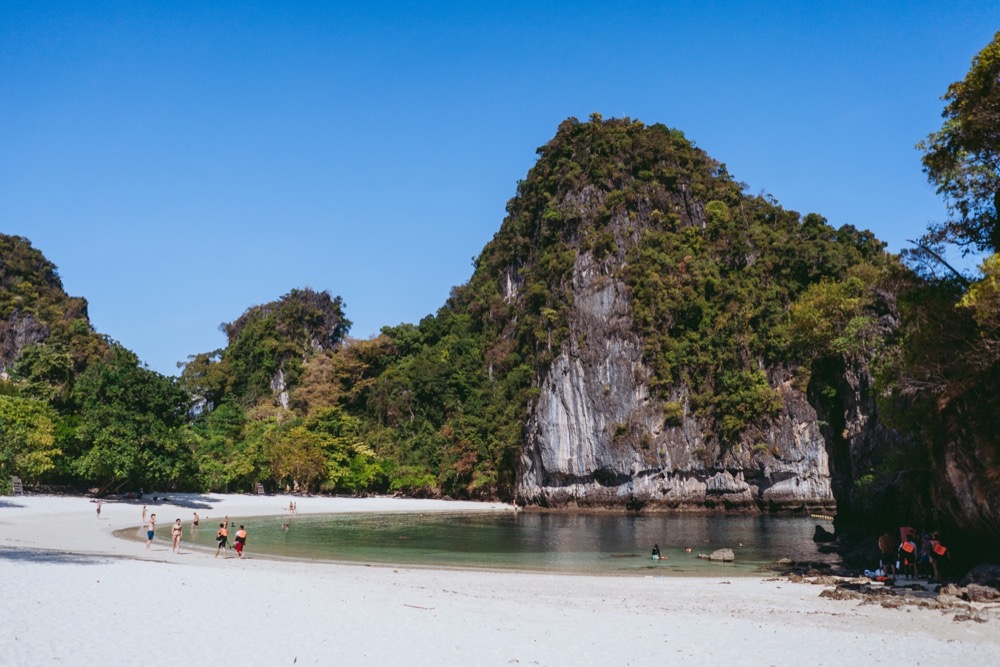
The next day, we booked a private long-tail boat to take us to Hong Island where we visited the pristine lagoon and went snorkelling on Hong Bay, it was amazing! When we first arrived to the island it was absolutely packed - there wasn’t a spare spot to swim or lay on the beach. But as the day went on, everyone started leaving on the ferries and we were left with the whole beach practically to ourselves! Luckily we had a private driver for the day so we were able to leave whenever we wanted. He took us to one last beach before heading back to Krabi which again was an unbelievable deserted island at this time in the afternoon with palm trees intertwined in the landscape of cliffs over the clear ocean.

You can watch the video of my time in Thailand below which includes behind the scenes of how I took some of the photos in this blog post. And please subscribe to my YouTube Channel if you haven’t already! I upload new photography related videos every single Wednesday.

All photos edited with my Disposable Film Lightroom Preset + Florence Lightroom Preset!

This blog was put together with Narrative. I love using Narrative as part of my photoshoot culling process to see which images from a shoot I should edit and I also use it to easily & quickly be able to put together these blog posts with different layouts of images side by side. I’m really excited to say I’ve teamed up with Narrative and have a 15% discount code for you guys using the code julia15 or just clicking this link! You can download a free trial to test it out for 7 days too :)
All photos edited with my Disposable Film Lightroom Preset + Florence Lightroom Preset!


Comment

scotland instagram diary

Comment

scotland instagram diary

Follow me on my instagram accounts:

main account  @julia trotti

personal account  @juls.trotti

 Be sure to subscribe to my YouTube Channel as I upload a new photography video every week!

Comment

Travel Photography Ideas in Chiang Mai, Thailand

Comment

Travel Photography Ideas in Chiang Mai, Thailand

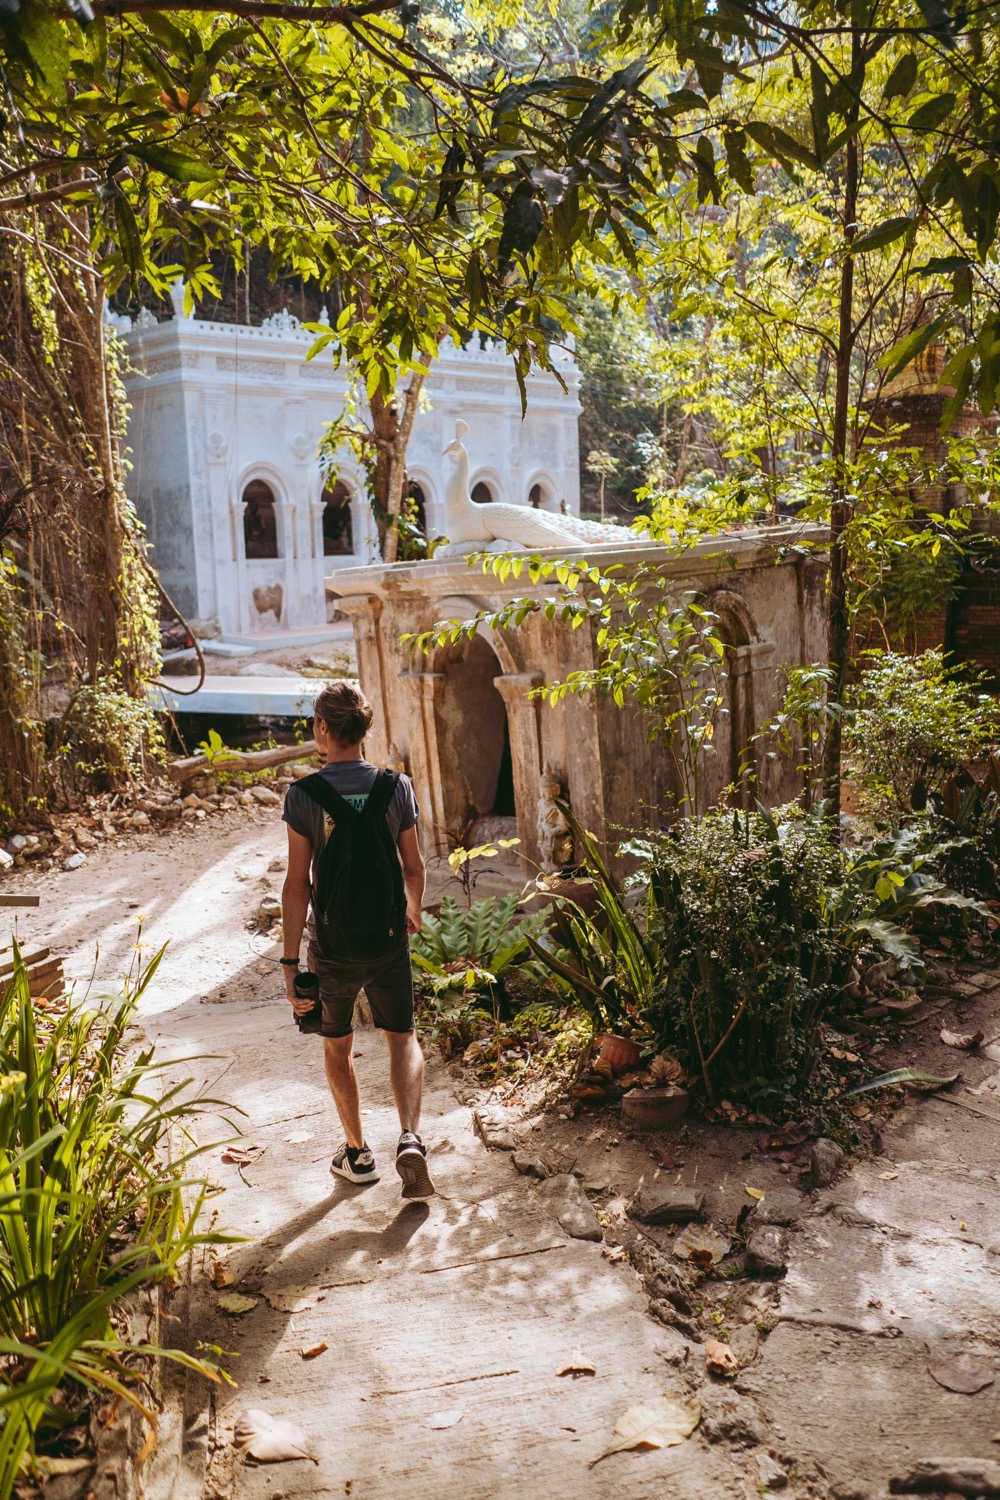
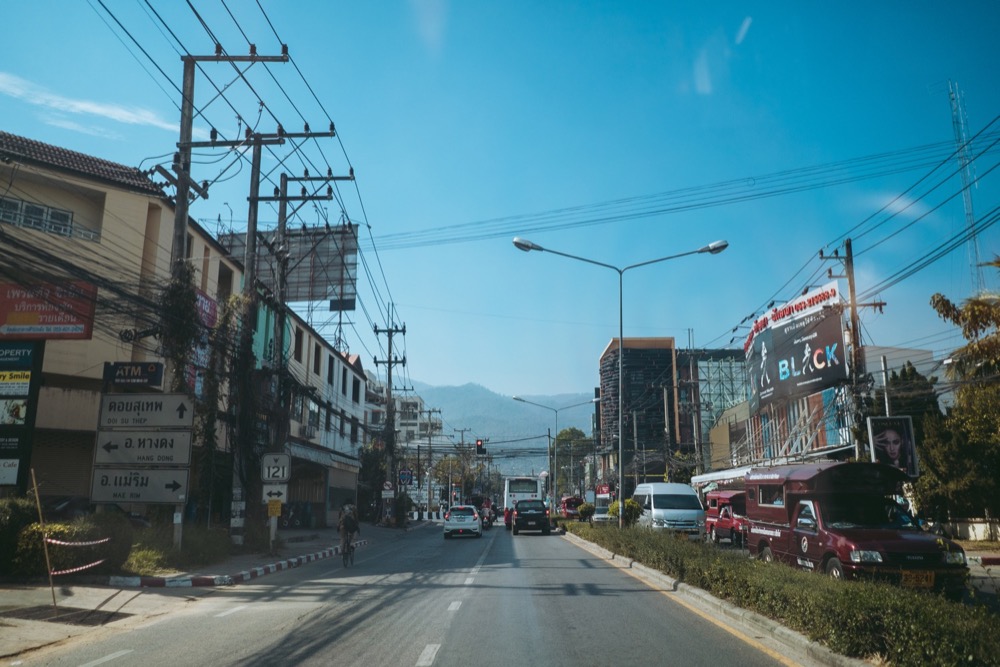
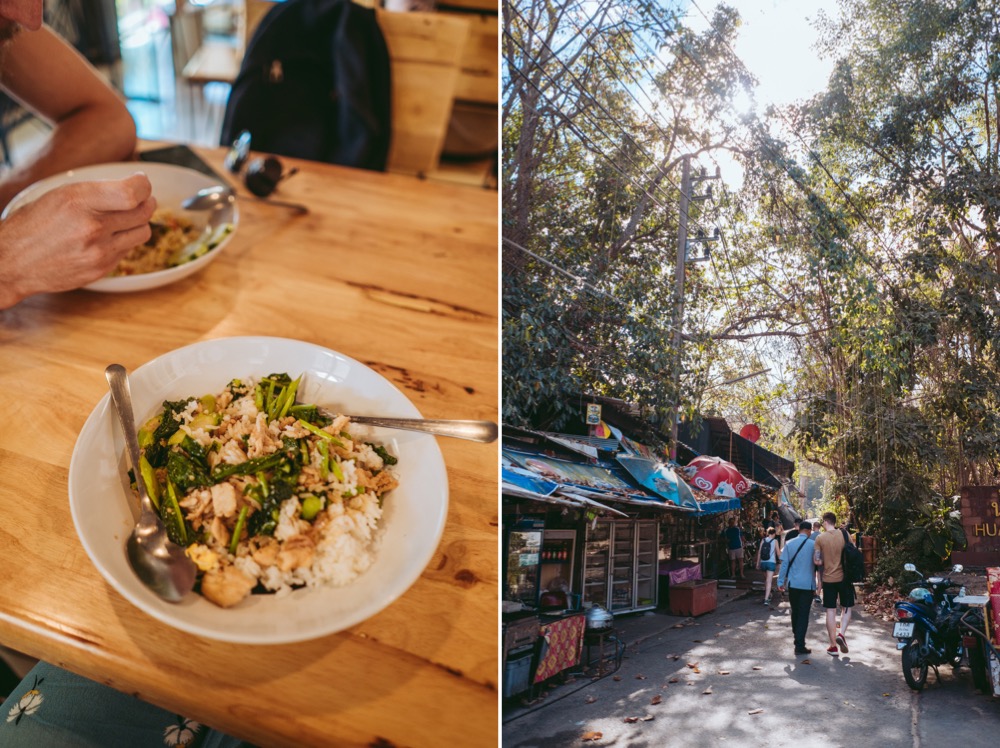
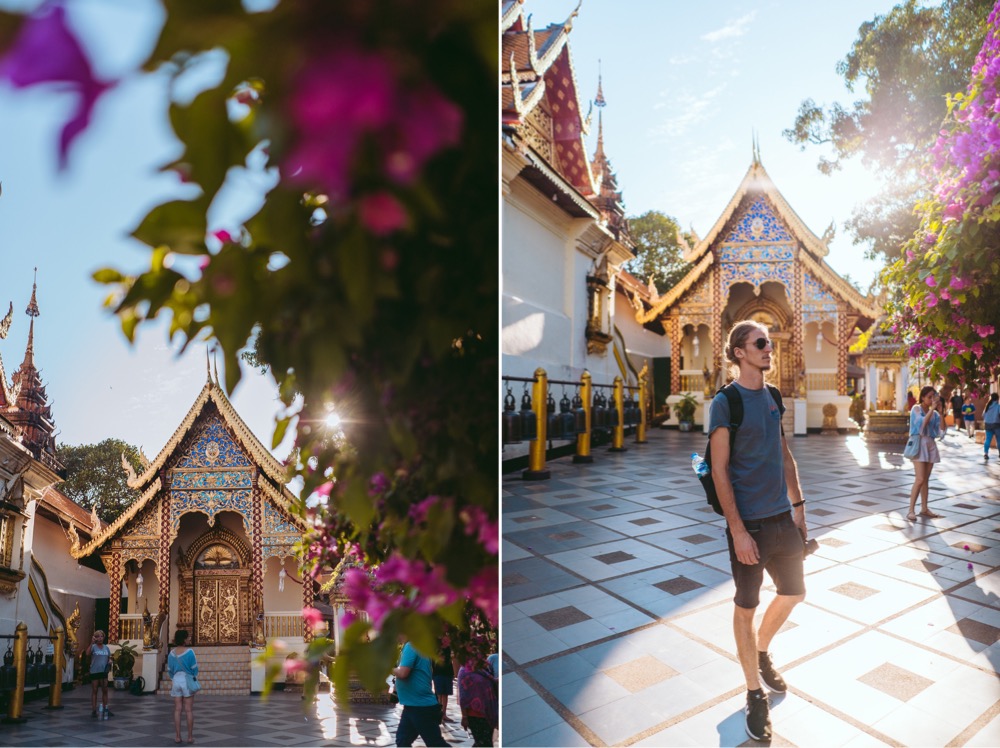
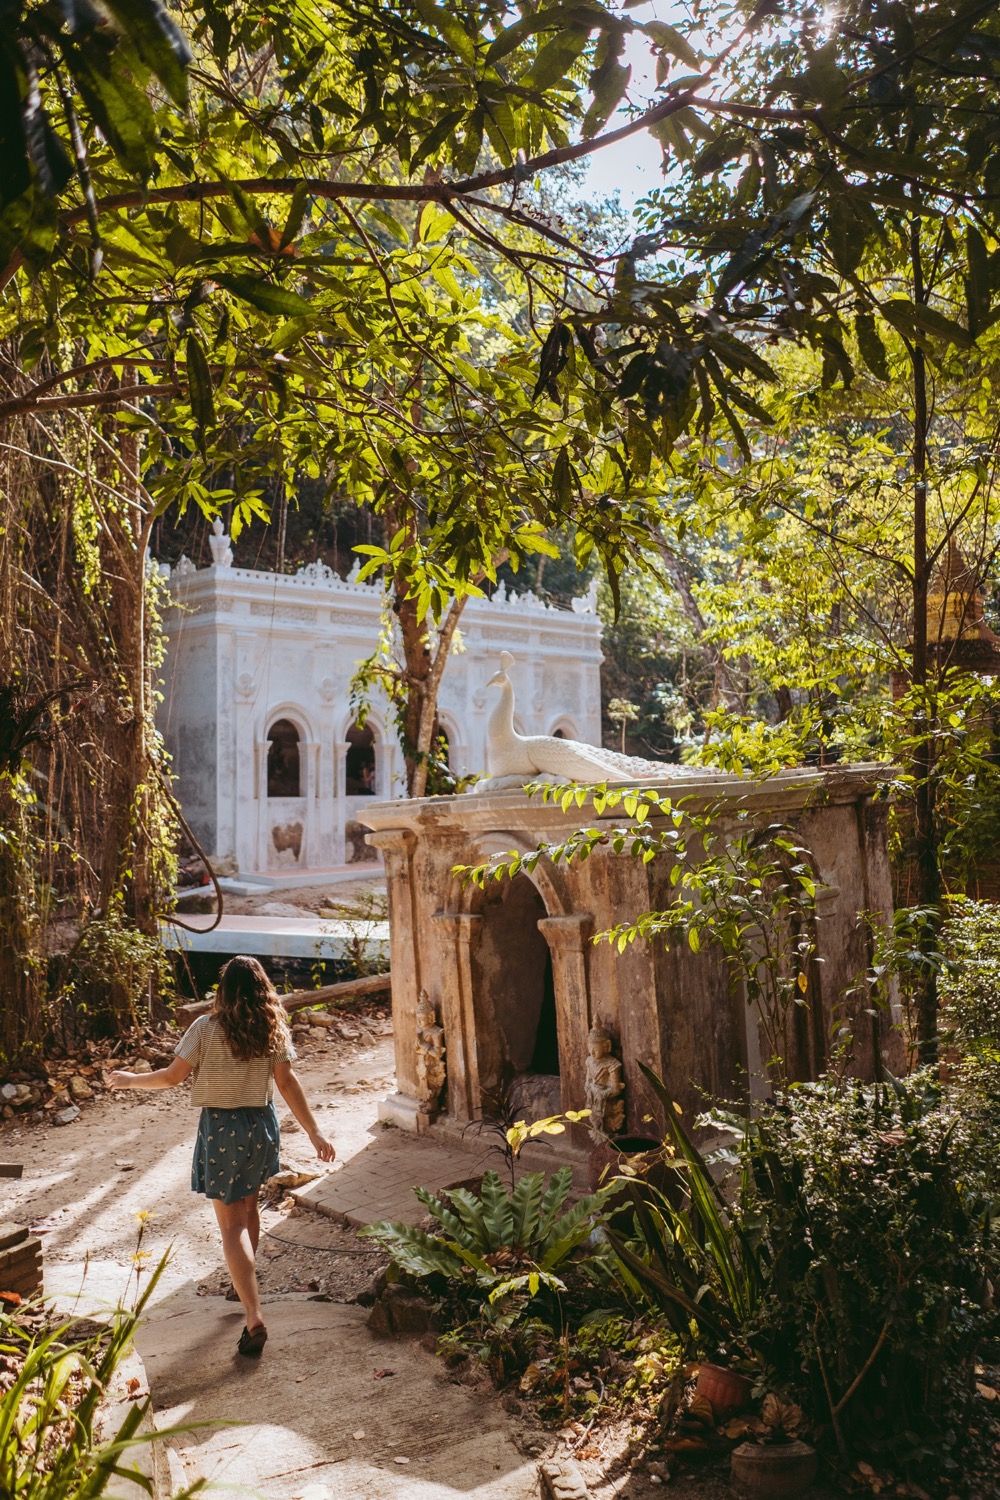
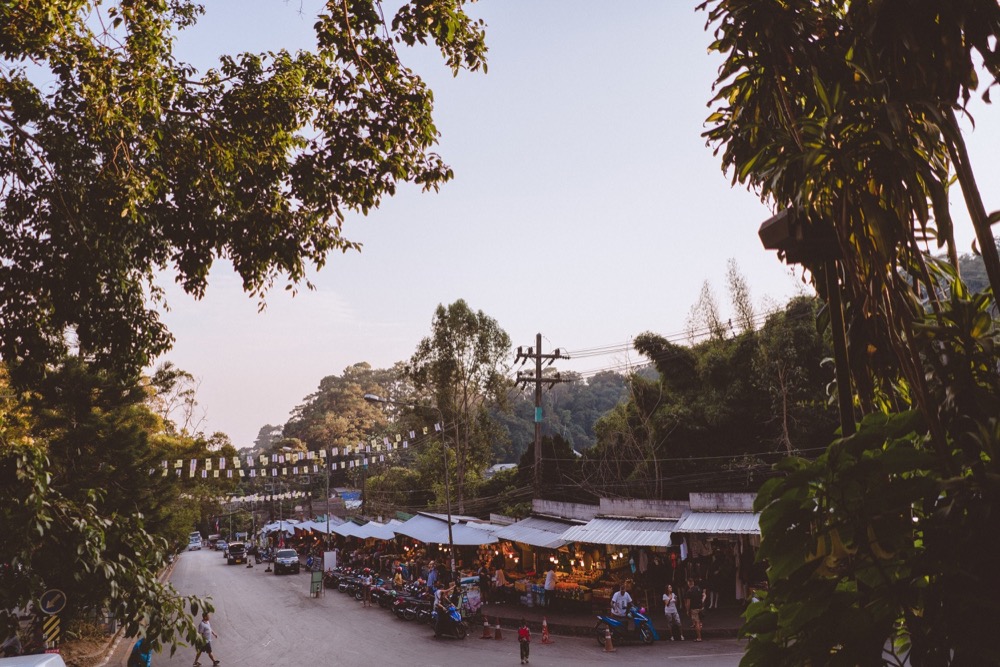
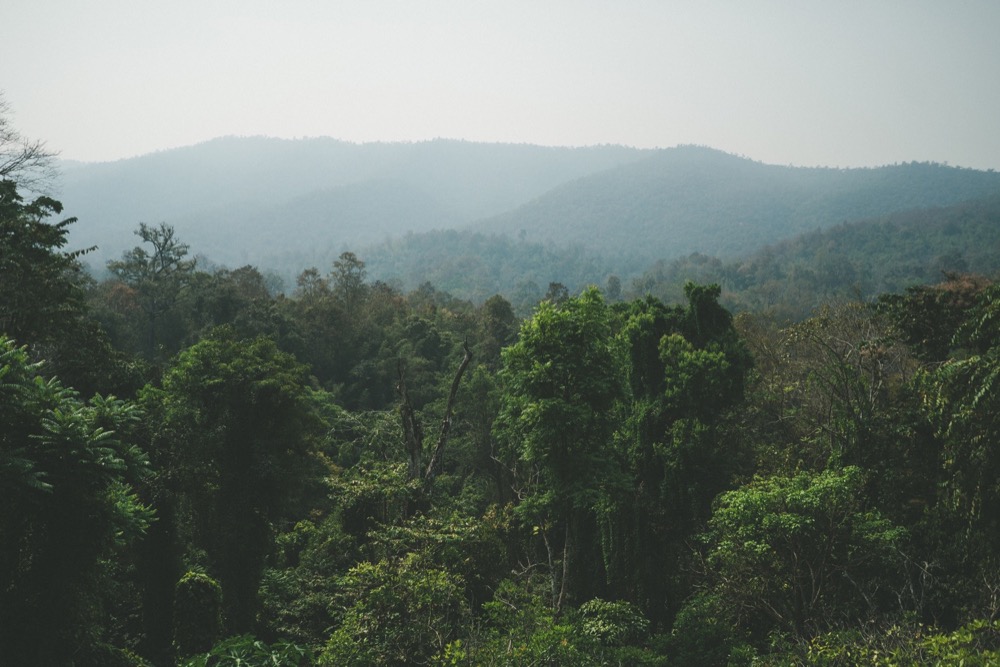
After spending 2 days in Bangkok, the next stop of our Thailand trip is Chiang Mai. I think Chiang Mai was one of my favourite parts of this whole trip, its a quiet city nestled within the mountains and forests, so there is lots of green around. There are also so many different places to visit and things to do!

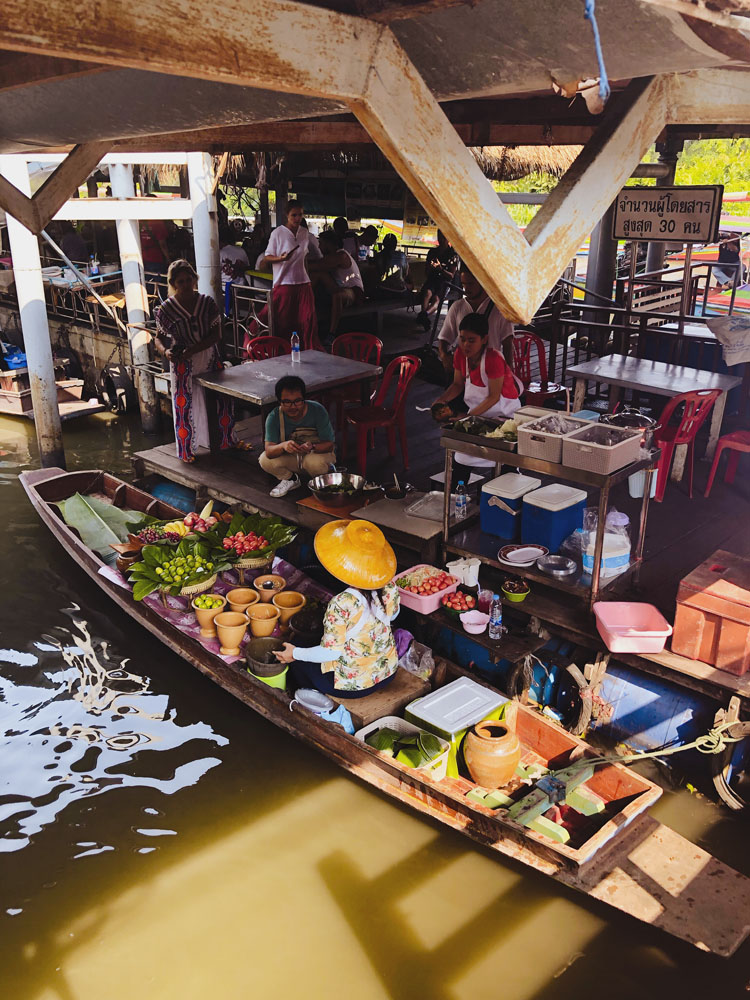
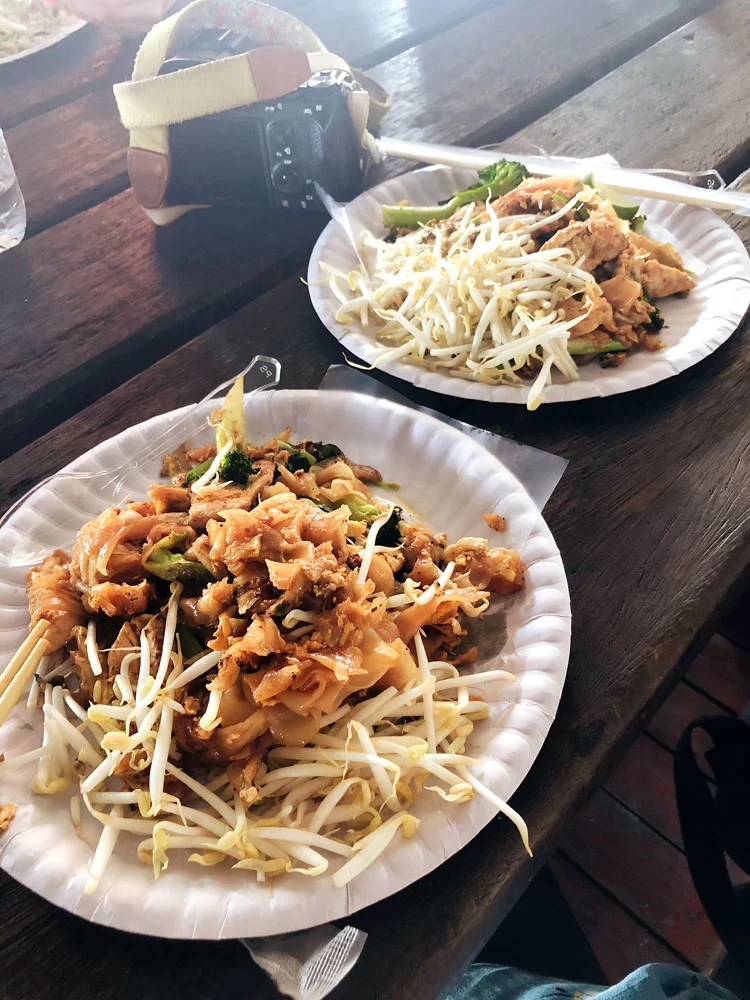
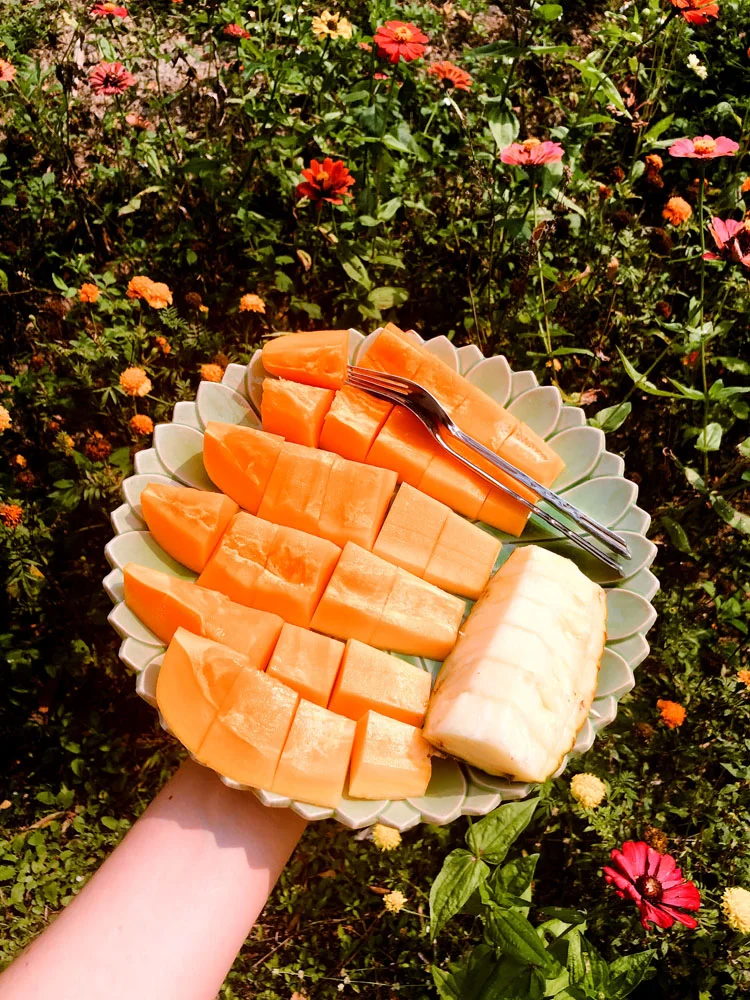
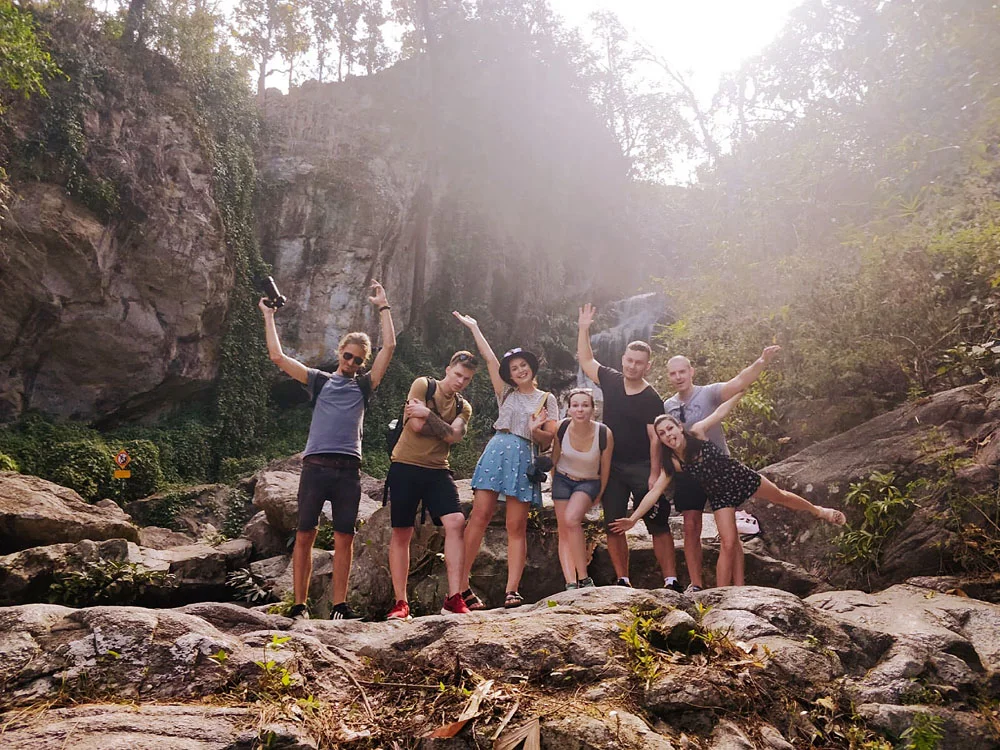
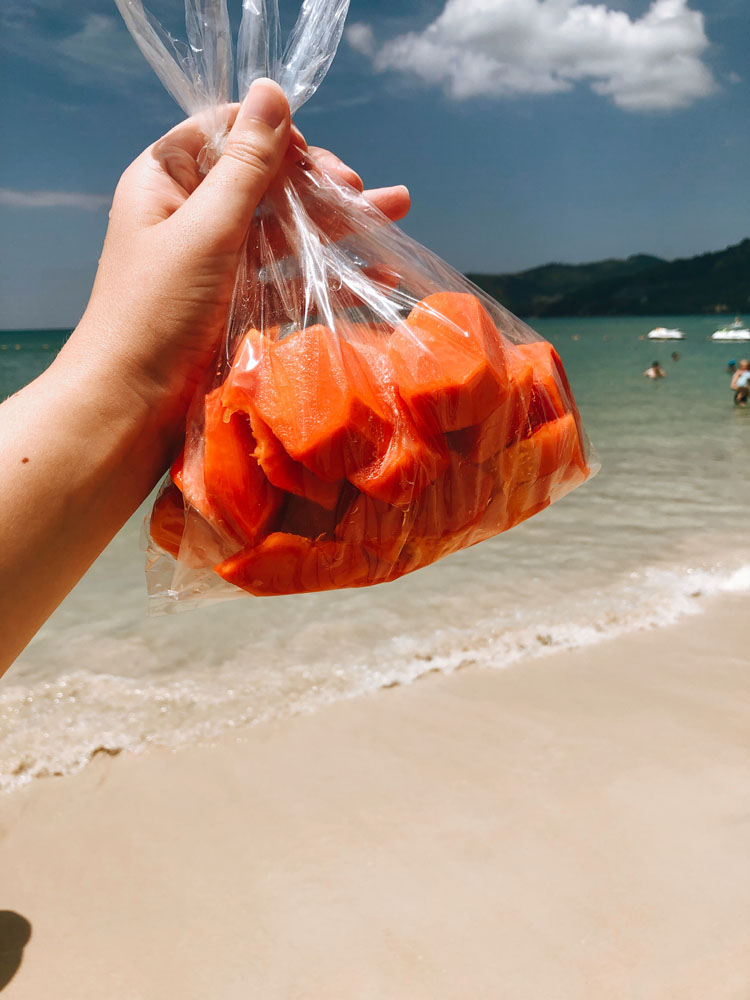
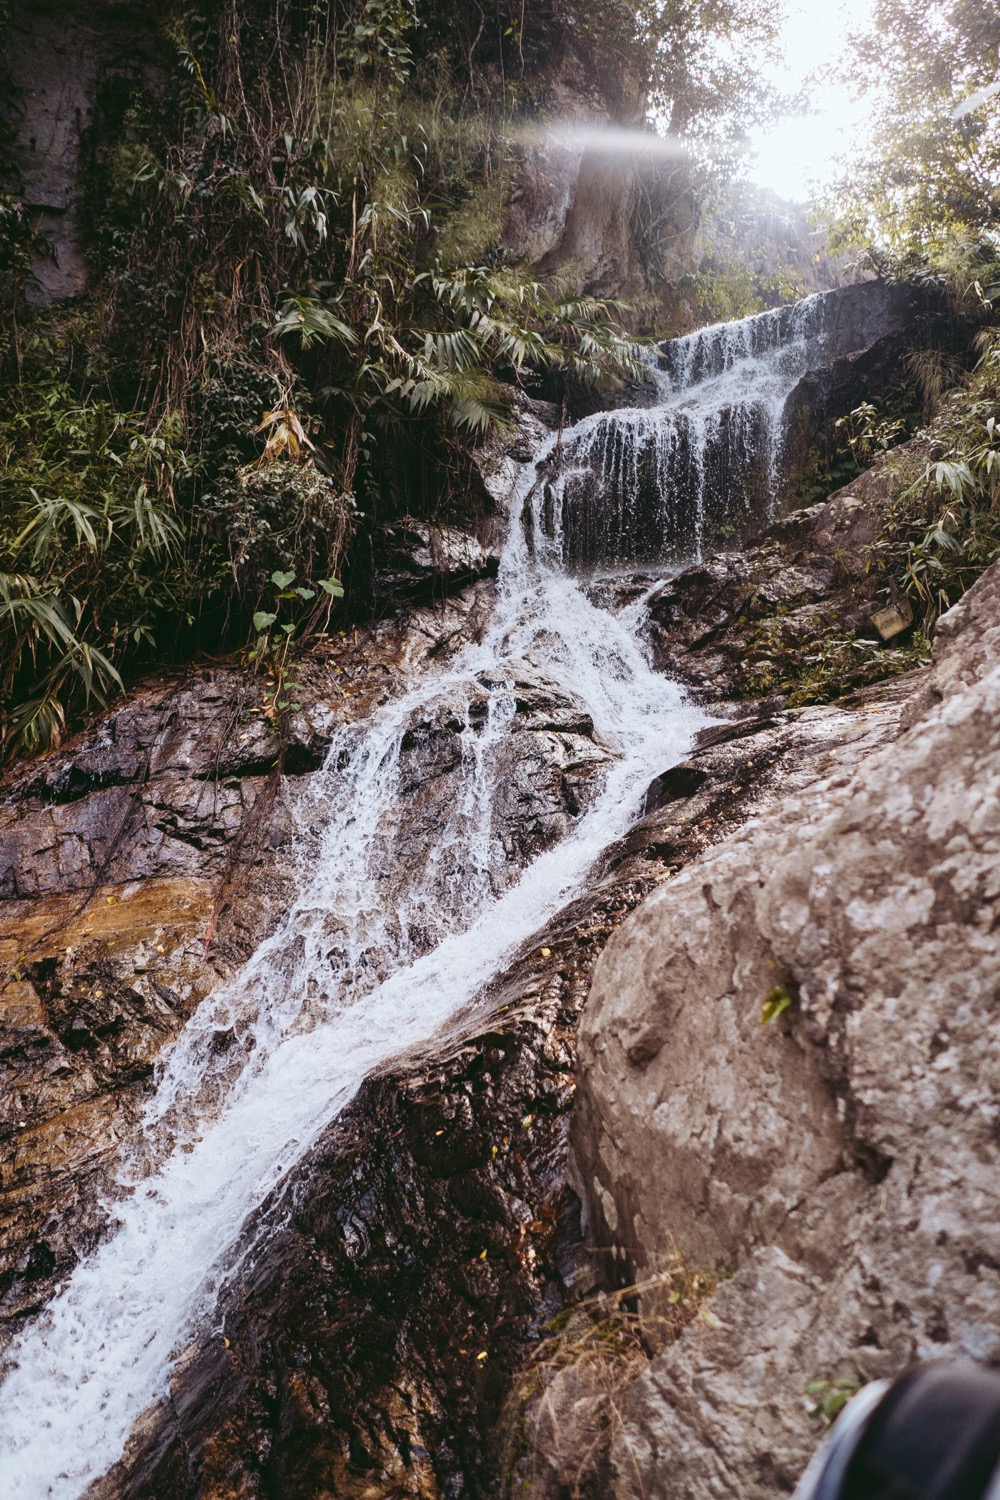
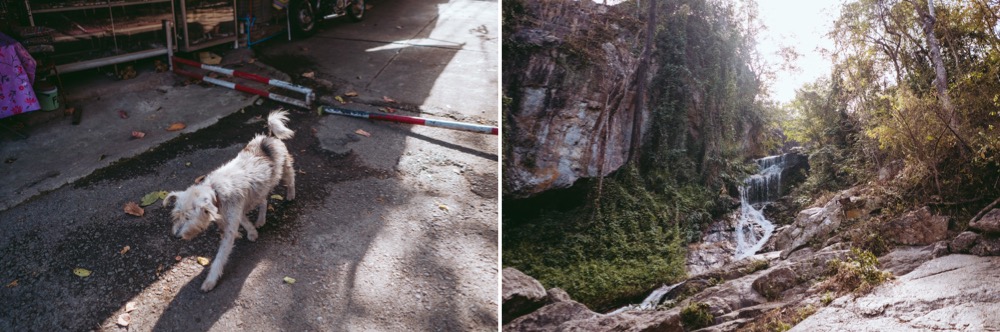
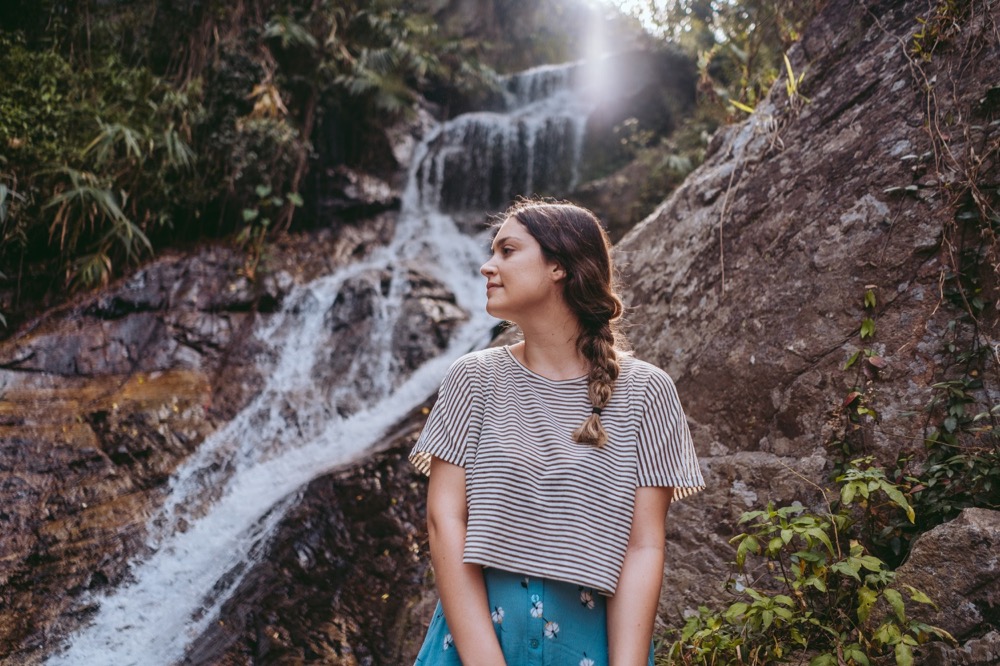
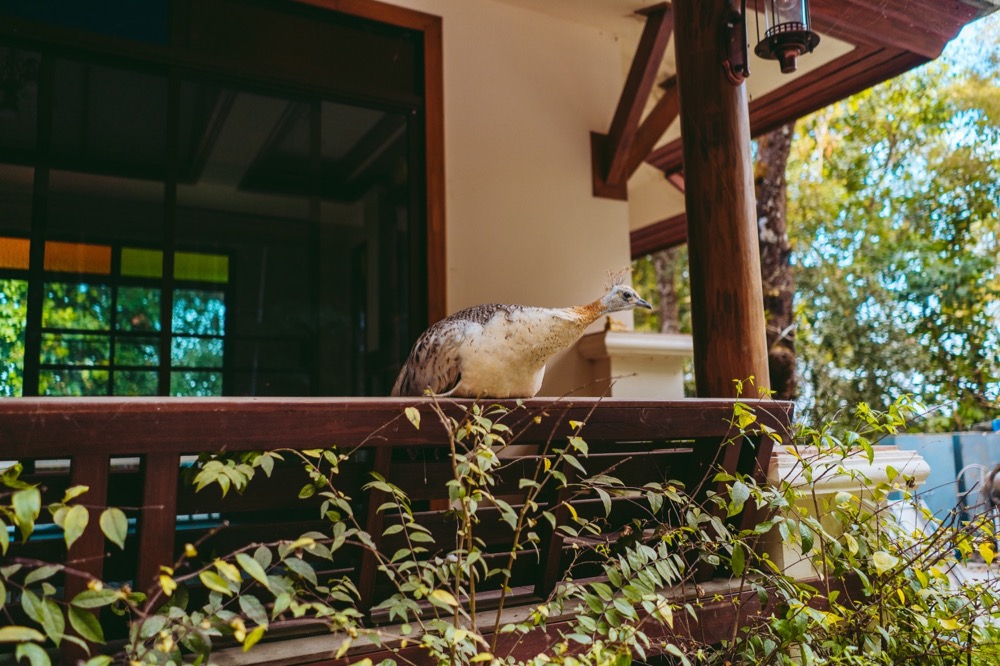
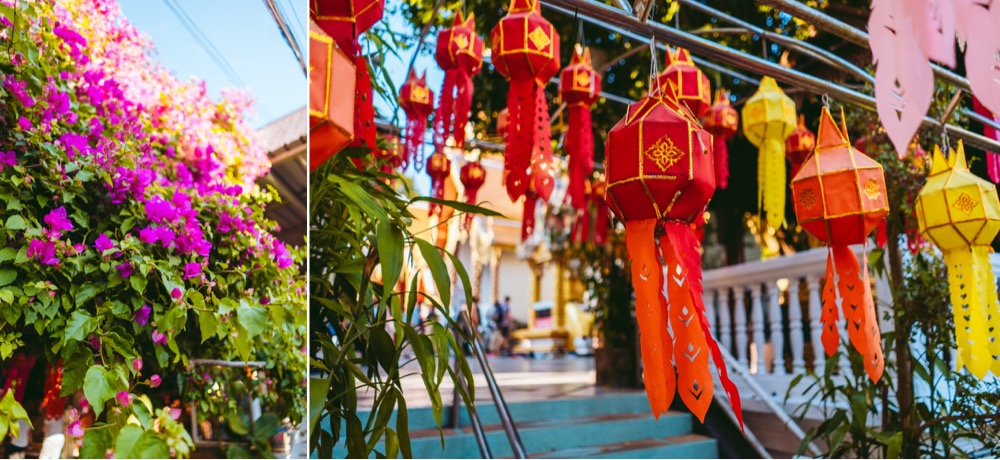
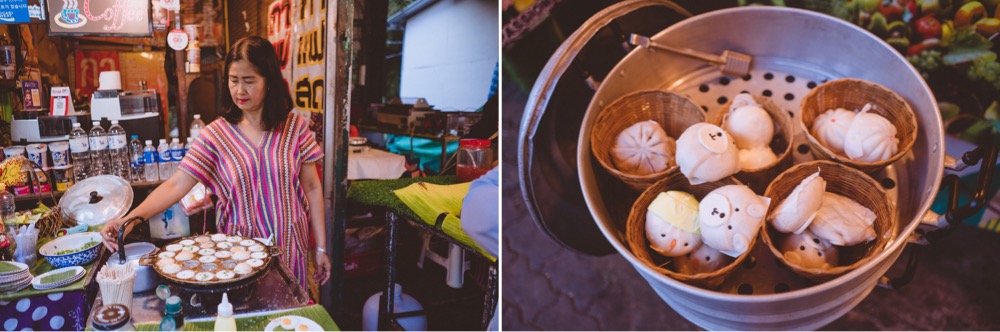
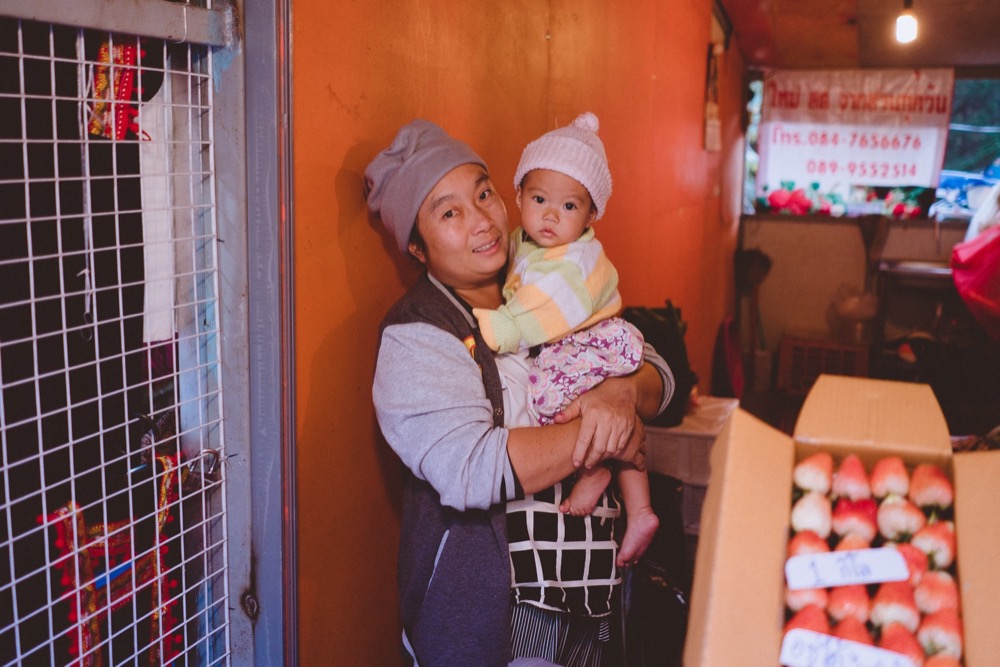
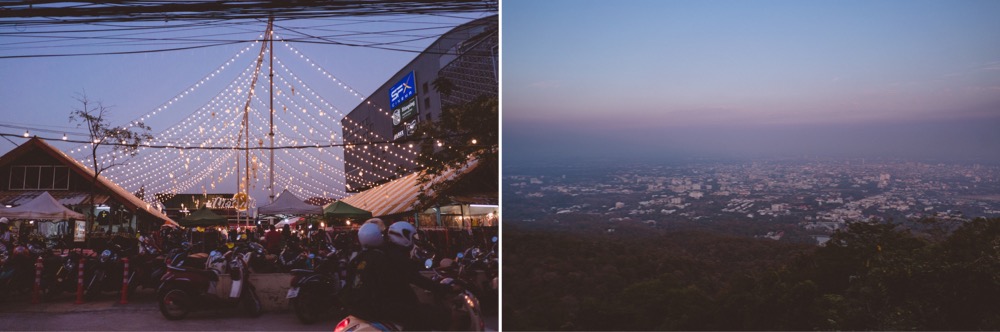
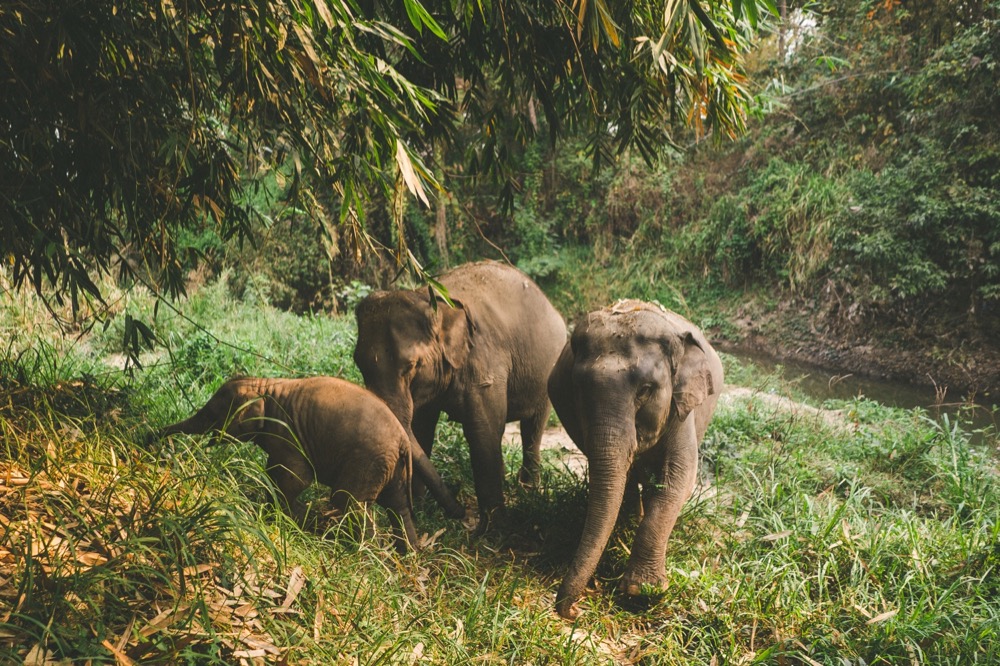
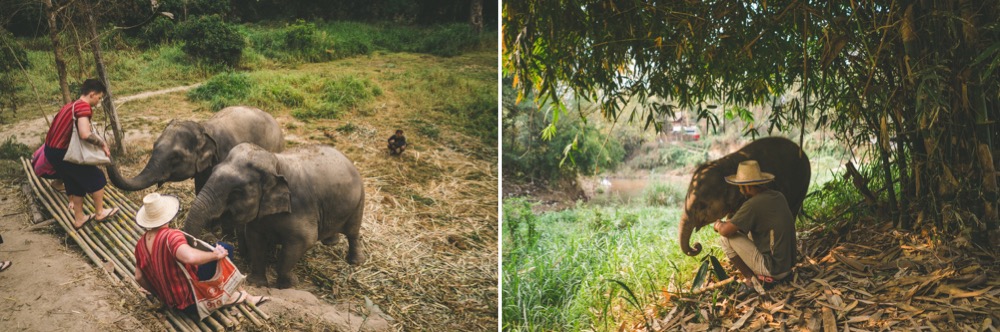
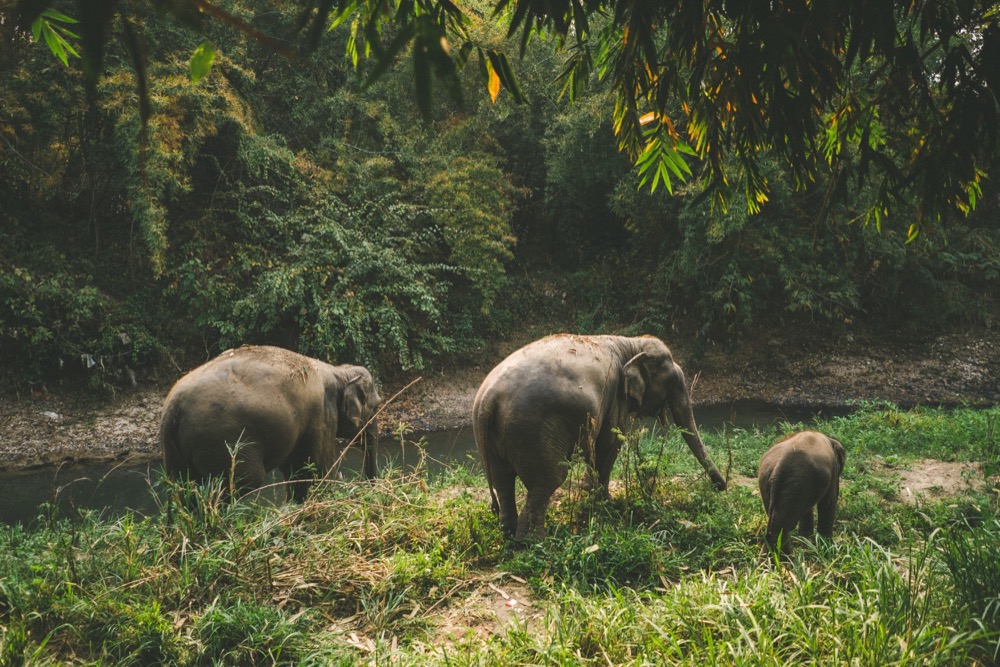
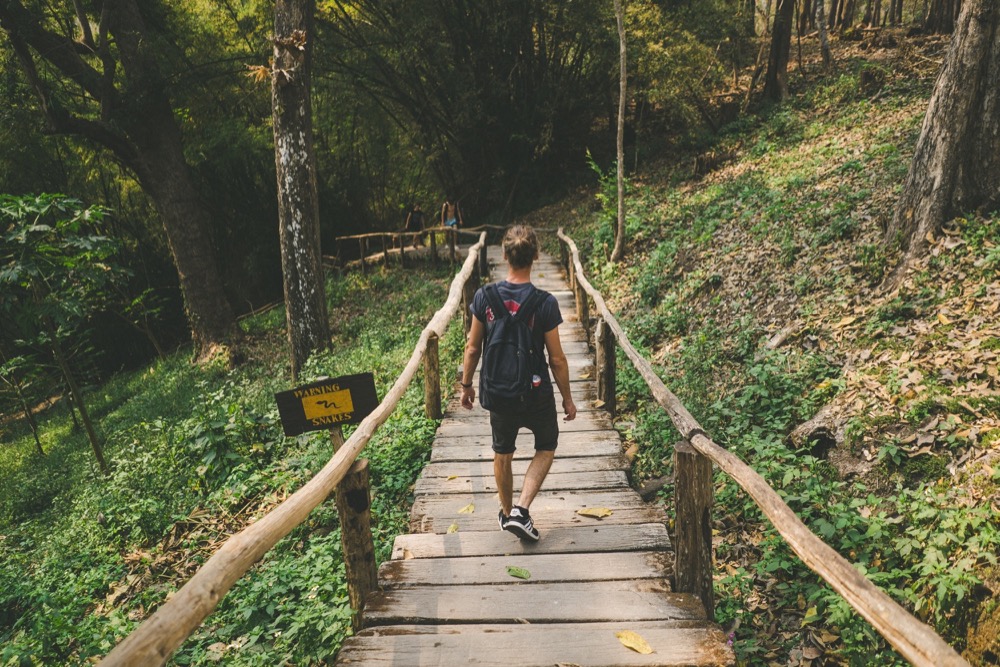
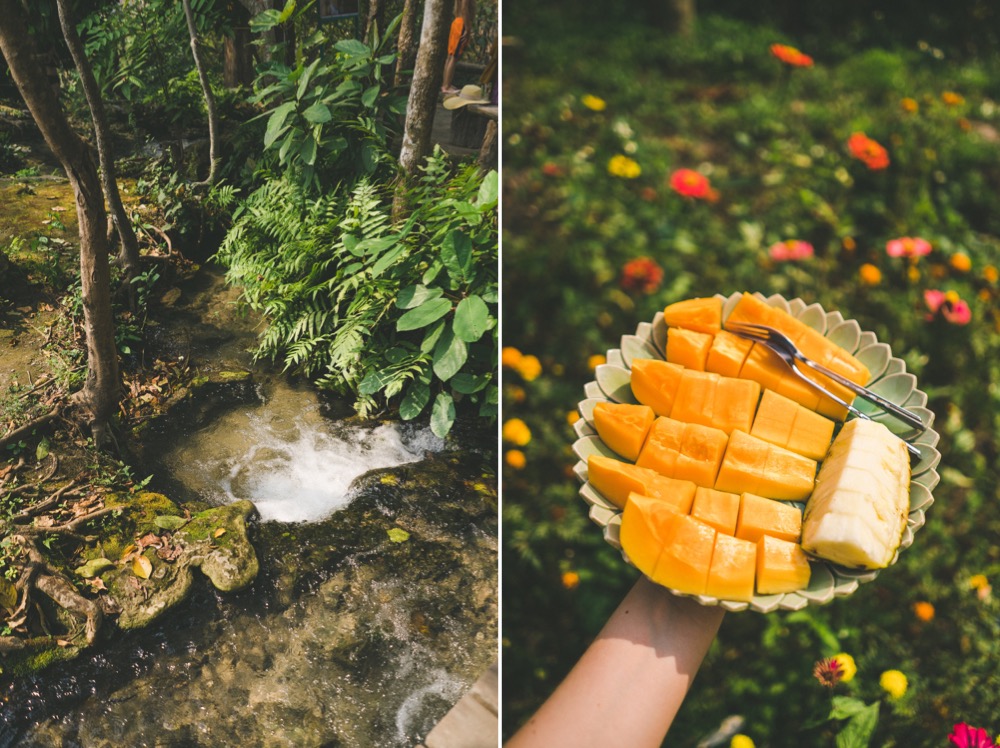
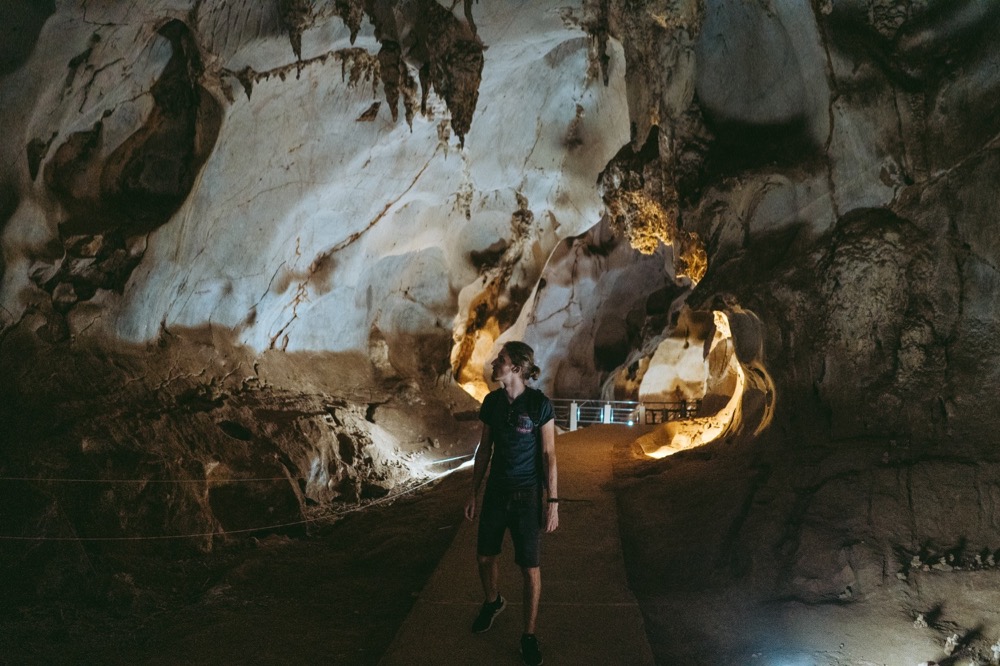
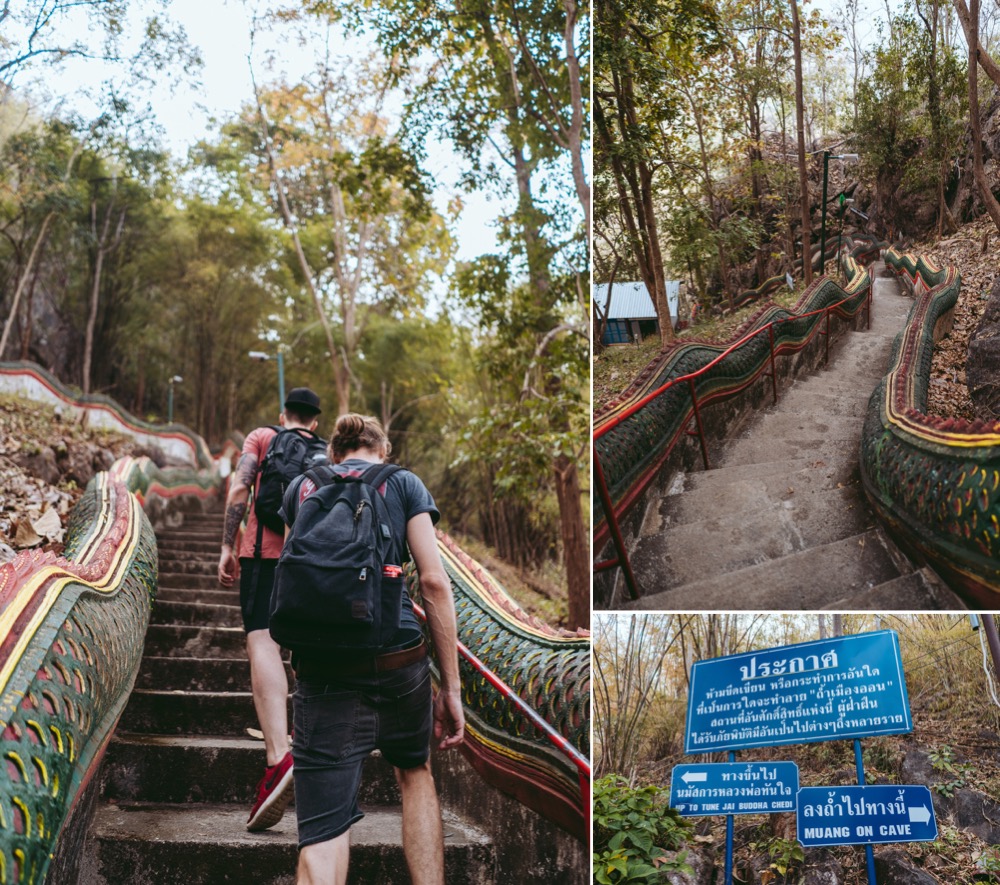
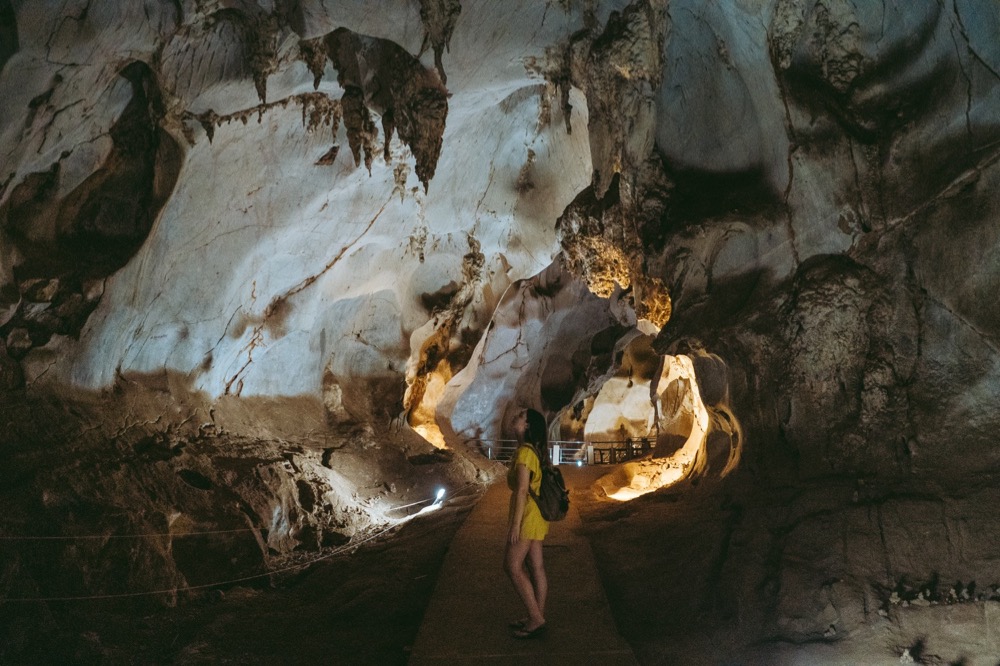
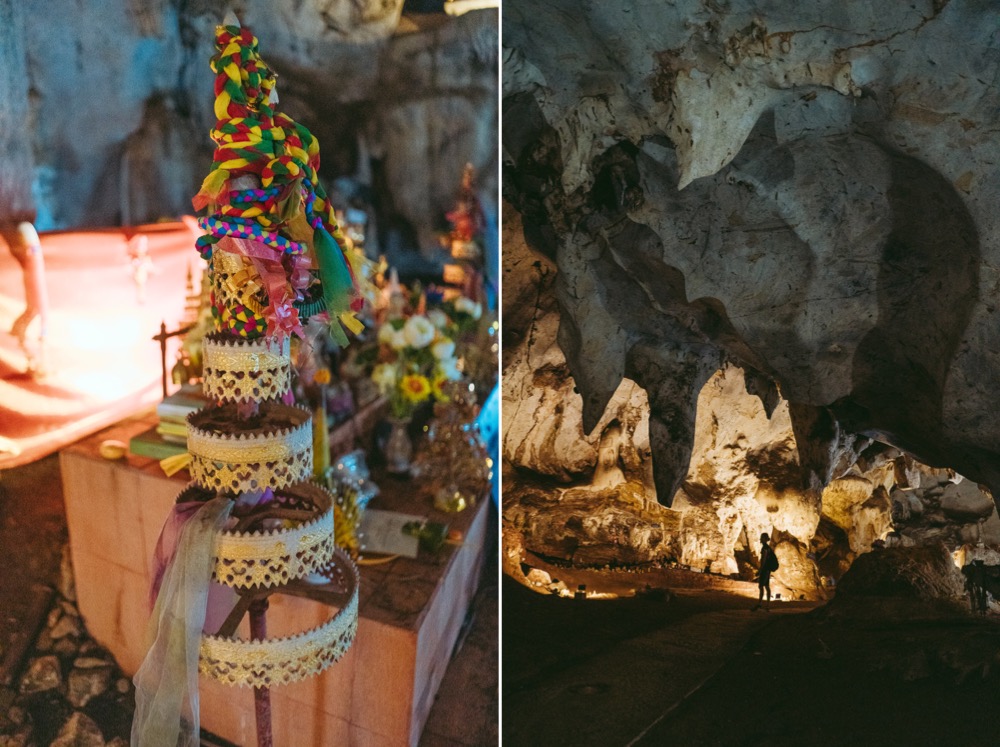
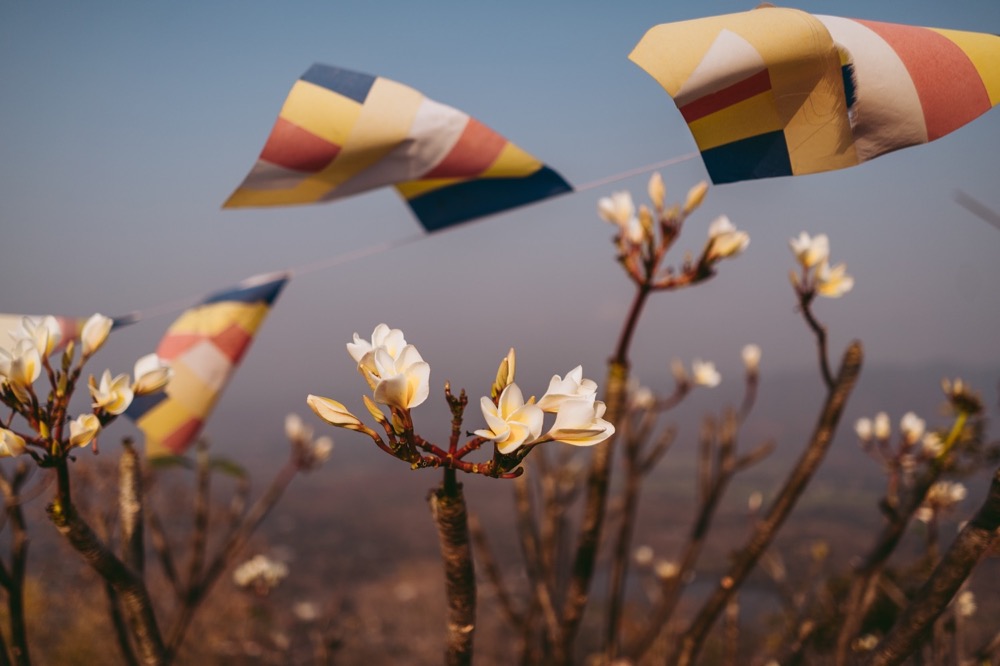
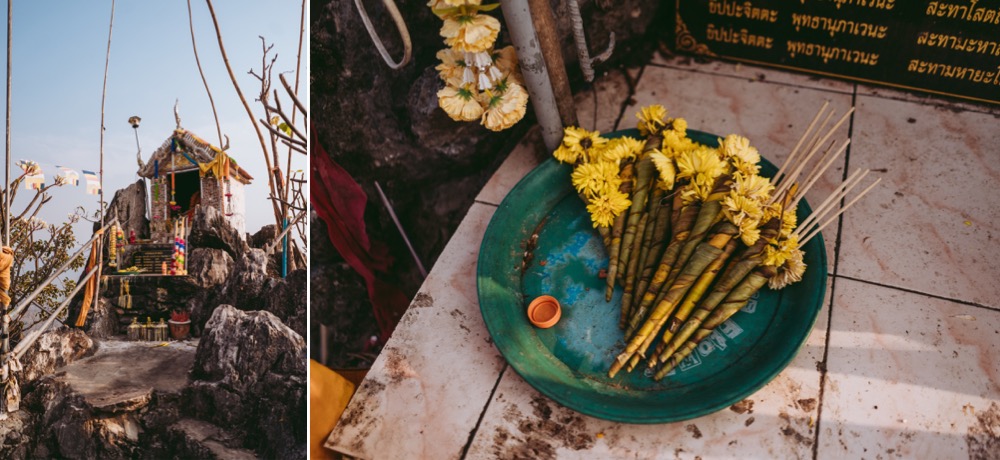
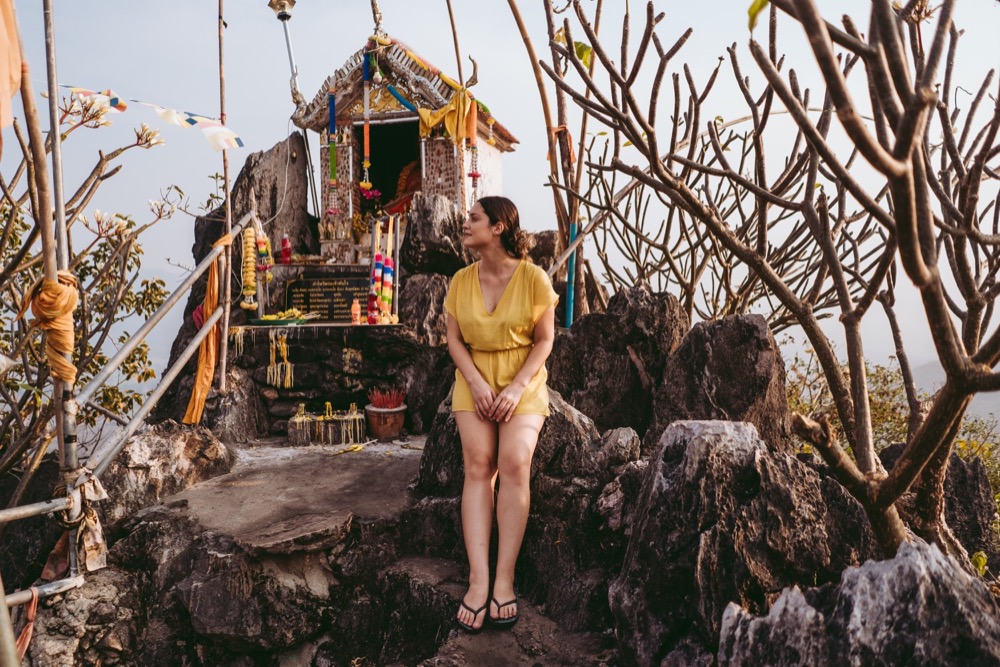
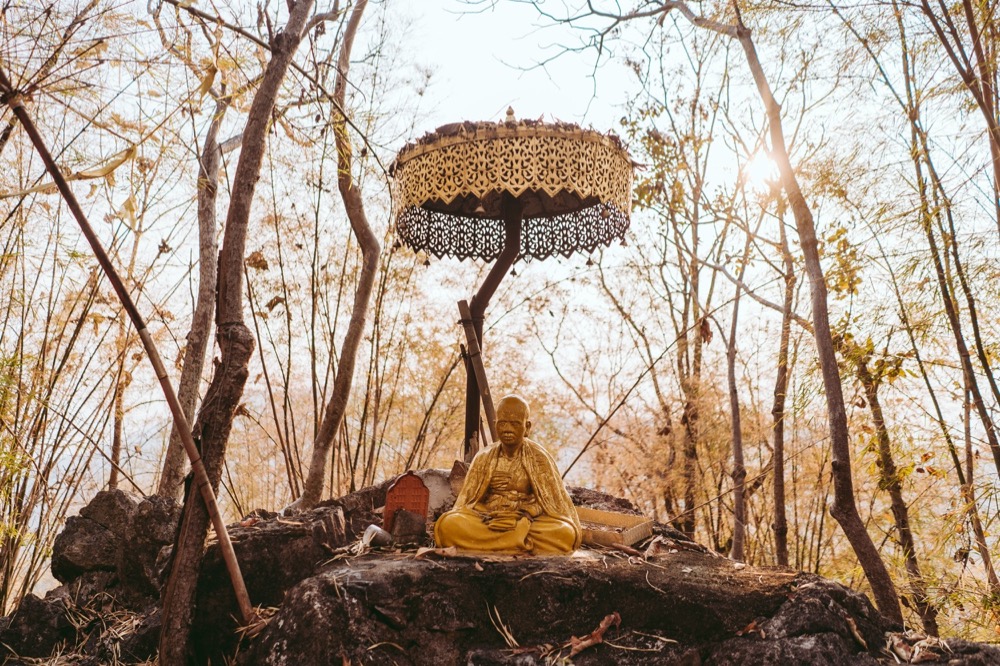
We found a driver who took around to all the sights throughout the 2 days we were in this city. Everything is about a 1 - 2 hour drive from the city centre of Chiang Mai, so we tried to squeeze in seeing as much as we possibly could! We went to the top of Doi Suthep Temple and visited some temples and viewpoints along the way up the mountain, explored the local markets, visited and ethical elephant sanctuary (where you don’t ride the elephants, only feed them and walk WITH them), explored the sticky waterfalls and climbed many steps to get to Muang On Cave. I can’t forget I also practically ate my weight in Papaya and Longang - the fruit is absolutely delicious and so cheap too!

You can watch the video of my time in Thailand below which includes behind the scenes of how I took some of the photos in this blog post. And please subscribe to my YouTube Channel if you haven’t already! I upload new photography related videos every single Wednesday.

All photos are edited with:

Disposable Film Lightroom Preset (to accentuate those beautiful greens!)
Aspen Lightroom Preset! (for a more natural, clean edit)
Florence Lightroom Preset (for those few street photos!)

This blog was put together with Narrative. I love using Narrative as part of my photoshoot culling process to see which images from a shoot I should edit and I also use it to easily & quickly be able to put together these blog posts with different layouts of images side by side. I’m really excited to say I’ve teamed up with Narrative and have a 15% discount code for you guys using the code julia15 or just clicking this link! You can download a free trial to test it out for 7 days too :)
All photos are edited with:

Disposable Film Lightroom Preset (to accentuate those beautiful greens!)
Aspen Lightroom Preset! (for a more natural, clean edit)
Florence Lightroom Preset (for those few street photos!)


Comment

Sony A7iii Travel Photography in Bangkok, Thailand

2 Comments

Sony A7iii Travel Photography in Bangkok, Thailand

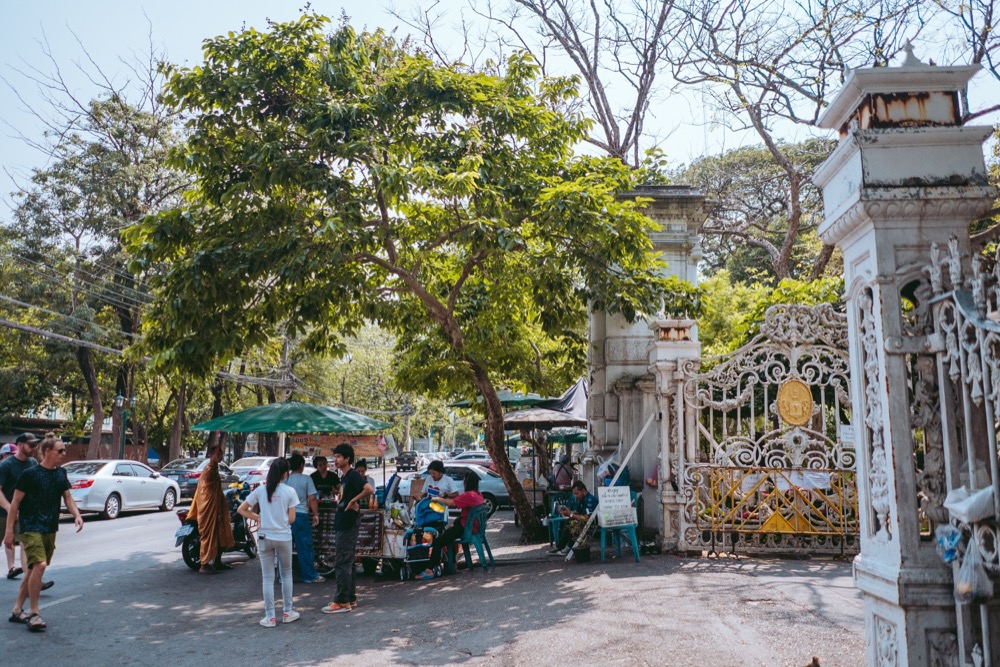
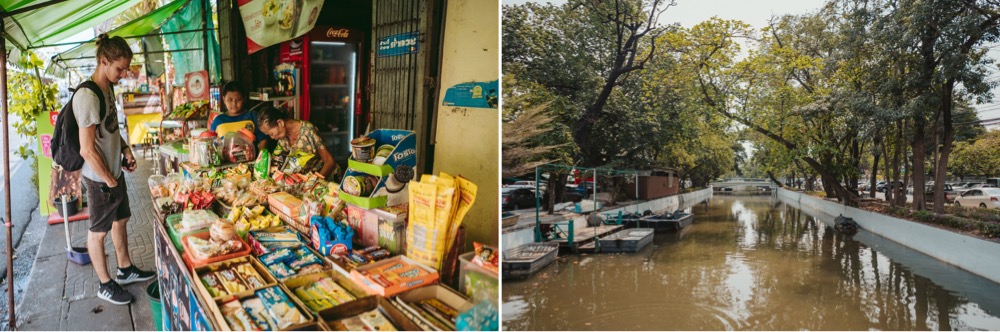
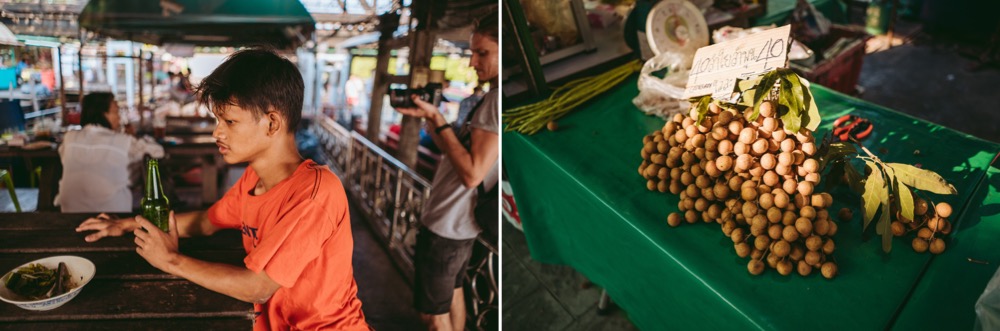
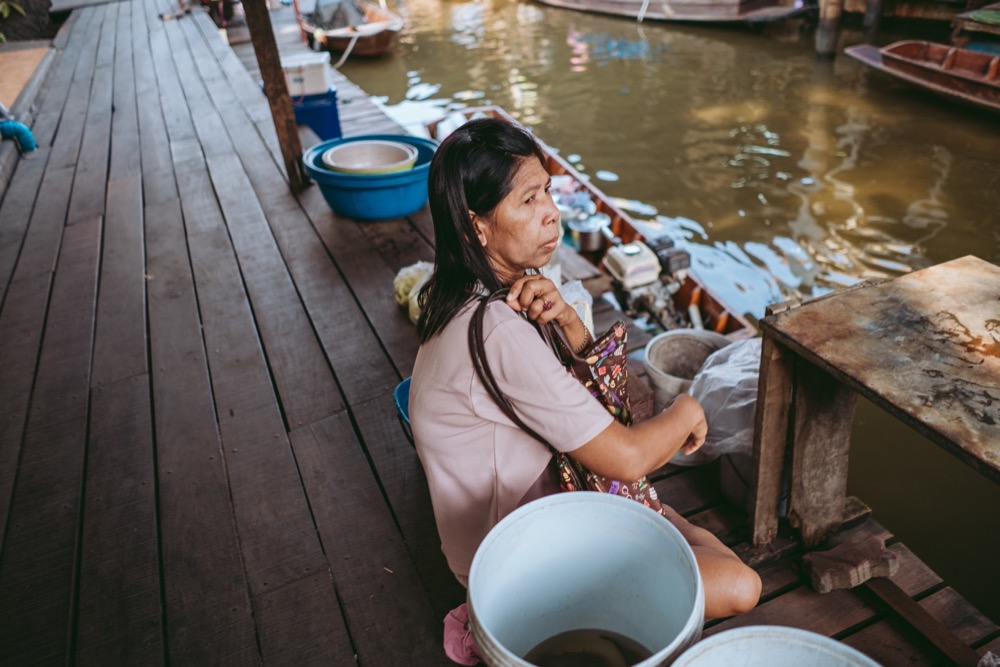
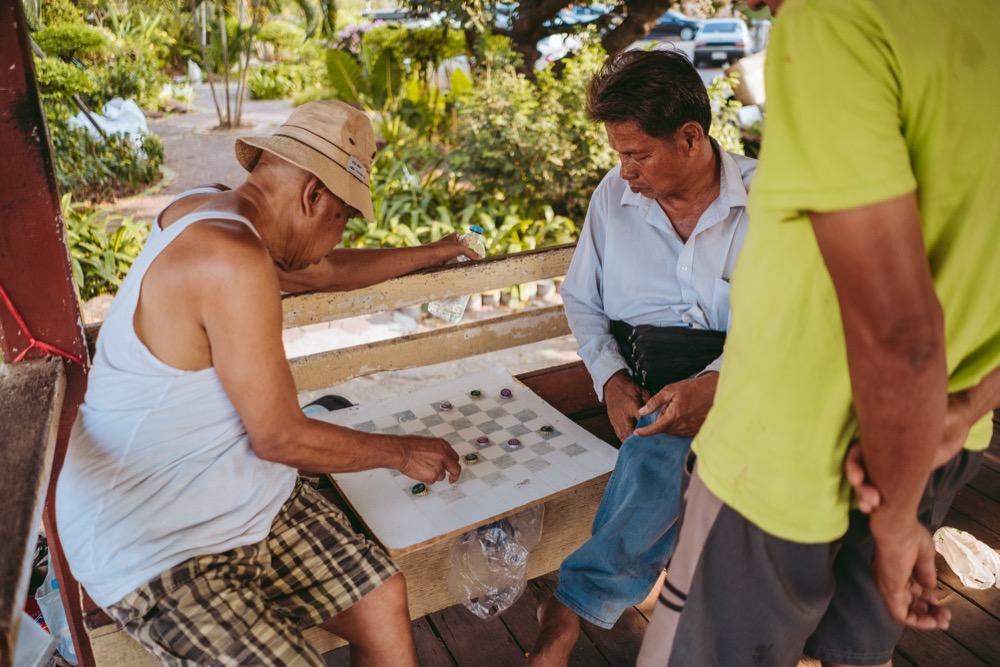
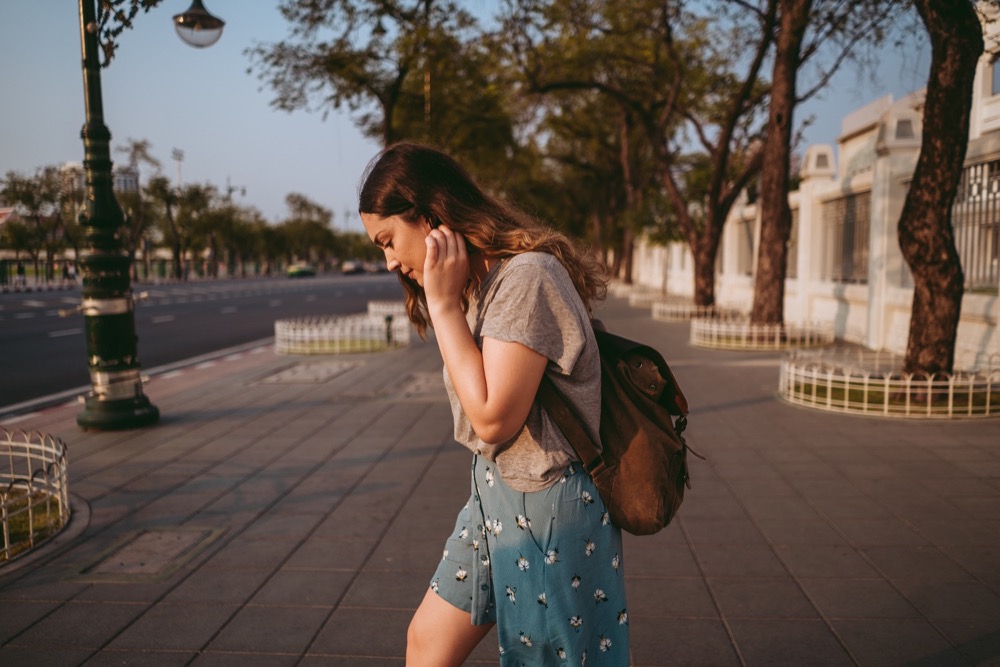
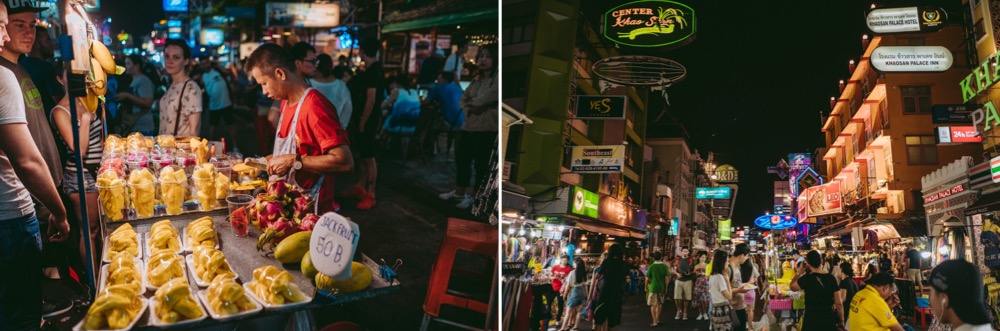
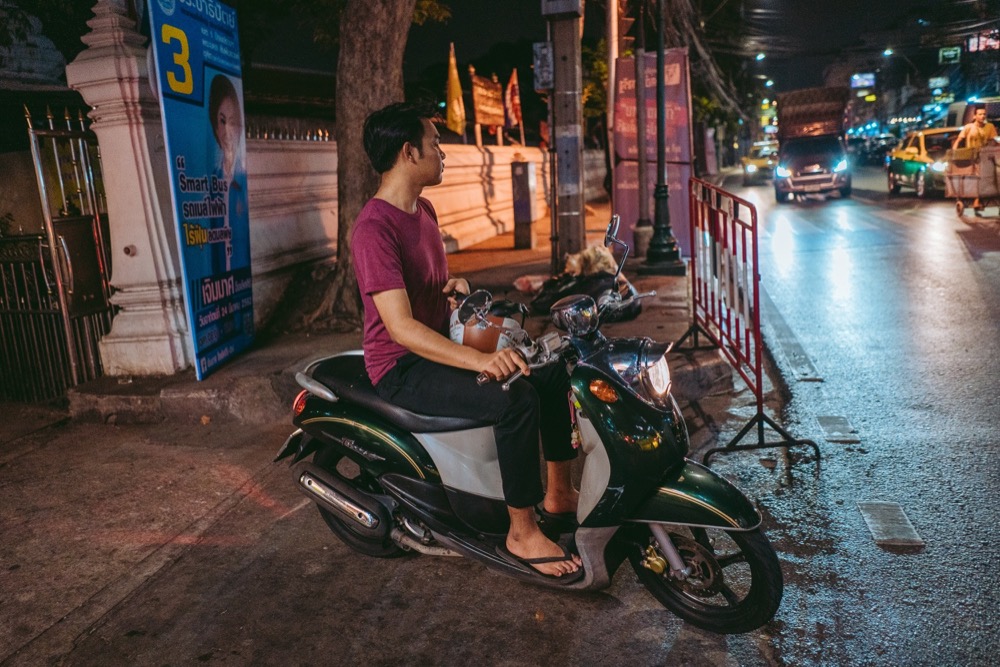
I am currently in Gdansk, Poland and in true fashion - catching up on my blog posts from our trip to Thailand this February! There will be 4 total blog posts from our time in Thailand, starting with our first stop of the trip, Bangkok. Dan and I flew in at 4 in the morning, got to our hotel and crashed. The next day our friends from Poland arrived, we met up with them and started our exploring - there were 7 of us travelling together. 

I took a break from my camera on the first day we were there, I had just come from photographing 4 weddings the weekends before the trip so I wanted to have a day off from taking photos. Since Thailand was a holiday, the only camera I brought with me was the Sony A7III - as it’s great for vlogging/filming and taking photos as well. The Sony 28mm f2 lens (all the photos in this blog post are taken with that lens) and the Canon 35mm f1.4 + metabones adaptor which to be completely honest only came out of my bag ONCE in the 3 weeks we were in Thailand. 

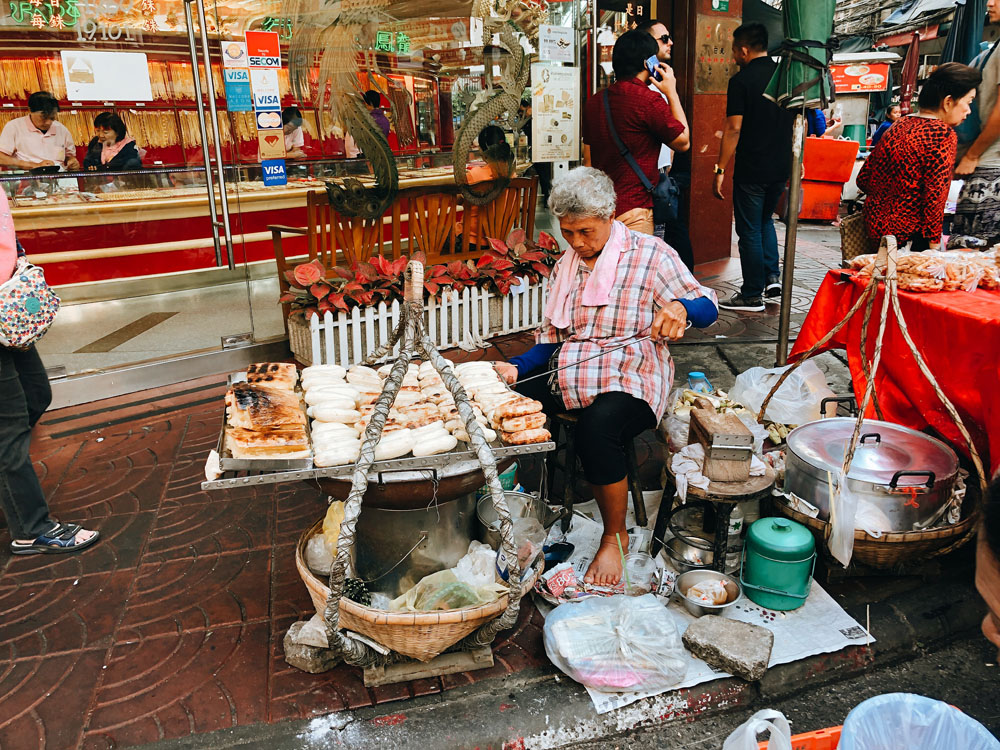
Bangkok is absolutely wild, there is so much going on absolutely ALL the time. Even though I normally stray towards nature and greenery when I travel as it makes me feel more comfortable, it was a great city to experience. Watch my video below from our time in Thailand and please subscribe to my YouTube Channel if you haven’t already! I upload new photography related videos every single Wednesday.

All photos edited with my Amalfi Lightroom Preset and Aspen Lightroom Preset!

This blog was put together with Narrative. I love using Narrative as part of my photoshoot culling process to see which images from a shoot I should edit and I also use it to easily & quickly be able to put together these blog posts with different layouts of images side by side. I’m really excited to say I’ve teamed up with Narrative and have a 15% discount code for you guys using the code julia15 or just clicking this link! You can download a free trial to test it out for 7 days too :)
All photos edited with my Amalfi Lightroom Preset and Aspen Lightroom Preset!


2 Comments

Natural Posing Portrait Photography | Ever After

Comment

Natural Posing Portrait Photography | Ever After

model kristina

Watch the behind the scenes of our photoshoot below and please subscribe to my channel if you haven’t already! I upload new photography related videos every single Wednesday.
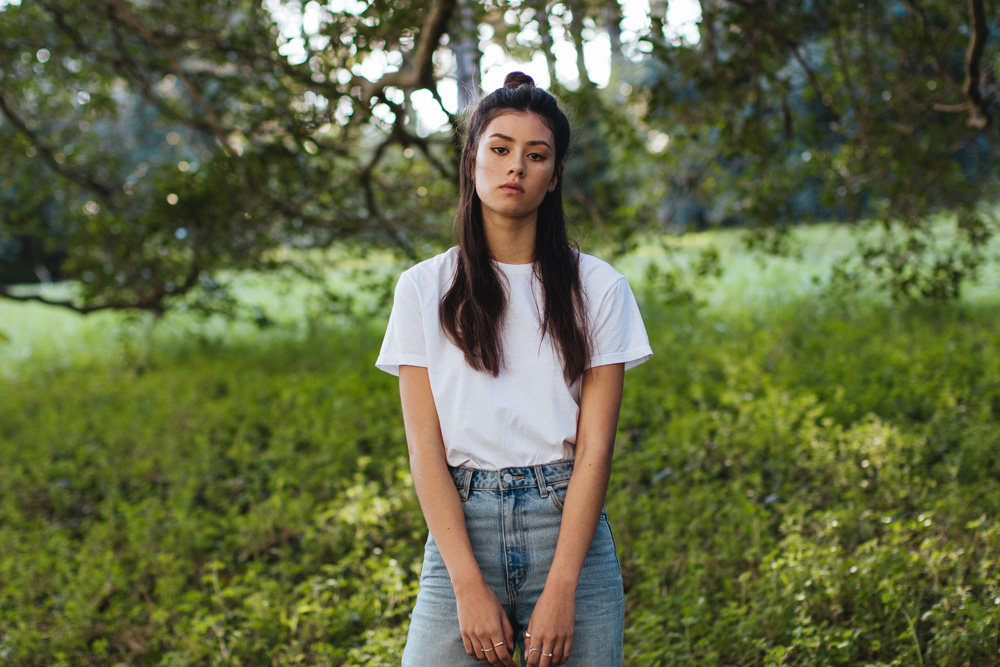
All photos edited with my Florence Lightroom Preset!

All photos edited with my Florence Lightroom Preset!


Comment