

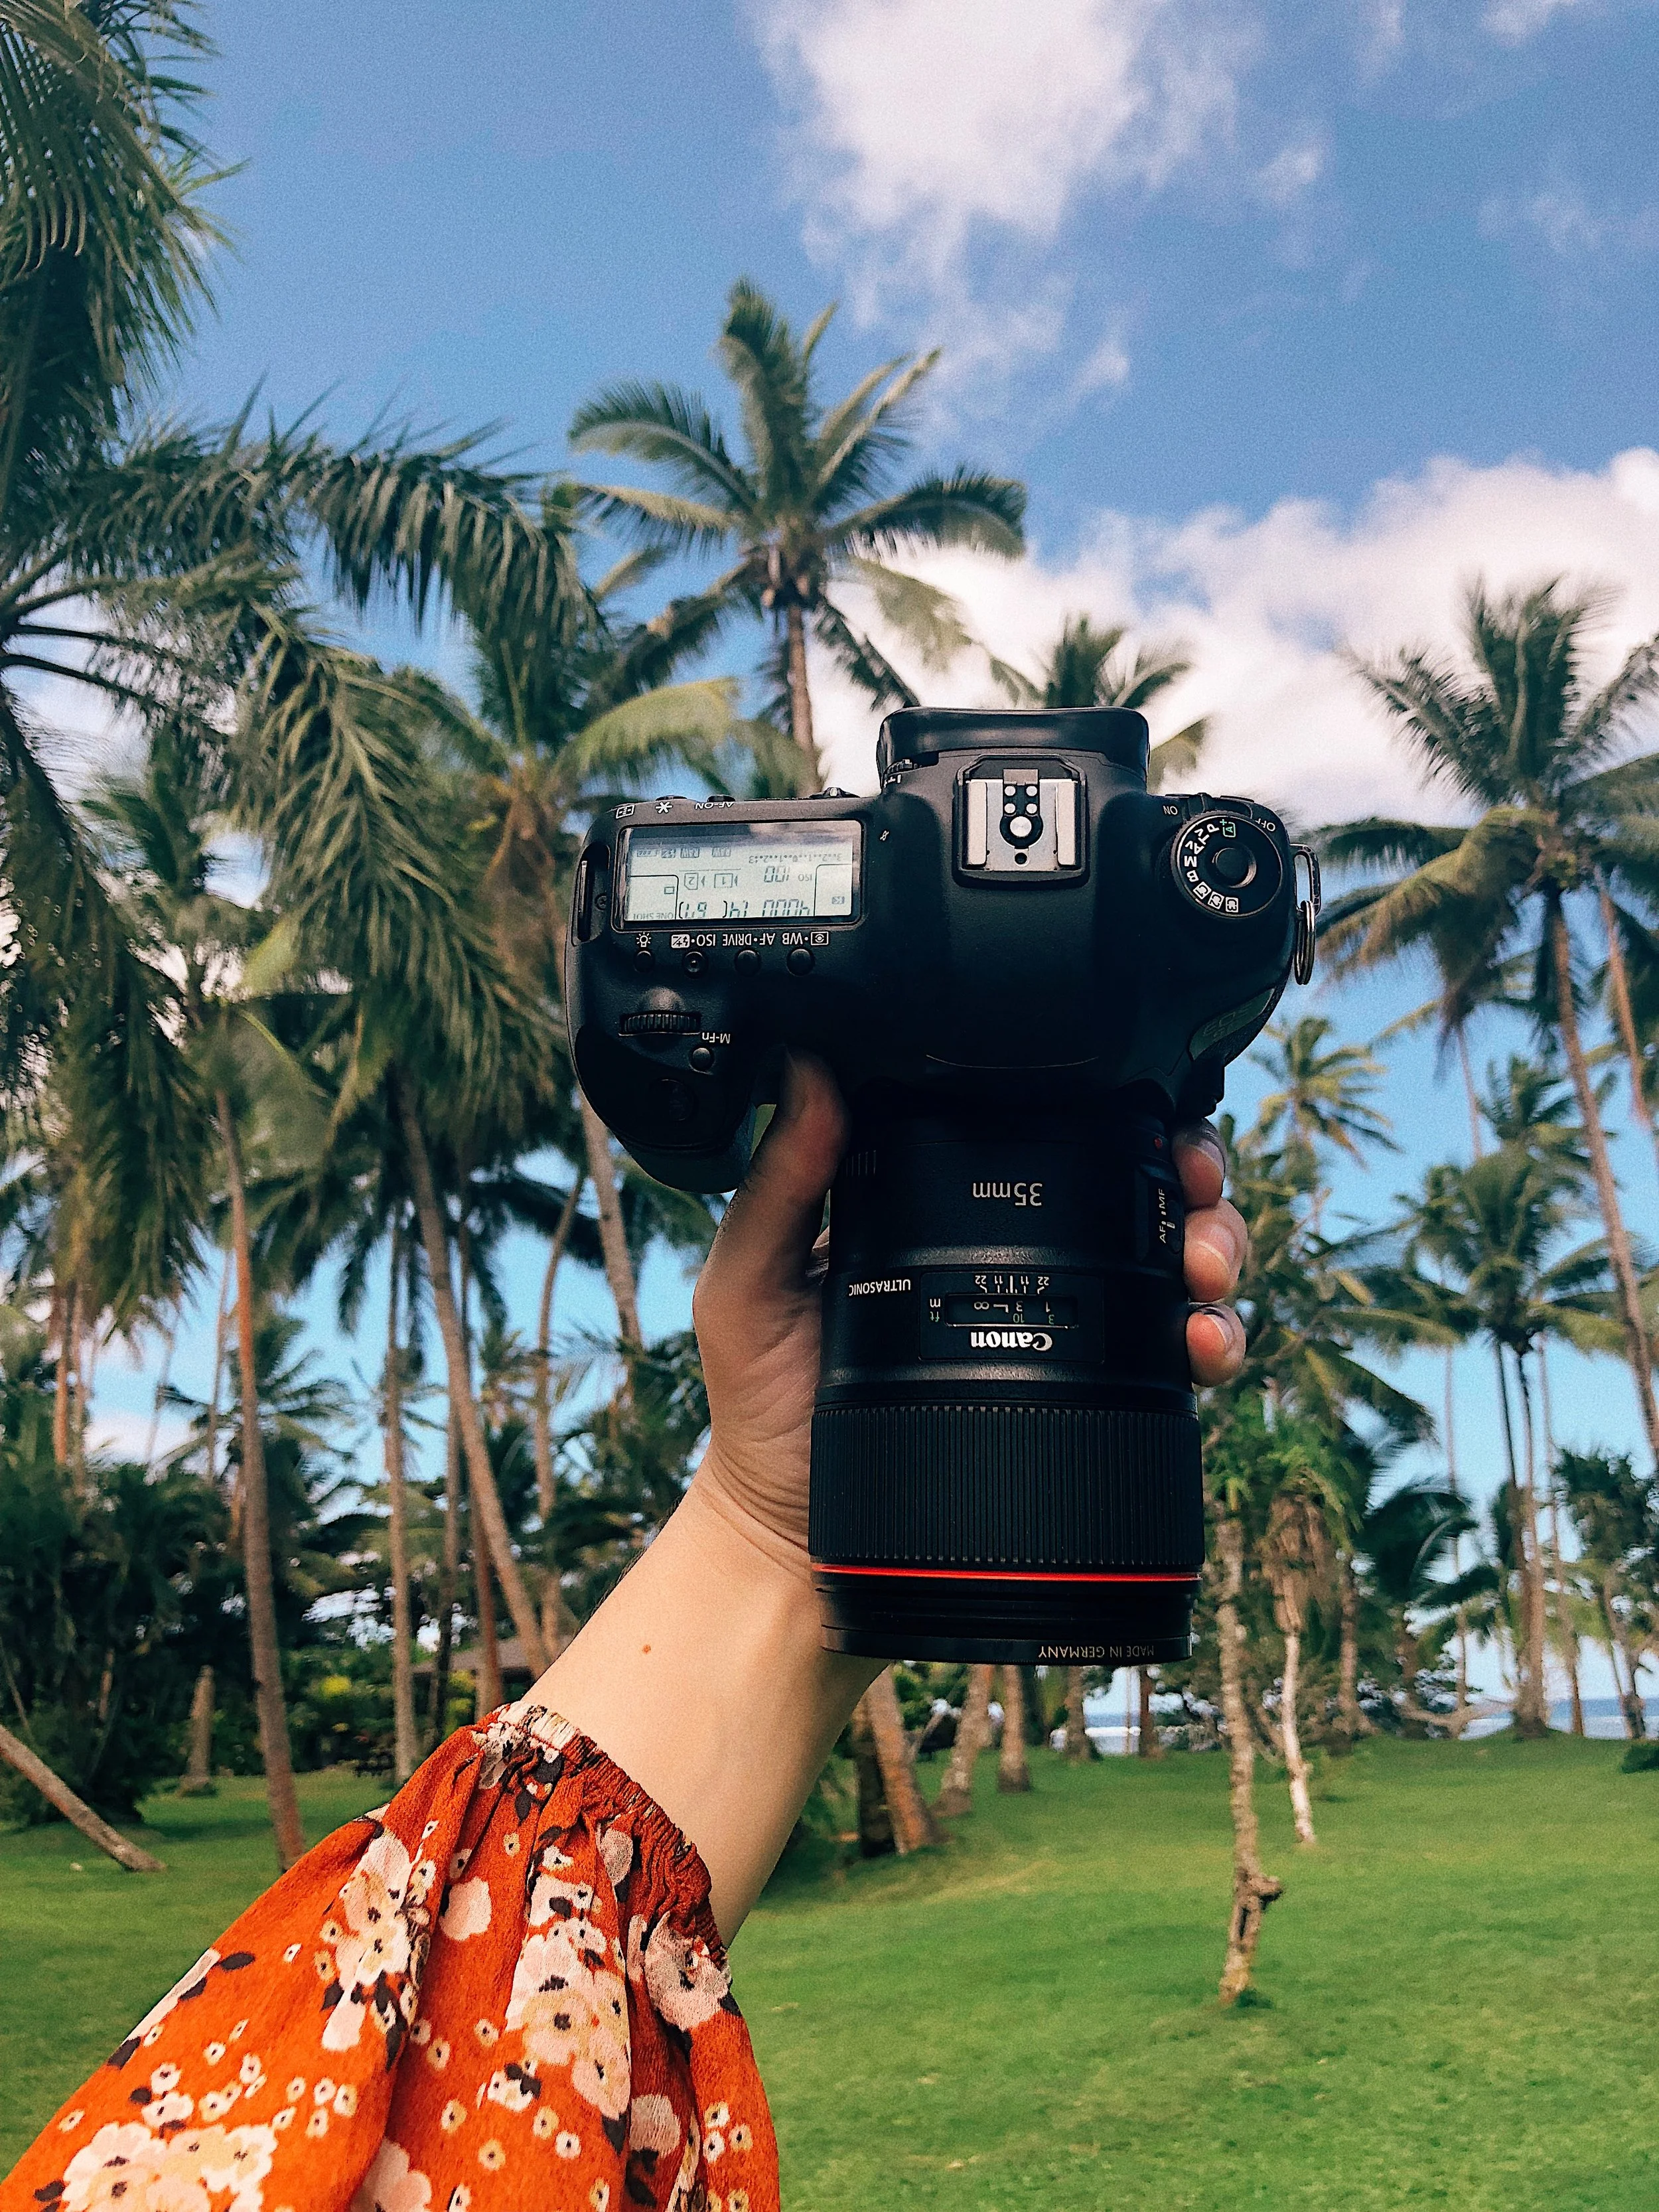
The Canon 35mm f1.4 mark 1 has been my favourite Canon lens since I upgraded to the Canon 5Dmkii. I use the 35mm prime focal length heavily for fashion, portrait and wedding photography.
julia trotti | youtube photography tutorials
The Canon 35mm f1.4 mark 1 has been my favourite Canon lens since I upgraded to the Canon 5Dmkii. I use the 35mm prime focal length heavily for fashion, portrait and wedding photography.
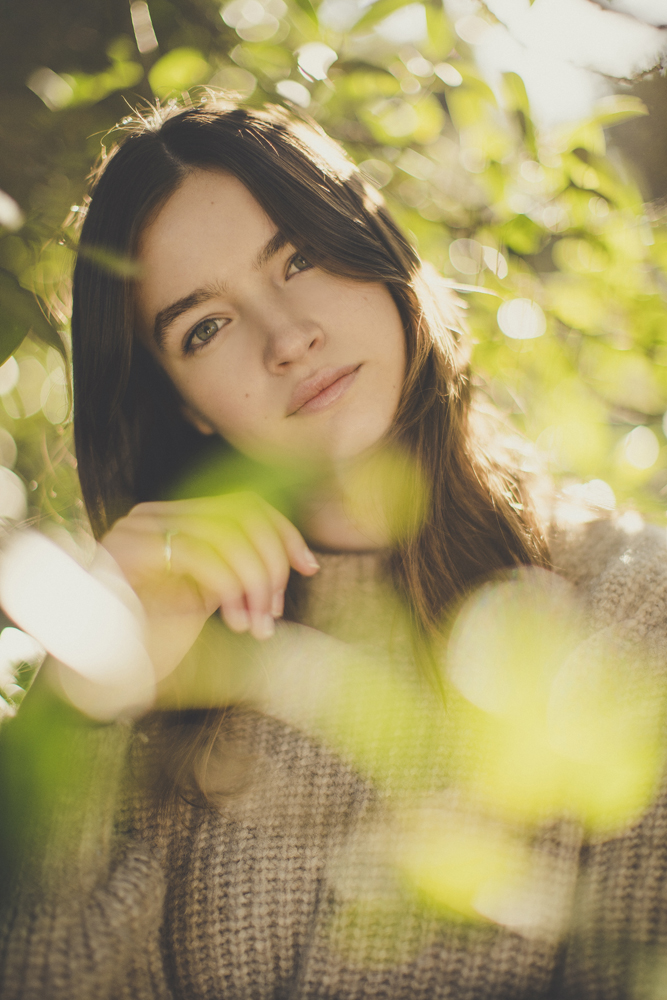
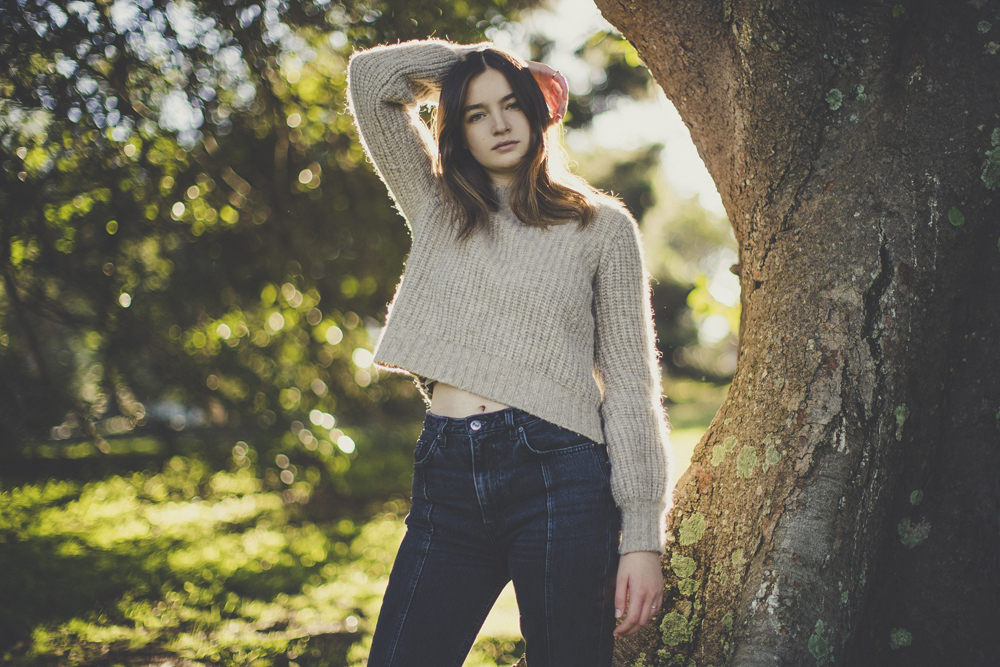
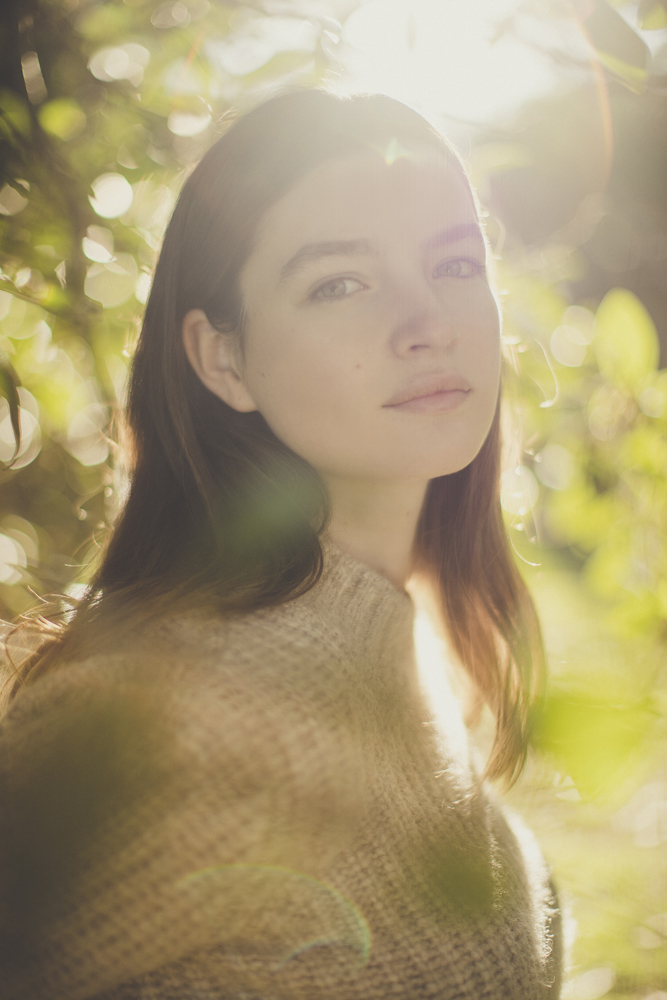
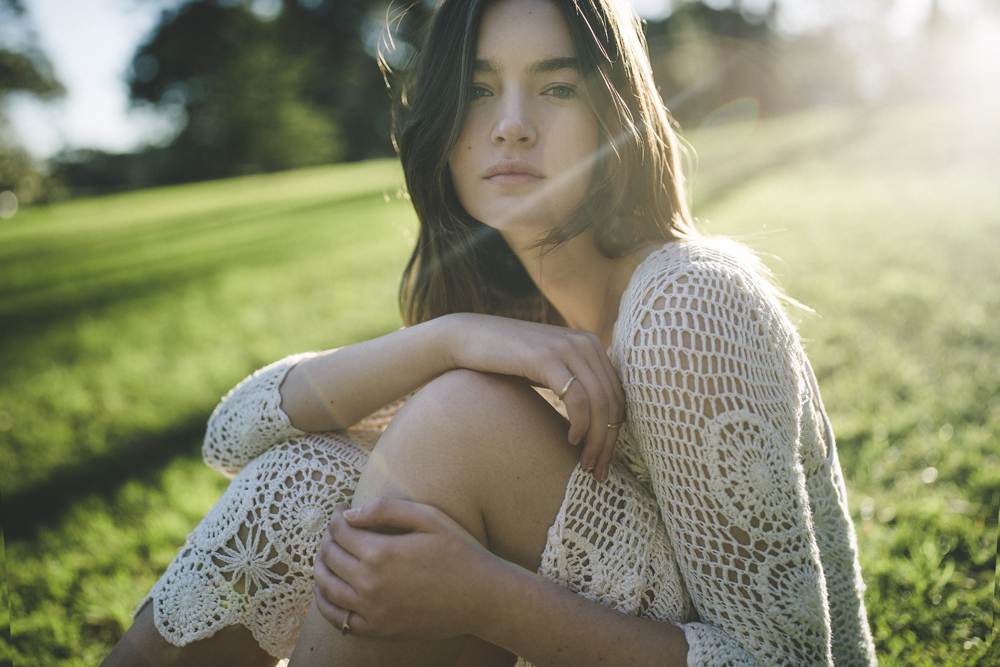
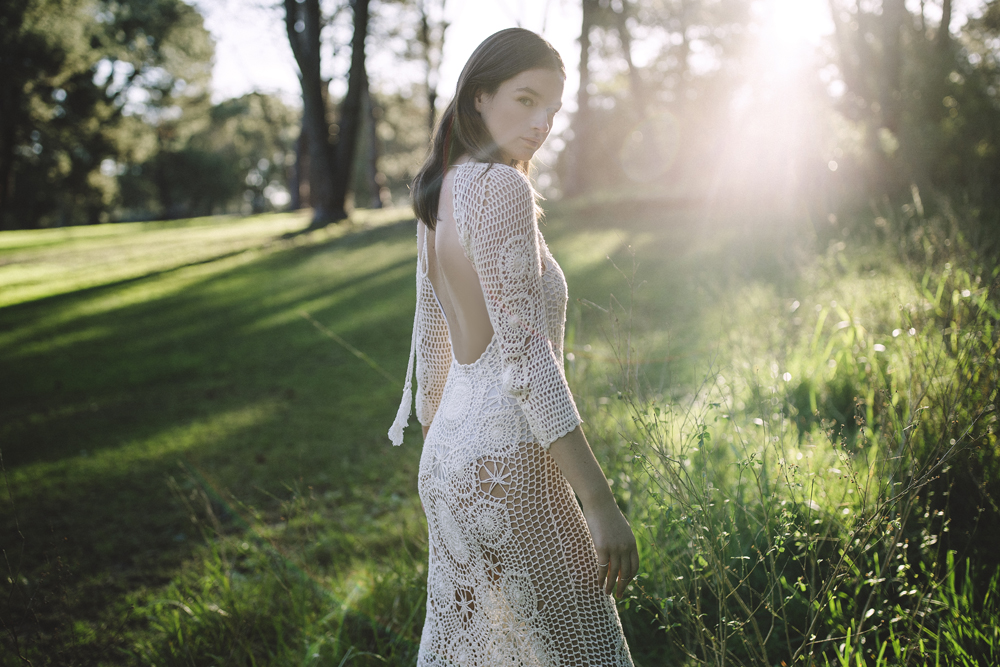
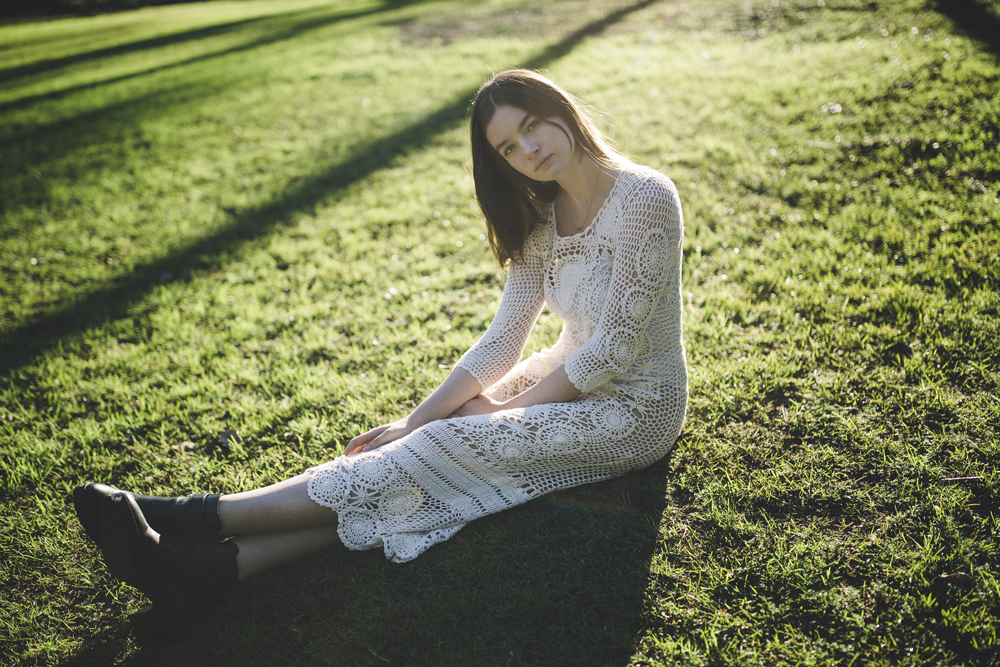
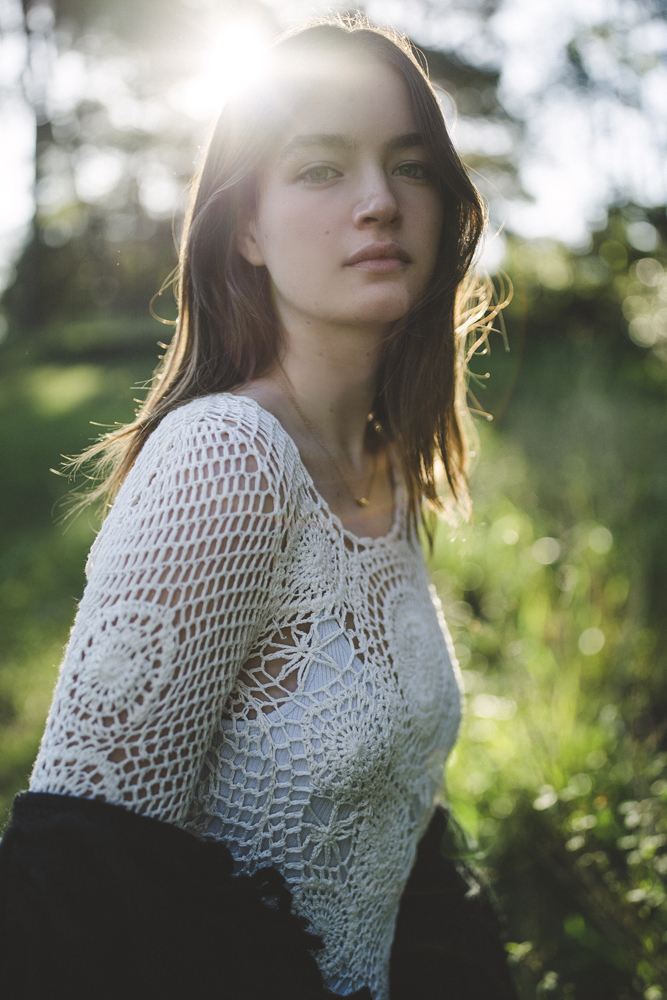
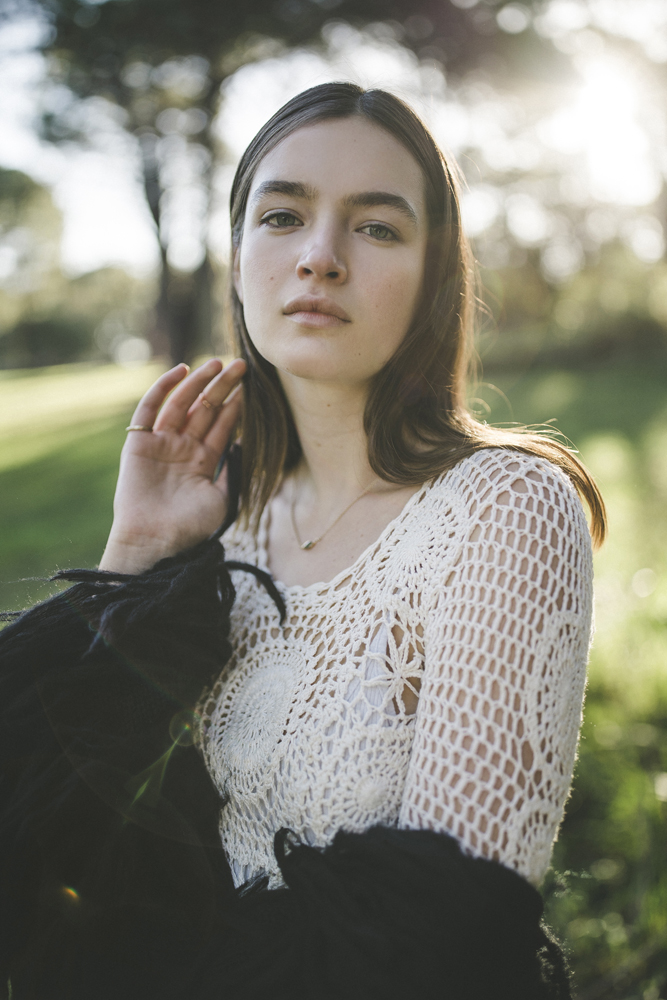
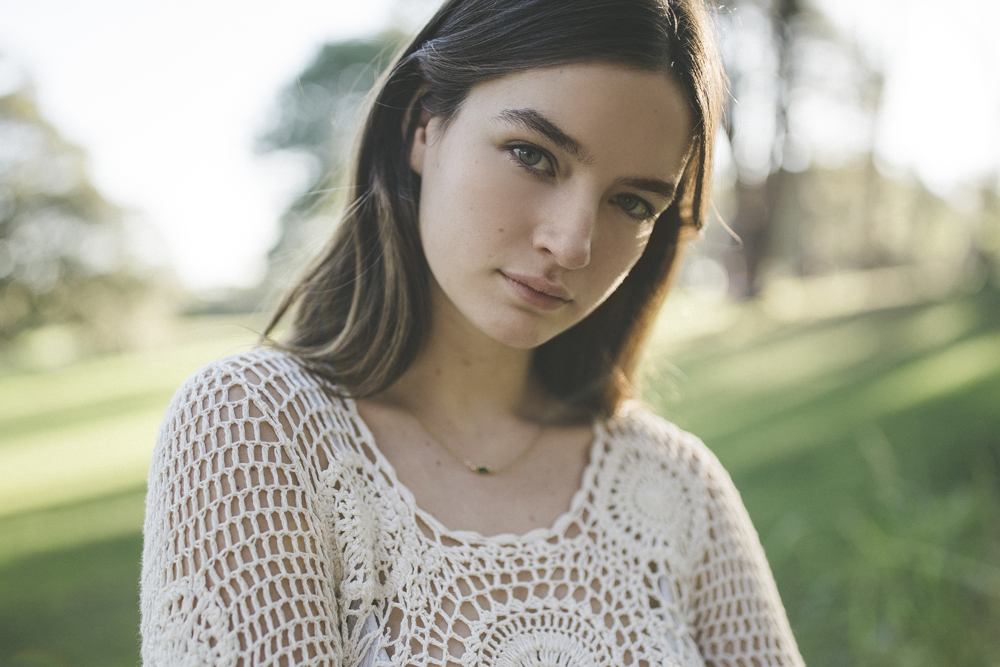
During today’s golden hour portrait photoshoot, I wanted to try the Canon 50mm f1.2 L portrait lens adapted to the Sony A7III. I am using the Metabones 4 adaptor, updated to the latest firmware. In the video I share with you the eye AF performance and autofocus accuracy of what it’s like shooting with Canon lenses adapted to Sony. I also share SOOC photos for you to have a look at the image quality as well. Please subscribe to my channel, I upload new photography tutorials every single week!
model mitzi @ priscillas
jewellery ruusk
video dan @ i make films
camera sony a7iii
lens canon 50mm f1.2L
All photos edited with my London Lightroom Preset!
Watch the behind the scenes of our photoshoot below:
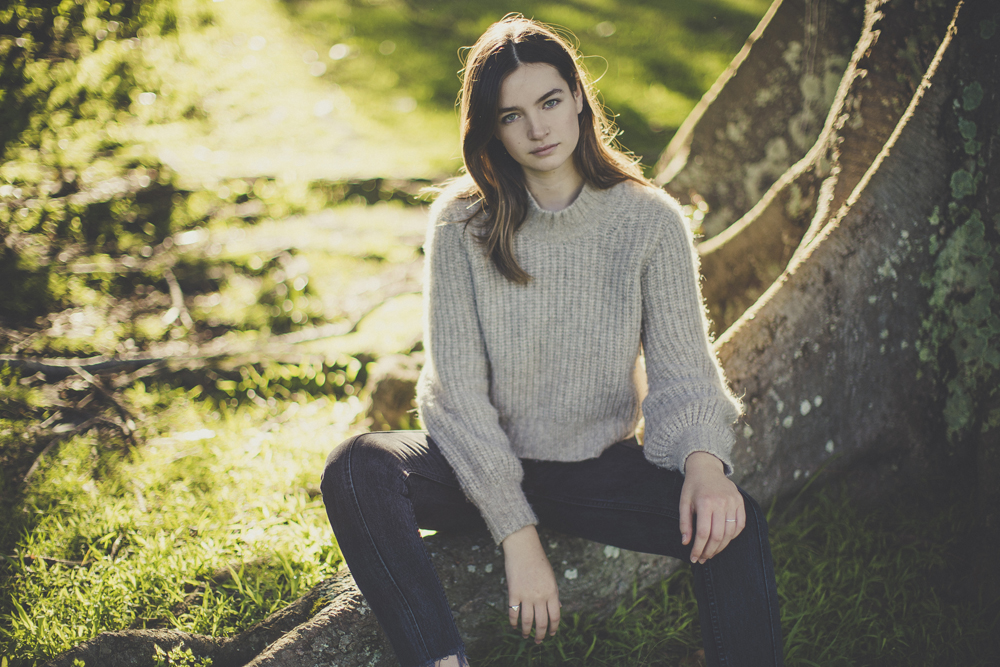
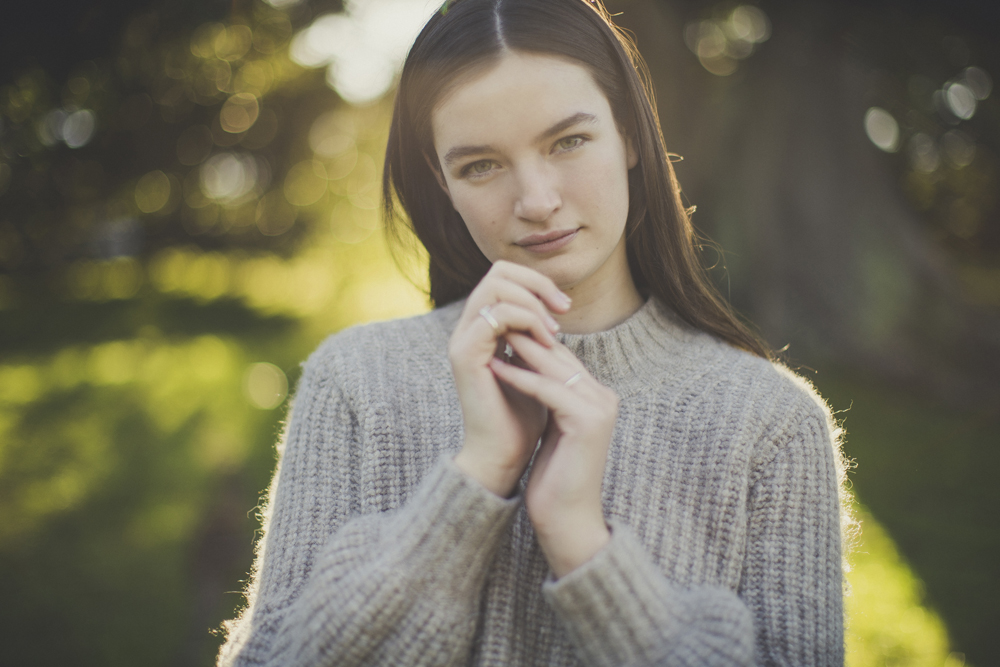

During this photoshoot on the streets of Sydney, I share 5 composition tips to improve your portraits. I take you through my thought process when taking portraits in busy locations and share what to look out for to capture beautiful portrait of your subject.
To create the Sony 14mm f1.8 GM lens review video, I roadtripped with Dan to the Blue Mountains during peak autumn colours. I wanted to make the most of these gorgeous orange and red leaves so Dan took portraits of me with the Sony 35mm f1.4 GM and Sony A7III.
Every photographer has their own unique vision and way of capturing portraits. In this behind the scenes video, Mitch Lally and I are photographing the same couple in the same location. We are even using the same focal length - a 35mm! Watch our portrait photoshoot below to see how different our results are.
In this photography tutorial, I share my favourite portrait composition tips to capture better looking portraits. I chose an urban location for this photoshoot, since having a distracting background with lines, different colours and textures is helpful to see the before & afters of my composition tips.
In this photography tutorial, learn how to pose your clients for a portrait photoshoot. These are easy posing prompts that you can use for a subject who isn’t comfortable in front of the camera.
In this photography tutorial, I share my thought process behind how I find locations for my portrait photography!
Sometimes it’s fun to challenge yourself as a photographer and do something you normally don’t. In today’s behind the scenes video I set a 10 minute timer to do a whole photoshoot on the streets of Sydney.
For today’s photoshoot I thought it was time to clean off the dust of my first ever camera that I used to learn how to do photography on more than 10 years ago. I have the Pentax K100D which was a trusty little camera body that I first used to learn how to shoot in manual, learn how to use natural light, how to compose my photos and in general just a way to be creative when I was fresh out of high school and interested in what photography was.
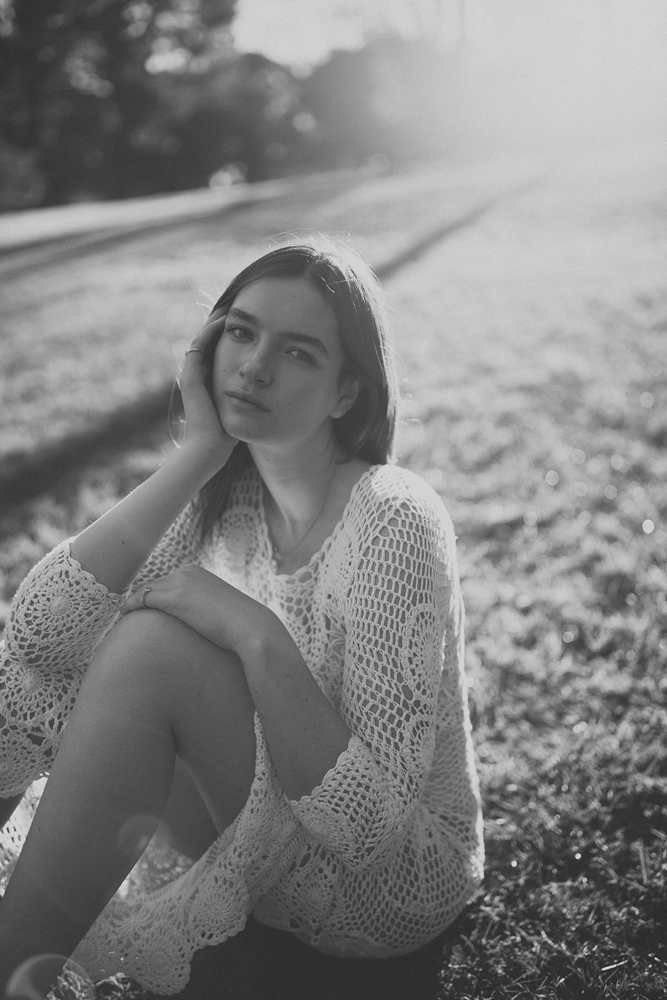
These first bunch of photos were taken on the Canon 5Dmkiii + Canon 35mm f1.4L mkii lens. Scroll down to see the photos taken on the Canon EOS-1 V + Canon 35mm 1.4L mki + Agfa 200 film.
And watch the behind the scenes video below!
Model: Kristina Szrich
All photos edited with my Disposable Film Lightroom Preset!
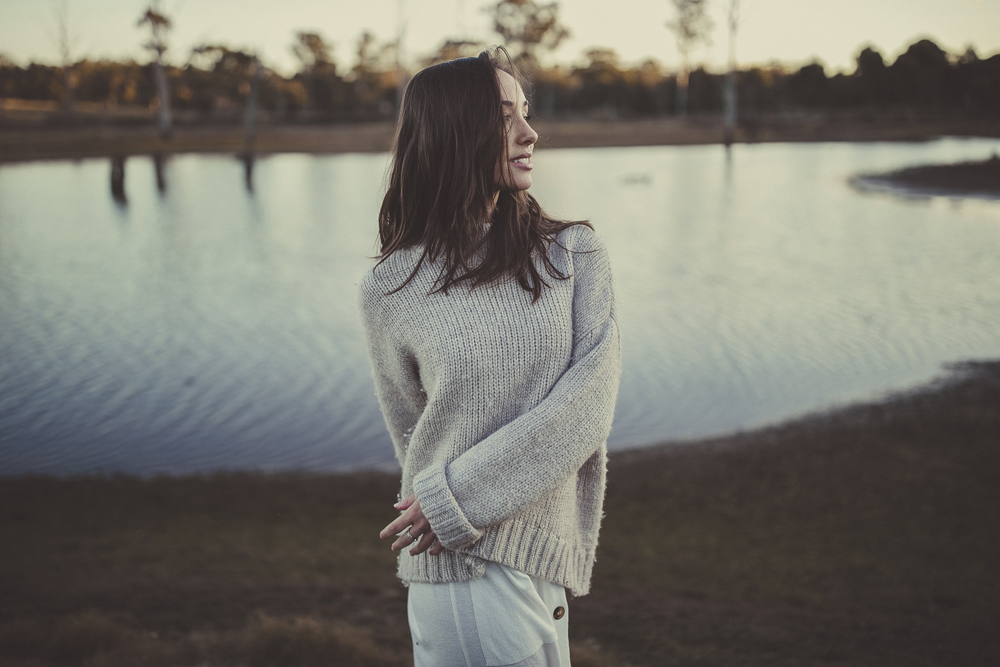
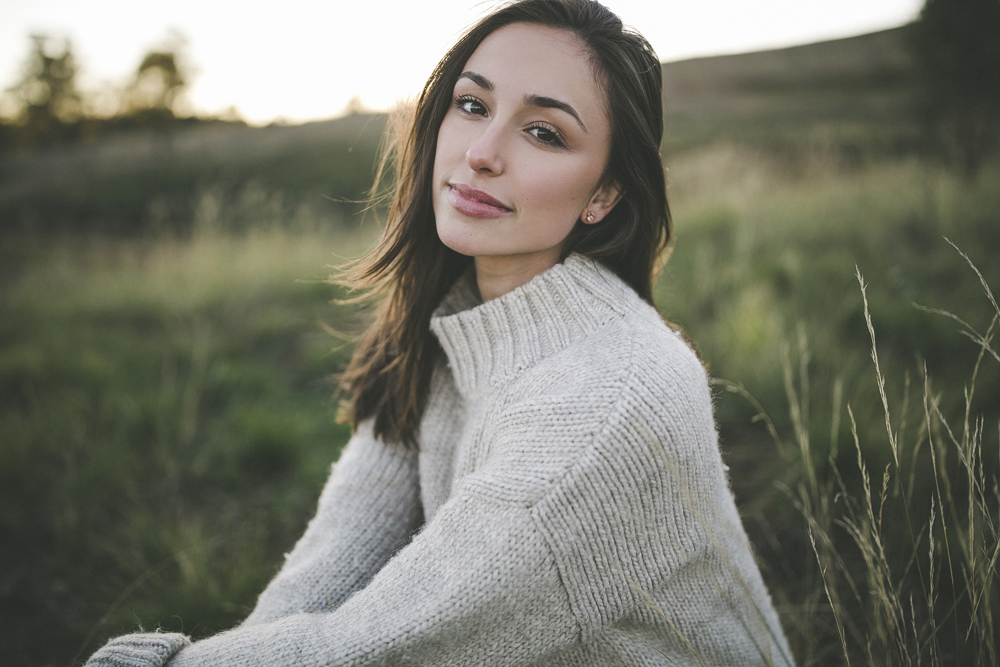
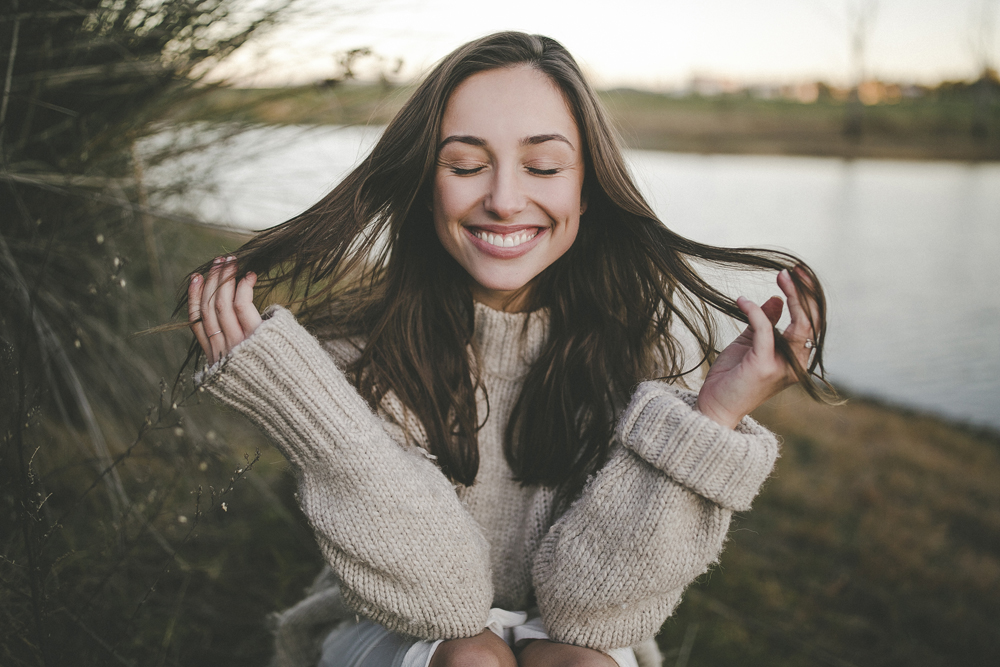
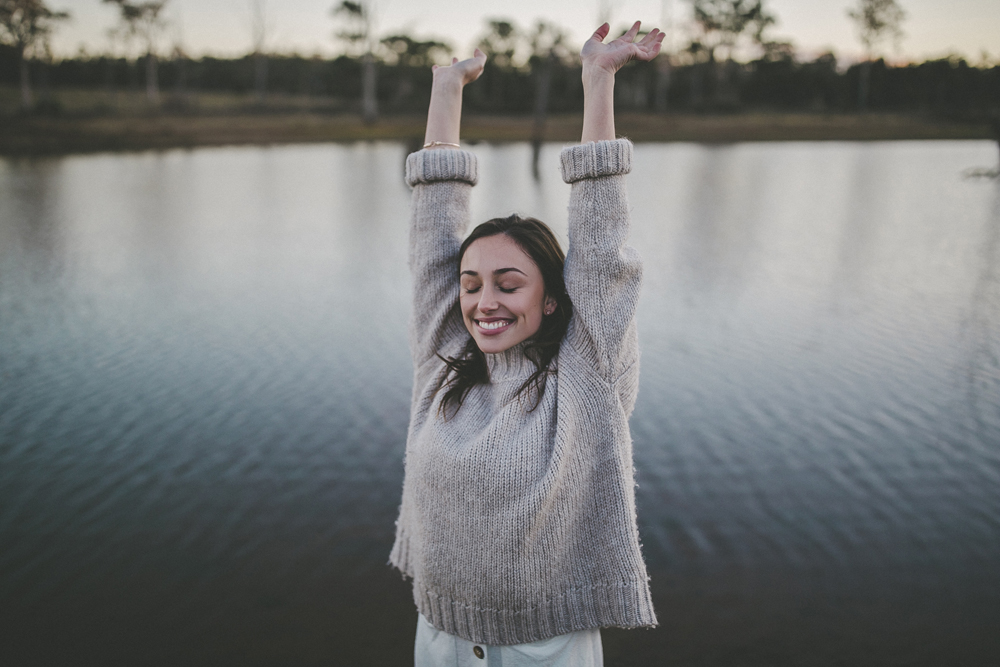
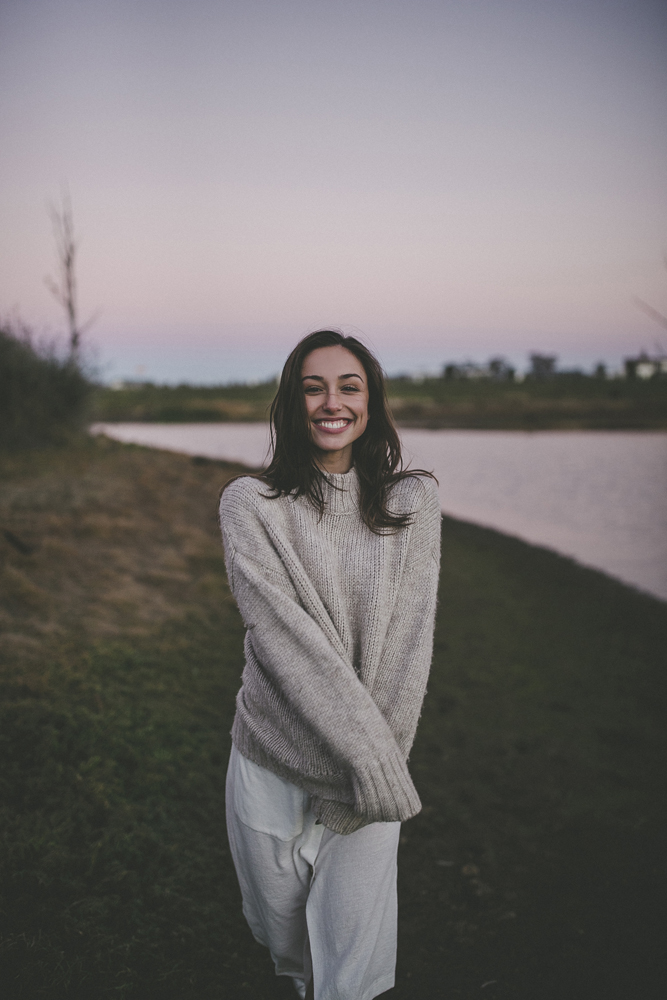
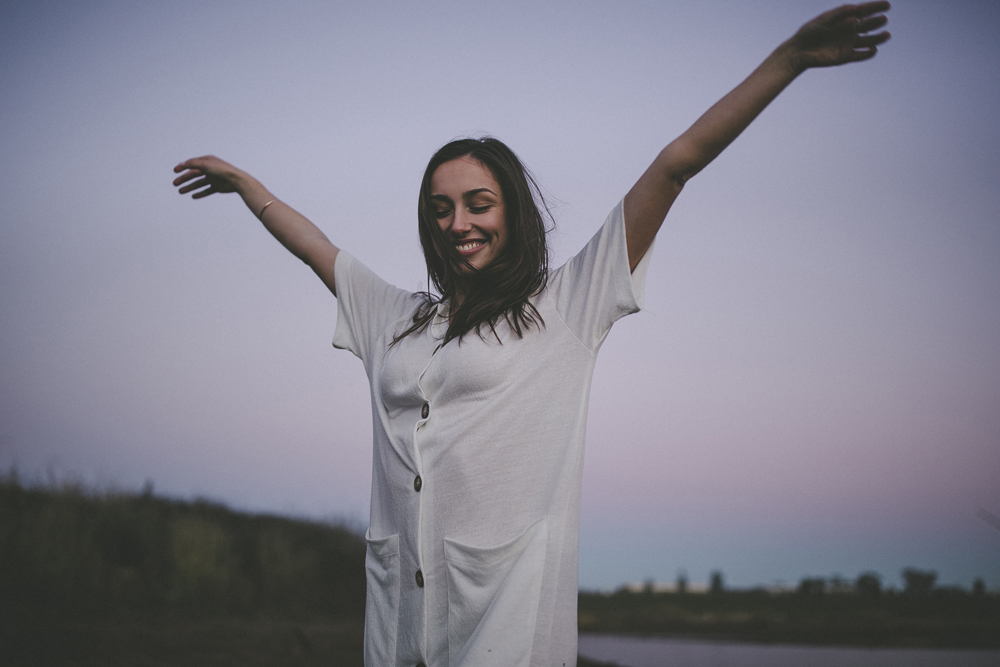
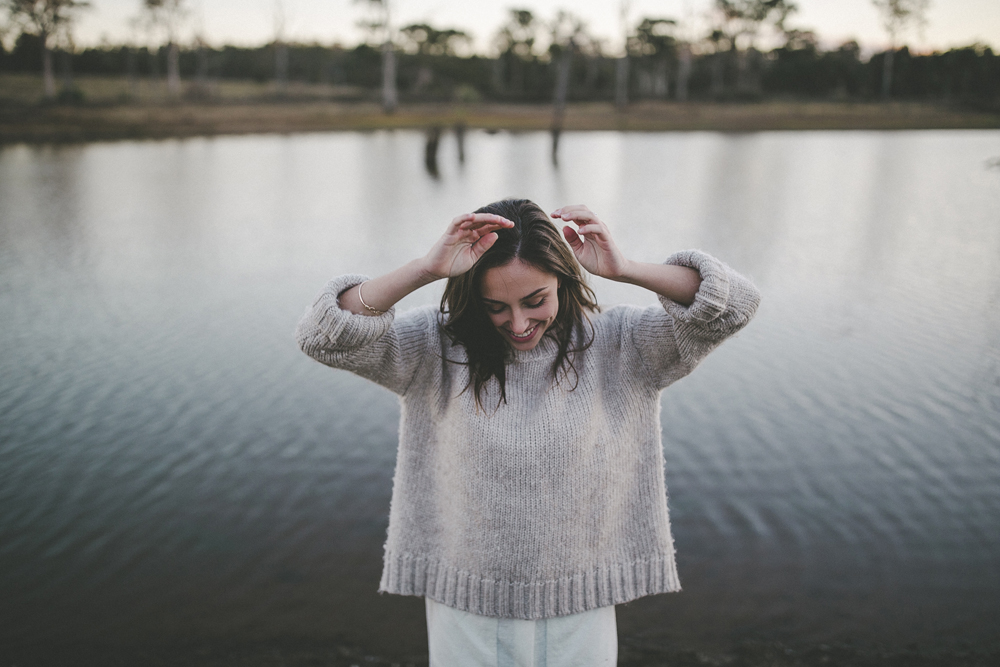

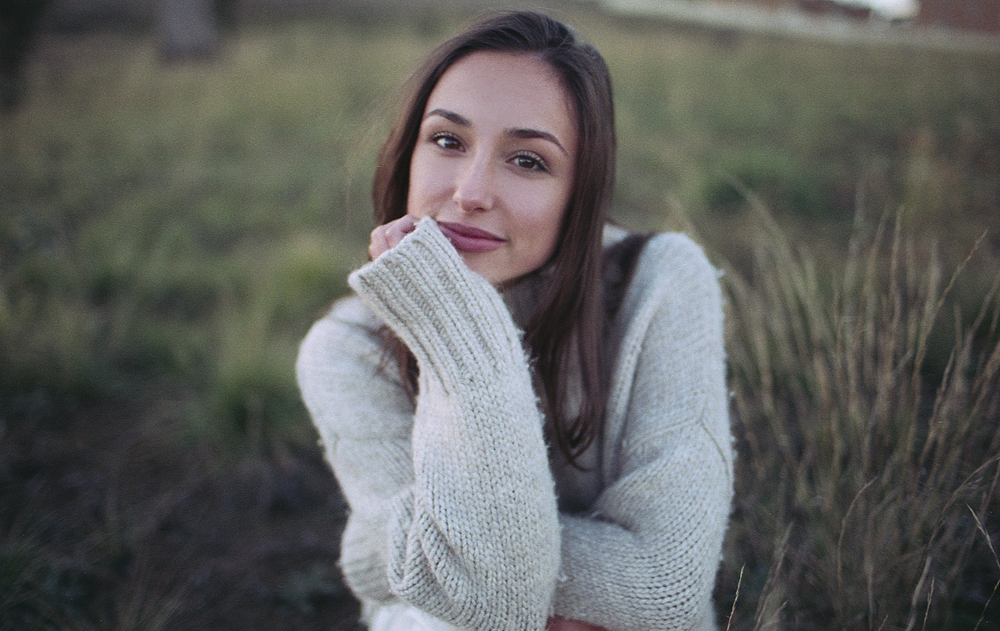
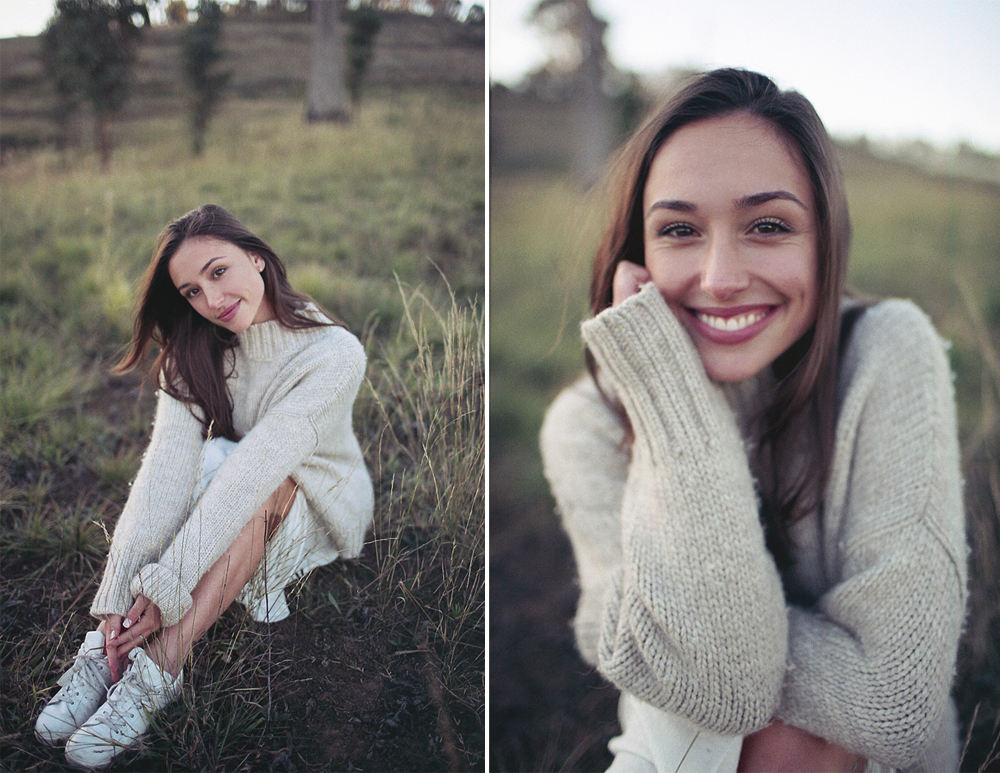
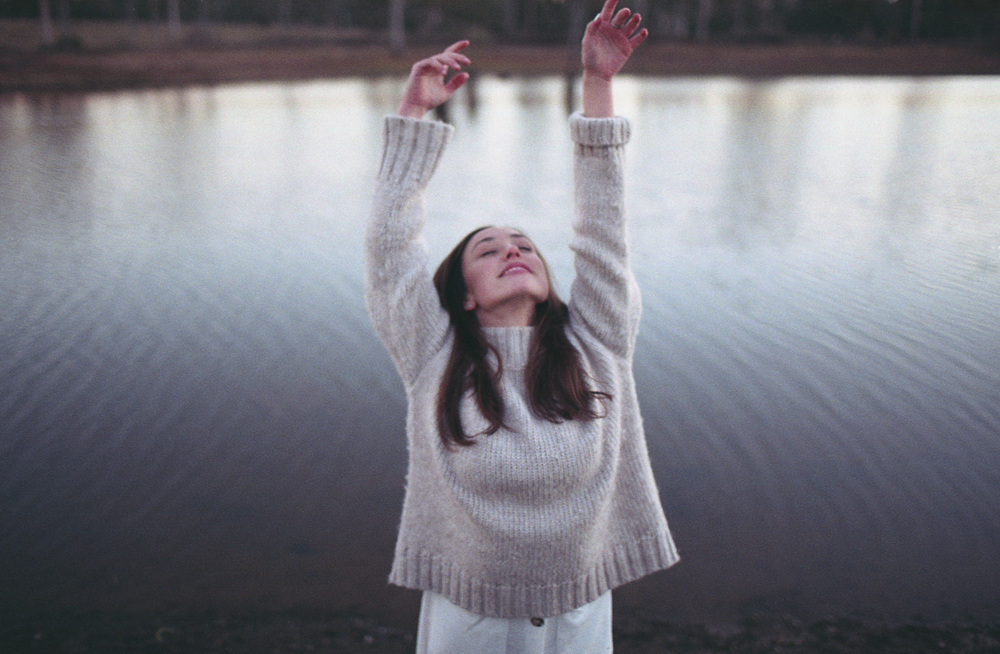

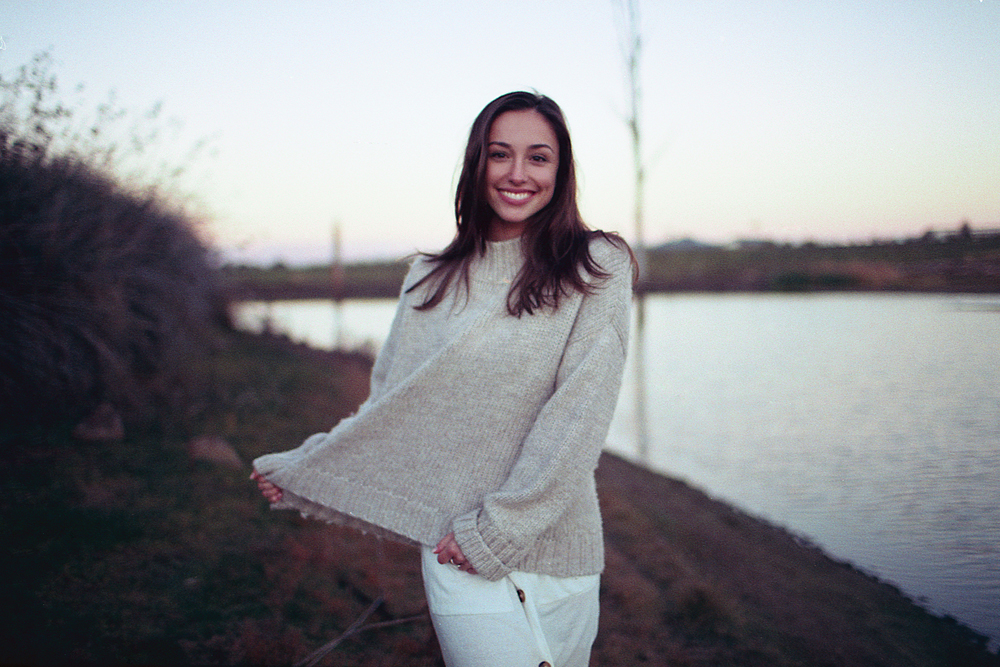
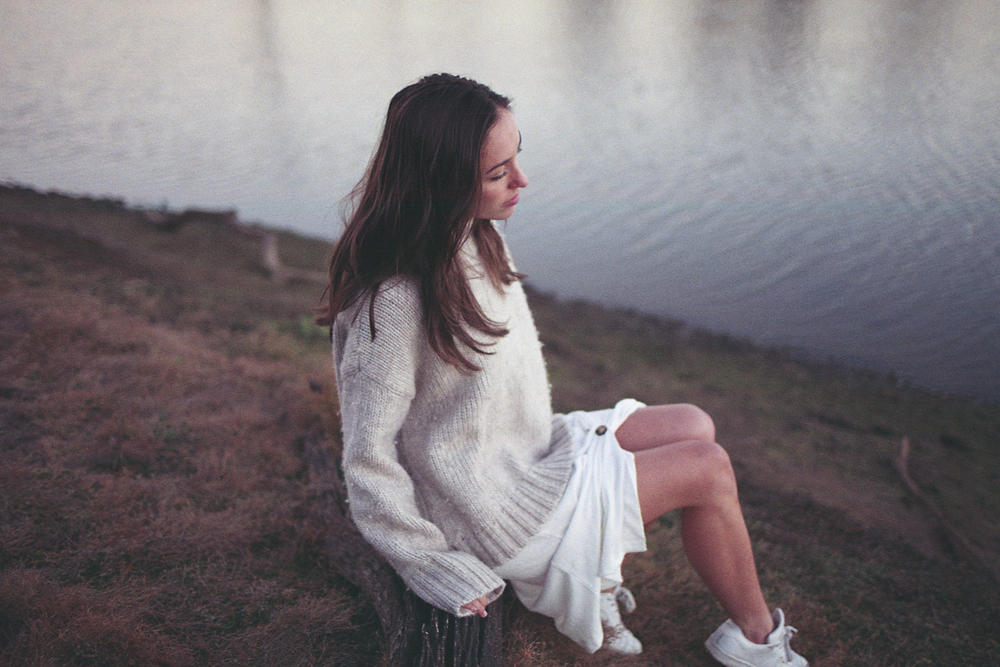
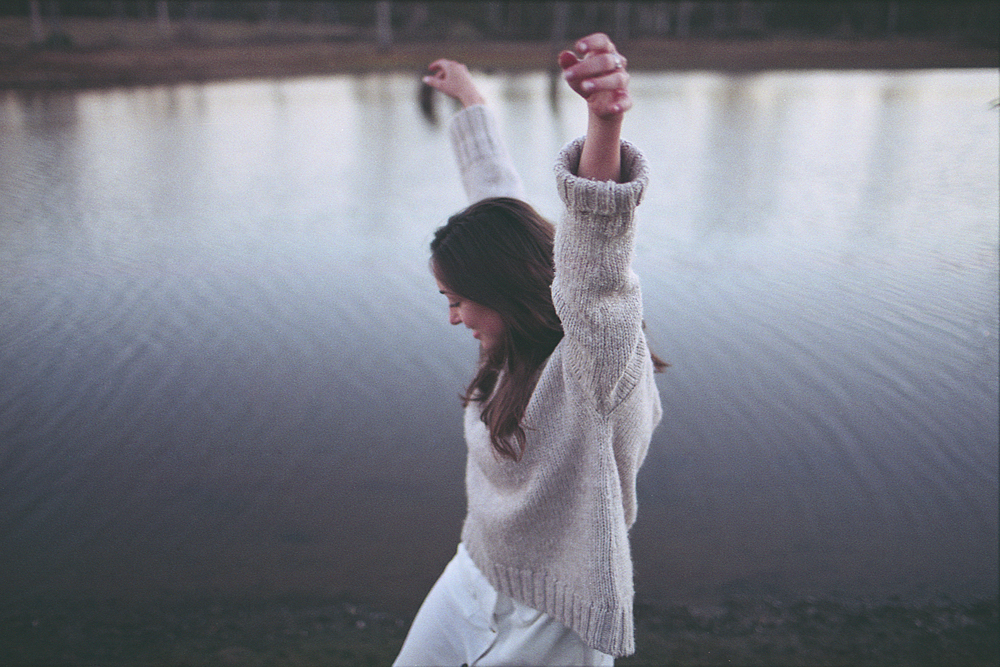
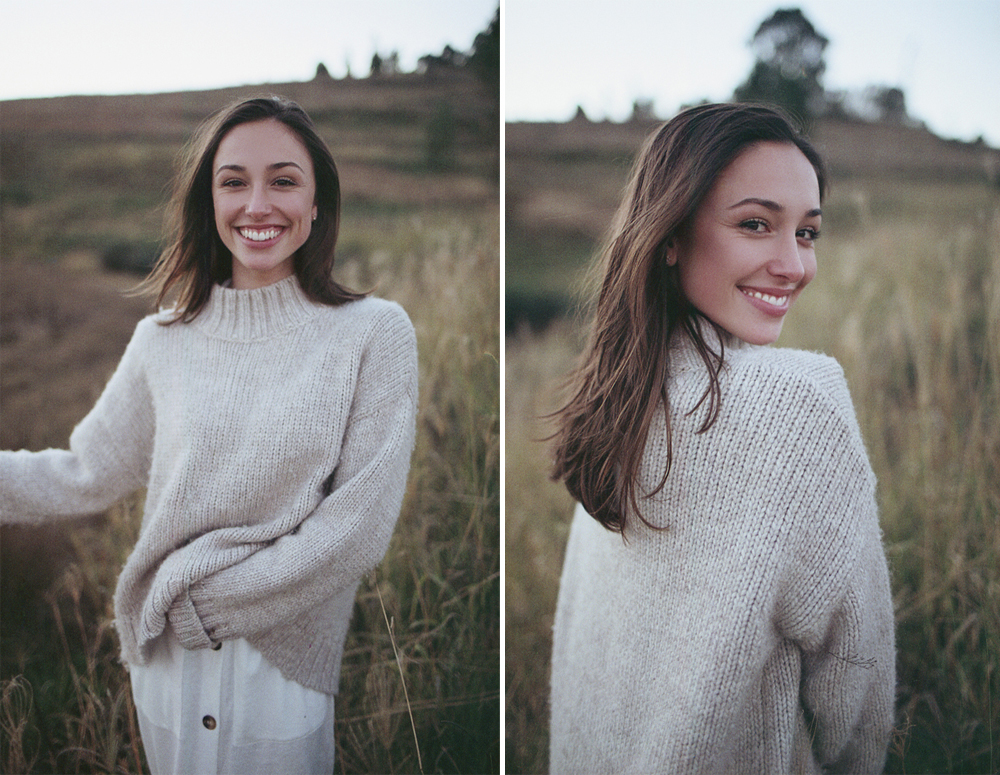
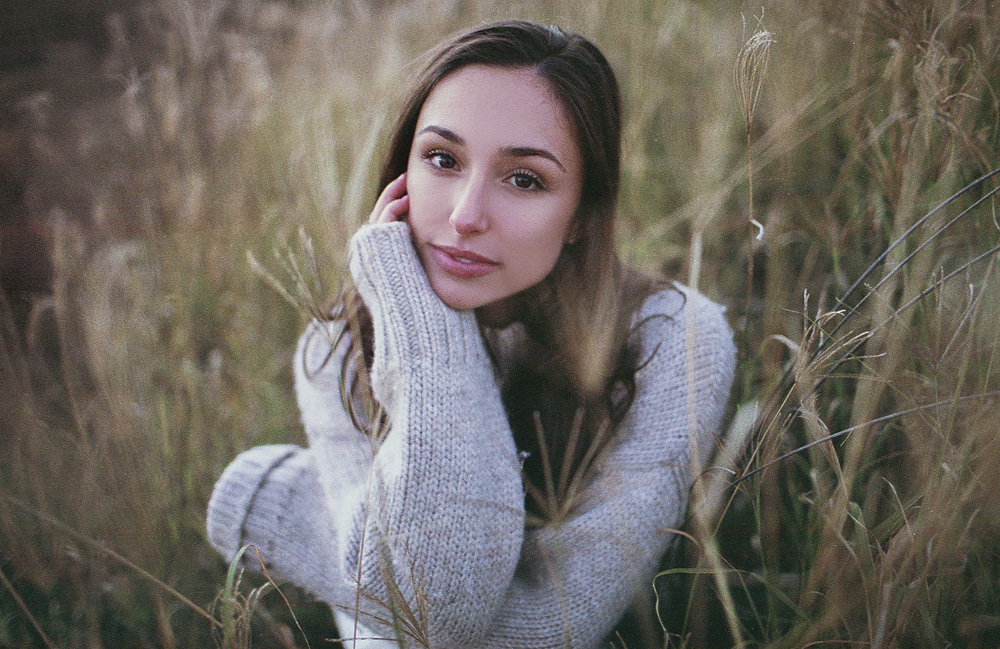
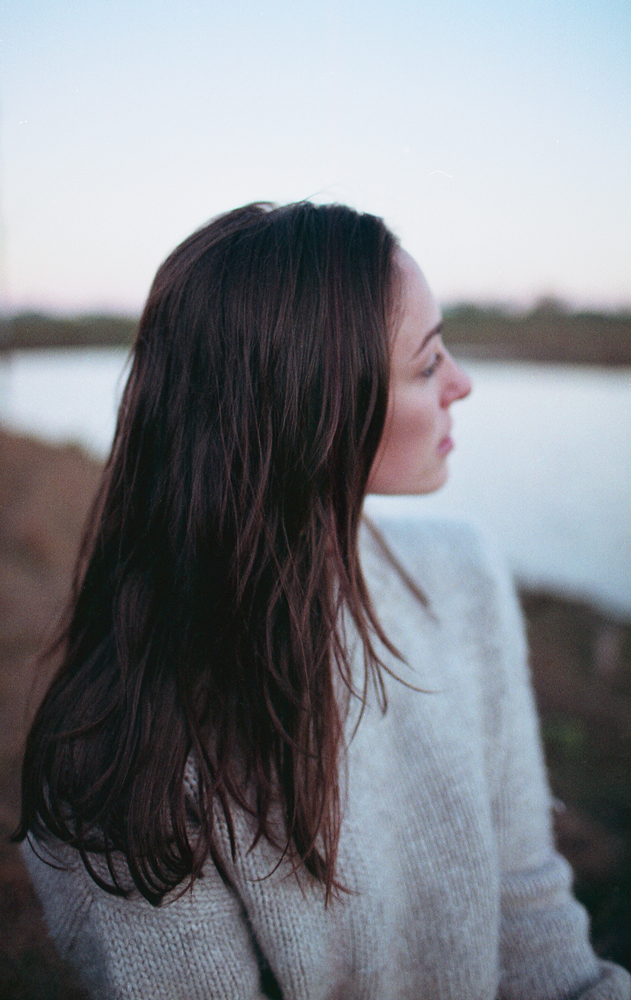
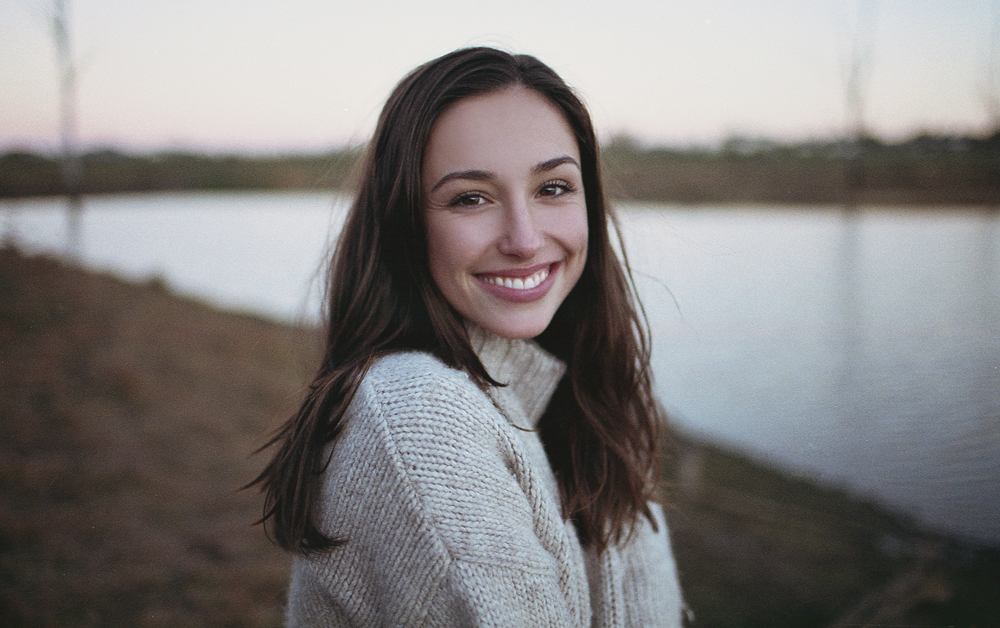
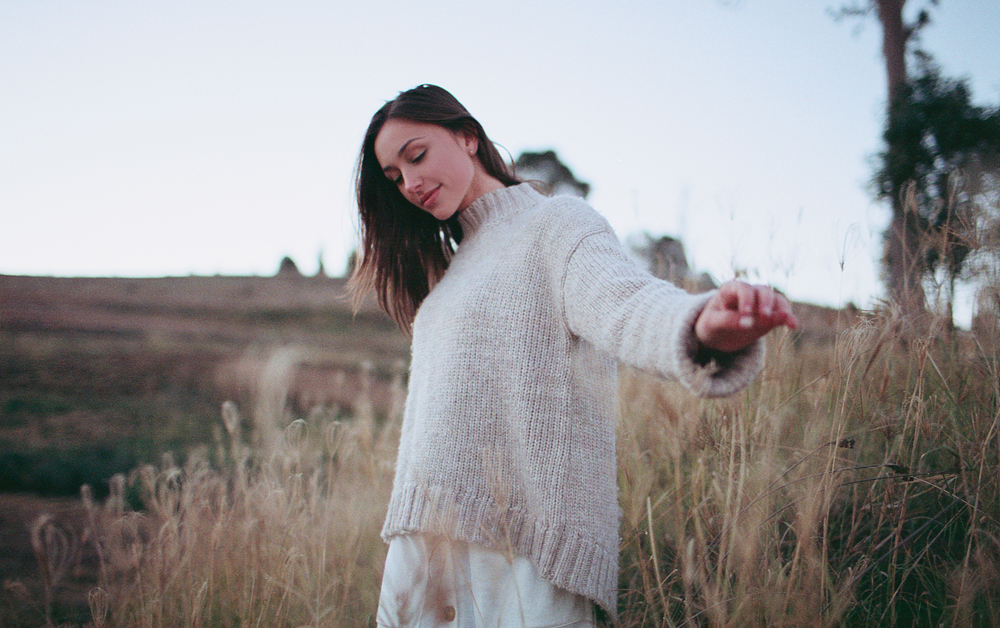

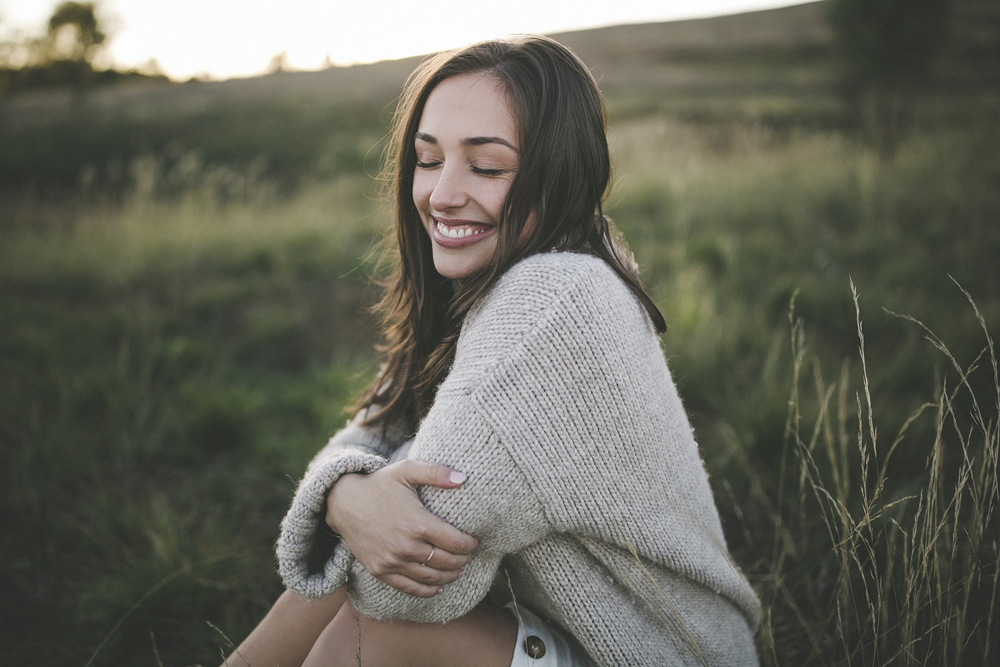
During this photoshoot, I’m using the Sony A7IV paired with the Samyang 24-70mm f2.8 zoom lens. This zoom lens gives me a lot of flexibility while shooting as it allows me to capture both wide and tight compositions without changing lenses. This is especially helpful is fast paced environments or when taking photos on a time crunch. While taking portraits, I’m also sharing a few of my go to composition tips for working with a standard zoom like this.
I spent a morning doing landscape photography around Lake Bled in Slovenia using the Sony A7IV with the GM 35mm f1.4 lens.
In this video, I want to share with you reasons to help you decide wether you should be upgrading your camera body or your lens and which one to do first. I’ll walk you through the key factors to consider when deciding between each option.
For this portrait session, I am using the Zeiss 50mm f1.4 on the Sony A7 IV, capturing backlit images on the beach during golden hour. The combination of the lens’s wide aperture and the warm, soft light of the setting sun helped create intimate, glowing portraits with beautiful light falloff and natural skin tones.
I am comparing the Zeiss 50mm f1.4 vs Zeiss 55mm f1.8 at a real-world portrait photoshoot. I share various different side by side photo comparisons at 100% crop, so you can see all the details.
For this portrait photoshoot I am using the Fujifilm X-T4 paired with two of my favorite prime lenses: the Fujinon XF 16mm f/1.4 R WR and XF 23mm f/1.4 R LM WR.
I captured these photos of Megan Emmett for the Candice Lee Femme Collection. You can see more of Candice Lee’s bridal gowns and hair styling work here.
This blog post includes some of my favourite photos I took during my time in Japan with the S5II. If you want to hear my complete thoughts and review of the S5II capabilities for photo and video, you can watch my review video here.
In November, I was invited to Japan by LUMIX to attend the LUMIX Global Summit for the announcement of the new LUMIX S5II. Paired with the new camera body and an array of lenses, Dan and I took to the streets of Tokyo, Japan to film our review video of the camera body.
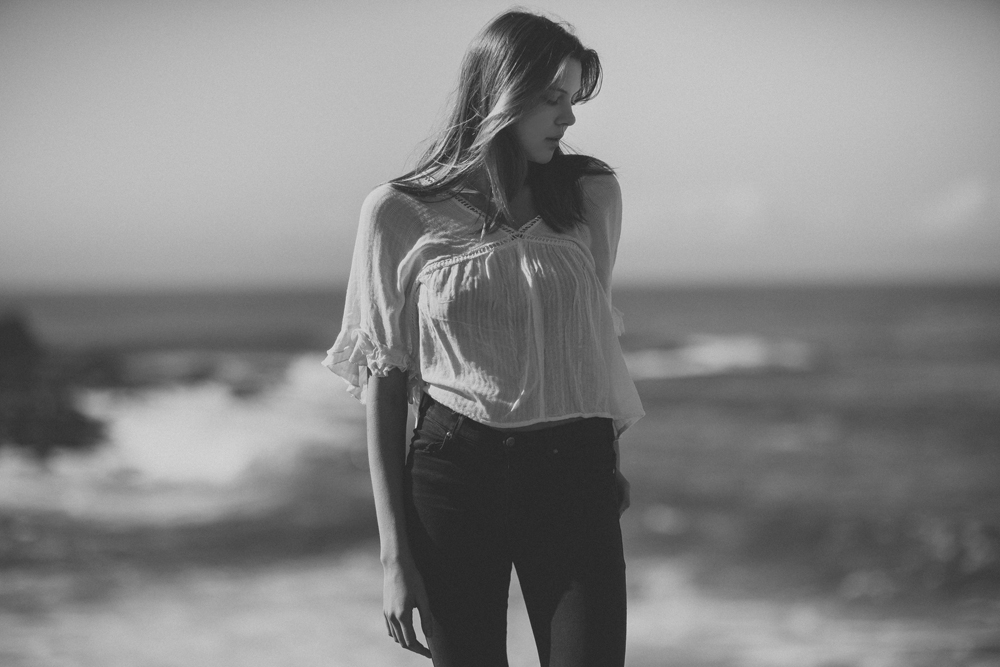
Today we are testing out how the Canon 85mm f1.2L II works on the Sony A7III with a Metabones adaptor. I decided to do a photoshoot in harsh sunlight to experiment with something different, and I'll do another photoshoot soon with the 85mm in softer light so we can compare results.
Watch the behind the scenes video from our shoot down below! And please subscribe to my YouTube Channel, I release 2 new videos a week!
model angelique @ fivetwenty
All photos edited with my Summer Haze Lightroom Preset!
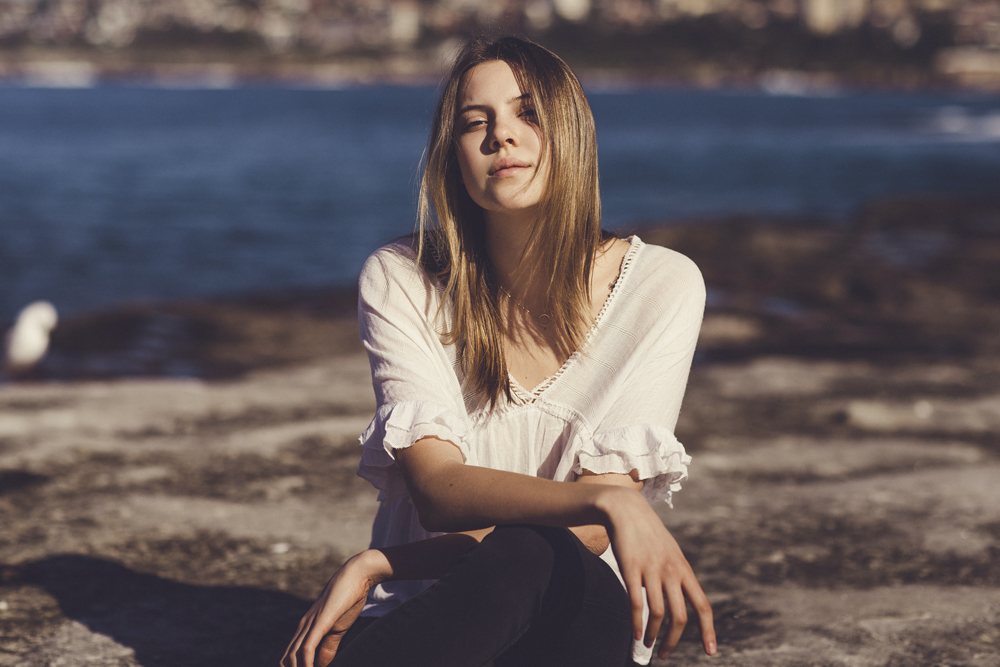
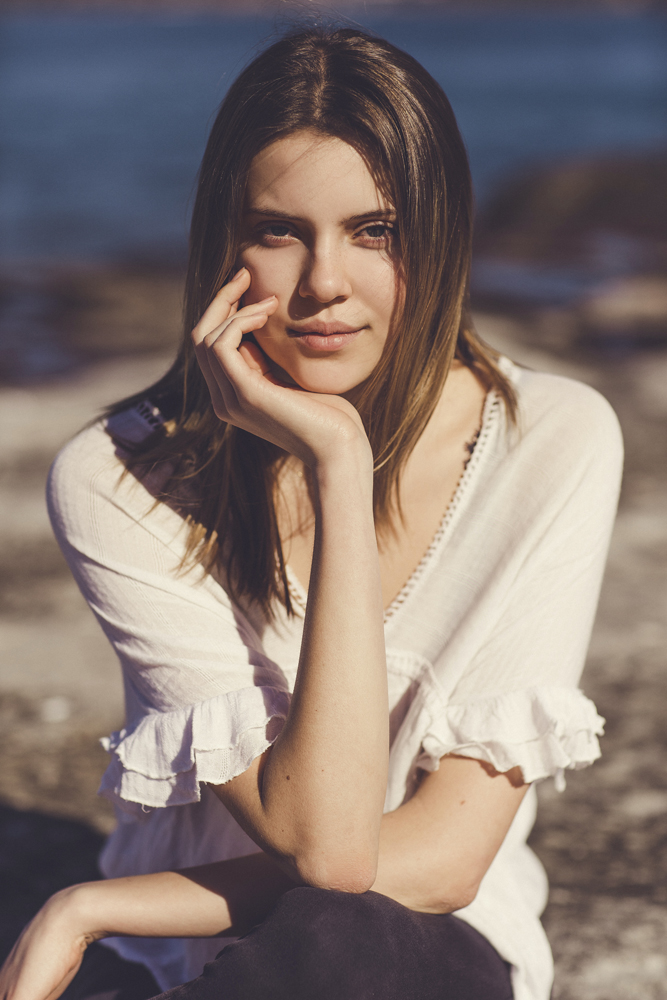
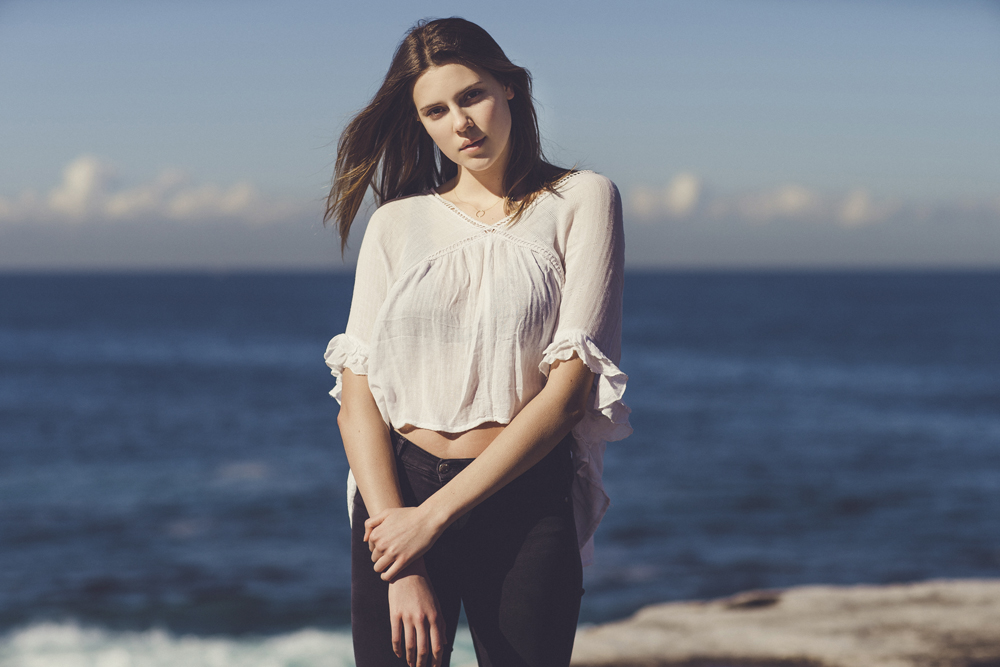
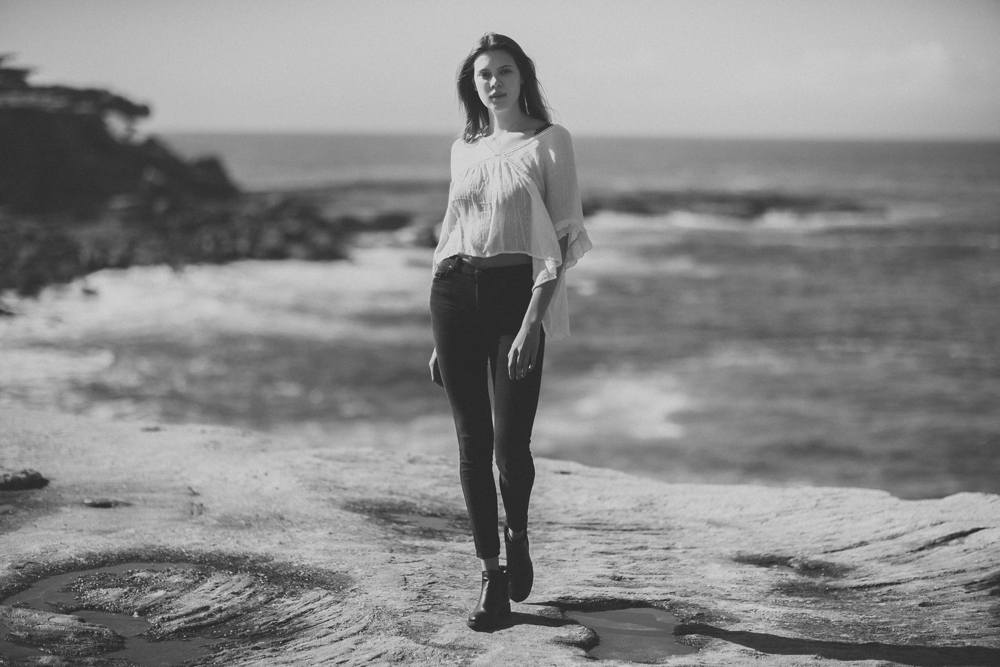
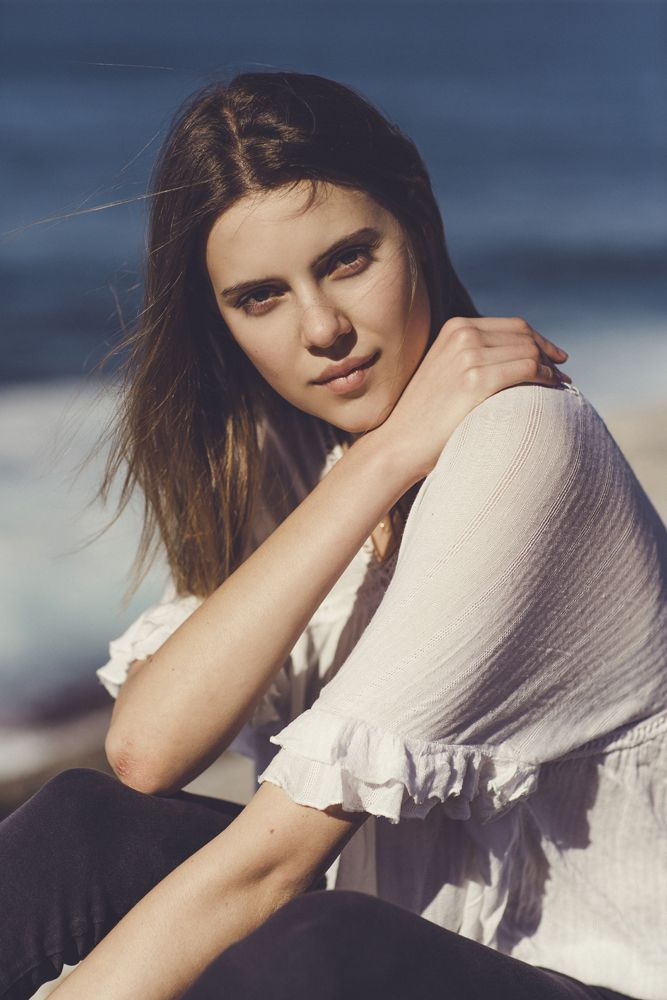
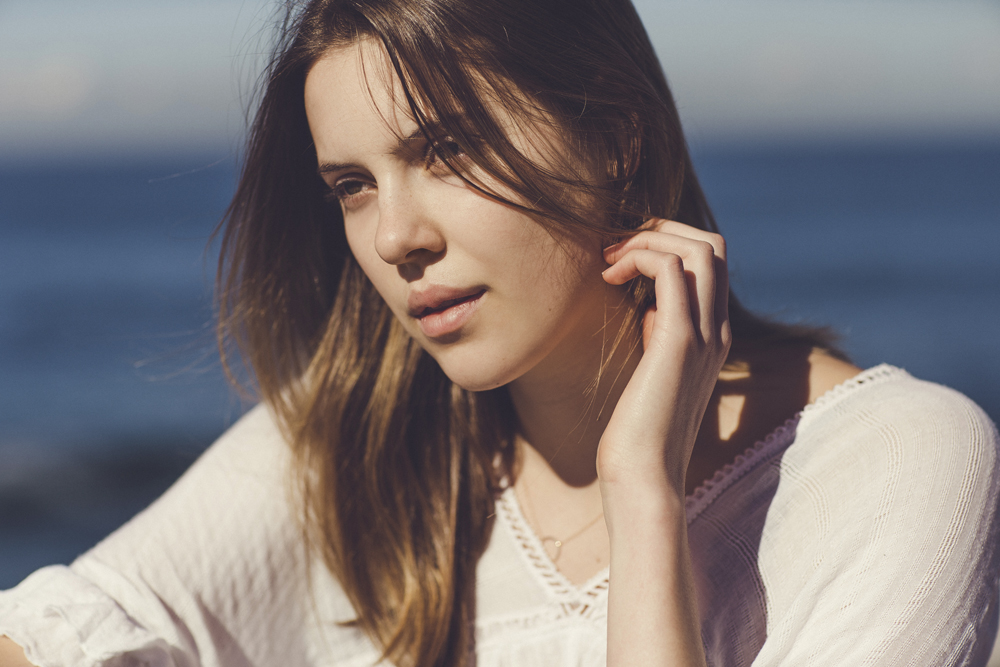
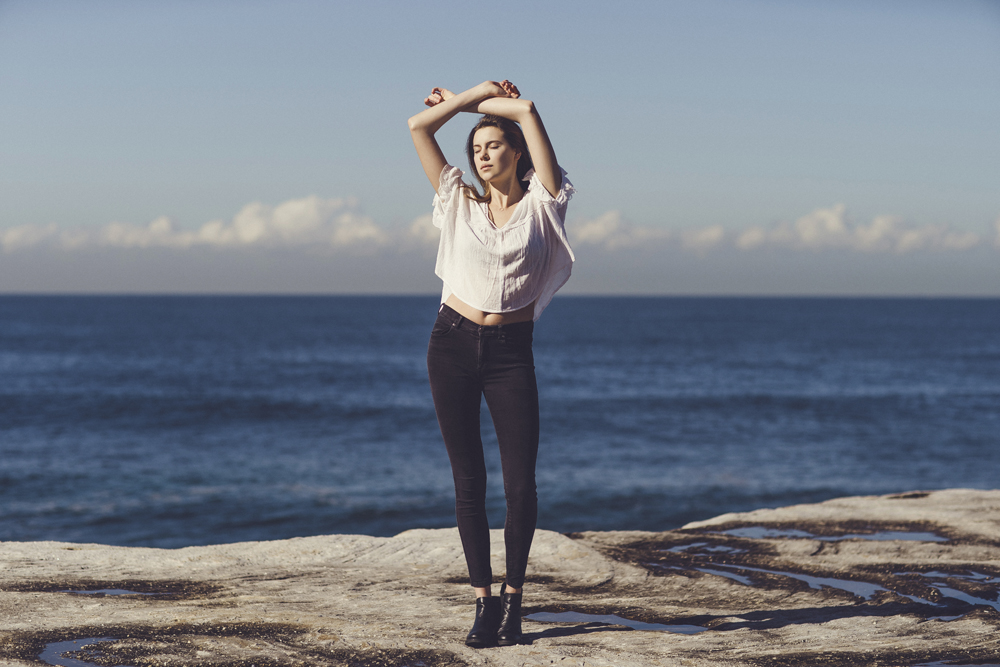
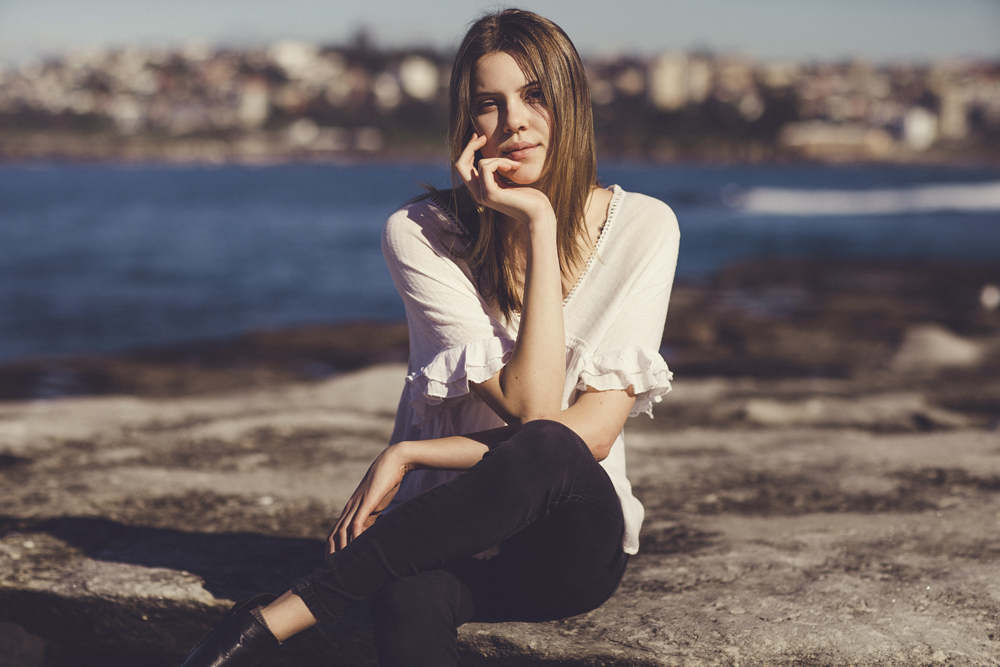

All photos edited with my Summer Haze Lightroom Preset!
I captured these photos of Megan Emmett for the Candice Lee Femme Collection. You can see more of Candice Lee’s bridal gowns and hair styling work here.
During this photoshoot on the streets of Sydney, I share 5 composition tips to improve your portraits. I take you through my thought process when taking portraits in busy locations and share what to look out for to capture beautiful portrait of your subject.
To create the Sony 14mm f1.8 GM lens review video, I roadtripped with Dan to the Blue Mountains during peak autumn colours. I wanted to make the most of these gorgeous orange and red leaves so Dan took portraits of me with the Sony 35mm f1.4 GM and Sony A7III.
Every photographer has their own unique vision and way of capturing portraits. In this behind the scenes video, Mitch Lally and I are photographing the same couple in the same location. We are even using the same focal length - a 35mm! Watch our portrait photoshoot below to see how different our results are.
In this photography tutorial, I share my favourite portrait composition tips to capture better looking portraits. I chose an urban location for this photoshoot, since having a distracting background with lines, different colours and textures is helpful to see the before & afters of my composition tips.
In this photography tutorial, learn how to pose your clients for a portrait photoshoot. These are easy posing prompts that you can use for a subject who isn’t comfortable in front of the camera.
In this photography tutorial, I share my thought process behind how I find locations for my portrait photography!
Sometimes it’s fun to challenge yourself as a photographer and do something you normally don’t. In today’s behind the scenes video I set a 10 minute timer to do a whole photoshoot on the streets of Sydney.
For today’s photoshoot I thought it was time to clean off the dust of my first ever camera that I used to learn how to do photography on more than 10 years ago. I have the Pentax K100D which was a trusty little camera body that I first used to learn how to shoot in manual, learn how to use natural light, how to compose my photos and in general just a way to be creative when I was fresh out of high school and interested in what photography was.
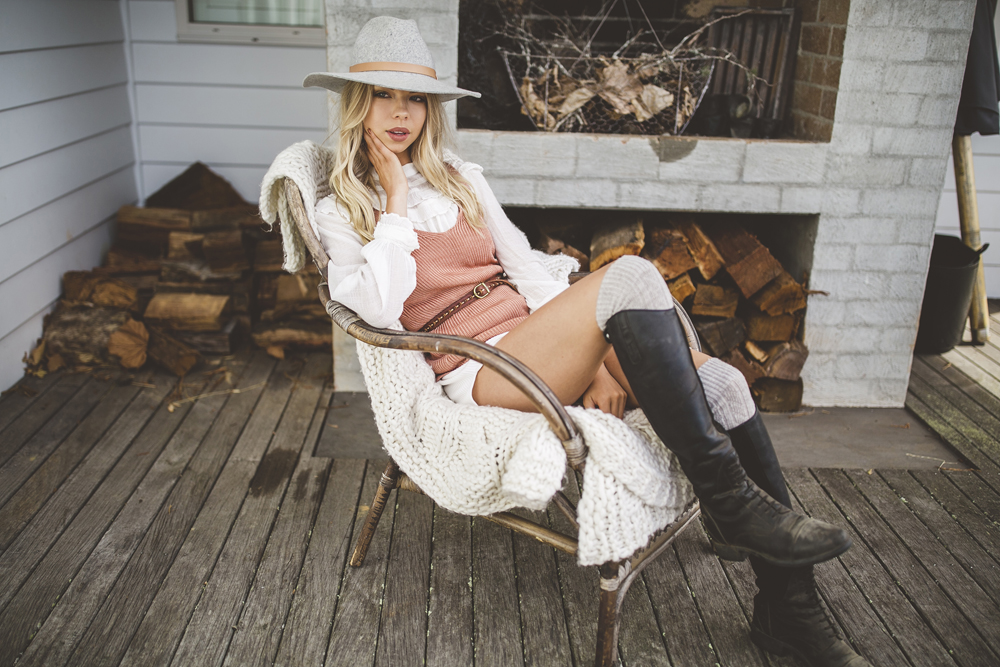
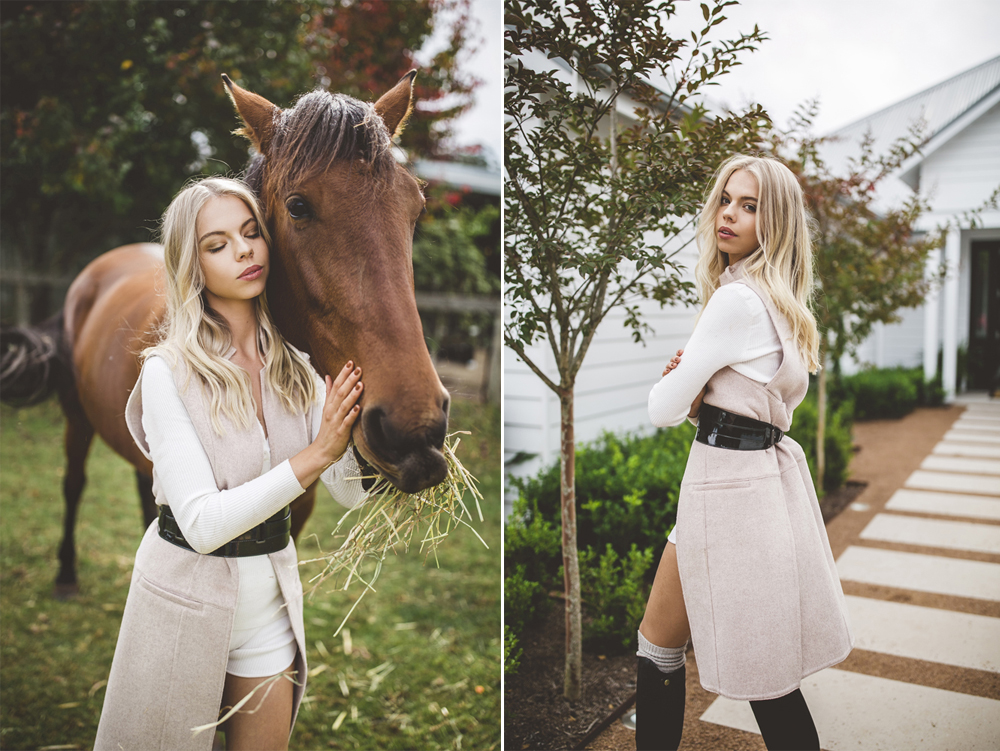
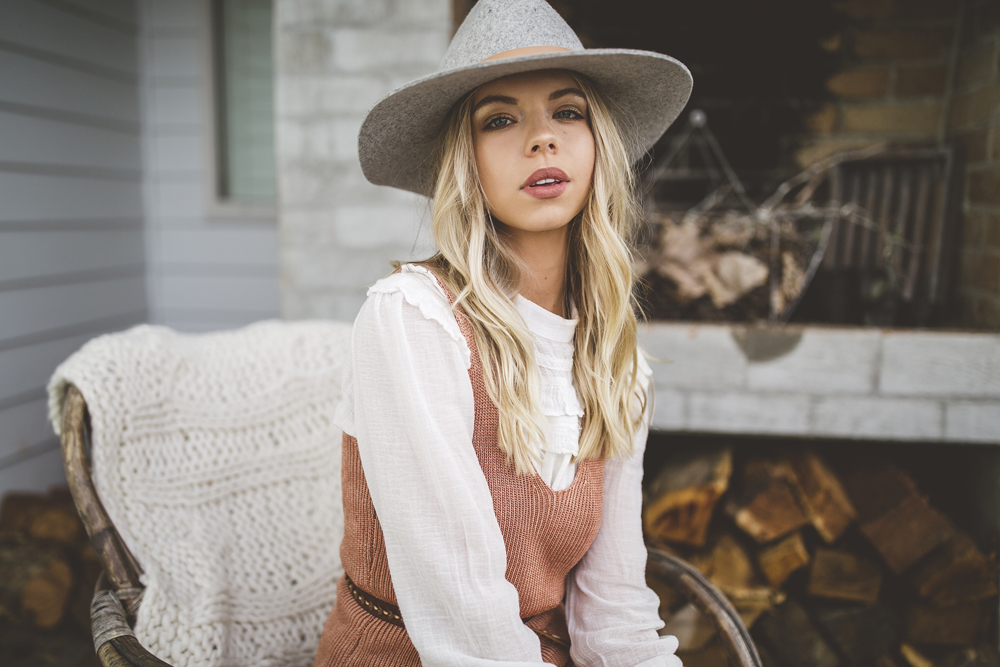
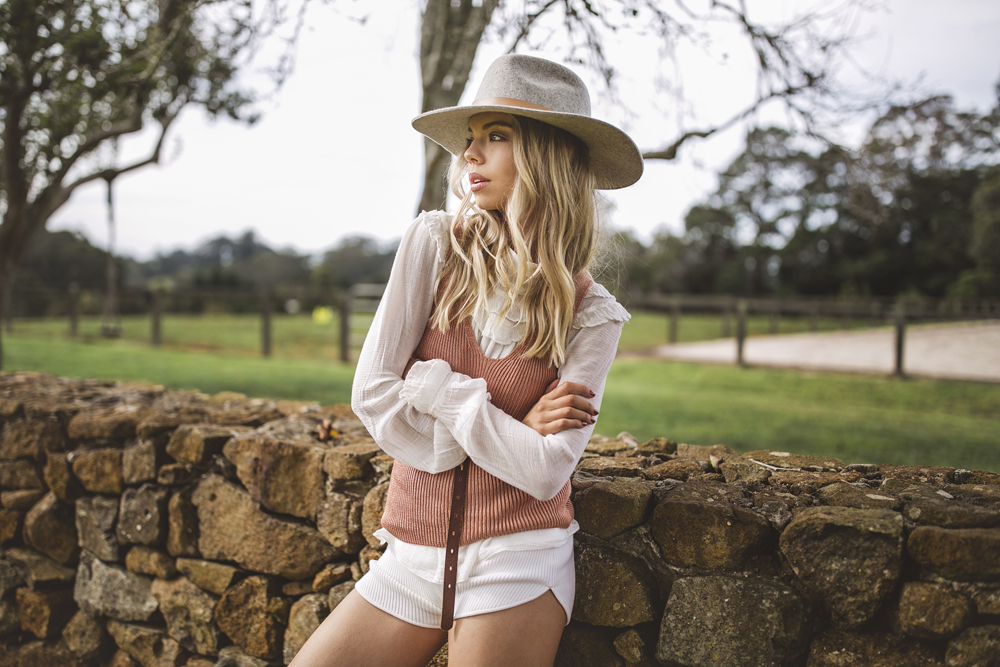
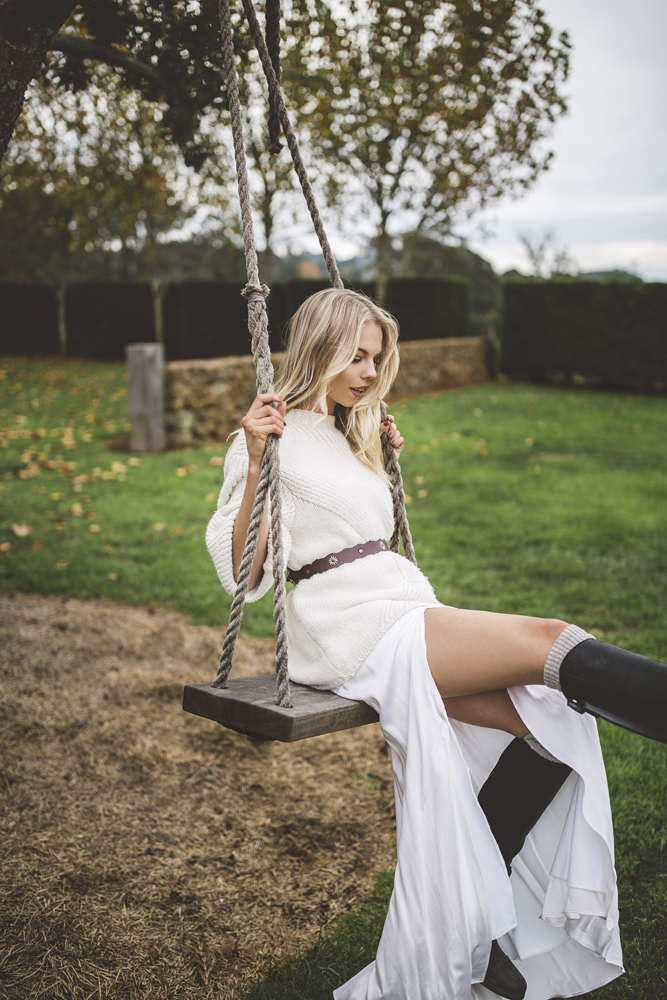
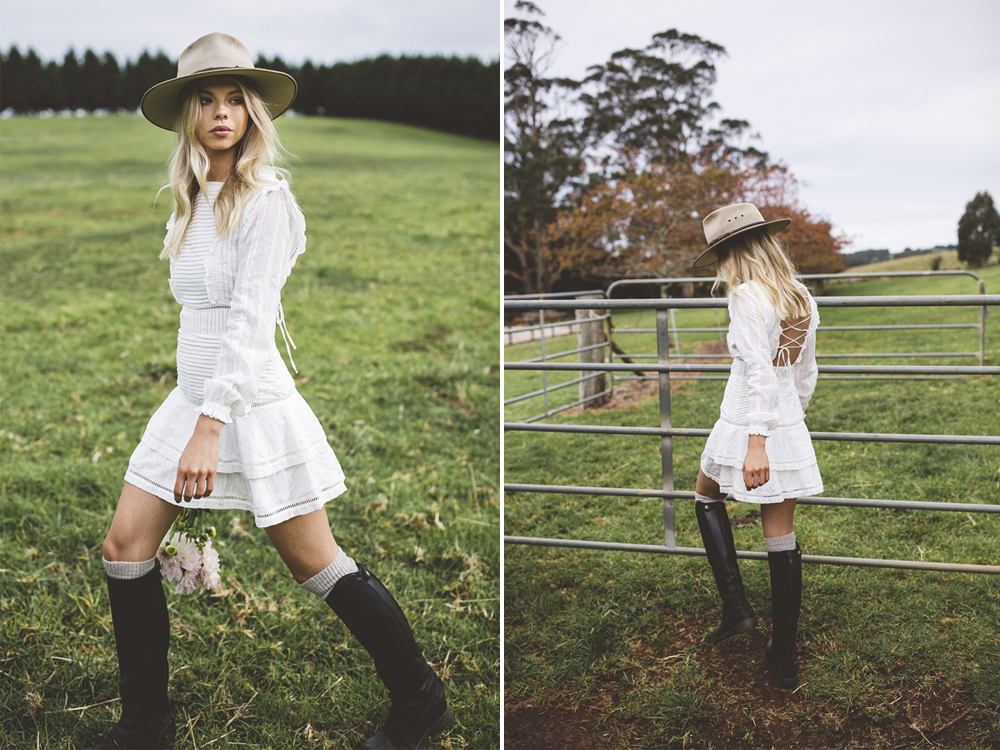
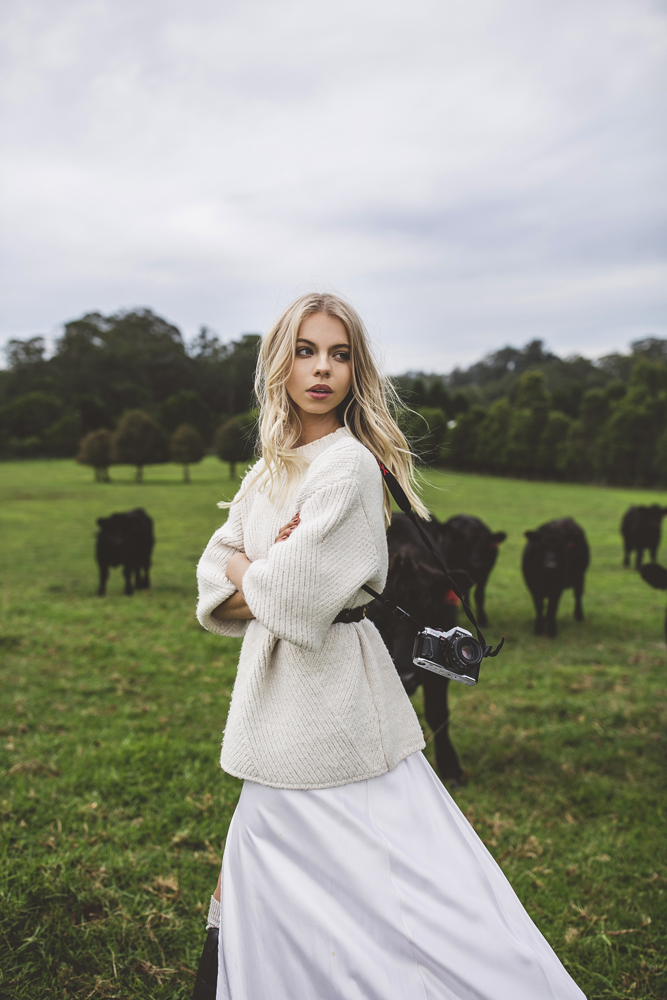
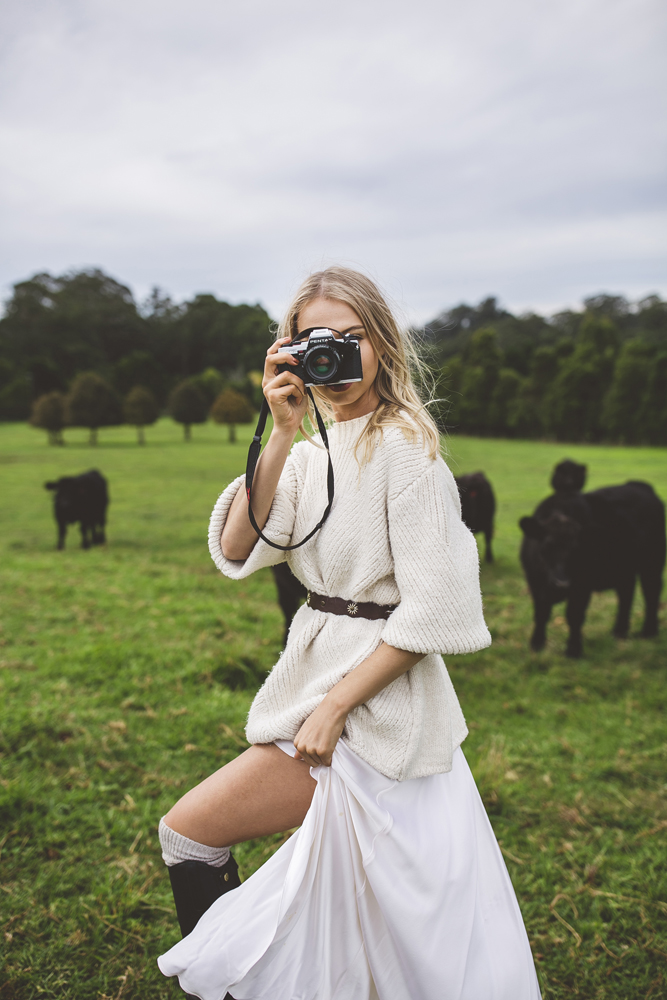
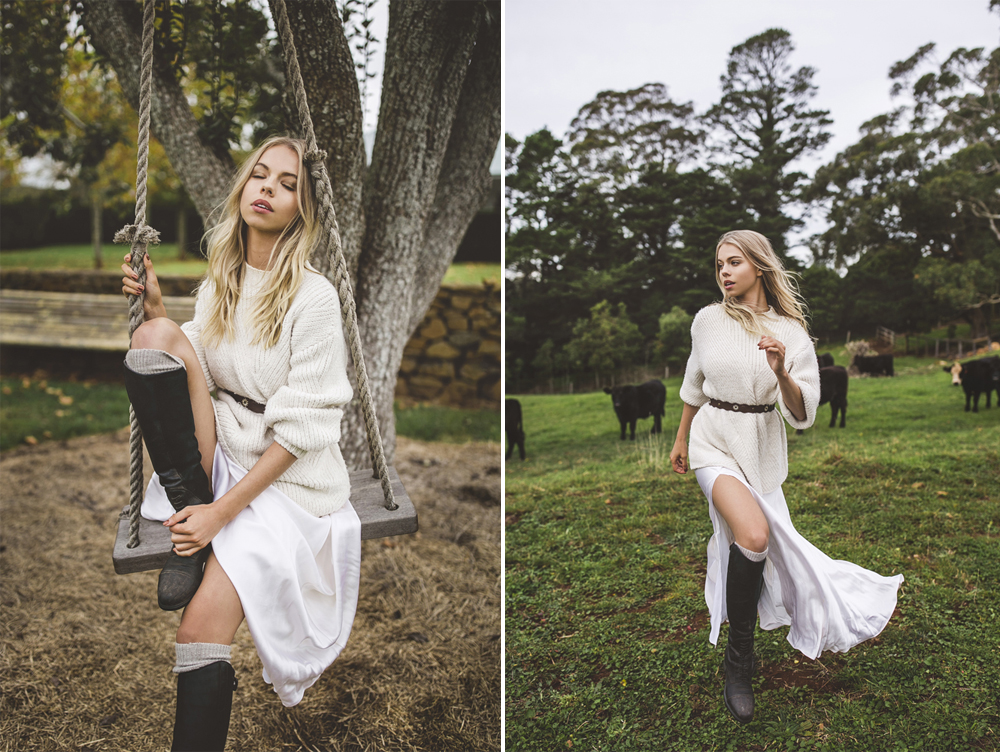
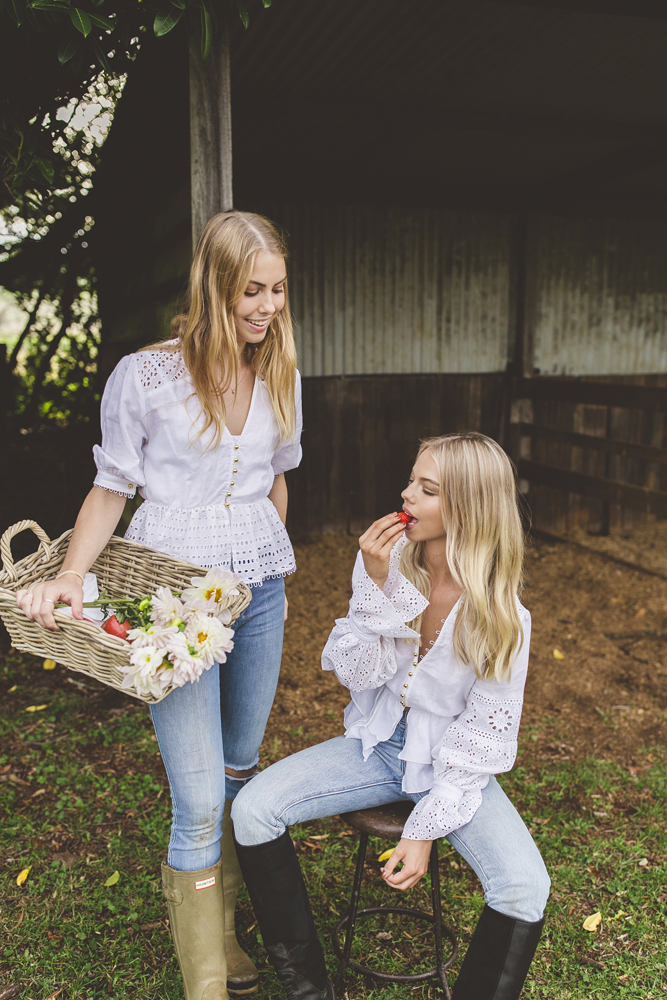
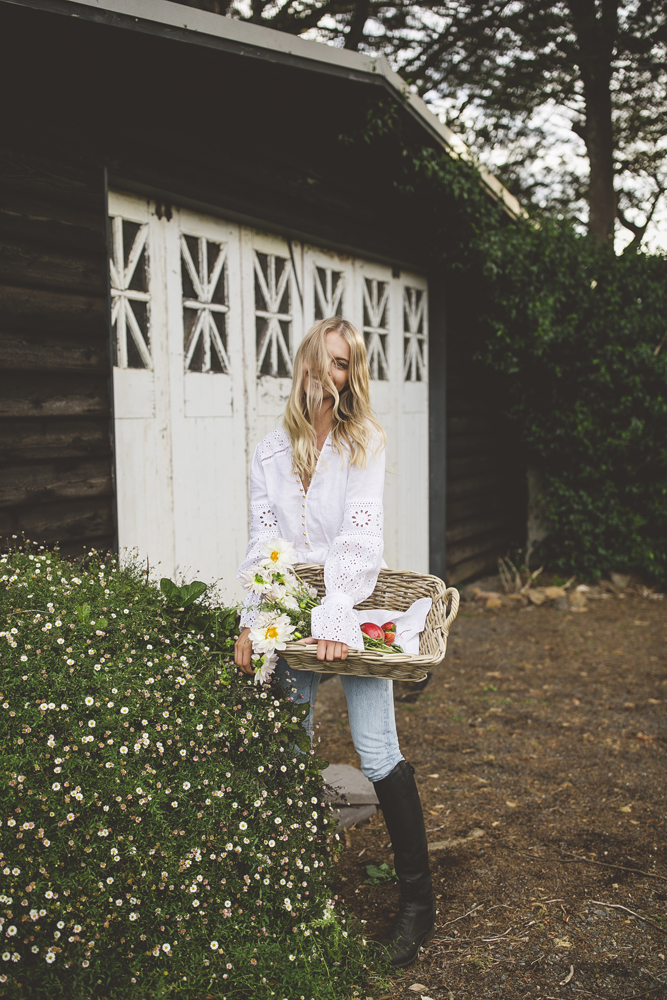
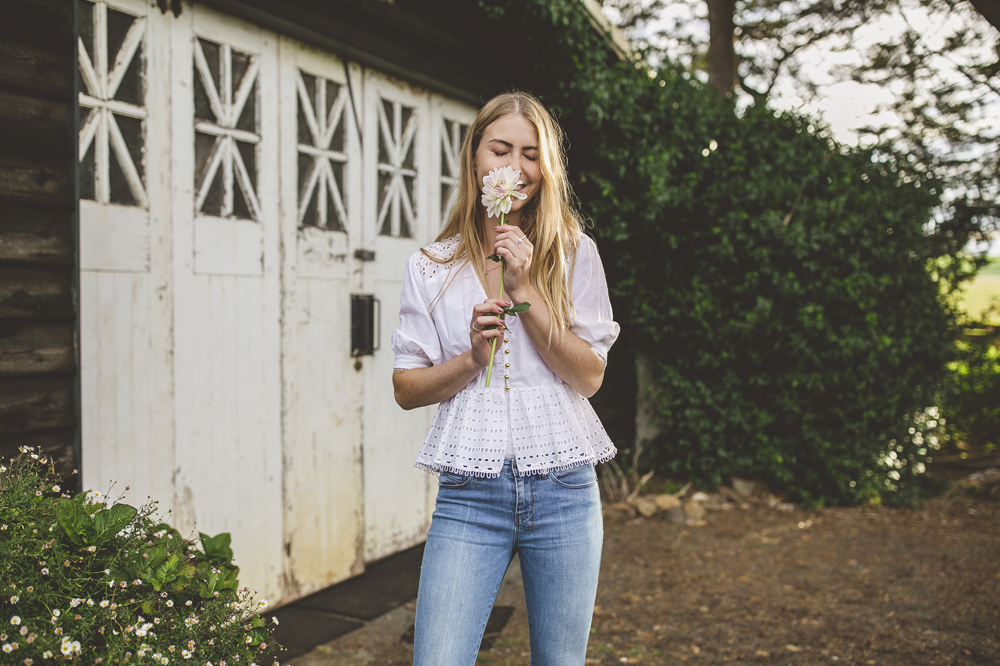
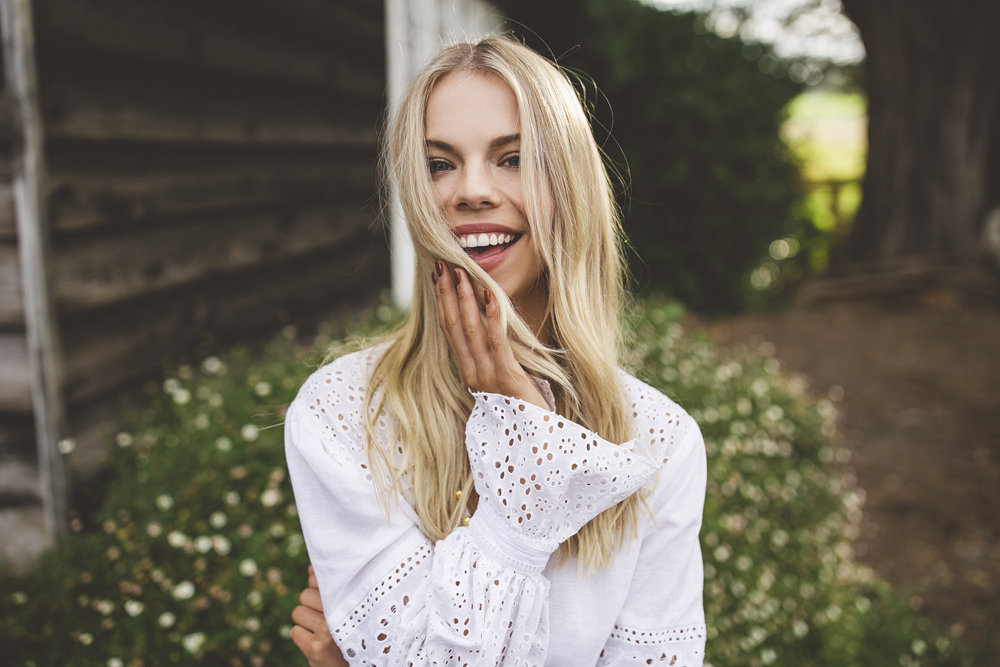
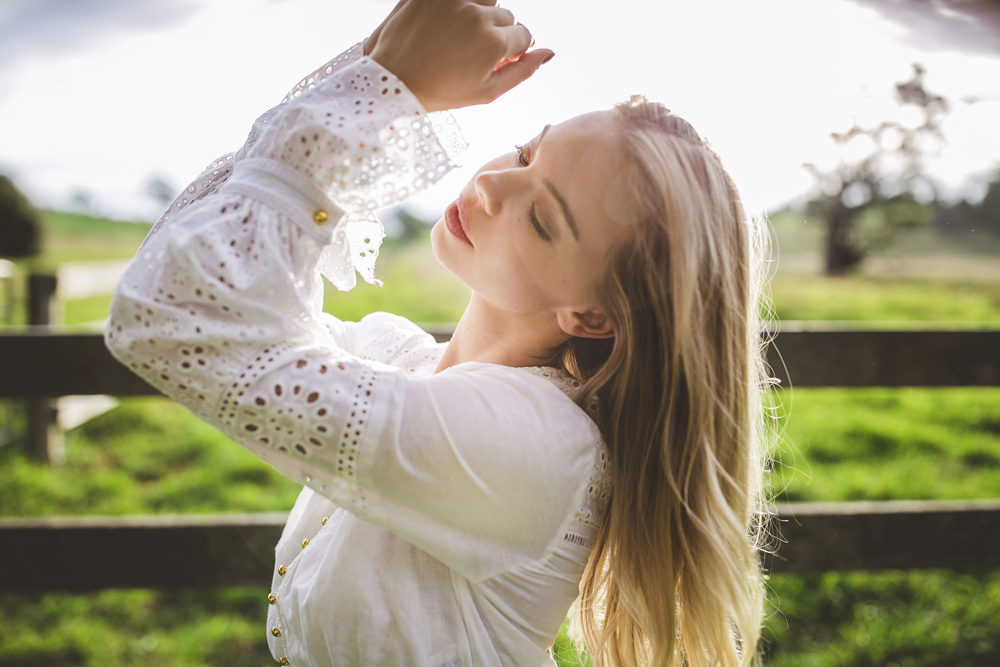
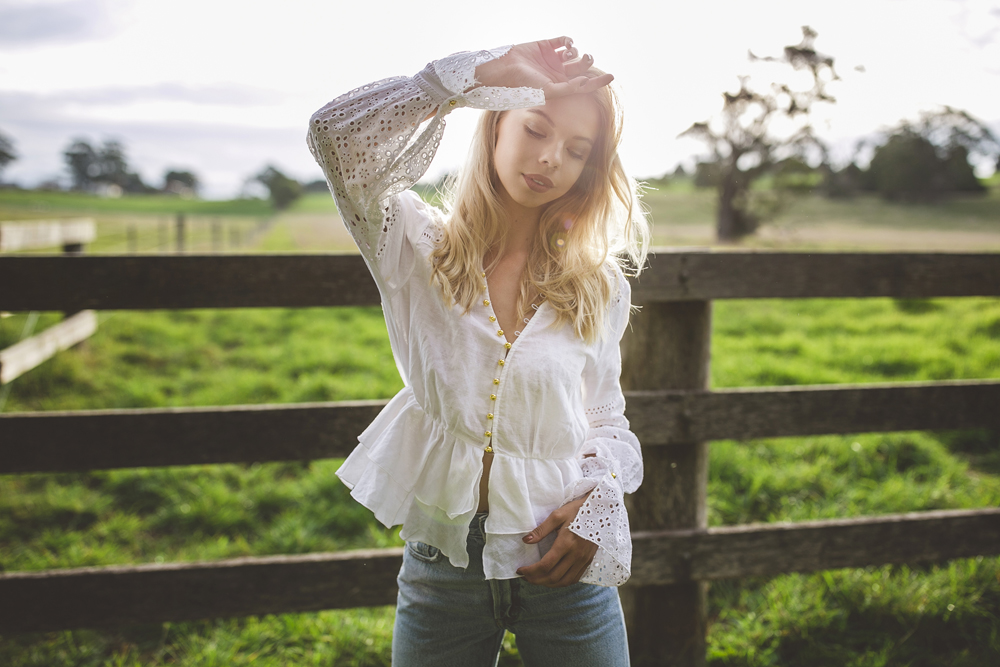
For this countryside portrait photoshoot I was taking photos on the Canon 5D4 and the Canon 35mm f1.4 II lens. This was my first time taking the Canon 35mm f1.4 II for a portrait photoshoot and I was so excited to be using it! I noticed straight away that the autofocus was faster than the Canon 35mm f1.4 mkI version of the lens and the final images were so much sharper.
I have since done many portrait photoshoots on the Canon 35mm f1.4 II. One of my favourites is this golden hour session with Kristina where we captured lots of movement on the 5D4.
Watch my photoshoot behind the scenes video below to see how we captured these final images. And please subscribe to my channel, I upload new photography tutorials every single week!
model/creative director georgia may davis
All photos edited with my Wedding Collection Lightroom Presets!

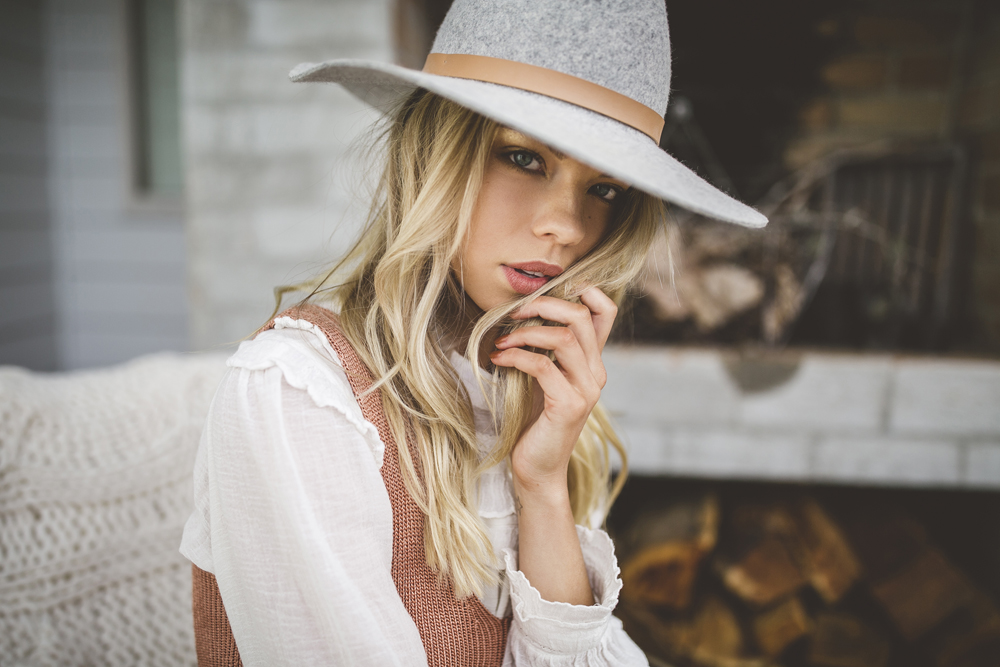
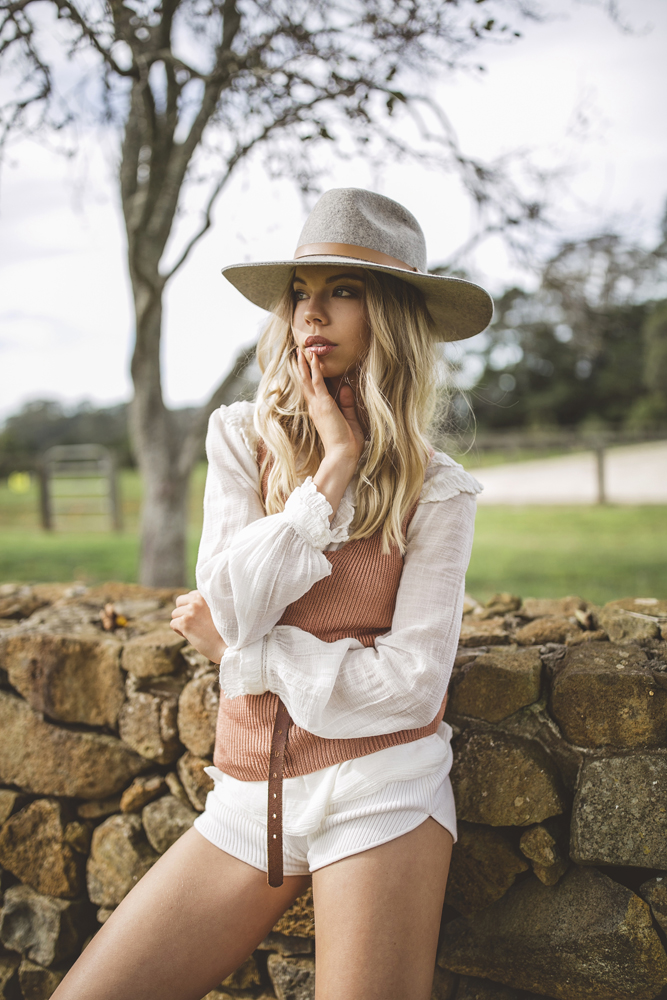


model/creative director georgia may davis
All photos edited with my Wedding Collection Lightroom Presets!
The Canon 5Dmkiv is a DSLR camera that I am using for portrait photography with the Canon 35mm f1.4 II. I recently upgraded my 35mm from the Canon 35mm f1.4 mark 1 and I am absolutely loving the focusing speed and sharpness of the final images.
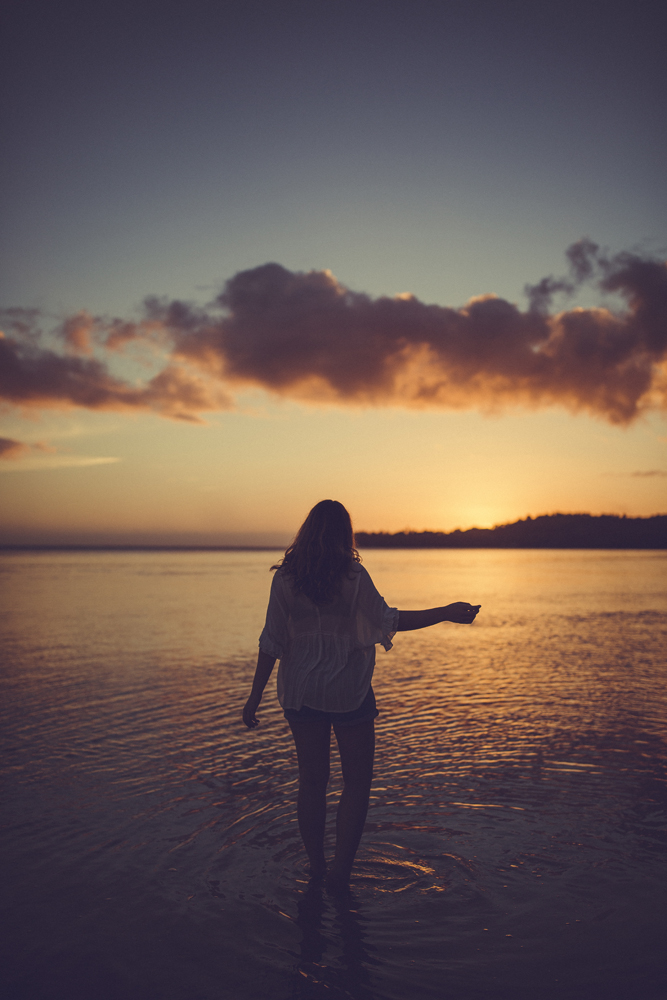
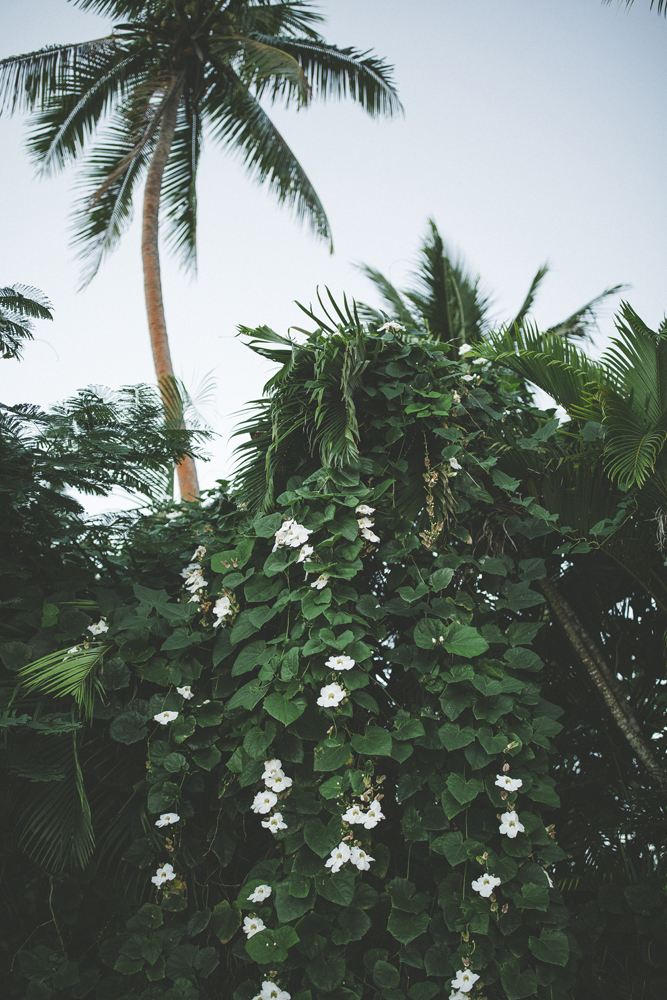
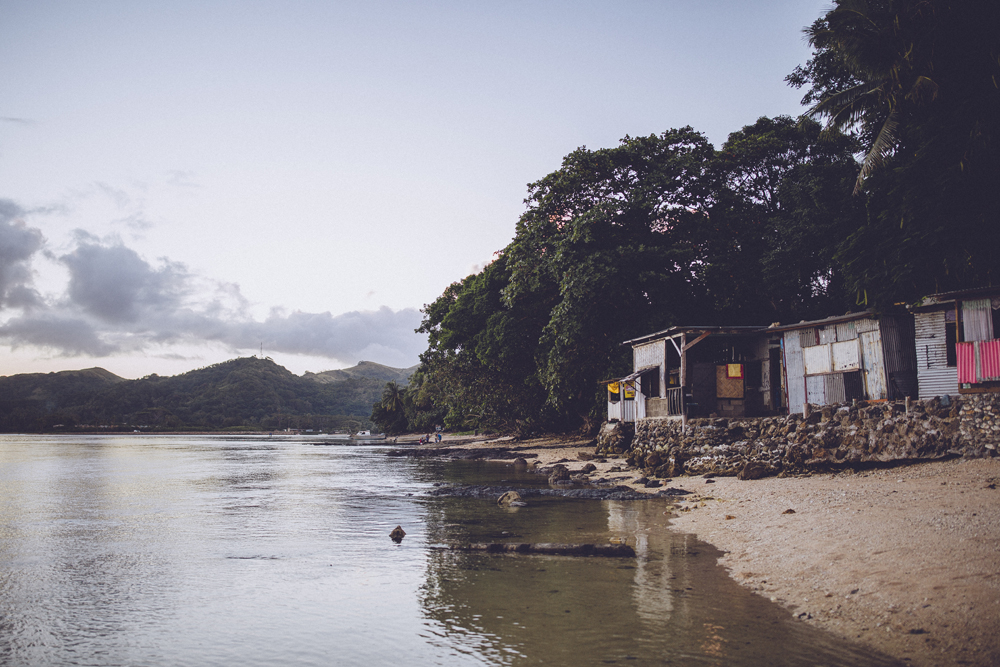
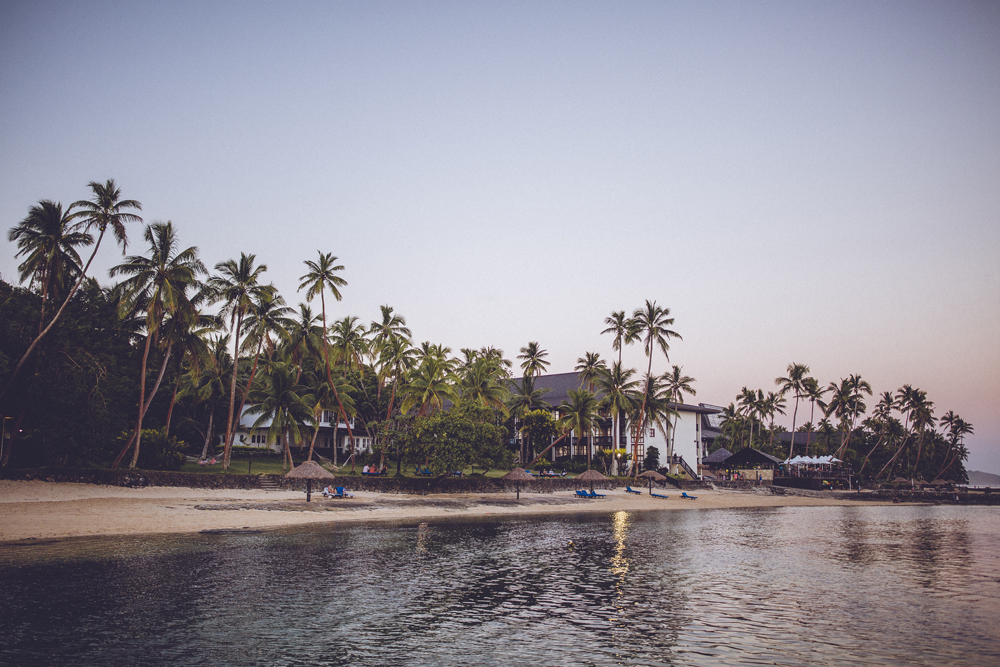
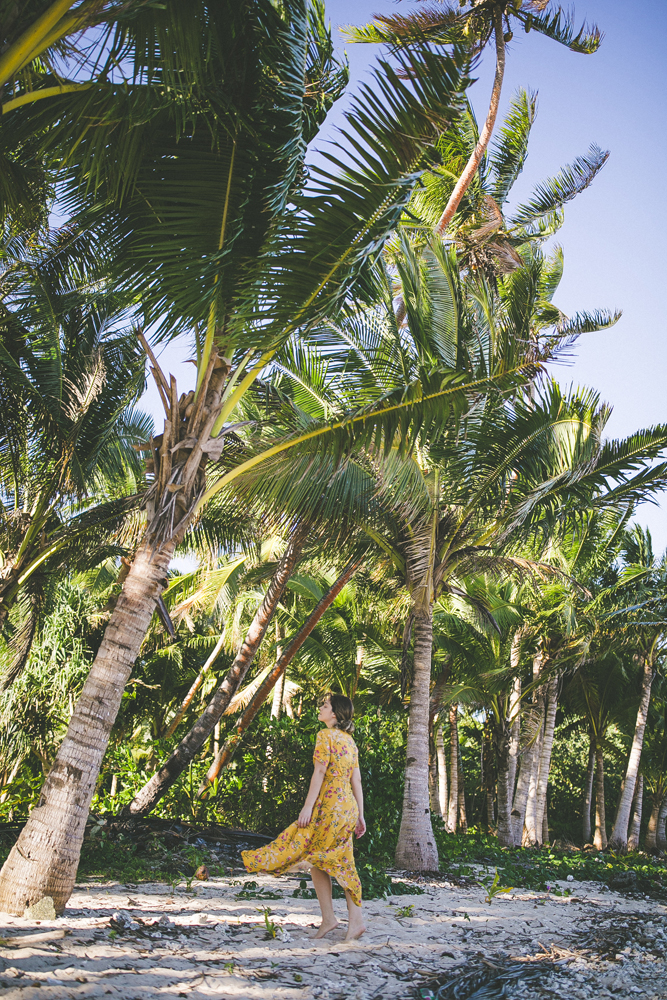
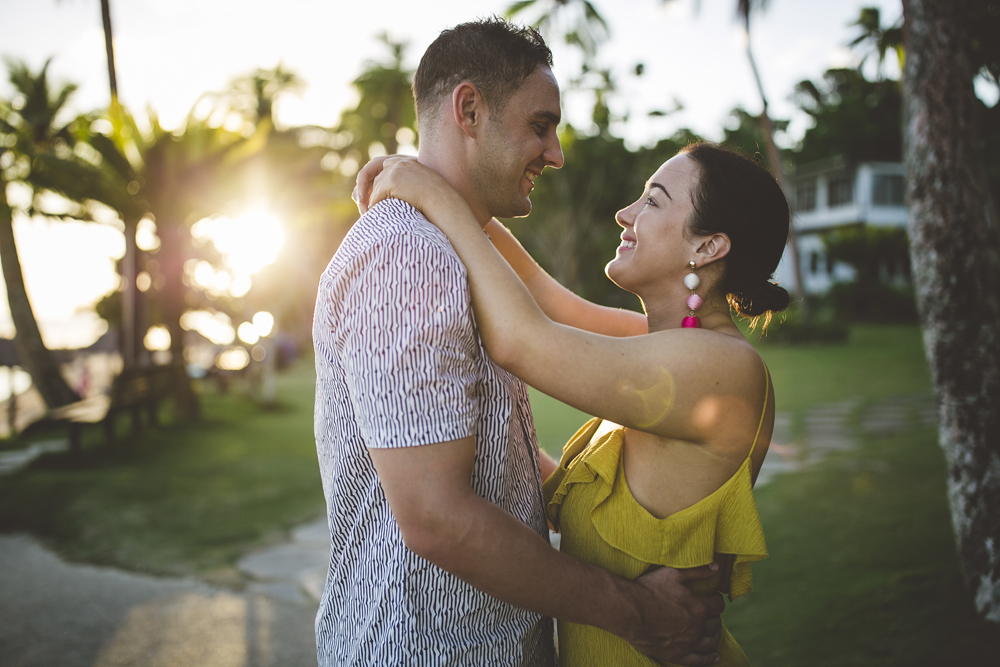
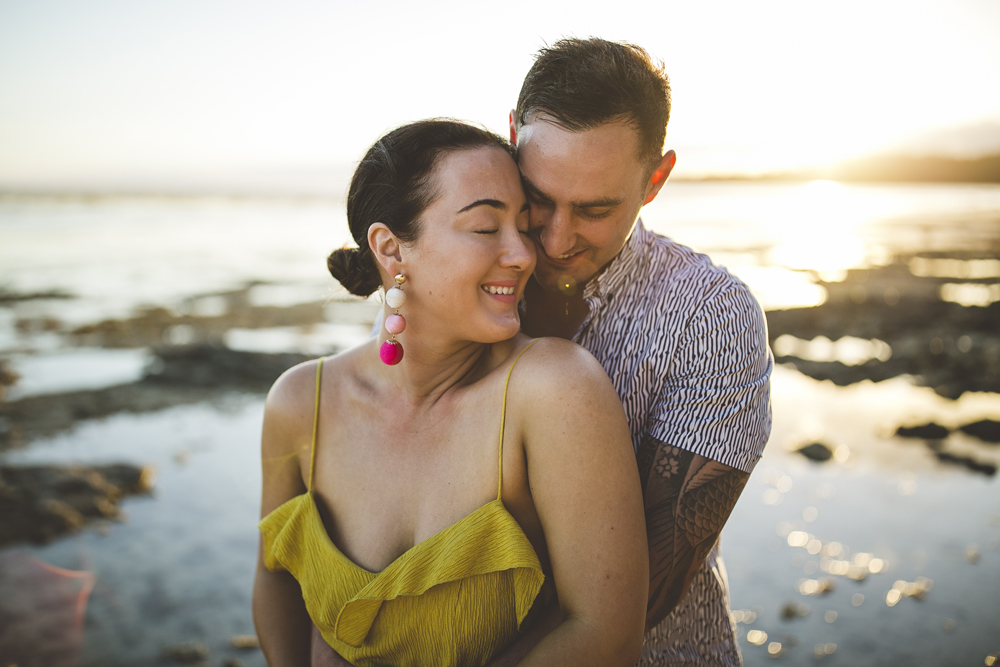
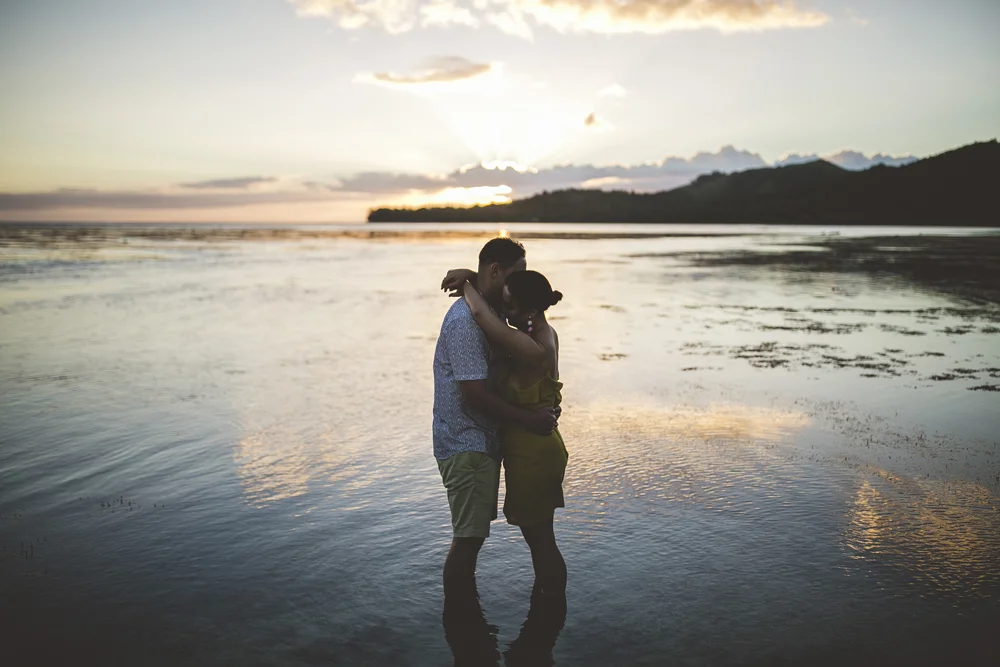
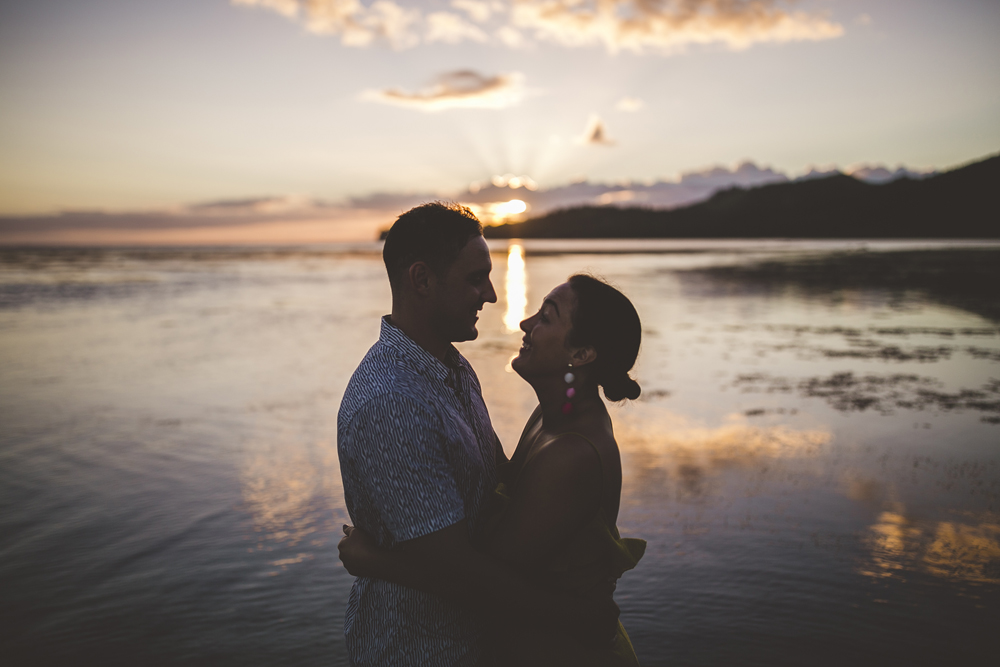
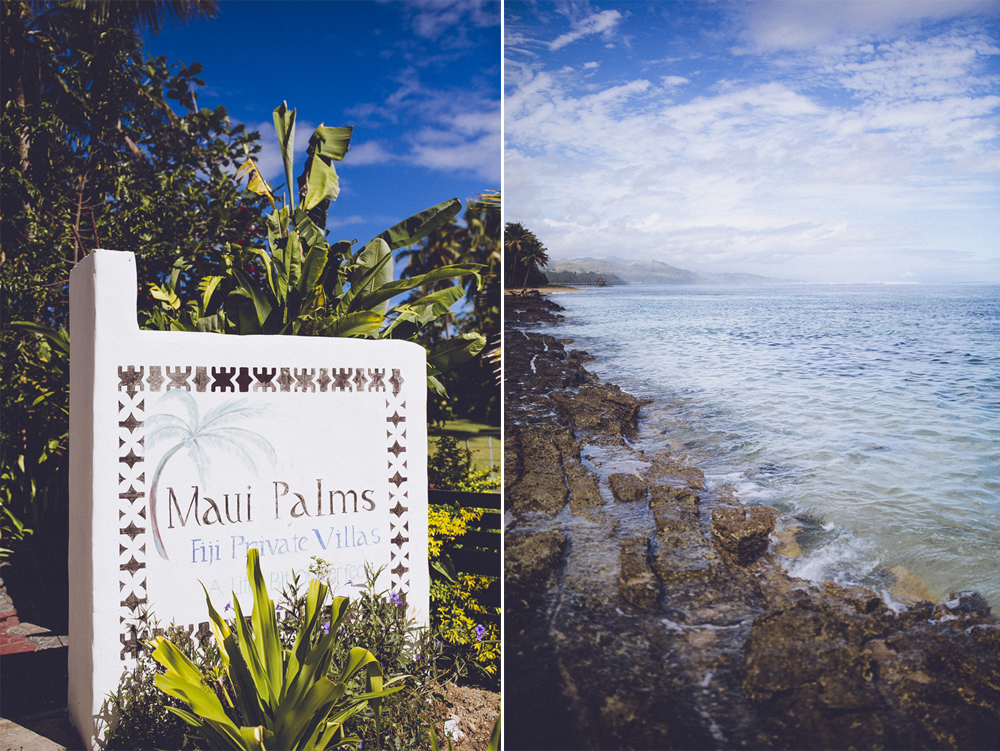
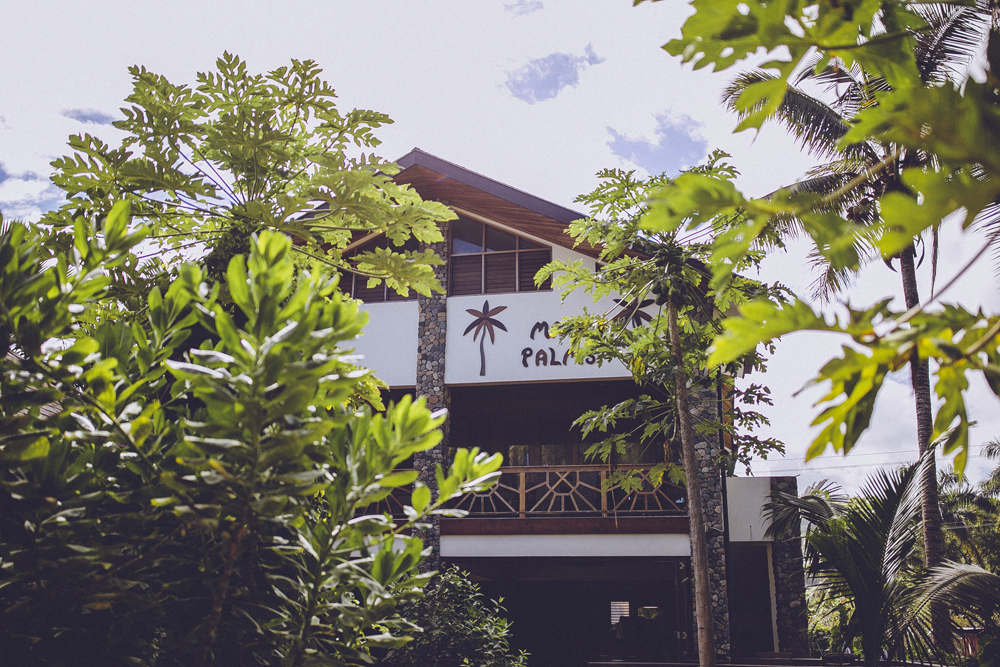
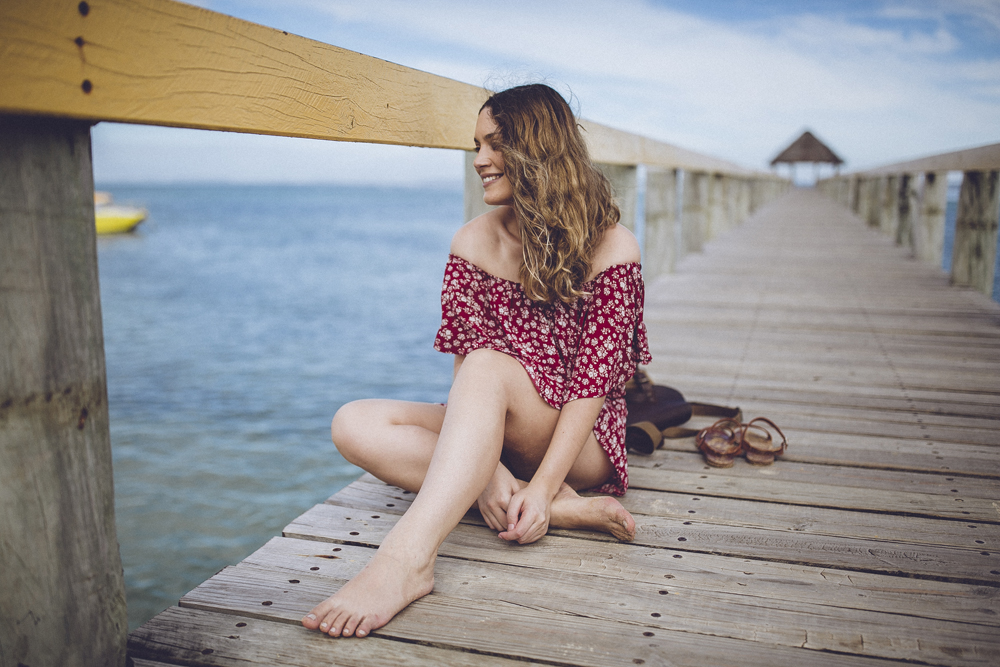
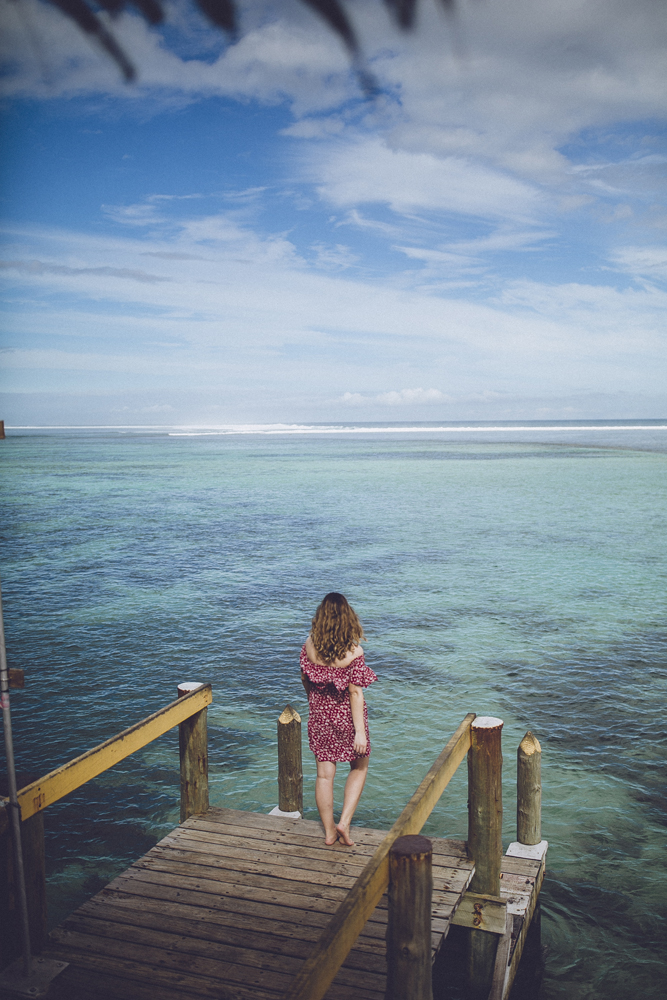
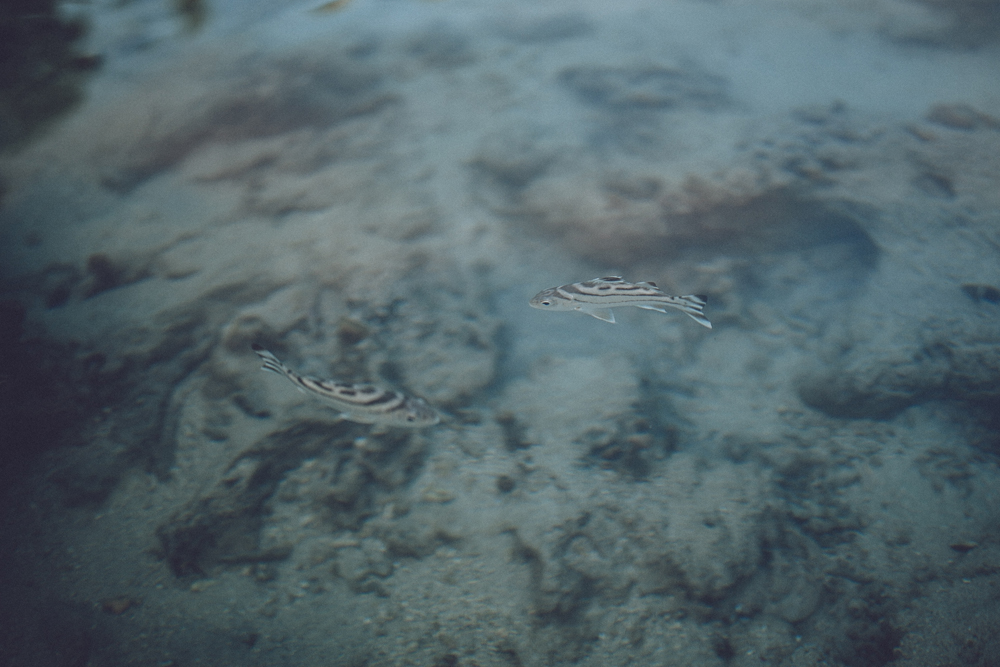
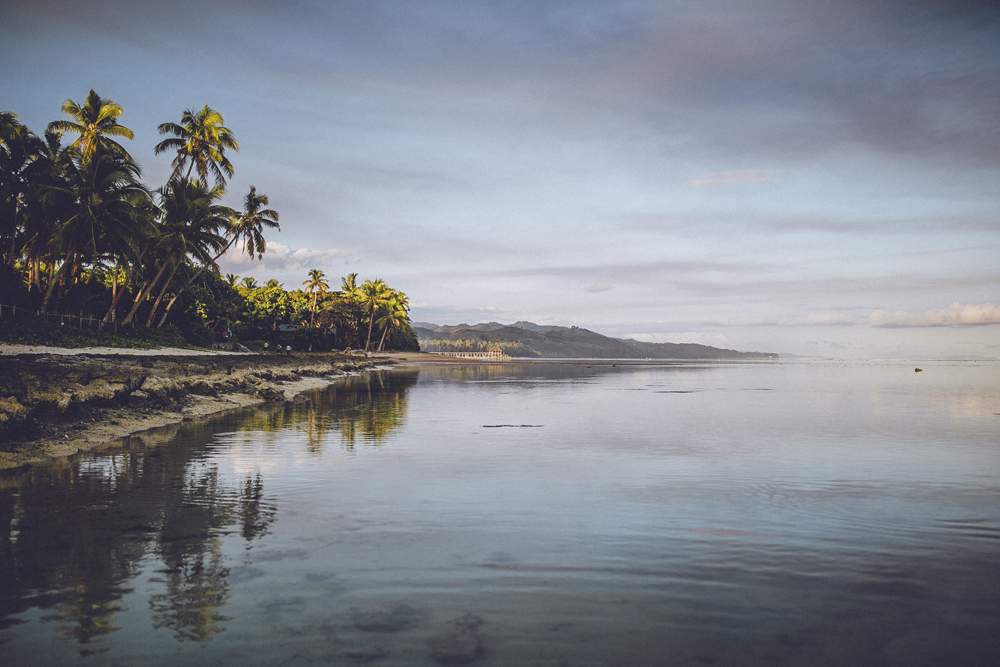
Last week, Dan and I had the chance to visit Fiji for a wedding we were capturing. We decided to take a few extra days of holidays after the wedding so we could make the most of being somewhere so beautiful! We stayed in 2 places during our week in Fiji, both on the coral coast. The first hotel was the Warwick for the wedding, and the second place was a group of private villas called Maui Palms.
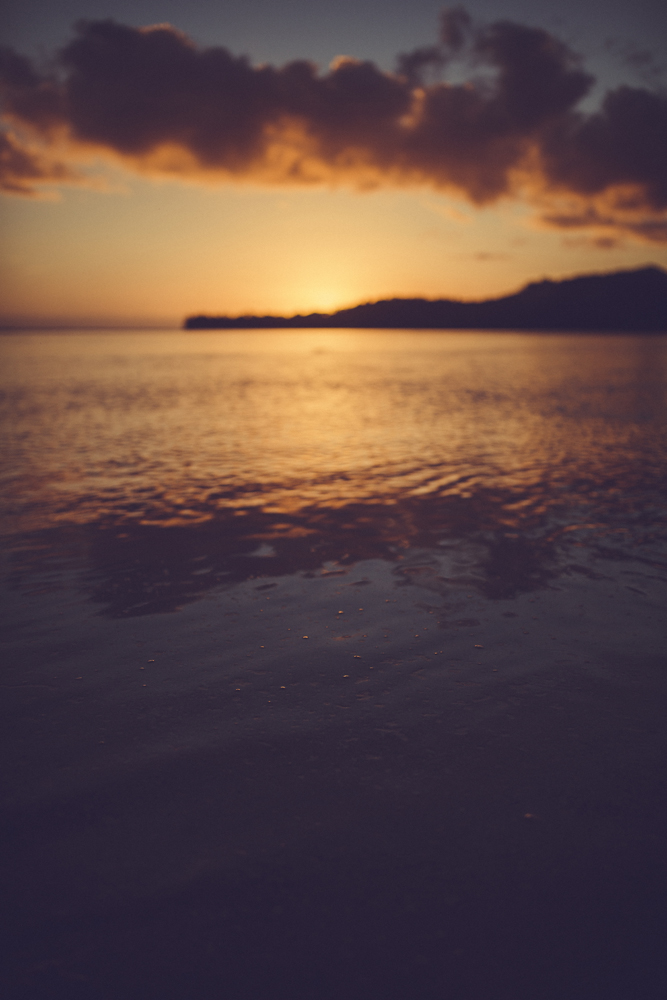
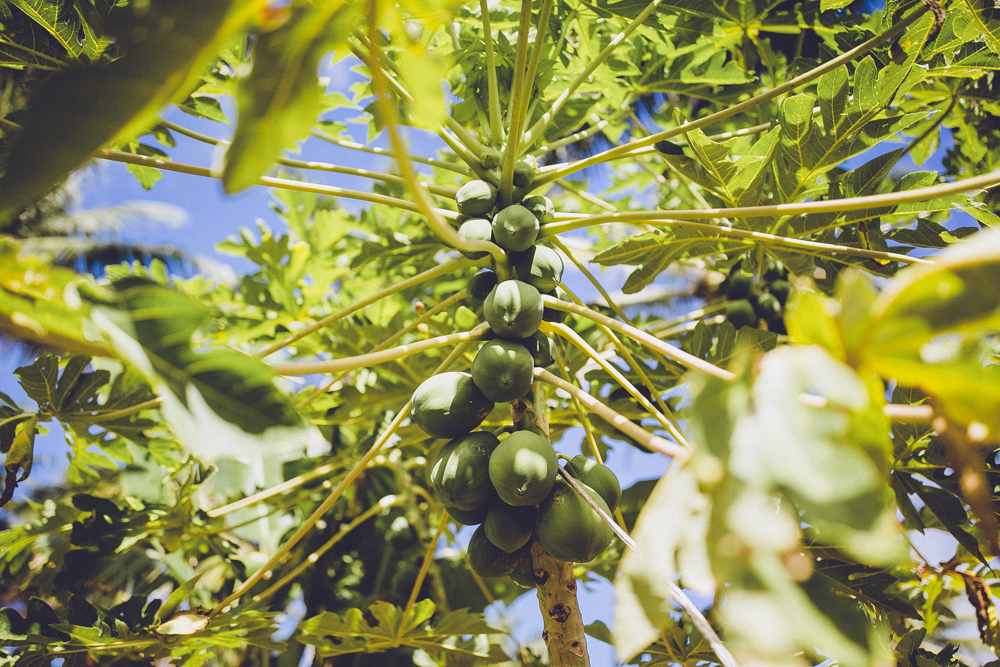
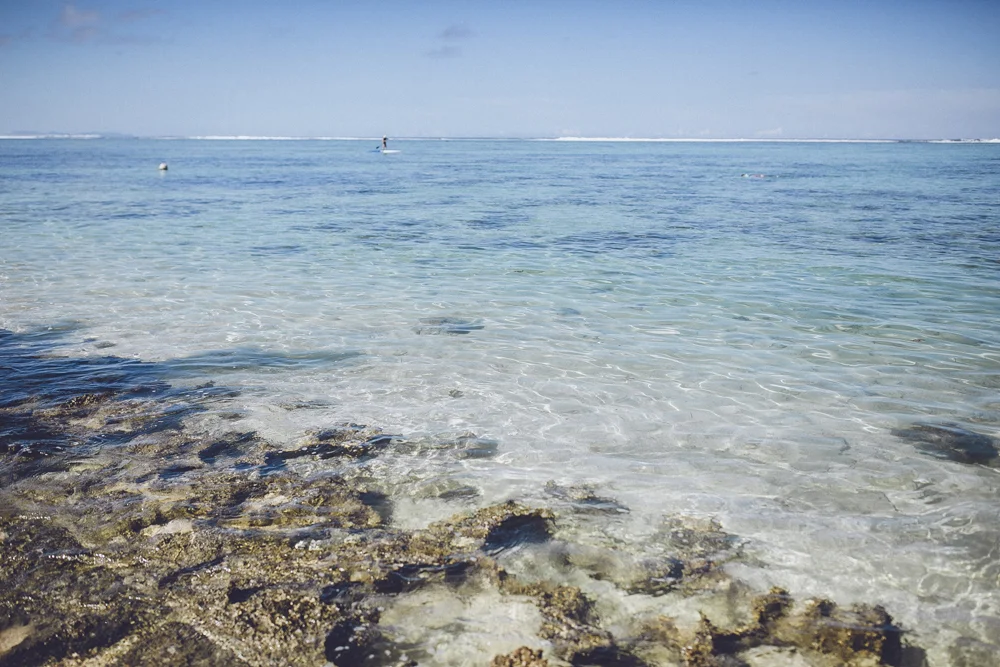
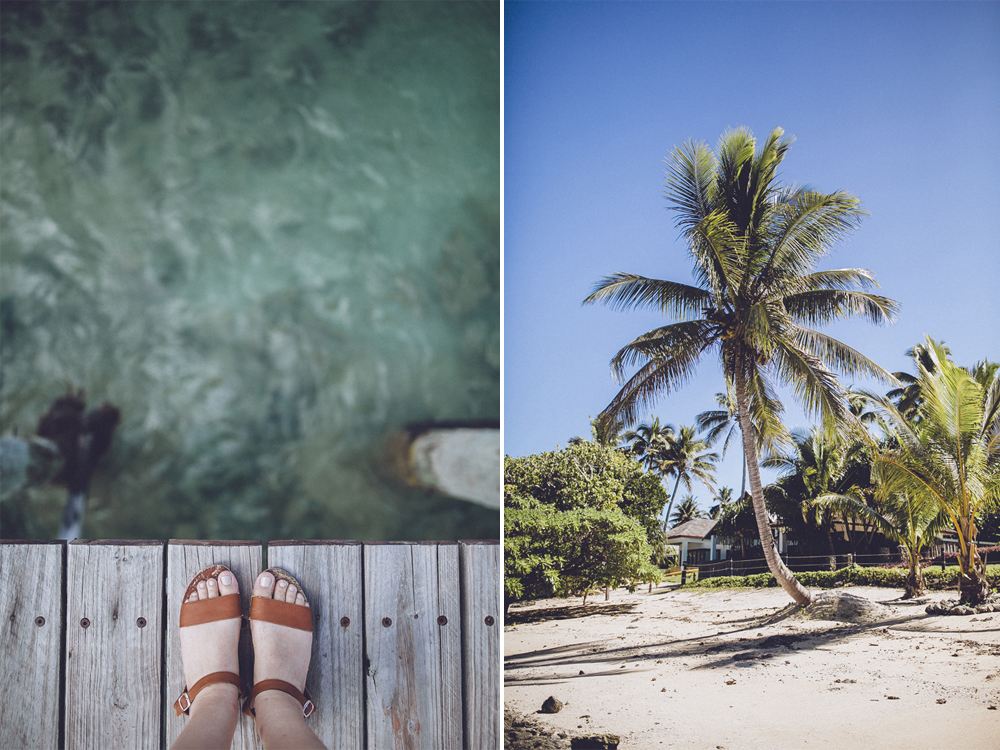
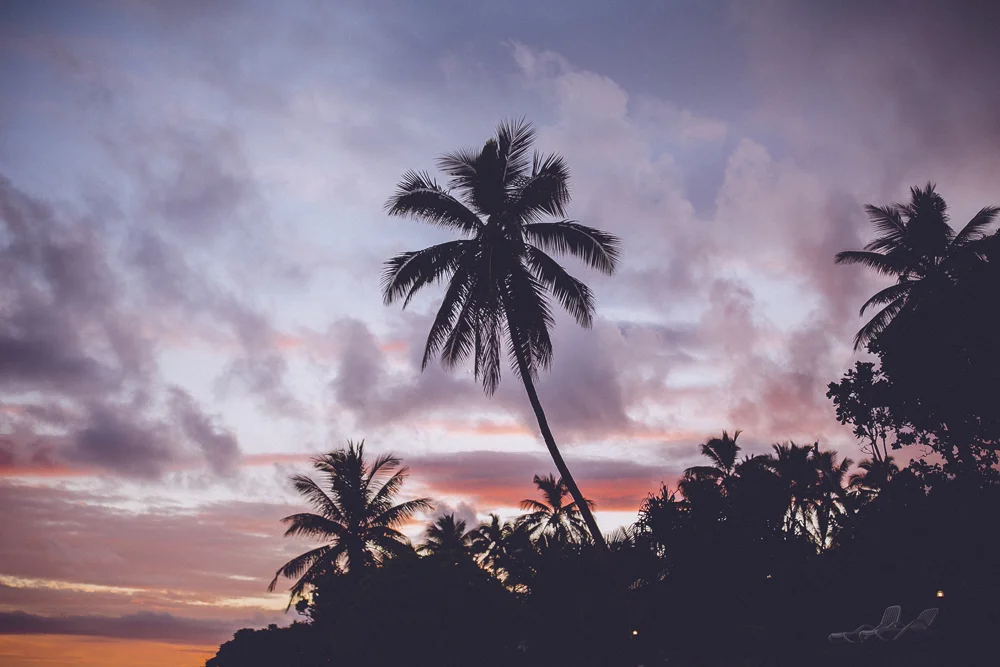
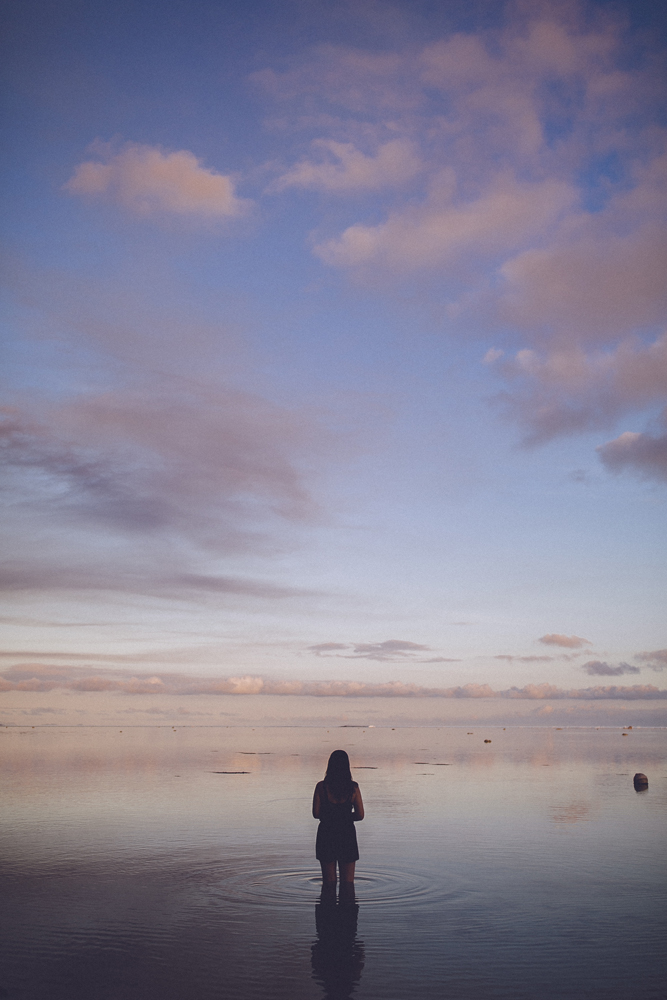
Since it’s winter in Australia at the moment, we were so excited to be somewhere that was always warm. I was mesmerised by the crystal clear water which looked like glass, all the colourful fish swimming in and around the coral when we spent 2 whole days just snorkelling and the vibrant sunsets.
I still love being able to document my travels for YouTube as I love watching back and seeing all the places I visited. This time though, I wanted to try something new and incorporate more teaching into my vlogs, so they are still interesting and educational for you guys to watch! Let me know what you think of this new format :) I have my second and final vlog from Fiji coming this Saturday!
The majority of these photos were edited with my Florence Lightroom Preset as I found the vibrant colours with a film-like look suite the photos from Fiji perfectly. I used a few other presets throughout the blog post too, which I will leave links for in the description in case you’re interested to see what photos were edited with what presets!
Please subscribe to my YouTube Channel, I release 2 new videos a week - Wednesday & Saturday!
All photos without an extra link were edited with my Florence Lightroom Preset Pack!
I spent a morning doing landscape photography around Lake Bled in Slovenia using the Sony A7IV with the GM 35mm f1.4 lens.
This blog post includes some of my favourite photos I took during my time in Japan with the S5II. If you want to hear my complete thoughts and review of the S5II capabilities for photo and video, you can watch my review video here.
In November, I was invited to Japan by LUMIX to attend the LUMIX Global Summit for the announcement of the new LUMIX S5II. Paired with the new camera body and an array of lenses, Dan and I took to the streets of Tokyo, Japan to film our review video of the camera body.
In November, I was invited to Tokyo, Japan by LUMIX to attend the LUMIX Global Summit. They didn't tell me what was going to be announced, but I was very excited to find out because it sounded like it was going to be something big. On the morning of the event, I met Pav and we went for a little photo walk around the streets of our hotel. For this trip, I decided to bring the LUMIX S5 with me to test it out for photo and video.
We set off the loop walk around the lake and it was such a stunning stroll. I loved every minute of it and kept stopping to take photos. I was contemplating coming here for sunrise but I'm happy we visited in the afternoon. The second half of the lake was all backlit and I captured some of my favourite photos where you can see the moon plus the jagged peaks of the mountains. Austria is SO incredible!
It's been a long day starting at 4am for sunrise landscape photography, then a trip to Lake Gousau and finally a stop in the town of Hallstatt. I have visited Hallstatt a few years ago during the spring. It's strange on that trip I was wearing a thick turtle neck jumper and on this trip just a light dress!
As I was getting ready to go to bed for a sunrise start the next day, I noticed the moon outside our bathroom window. It was in a crescent shape during blue hour and headed towards the jagged mountain peak. Dan quickly set up the tripod for a timelapse while I snapped a few photos. I started with a closeup shot of the moon with my 200-600mm f5.6-6.3 OSS lens.
I set my alarm for 4am, Dan and I hopped in the car while it was still dark and drove to our first location. We had scouted a couple of sunrise spots the day before. This spot was a nothing place - not a landmark or a viewpoint. It was by a little carpark for an army base just off the side of the road.
This is the last part of my mammoth blog series from my time in Prague, Czech Republic. I have recently been loving shooting on 35mm film again, specifically with point and shoot cameras. I brought the Contax T2 and Olympus Mju-ii with me on this trip and I used both those cameras to take the photos in this blog post. I used 2 film stocks including Fujifilm C200 in the Mju-ii and Portra 160 in the Contax.
Our final day in Prague included another sunrise start. The best way to capture stunning shots of a city in the middle of summer is to get up before everyone else does haha. This morning we decided to head to the Prague Old Town Square. WOW it was beautiful with the bright, sunrise light streaming through the buildings.
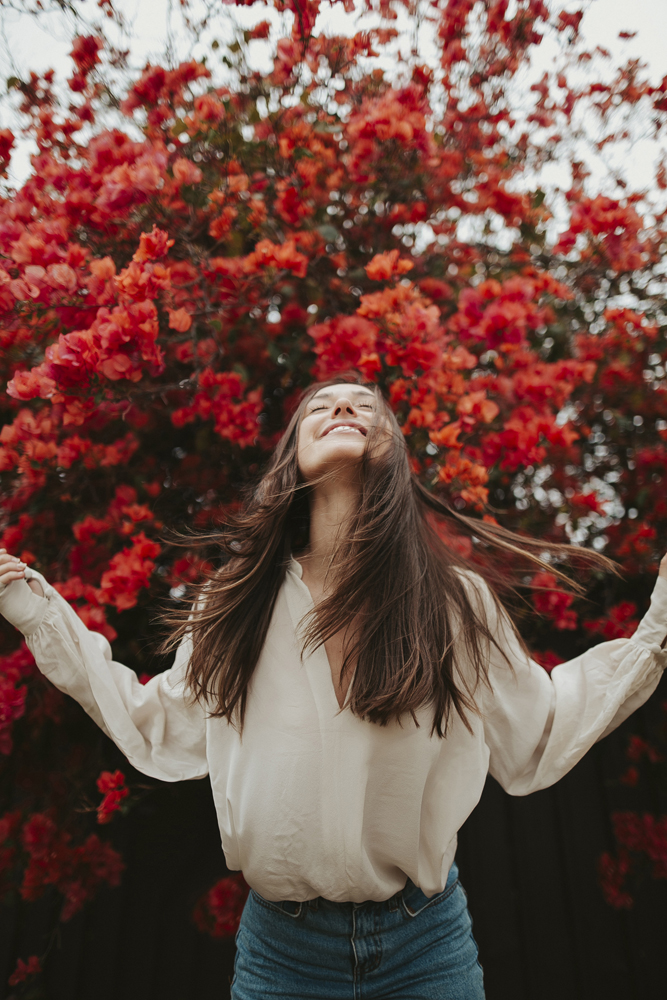
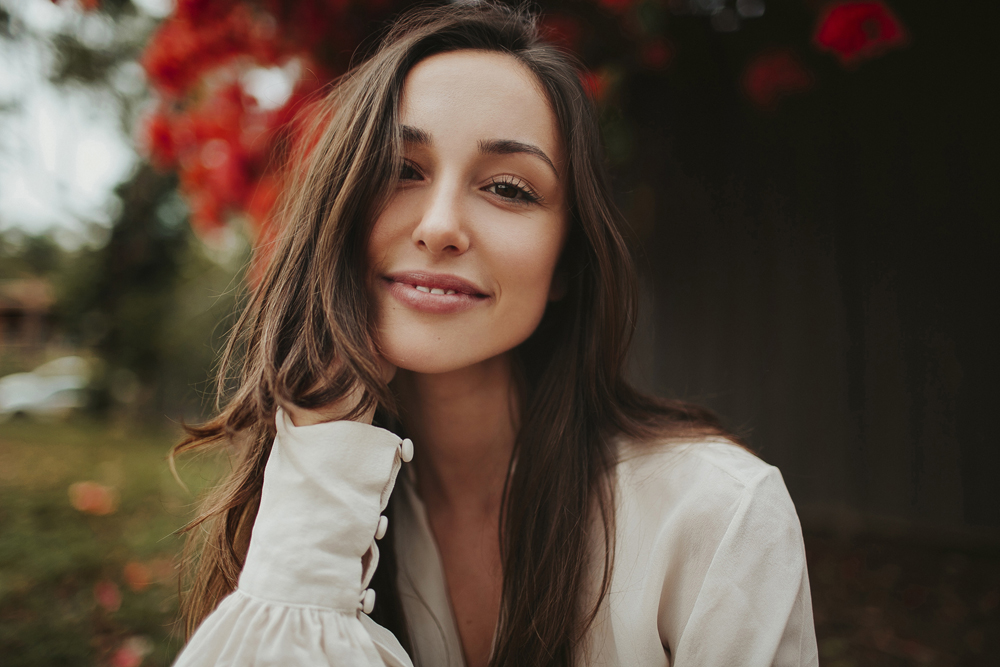
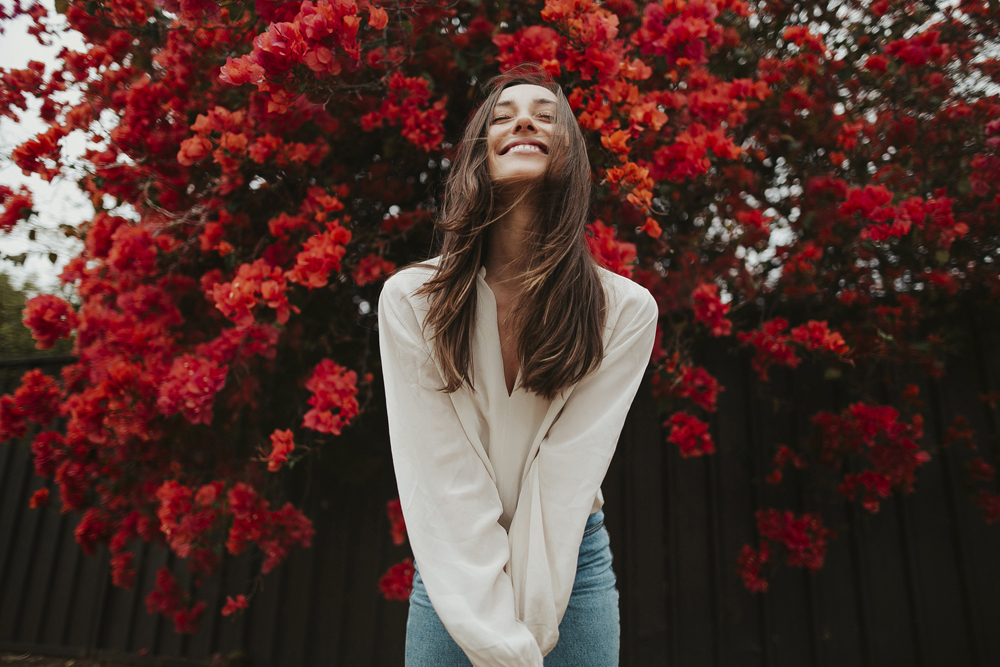
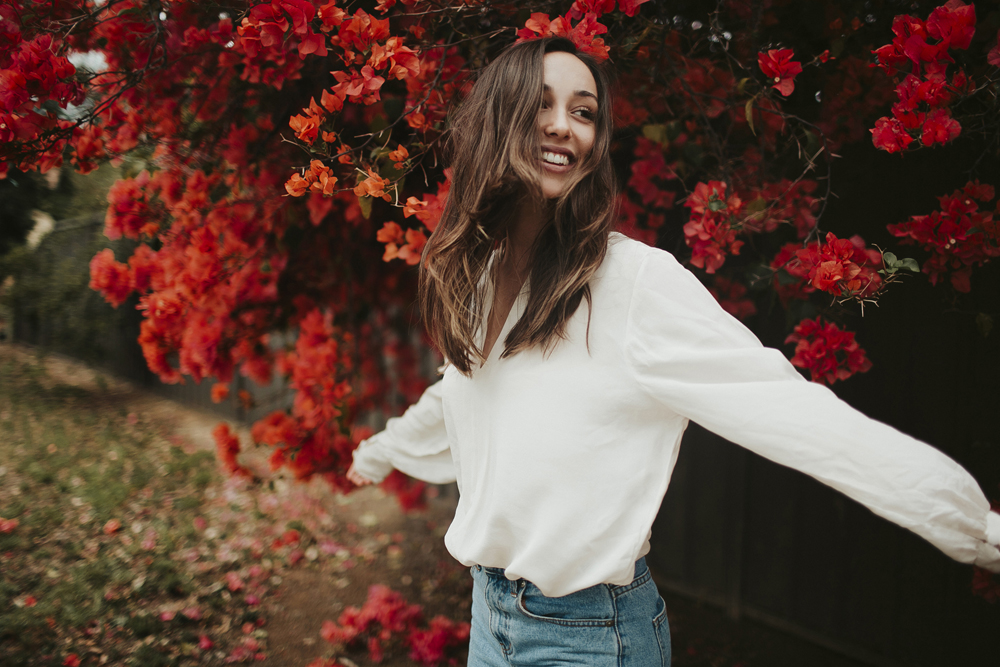
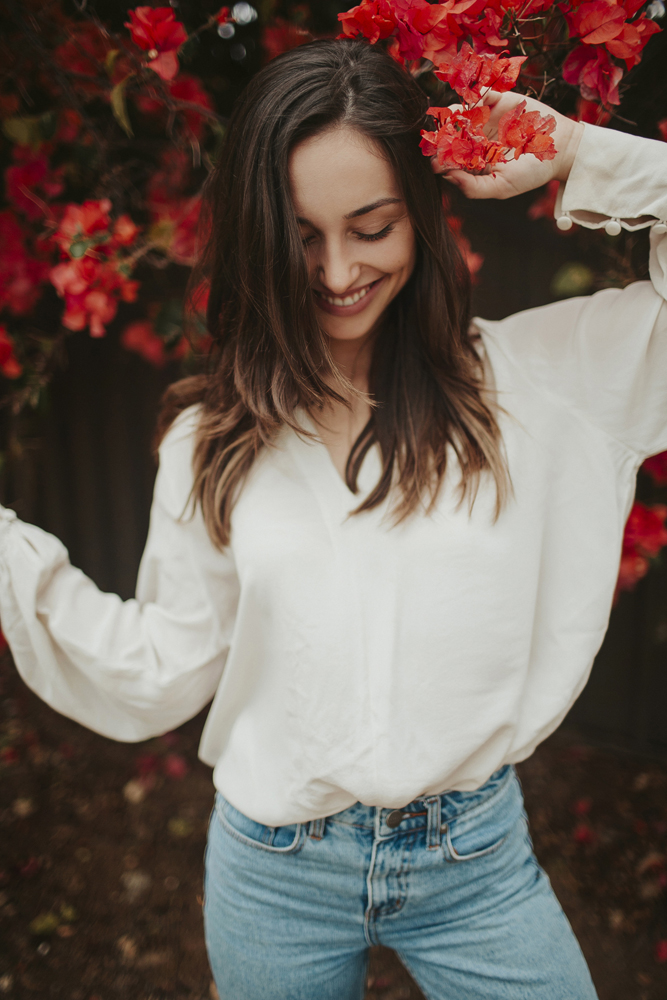
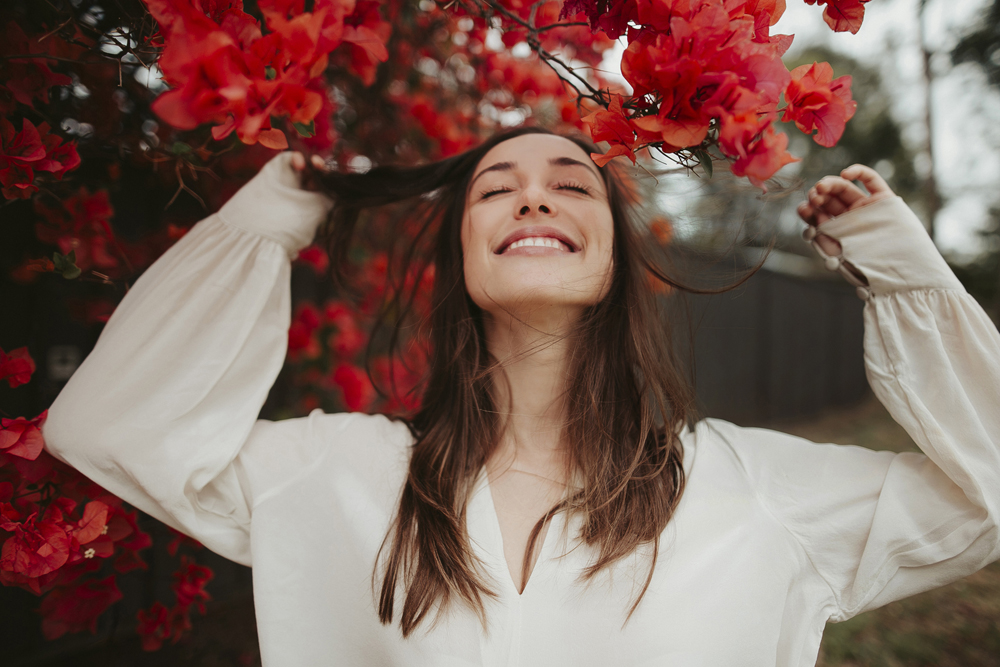
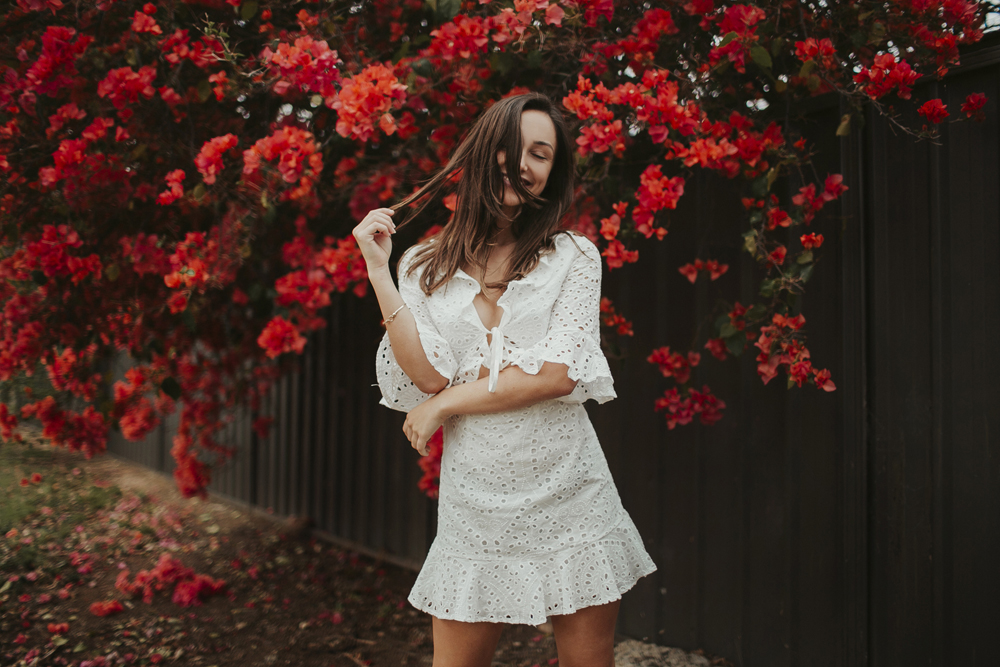
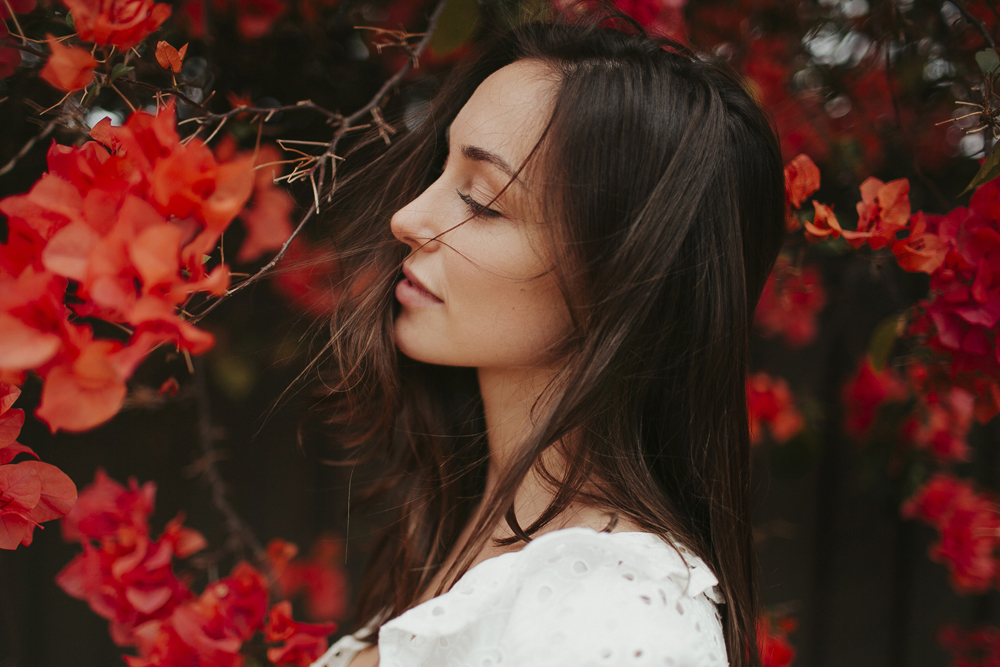
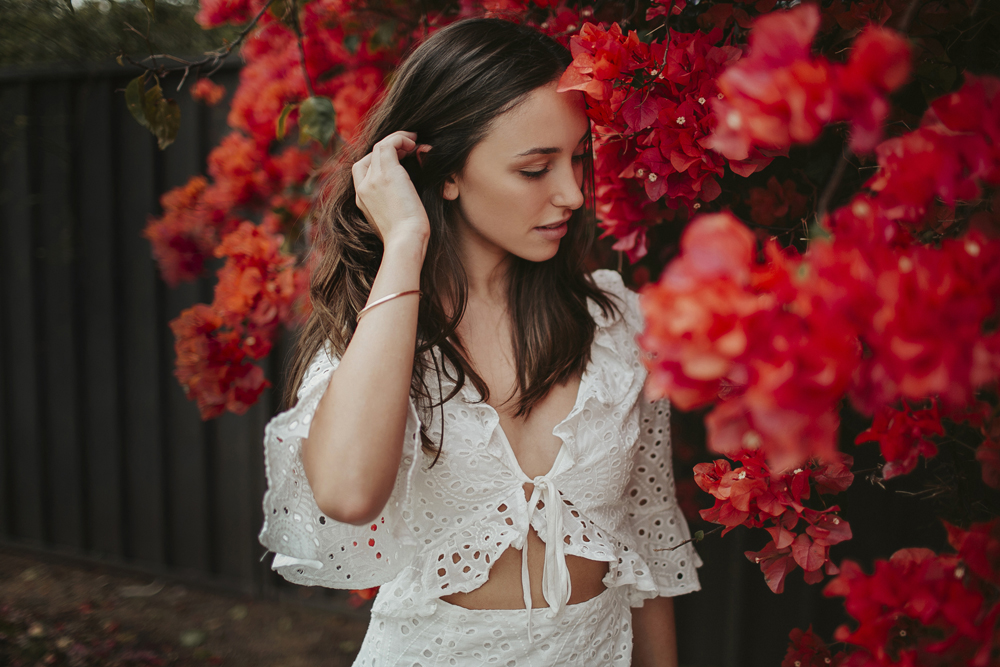
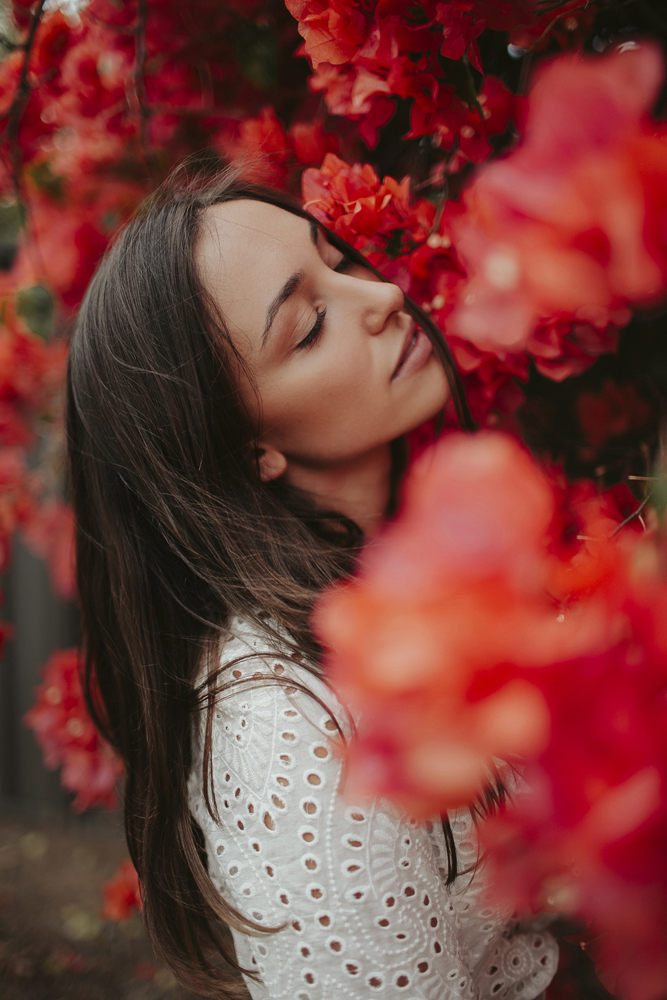
model kristina srzich
All photos edited with my Amalfi Lightroom Preset!
Watch the behind the scenes video of our photoshoot below!
During this photoshoot, I’m using the Sony A7IV paired with the Samyang 24-70mm f2.8 zoom lens. This zoom lens gives me a lot of flexibility while shooting as it allows me to capture both wide and tight compositions without changing lenses. This is especially helpful is fast paced environments or when taking photos on a time crunch. While taking portraits, I’m also sharing a few of my go to composition tips for working with a standard zoom like this.
I spent a morning doing landscape photography around Lake Bled in Slovenia using the Sony A7IV with the GM 35mm f1.4 lens.
In this video, I want to share with you reasons to help you decide wether you should be upgrading your camera body or your lens and which one to do first. I’ll walk you through the key factors to consider when deciding between each option.
For this portrait session, I am using the Zeiss 50mm f1.4 on the Sony A7 IV, capturing backlit images on the beach during golden hour. The combination of the lens’s wide aperture and the warm, soft light of the setting sun helped create intimate, glowing portraits with beautiful light falloff and natural skin tones.
I am comparing the Zeiss 50mm f1.4 vs Zeiss 55mm f1.8 at a real-world portrait photoshoot. I share various different side by side photo comparisons at 100% crop, so you can see all the details.
For this portrait photoshoot I am using the Fujifilm X-T4 paired with two of my favorite prime lenses: the Fujinon XF 16mm f/1.4 R WR and XF 23mm f/1.4 R LM WR.
I captured these photos of Megan Emmett for the Candice Lee Femme Collection. You can see more of Candice Lee’s bridal gowns and hair styling work here.
This blog post includes some of my favourite photos I took during my time in Japan with the S5II. If you want to hear my complete thoughts and review of the S5II capabilities for photo and video, you can watch my review video here.
In November, I was invited to Japan by LUMIX to attend the LUMIX Global Summit for the announcement of the new LUMIX S5II. Paired with the new camera body and an array of lenses, Dan and I took to the streets of Tokyo, Japan to film our review video of the camera body.
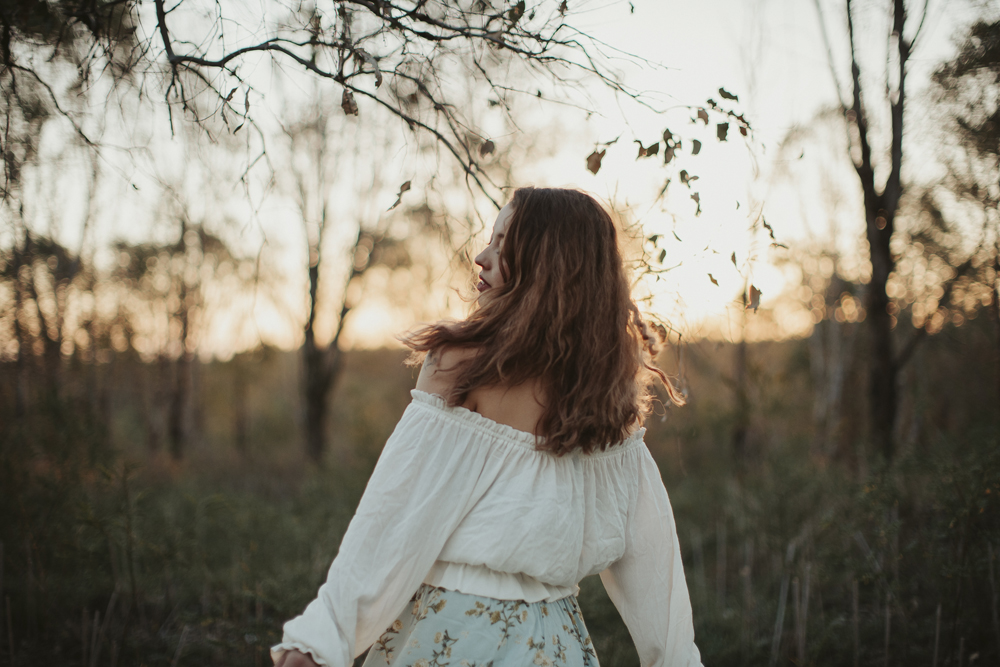
Kiara Rose and I met years ago through our photography. We used to plan photoshoots together and collaborate together on different creative shoots. Now Kiara lives in Portland, Oregon but recently she came back to visit Australia and while she was here we ended up catching up over a 4 hour coffee/brunch session and later that afternoon spent some time taking portrait of each other.
We created a behind the scenes of our little photo session which you can watch below! I really want this to be a new series of "Photographers Take Photos of Each Other", so please keep an eye out for part 2 and suggest anyone I should do this video with next time!
I'll link all her final photos of me once she's published her blog post :)
Please subscribe to my channel! I release 2 new videos a week: on Wednesday & Saturday.
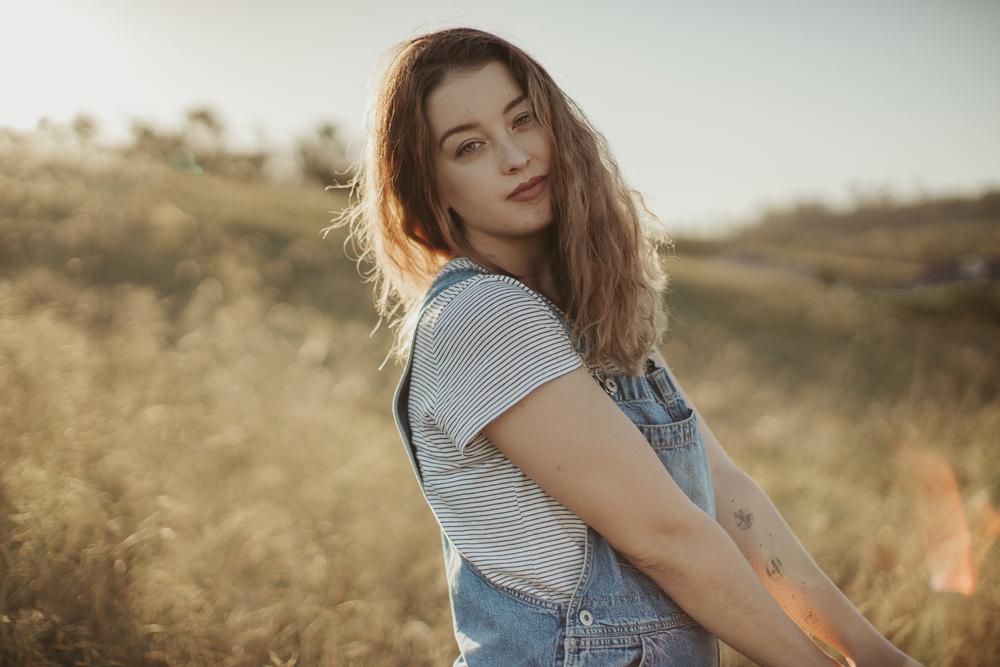
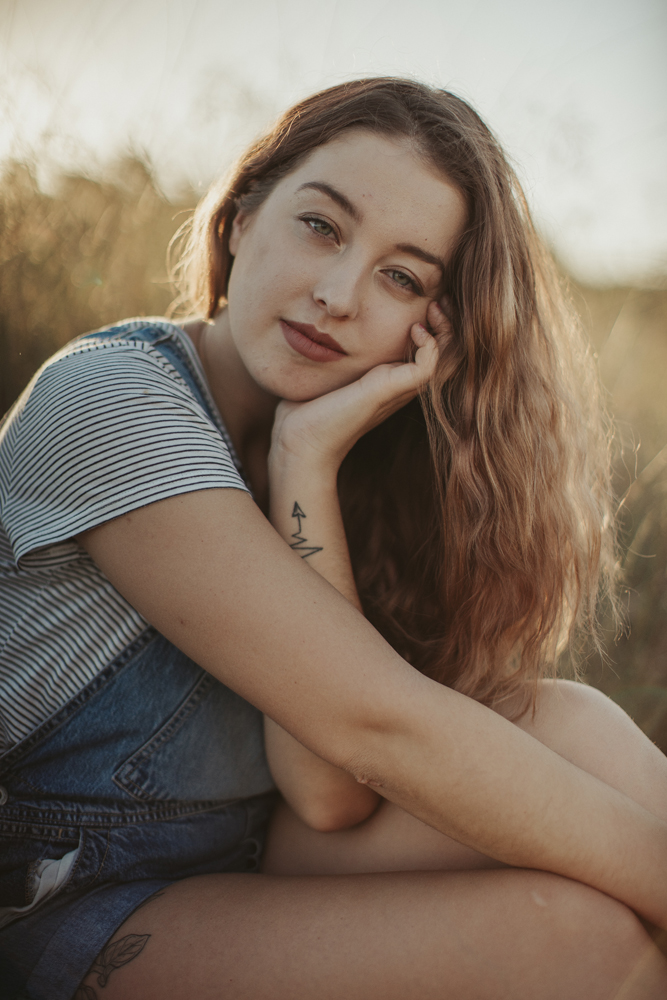
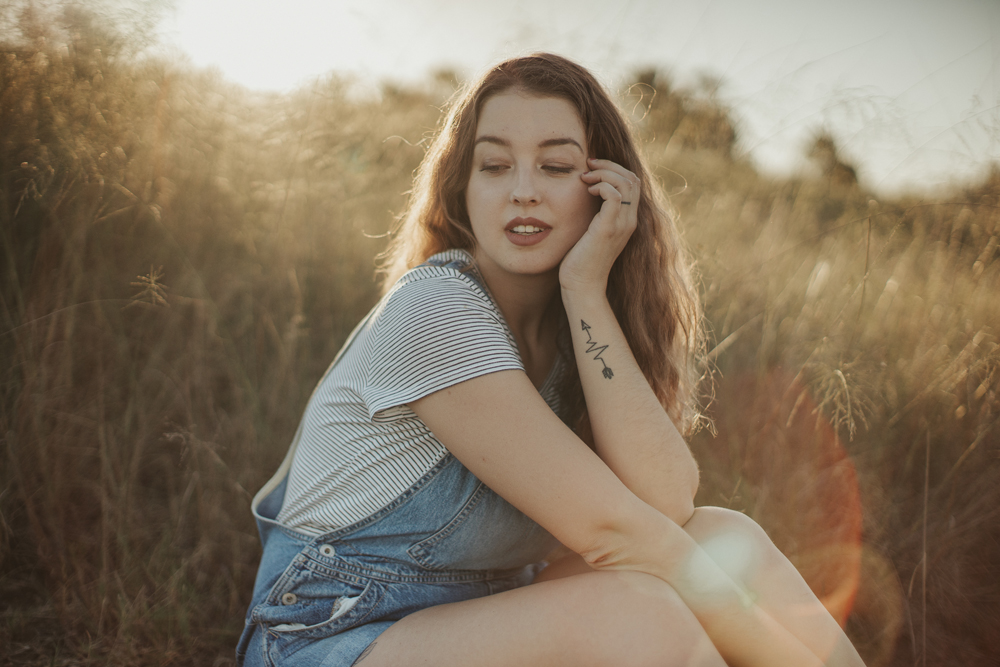
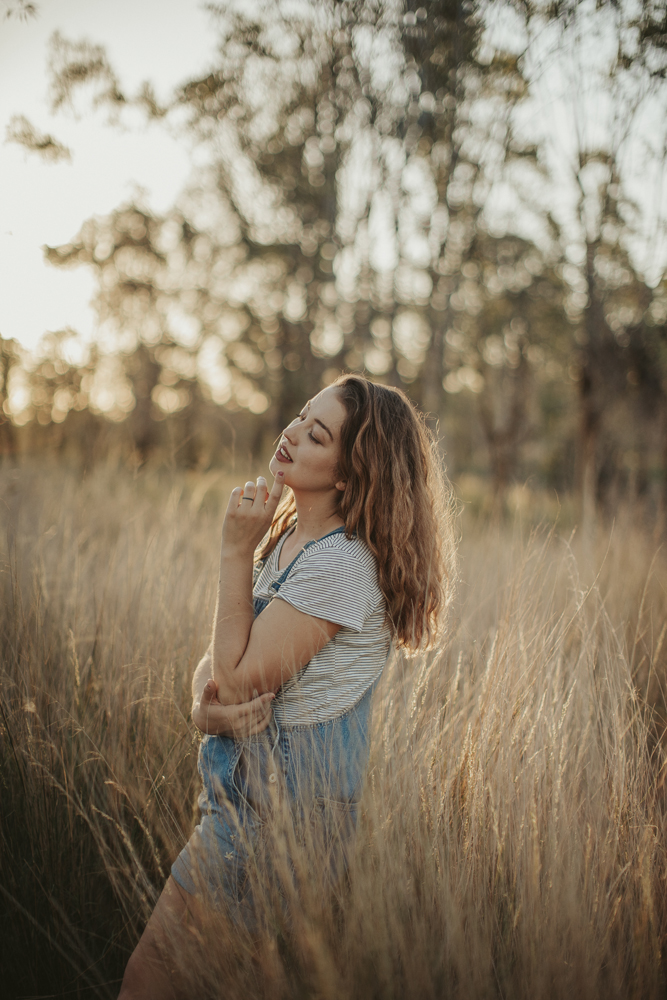
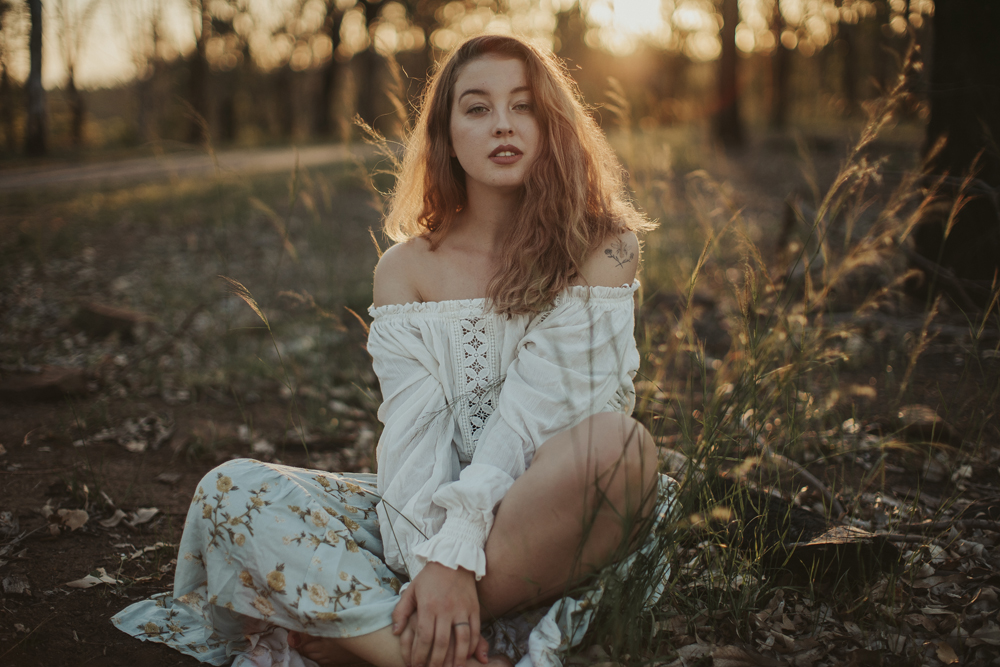
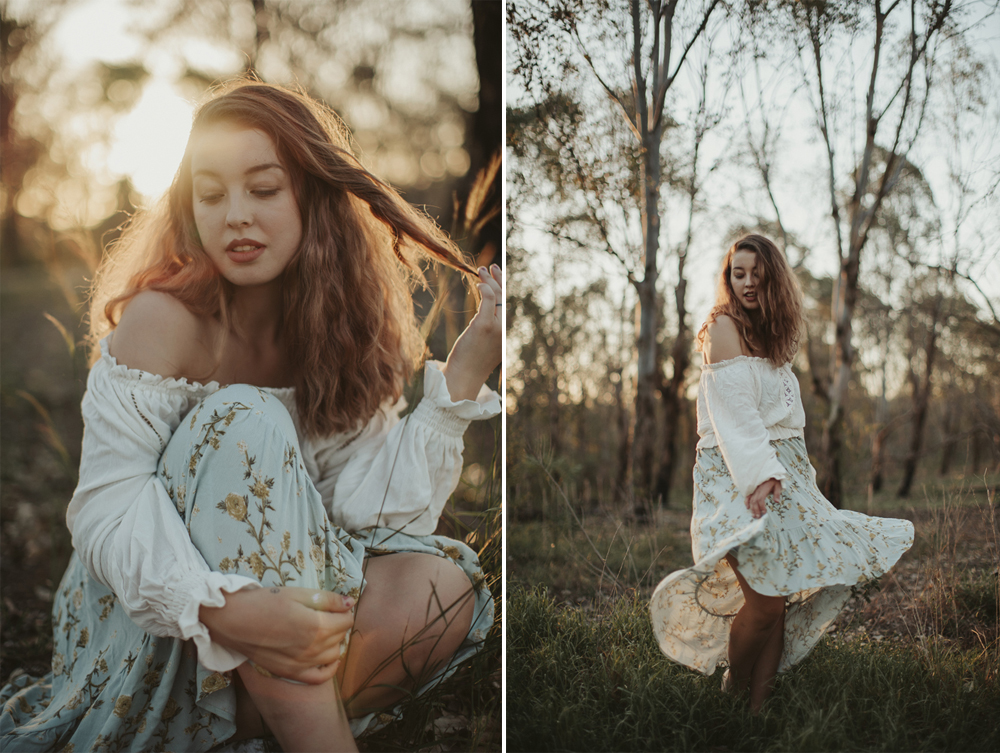
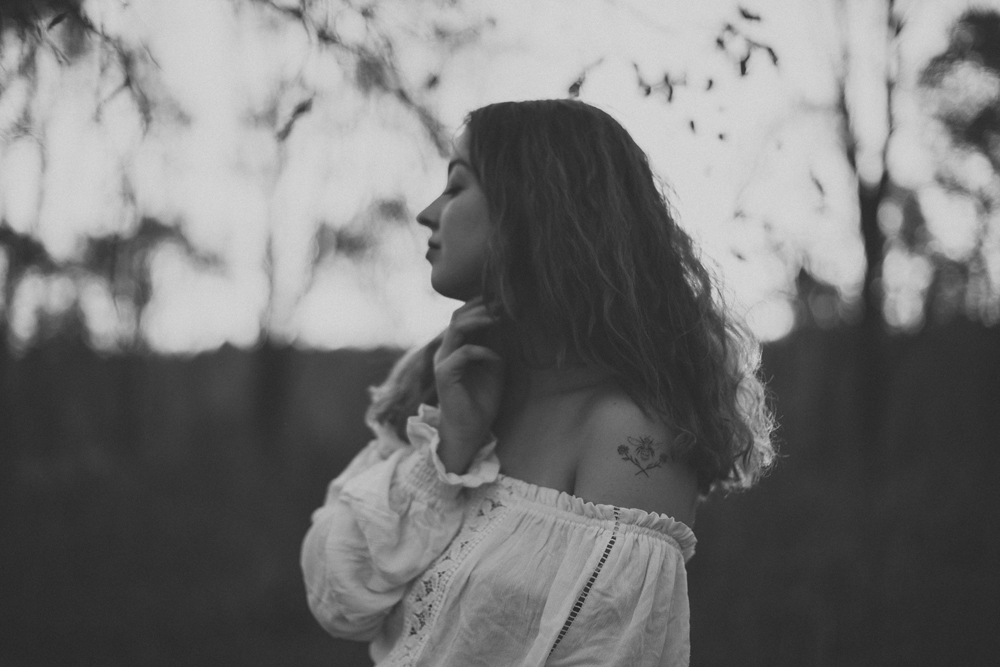

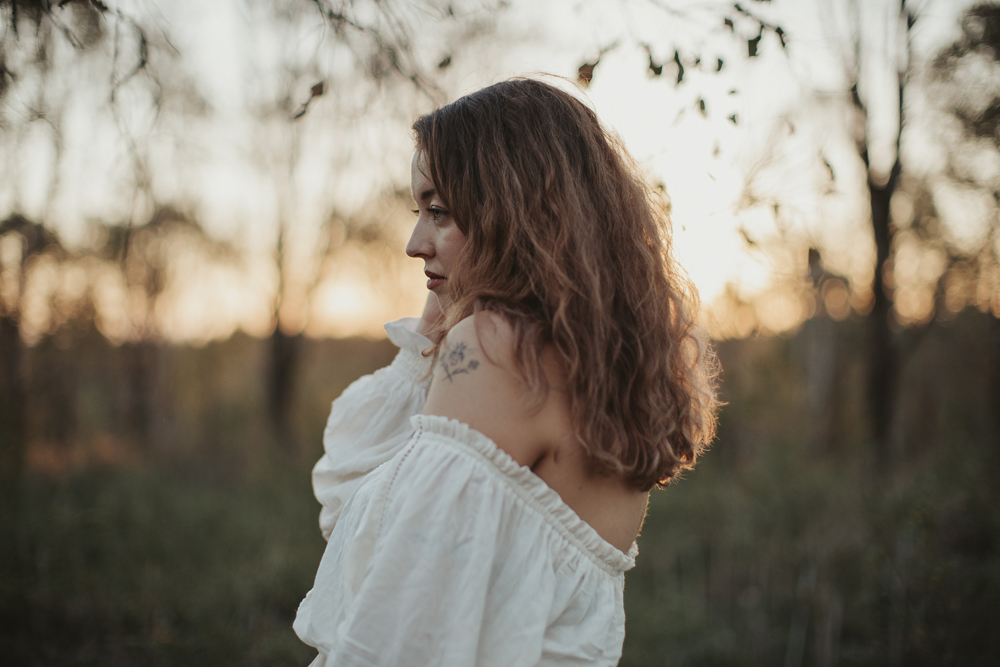
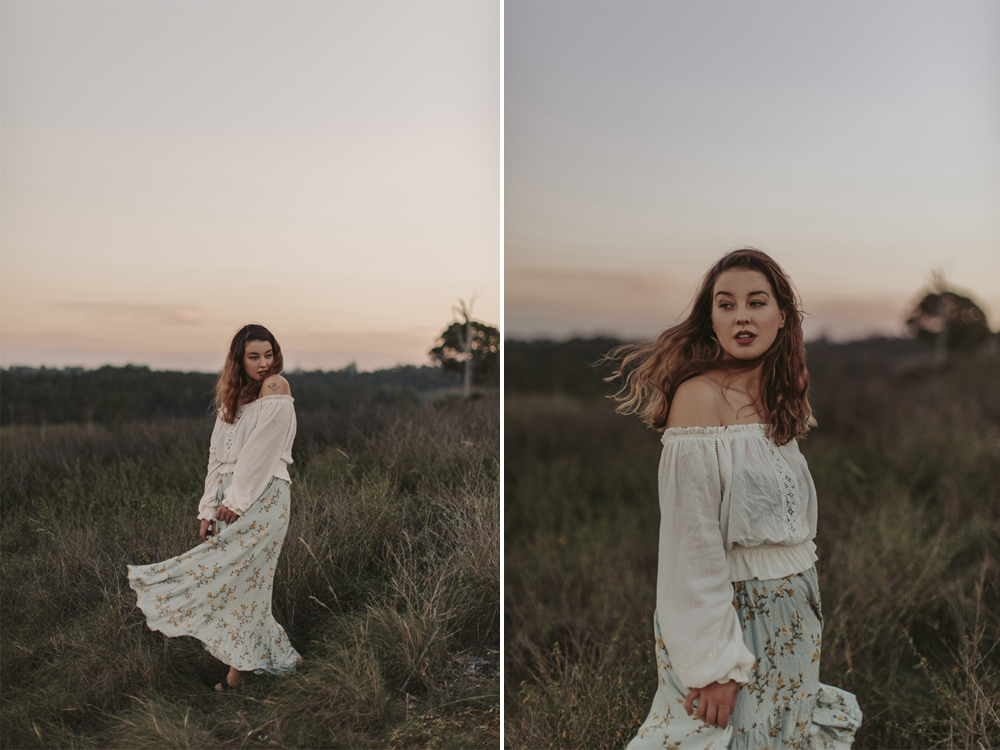
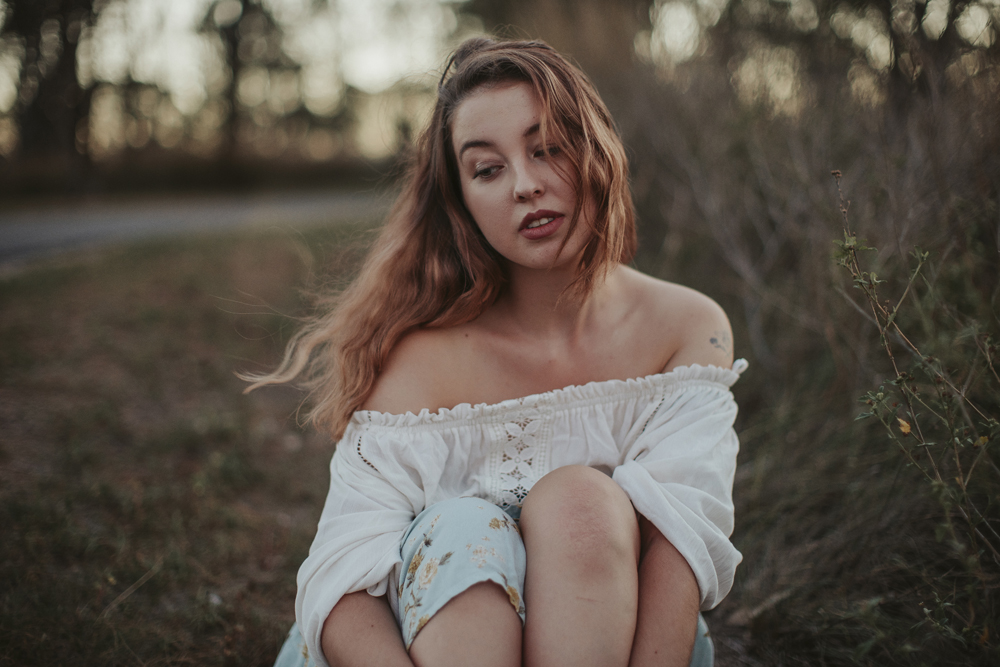
All photos edited with my Amalfi Lightroom Preset!
During this photoshoot, I’m using the Sony A7IV paired with the Samyang 24-70mm f2.8 zoom lens. This zoom lens gives me a lot of flexibility while shooting as it allows me to capture both wide and tight compositions without changing lenses. This is especially helpful is fast paced environments or when taking photos on a time crunch. While taking portraits, I’m also sharing a few of my go to composition tips for working with a standard zoom like this.
I spent a morning doing landscape photography around Lake Bled in Slovenia using the Sony A7IV with the GM 35mm f1.4 lens.
In this video, I want to share with you reasons to help you decide wether you should be upgrading your camera body or your lens and which one to do first. I’ll walk you through the key factors to consider when deciding between each option.
For this portrait session, I am using the Zeiss 50mm f1.4 on the Sony A7 IV, capturing backlit images on the beach during golden hour. The combination of the lens’s wide aperture and the warm, soft light of the setting sun helped create intimate, glowing portraits with beautiful light falloff and natural skin tones.
I am comparing the Zeiss 50mm f1.4 vs Zeiss 55mm f1.8 at a real-world portrait photoshoot. I share various different side by side photo comparisons at 100% crop, so you can see all the details.
For this portrait photoshoot I am using the Fujifilm X-T4 paired with two of my favorite prime lenses: the Fujinon XF 16mm f/1.4 R WR and XF 23mm f/1.4 R LM WR.
I captured these photos of Megan Emmett for the Candice Lee Femme Collection. You can see more of Candice Lee’s bridal gowns and hair styling work here.
This blog post includes some of my favourite photos I took during my time in Japan with the S5II. If you want to hear my complete thoughts and review of the S5II capabilities for photo and video, you can watch my review video here.
In November, I was invited to Japan by LUMIX to attend the LUMIX Global Summit for the announcement of the new LUMIX S5II. Paired with the new camera body and an array of lenses, Dan and I took to the streets of Tokyo, Japan to film our review video of the camera body.
The Canon 5Dmkiv is a DSLR camera that I am using for portrait photography with the Canon 35mm f1.4 II. I recently upgraded my 35mm from the Canon 35mm f1.4 mark 1 and I am absolutely loving the focusing speed and sharpness of the final images.
I am using the Sony A7ii mirrorless camera body and the Canon 5Dmkiii DSLR. My current camera body that I use for all my photography work is the Canon 5D mk3. While I love using my Canon camera, I am also very interested in the world of mirrorless cameras. Specifically the mirrorless cameras Sony has to offer.
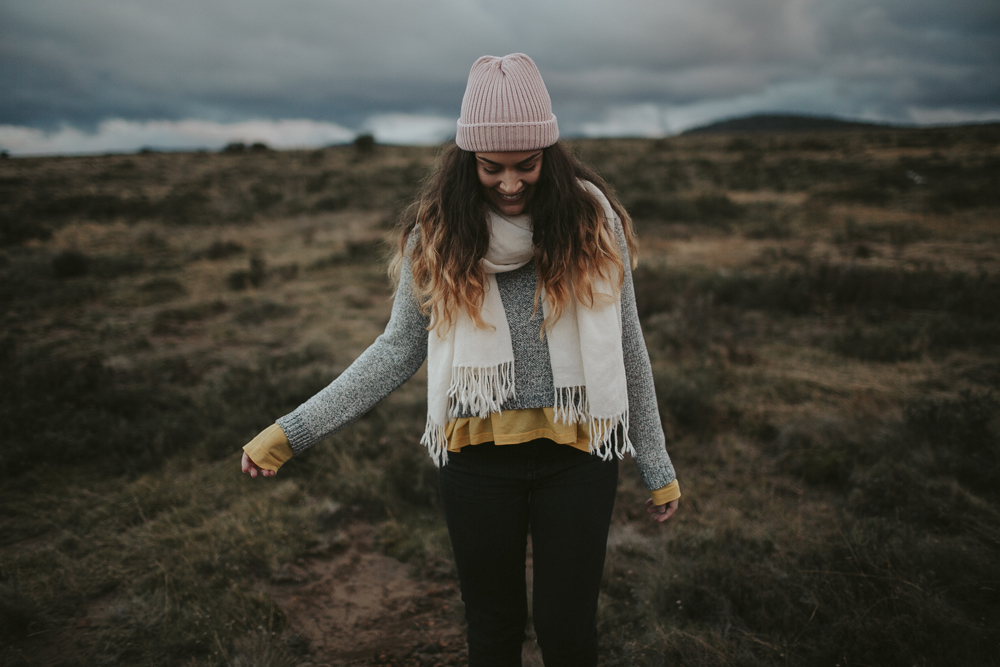
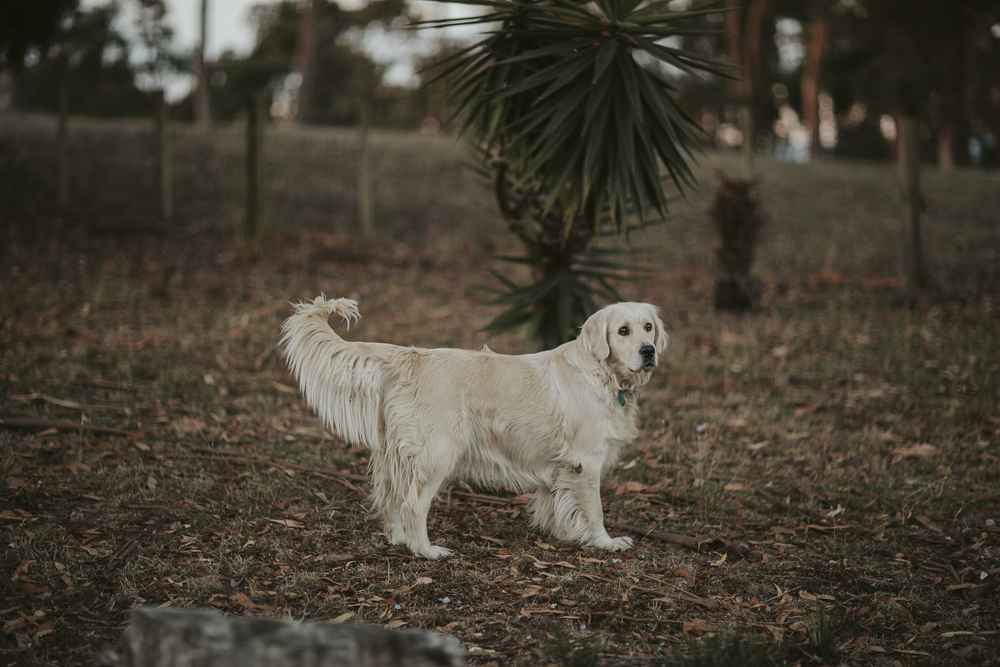
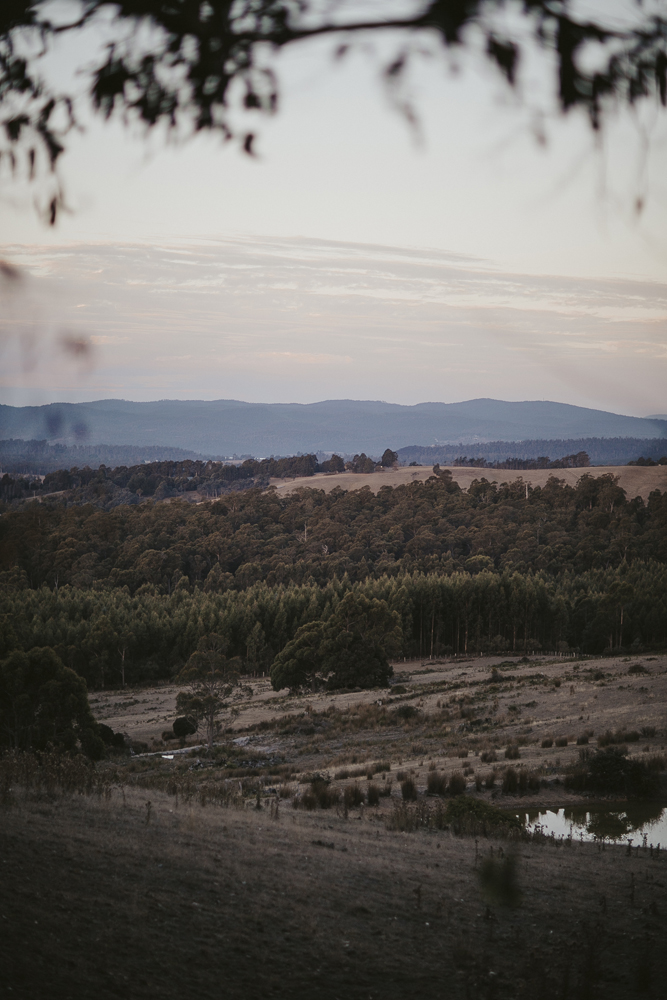
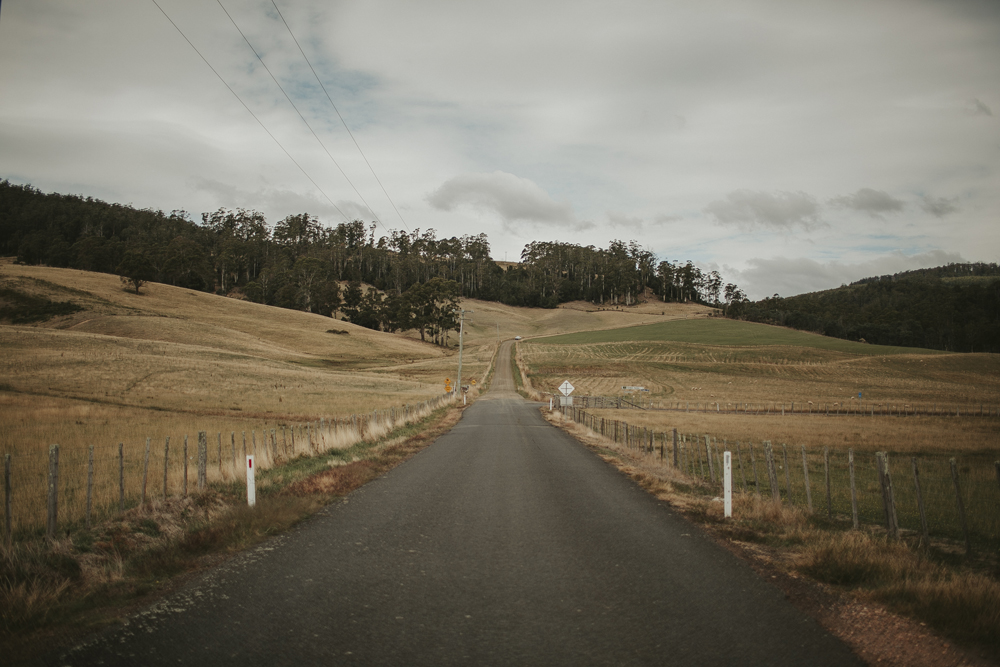
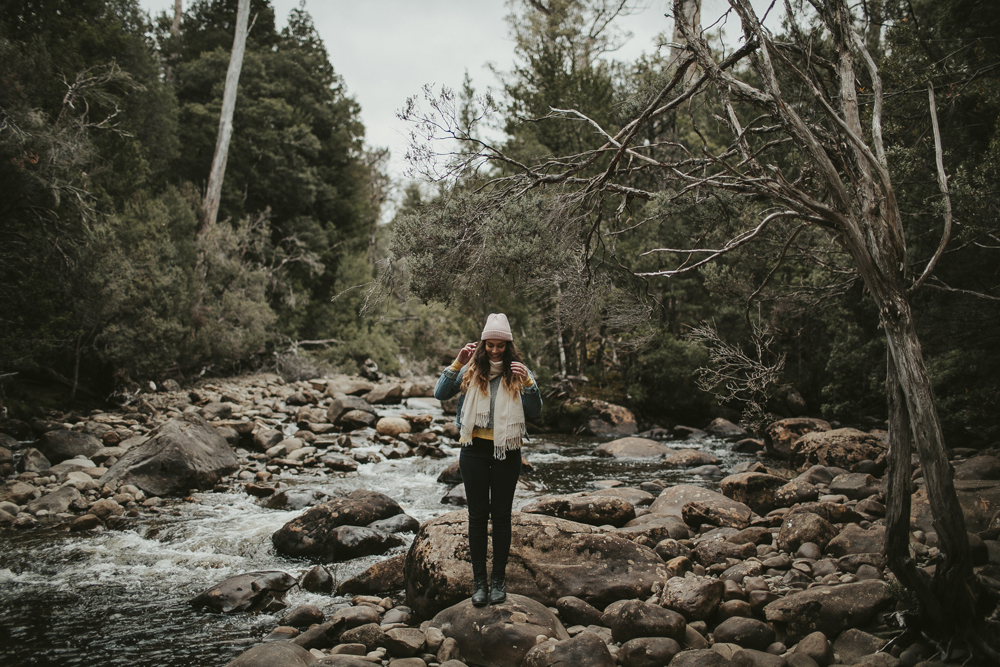
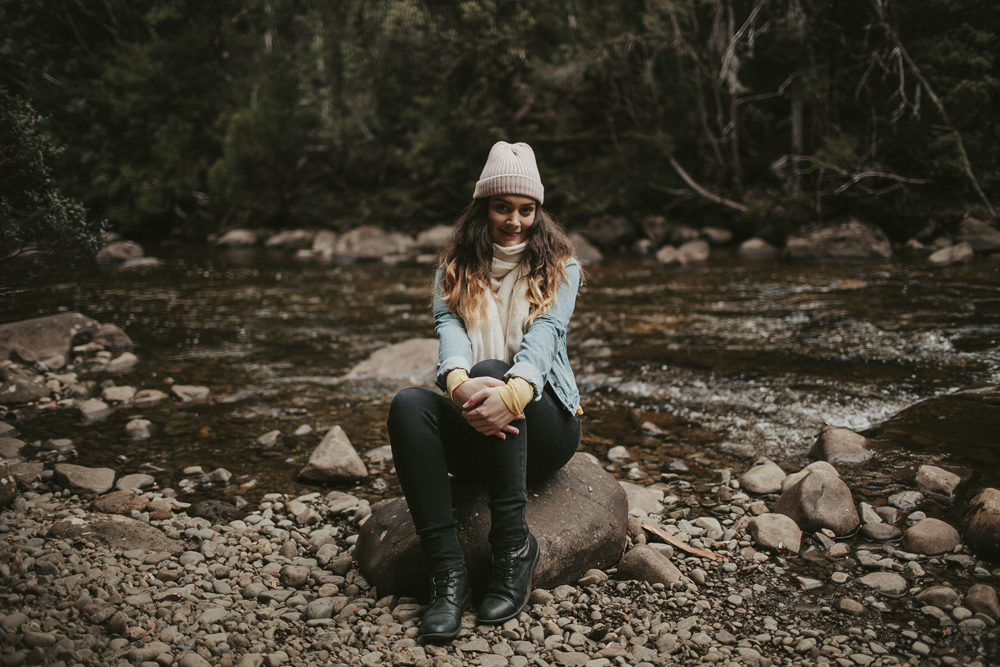
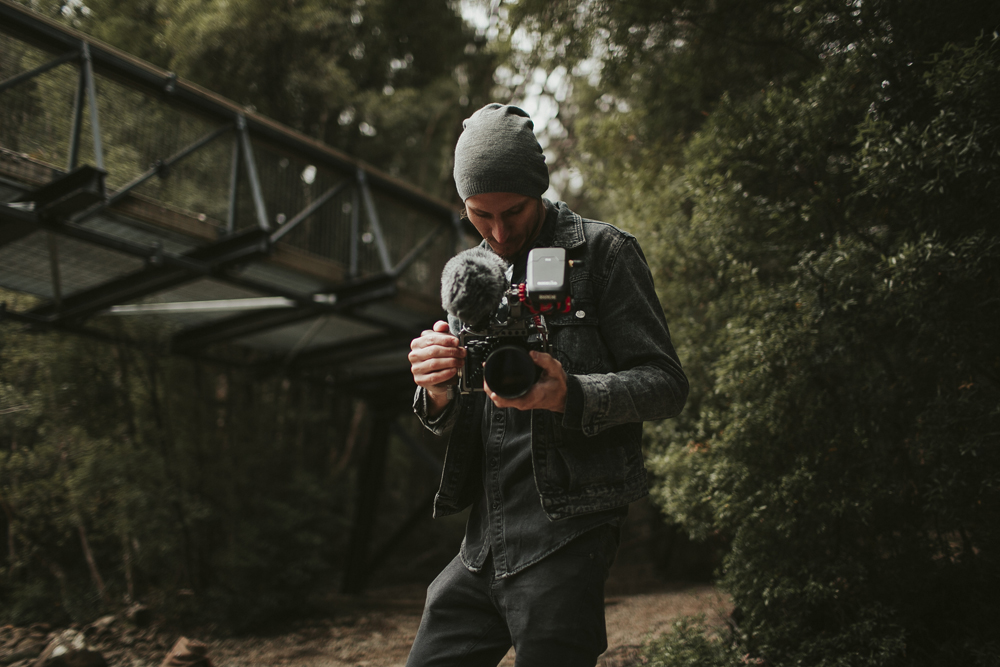
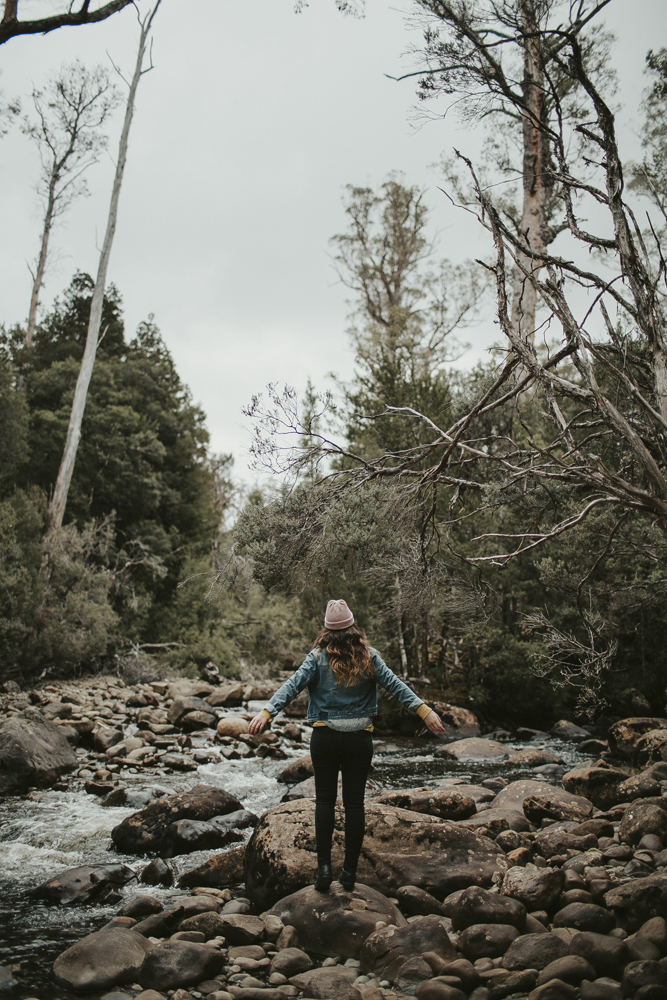
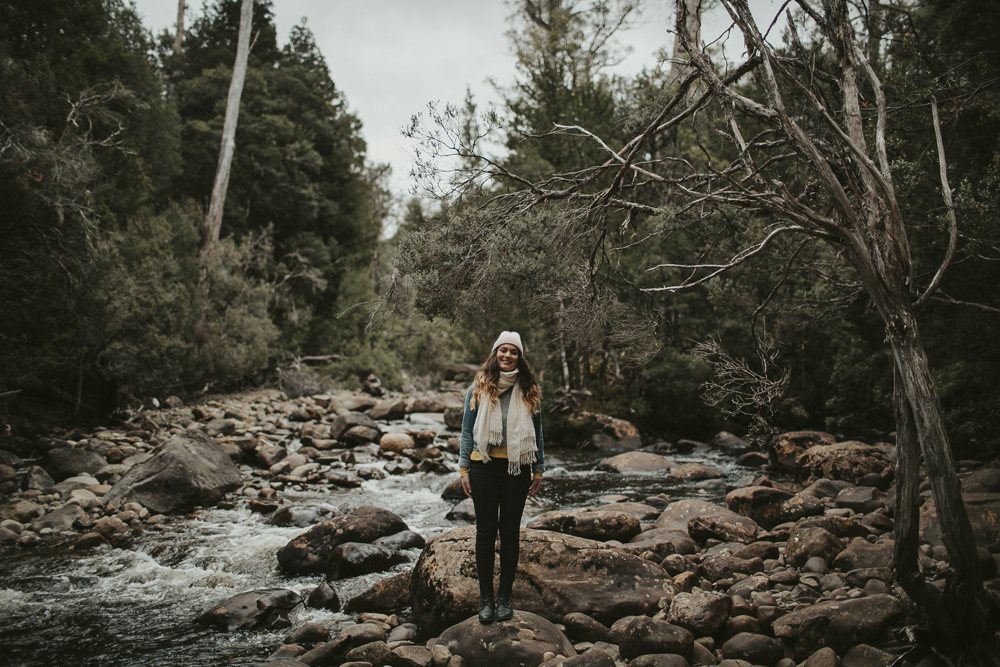
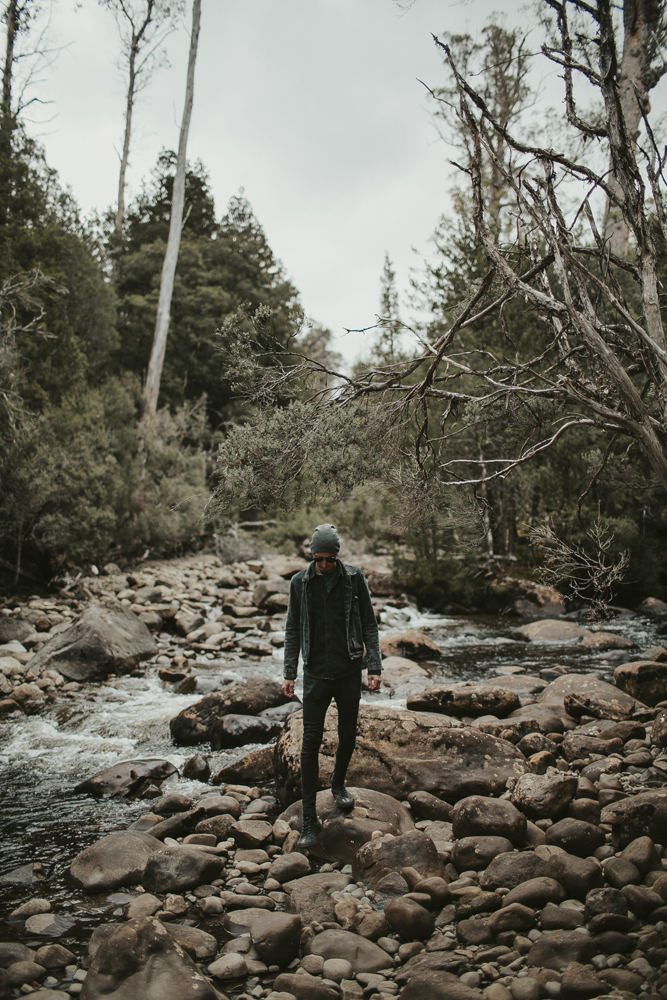
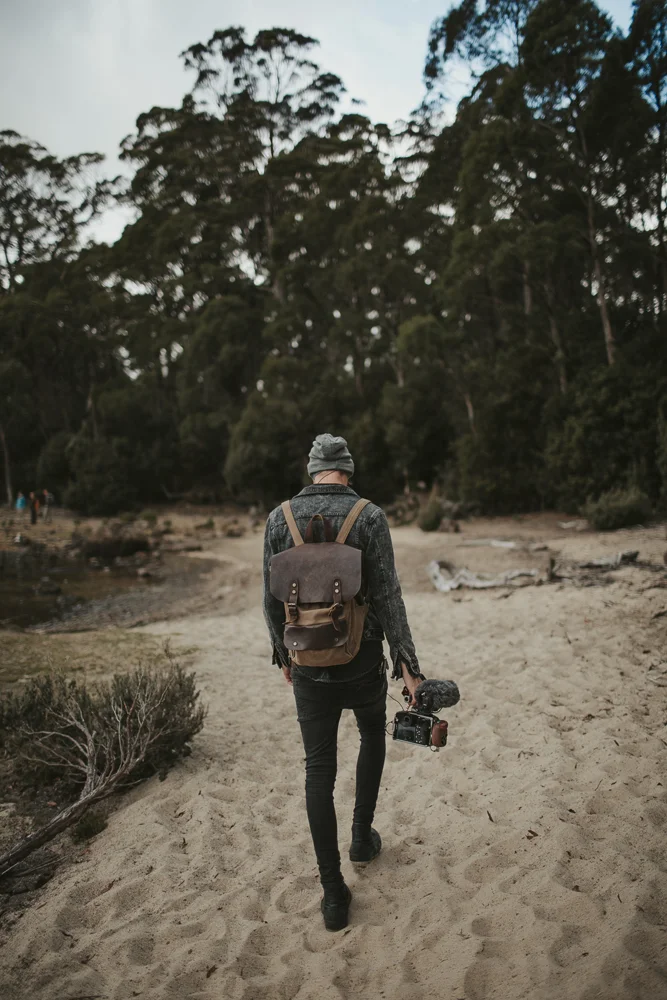
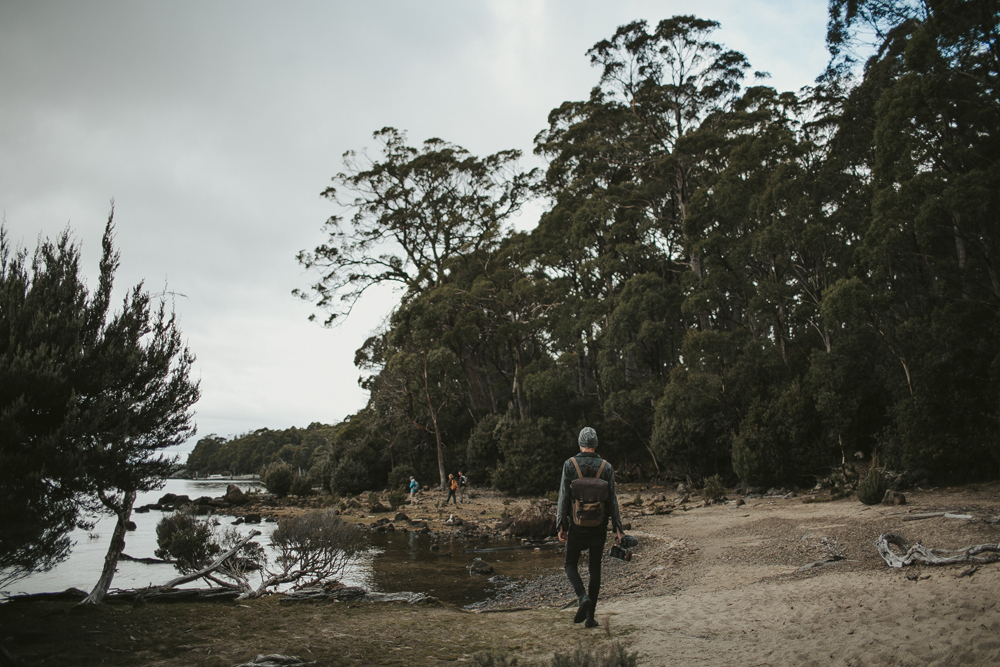
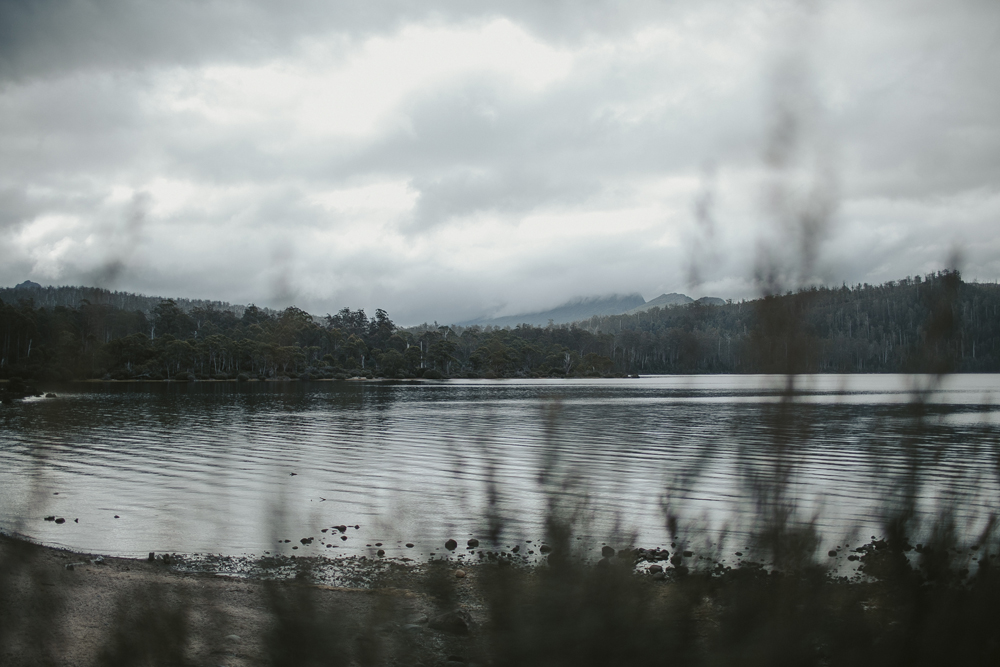
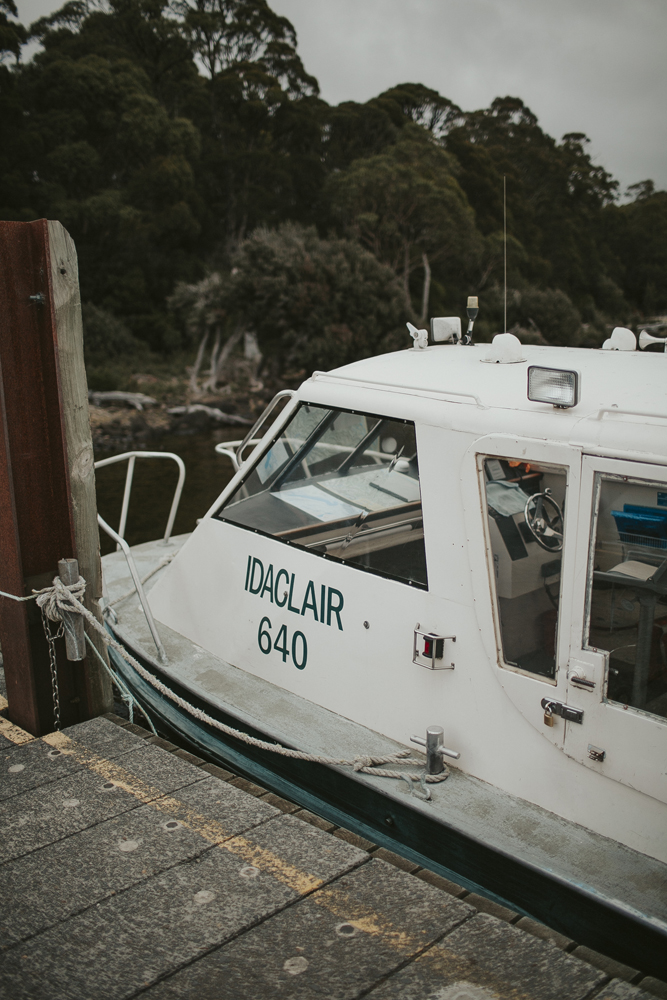
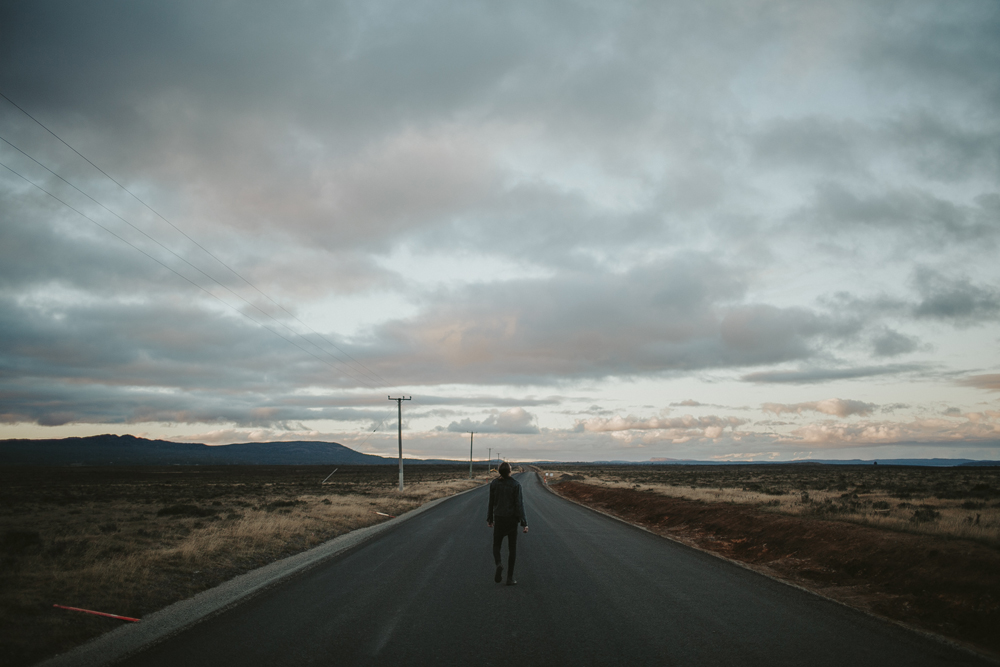
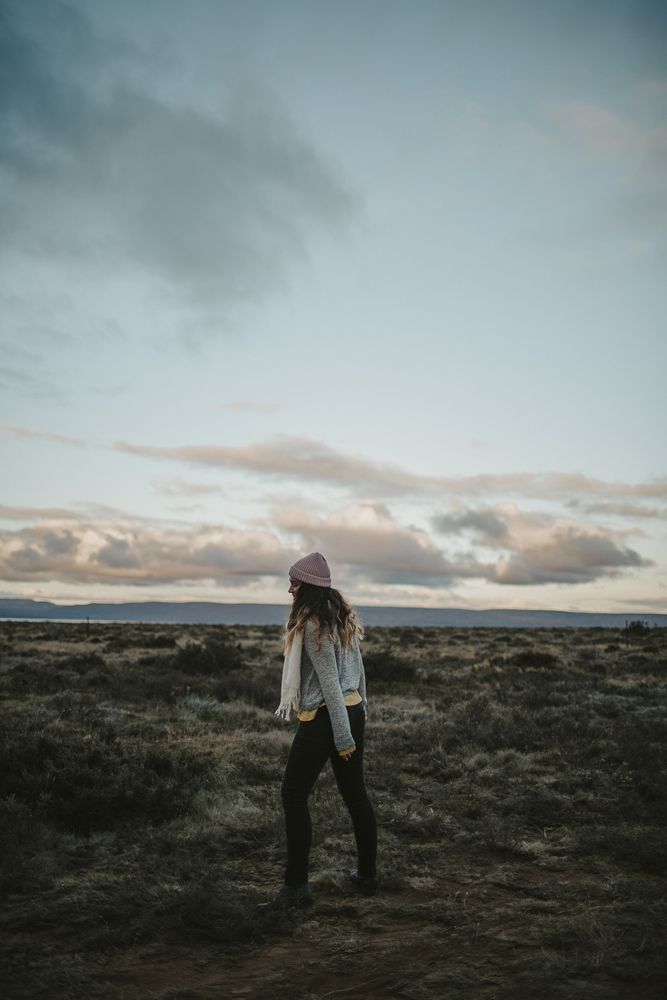
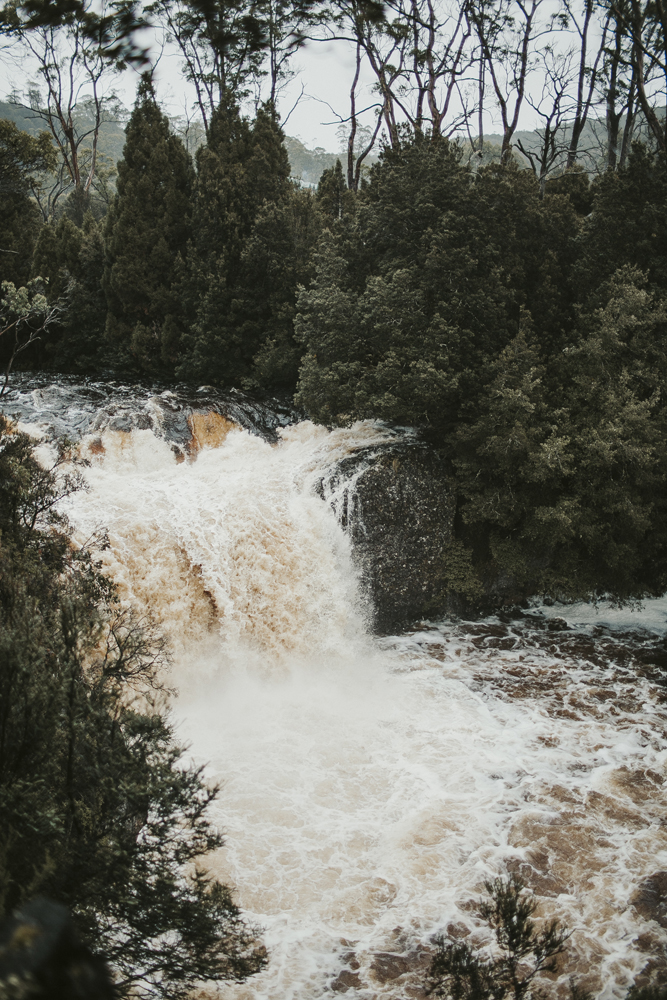
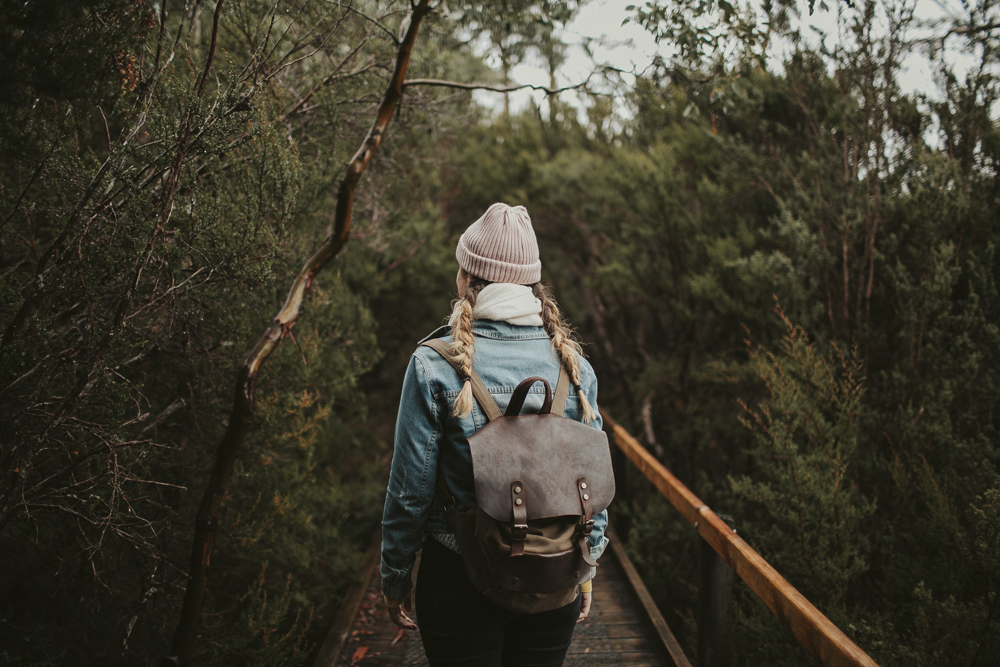
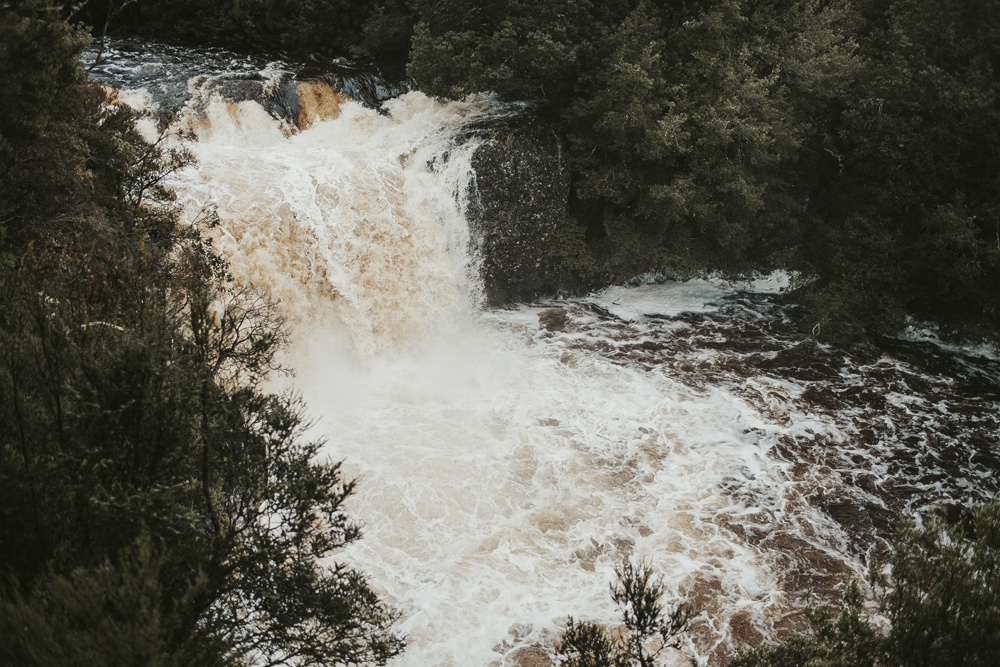
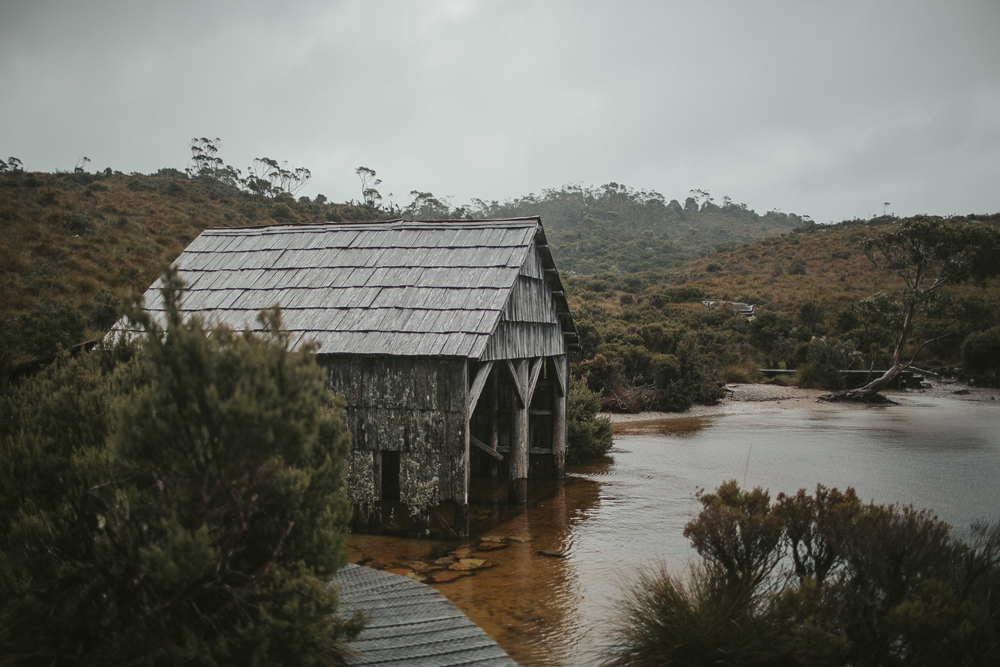
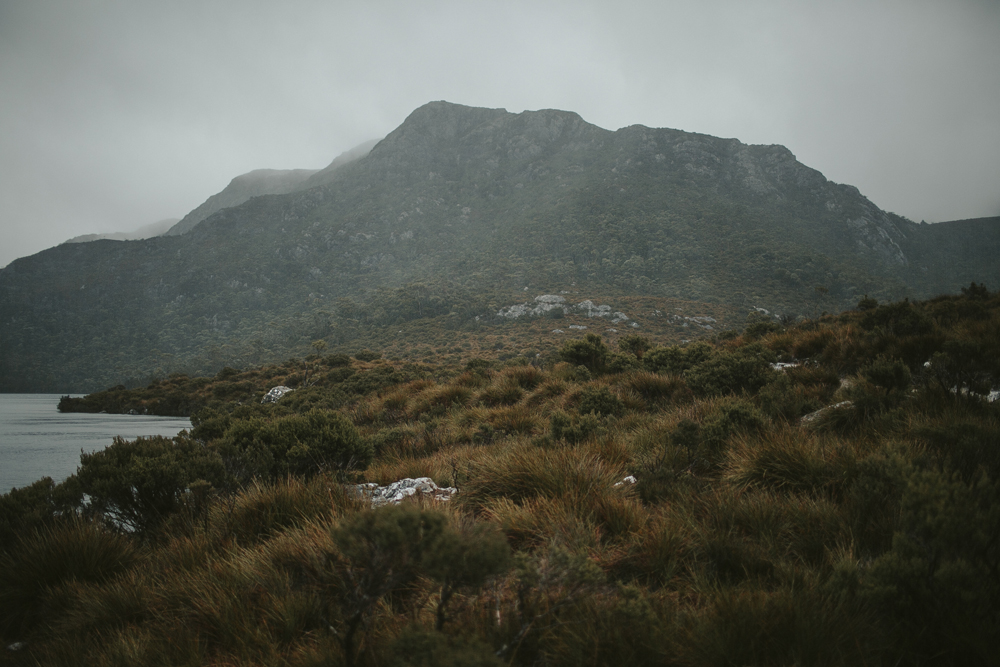
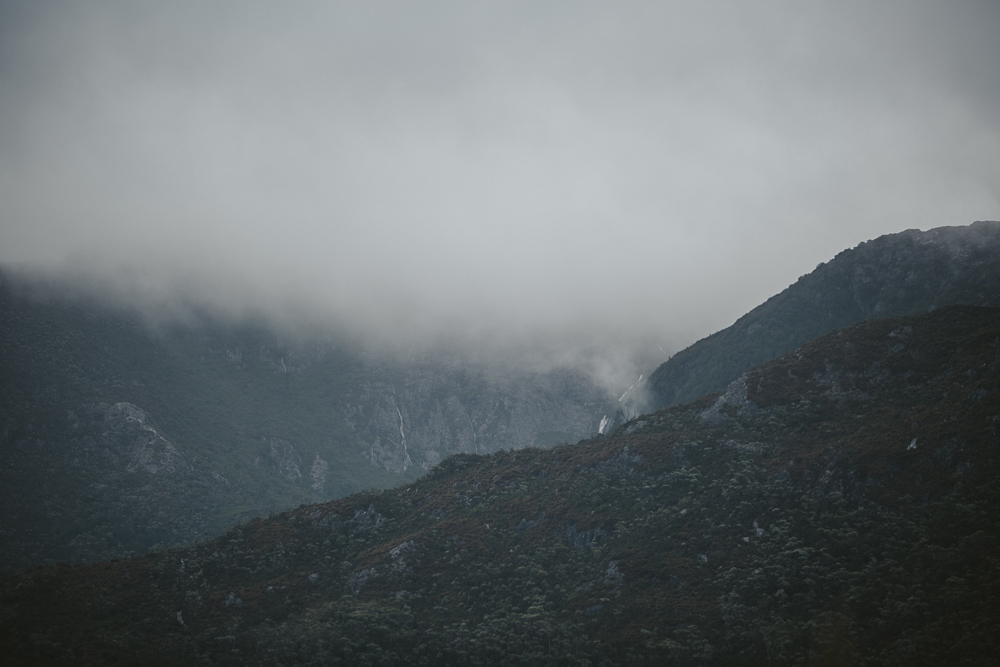
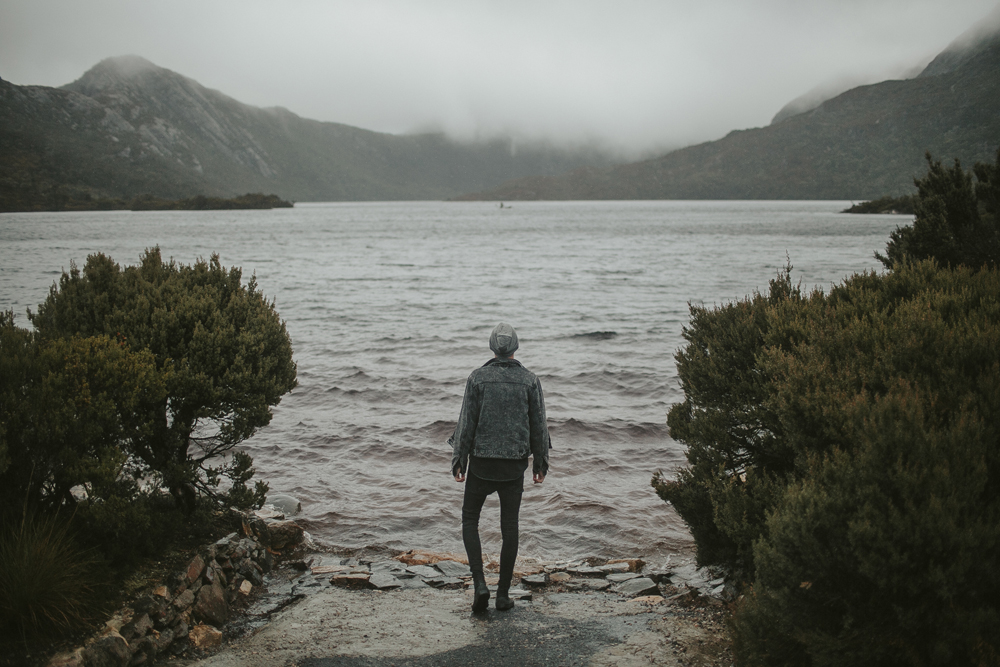
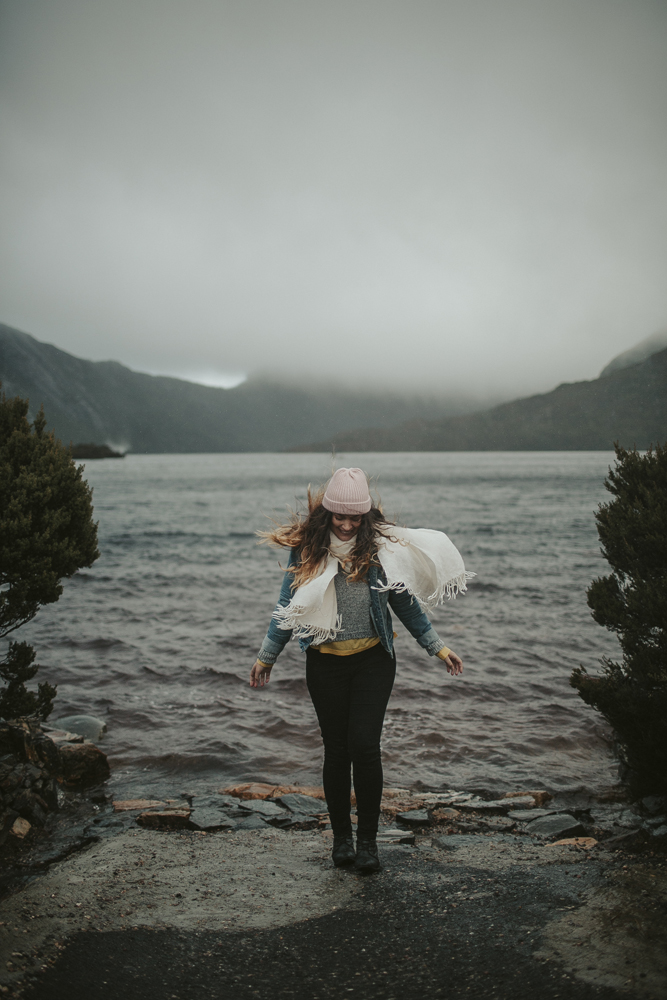
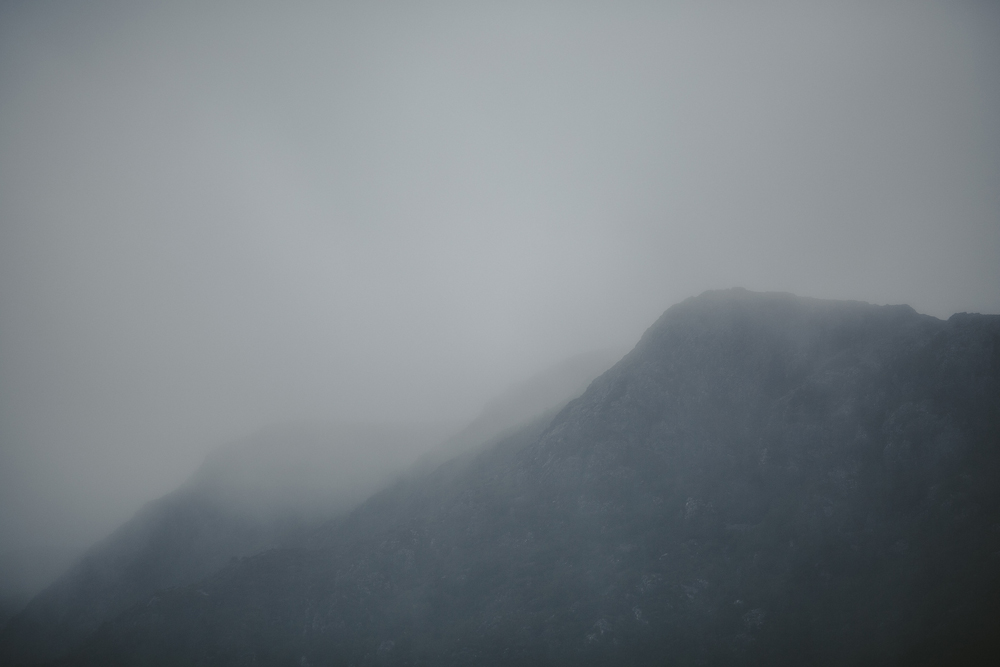
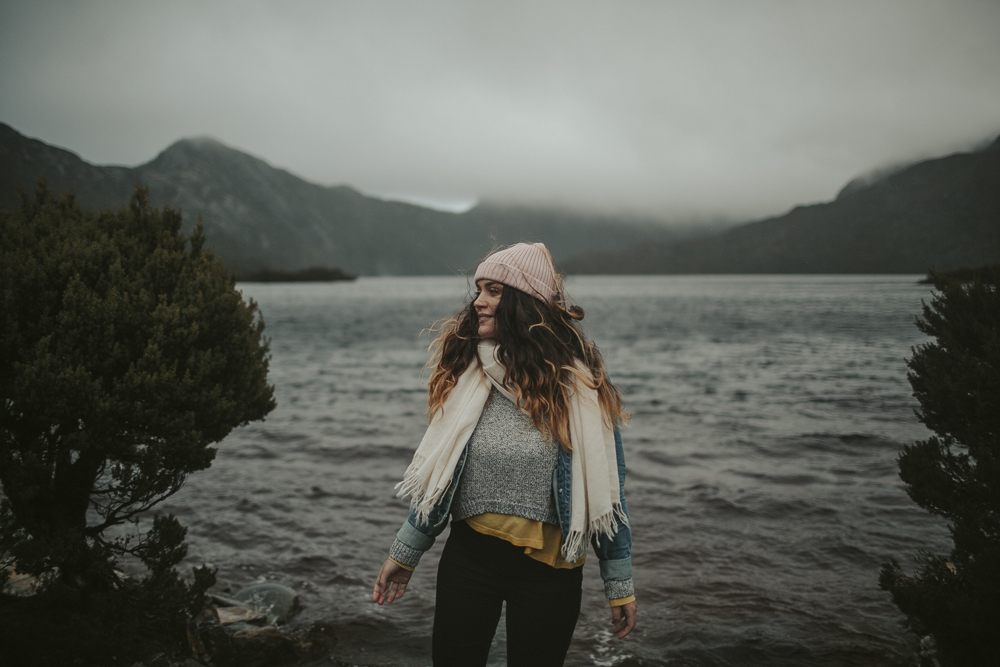
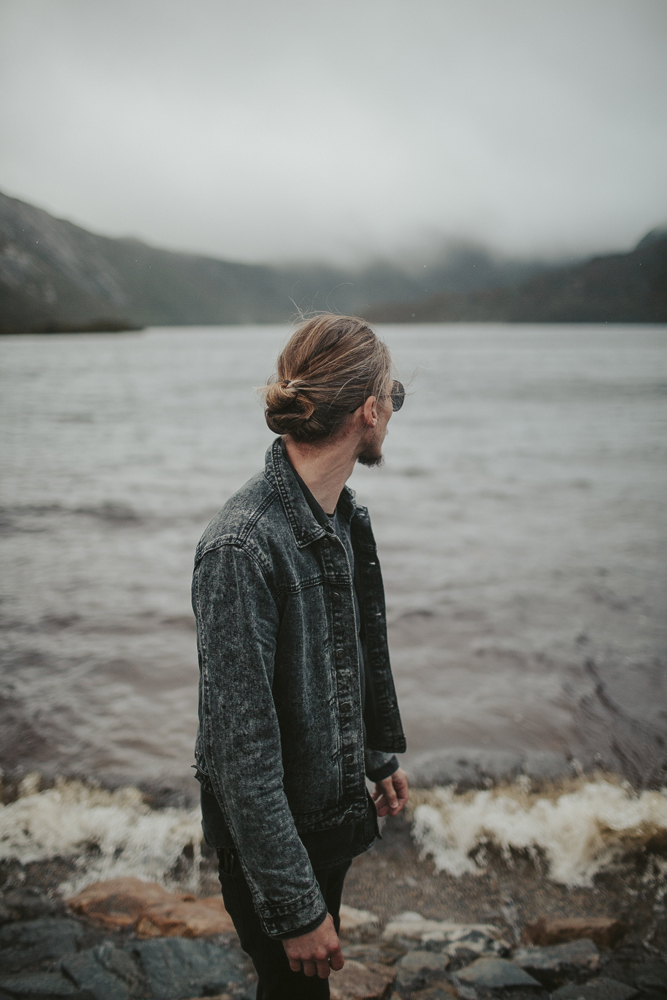
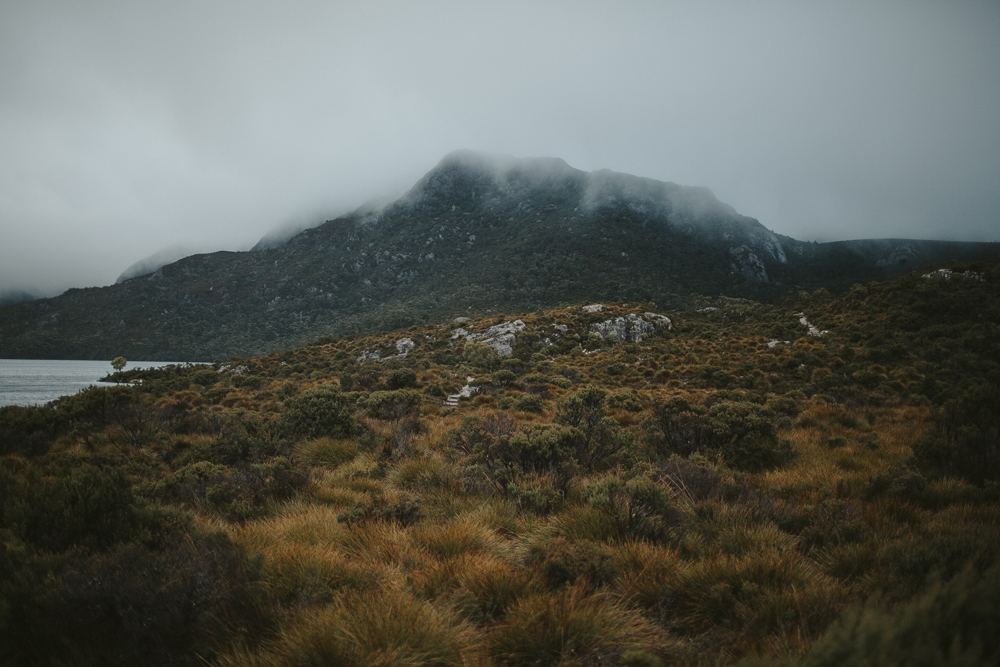
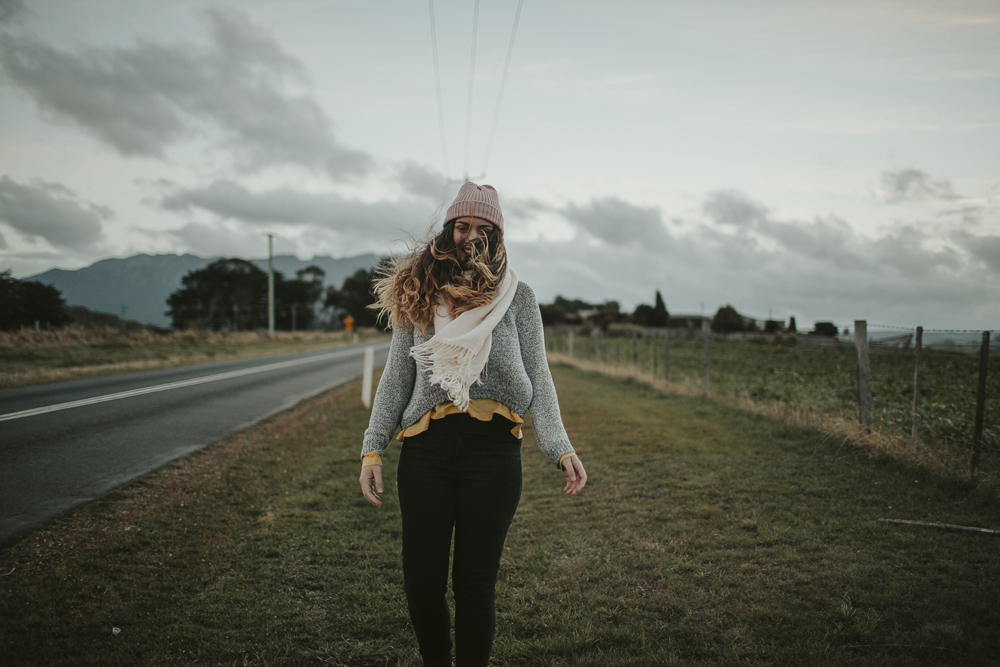
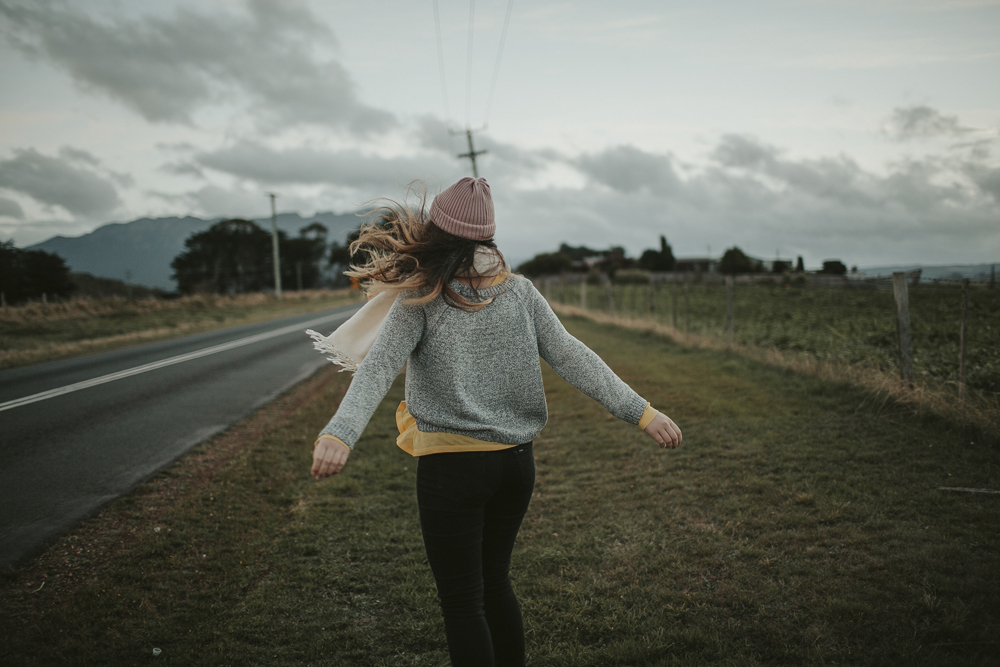
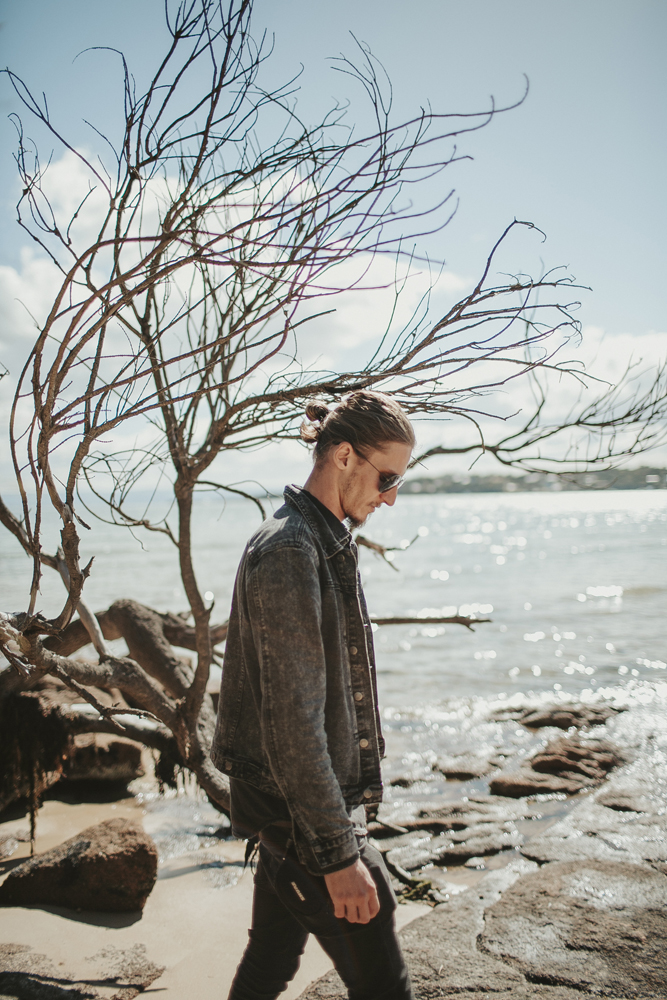
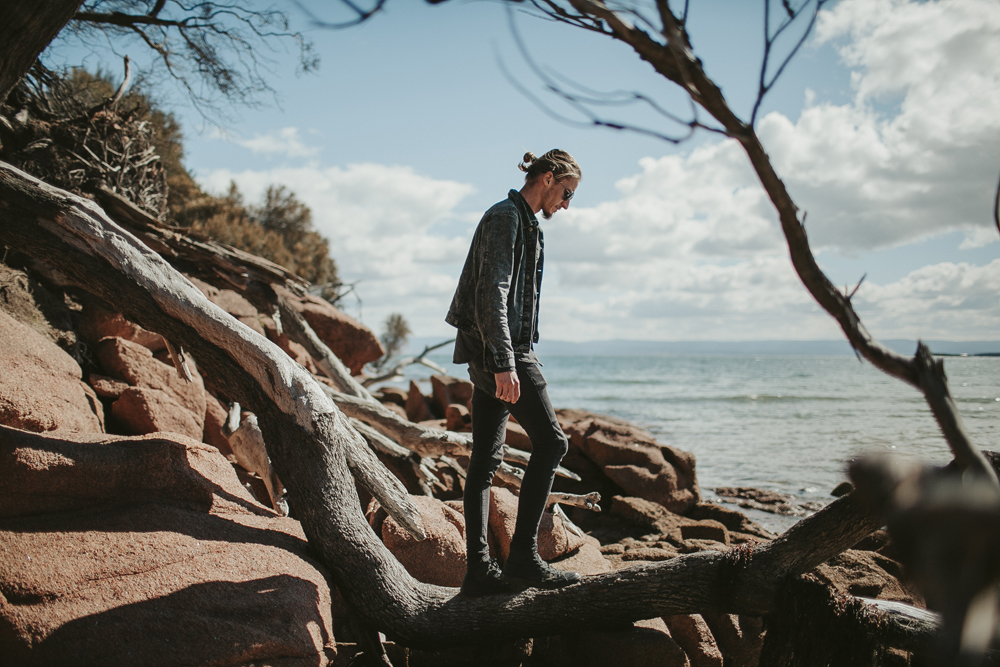
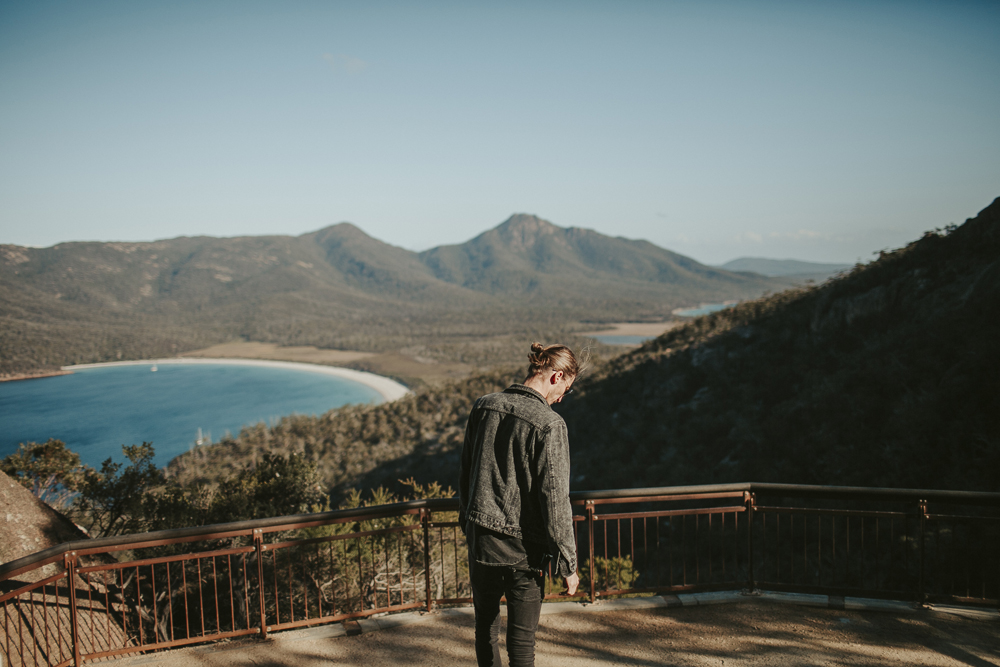
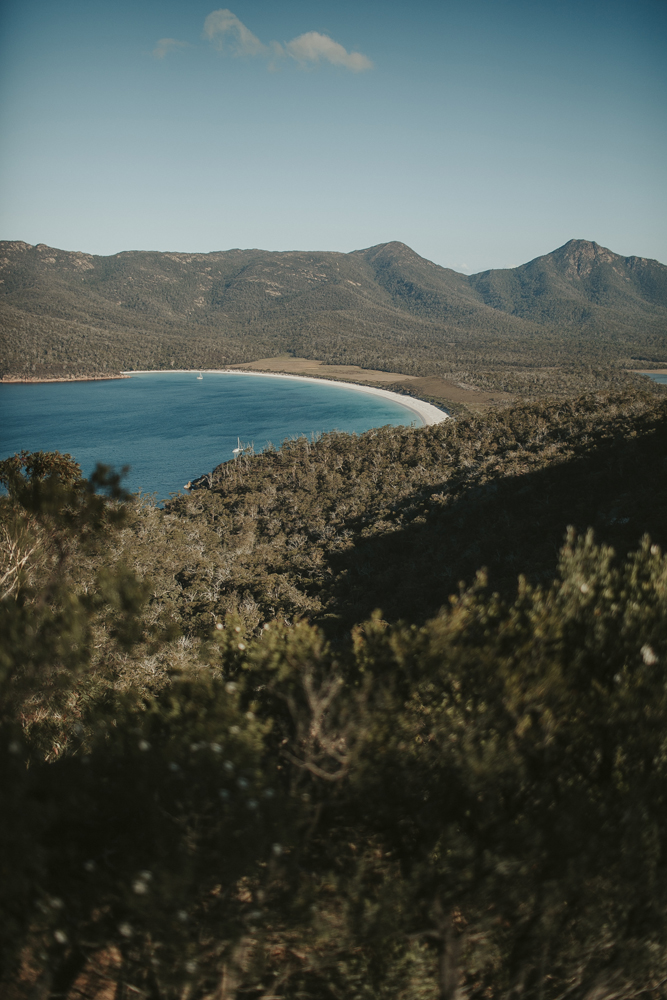
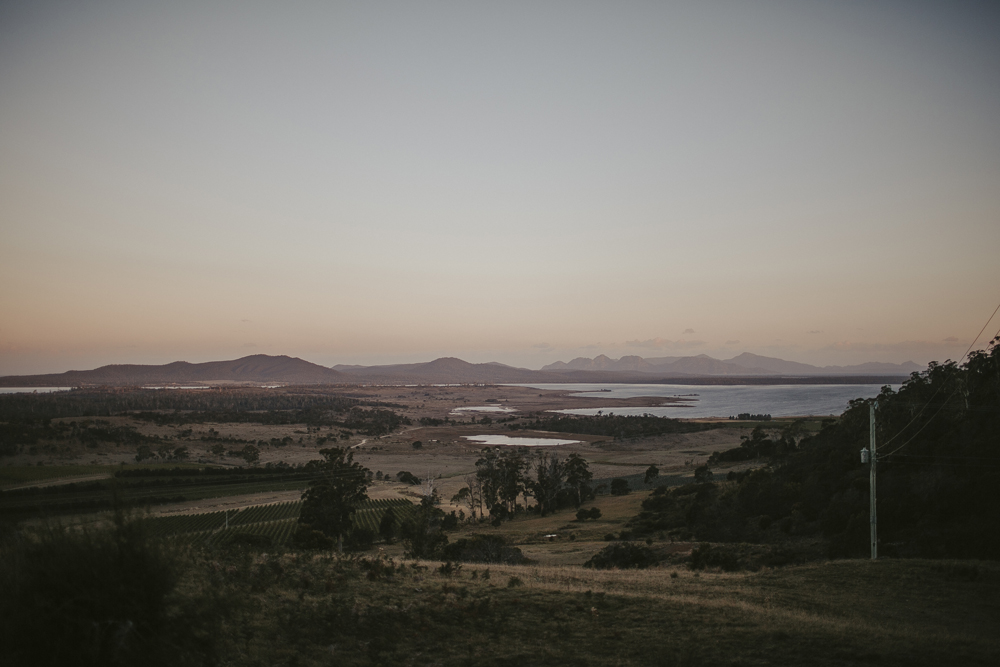
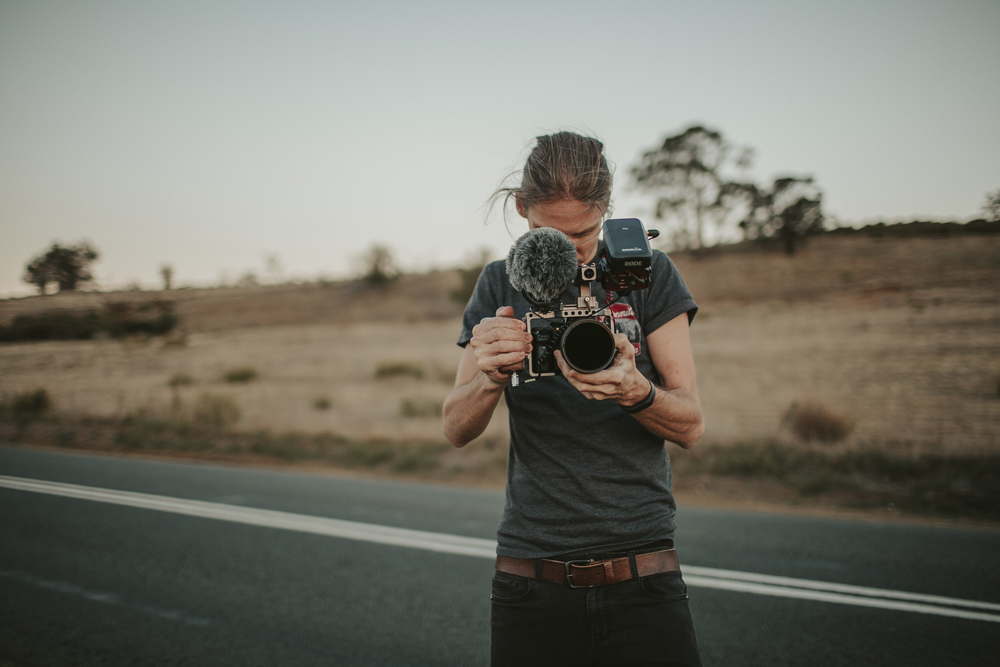
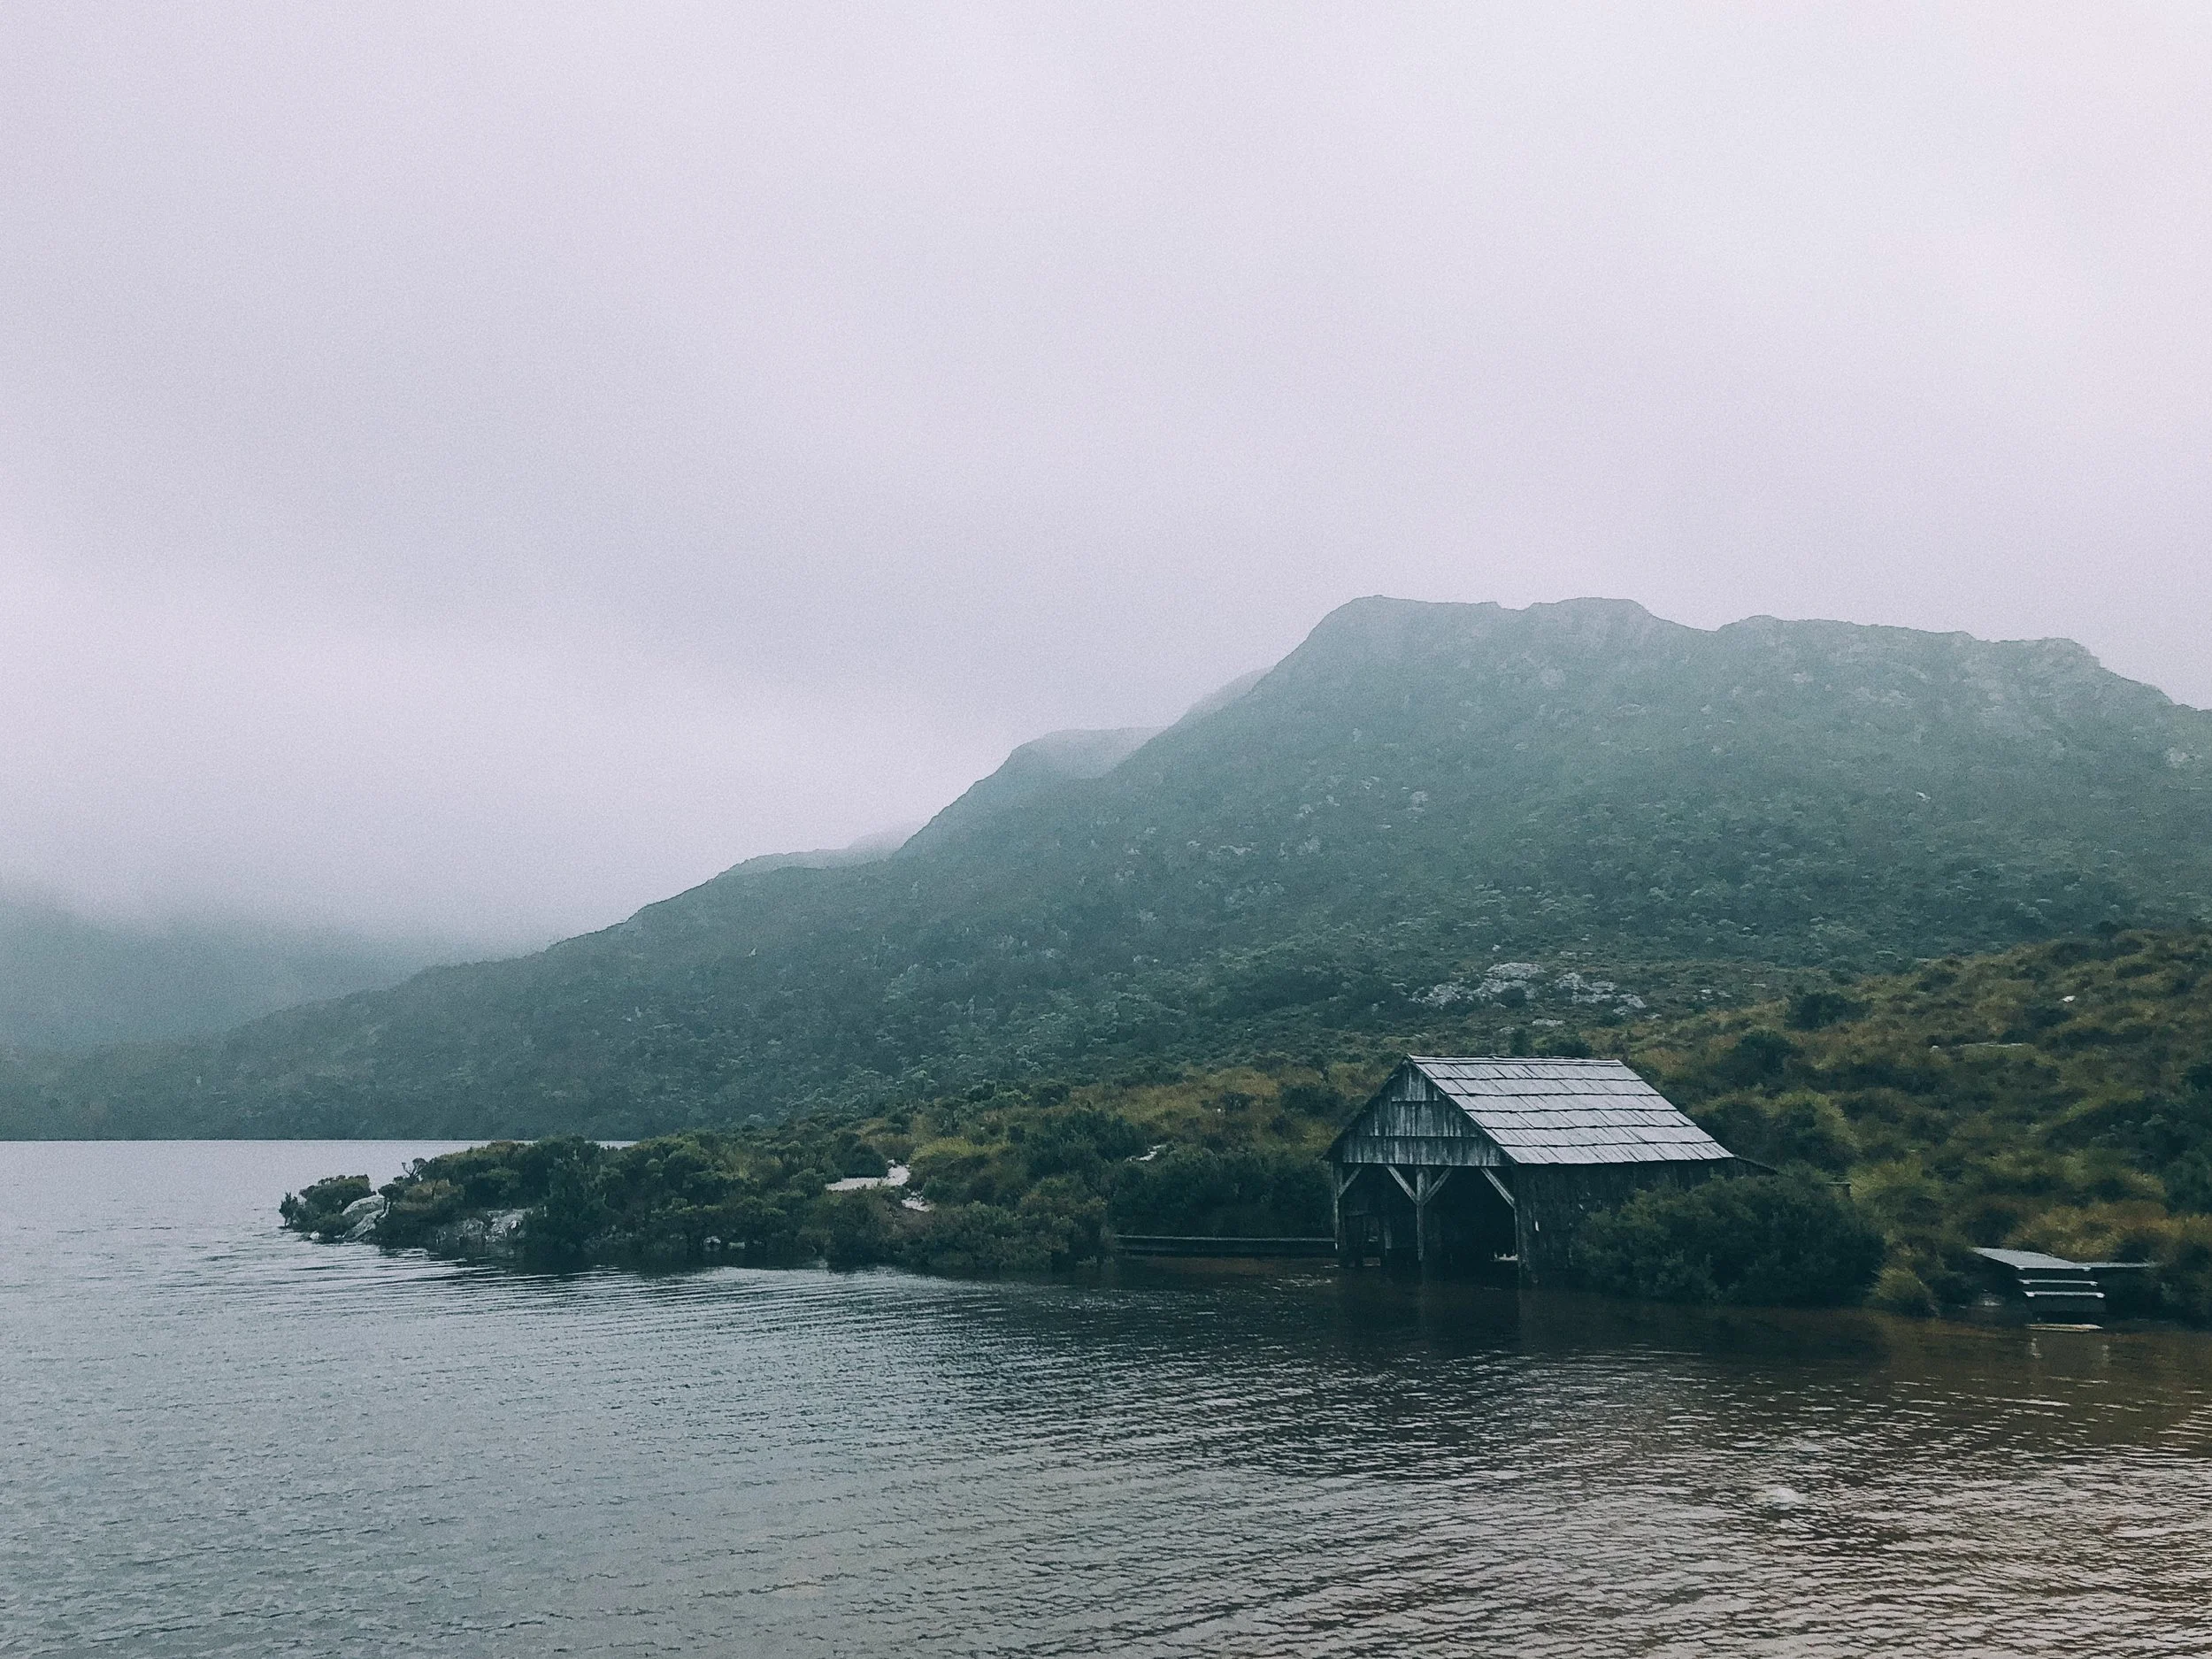
Last week Dan and I made our way to Tasmania to capture a photo + video wedding. We decided to take a few extra days while we were there to be able to explore a part of Australia we’ve always wanted to go to. We landed in Launceston early Wednesday morning and spent our day checking out various lookouts before checking into our beautiful Airbnb house which was on a farm in the countryside. From there onwards we spent our week exploring Lake St Claire, photographing the gorgeous backyard wedding that we will share soon, visiting Cradle Mountain National Park and Freycinet National Park. I absolutely adore Tasmania, there is so much green everywhere you look and sometimes it really feels like you’re the only people in the entire state. I would love to come back soon!
Check out my vlog from our week in Tasmania below and please subscribe to my channel if you haven't already! I release 2 new photography related videos a week.
All photos edited with my Amalfi Lightroom Preset!







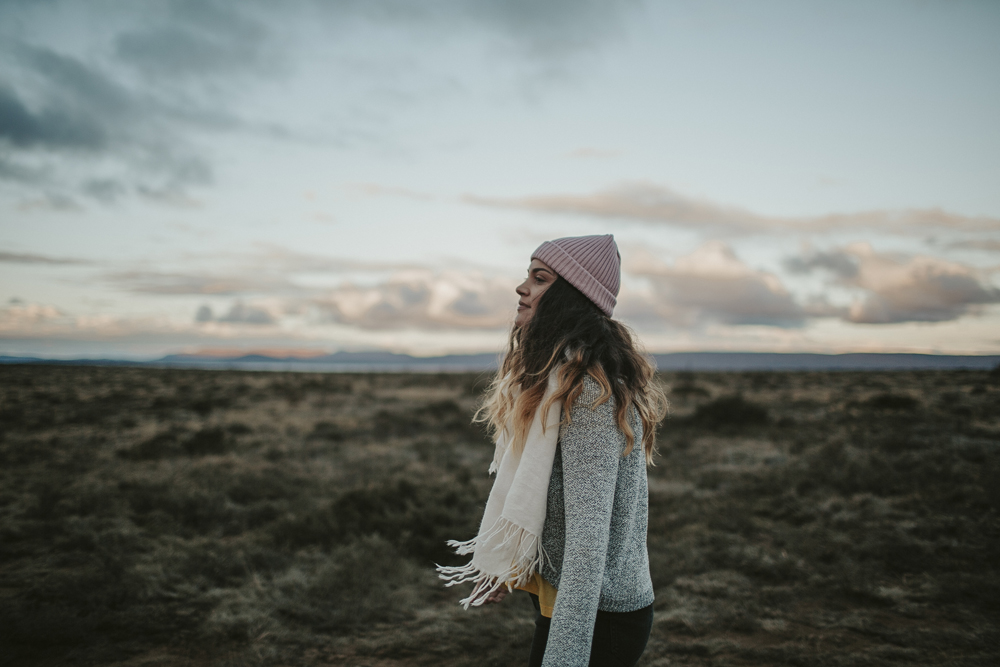
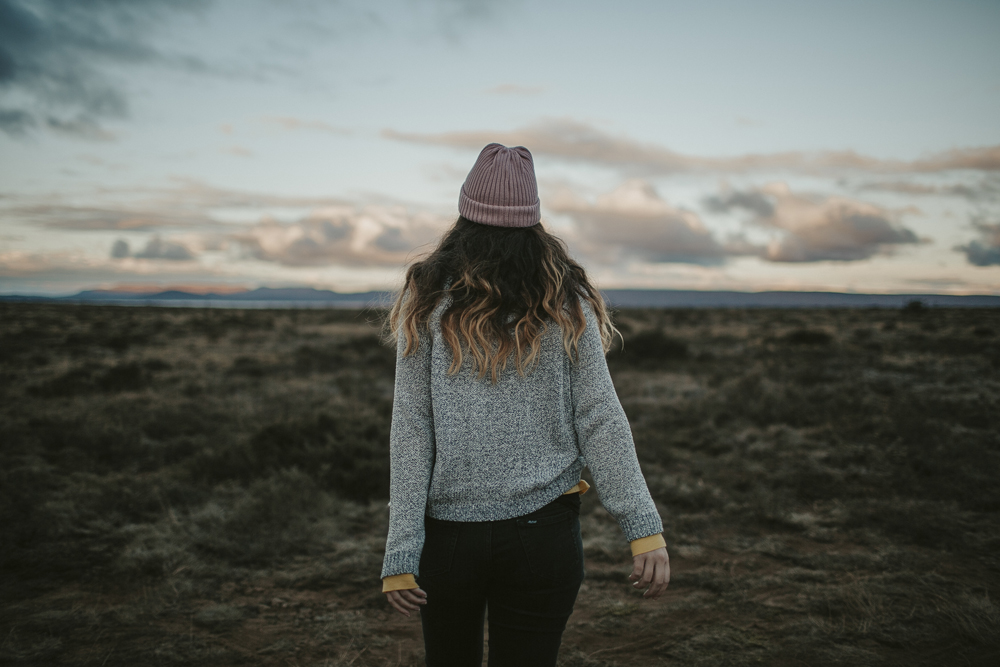
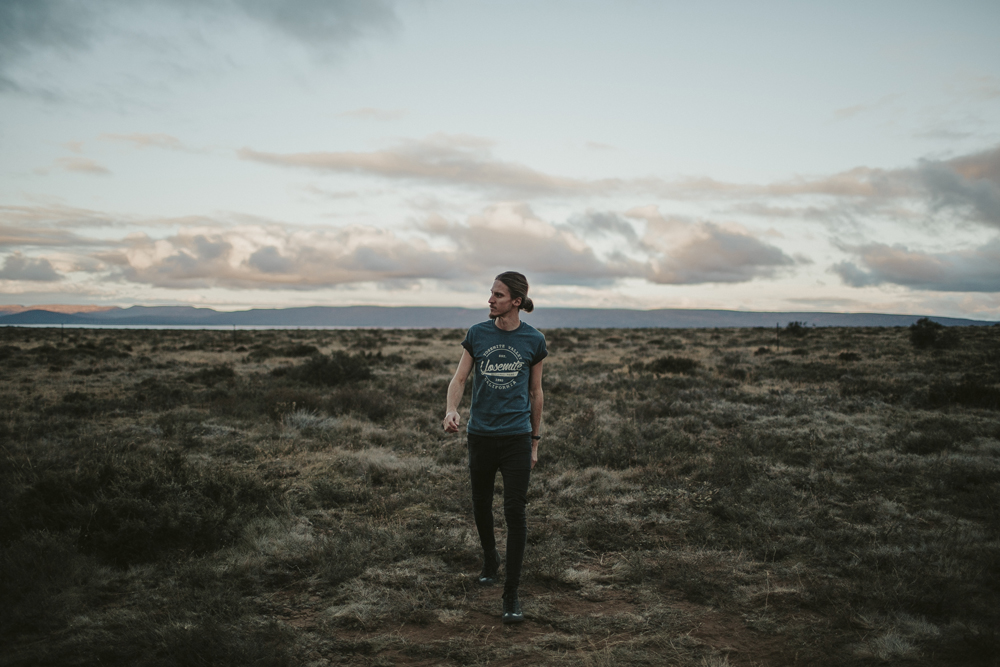
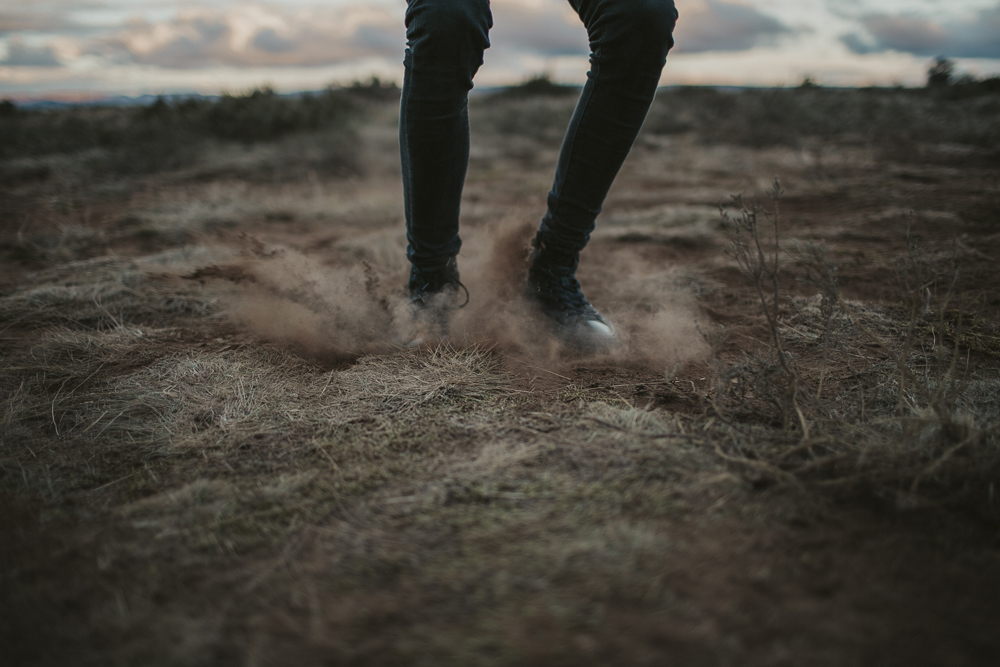
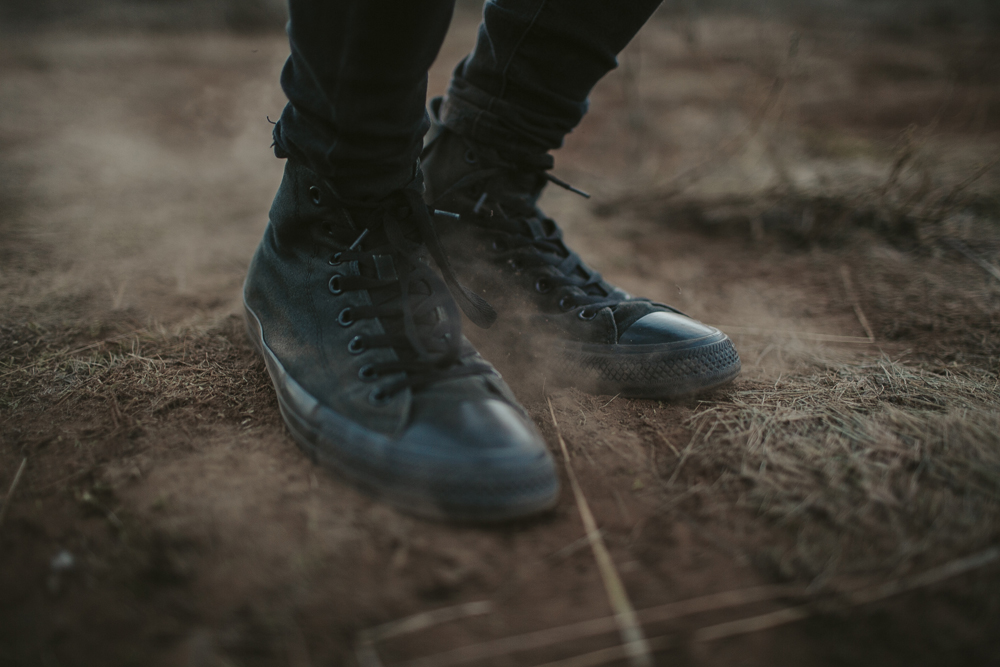
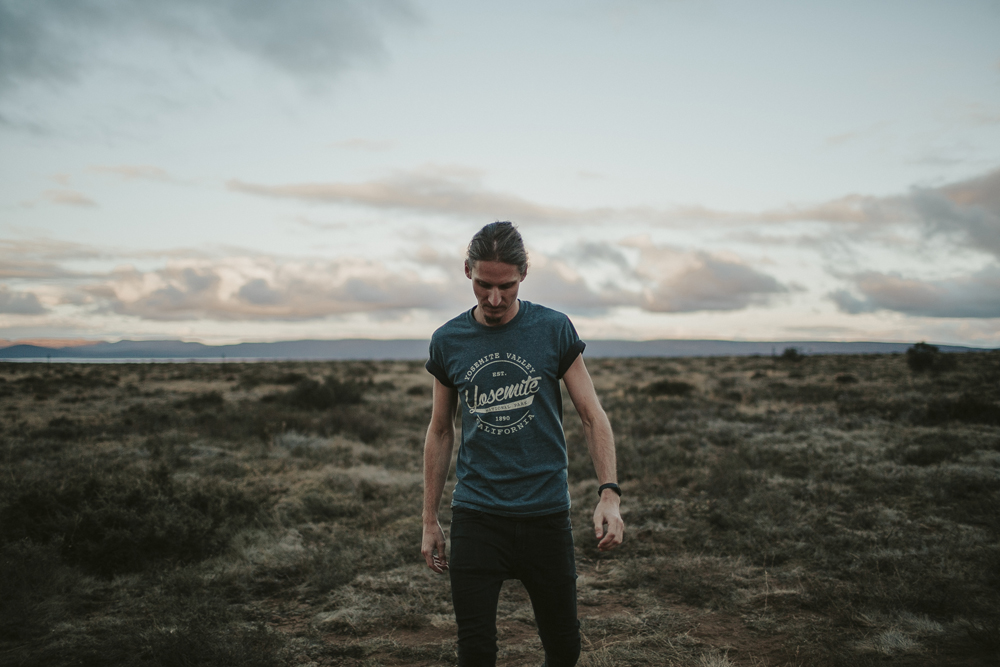
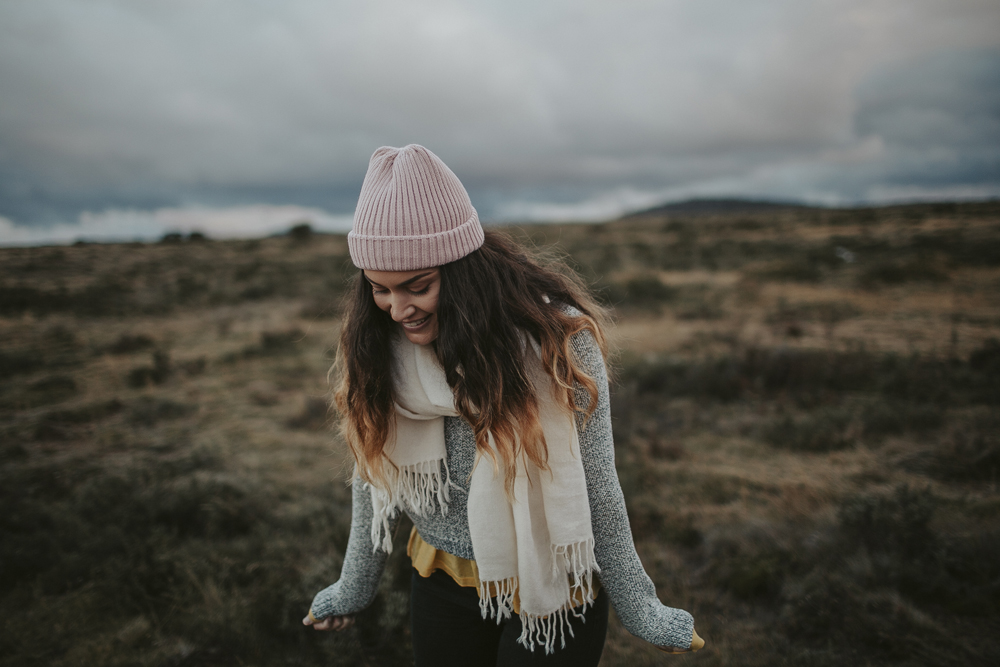
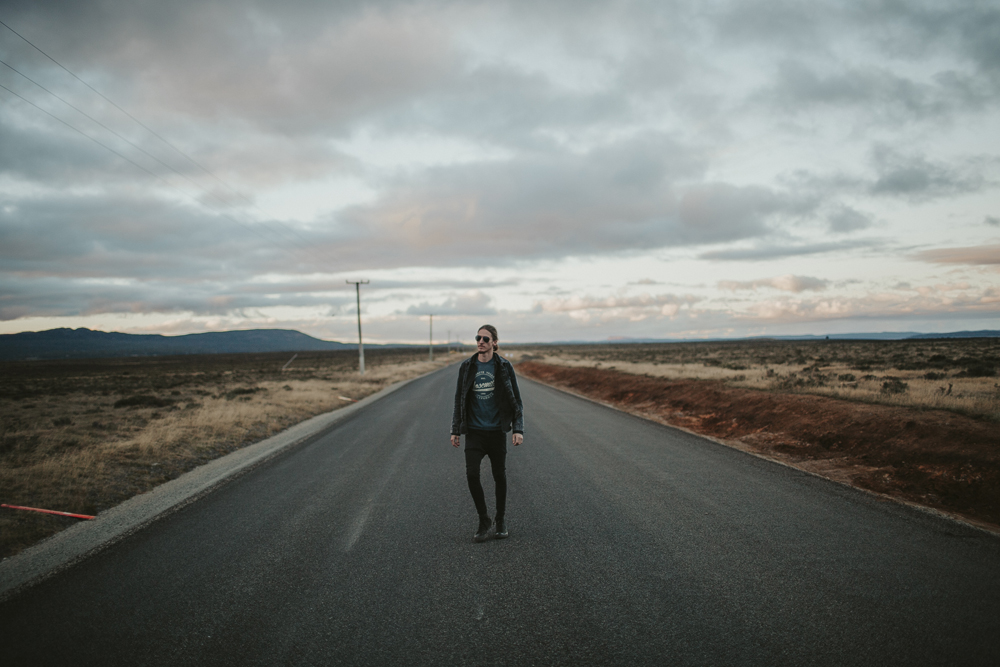
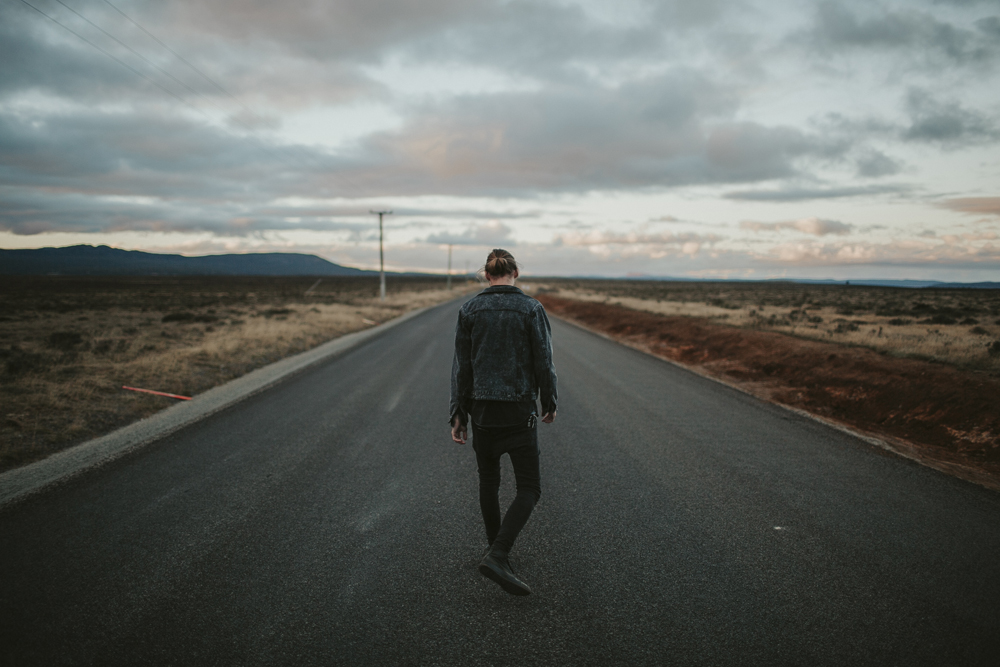
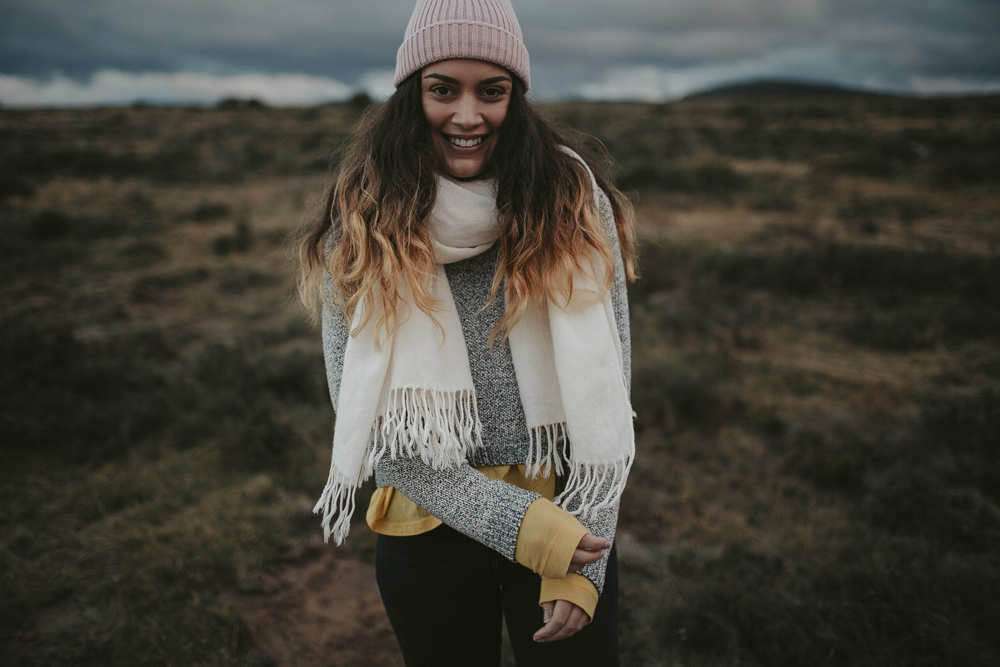
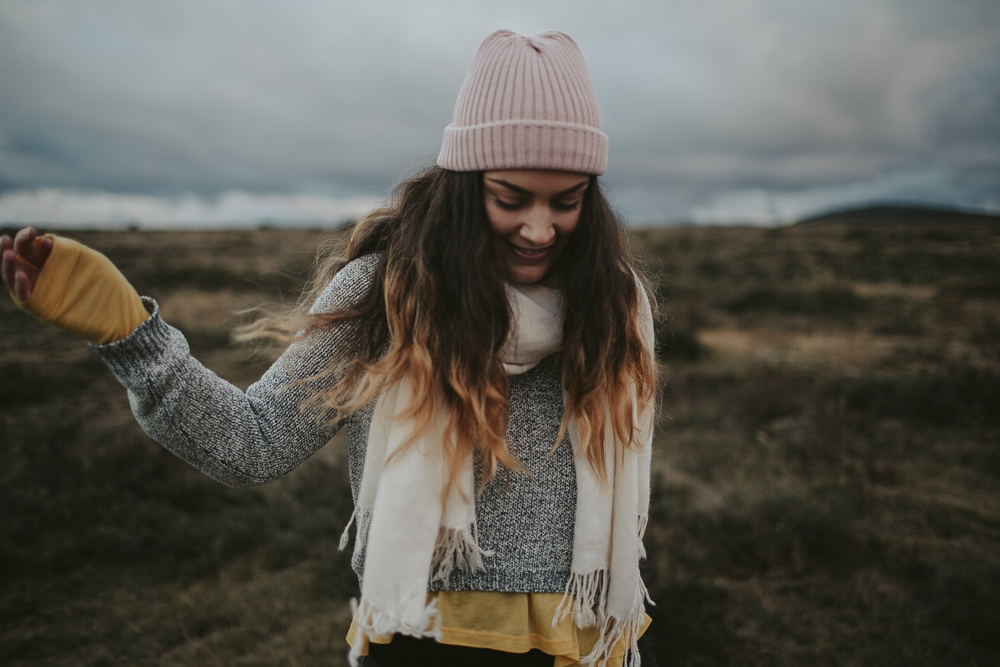






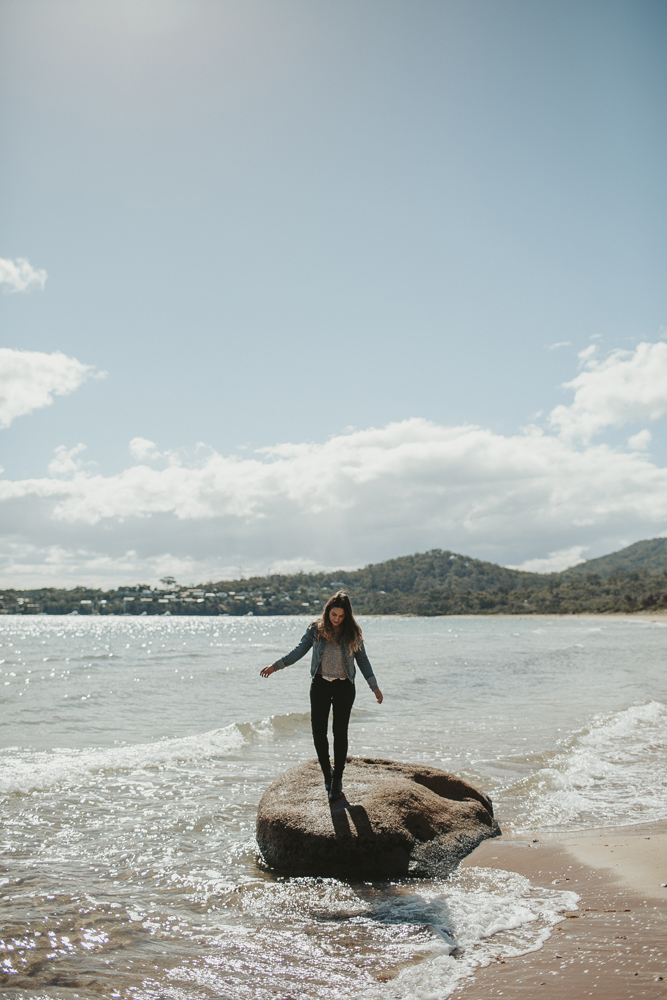
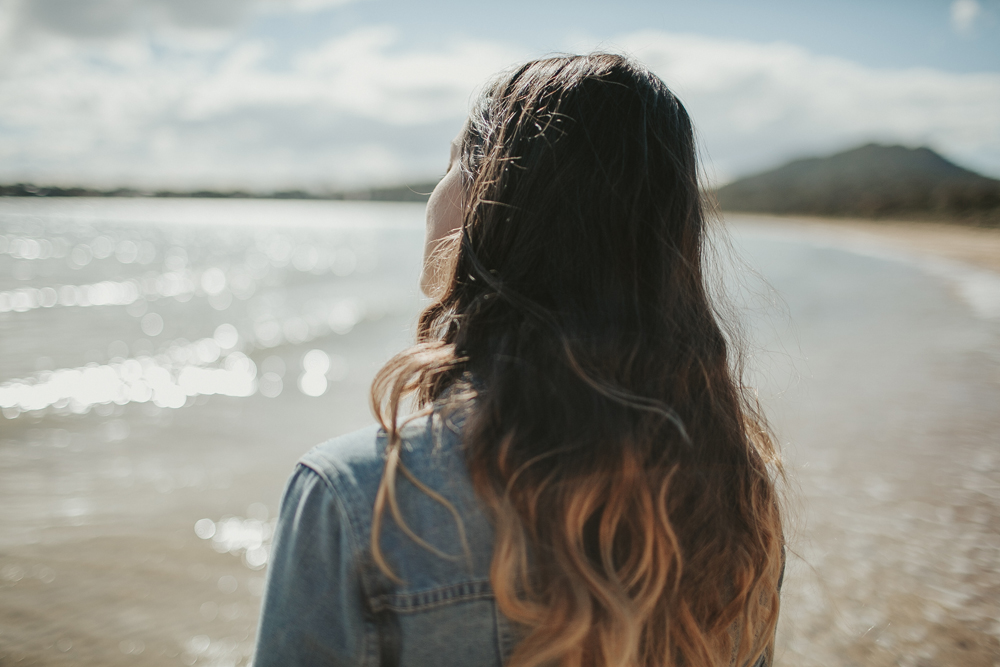
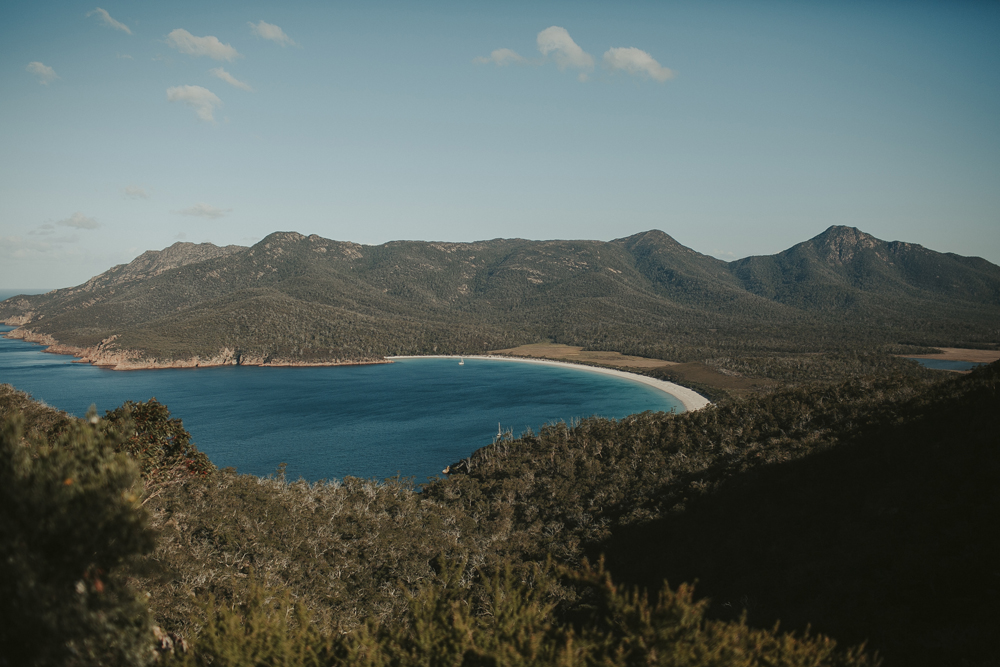
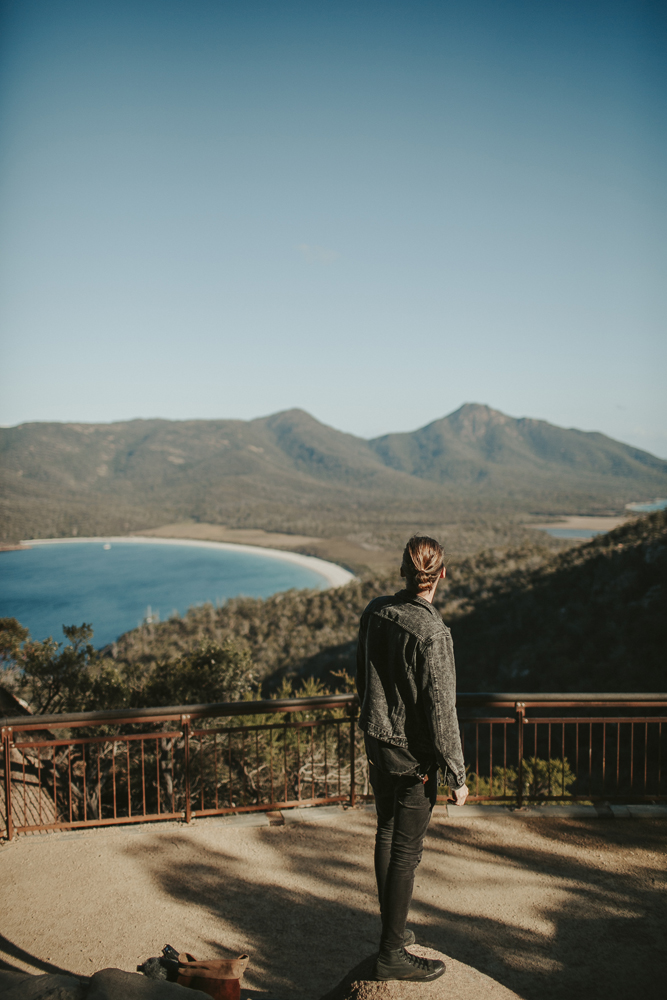


I spent a morning doing landscape photography around Lake Bled in Slovenia using the Sony A7IV with the GM 35mm f1.4 lens.
Our final day in Prague included another sunrise start. The best way to capture stunning shots of a city in the middle of summer is to get up before everyone else does haha. This morning we decided to head to the Prague Old Town Square. WOW it was beautiful with the bright, sunrise light streaming through the buildings.
Unlike our first day in Prague, on day 2 Dan and I managed to wake up at sunrise. Since we are here in the middle of summer, it gets extremely busy during the day. In order to be able to capture photos of the city, we need to get up as early as possible! The bonus side to having quiet streets is early in the morning, you also have beautiful soft light to work with as well.
I thought I would share my street photography separately in this post instead. I captured all these photos with my Sony A7IV + GM 35mm f1.4.
Finally, the travel blogs are back!! It's been 3 years since I went overseas, my last trip being to Scotland to do photography for a wedding. Now that the Australian borders have opened again, Dan and I decided to head back to Gdansk, Poland to see his family. By the end of our first whirlwind week we were ready to head off on our month-long road trip. First stop - Poznan, Poland!
I took these photos in June of 2019, it was the last time I've travelled overseas from Australia since the pandemic started. At the time, Dan and I were staying with his family in Gdansk, Poland. We travelled to a few different places during the month we were there including Scotland to capture a wedding, a roadtrip to Austria and this little trip to Granada, Spain.
Today we are continuing on with our road trip through Austria. Our second half in Austria was a little more overcast so we spent a few of our outings exploring and taking photos in the rain.
Last year while Dan and I were in Europe, we decided to go on a roadtrip with Dan’s cousin Karol and his girlfriend Gosia to Austria. I took the Sony A7III with me for travel photography with the Sony 28mm f2 and 35mm f1.4.
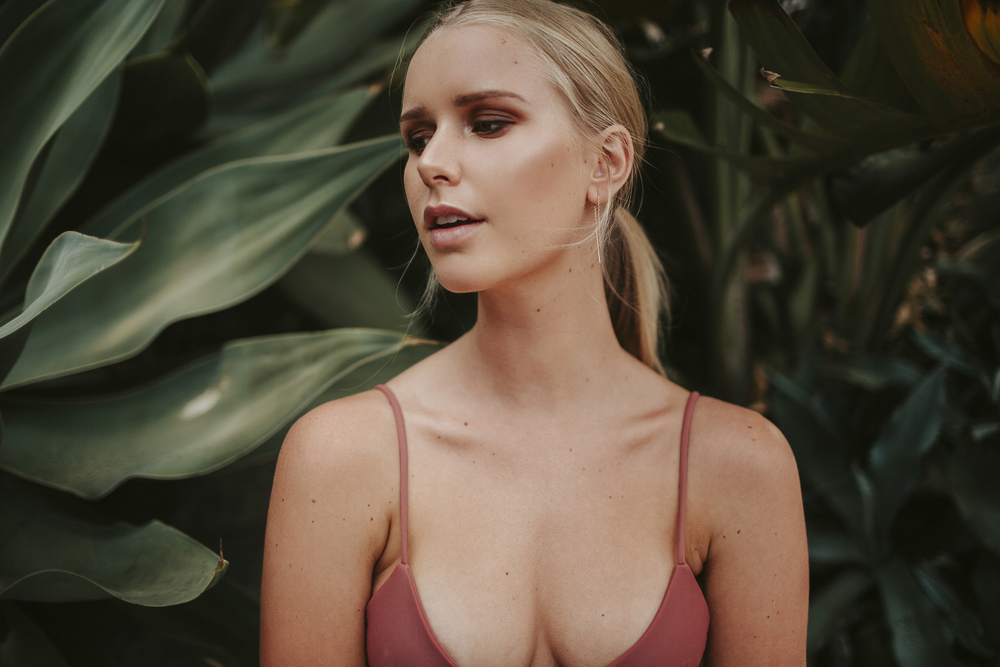
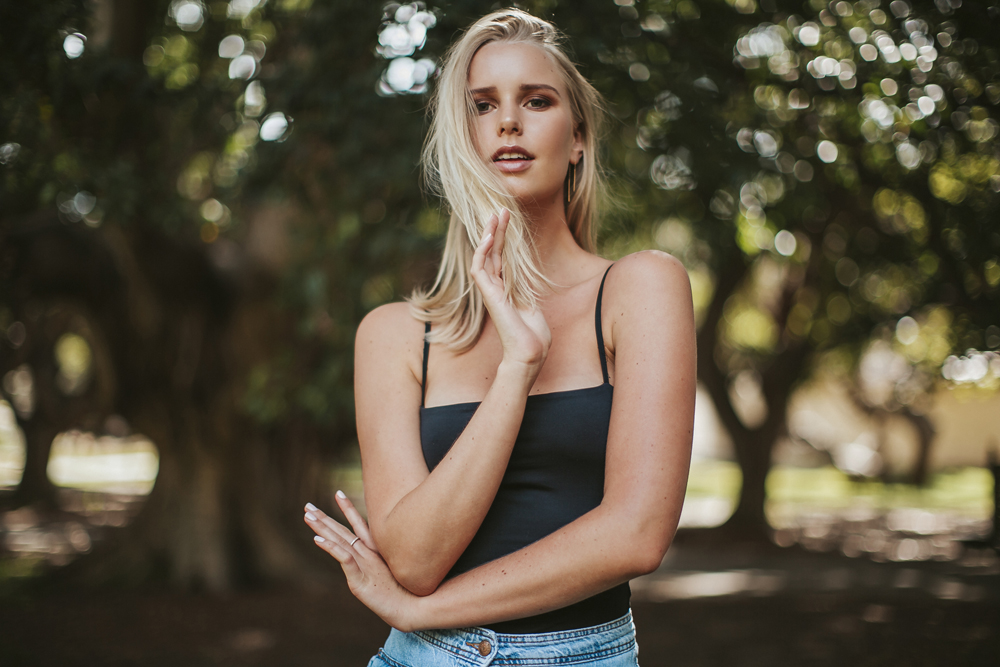
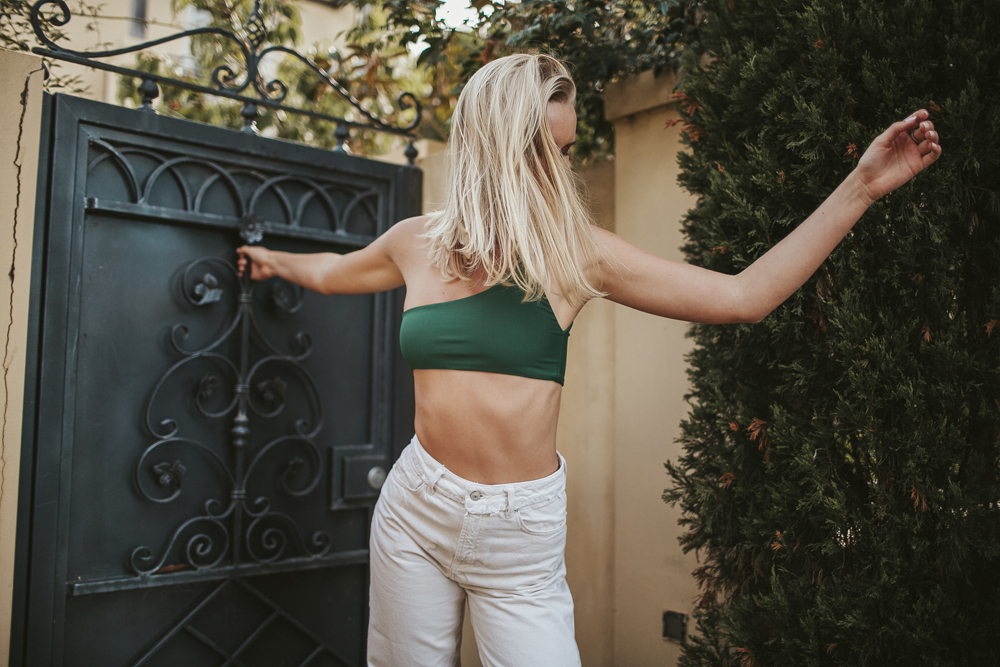
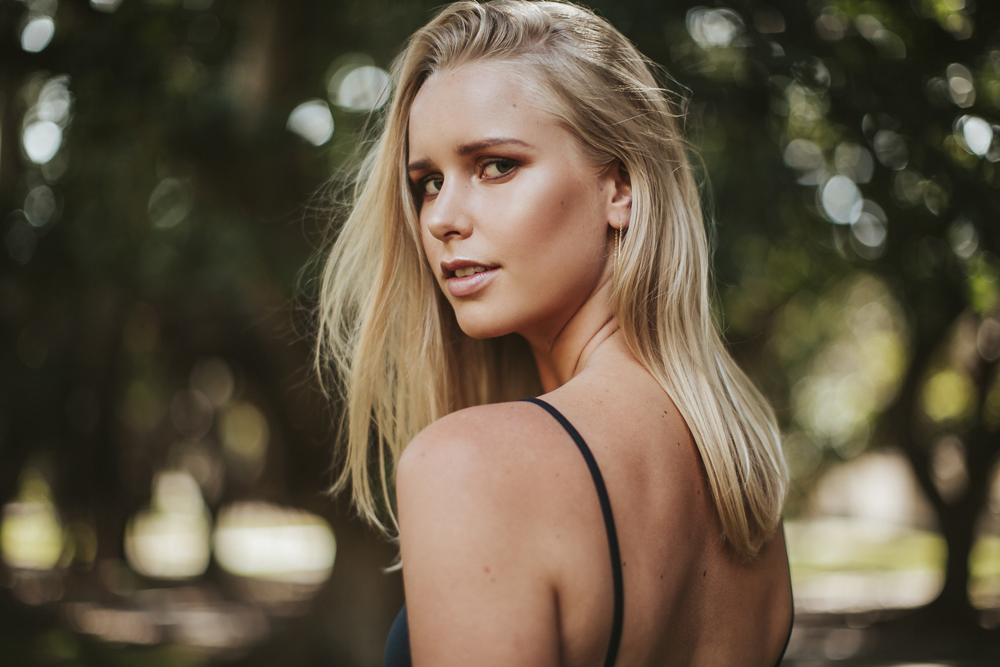
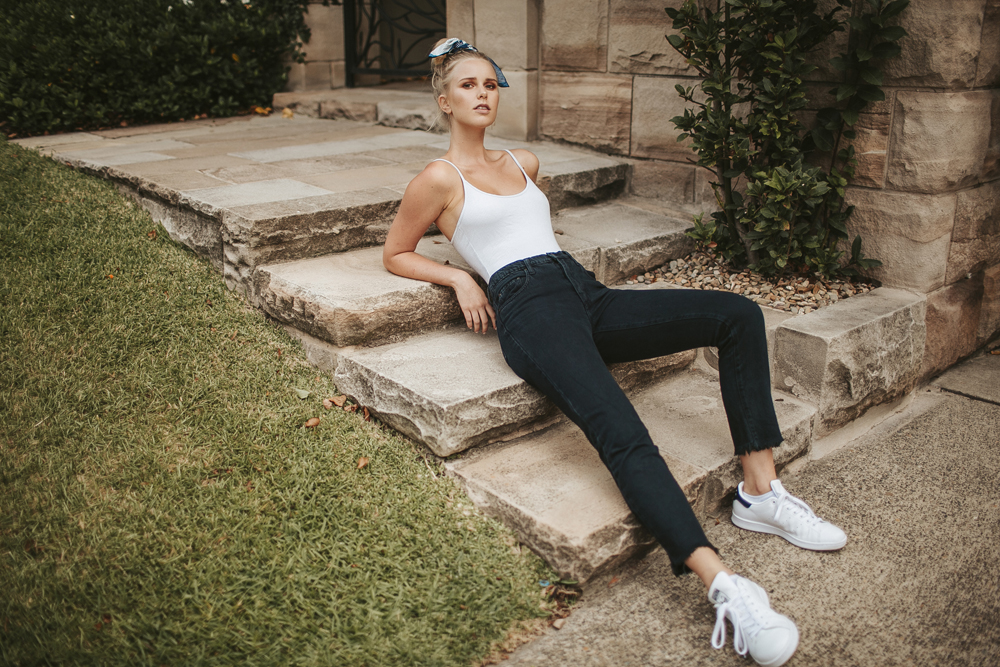
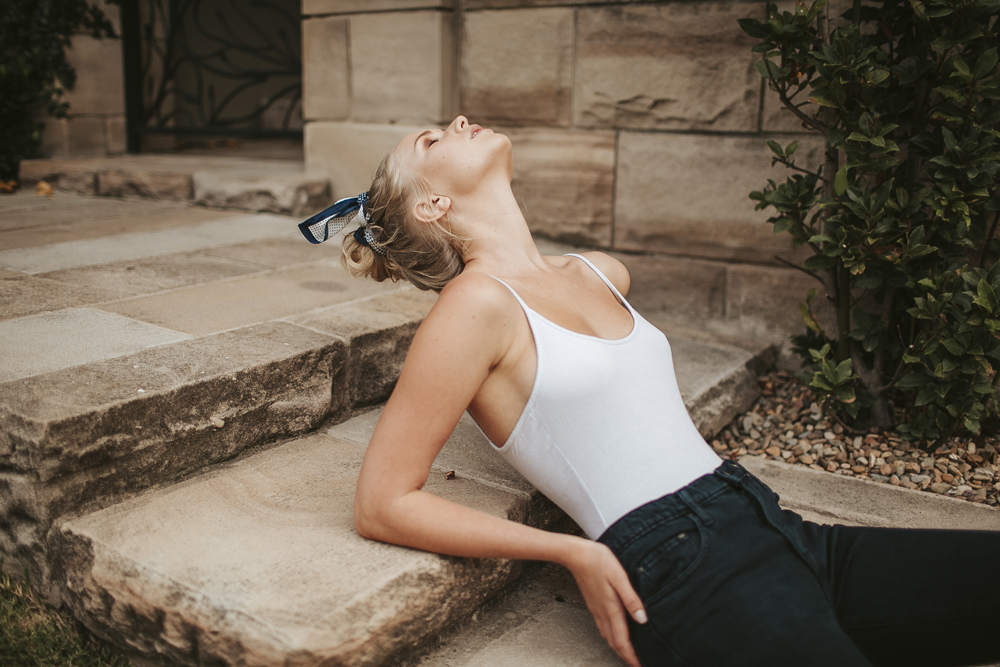
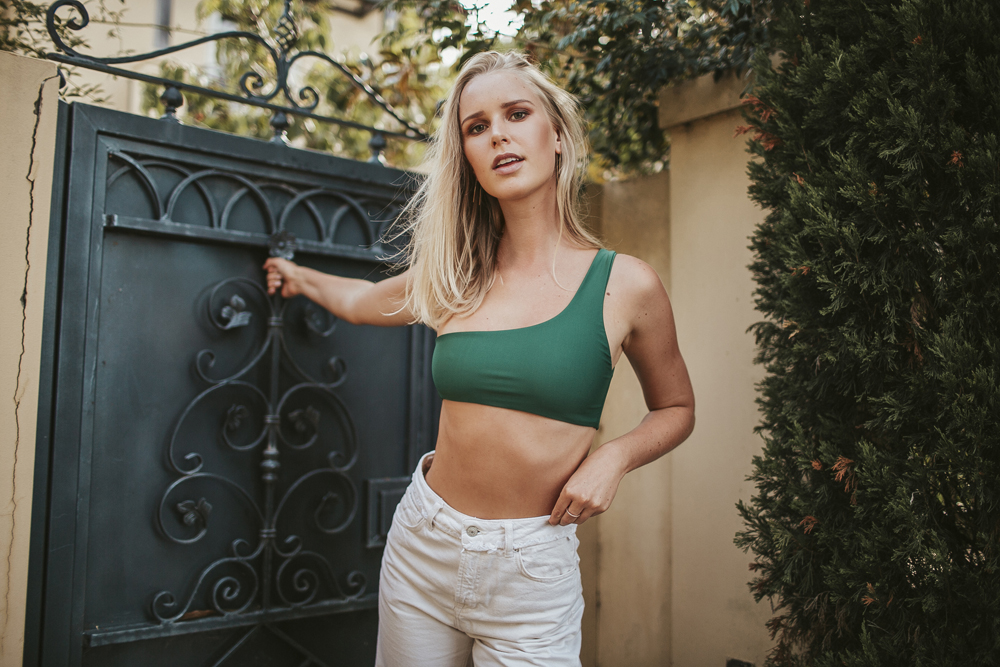
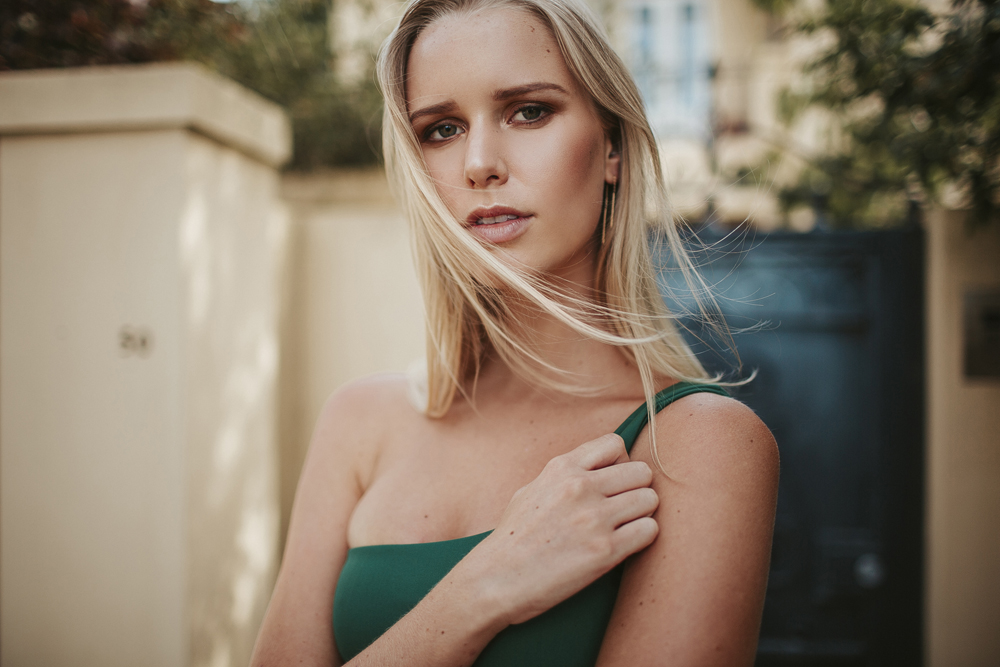
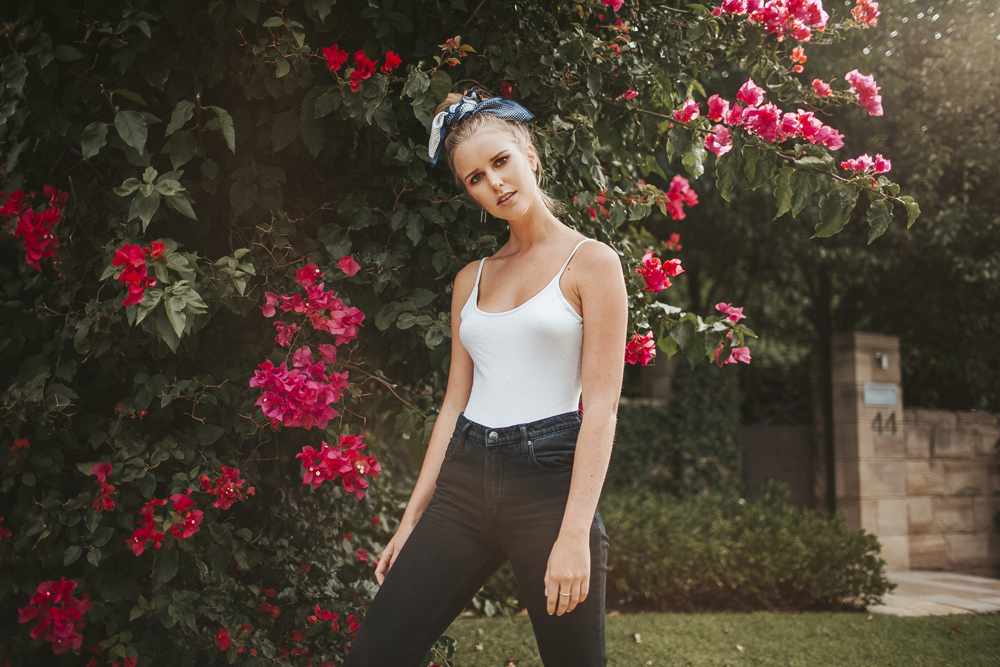
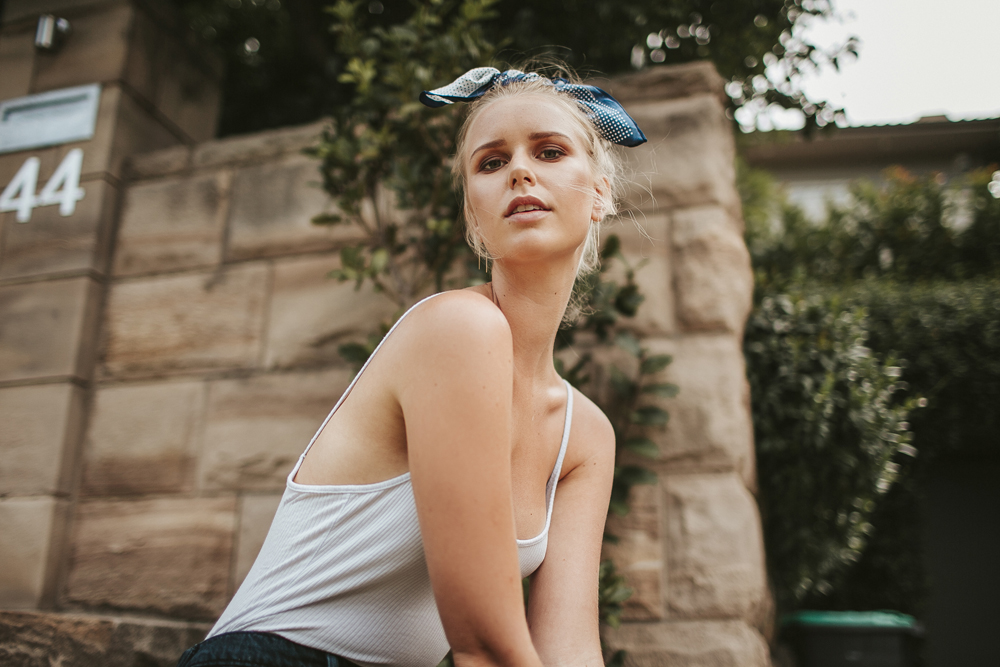
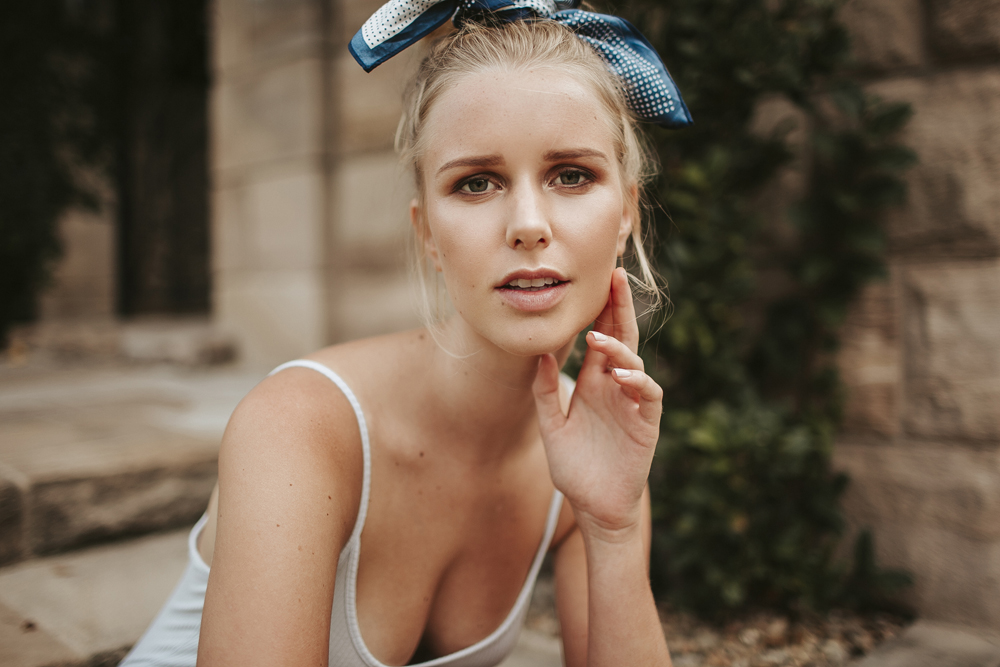
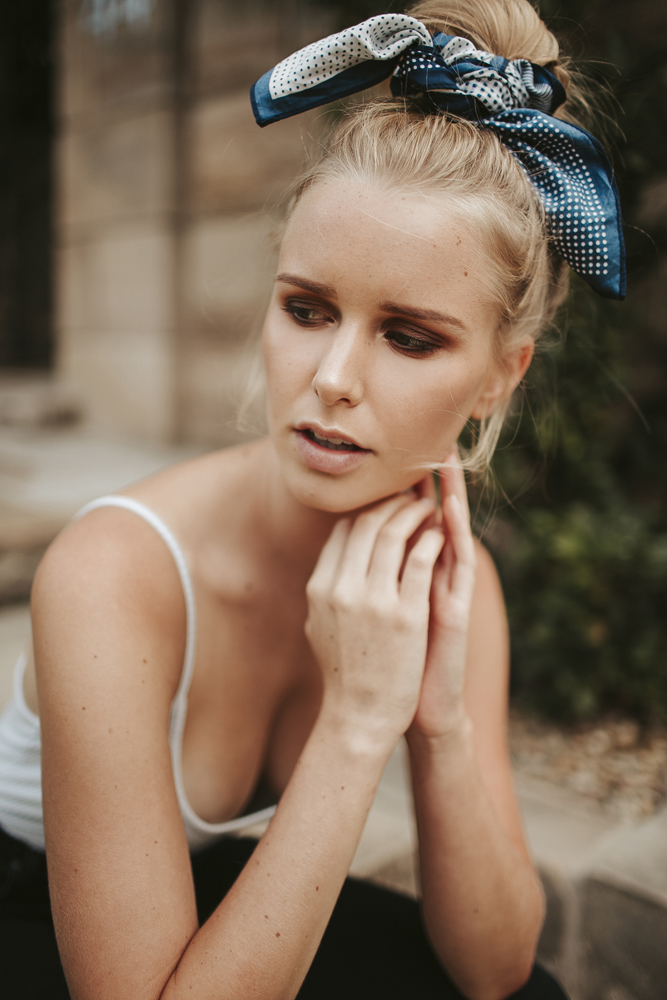
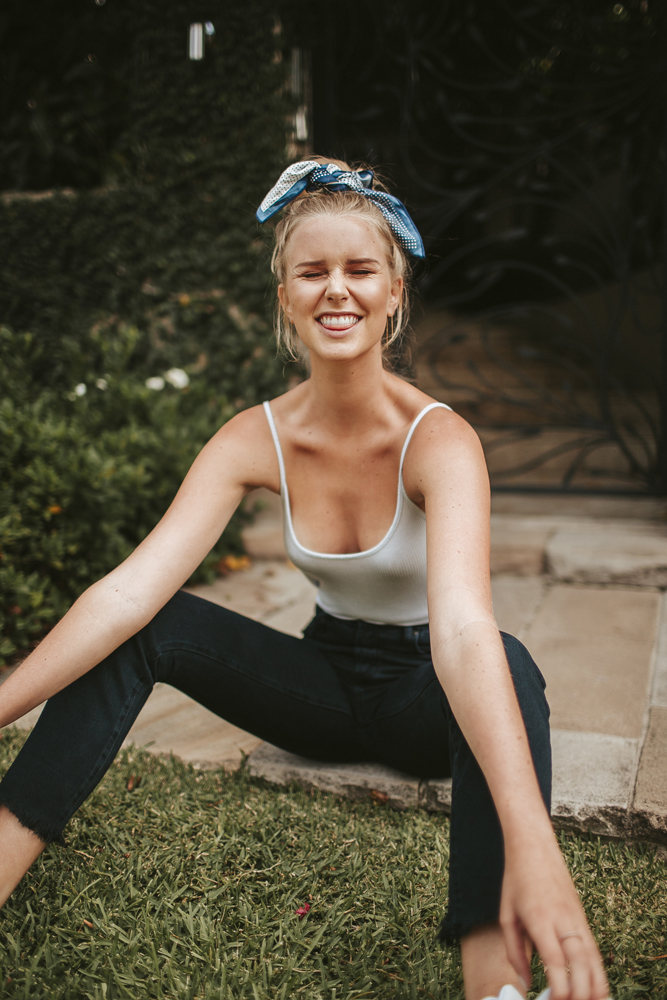
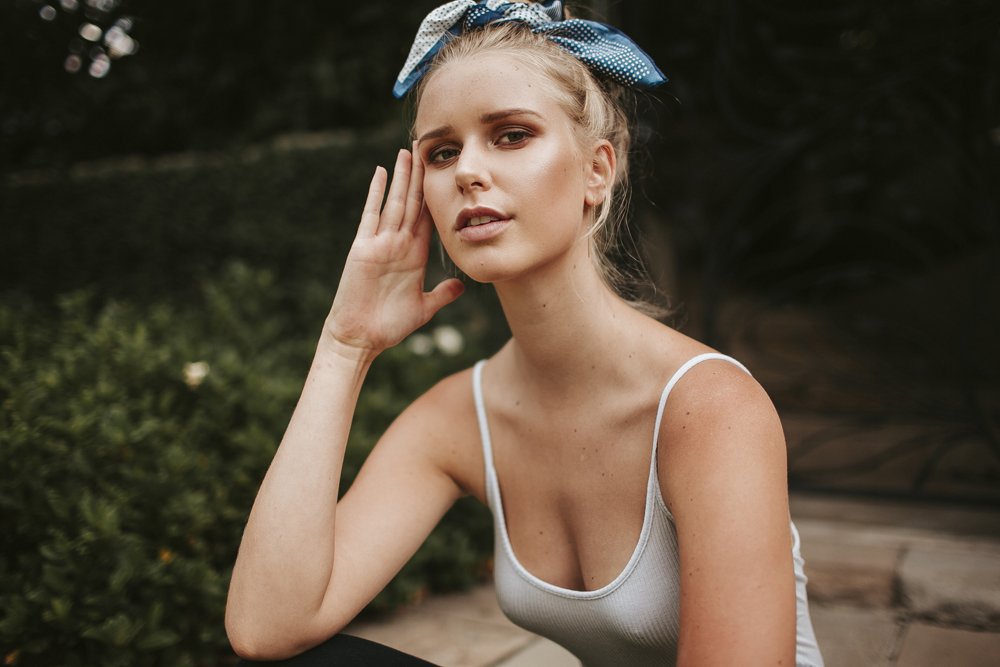
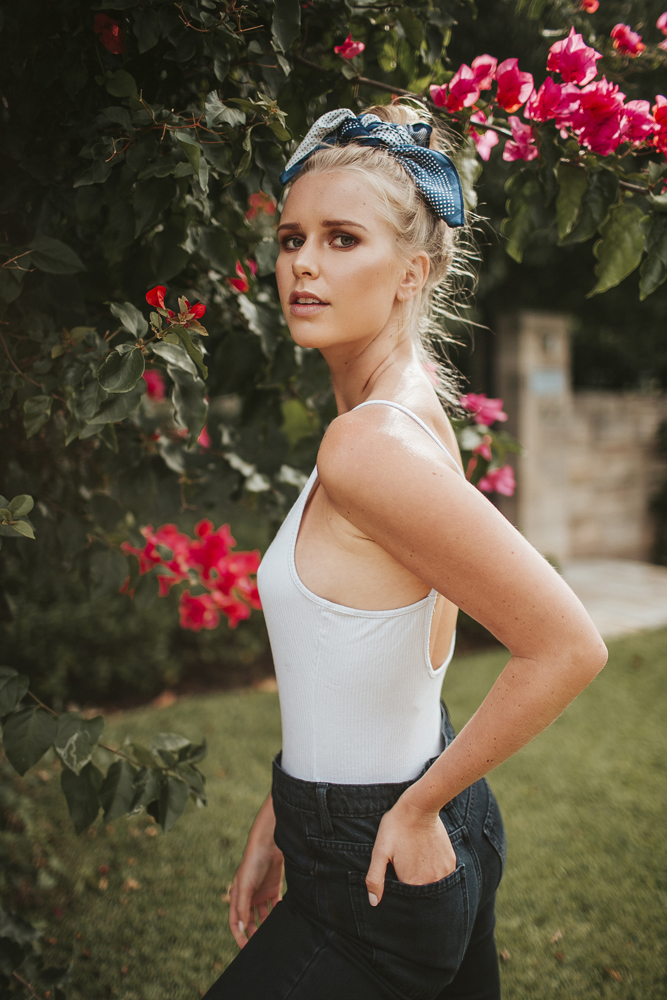
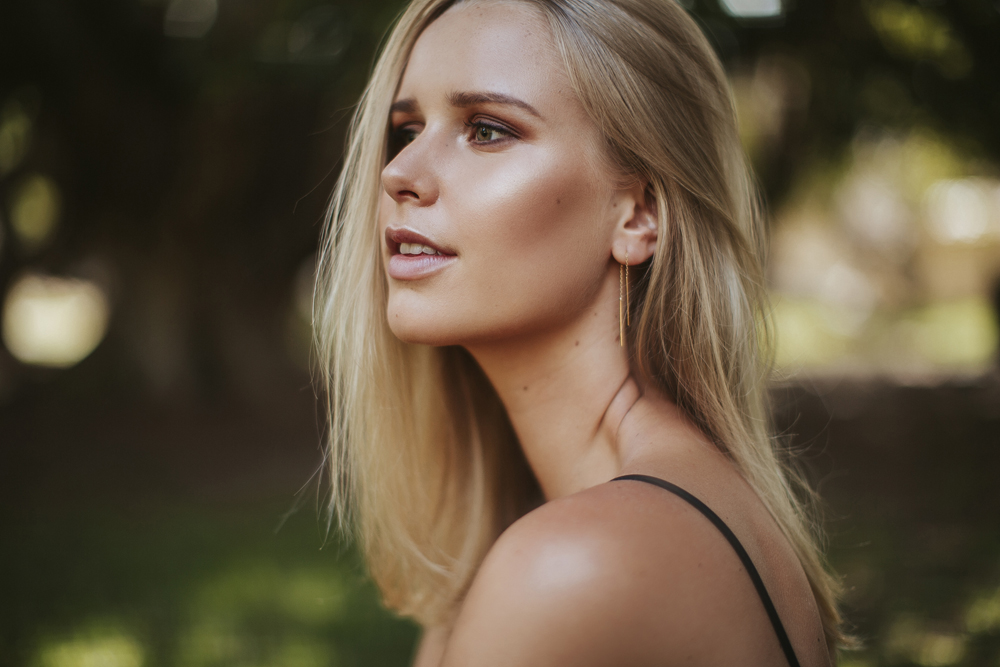
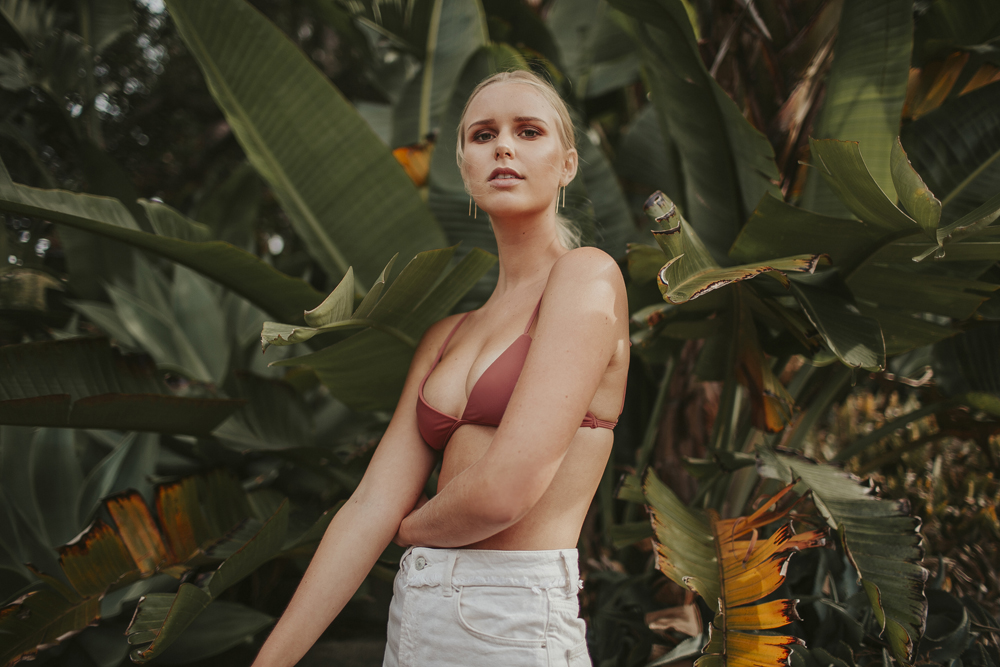
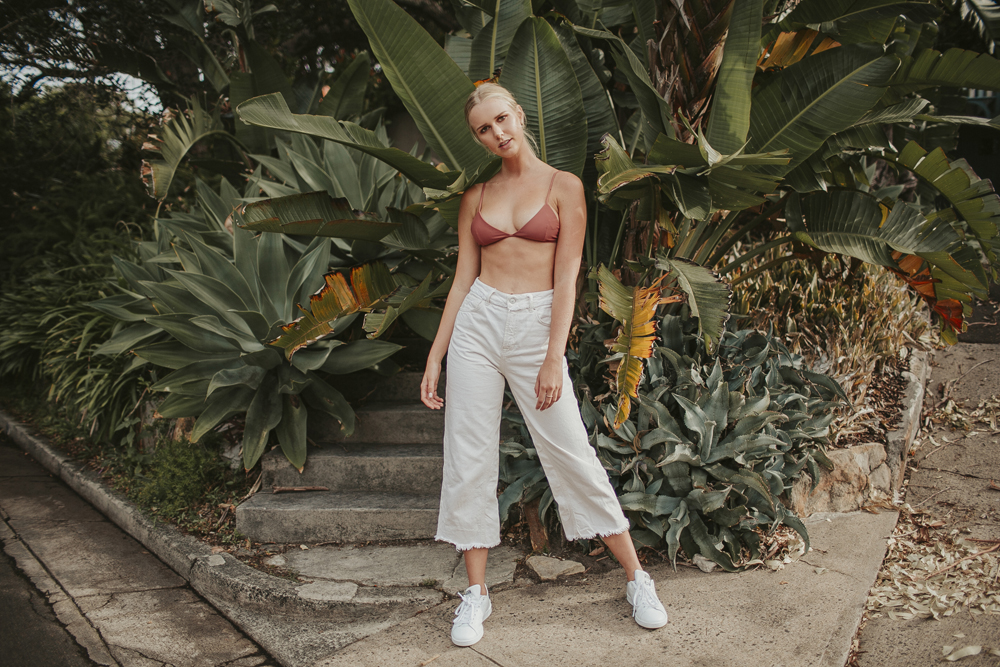
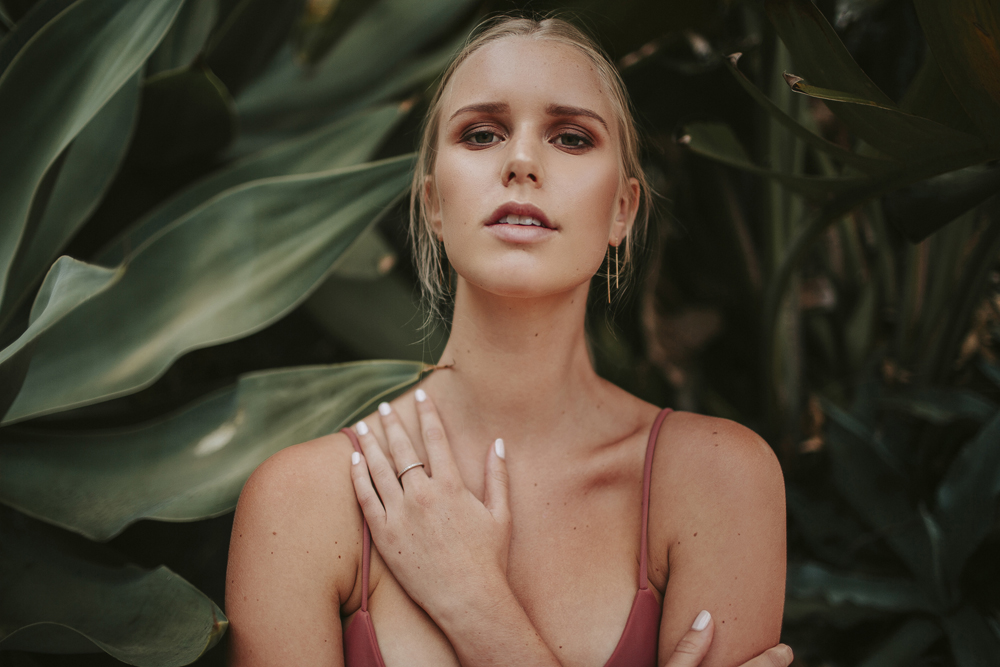
model taylah @ priscilla's
makeup + hair keli stack
Watch the behind the scenes video from our photoshoot below! And please subscribe to my YouTube Channel, I release 2 new videos a week!
All photos edited with my Amalfi Lightroom Preset
During this photoshoot, I’m using the Sony A7IV paired with the Samyang 24-70mm f2.8 zoom lens. This zoom lens gives me a lot of flexibility while shooting as it allows me to capture both wide and tight compositions without changing lenses. This is especially helpful is fast paced environments or when taking photos on a time crunch. While taking portraits, I’m also sharing a few of my go to composition tips for working with a standard zoom like this.
I spent a morning doing landscape photography around Lake Bled in Slovenia using the Sony A7IV with the GM 35mm f1.4 lens.
In this video, I want to share with you reasons to help you decide wether you should be upgrading your camera body or your lens and which one to do first. I’ll walk you through the key factors to consider when deciding between each option.
For this portrait session, I am using the Zeiss 50mm f1.4 on the Sony A7 IV, capturing backlit images on the beach during golden hour. The combination of the lens’s wide aperture and the warm, soft light of the setting sun helped create intimate, glowing portraits with beautiful light falloff and natural skin tones.
I am comparing the Zeiss 50mm f1.4 vs Zeiss 55mm f1.8 at a real-world portrait photoshoot. I share various different side by side photo comparisons at 100% crop, so you can see all the details.
For this portrait photoshoot I am using the Fujifilm X-T4 paired with two of my favorite prime lenses: the Fujinon XF 16mm f/1.4 R WR and XF 23mm f/1.4 R LM WR.
I captured these photos of Megan Emmett for the Candice Lee Femme Collection. You can see more of Candice Lee’s bridal gowns and hair styling work here.
This blog post includes some of my favourite photos I took during my time in Japan with the S5II. If you want to hear my complete thoughts and review of the S5II capabilities for photo and video, you can watch my review video here.
In November, I was invited to Japan by LUMIX to attend the LUMIX Global Summit for the announcement of the new LUMIX S5II. Paired with the new camera body and an array of lenses, Dan and I took to the streets of Tokyo, Japan to film our review video of the camera body.
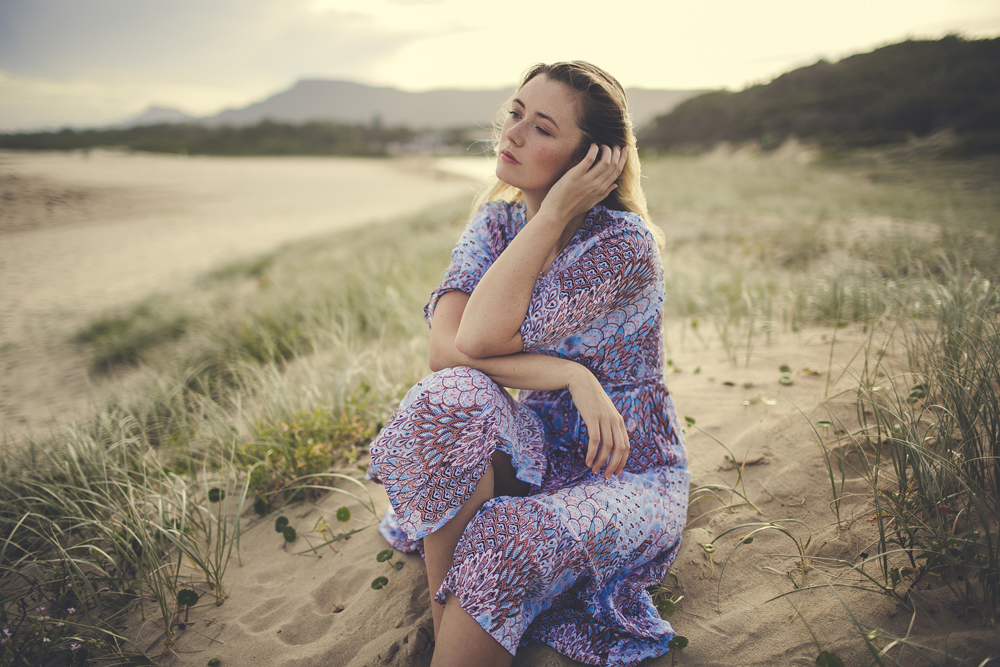
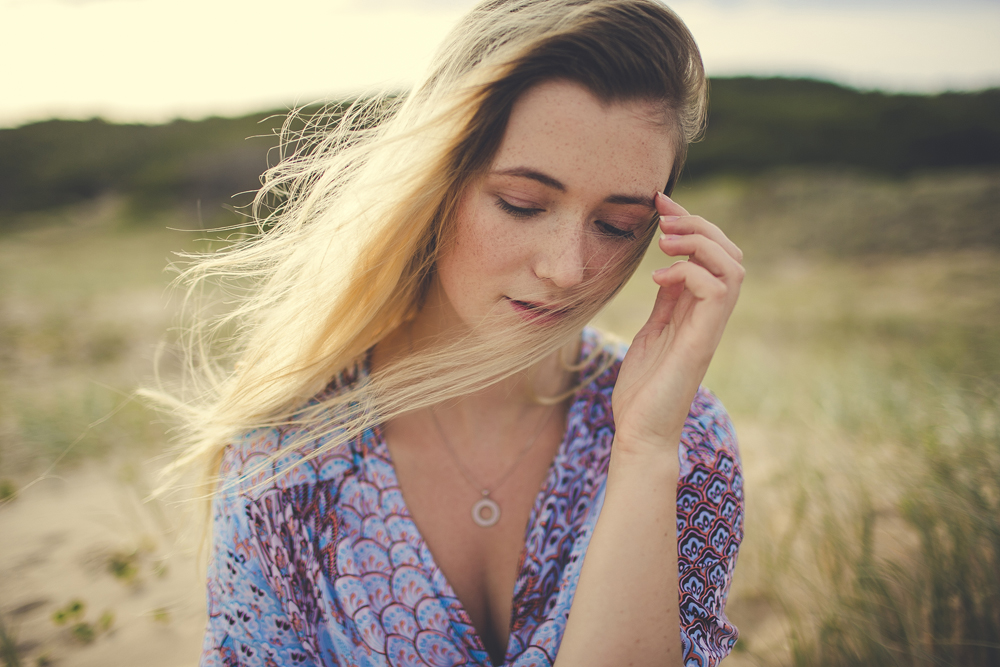
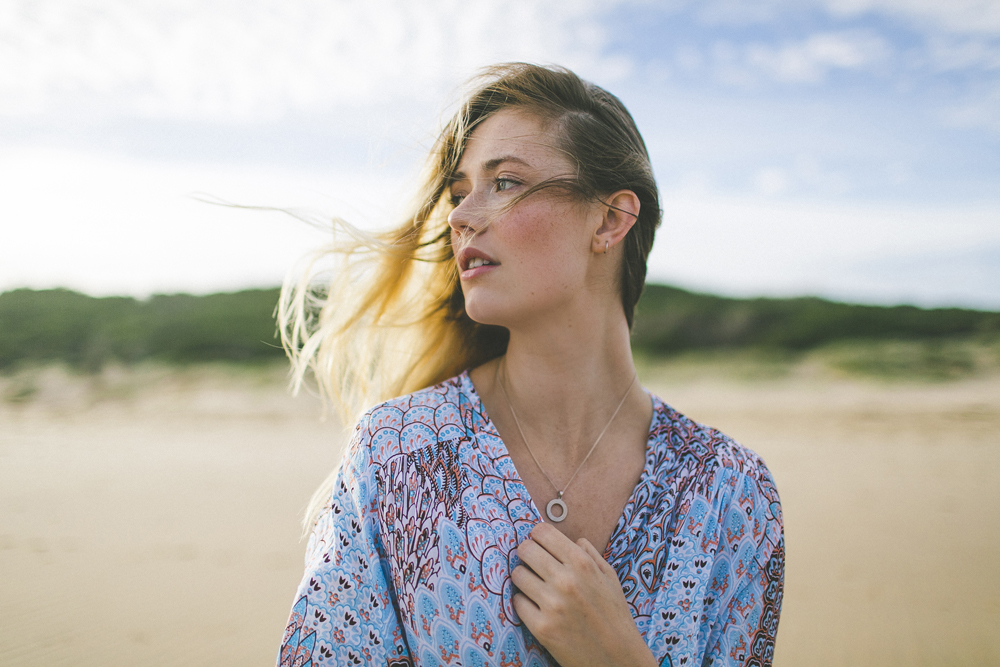
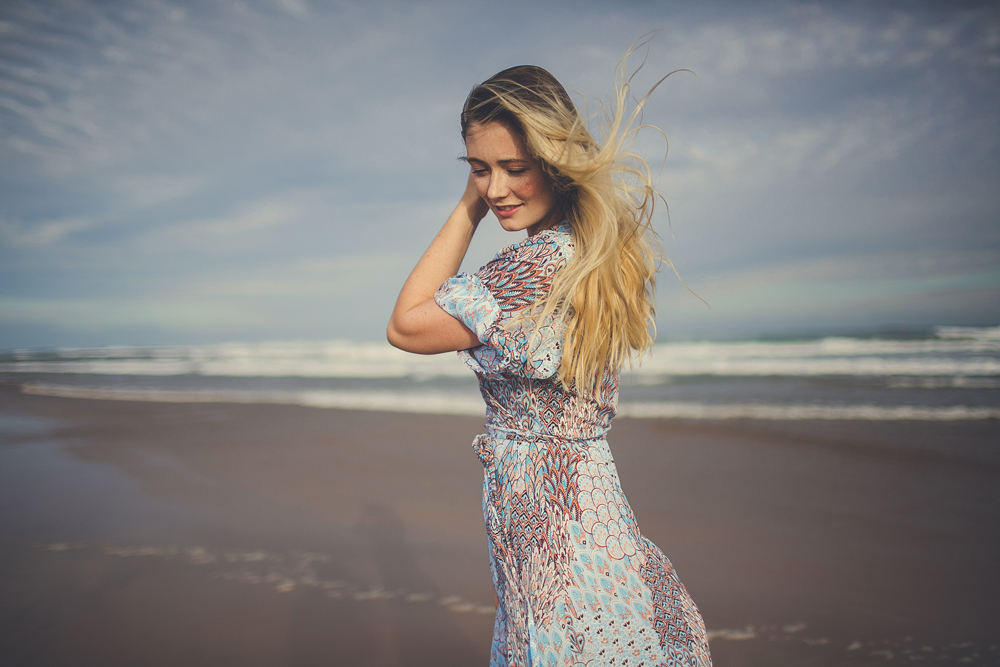

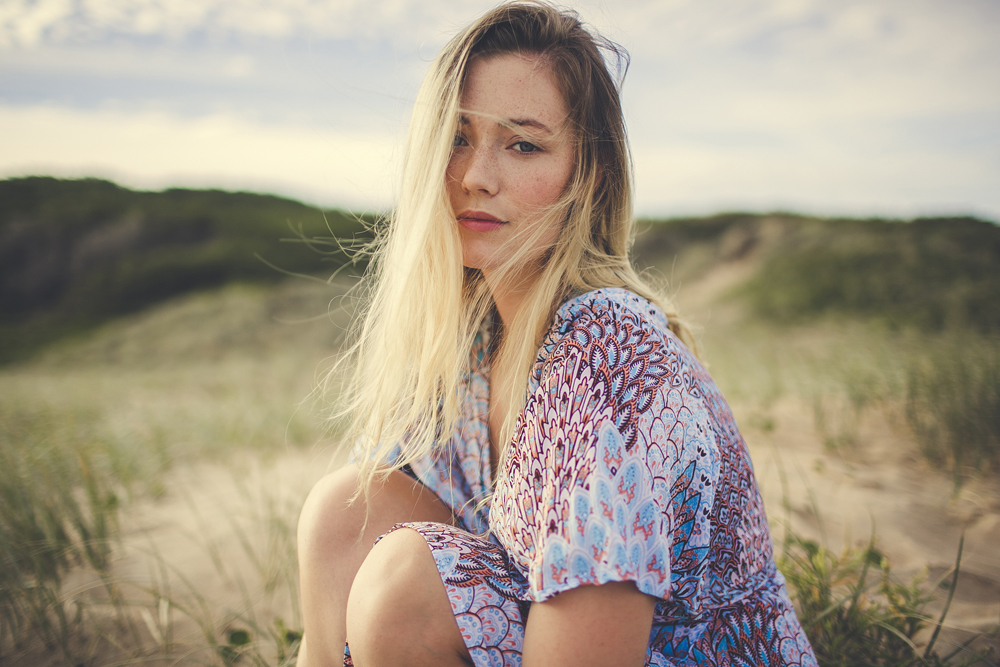
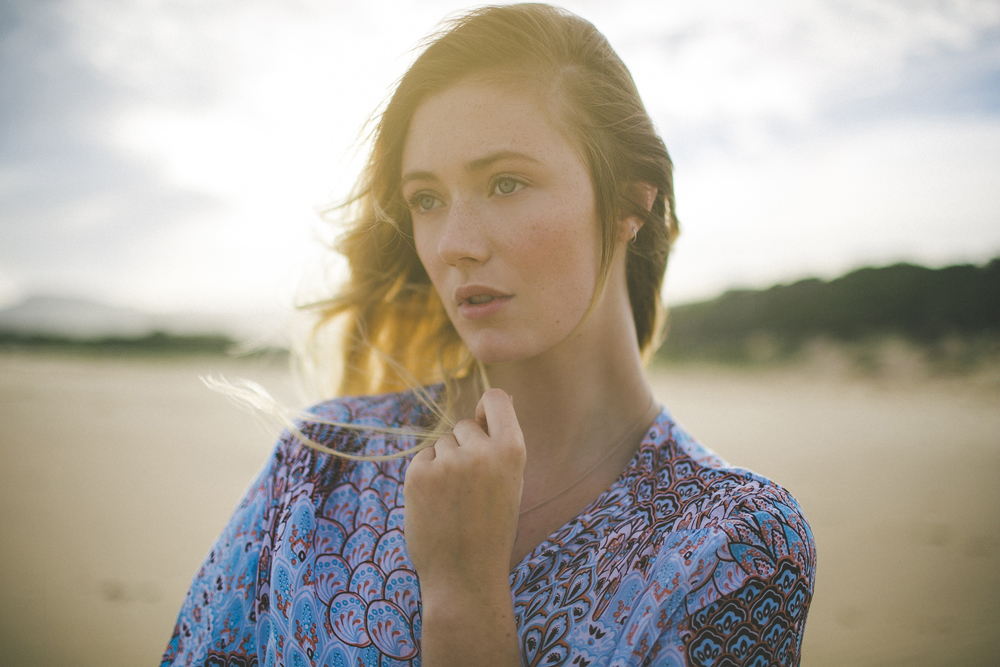
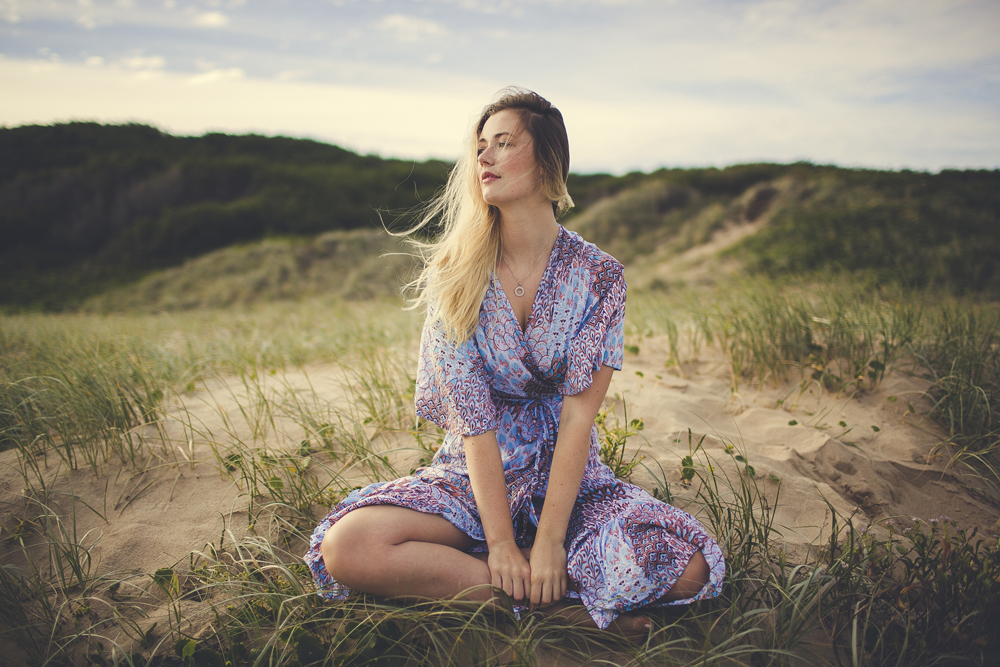
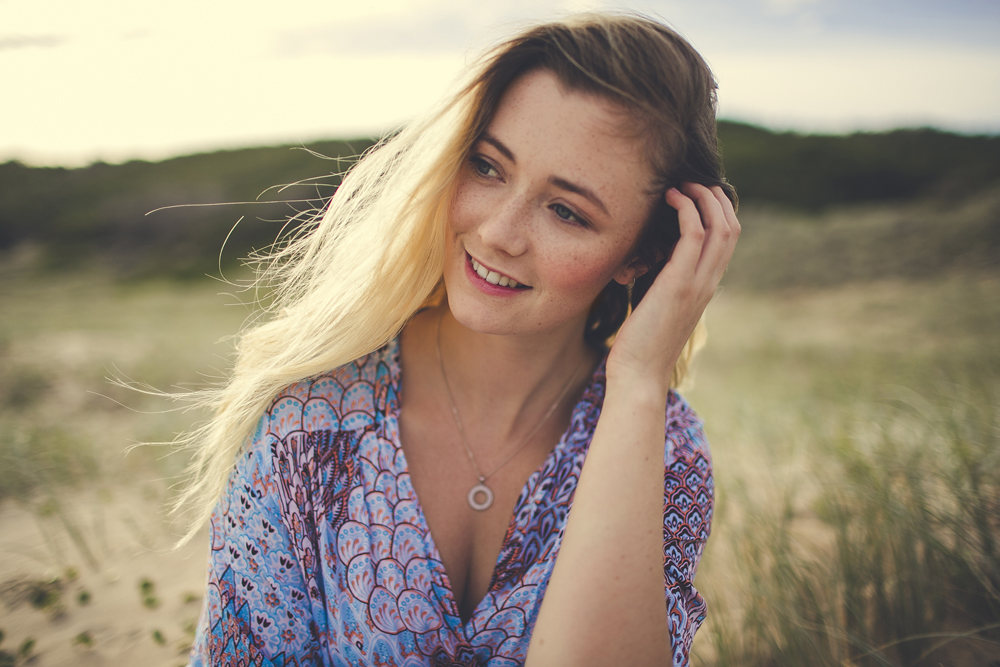
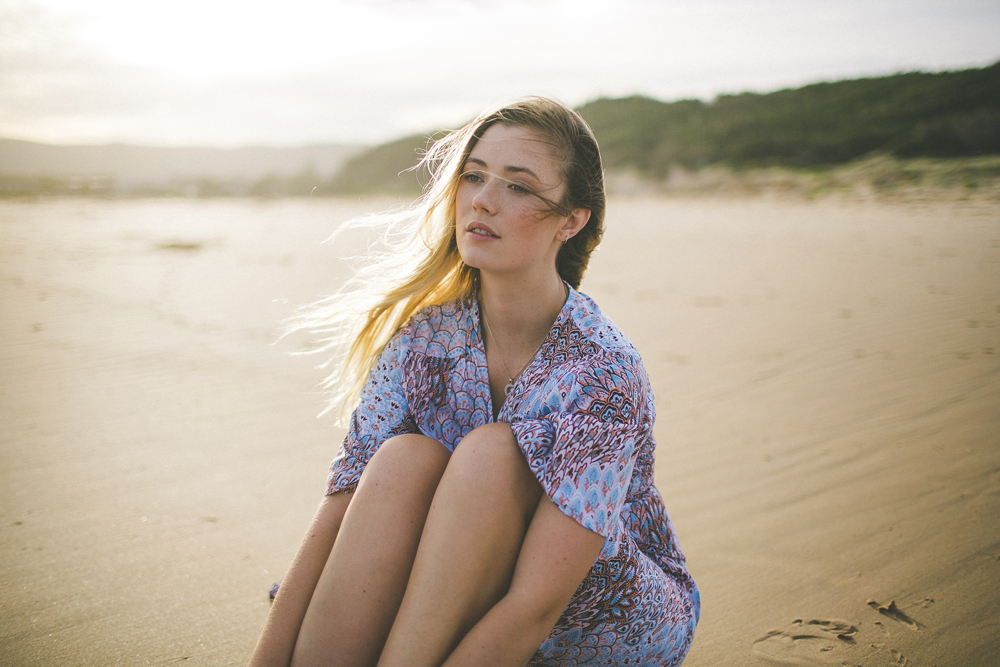
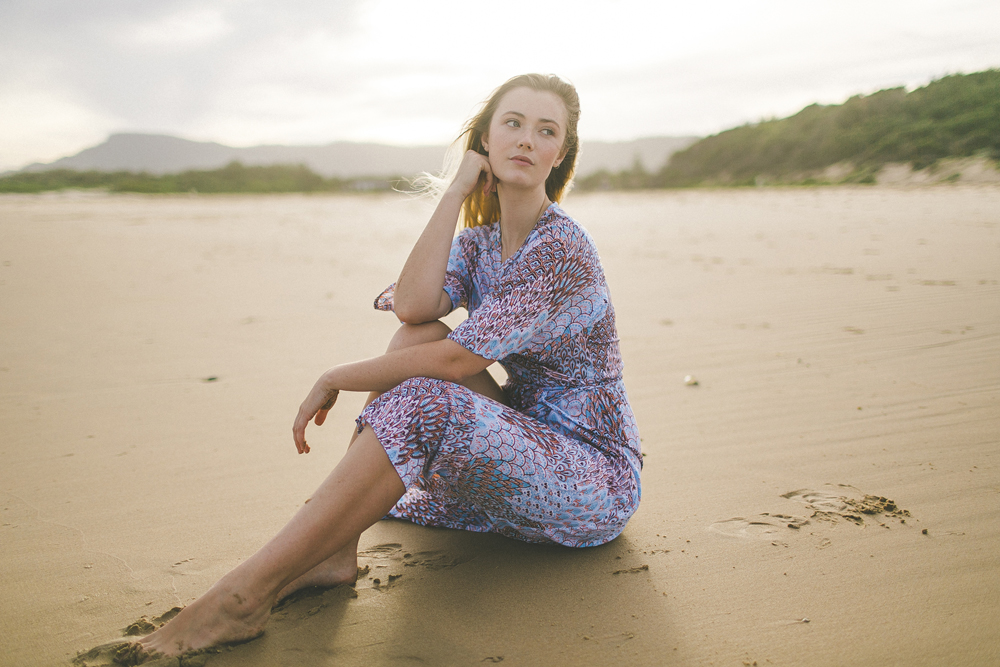
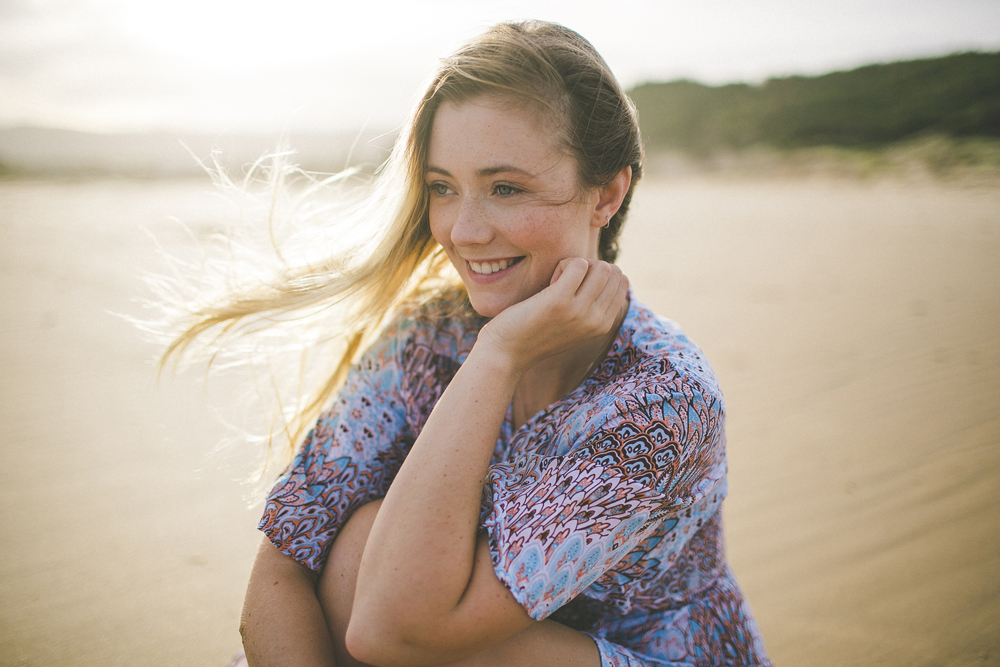
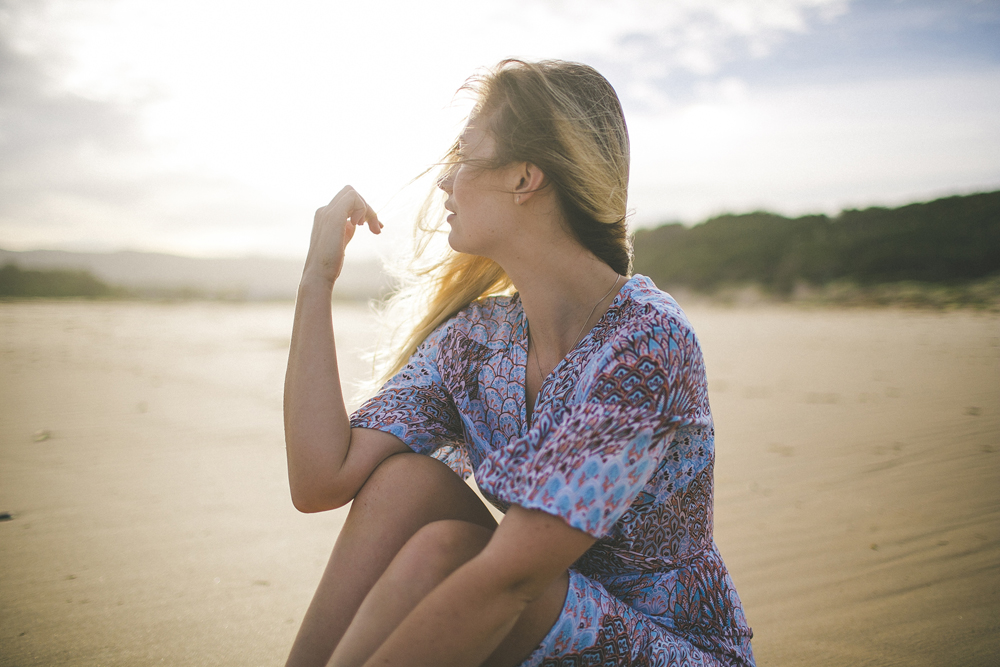
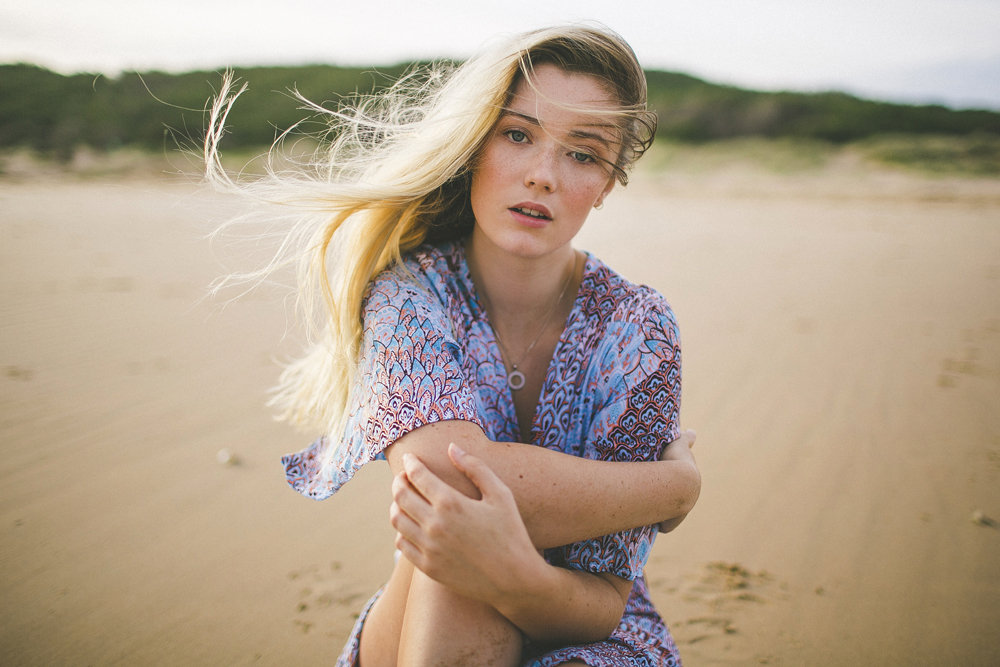

This week I asked my friend Chevelle if she would like to take some photos with me. I last shot with Chevelle in 2015 - 3 years ago! This time I wanted to keep the shoot as simple as possible - just taking some portraits of my friend at the beach. So I only brought my camera + 1 lens (no camera bag) and I had a spare battery in the car just in case. I asked if she could do some really simple/light makeup on herself and asked her to bring a flowy dress. We ended up taking photos for about an hour at the beach in the afternoon and I just keep finding time and time again, that sometimes the most simple shoots are the most magical.
Camera Equipment
Body Canon 5d mkiii
Lens Canon 35mm f1.4L
Photos edited with my Eden Lightroom Preset and my Disposable Film Lightroom Preset.
Watch the behind the scenes video of our afternoon shoot below! And please subscribe to my channel, I release 2 new videos a week - Wednesday and Saturday (Australian days)!
For this portrait session, I am using the Zeiss 50mm f1.4 on the Sony A7 IV, capturing backlit images on the beach during golden hour. The combination of the lens’s wide aperture and the warm, soft light of the setting sun helped create intimate, glowing portraits with beautiful light falloff and natural skin tones.
I am comparing the Zeiss 50mm f1.4 vs Zeiss 55mm f1.8 at a real-world portrait photoshoot. I share various different side by side photo comparisons at 100% crop, so you can see all the details.
For this portrait photoshoot I am using the Fujifilm X-T4 paired with two of my favorite prime lenses: the Fujinon XF 16mm f/1.4 R WR and XF 23mm f/1.4 R LM WR.
I captured these photos of Megan Emmett for the Candice Lee Femme Collection. You can see more of Candice Lee’s bridal gowns and hair styling work here.
The Sony A7RV is a full frame, 61 megapixel camera for stills and video. In today’s portrait photography session I am using the Sony GM 135mm f1.8 lens. For this portrait photoshoot, I am using natural light and making use of different parts of our location to create a series of photos.
During this photoshoot on the streets of Sydney, I share 5 composition tips to improve your portraits. I take you through my thought process when taking portraits in busy locations and share what to look out for to capture beautiful portrait of your subject.
The Sony FE 28mm f/2 is a compact, affordable wide-angle prime lens designed for full-frame Sony E-mount cameras. It's a great choice for travel, street photography, landscapes, and even video! The Sony 28mm F2 is perfect as a lightweight and fast wide-angle option without breaking the bank.
To create the Sony 14mm f1.8 GM lens review video, I roadtripped with Dan to the Blue Mountains during peak autumn colours. I wanted to make the most of these gorgeous orange and red leaves so Dan took portraits of me with the Sony 35mm f1.4 GM and Sony A7III.
Every portrait photographer should have a range of poses for their subject at a photoshoot. I work with many talented models who often already know how to pose and move around in front of the camera. I also work with people who have never been in front of a camera before and have no idea what to do!
Running in the fields with Kristina Srzich. We decided to shoot again recently, but we wanted to step away from serious fashion photograph style photography and have more fun.
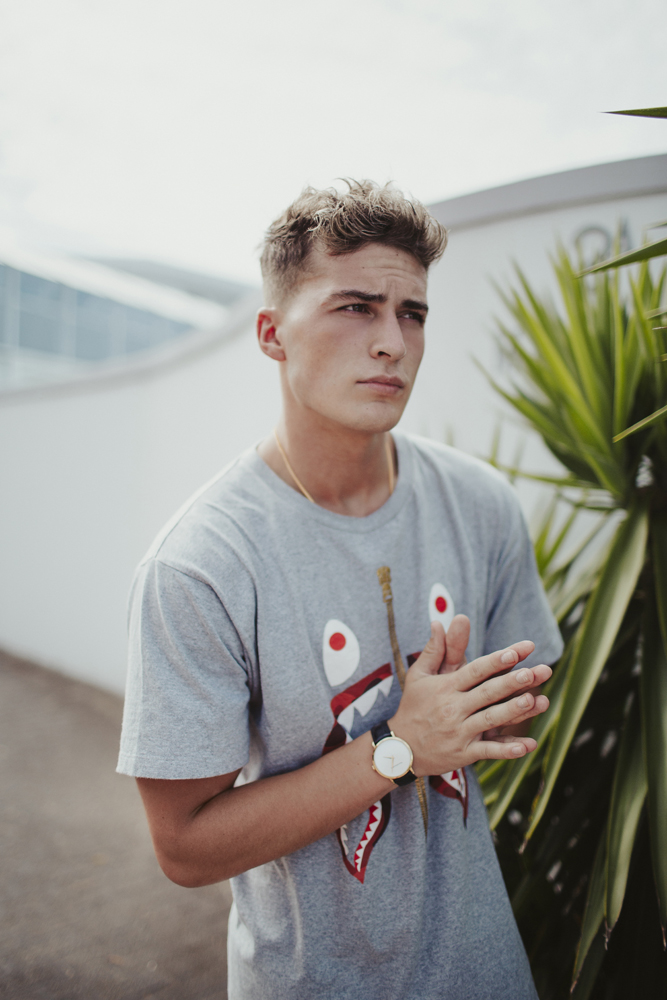

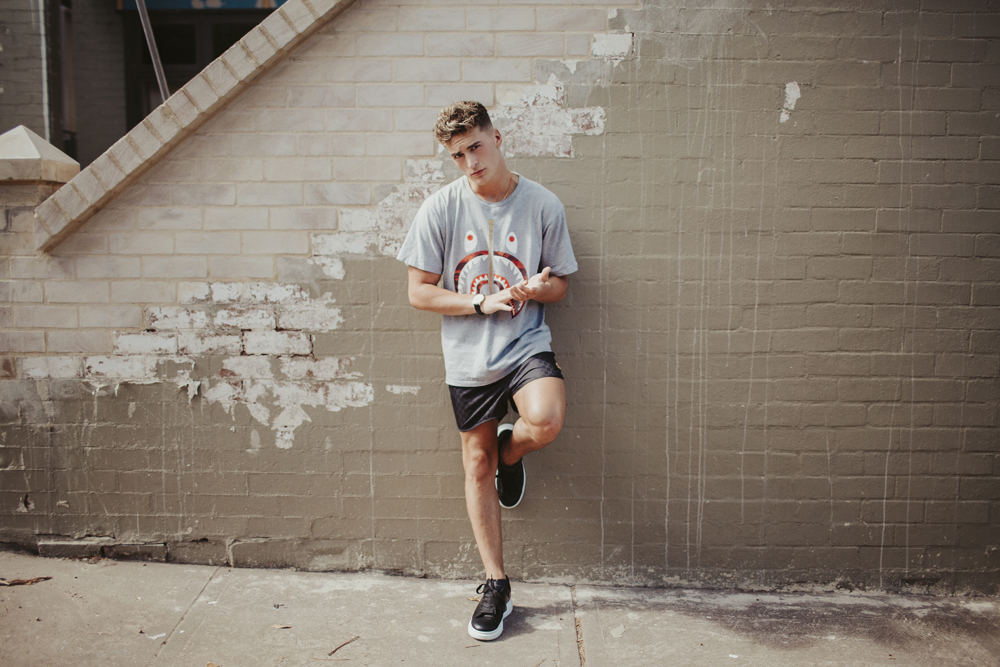

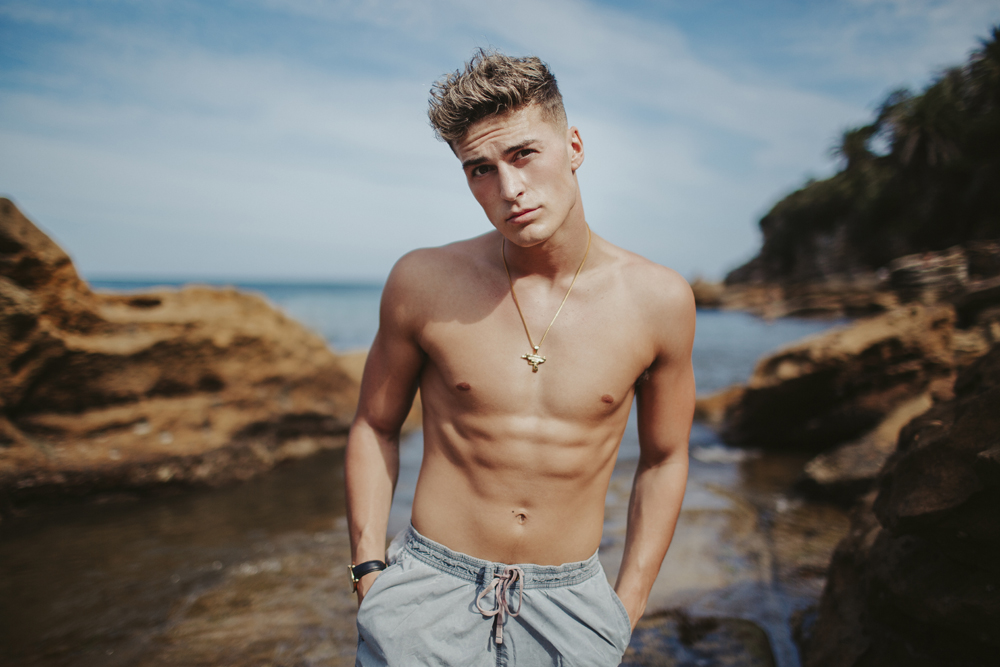
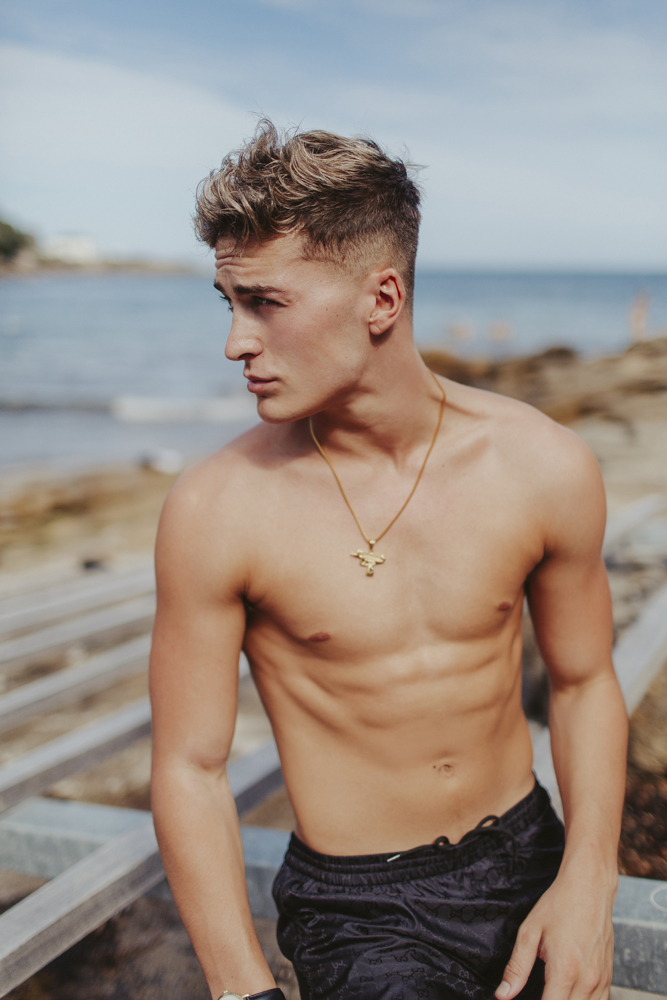
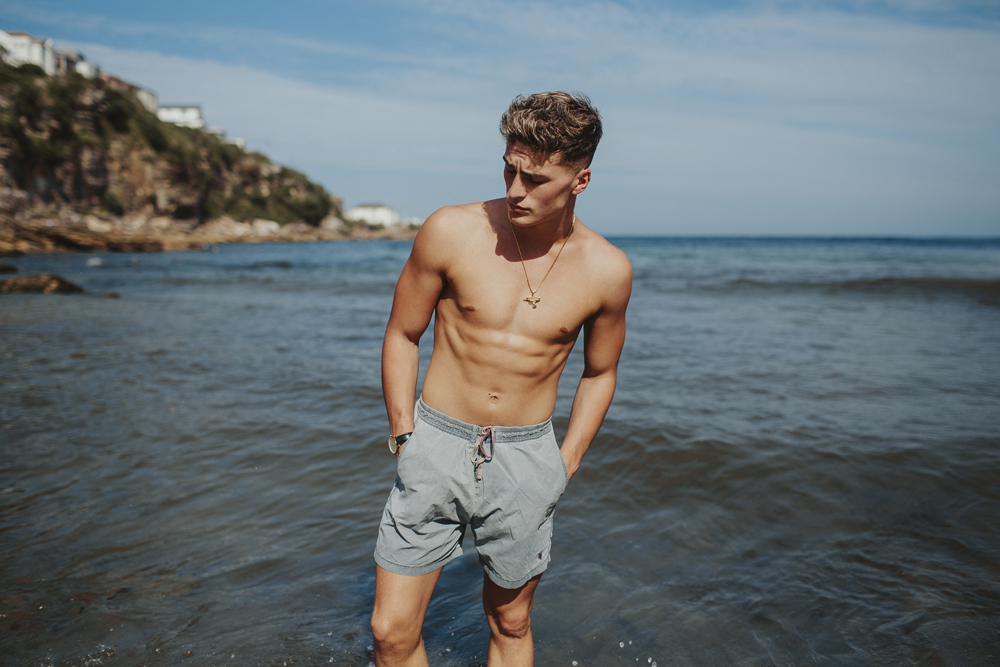

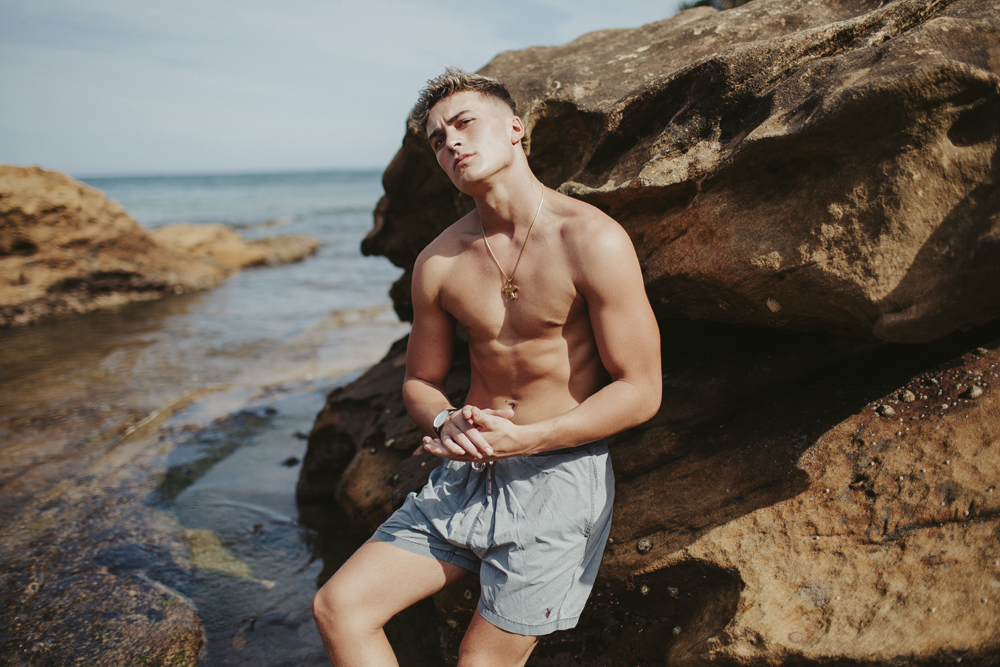
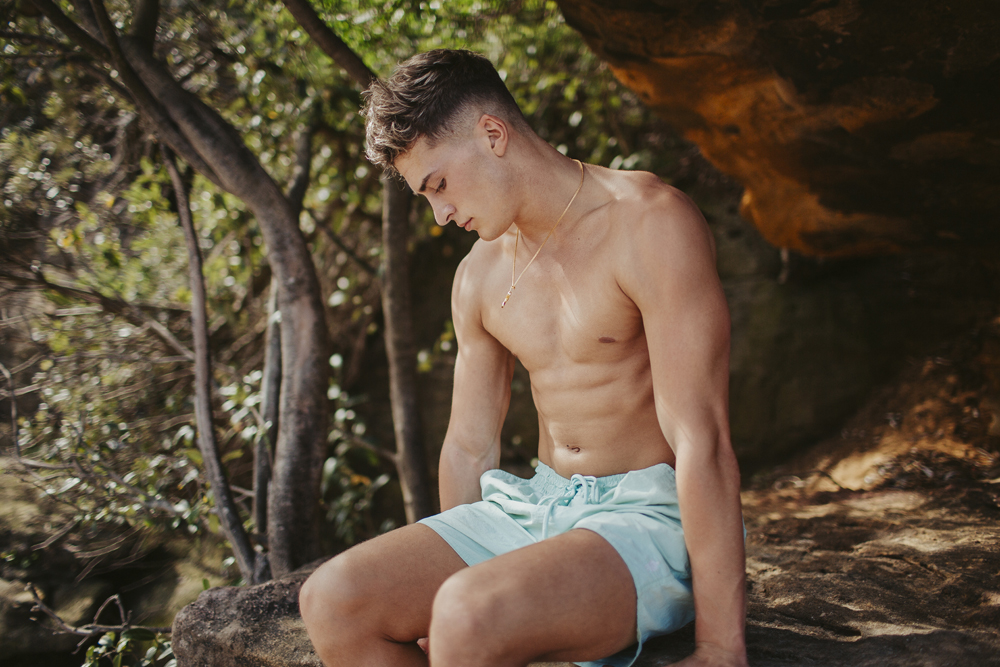
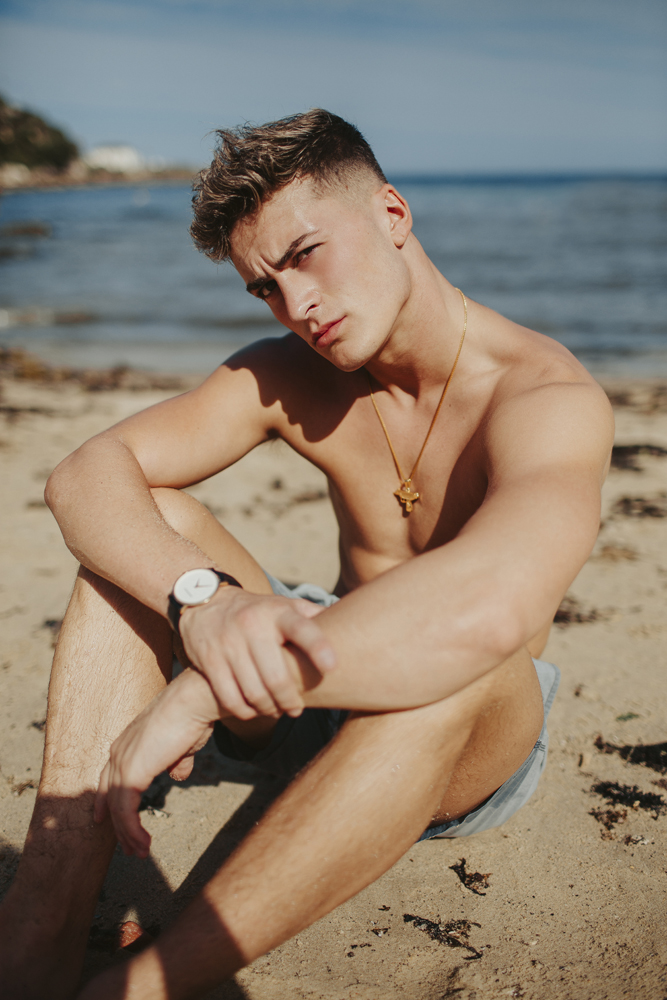
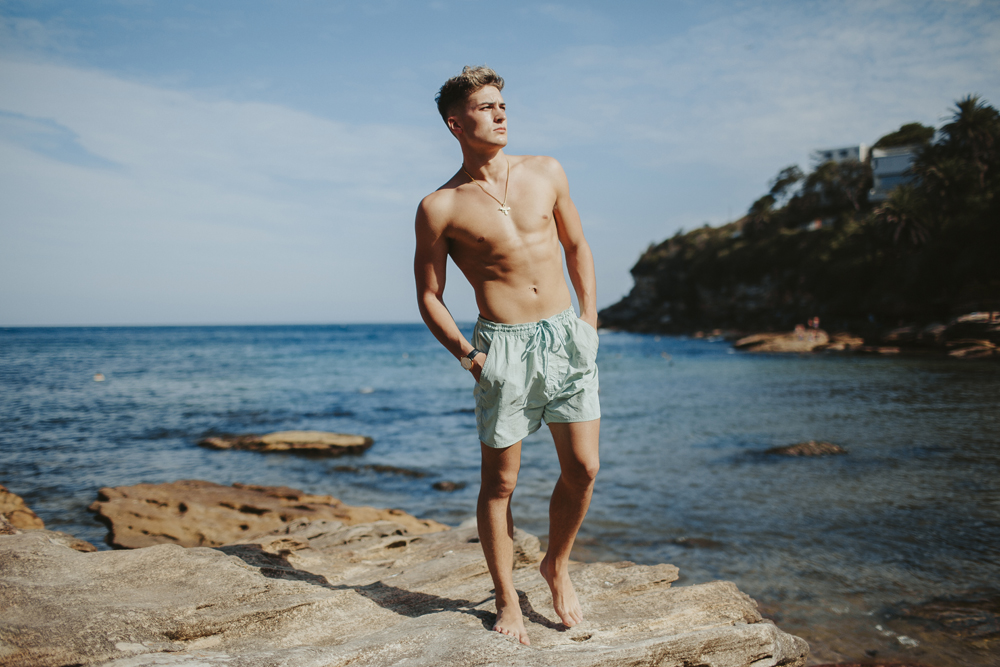
model jay munro
All photos edited with my Amalfi Lightroom Preset!
Watch the behind the scenes video of this photoshoot below & please subscribe to my YouTube Channel!
I captured these photos of Megan Emmett for the Candice Lee Femme Collection. You can see more of Candice Lee’s bridal gowns and hair styling work here.
During this photoshoot on the streets of Sydney, I share 5 composition tips to improve your portraits. I take you through my thought process when taking portraits in busy locations and share what to look out for to capture beautiful portrait of your subject.
To create the Sony 14mm f1.8 GM lens review video, I roadtripped with Dan to the Blue Mountains during peak autumn colours. I wanted to make the most of these gorgeous orange and red leaves so Dan took portraits of me with the Sony 35mm f1.4 GM and Sony A7III.
Every photographer has their own unique vision and way of capturing portraits. In this behind the scenes video, Mitch Lally and I are photographing the same couple in the same location. We are even using the same focal length - a 35mm! Watch our portrait photoshoot below to see how different our results are.
In this photography tutorial, I share my favourite portrait composition tips to capture better looking portraits. I chose an urban location for this photoshoot, since having a distracting background with lines, different colours and textures is helpful to see the before & afters of my composition tips.
In this photography tutorial, learn how to pose your clients for a portrait photoshoot. These are easy posing prompts that you can use for a subject who isn’t comfortable in front of the camera.
In this photography tutorial, I share my thought process behind how I find locations for my portrait photography!
Sometimes it’s fun to challenge yourself as a photographer and do something you normally don’t. In today’s behind the scenes video I set a 10 minute timer to do a whole photoshoot on the streets of Sydney.
For today’s photoshoot I thought it was time to clean off the dust of my first ever camera that I used to learn how to do photography on more than 10 years ago. I have the Pentax K100D which was a trusty little camera body that I first used to learn how to shoot in manual, learn how to use natural light, how to compose my photos and in general just a way to be creative when I was fresh out of high school and interested in what photography was.
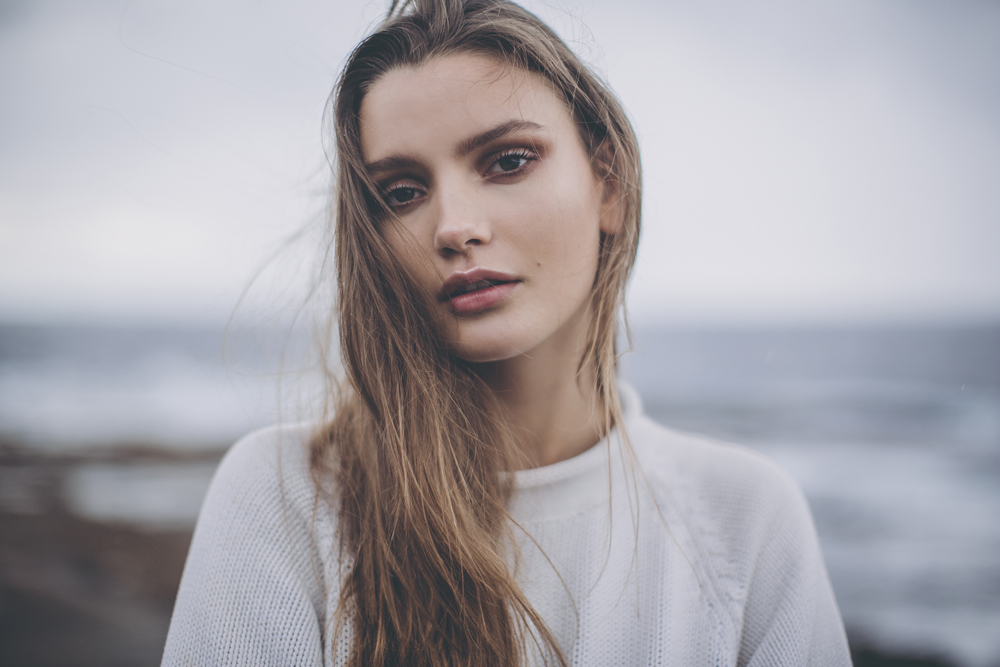
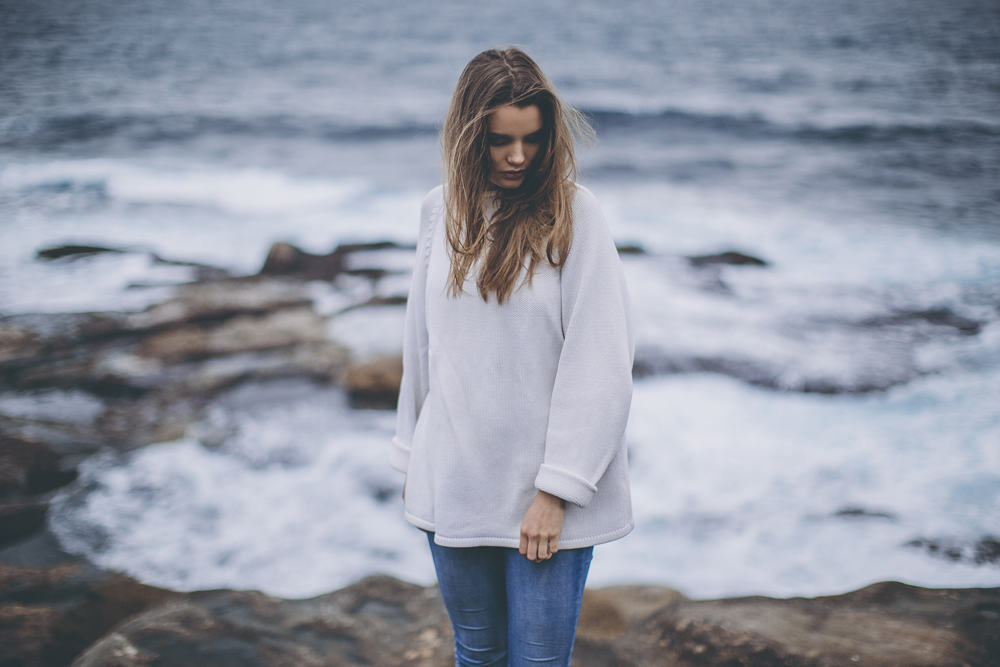


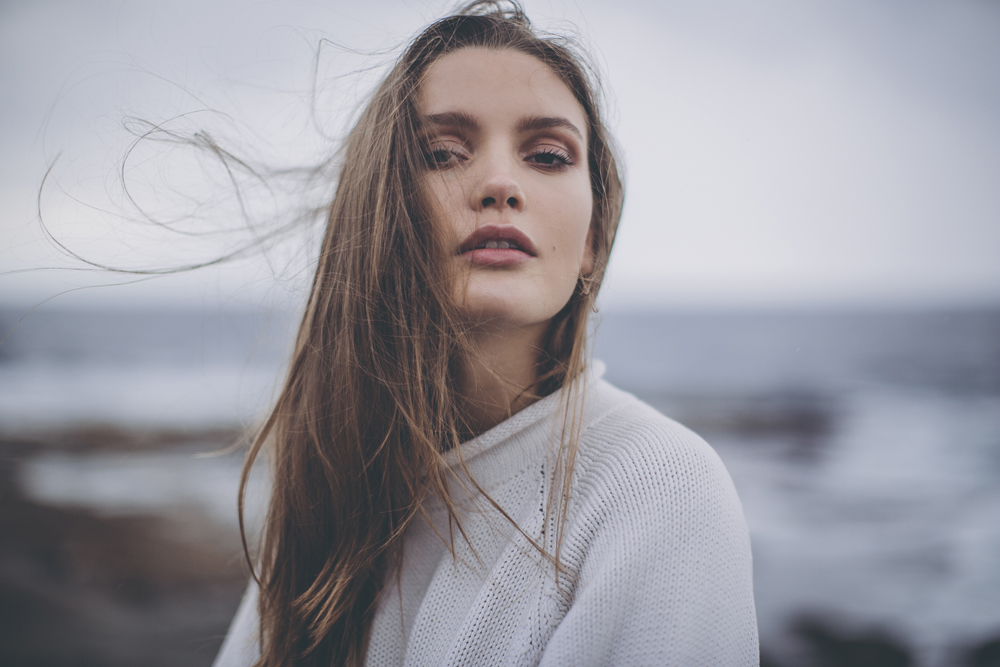
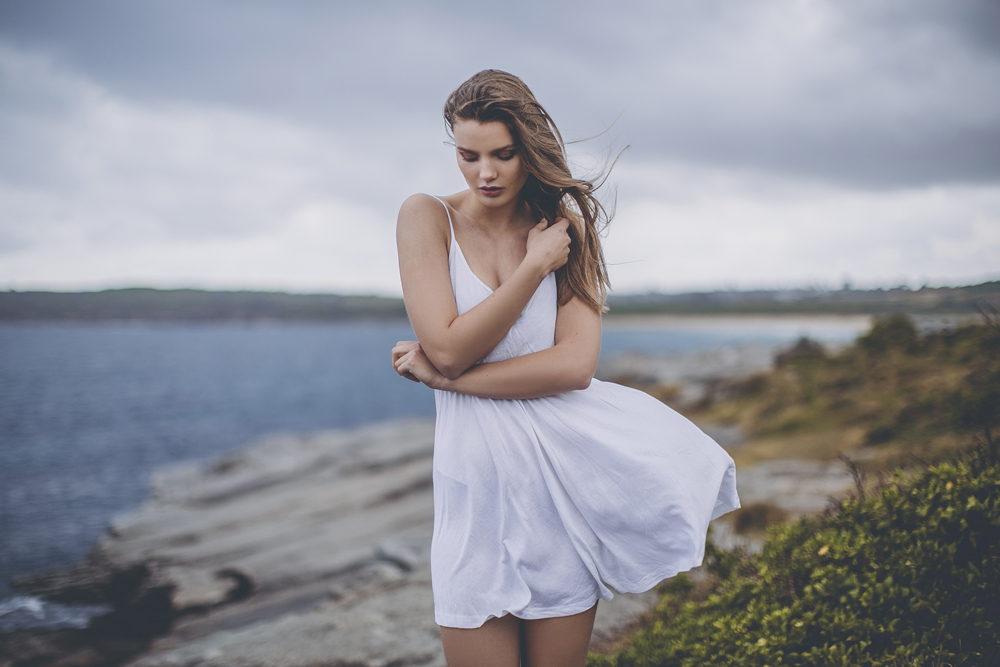
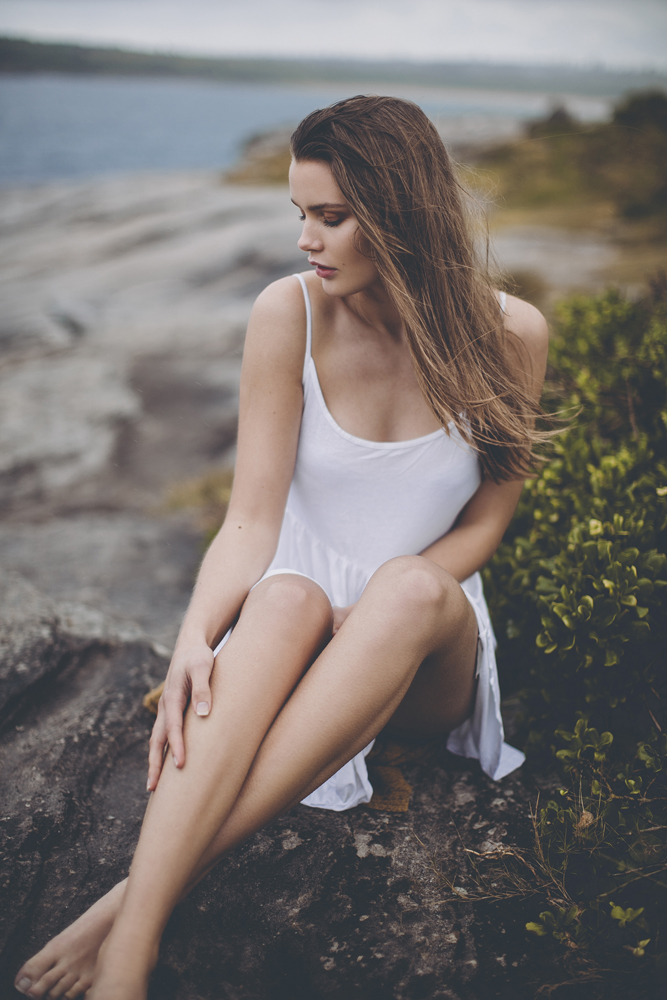
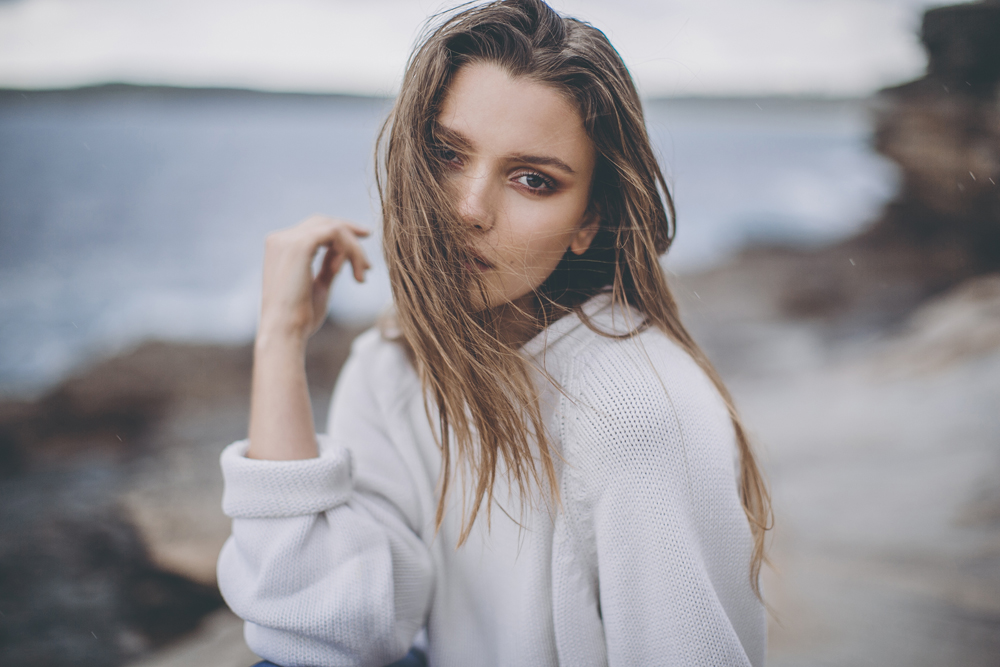
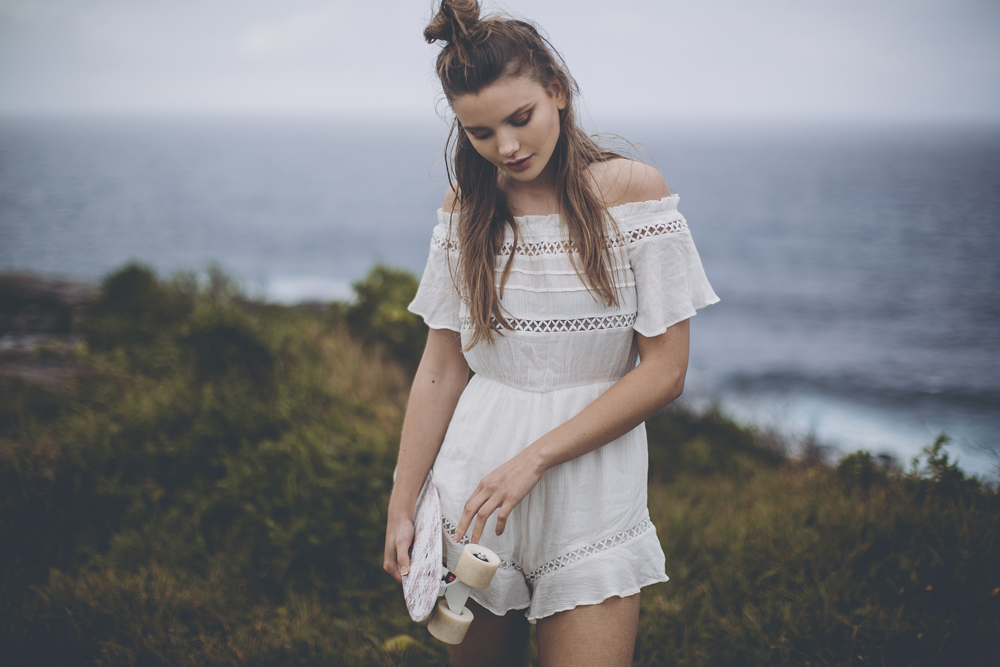


model evie @ vivien's
makeup lidija j
film dan @ i make films
Watch the behind the scenes video below where I compare the Canon 50mm f1.2 vs Canon 50mm f1.4!
all photos edited with my San Francisco Lightroom Preset
I captured these photos of Megan Emmett for the Candice Lee Femme Collection. You can see more of Candice Lee’s bridal gowns and hair styling work here.
During this photoshoot on the streets of Sydney, I share 5 composition tips to improve your portraits. I take you through my thought process when taking portraits in busy locations and share what to look out for to capture beautiful portrait of your subject.
To create the Sony 14mm f1.8 GM lens review video, I roadtripped with Dan to the Blue Mountains during peak autumn colours. I wanted to make the most of these gorgeous orange and red leaves so Dan took portraits of me with the Sony 35mm f1.4 GM and Sony A7III.
Every photographer has their own unique vision and way of capturing portraits. In this behind the scenes video, Mitch Lally and I are photographing the same couple in the same location. We are even using the same focal length - a 35mm! Watch our portrait photoshoot below to see how different our results are.
In this photography tutorial, I share my favourite portrait composition tips to capture better looking portraits. I chose an urban location for this photoshoot, since having a distracting background with lines, different colours and textures is helpful to see the before & afters of my composition tips.
In this photography tutorial, learn how to pose your clients for a portrait photoshoot. These are easy posing prompts that you can use for a subject who isn’t comfortable in front of the camera.
In this photography tutorial, I share my thought process behind how I find locations for my portrait photography!
Sometimes it’s fun to challenge yourself as a photographer and do something you normally don’t. In today’s behind the scenes video I set a 10 minute timer to do a whole photoshoot on the streets of Sydney.
For today’s photoshoot I thought it was time to clean off the dust of my first ever camera that I used to learn how to do photography on more than 10 years ago. I have the Pentax K100D which was a trusty little camera body that I first used to learn how to shoot in manual, learn how to use natural light, how to compose my photos and in general just a way to be creative when I was fresh out of high school and interested in what photography was.
Follow me on my instagram accounts:
main account @julia trotti
personal account @juls.trotti
I also have some exciting news because I've started sharing more fashion shoot behind the scenes videos + Lightroom & Photoshop Tutorials on my YouTube Channel! Be sure to subscribe as I upload 2 new videos every week x
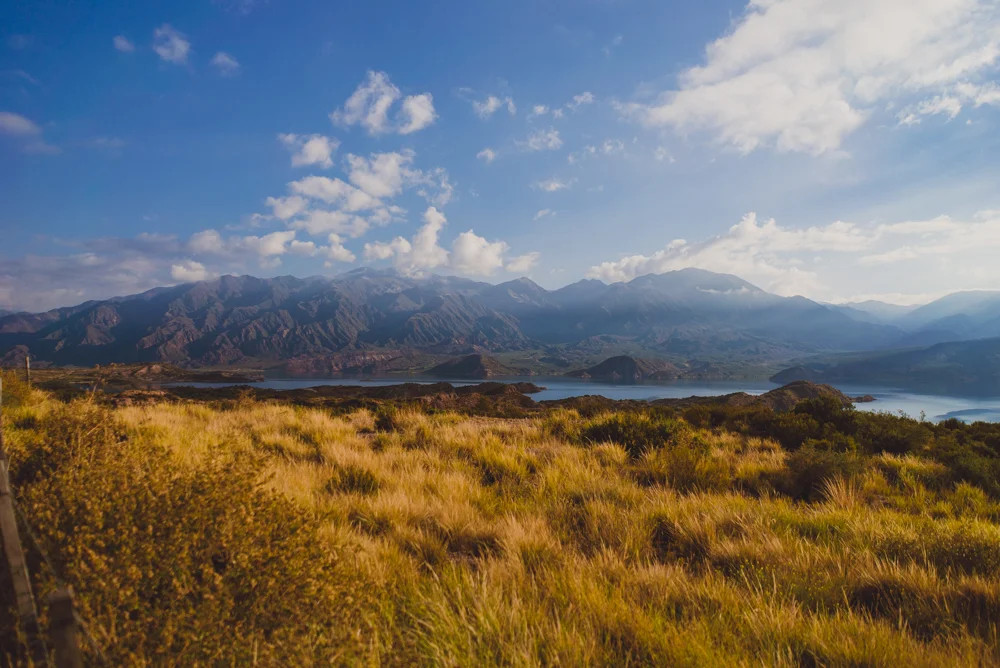
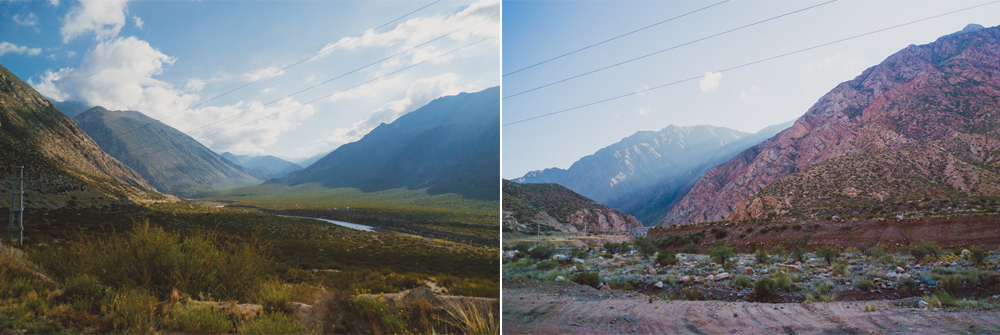
It was soon time to say goodbye to Argentina, but not without one last stop! On our flight back home I decided to have a 24 hour layover in Mendoza so we had the chance to explore one last place before heading back to Sydney. My dad has visited pretty much everywhere there is to see in Argentina when he used to live there, but he was excited to see it again and this time with me!
We landed in Mendoza in the early hours of the morning and were picked up from the airport by the tour guide we booked in the afternoon before. We dropped off our suitcases in their office and the tour to the High Mountain was on it’s way!
Just a little side note if you’re ever in Mendoza/South America: when I called on the phone and also emailed the tour company while booking in our places, everything was done in English. Then when the tour started, the tour guide spoke in Spanish all day! This was fine for me since I can understand Spanish perfectly. But if you’re ever booking a tour in South America, be sure to double check if the actual tour is going to be in English or not just in case the same thing happens to you!
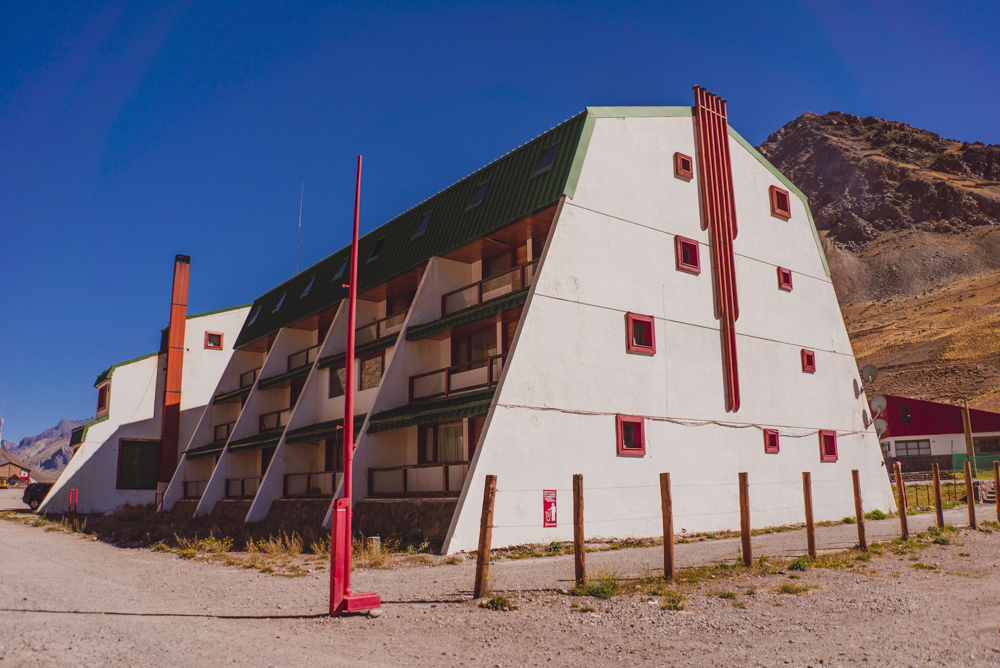
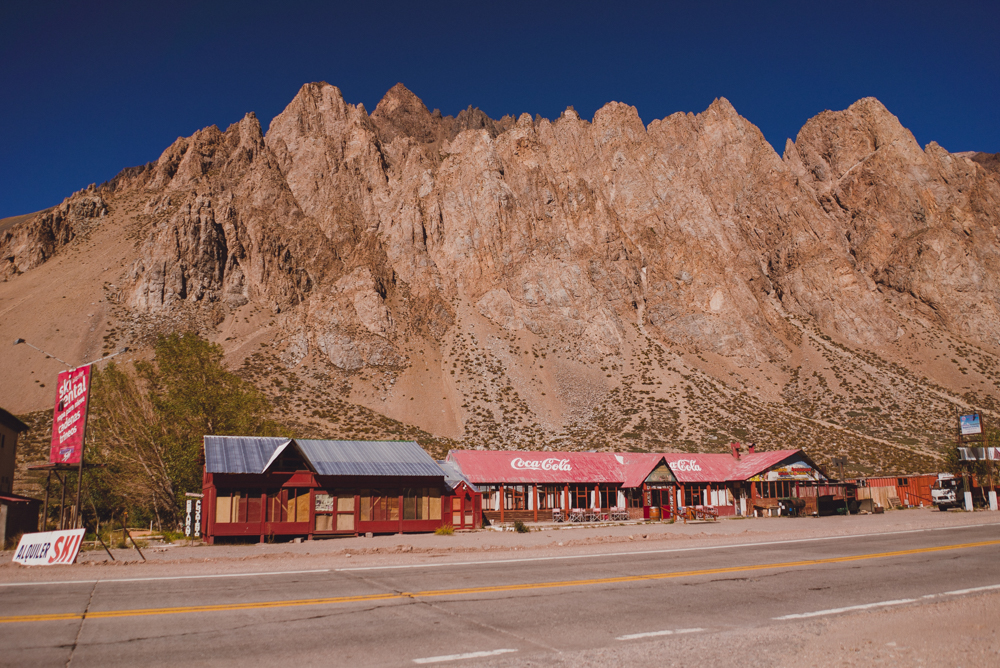
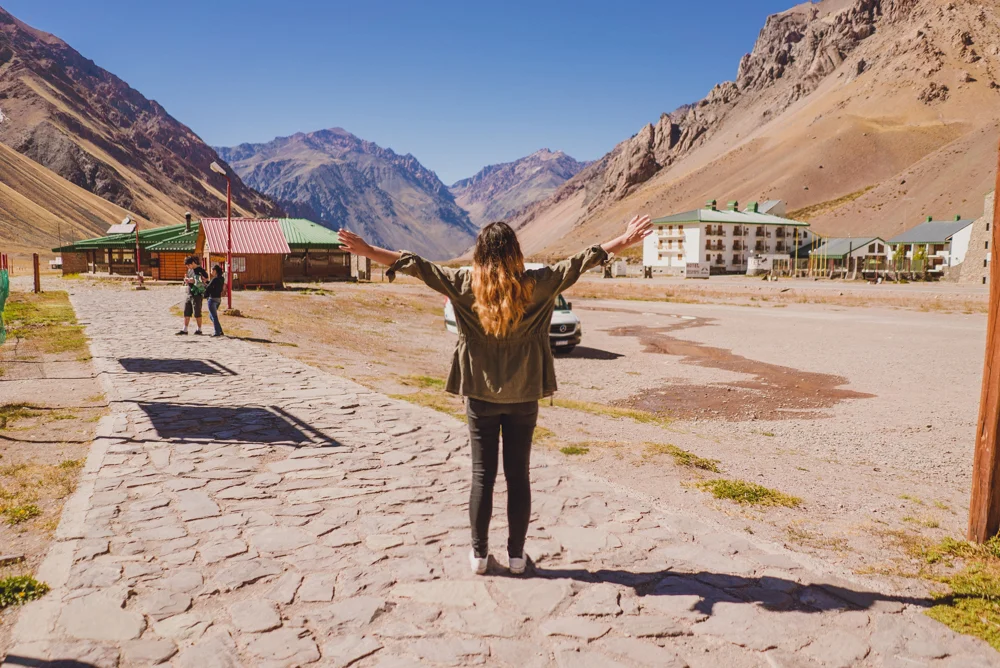
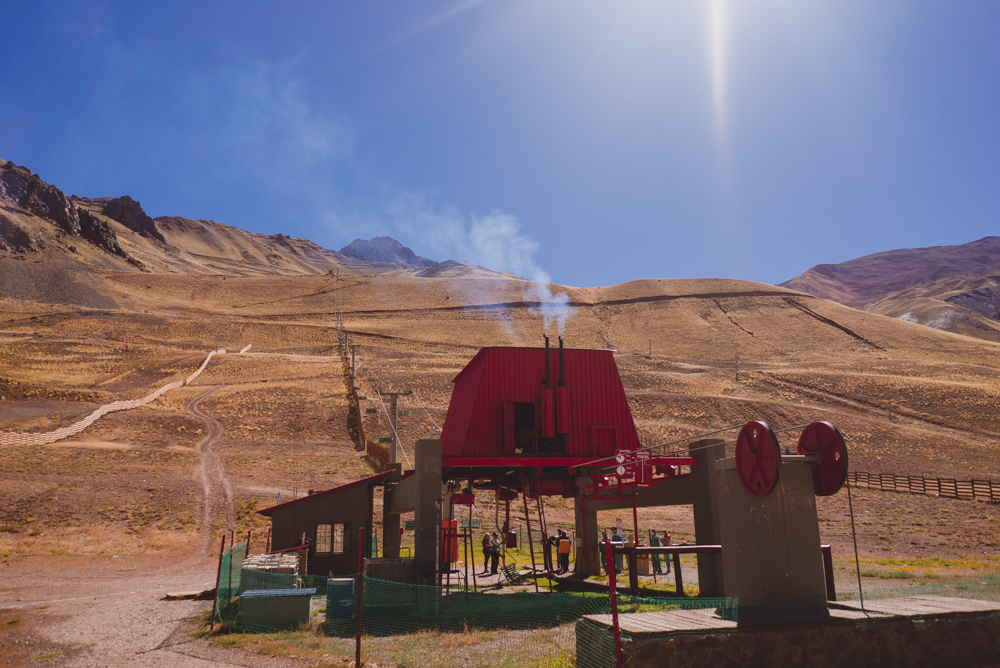
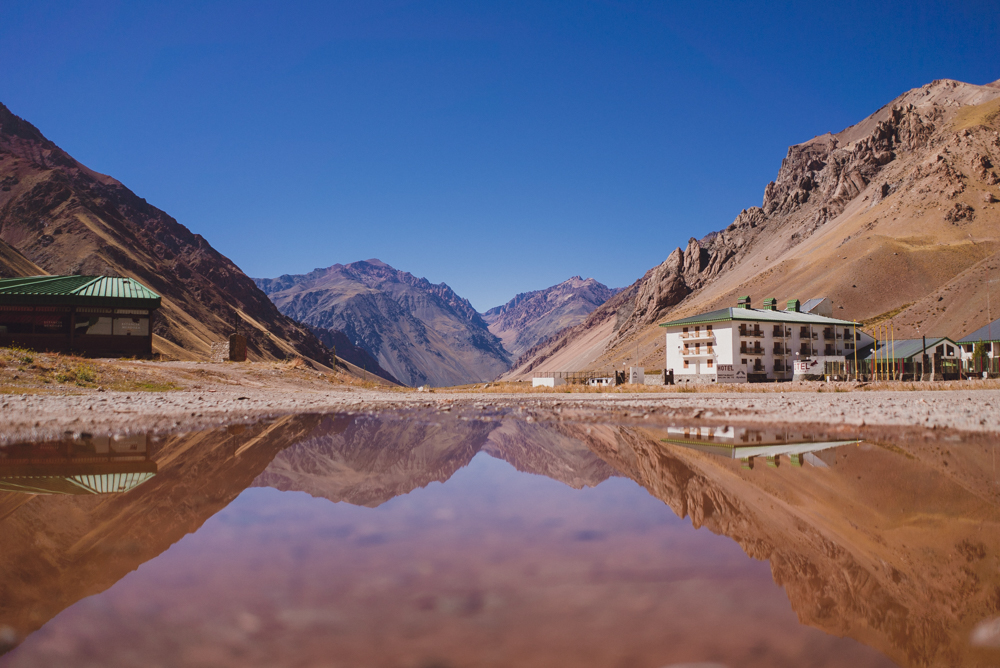
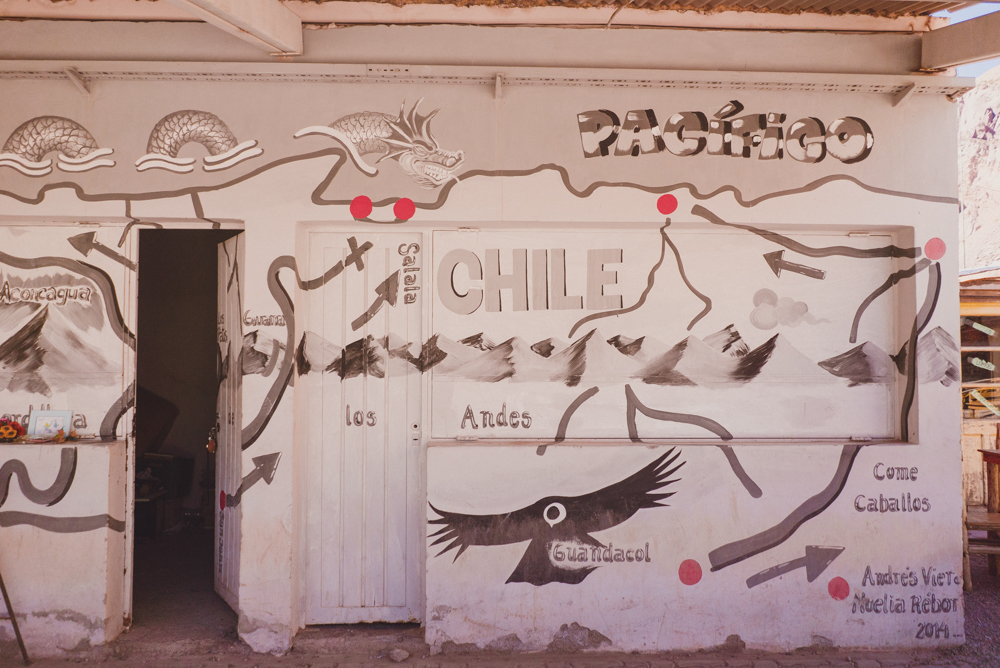
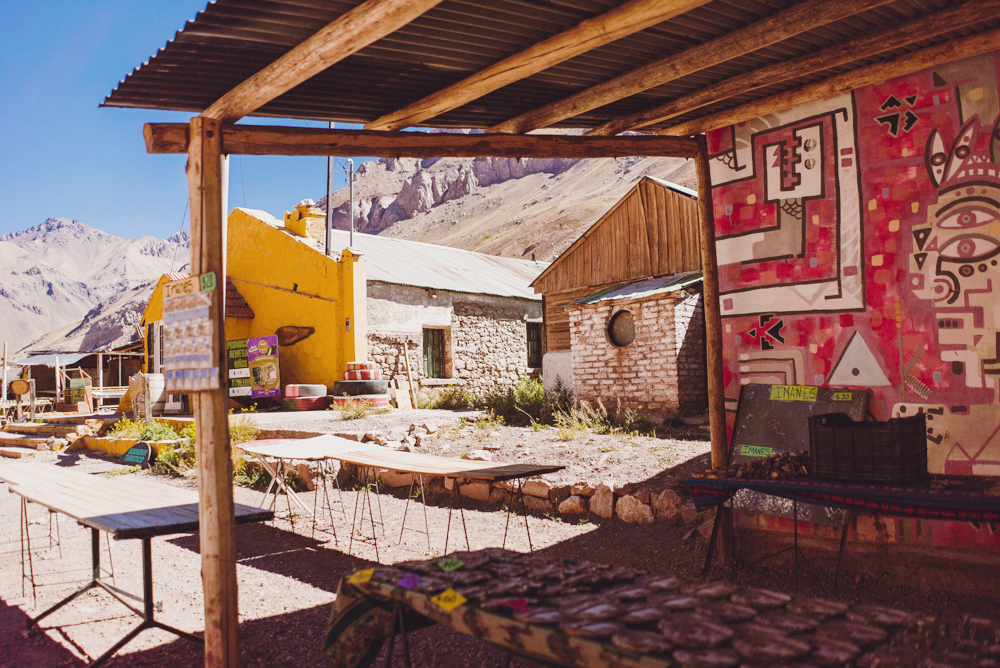
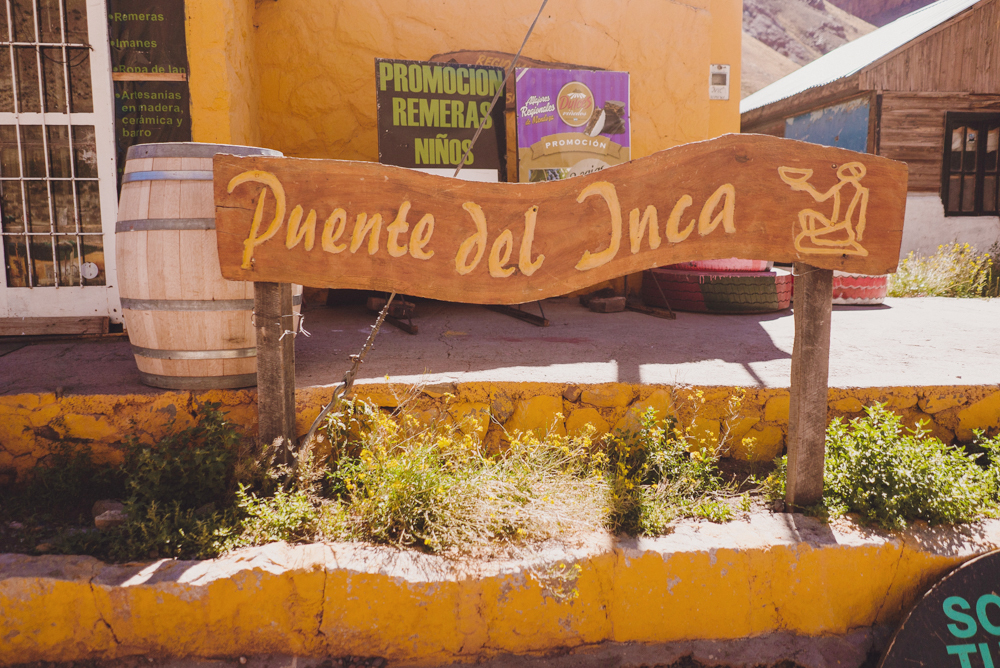
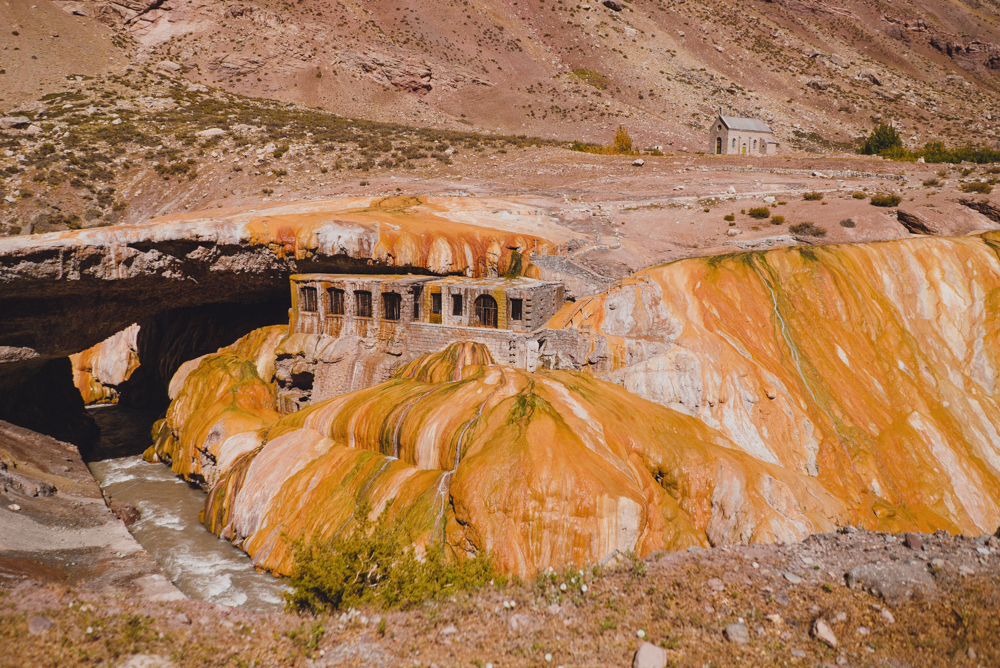
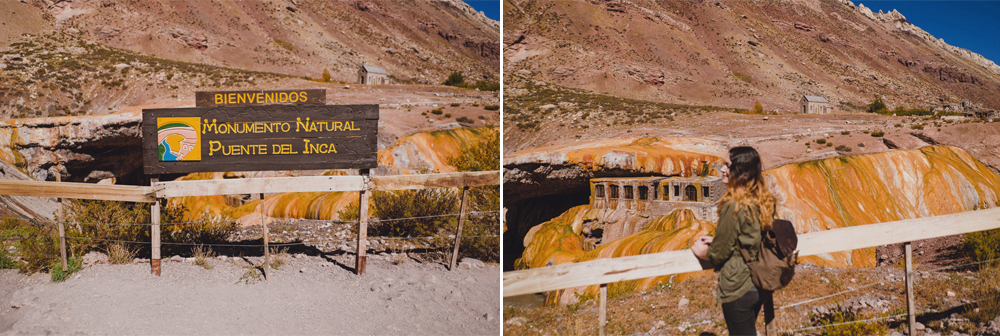
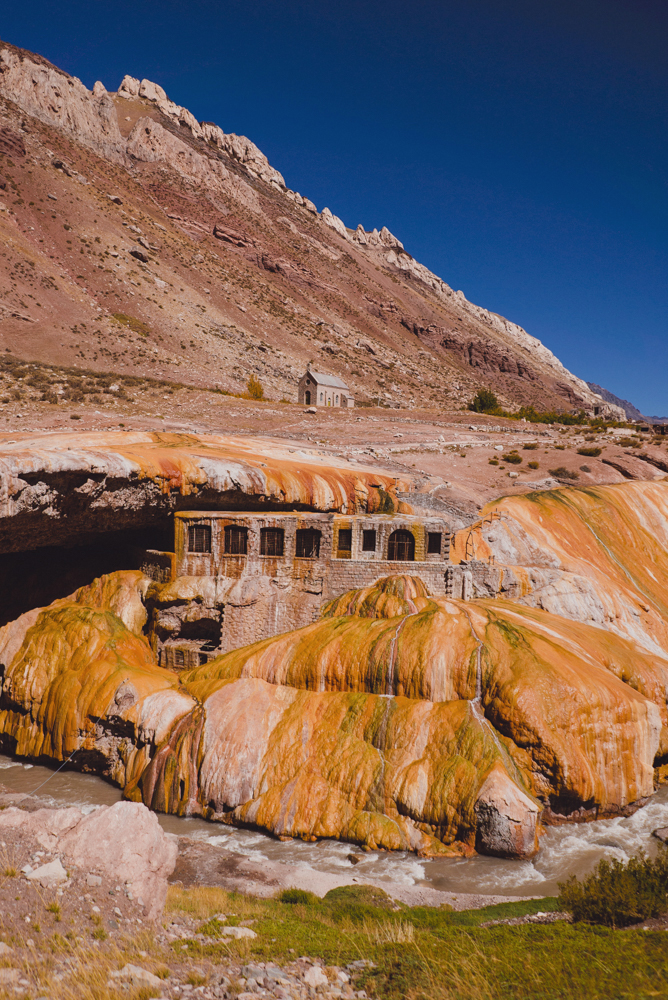
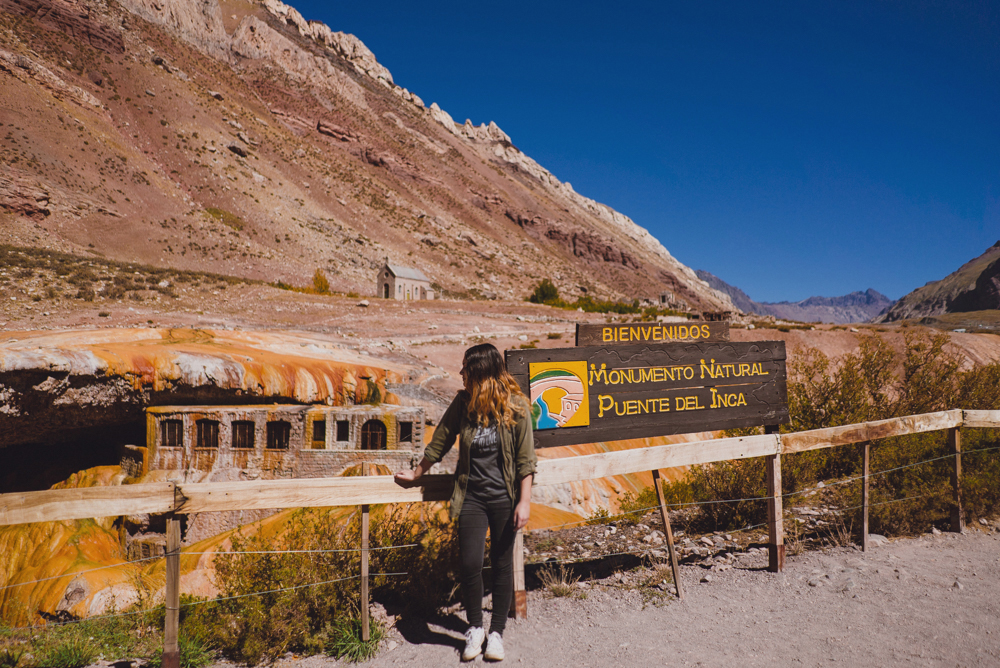
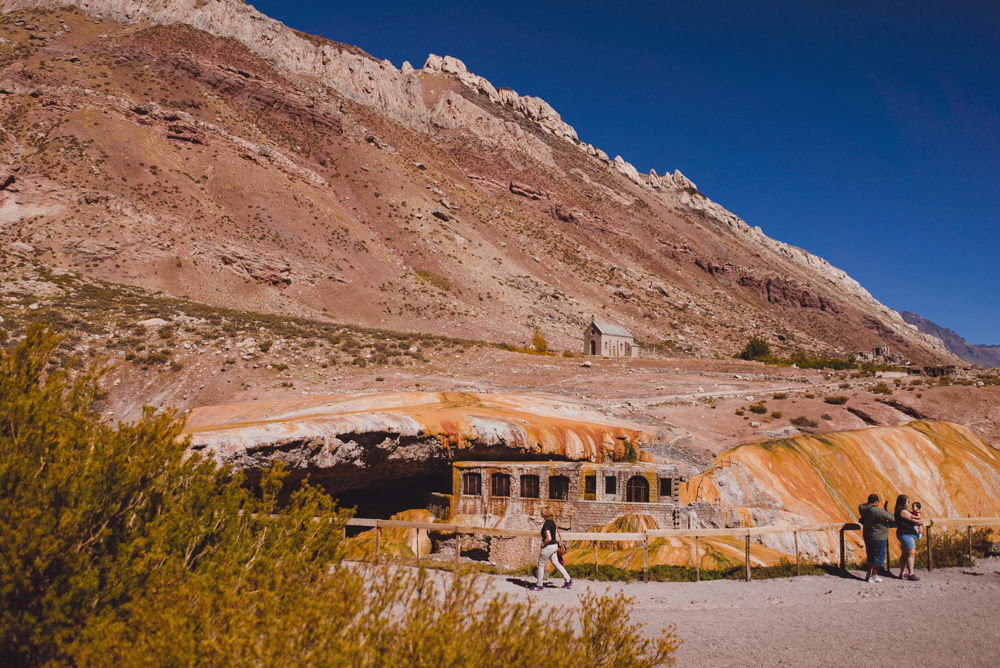
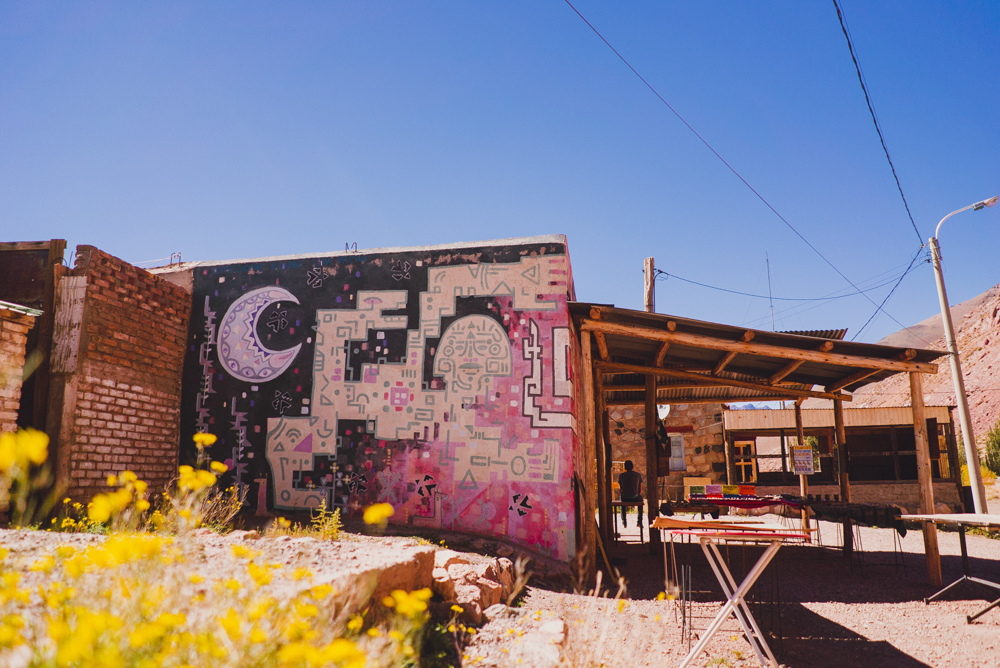
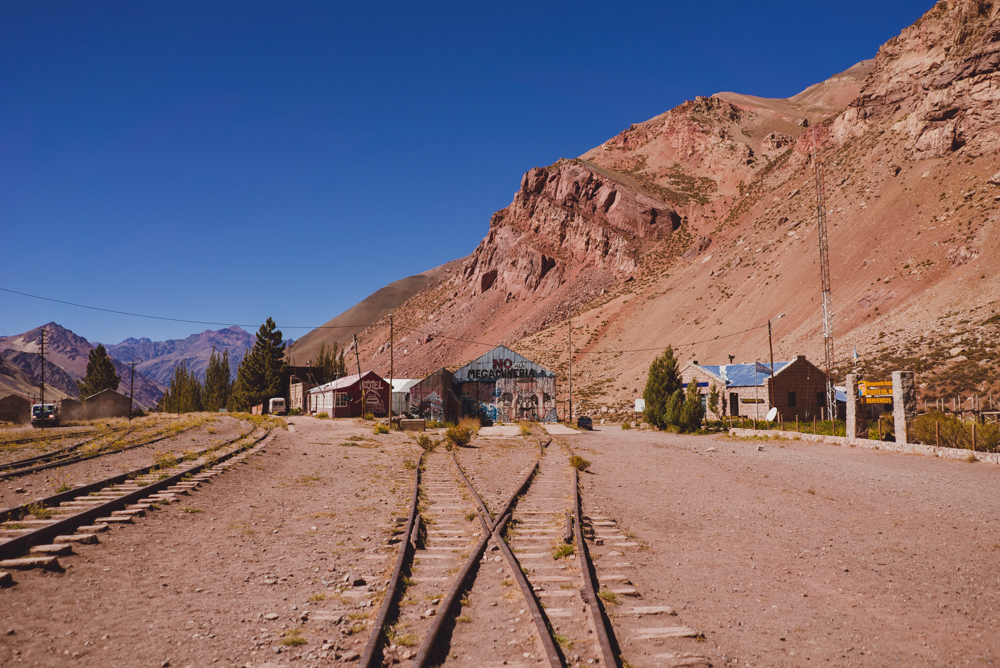
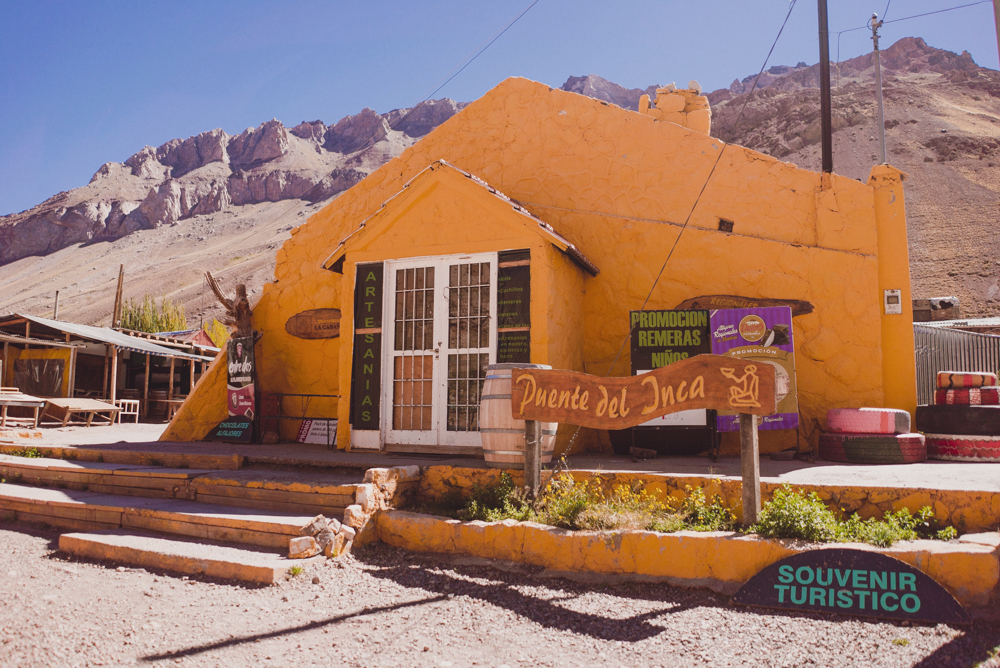
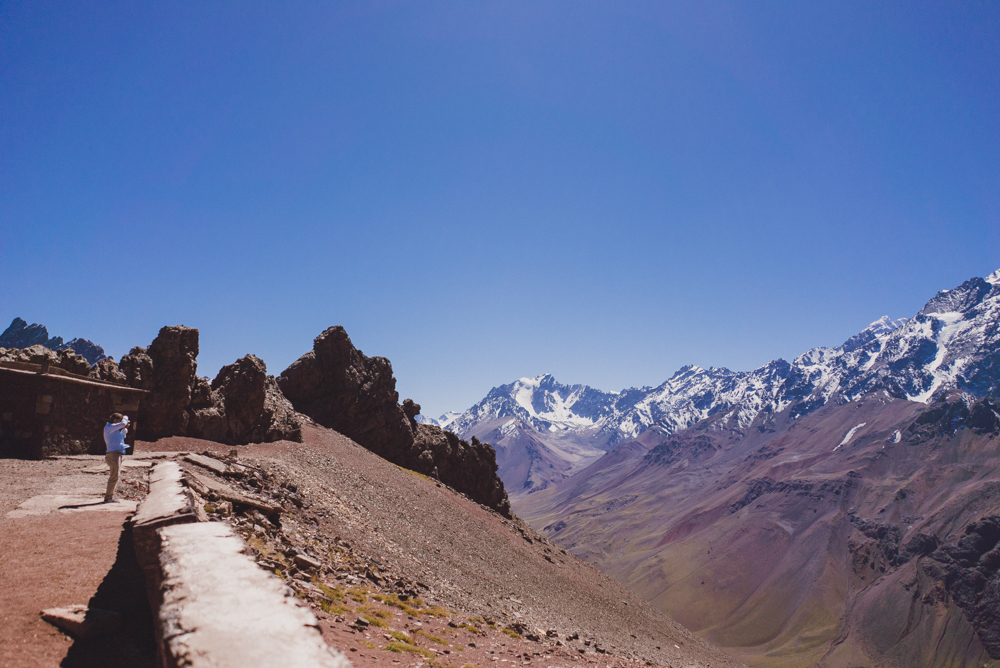
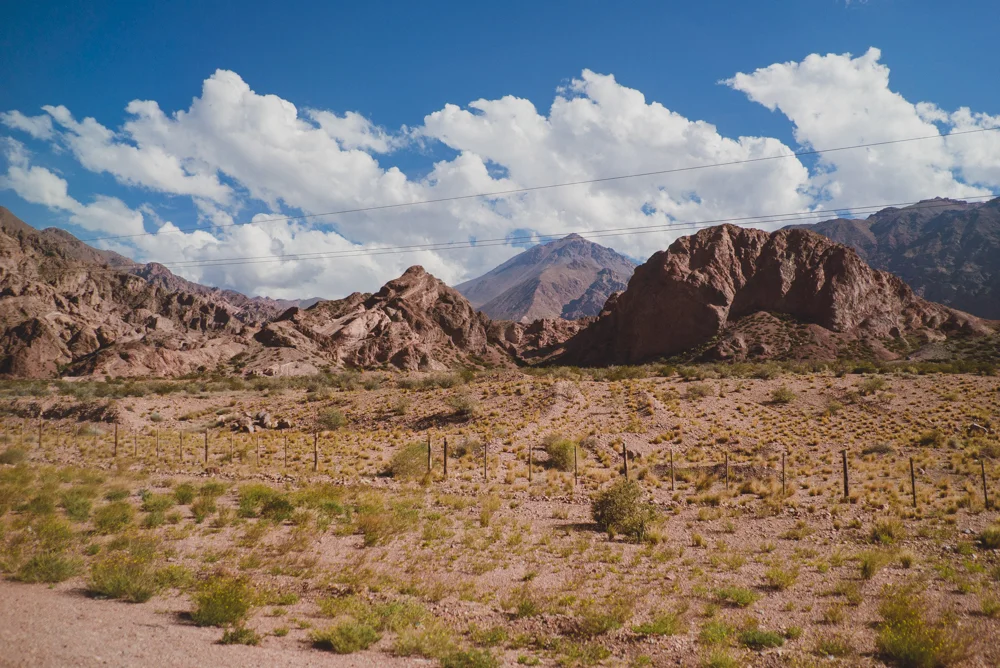
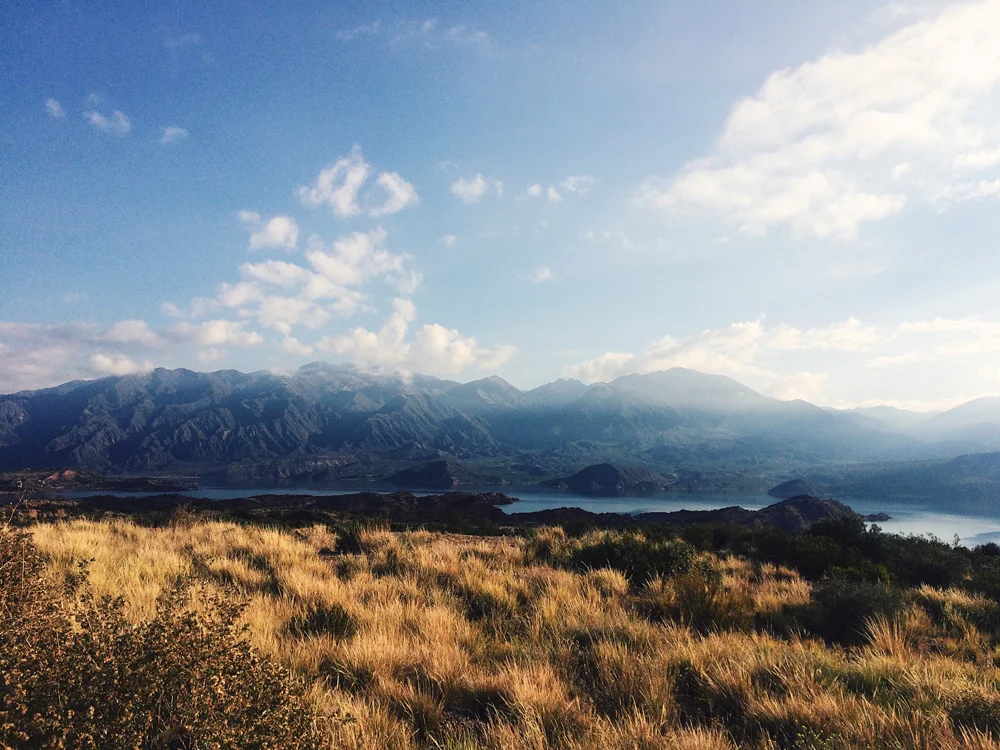
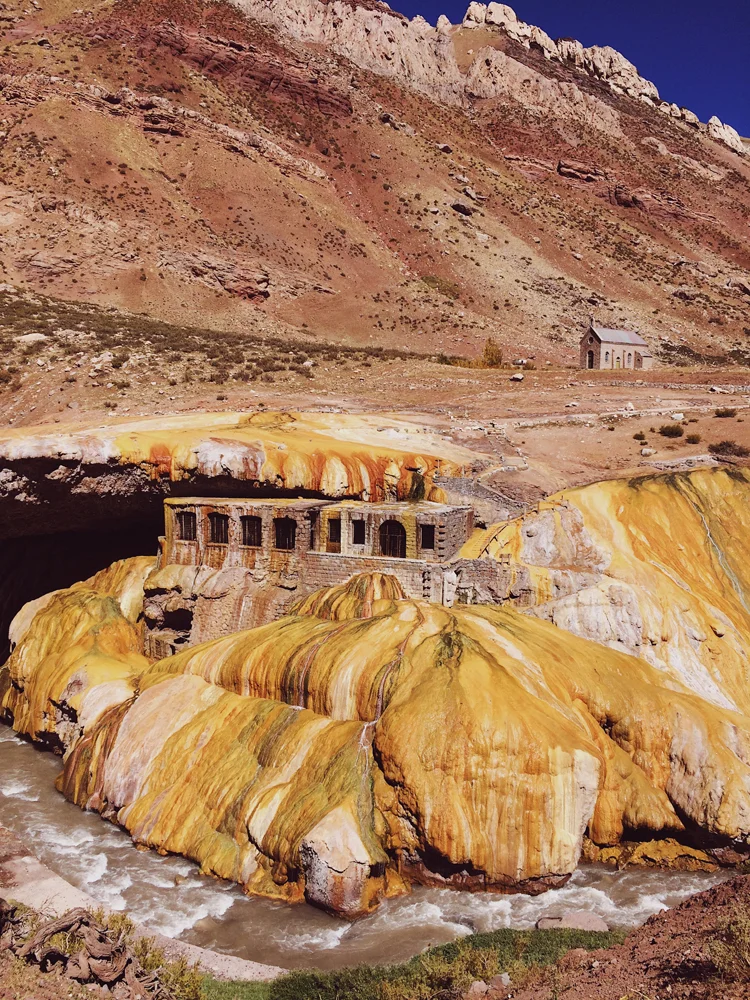
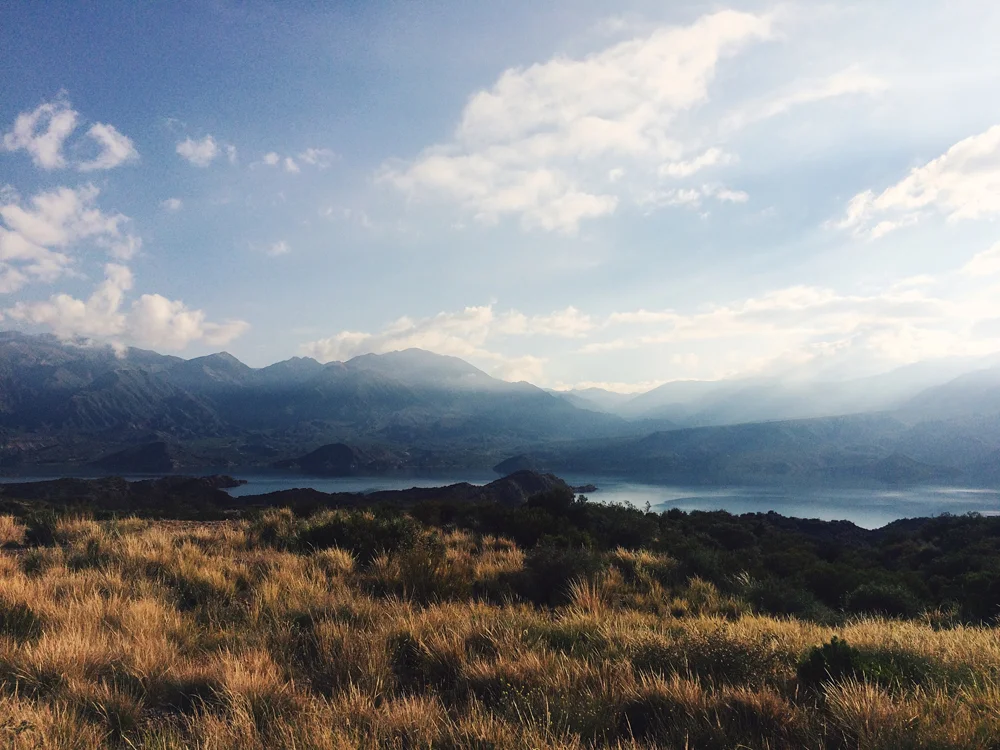
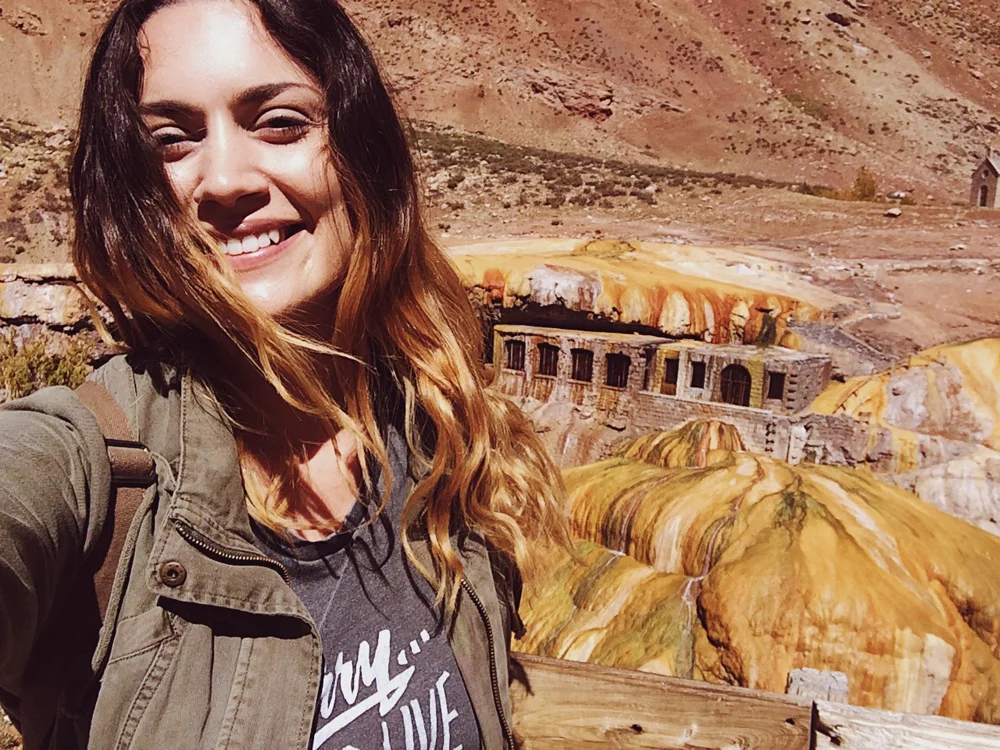
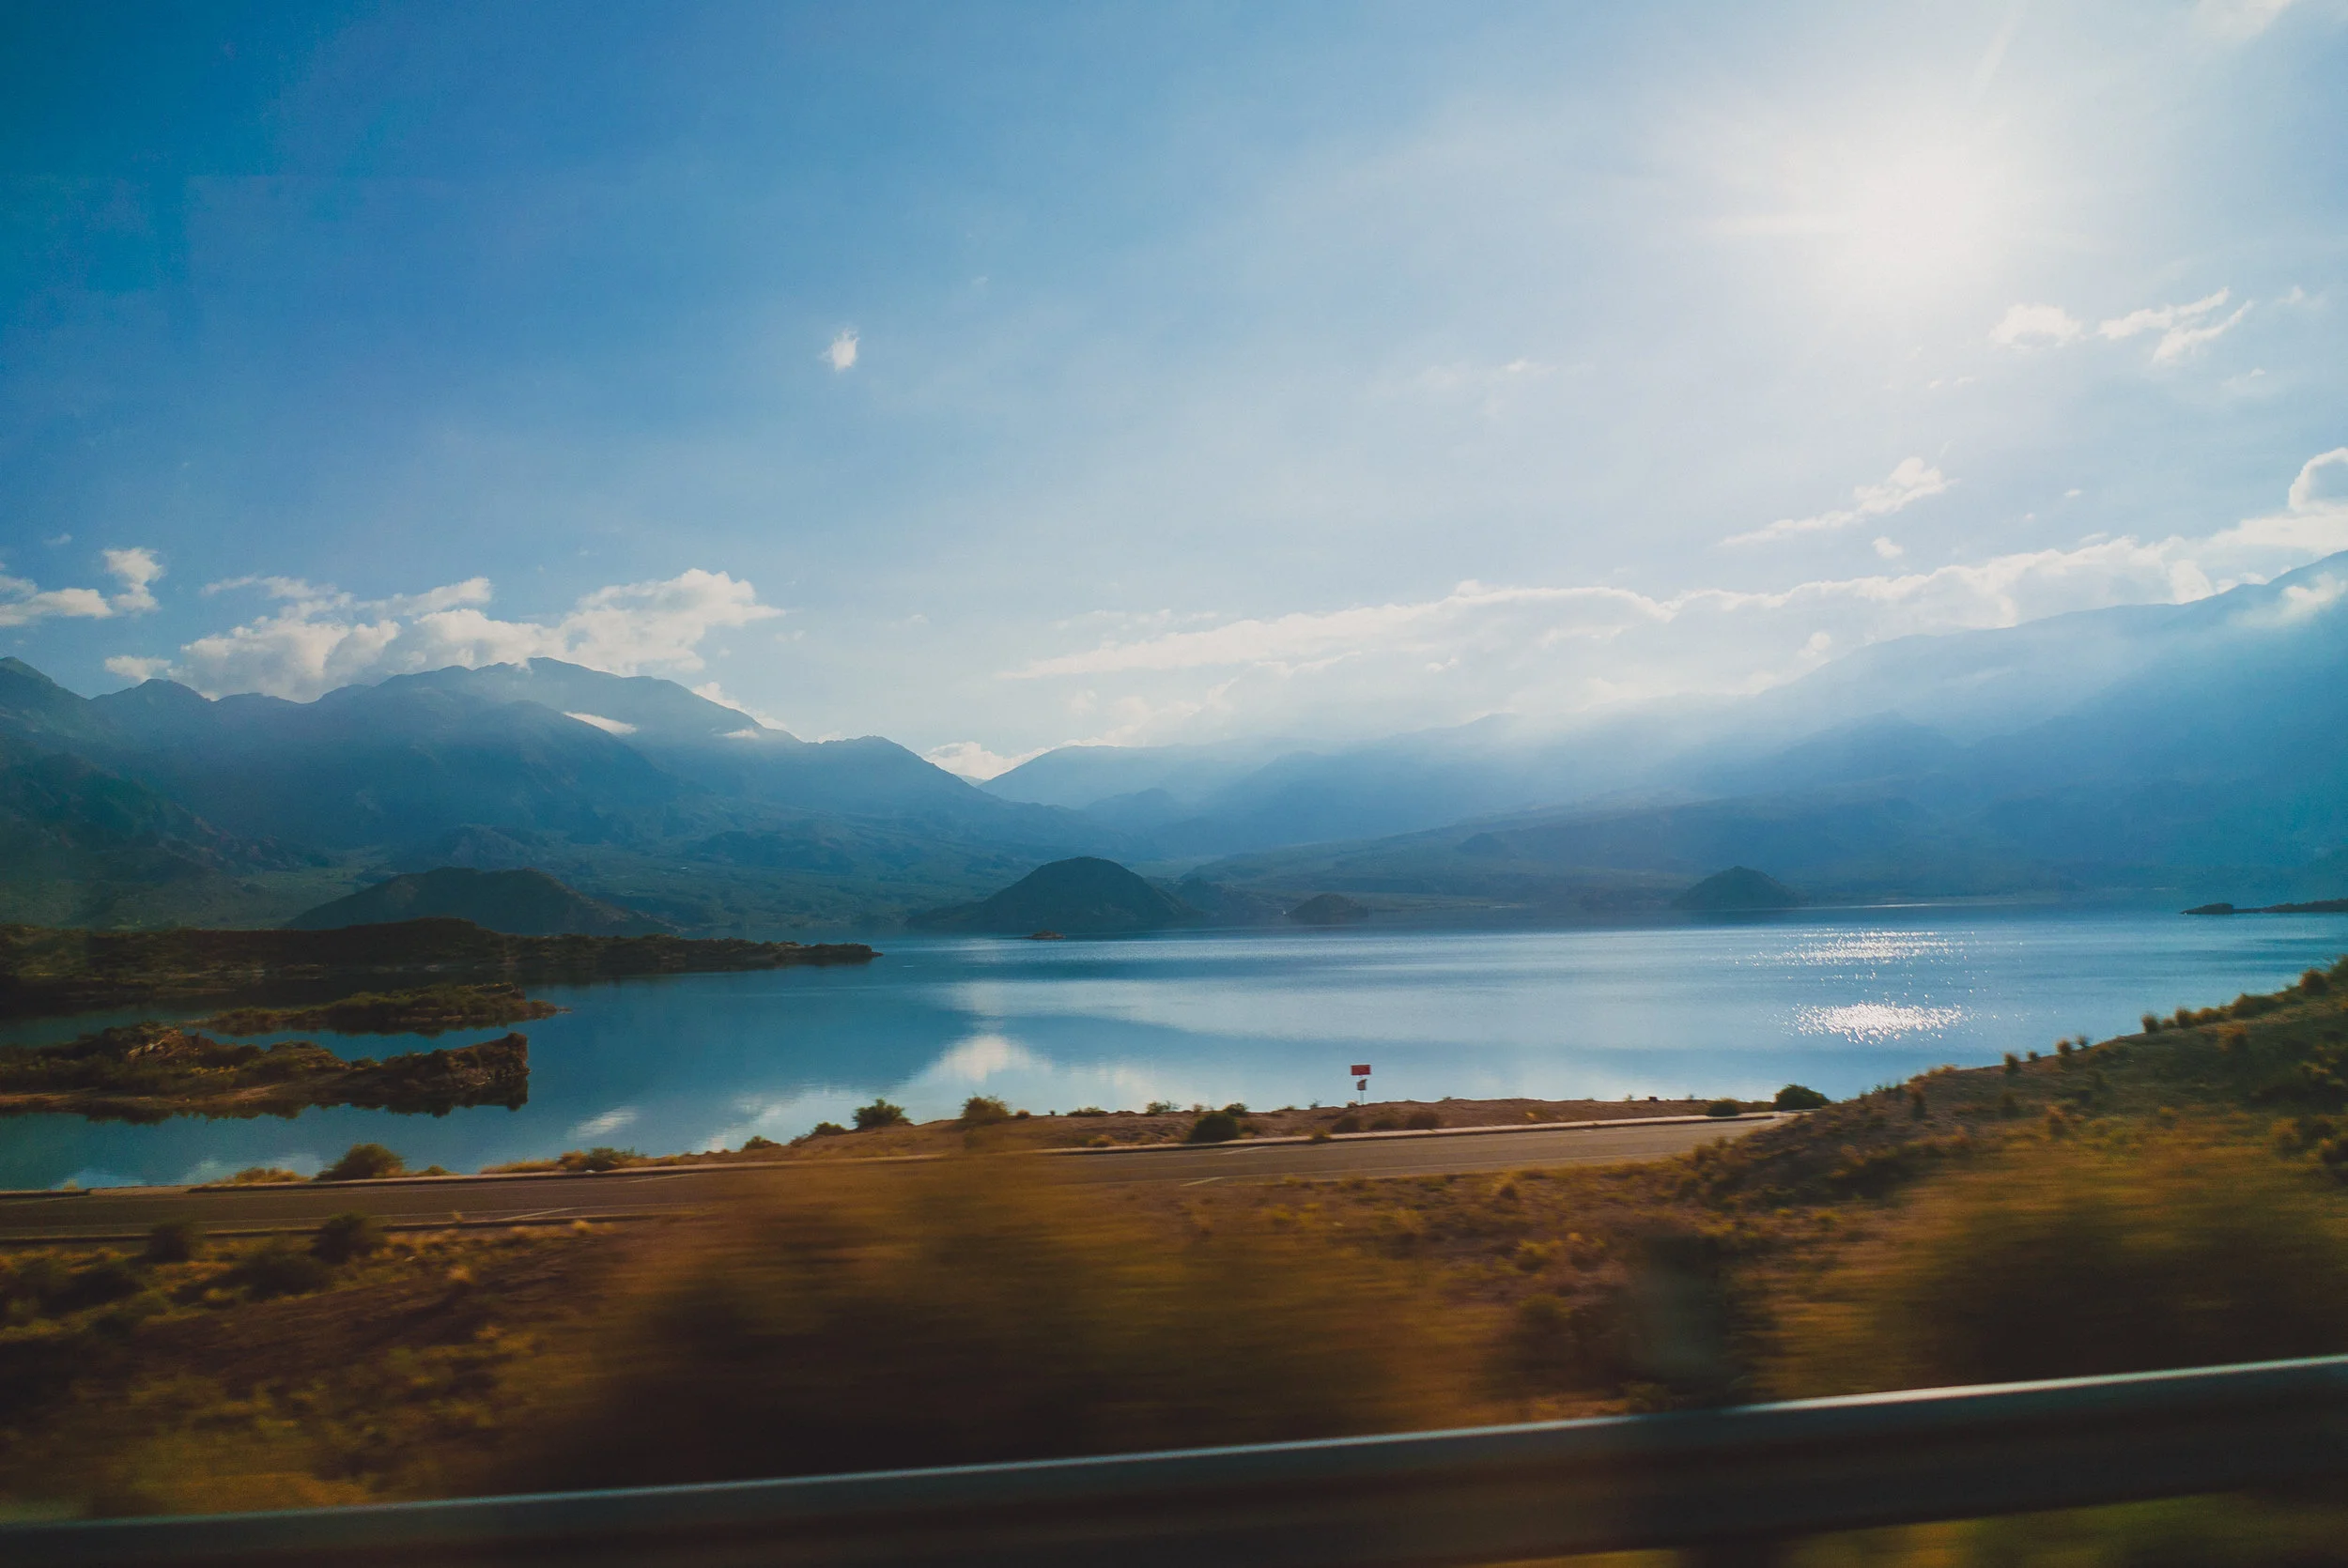
Out first stop of the day was Lake Potrerillos which you can see in the first few photos of this blog post. We then continued our drive through the valley where we saw el Puente del Inca which is a natural arch that forms a bridge over the Vacas River. There are hot springs inside the building under the bridge which you used to be able to get to, but they closed it off years ago. Interesting story about this place - there used to be a whole village next to the bridge, until one day there was an earthquake that destroyed everything except for the bridge and a church - and they are still standing today.
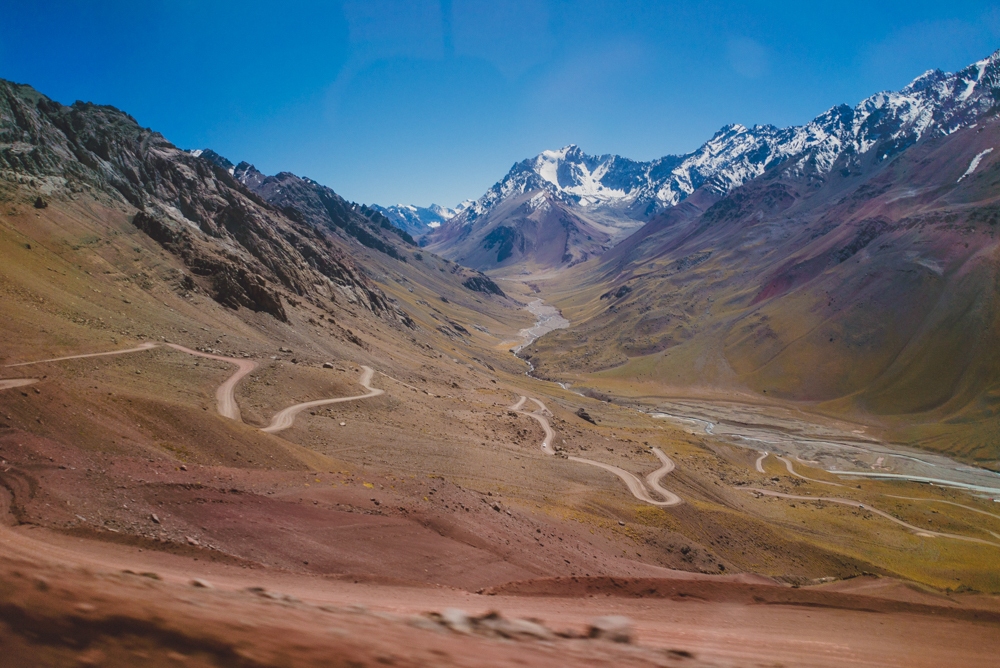
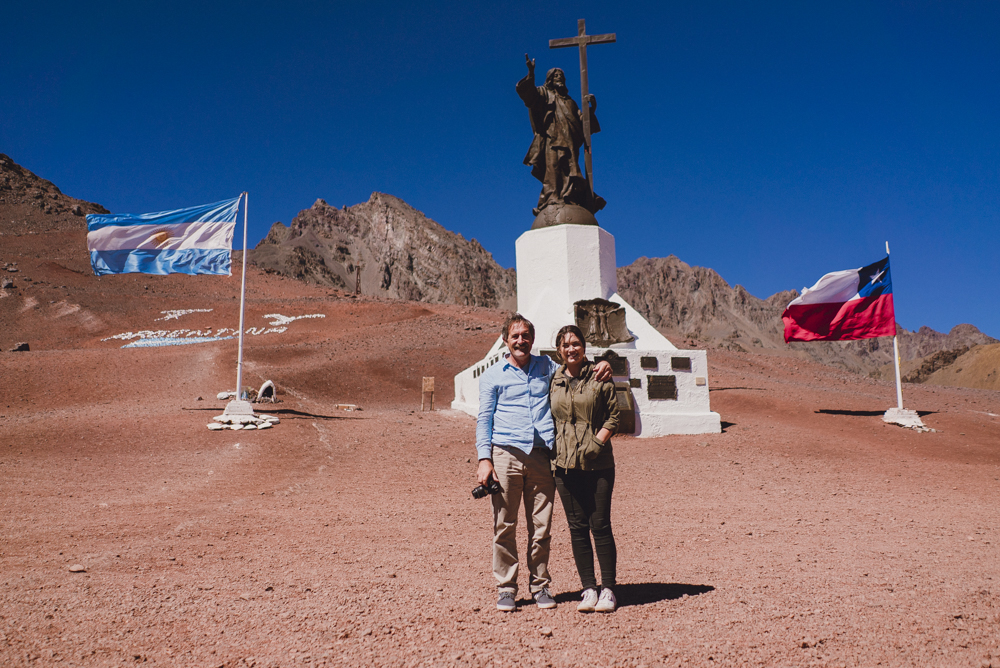
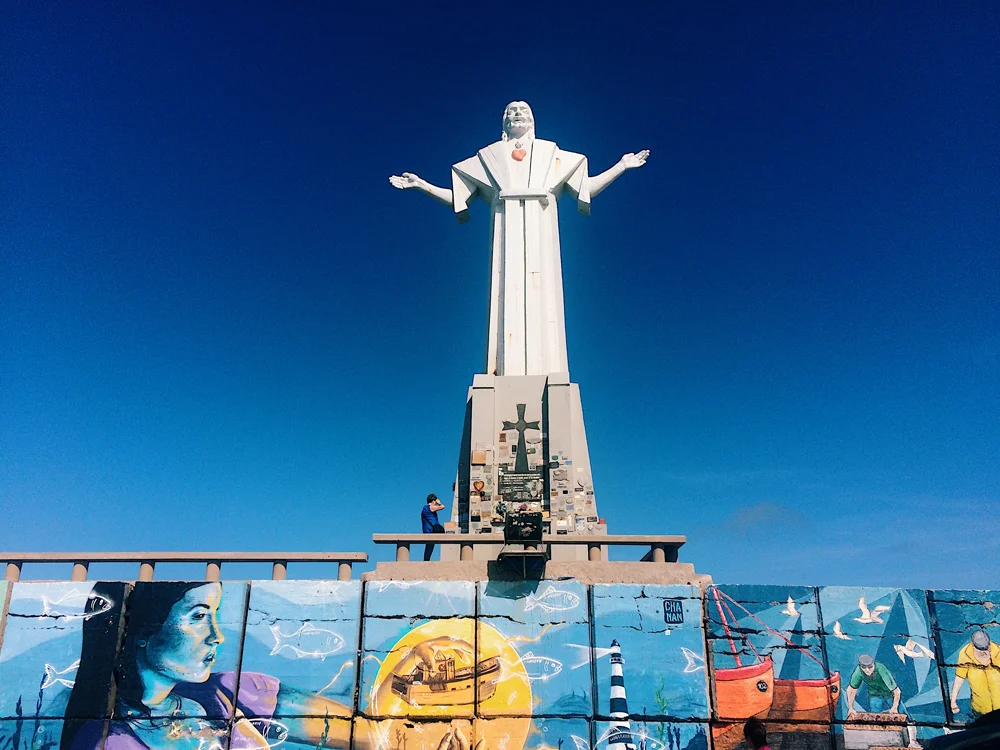
After el Puente, we headed on the windiest, scariest road up a mountain I’ve ever been on in my life! When we reached the top, we were almost 4000 meters above sea level (so the altitude sickness was real!) and up here is where you can see the Christo Redentor (Christ the Redeemer of the Andes) and stand with one foot in Chile and one foot in Argentina!
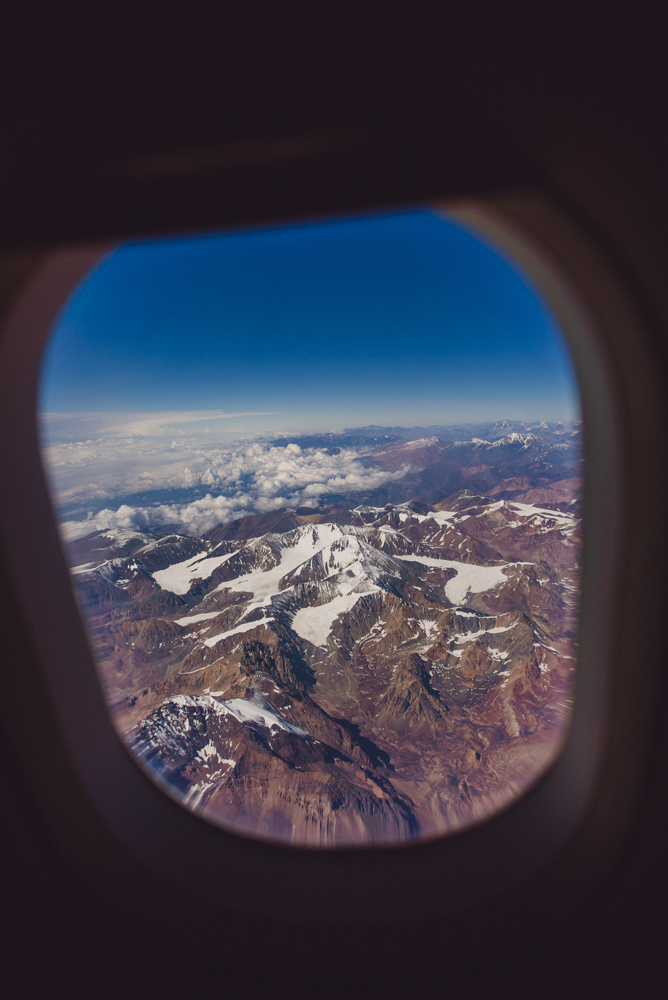
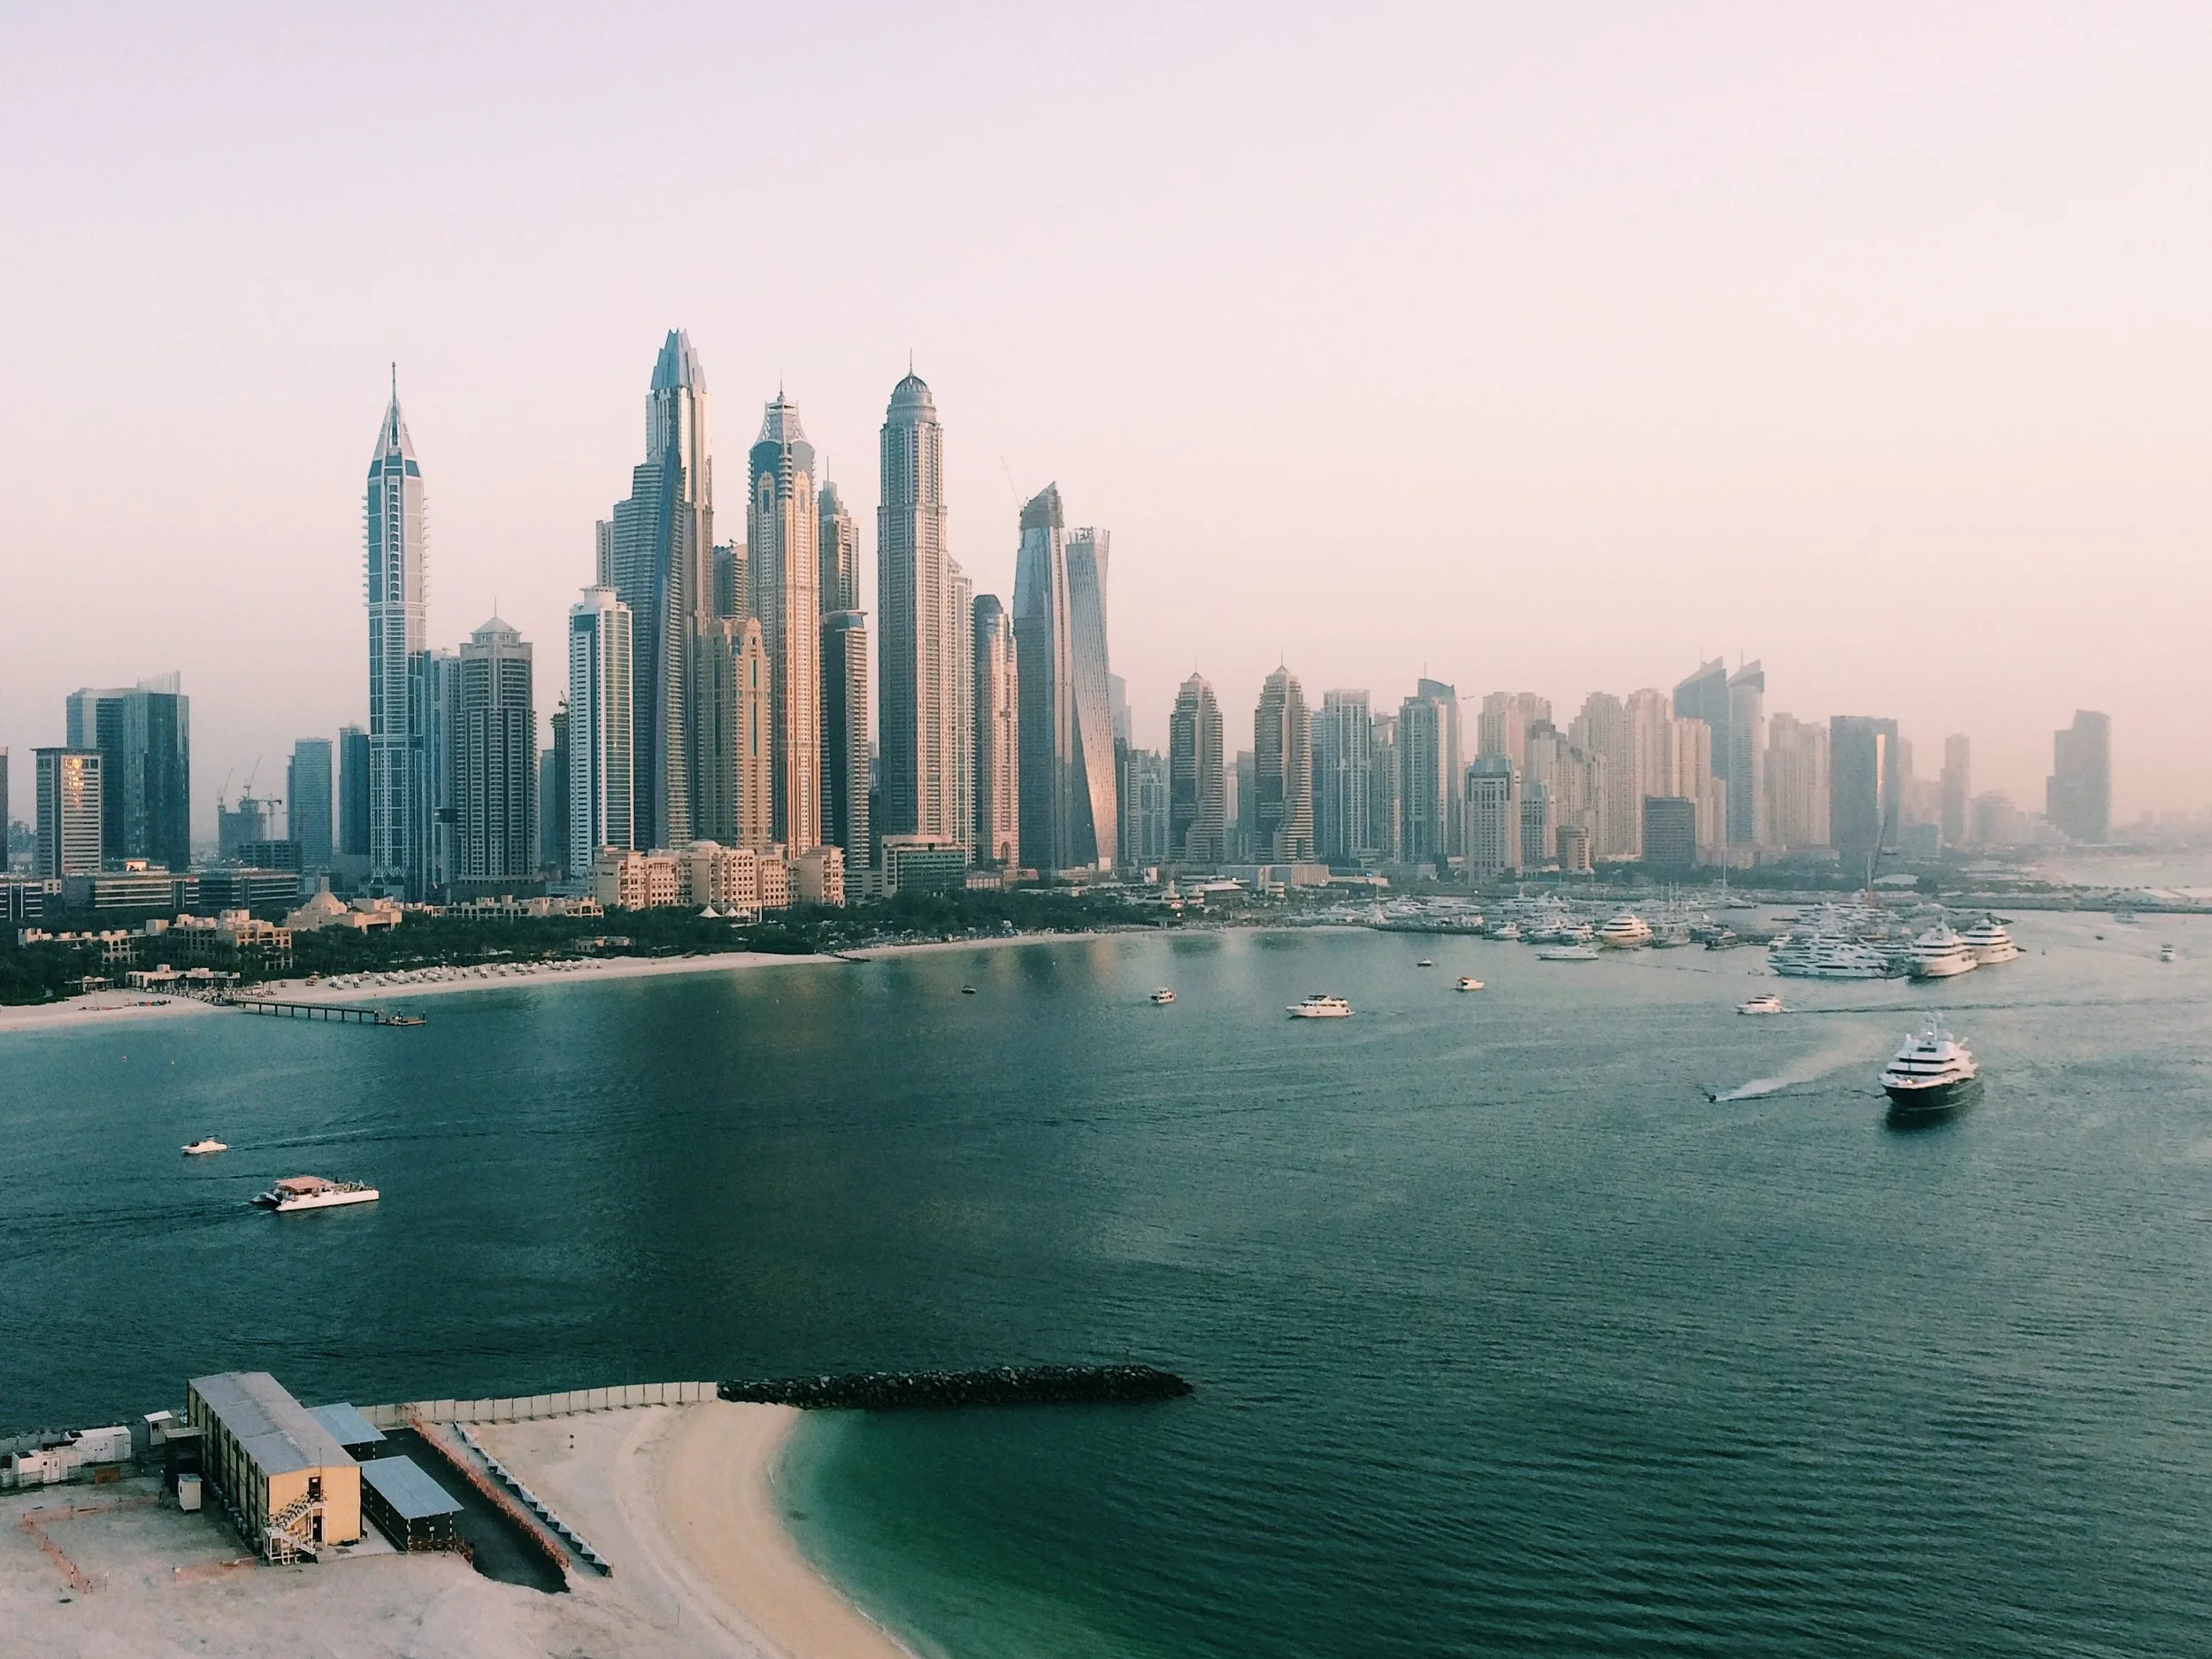
That was the final stop of our tour. We stopped for a lunch and then headed back to Mendoza where my dad and I slept and woke up the next morning to hop on a plane back to Sydney! I was home in Sydney for a couple of weeks before heading off yet again this time to Dubai, Lebanon and followed by Poland! It's been a busy year this year!
I filmed vlogs every single day while I was in Argentina, they’re all up on my YouTube Channel if you want to see!
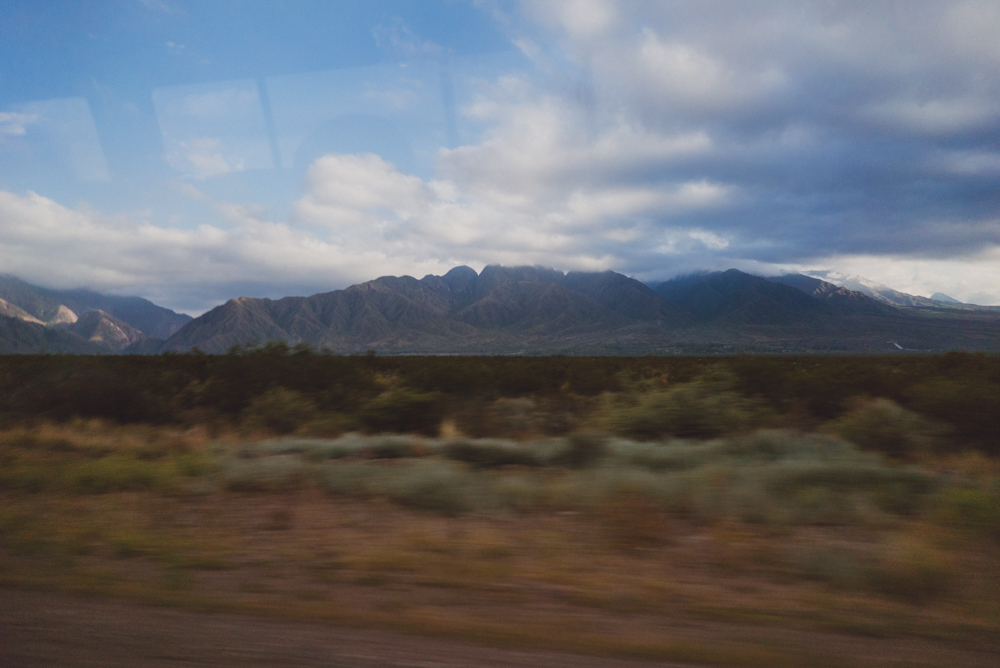
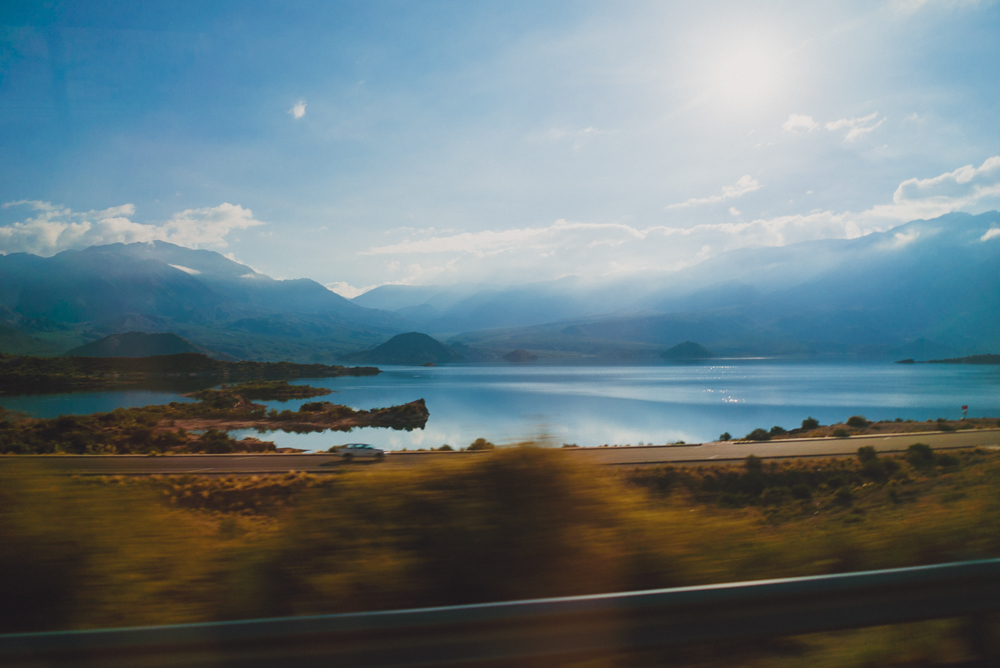
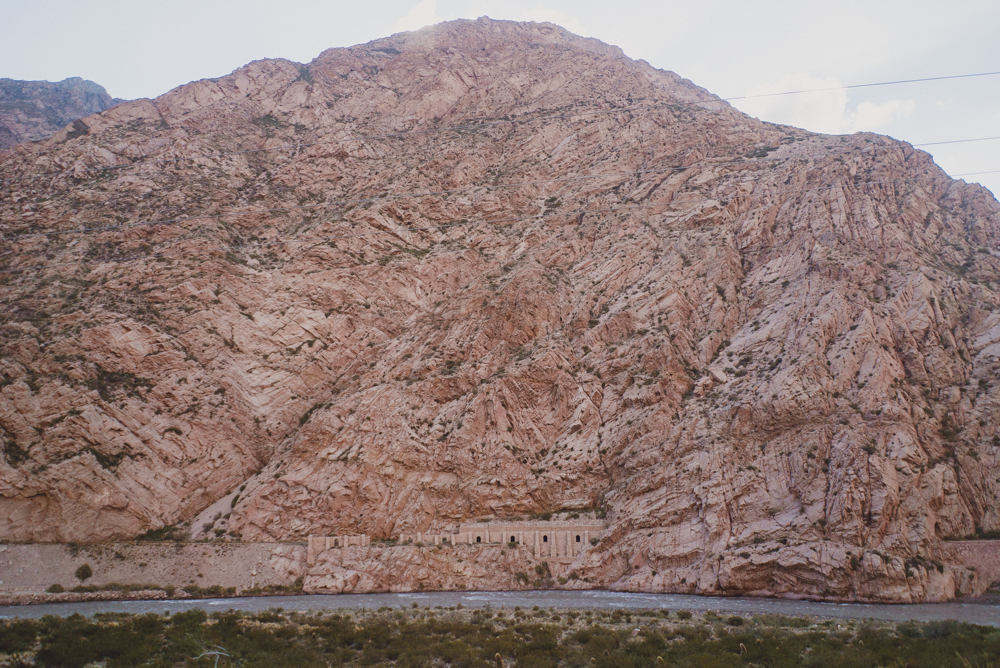

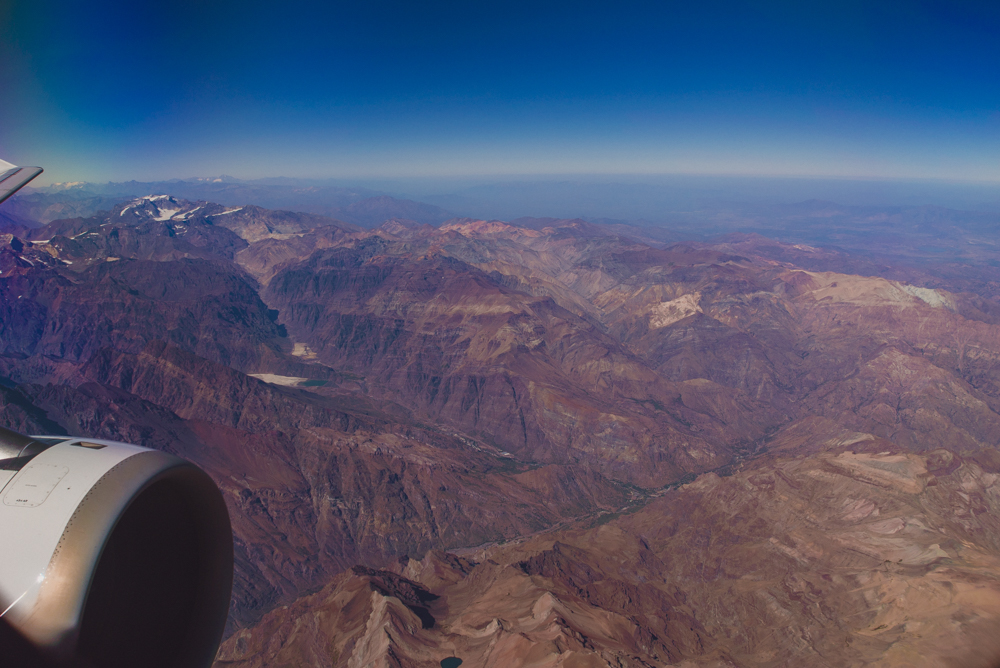
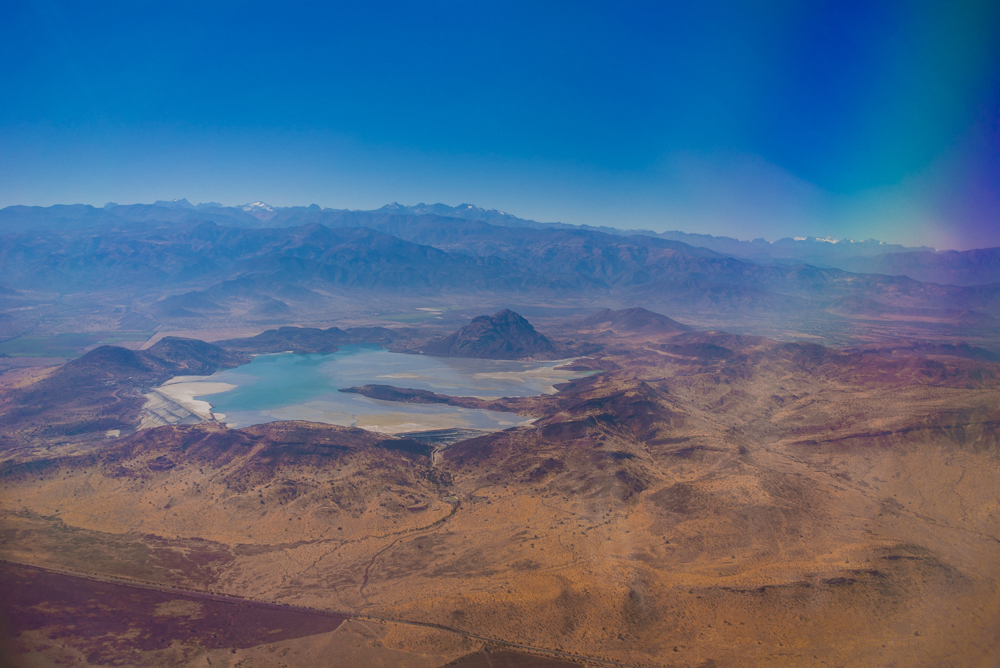
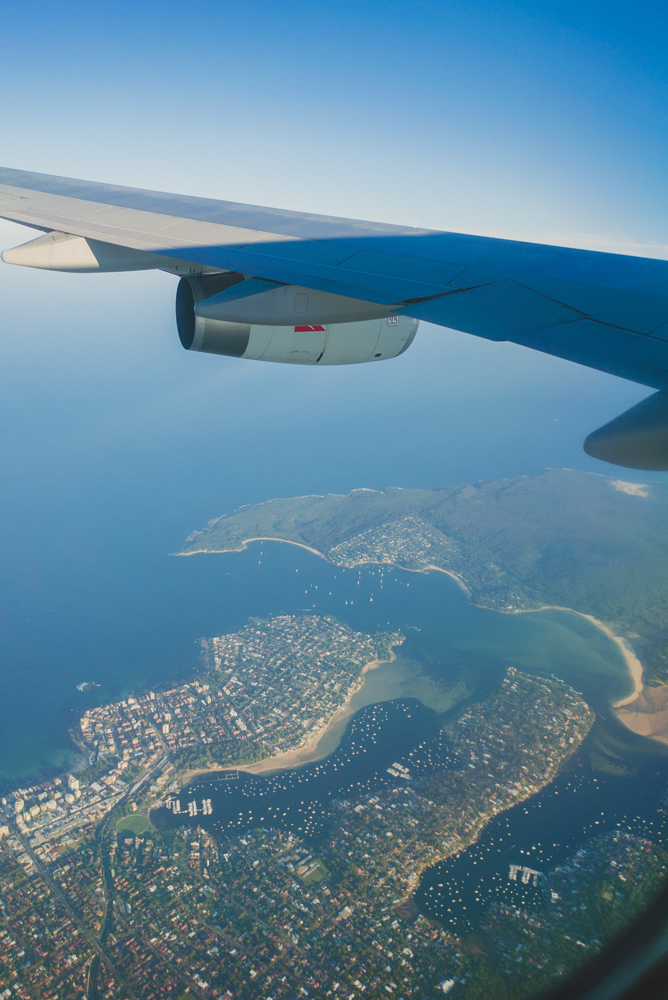
All photos edited with my Gdansk Lightroom Preset!
During this photoshoot, I’m using the Sony A7IV paired with the Samyang 24-70mm f2.8 zoom lens. This zoom lens gives me a lot of flexibility while shooting as it allows me to capture both wide and tight compositions without changing lenses. This is especially helpful is fast paced environments or when taking photos on a time crunch. While taking portraits, I’m also sharing a few of my go to composition tips for working with a standard zoom like this.
I spent a morning doing landscape photography around Lake Bled in Slovenia using the Sony A7IV with the GM 35mm f1.4 lens.
In this video, I want to share with you reasons to help you decide wether you should be upgrading your camera body or your lens and which one to do first. I’ll walk you through the key factors to consider when deciding between each option.
For this portrait session, I am using the Zeiss 50mm f1.4 on the Sony A7 IV, capturing backlit images on the beach during golden hour. The combination of the lens’s wide aperture and the warm, soft light of the setting sun helped create intimate, glowing portraits with beautiful light falloff and natural skin tones.
I am comparing the Zeiss 50mm f1.4 vs Zeiss 55mm f1.8 at a real-world portrait photoshoot. I share various different side by side photo comparisons at 100% crop, so you can see all the details.
For this portrait photoshoot I am using the Fujifilm X-T4 paired with two of my favorite prime lenses: the Fujinon XF 16mm f/1.4 R WR and XF 23mm f/1.4 R LM WR.
I captured these photos of Megan Emmett for the Candice Lee Femme Collection. You can see more of Candice Lee’s bridal gowns and hair styling work here.
This blog post includes some of my favourite photos I took during my time in Japan with the S5II. If you want to hear my complete thoughts and review of the S5II capabilities for photo and video, you can watch my review video here.
In November, I was invited to Japan by LUMIX to attend the LUMIX Global Summit for the announcement of the new LUMIX S5II. Paired with the new camera body and an array of lenses, Dan and I took to the streets of Tokyo, Japan to film our review video of the camera body.
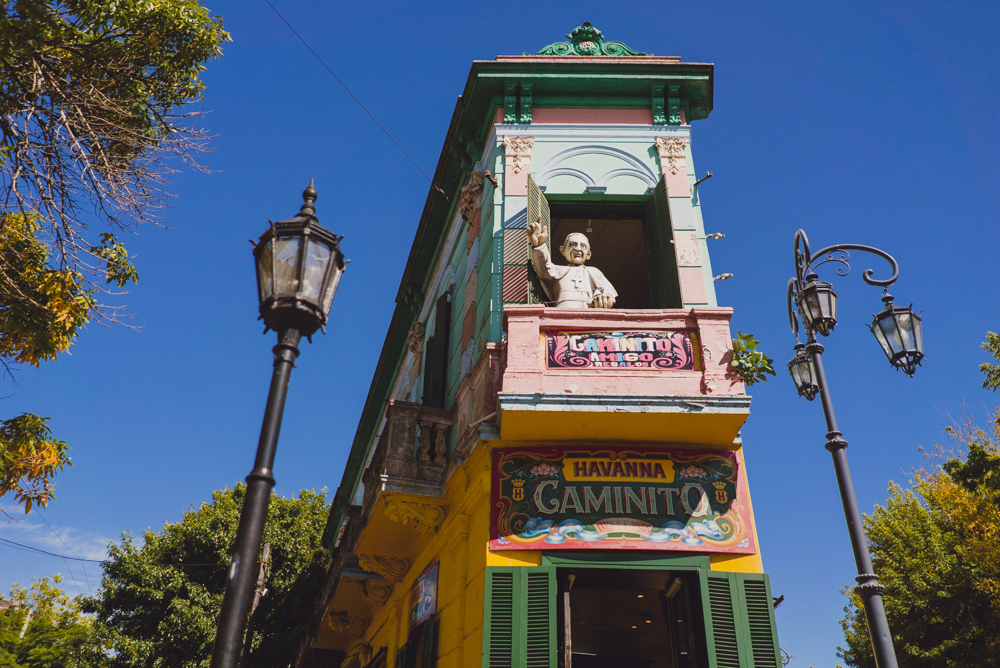
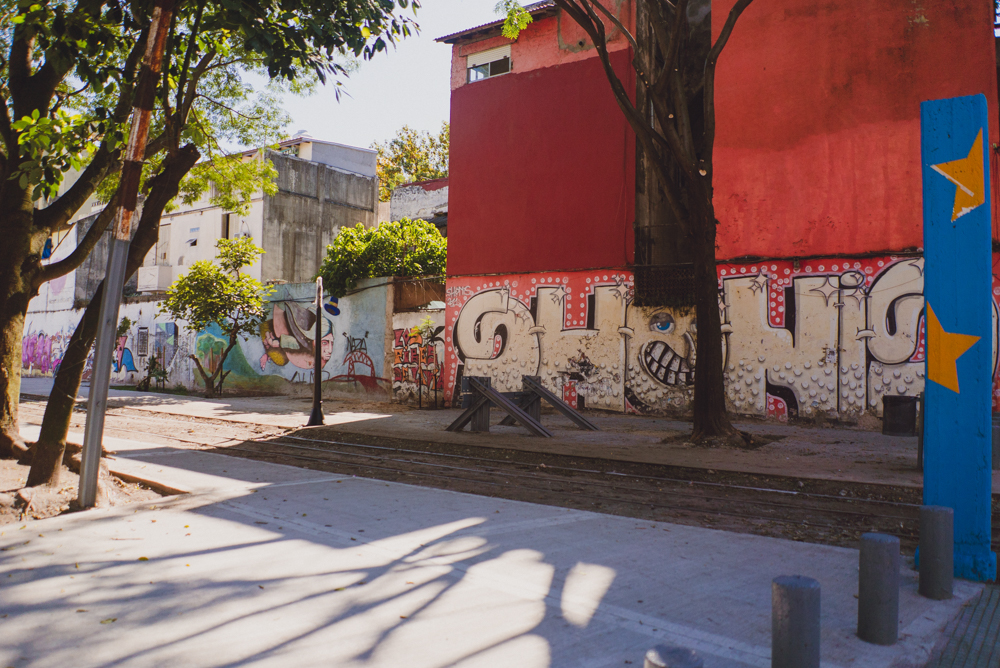
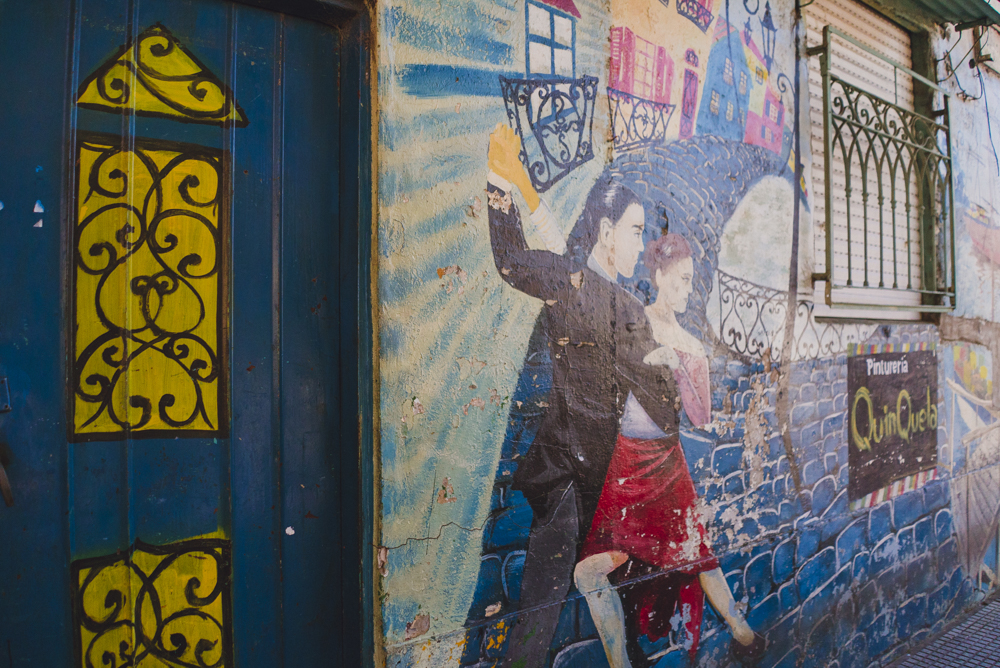
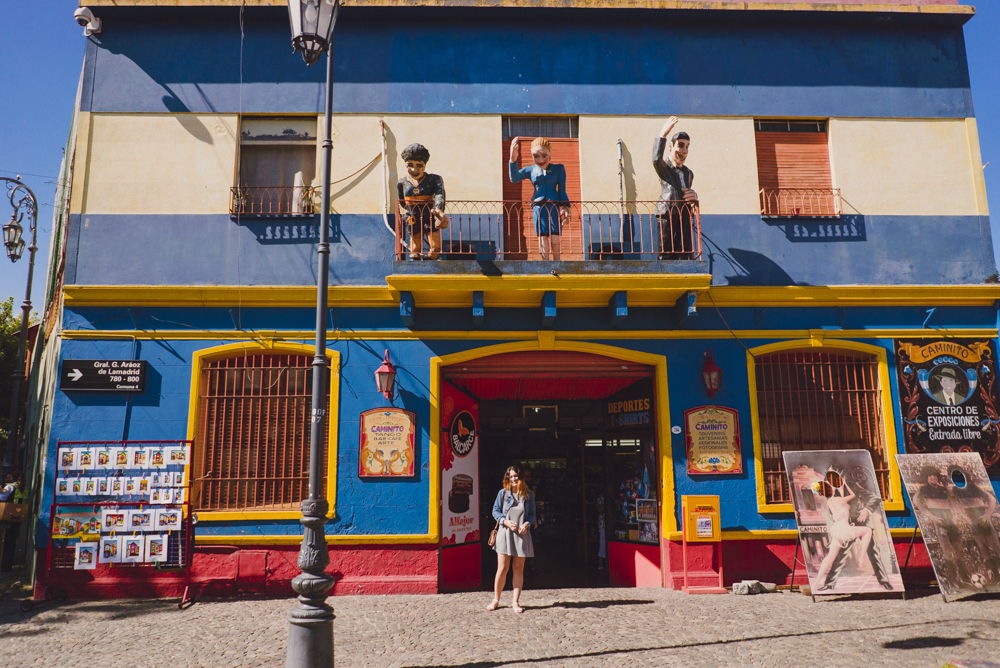
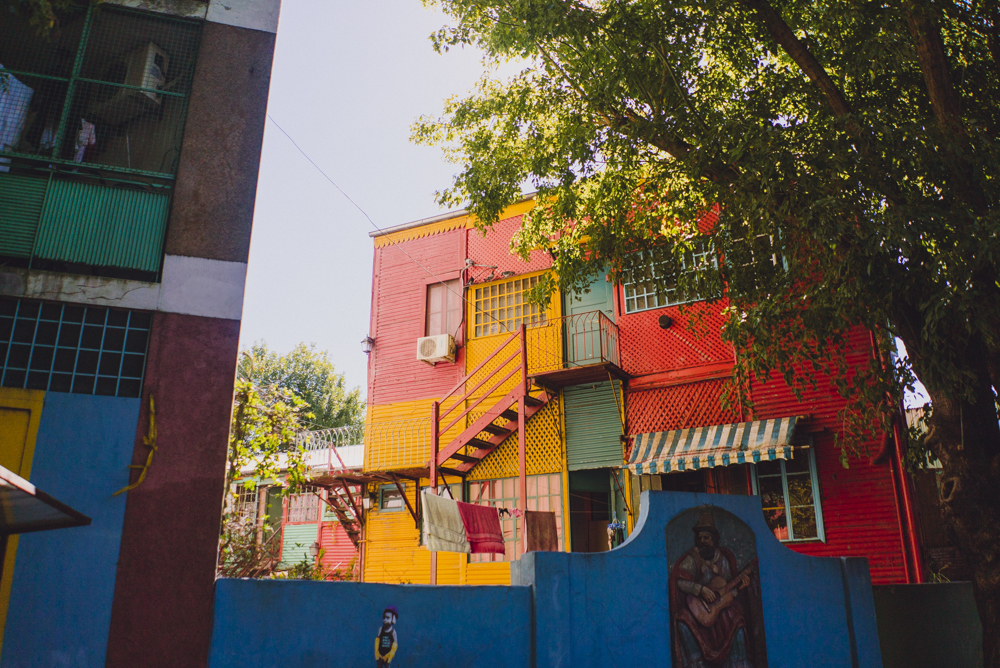
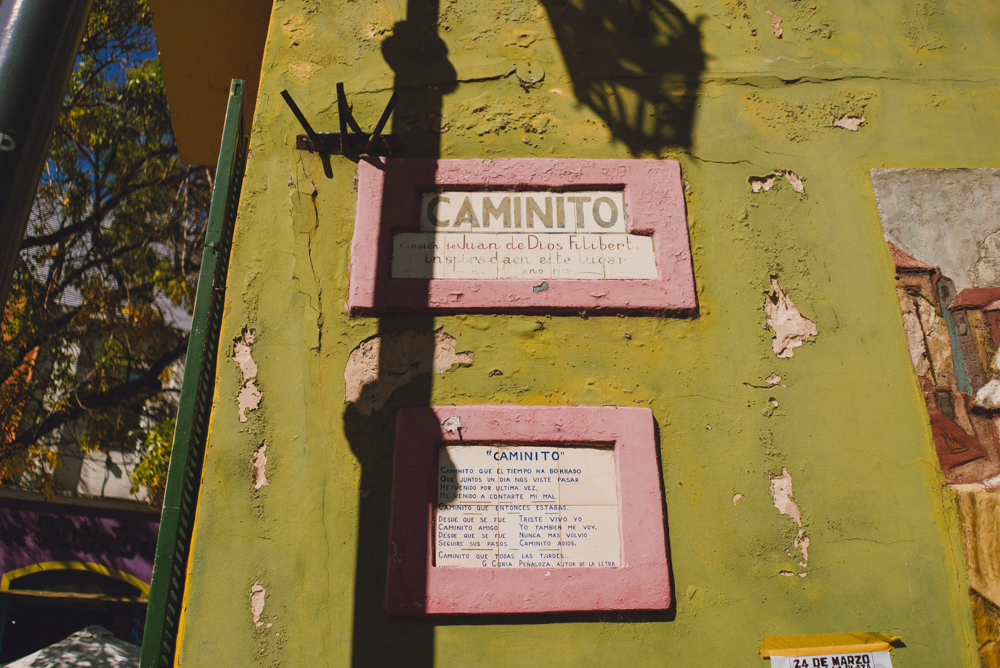
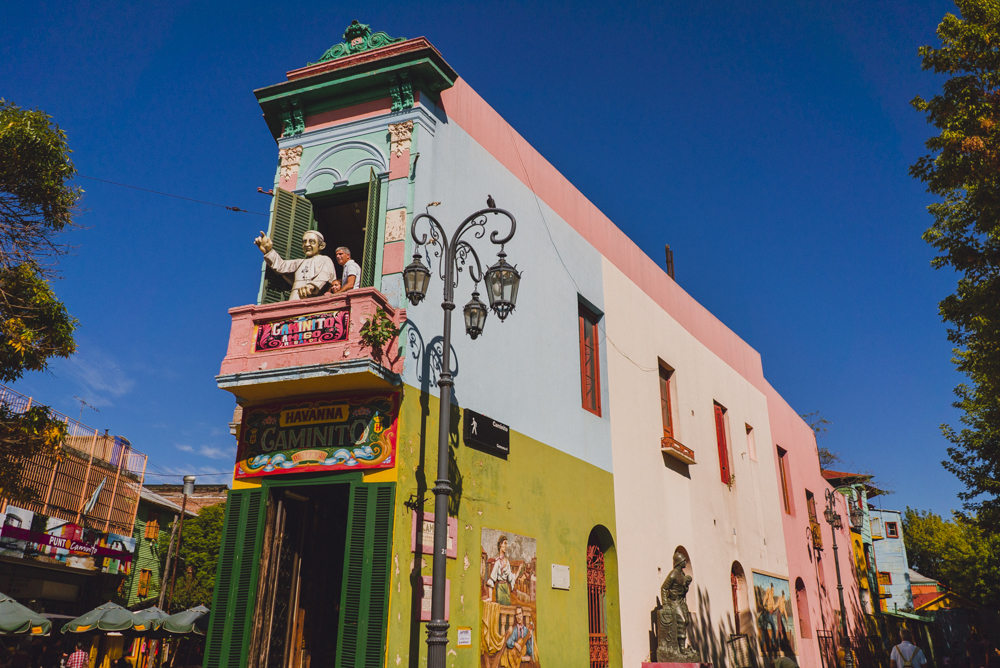
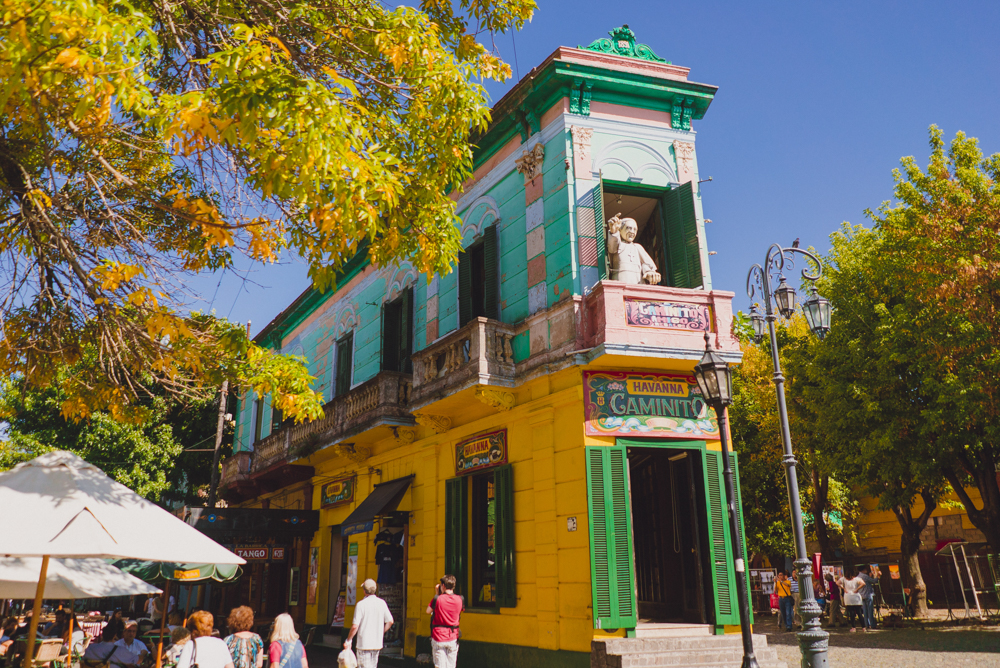
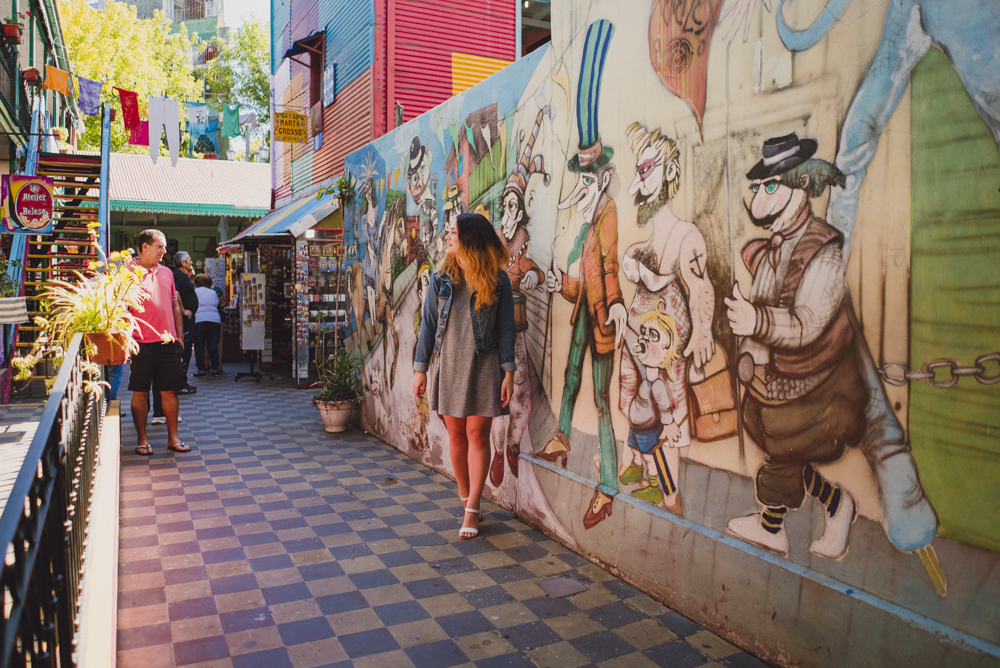
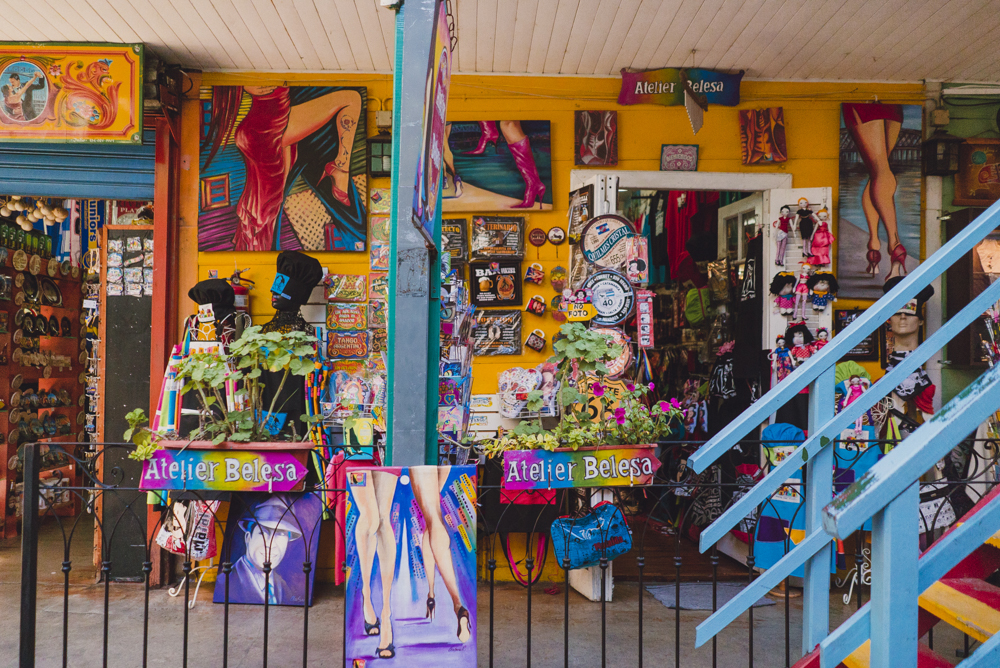
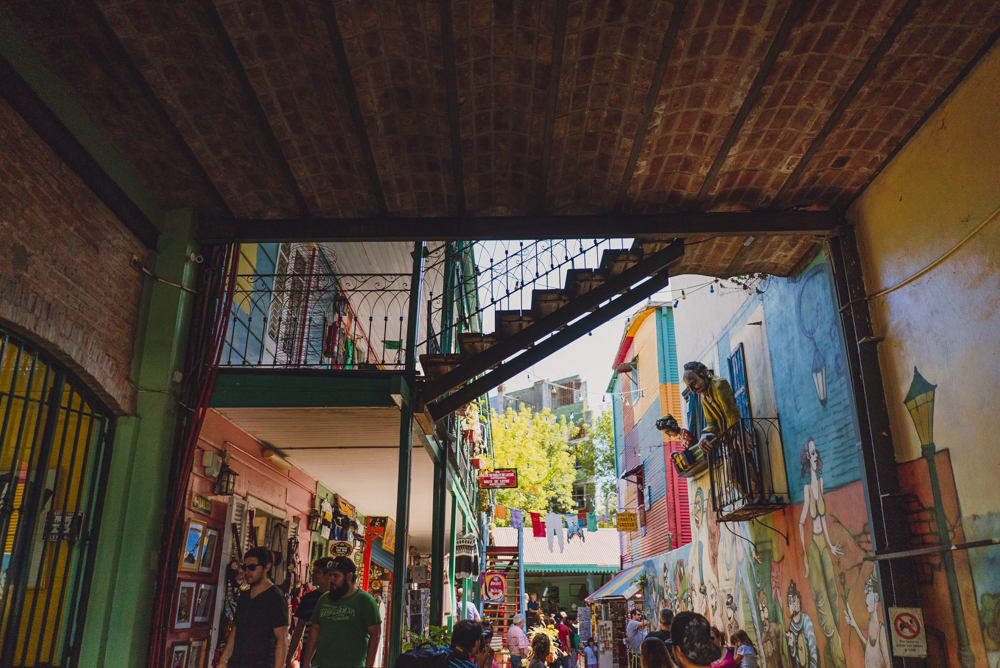
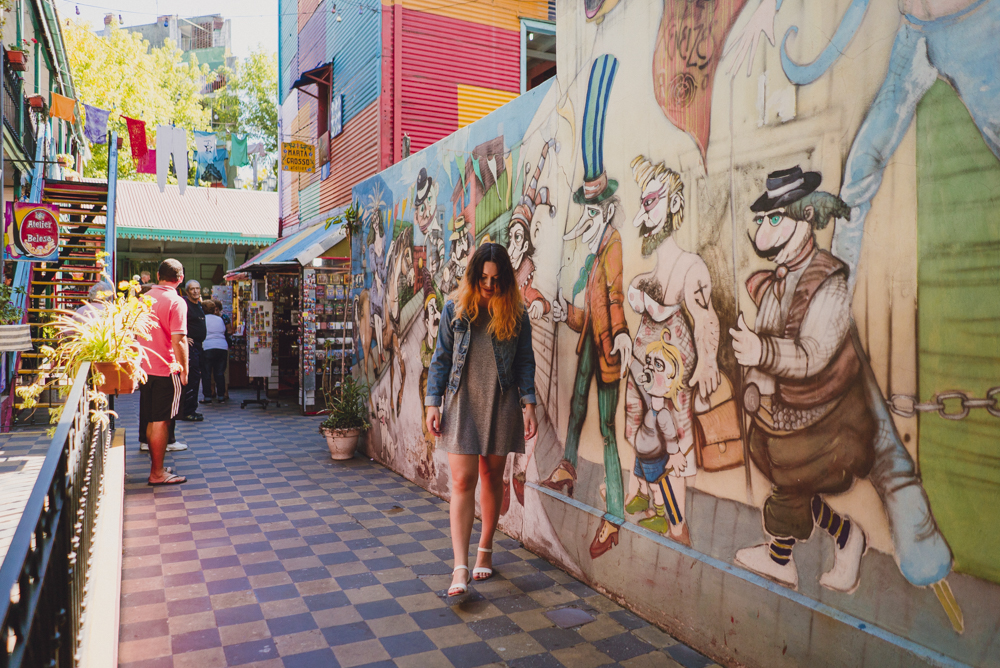
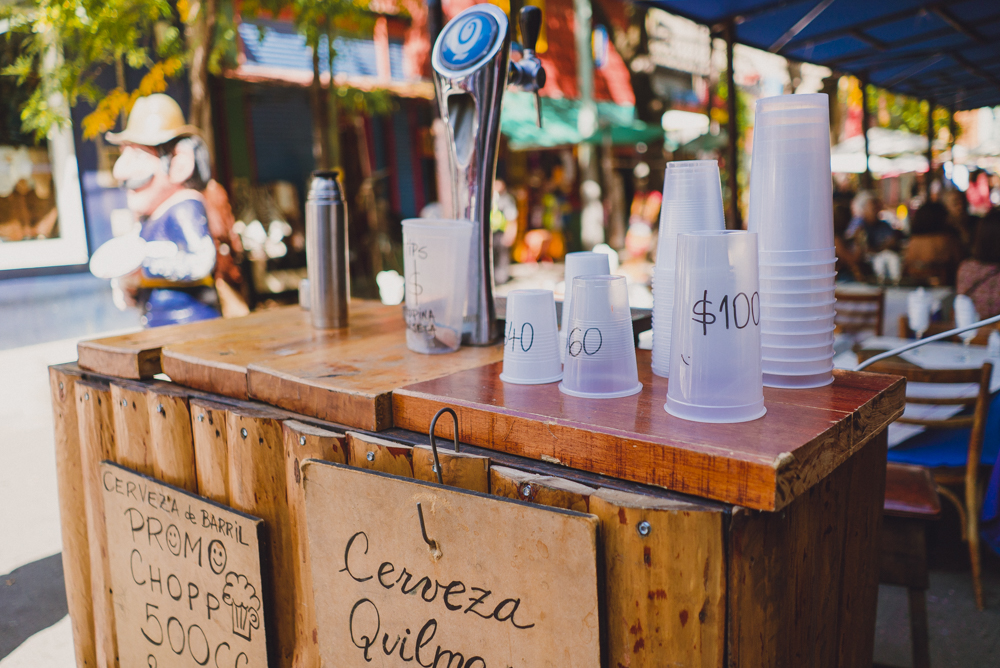
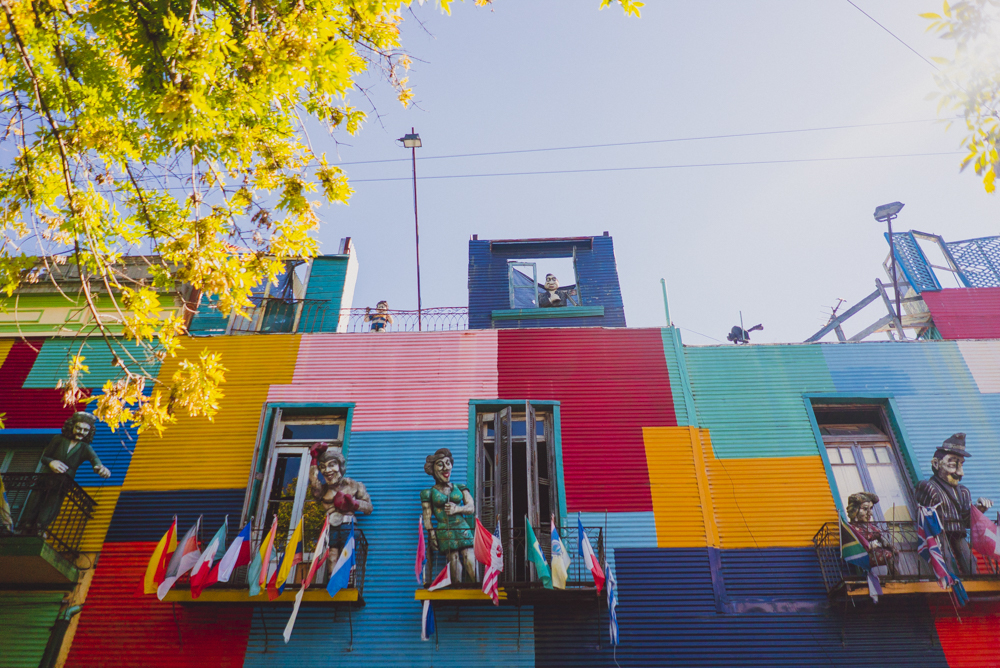
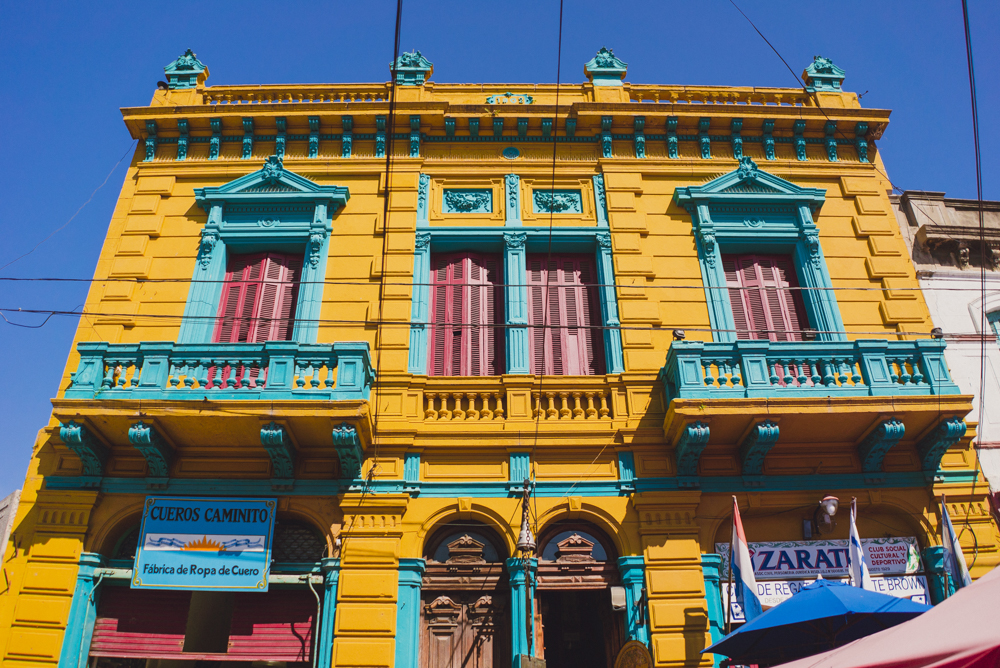
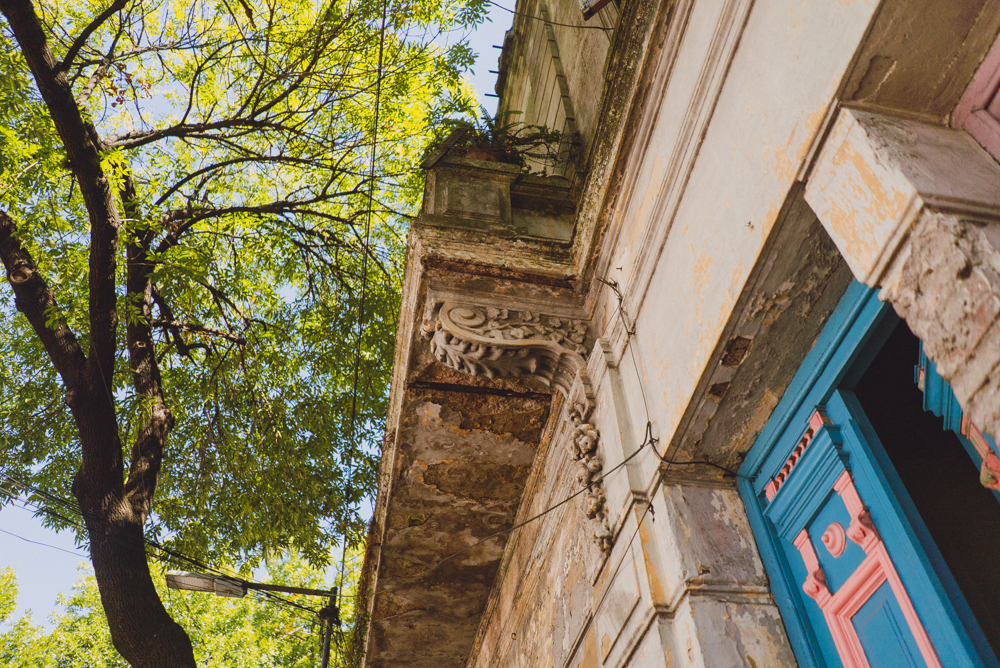
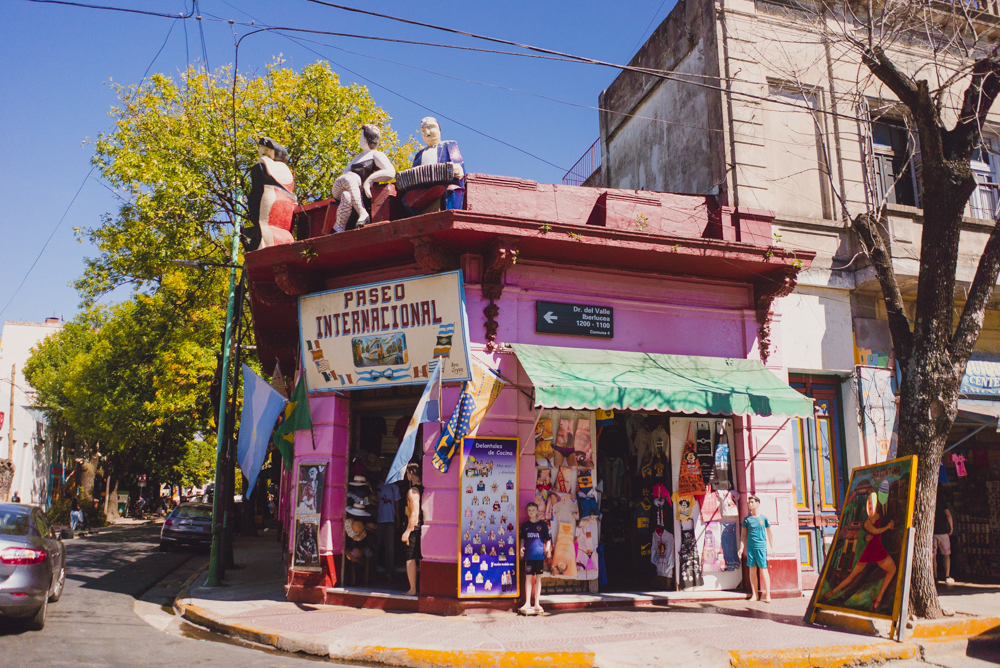
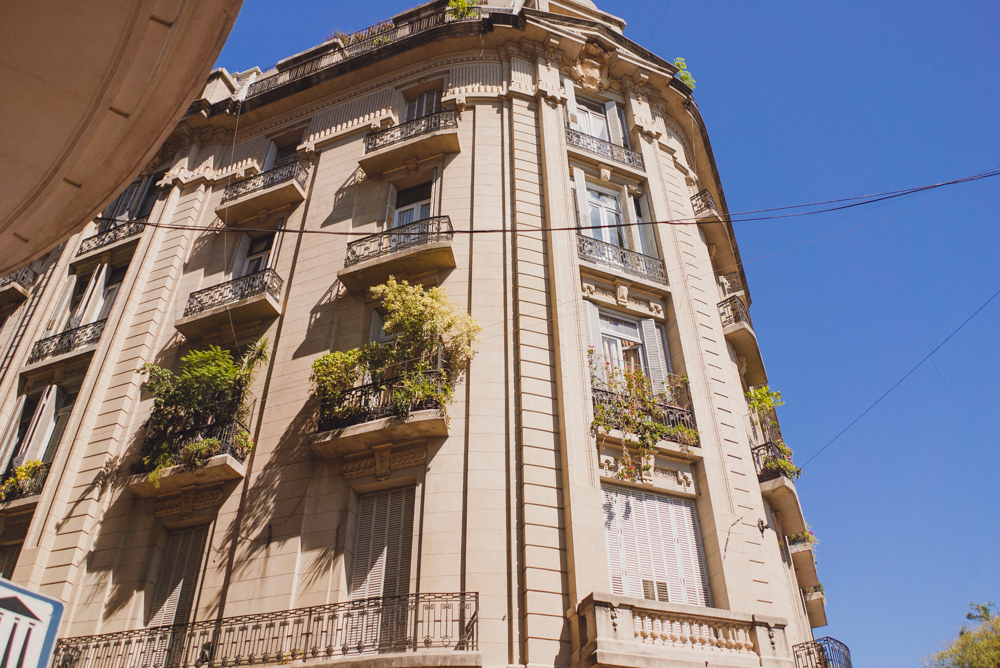
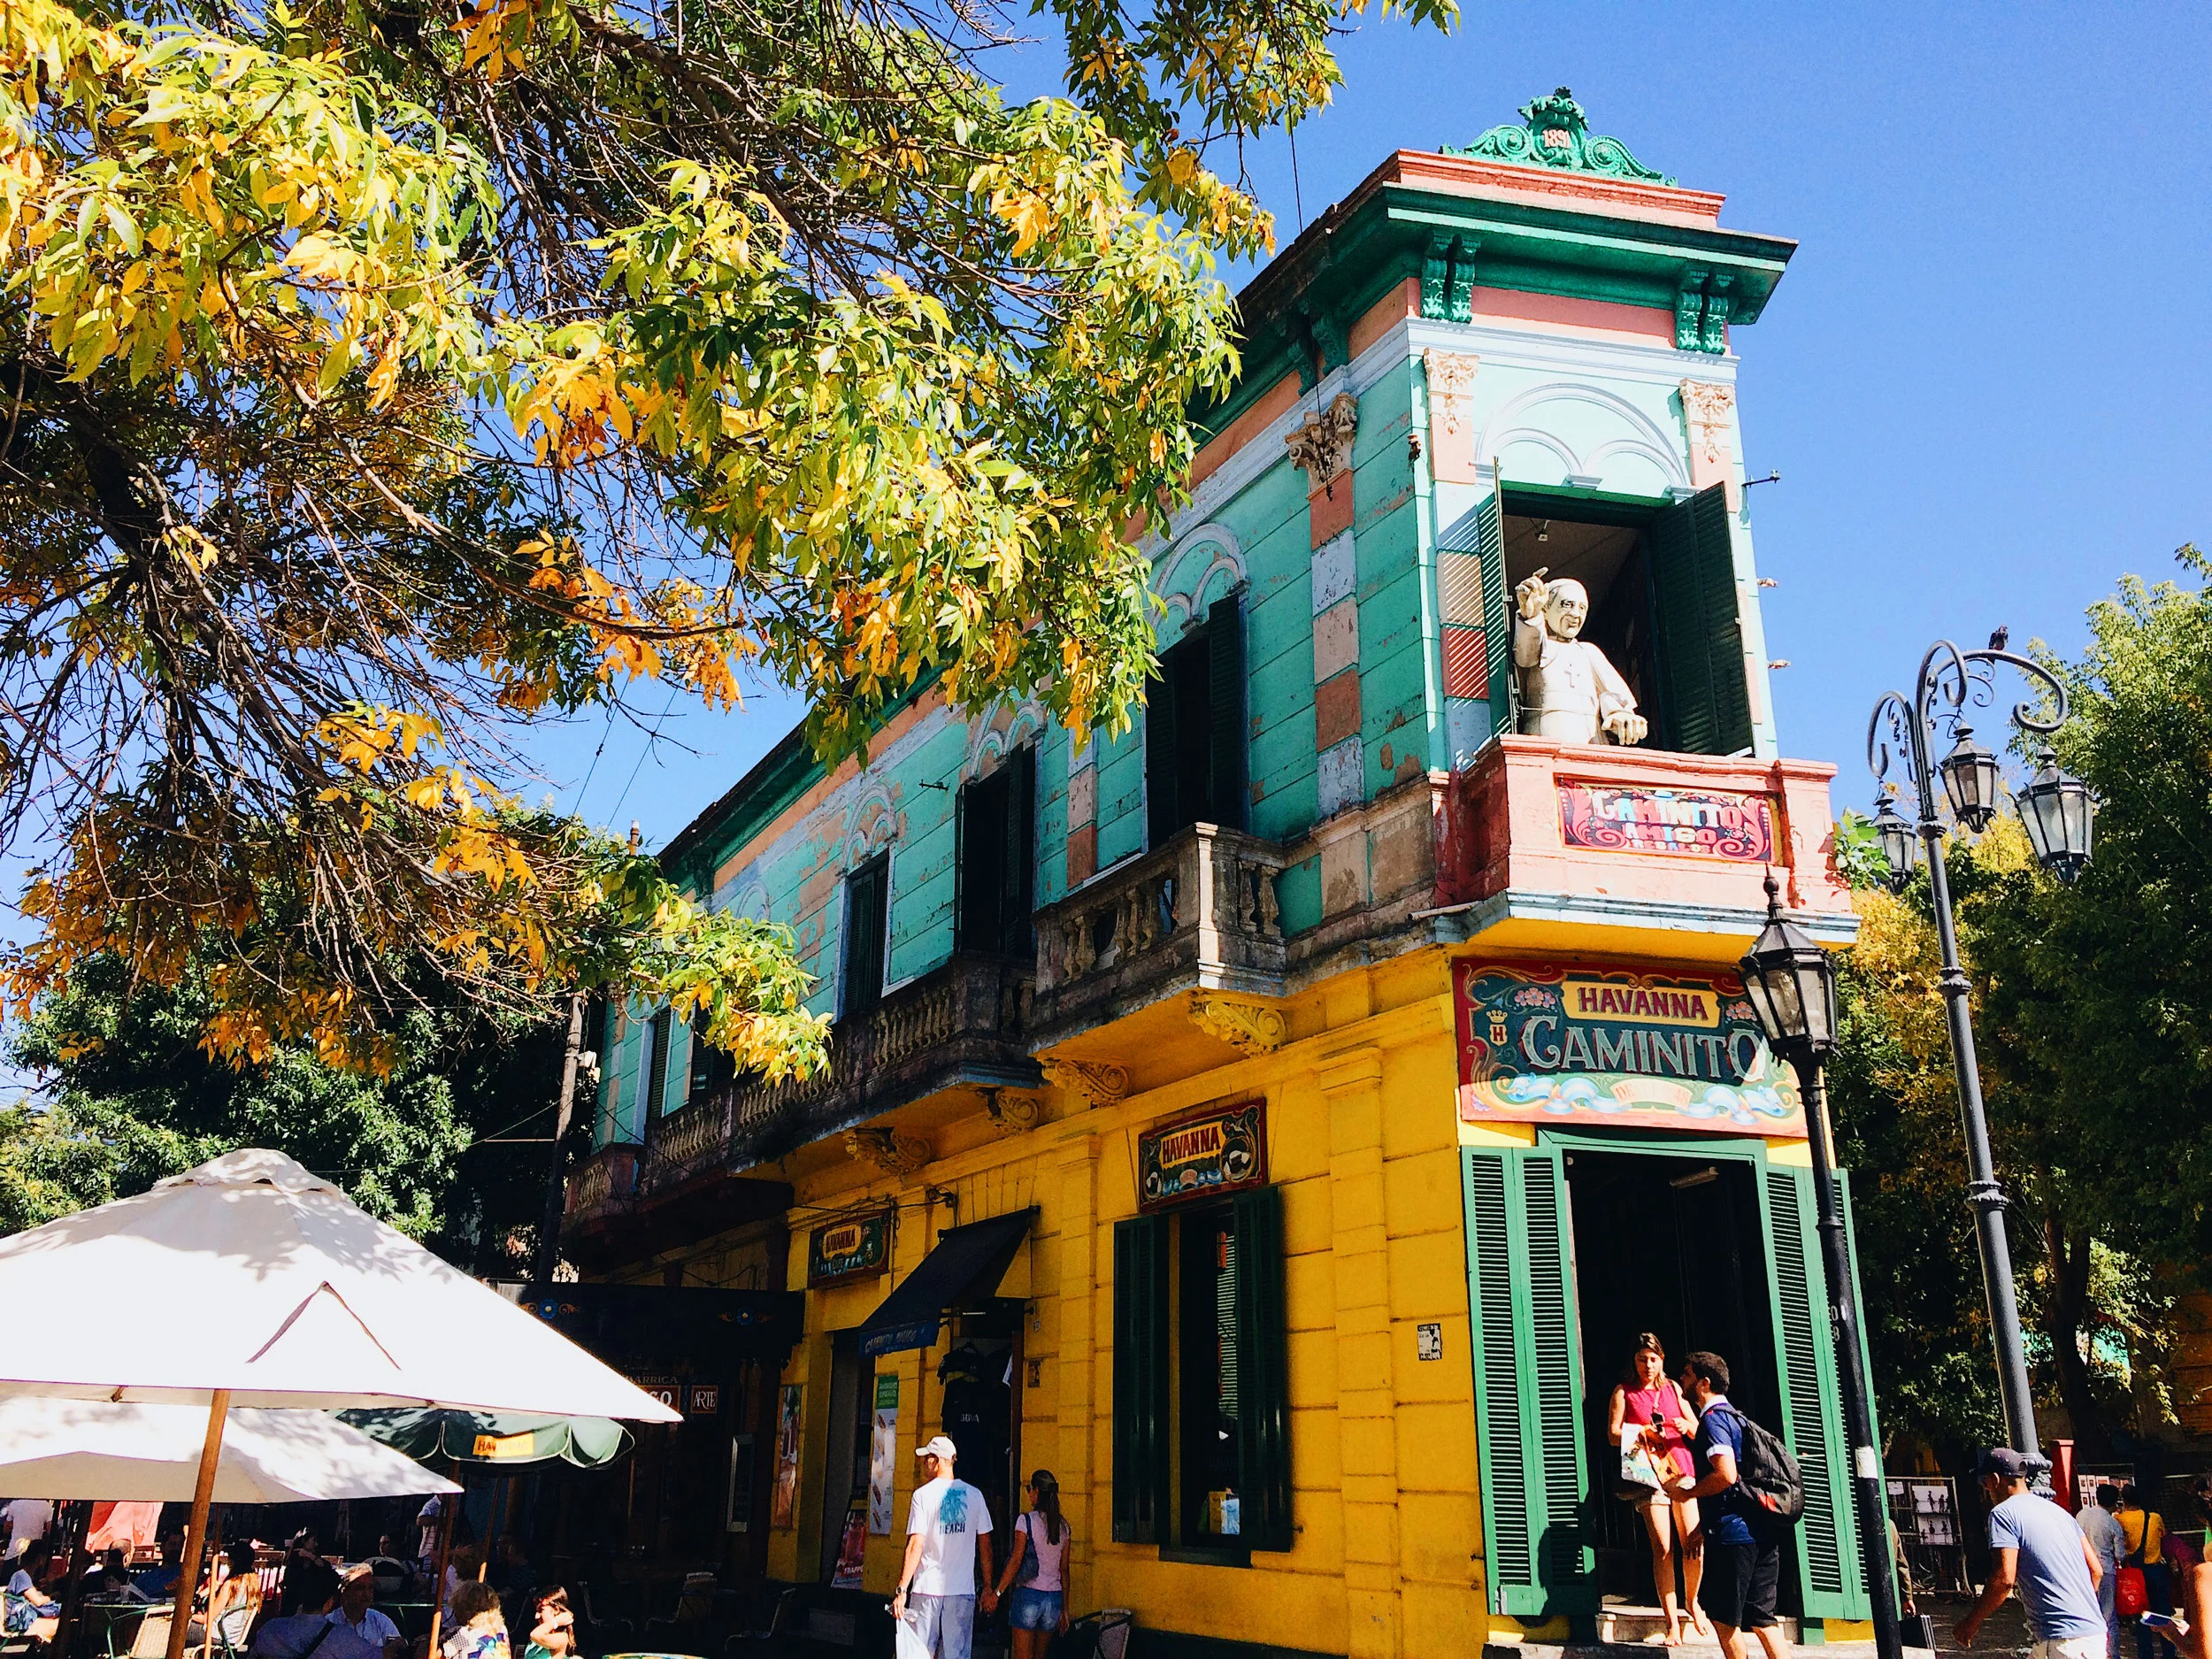
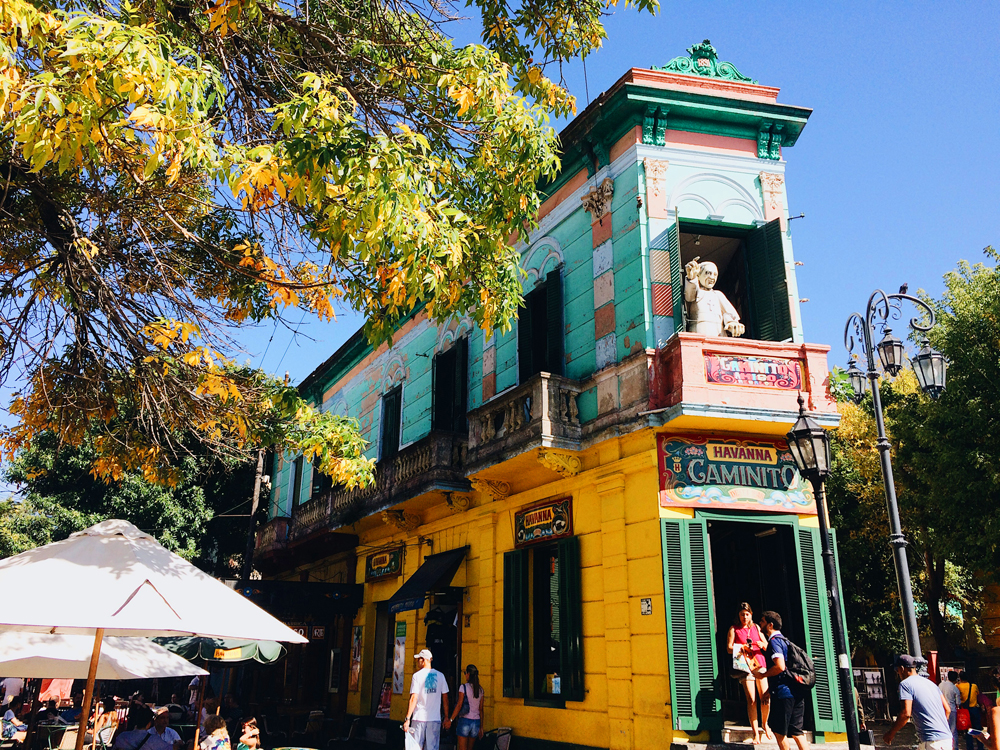
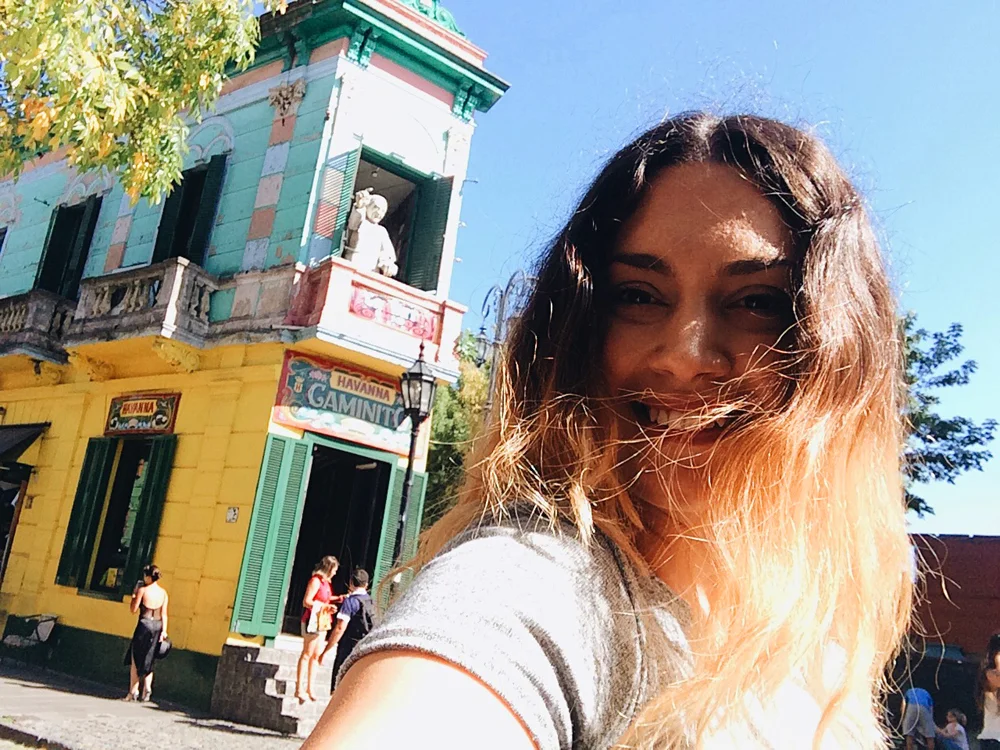
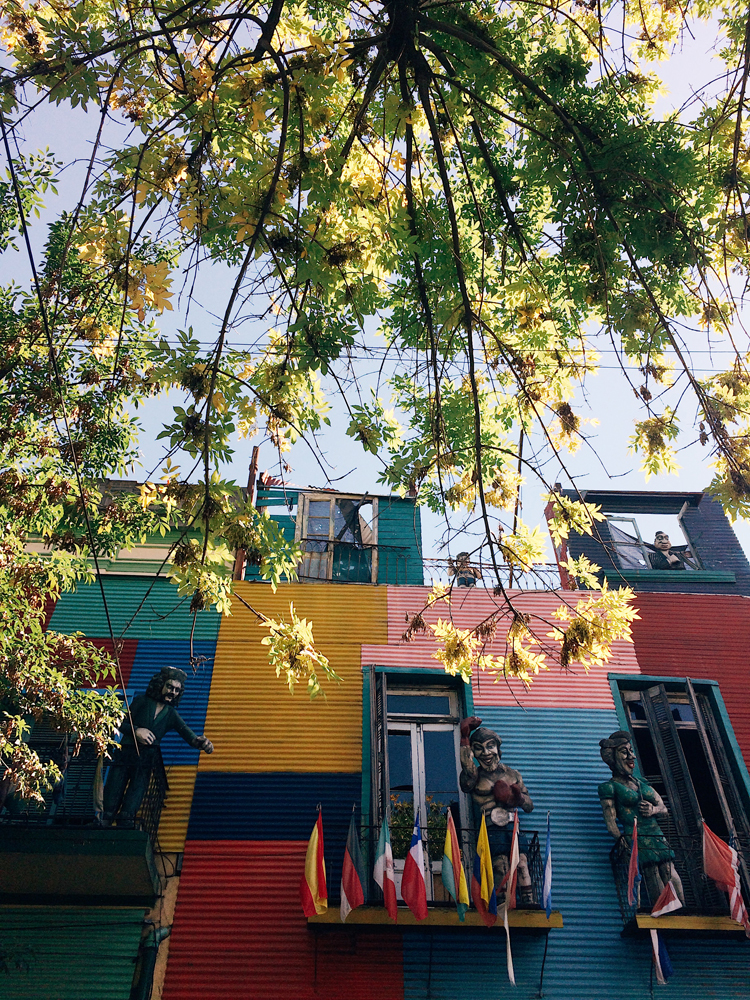
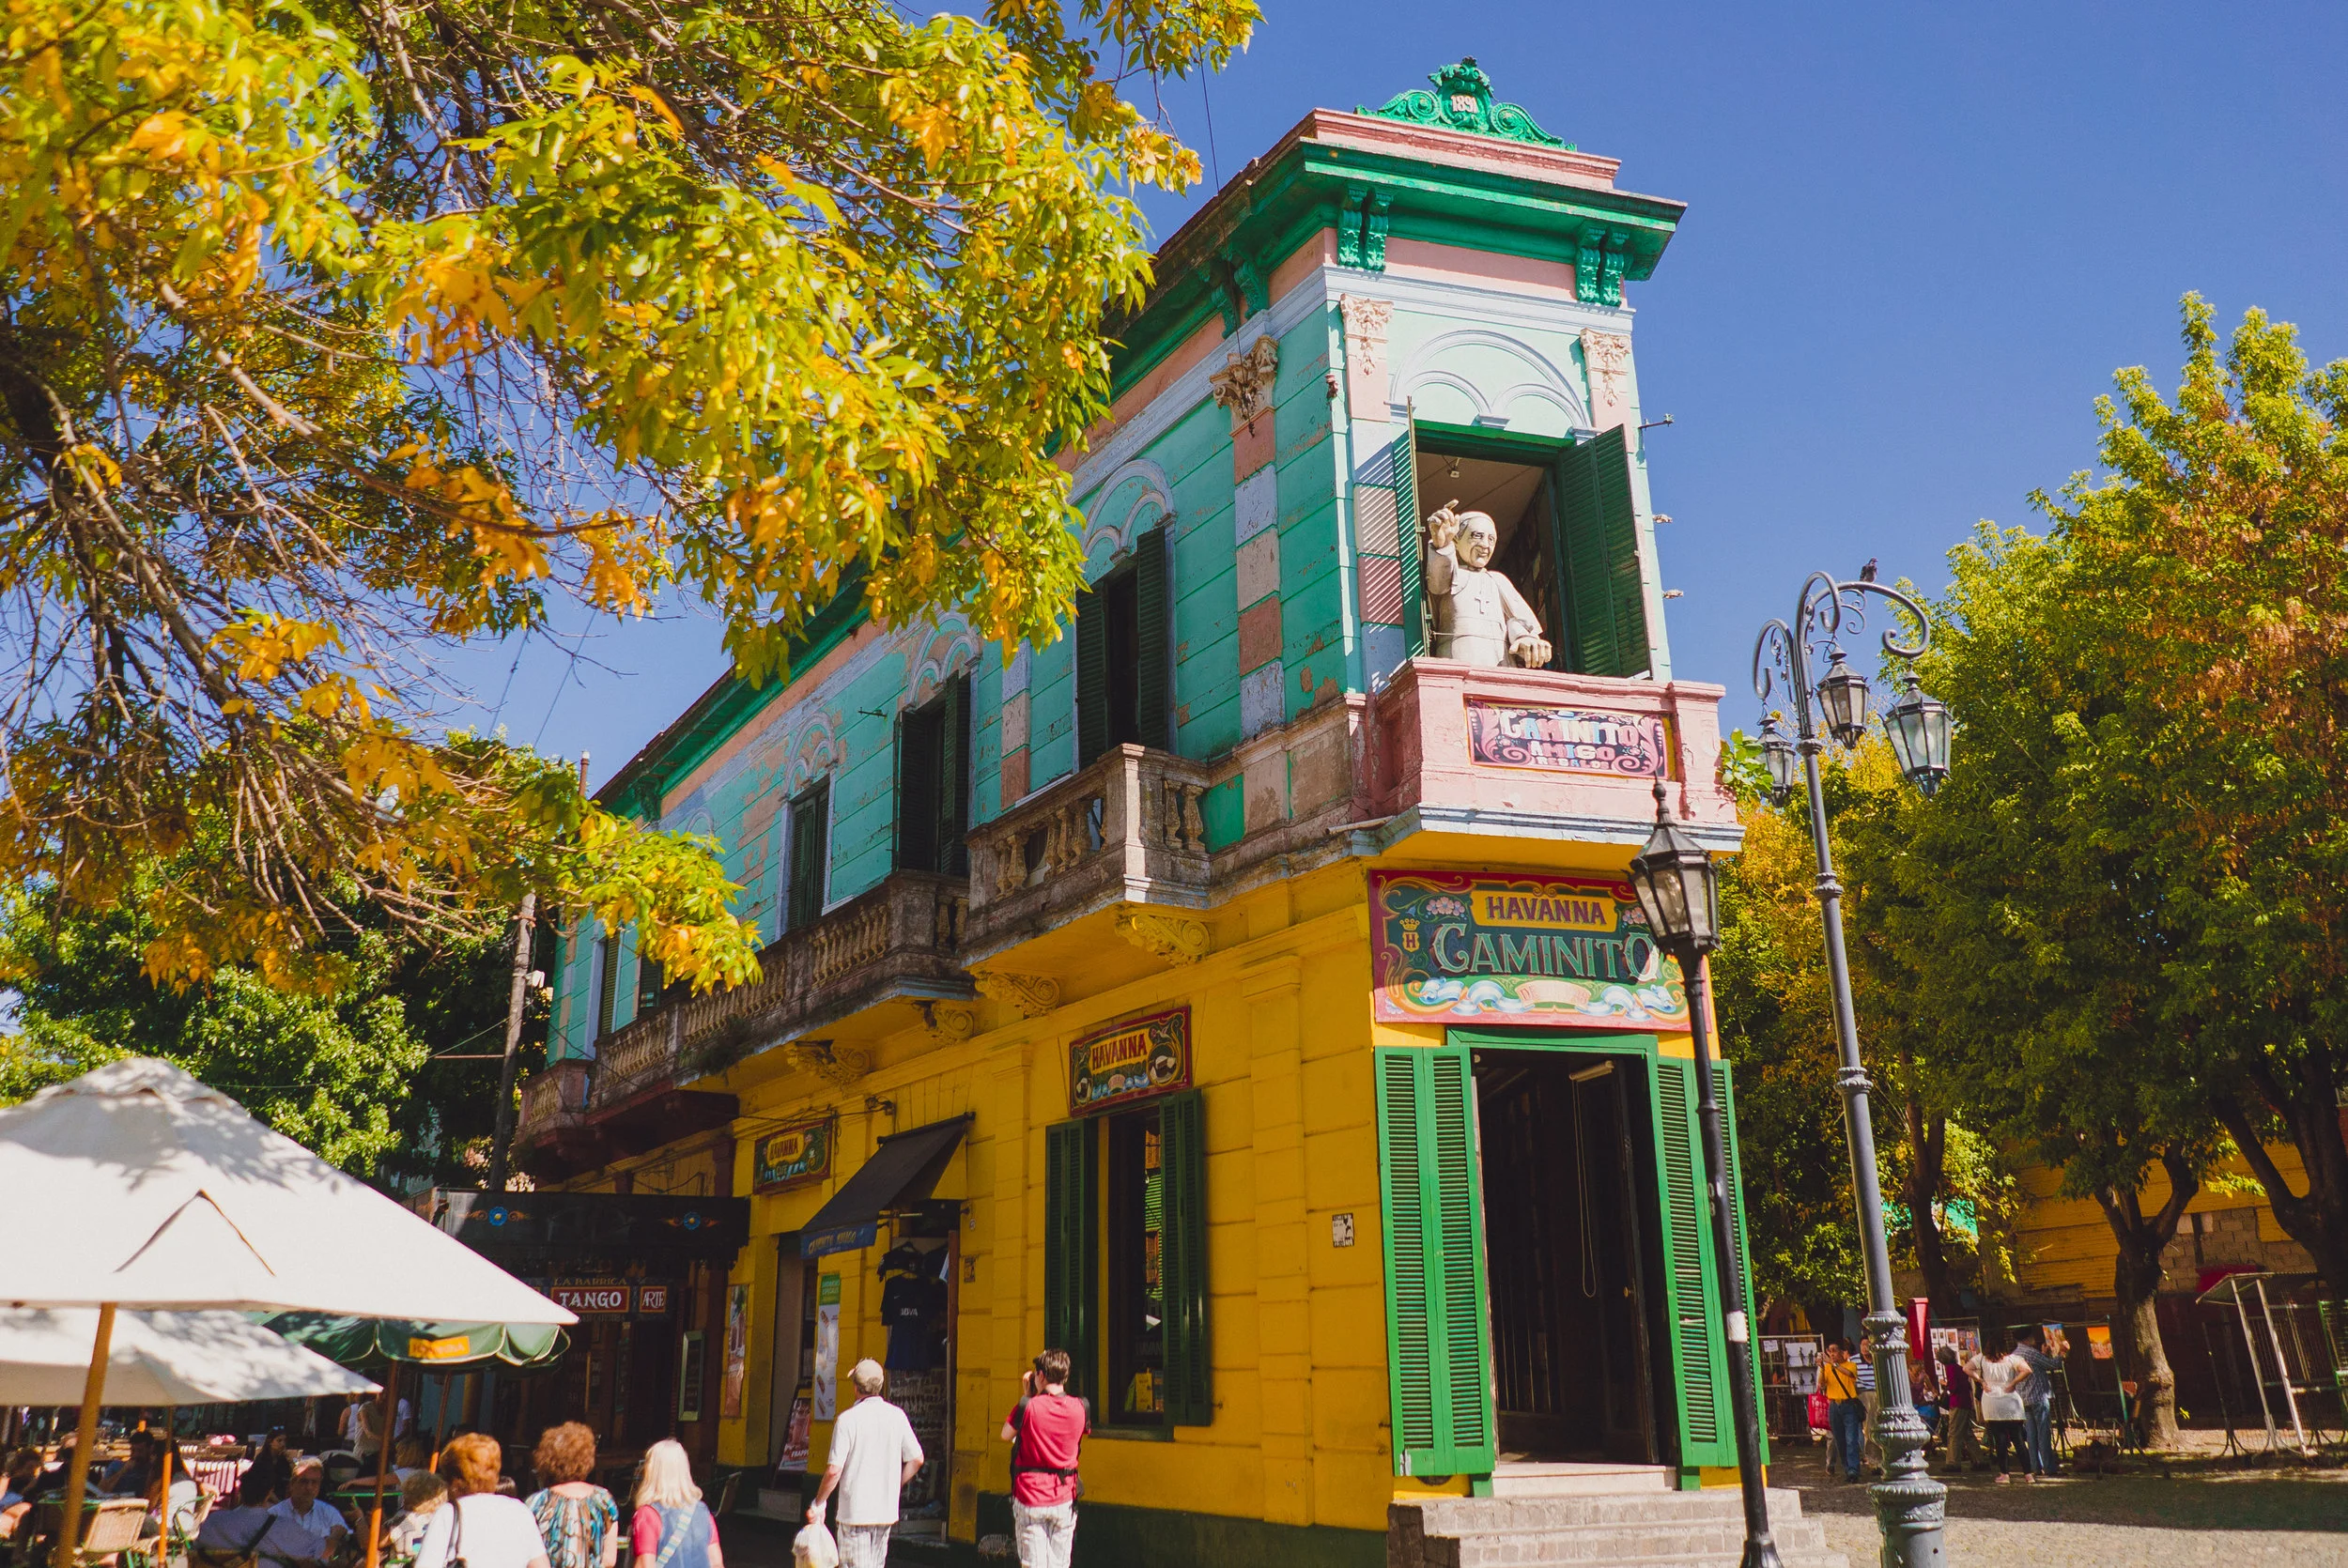
You can read about my time in Buenos Aires in this blog post, but I wanted to dedicate an entire blog post to our morning visiting La Boca. I was blown away with how beautiful this place is, the colourful buildings, the interesting people, the history behind it all - I loved it so much! If you ever go to Buenos Aires I highly recommend that this is a must-visit place!
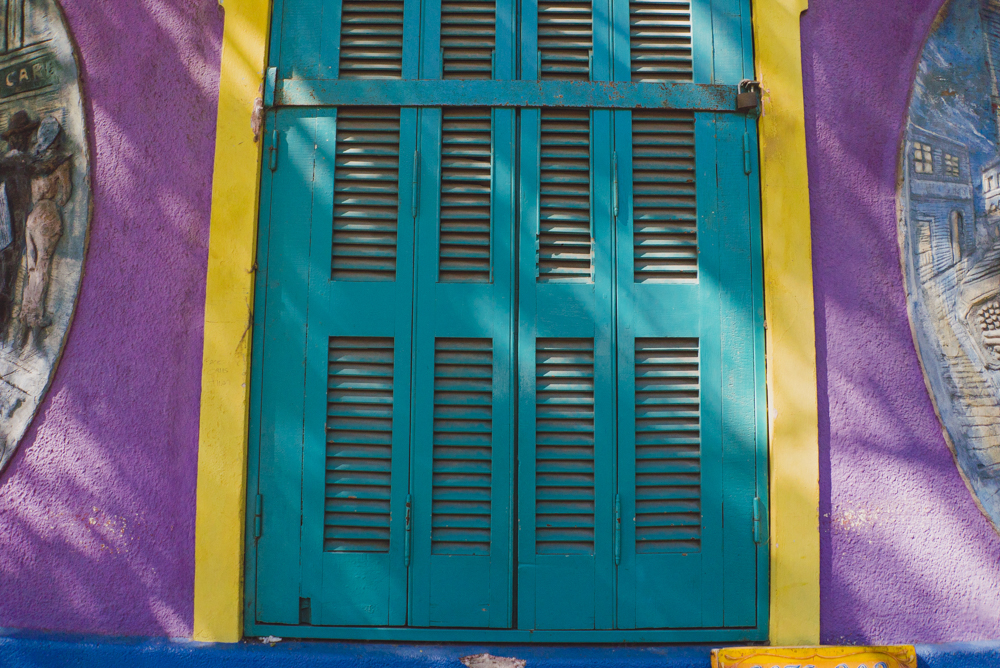
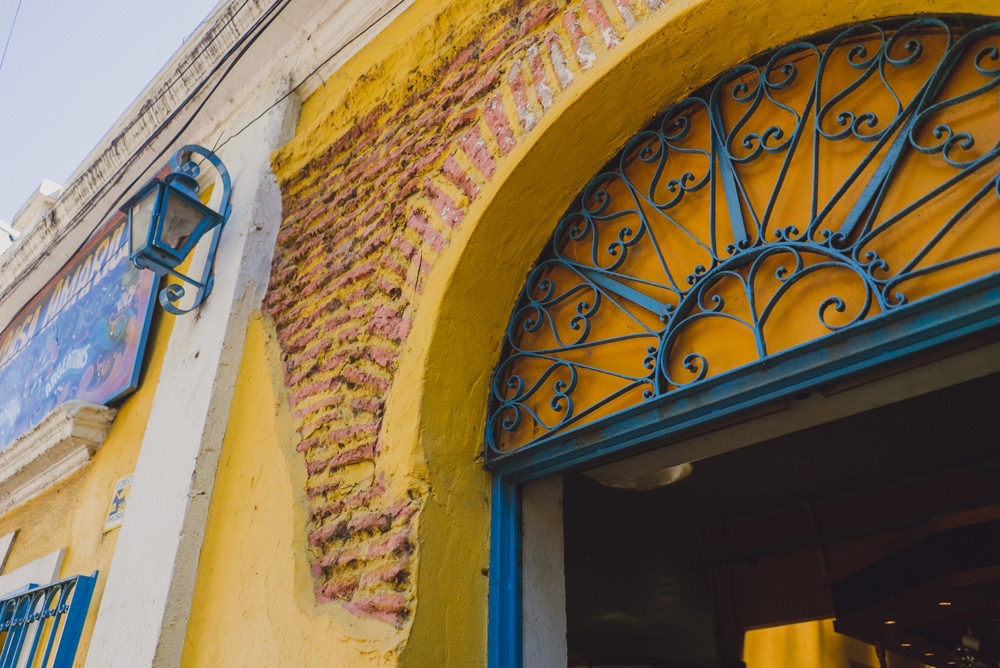
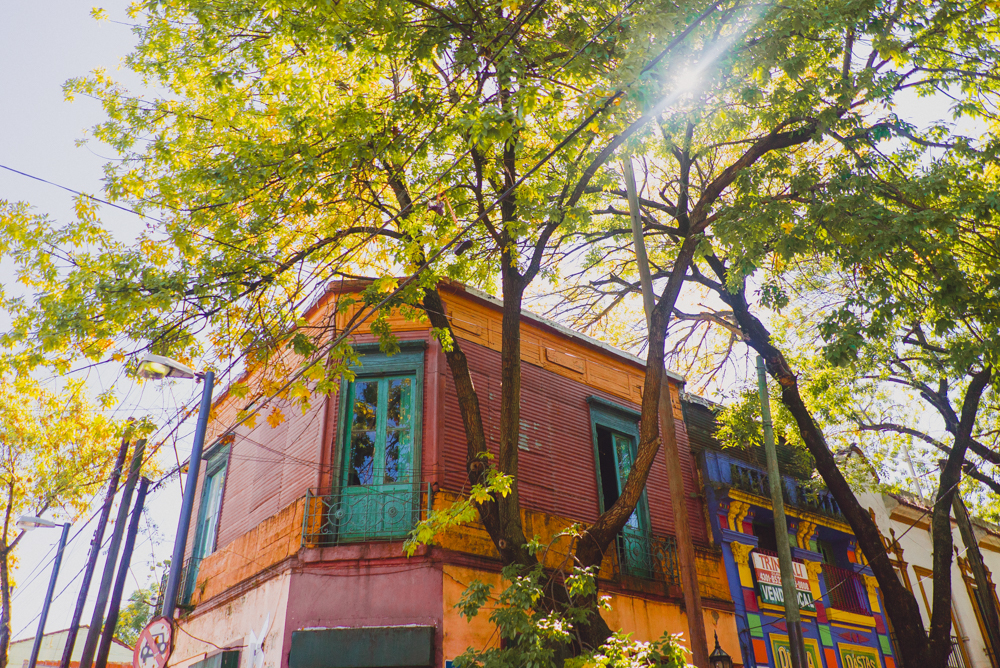
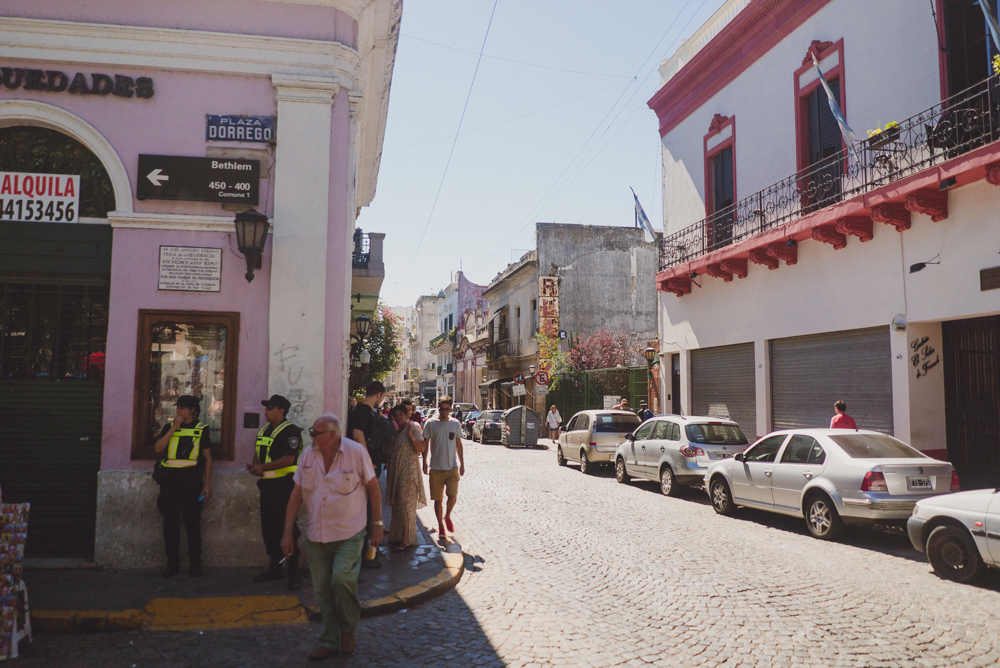
My dad, his friend and I walked through the streets of La Boca and I my eyes were constantly darting around trying to take everything in. The buildings here are painted in the most bright colours you will ever see, there are so many details and figures of people hanging around the town, street artists to watch and so many cute souvenirs to look at. I got to see Caminito which is a narrow street where the Italians first immigrated. If you watch my vlogs, my dad asked one of the street performers who was playing the accordion to play a traditional Argentinian song for me!
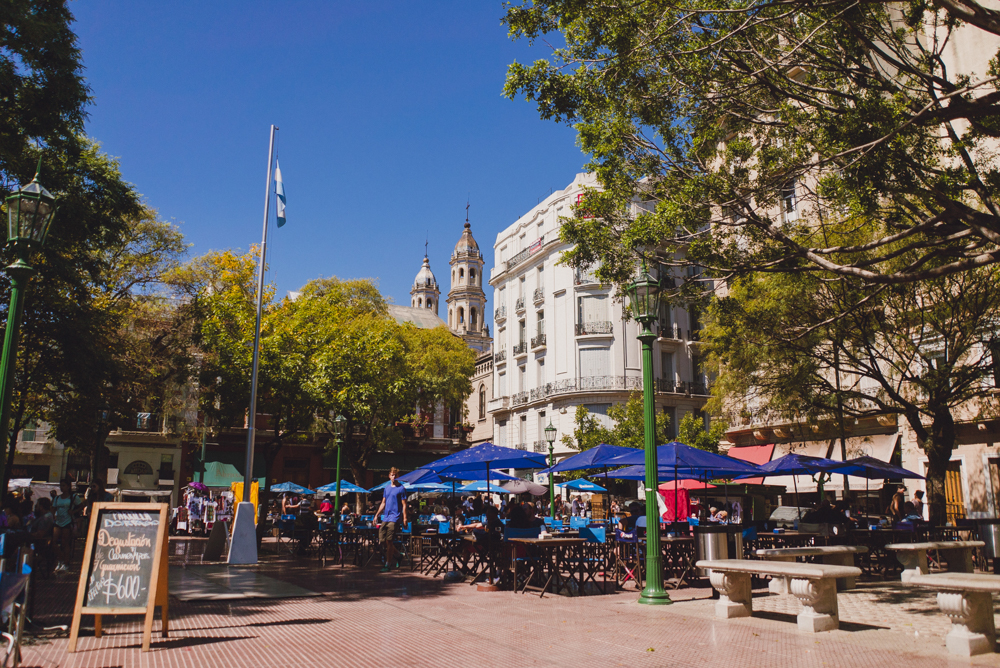
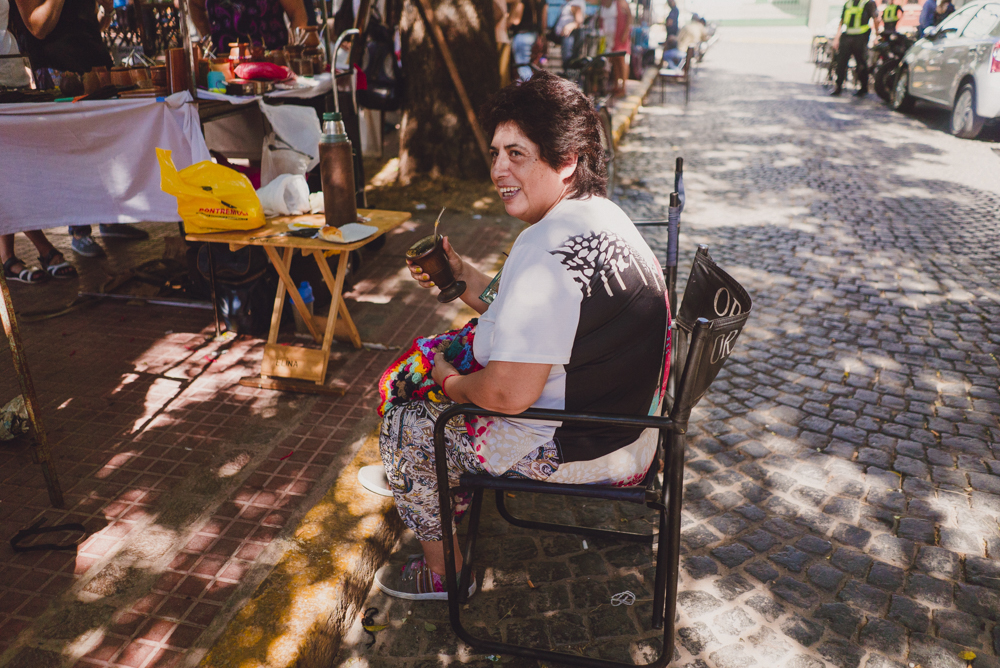
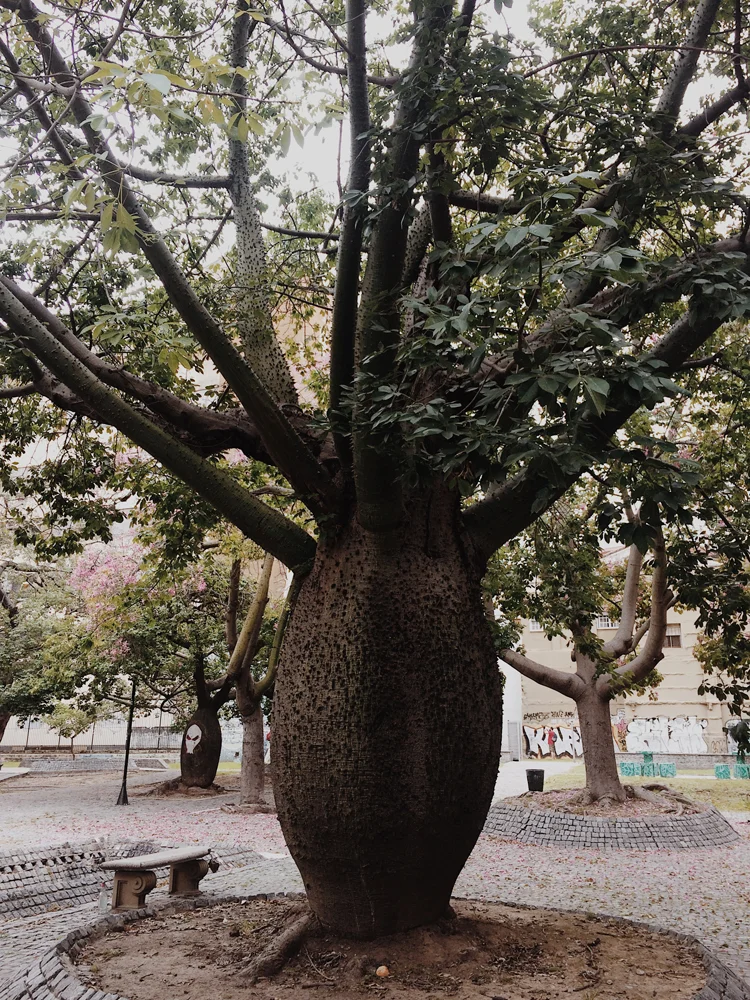
After La Boca, we headed to San Telmo where they have weekend markets and a beautiful plaza under the trees where you can eat and watch people dance the Tango.
See the rest of my photos from Buenos Aires here! And please subscribe to my YouTube Channel, I’ve released vlogs from every day I was in Argentina + I release new videos twice a week!





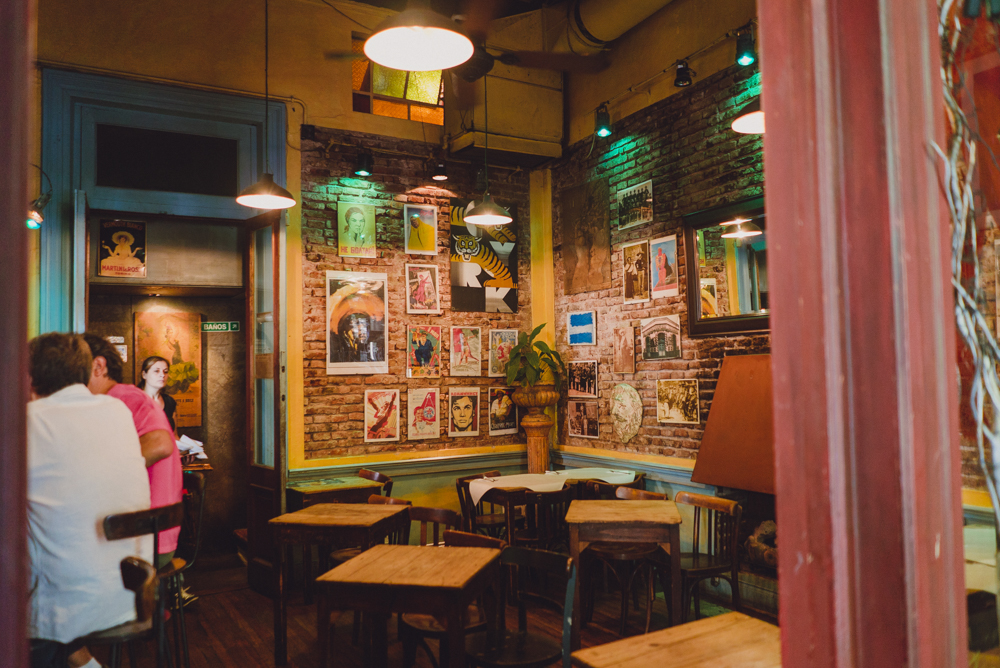
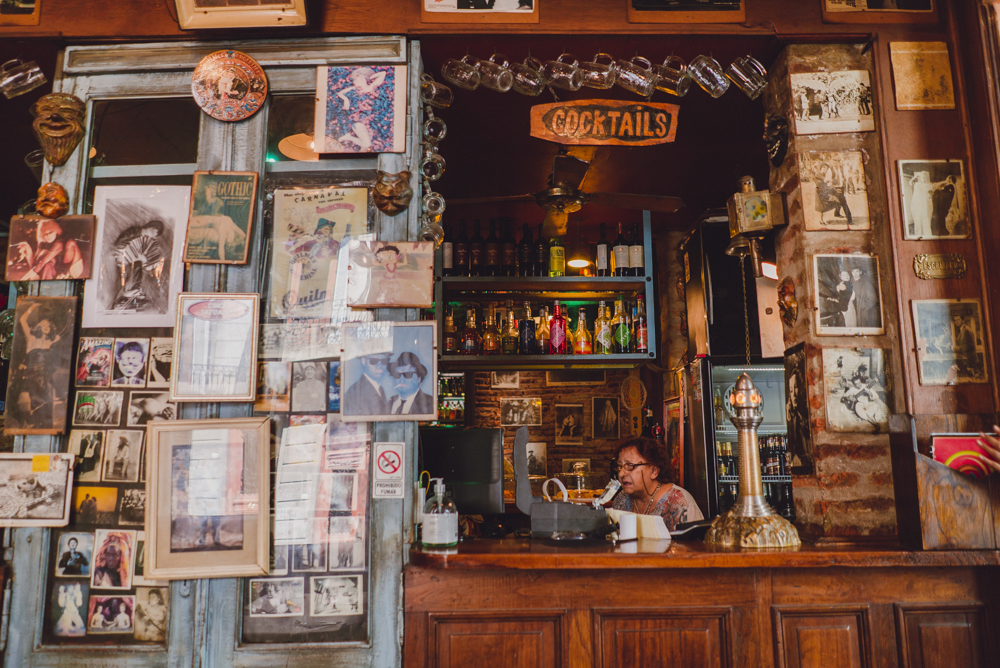
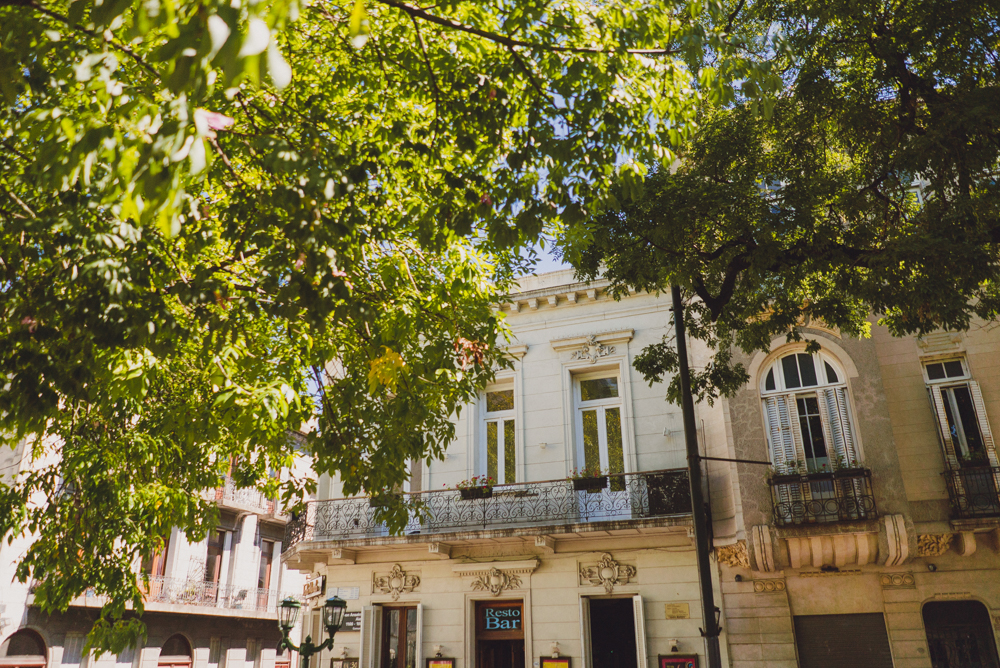
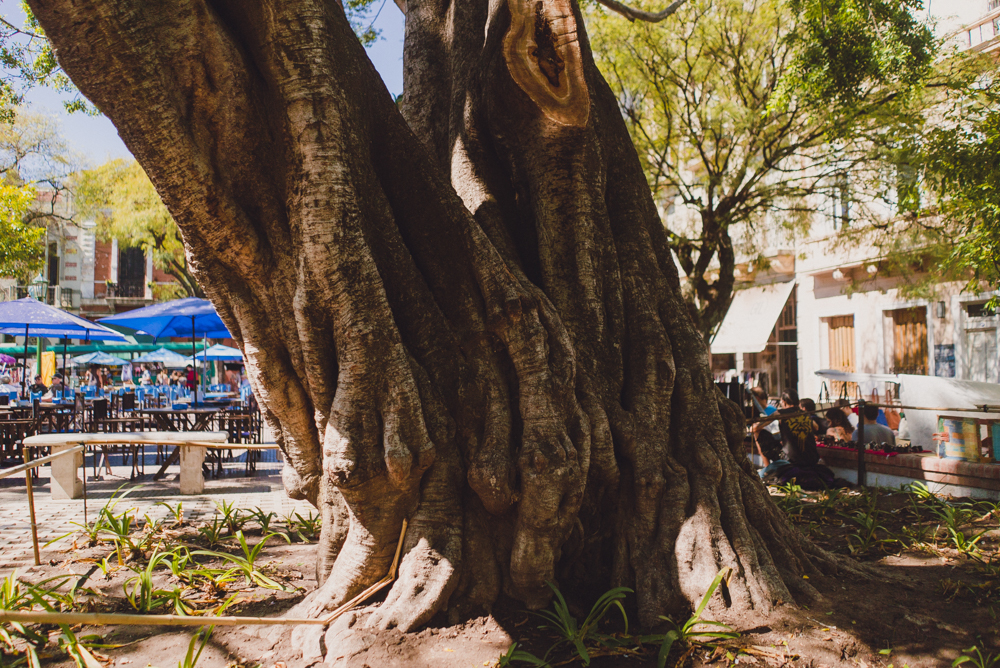

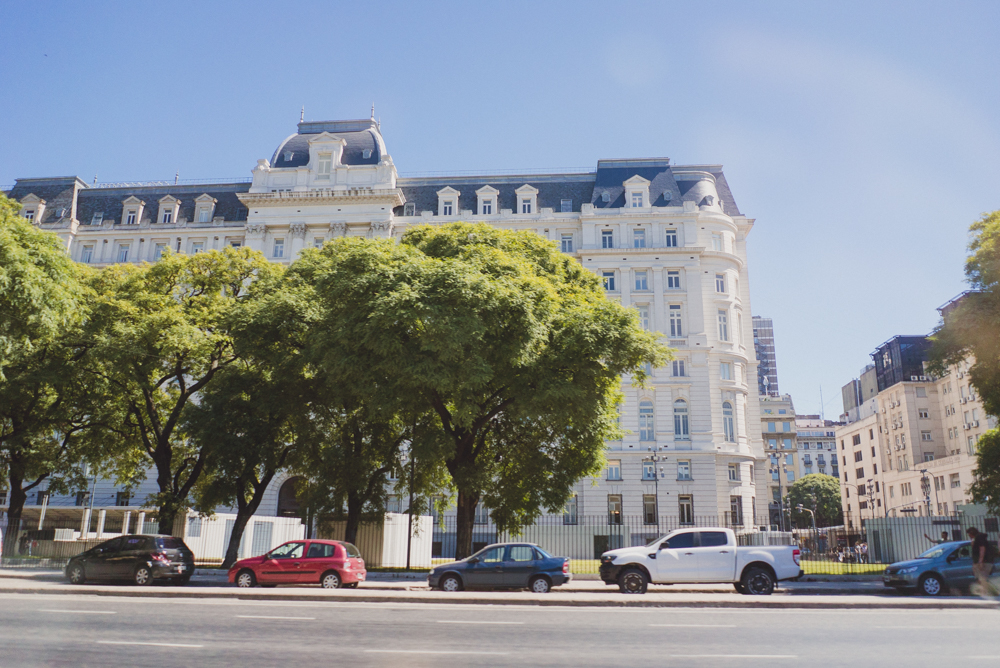
All photos edited with my Gdansk Lightroom Preset!
During this photoshoot, I’m using the Sony A7IV paired with the Samyang 24-70mm f2.8 zoom lens. This zoom lens gives me a lot of flexibility while shooting as it allows me to capture both wide and tight compositions without changing lenses. This is especially helpful is fast paced environments or when taking photos on a time crunch. While taking portraits, I’m also sharing a few of my go to composition tips for working with a standard zoom like this.
I spent a morning doing landscape photography around Lake Bled in Slovenia using the Sony A7IV with the GM 35mm f1.4 lens.
In this video, I want to share with you reasons to help you decide wether you should be upgrading your camera body or your lens and which one to do first. I’ll walk you through the key factors to consider when deciding between each option.
For this portrait session, I am using the Zeiss 50mm f1.4 on the Sony A7 IV, capturing backlit images on the beach during golden hour. The combination of the lens’s wide aperture and the warm, soft light of the setting sun helped create intimate, glowing portraits with beautiful light falloff and natural skin tones.
I am comparing the Zeiss 50mm f1.4 vs Zeiss 55mm f1.8 at a real-world portrait photoshoot. I share various different side by side photo comparisons at 100% crop, so you can see all the details.
For this portrait photoshoot I am using the Fujifilm X-T4 paired with two of my favorite prime lenses: the Fujinon XF 16mm f/1.4 R WR and XF 23mm f/1.4 R LM WR.
I captured these photos of Megan Emmett for the Candice Lee Femme Collection. You can see more of Candice Lee’s bridal gowns and hair styling work here.
This blog post includes some of my favourite photos I took during my time in Japan with the S5II. If you want to hear my complete thoughts and review of the S5II capabilities for photo and video, you can watch my review video here.
In November, I was invited to Japan by LUMIX to attend the LUMIX Global Summit for the announcement of the new LUMIX S5II. Paired with the new camera body and an array of lenses, Dan and I took to the streets of Tokyo, Japan to film our review video of the camera body.
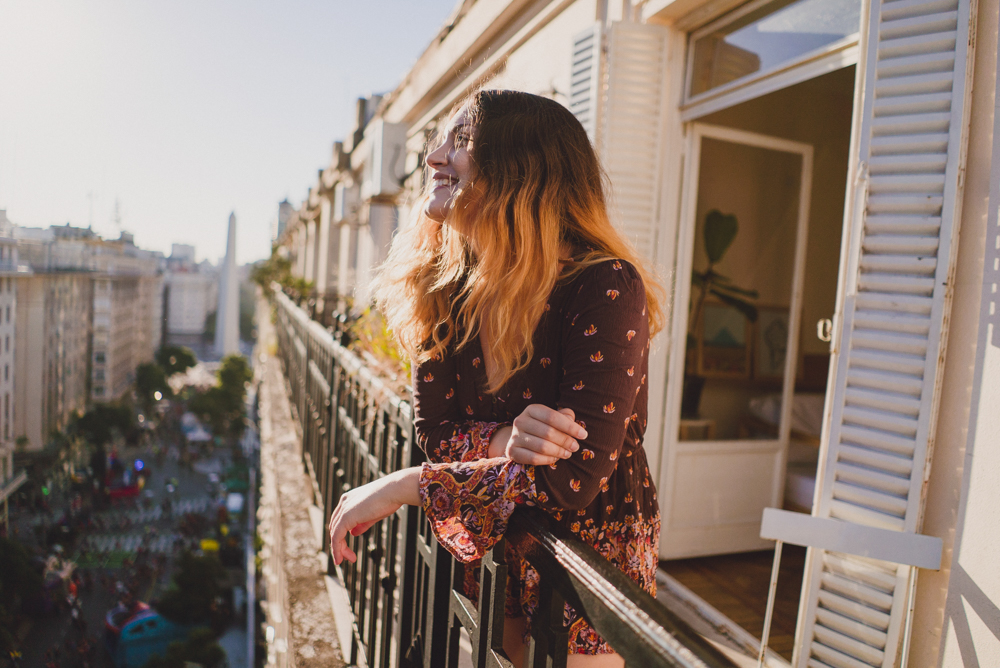
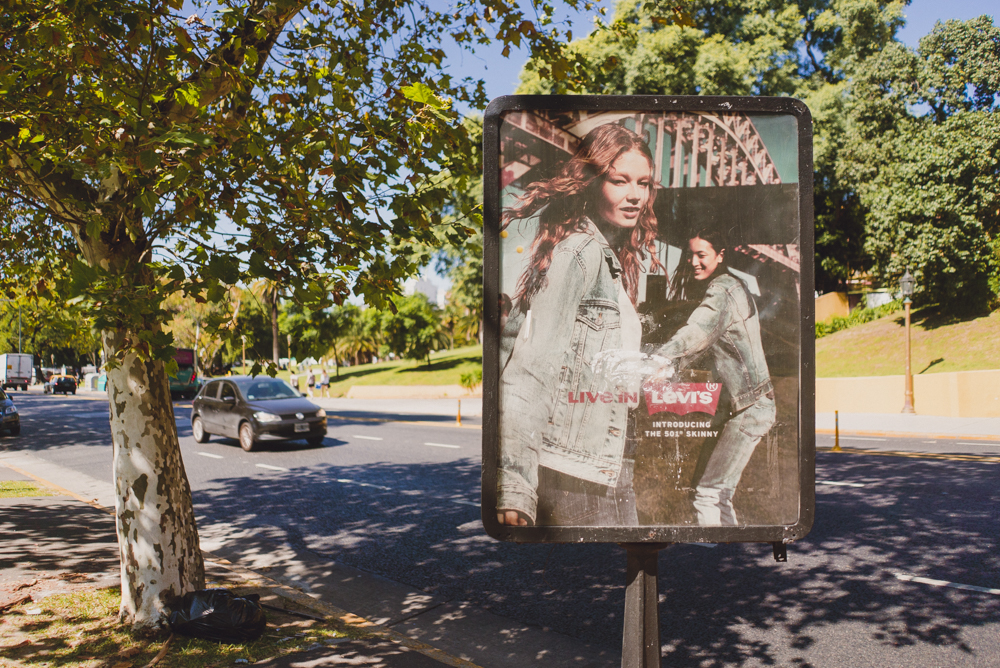
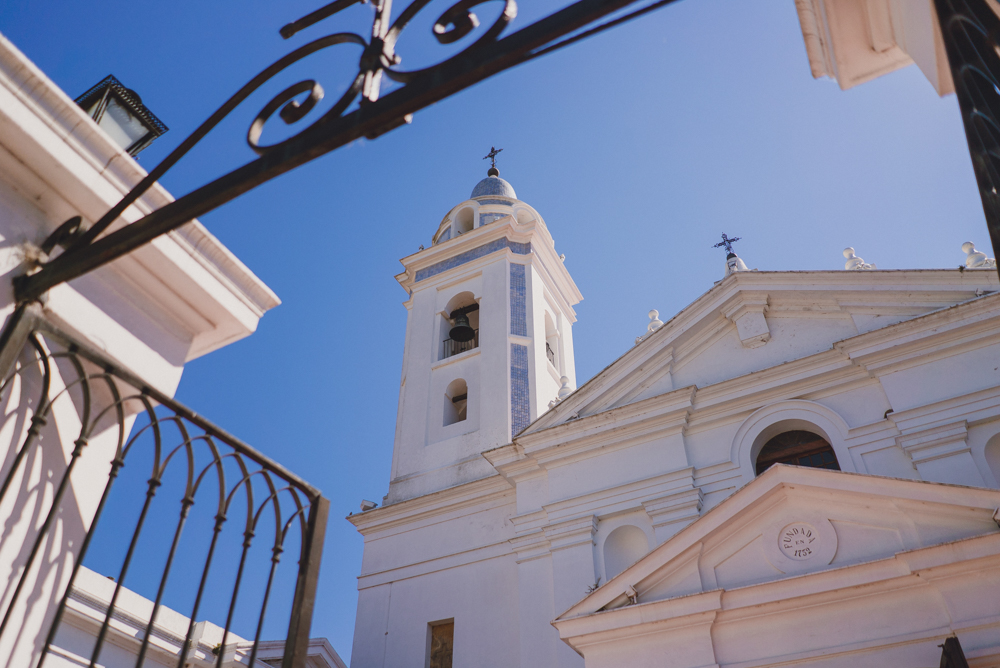
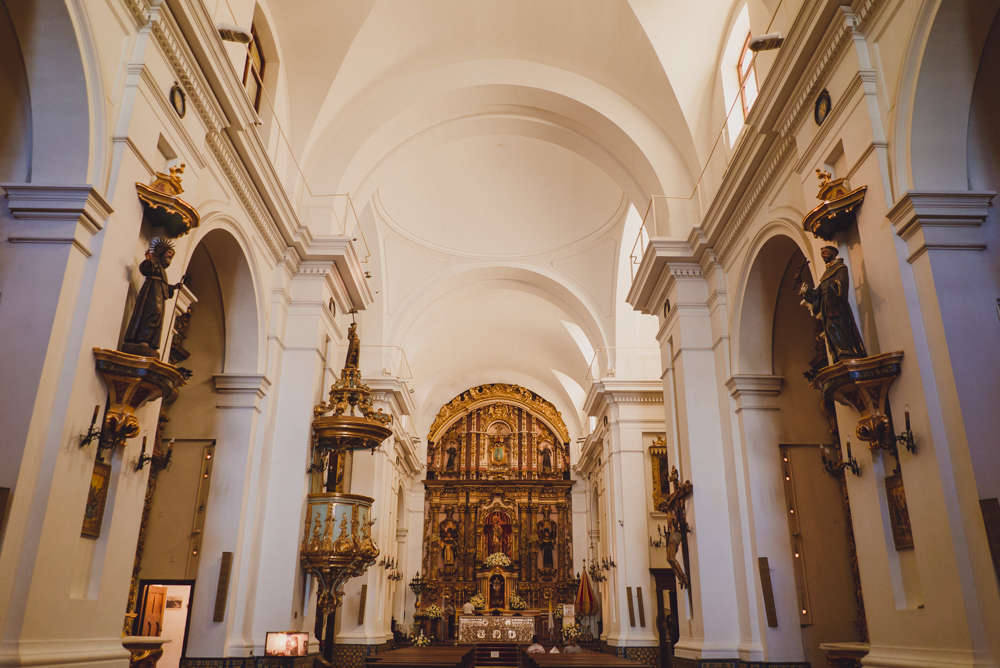
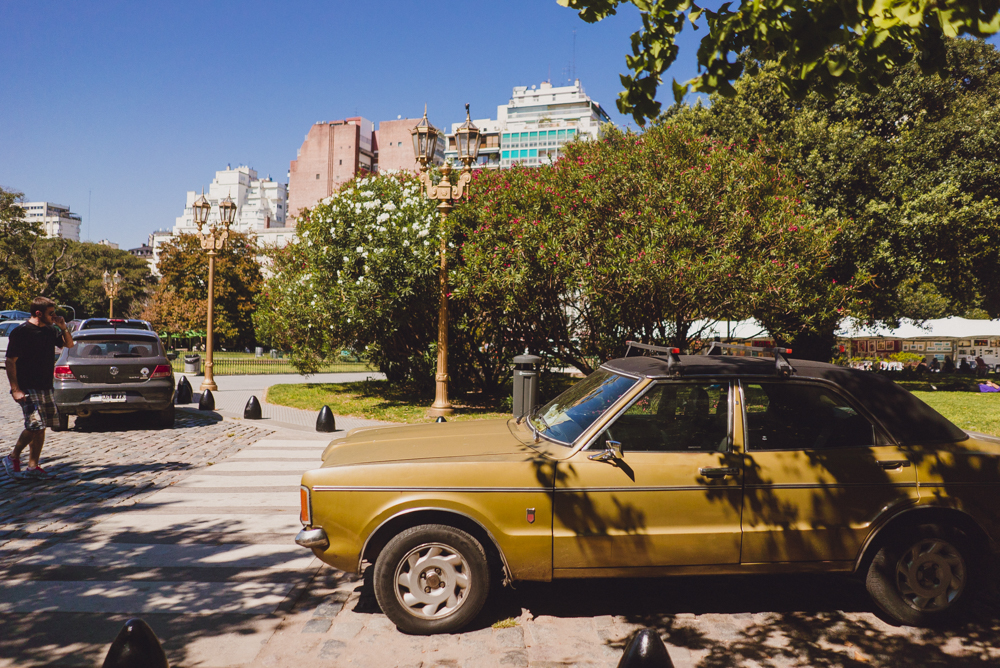
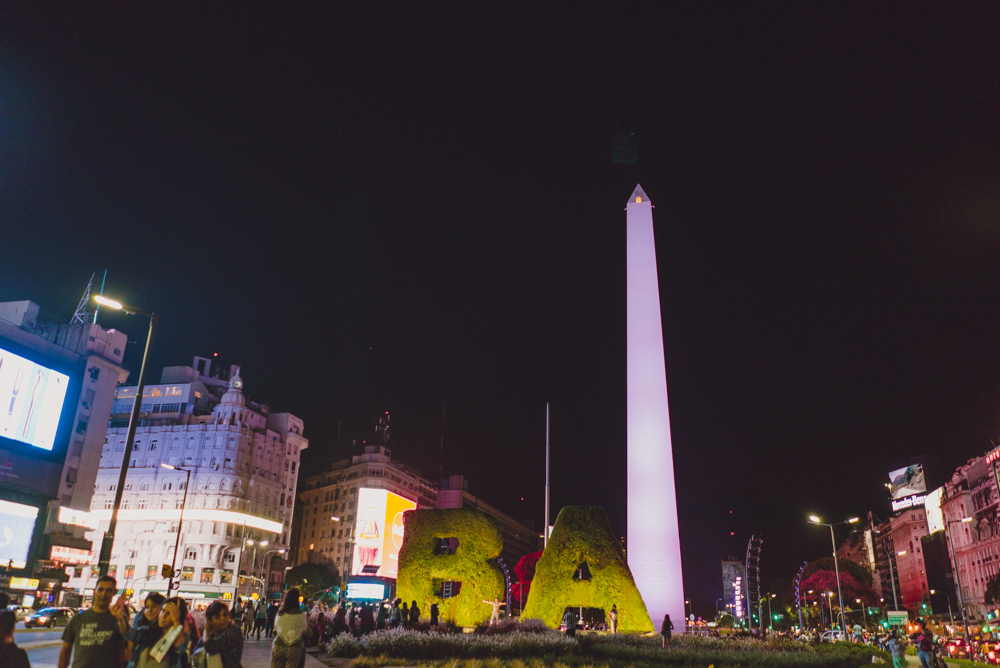
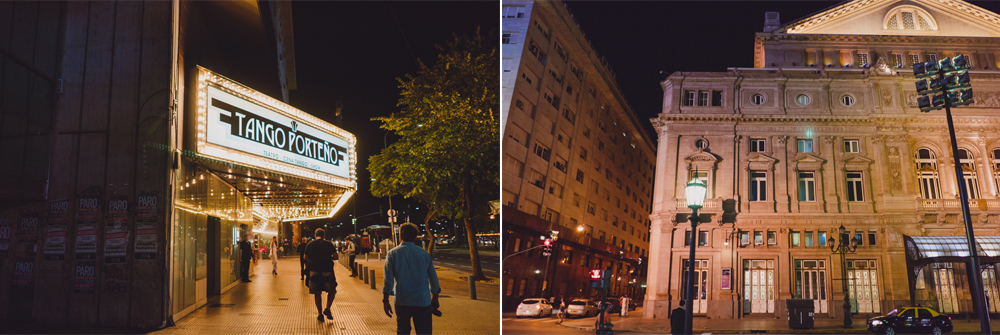
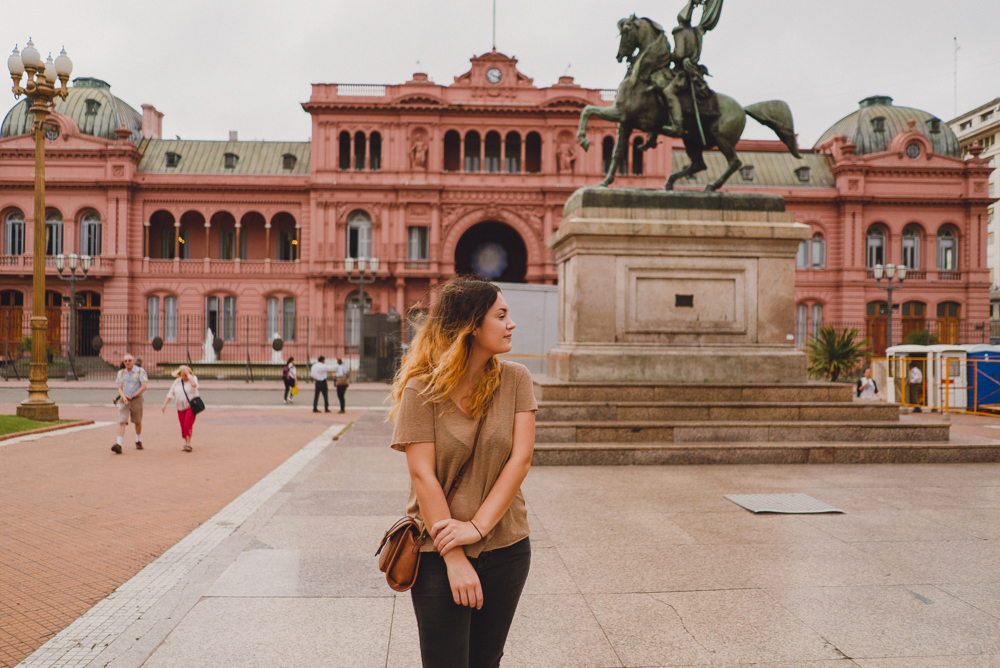
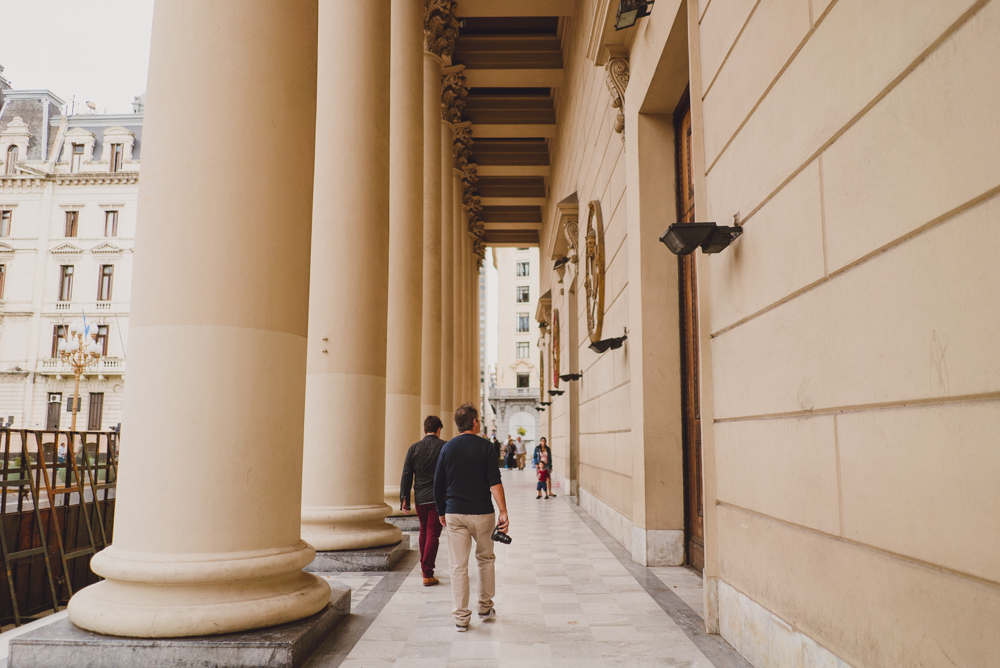
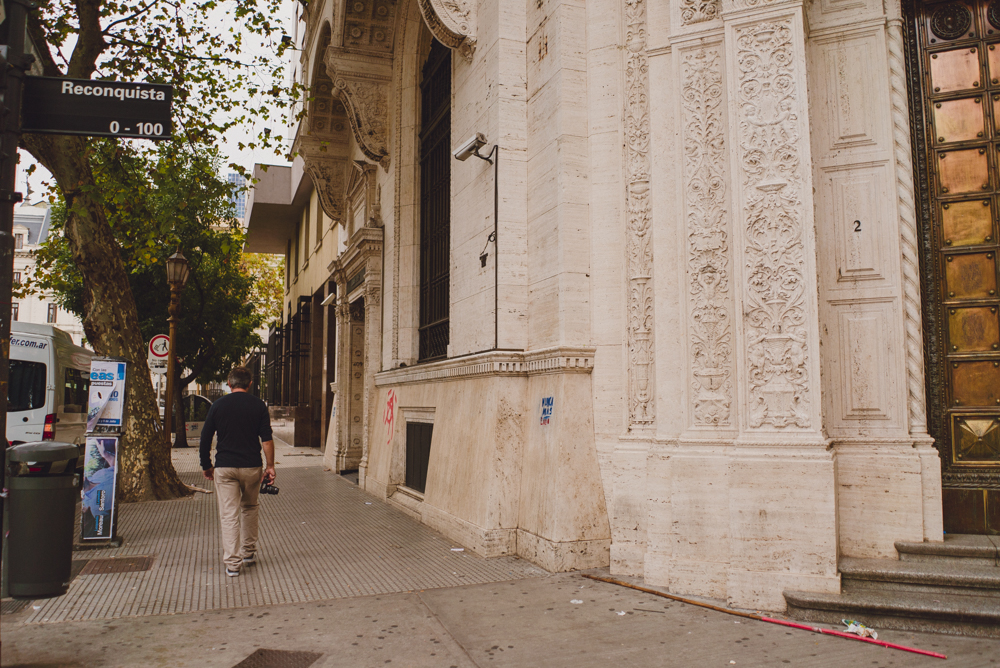
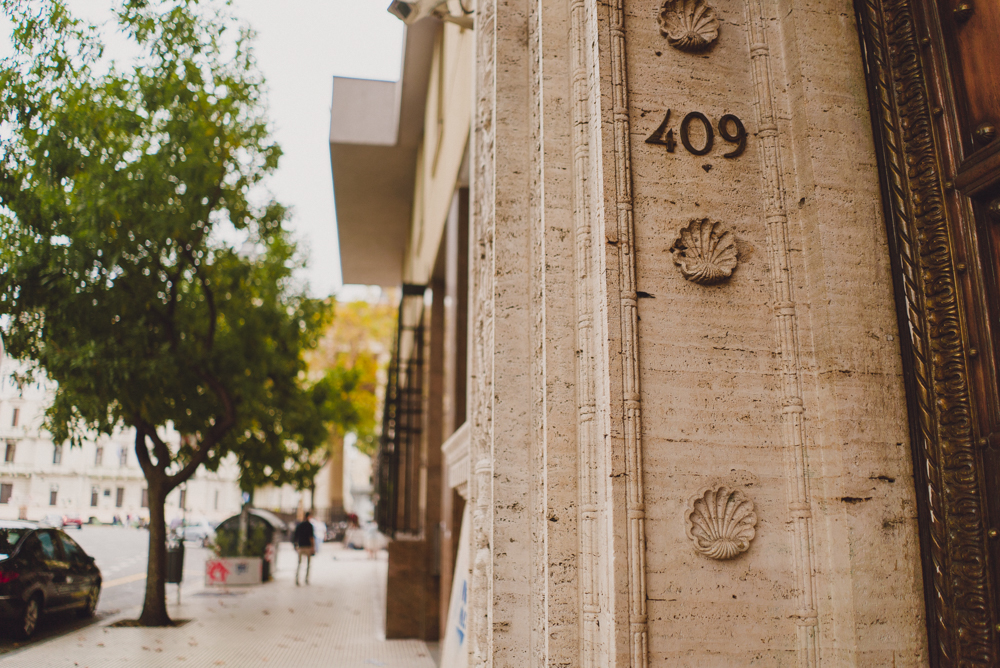
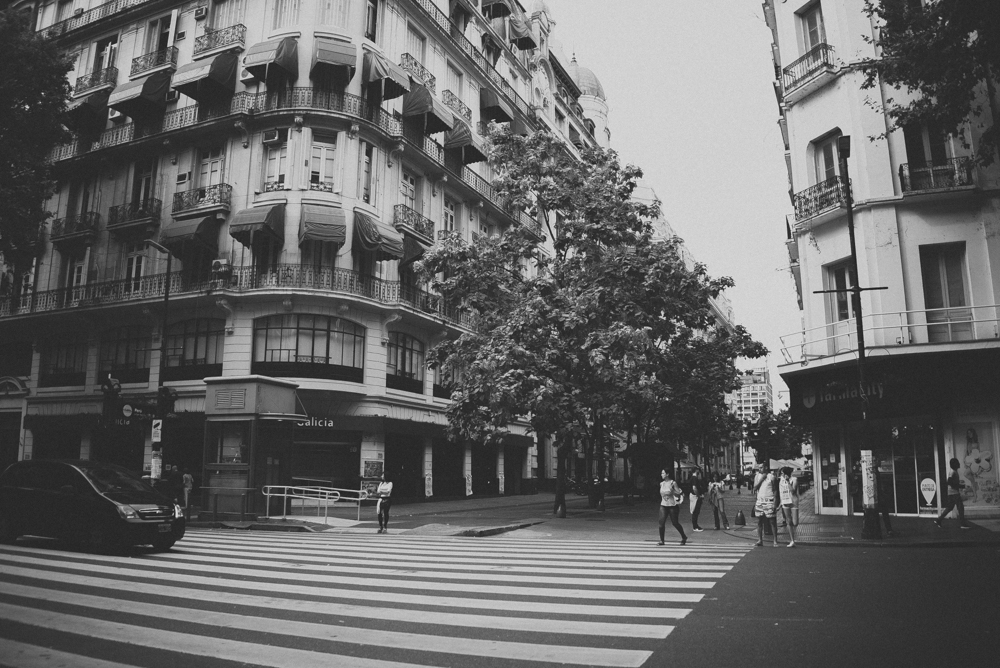
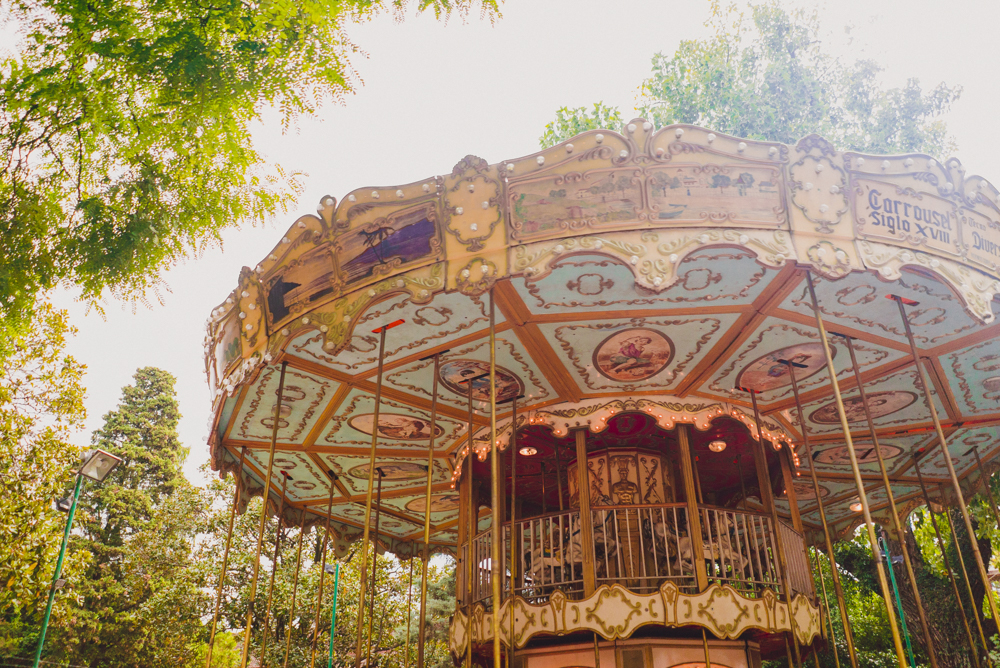
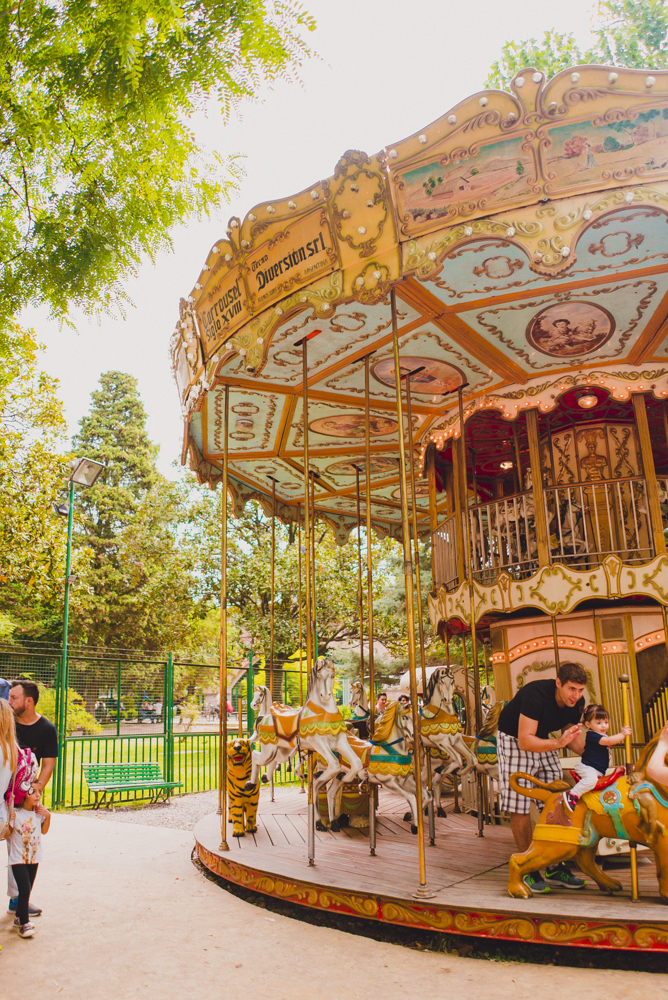
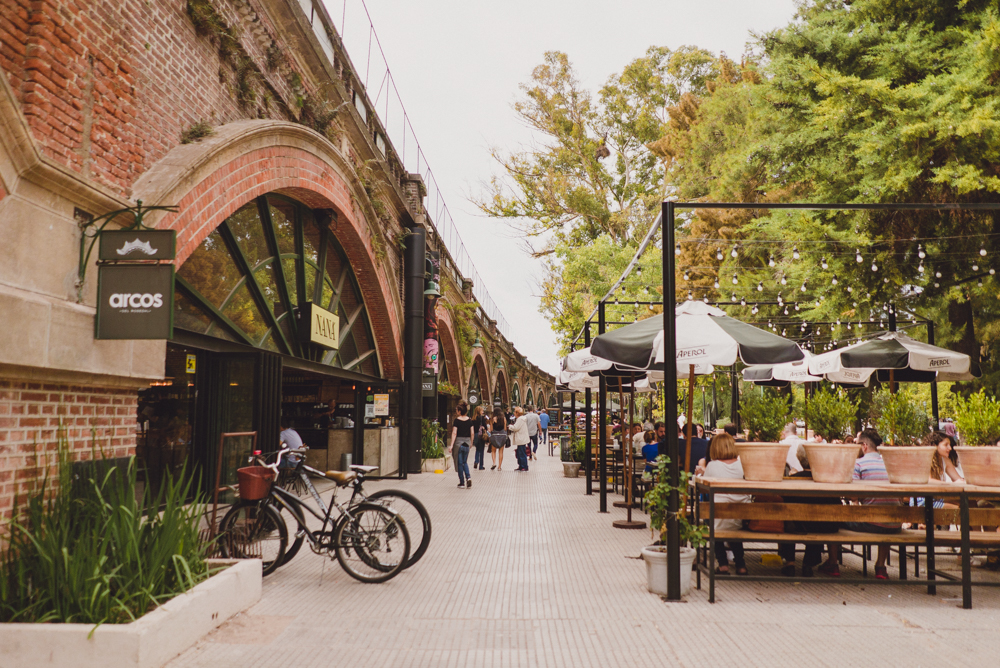
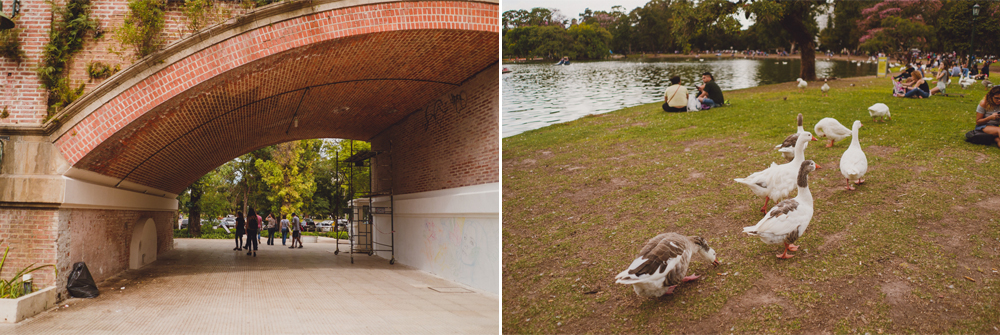
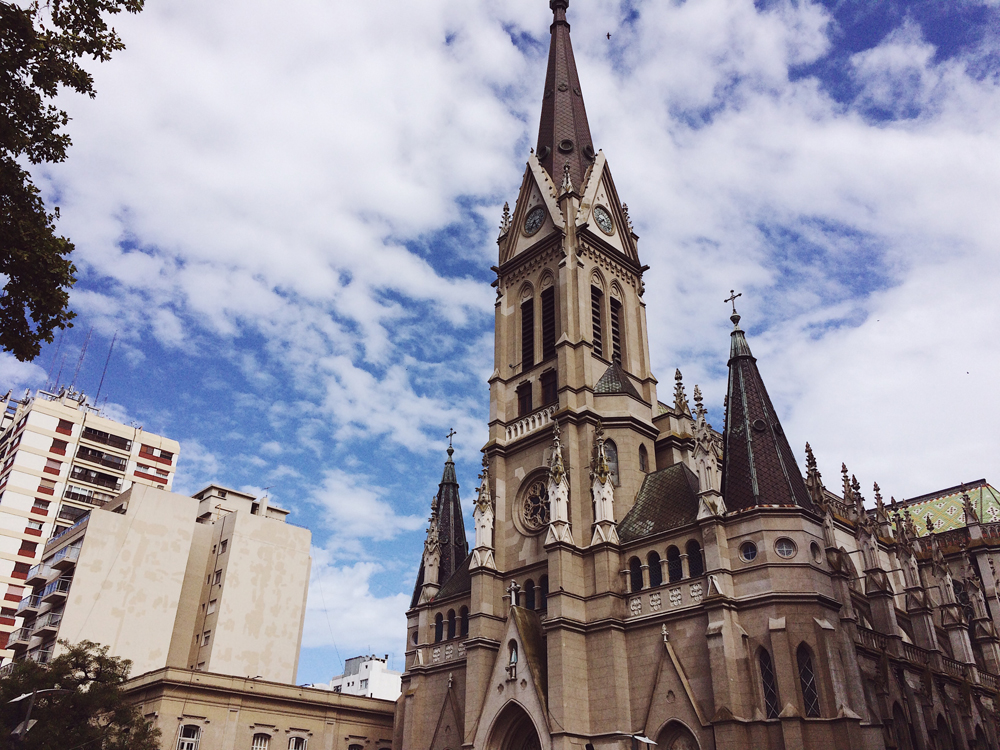
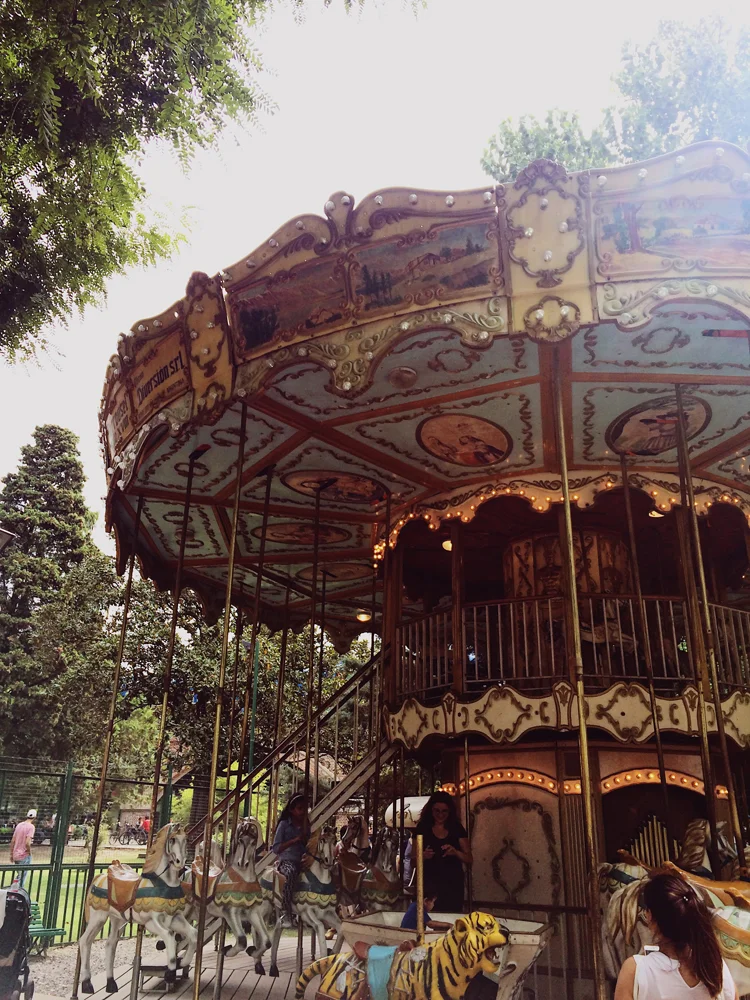
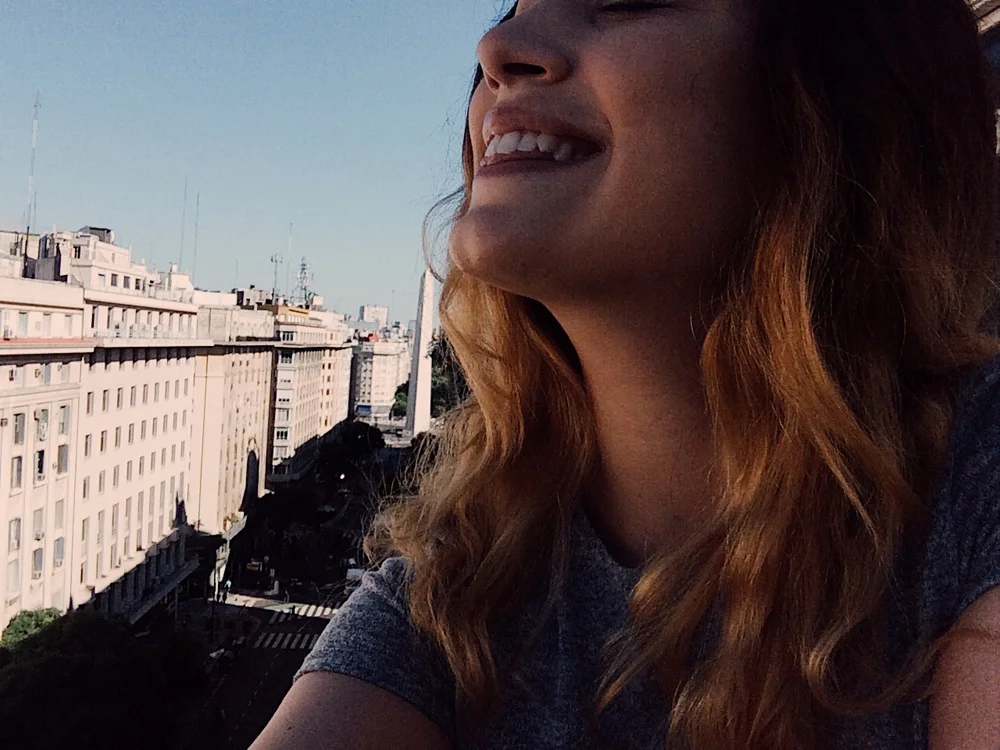
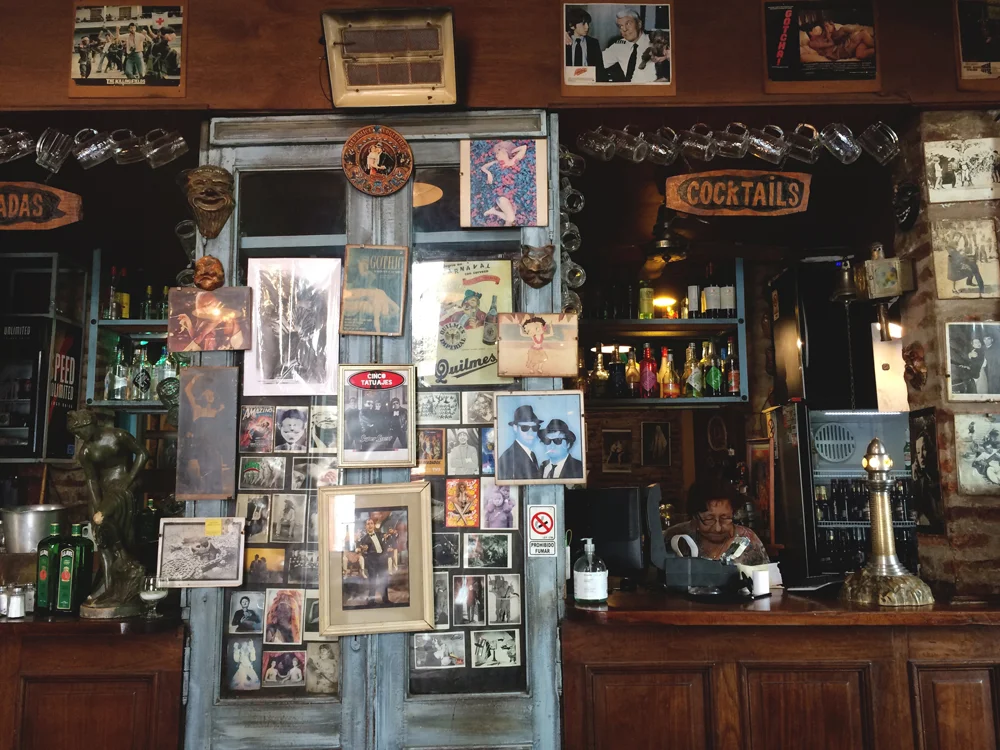
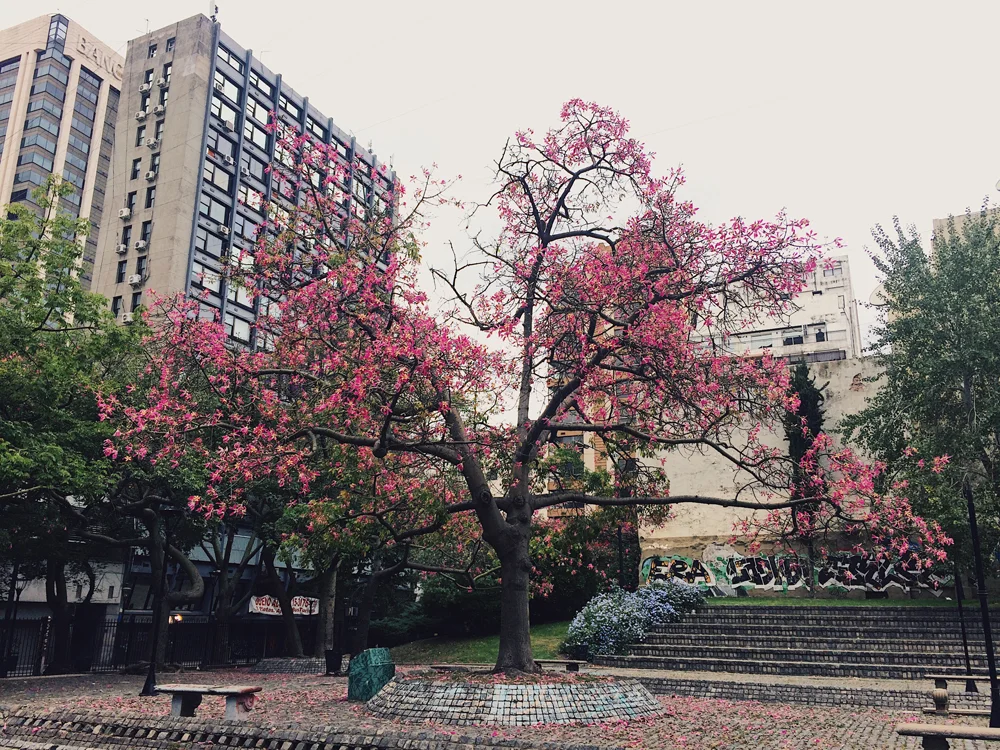
After an emotional goodbye with Mar Del Plata, my dad and I’s next stop was Buenos Aires, Argentina! I couldn’t contain my excitement for being in this city, and I had a huge smile on my face pretty much the entire weekend we were there.
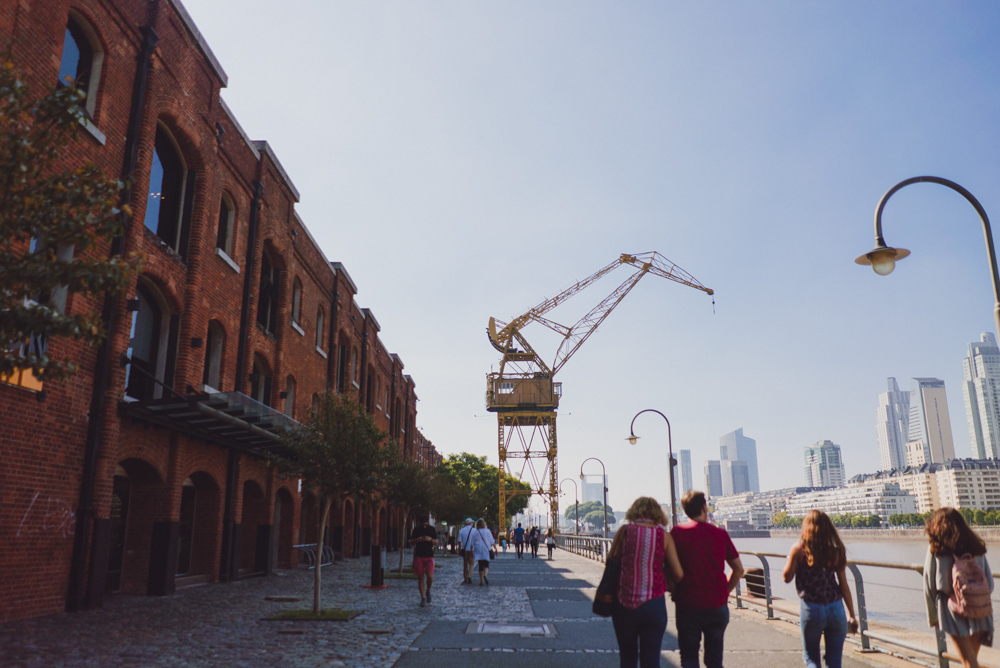
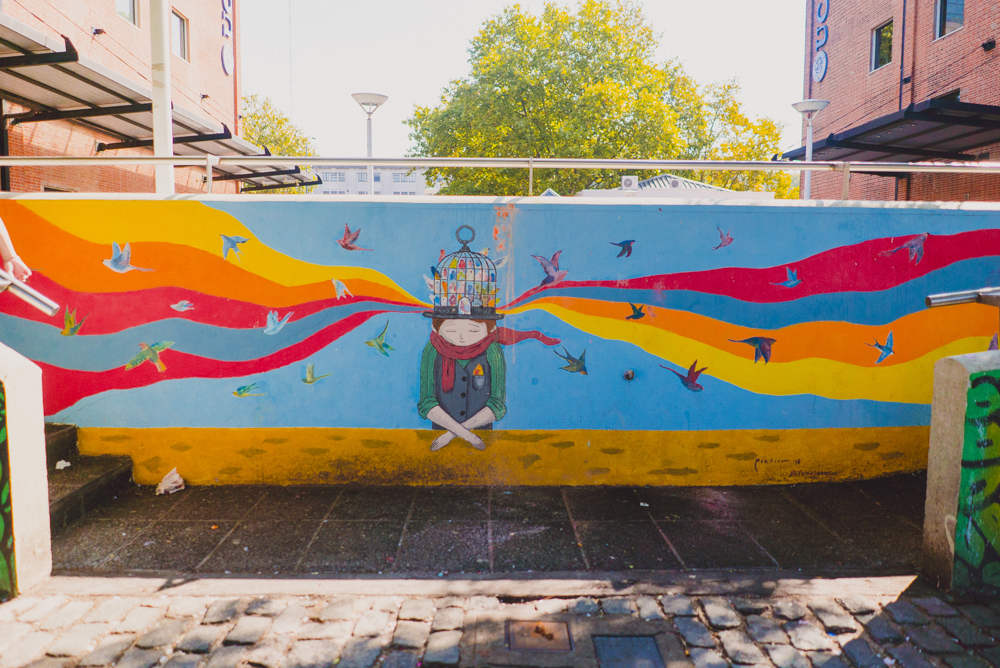
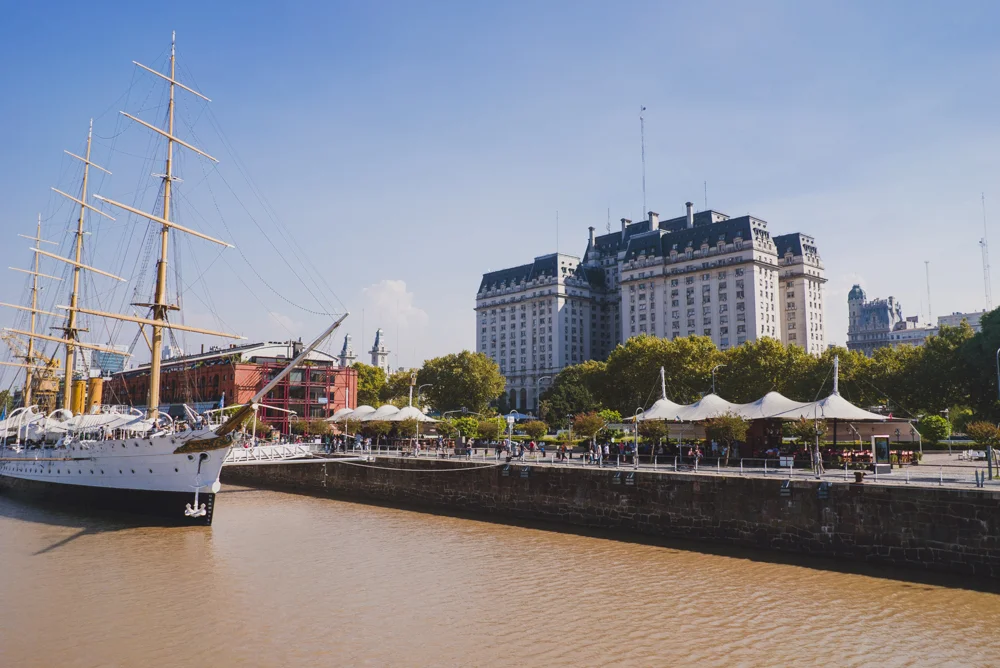
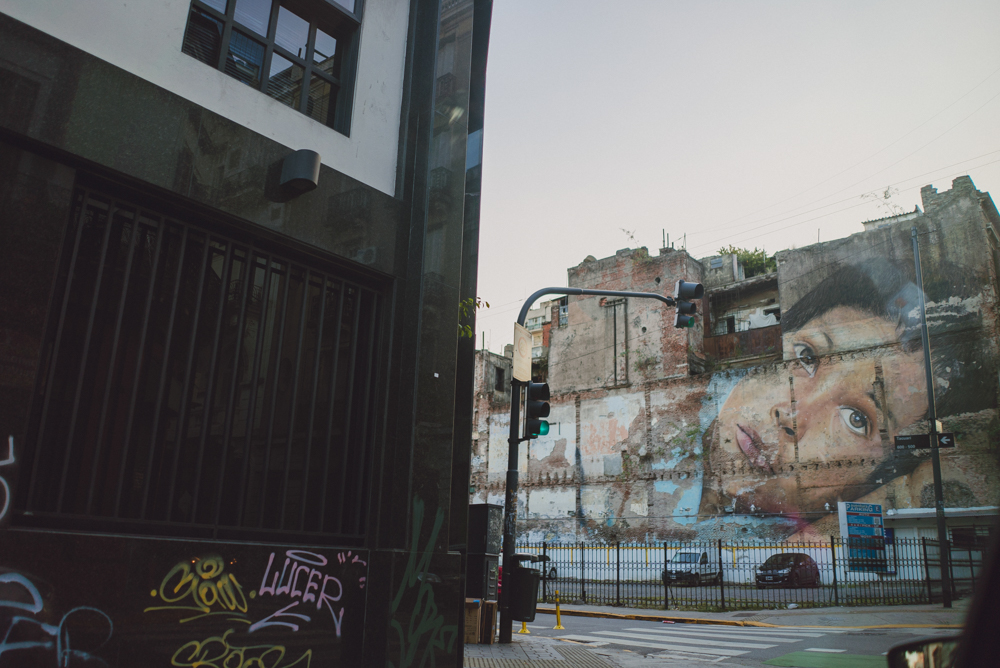
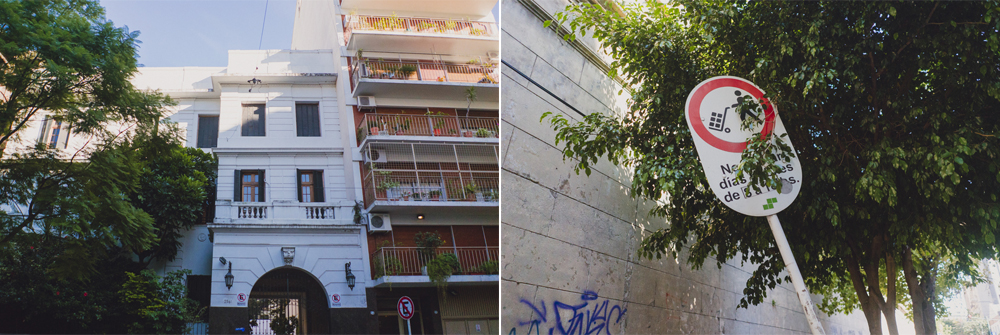
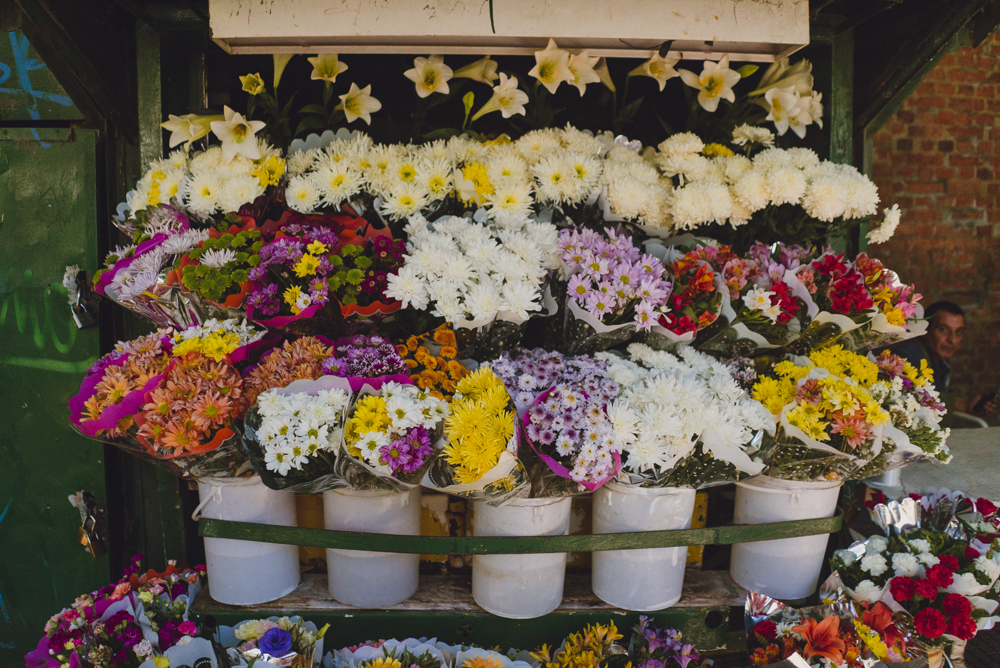
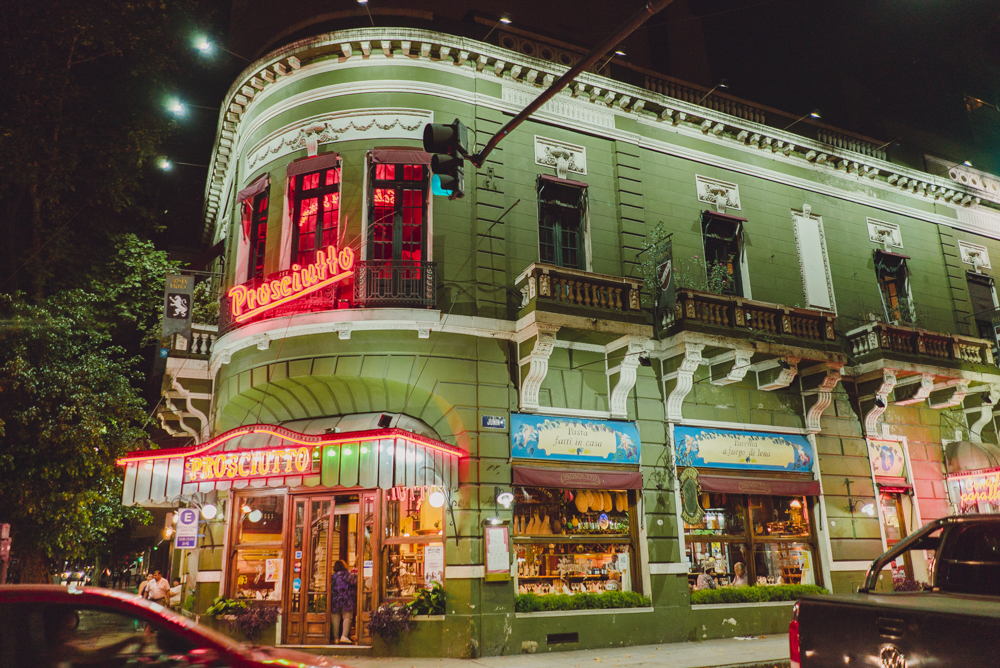
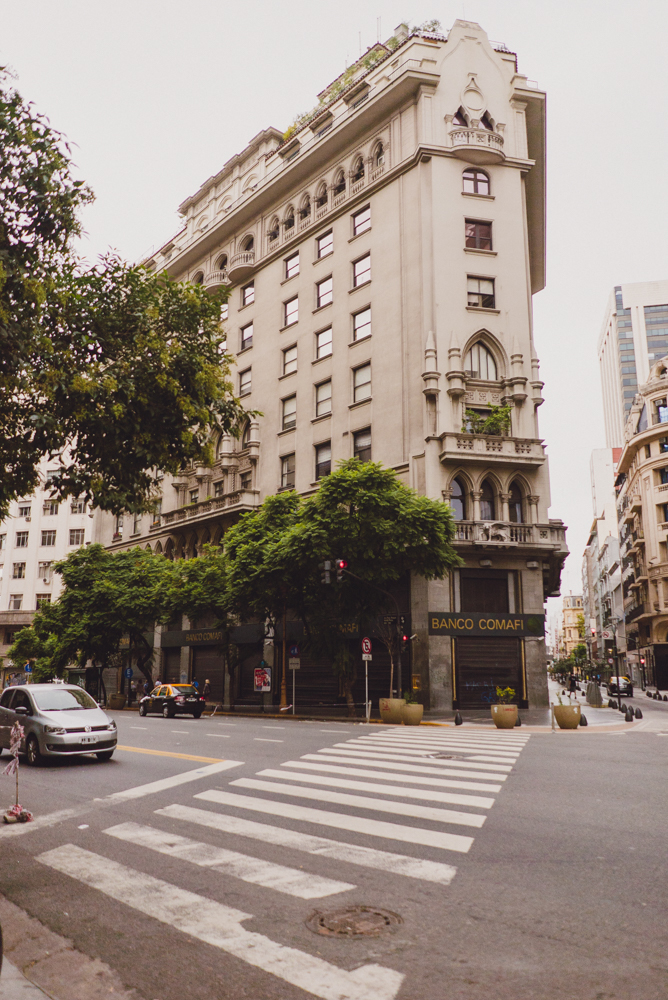
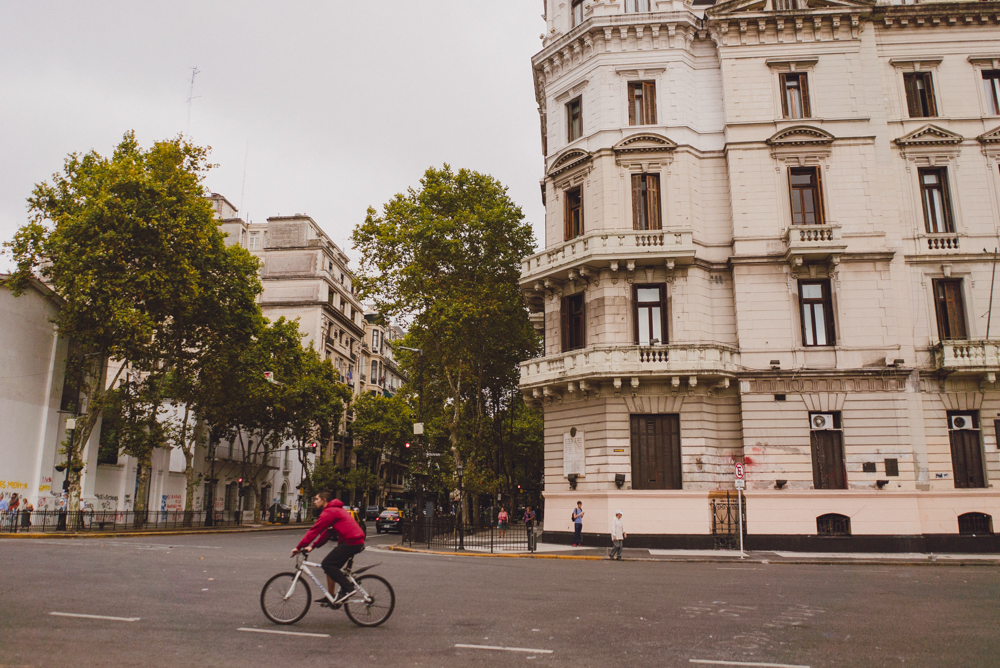
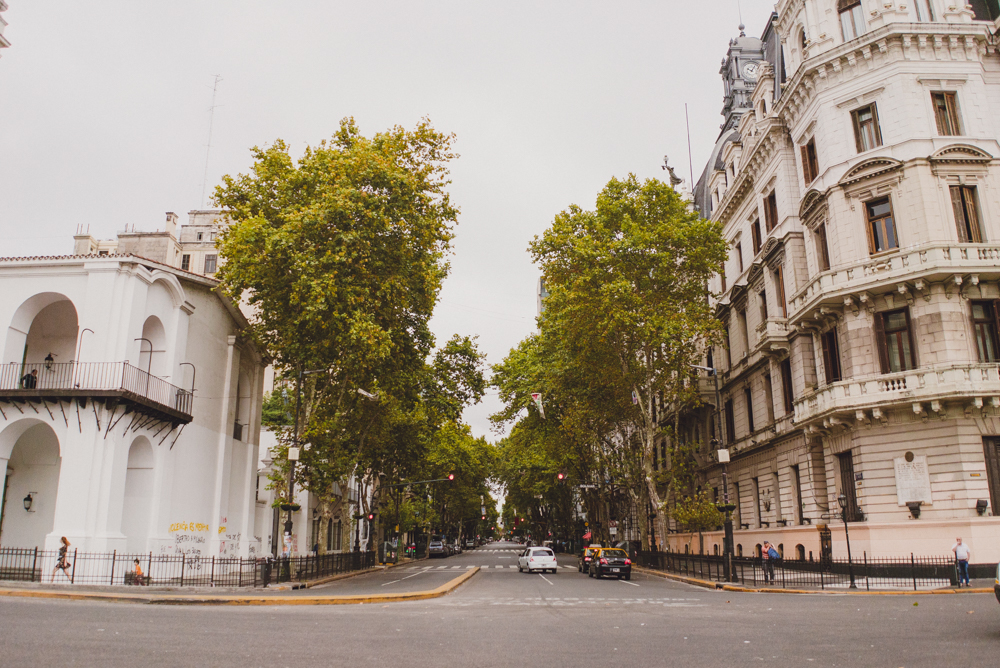
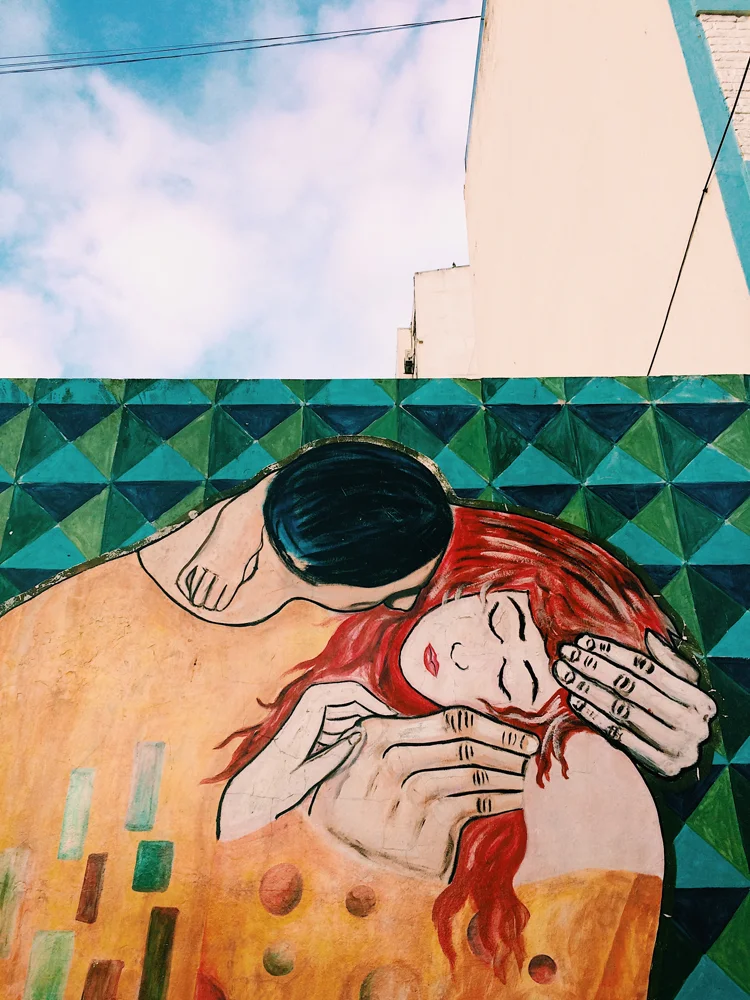
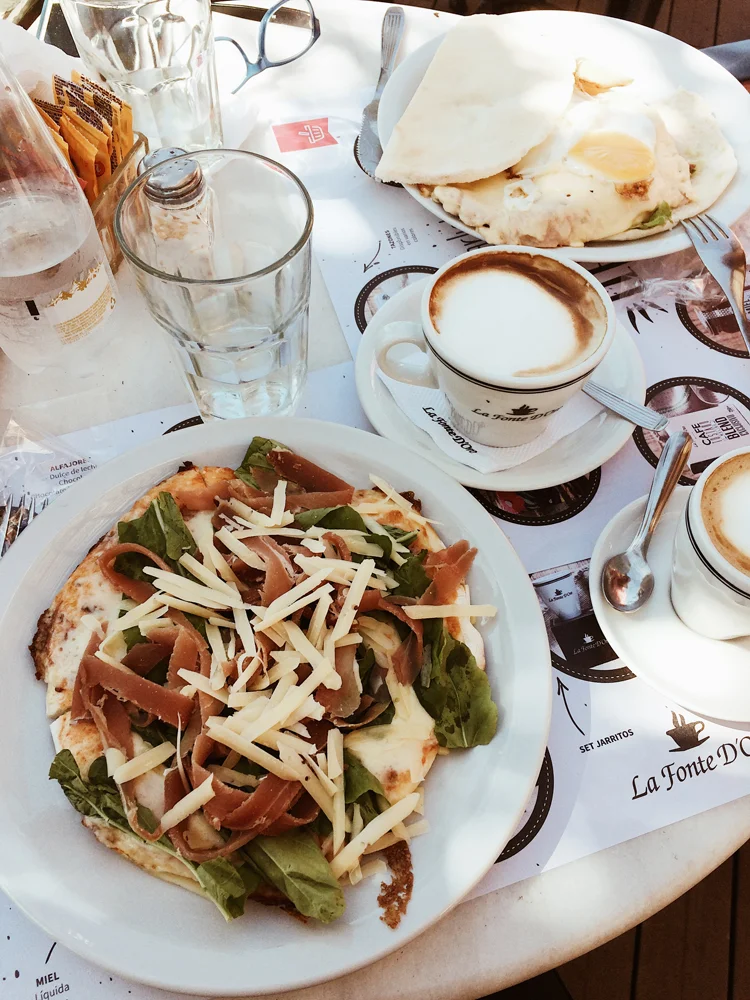
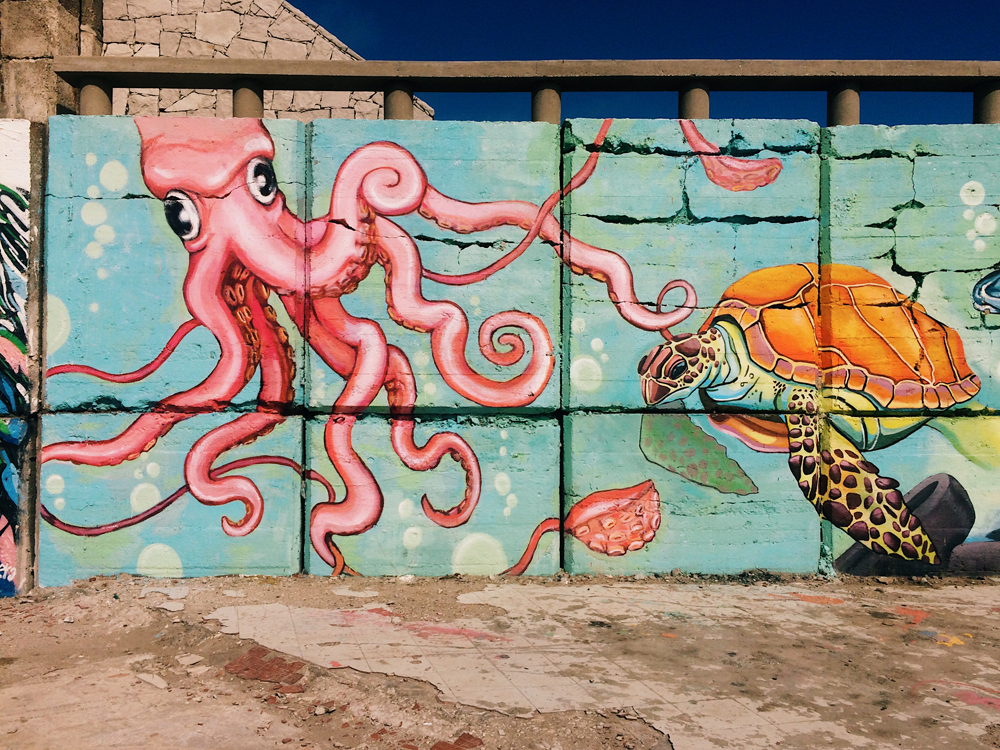
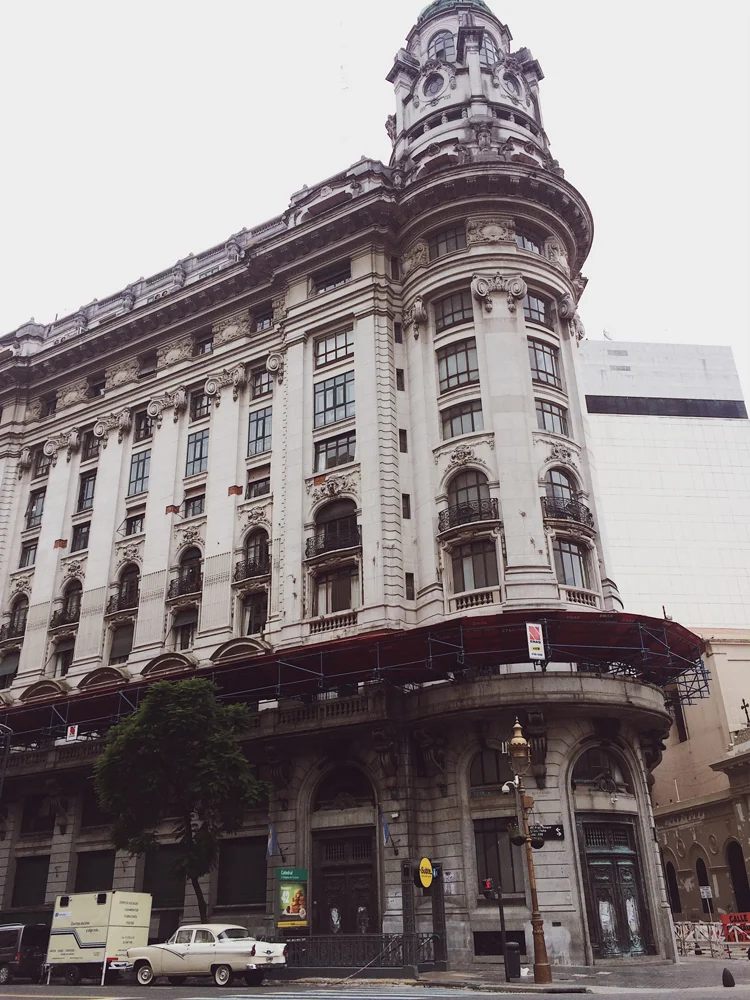
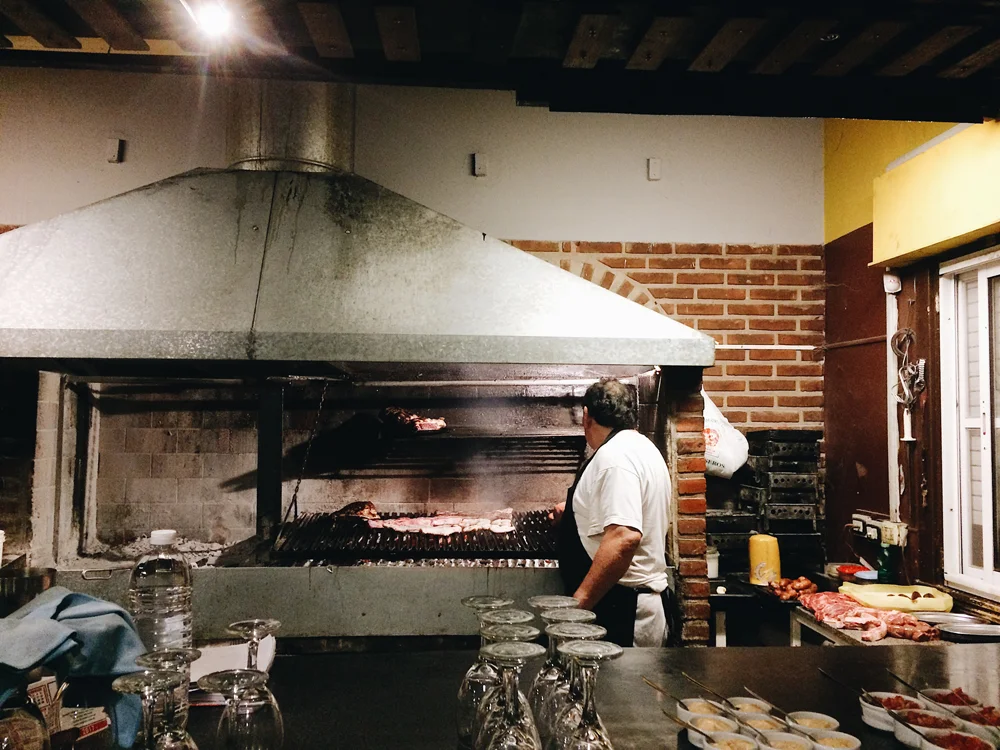
Our first stop in Buenos Aires was the renovated Puerto Madero which is a tourist centre by the water with lots of restaurants and beautiful views. We stopped to grab some lunch here. Something I noticed that I really love about Argentina is how colourful everything is. I am in love with the brightly painted buildings - yellow, pink, blue and all the murals painted on the walls. It gives the city such character and also so many things to photograph!
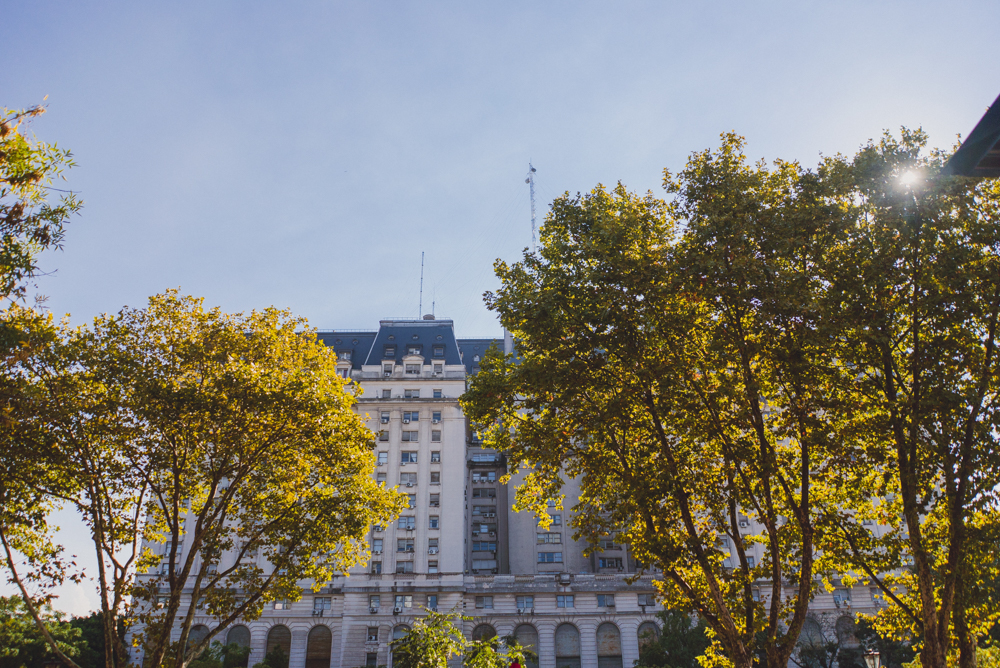
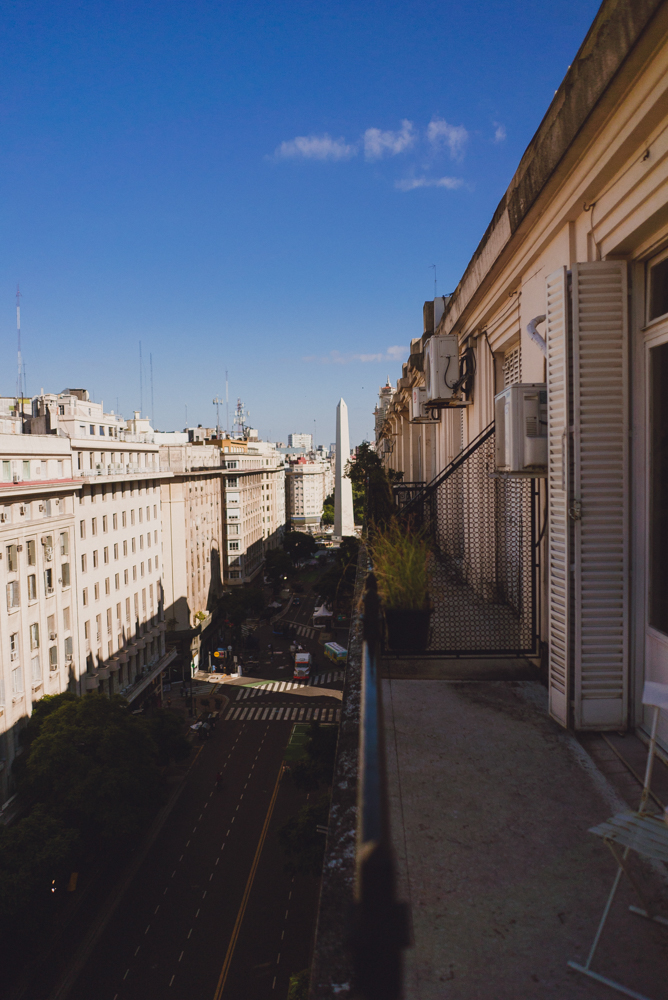
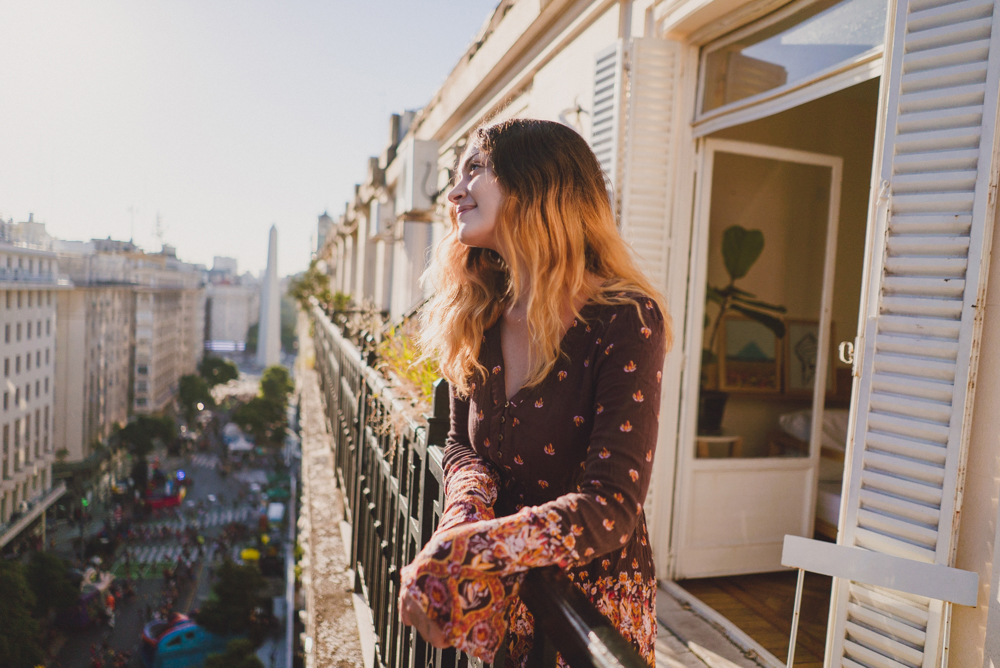
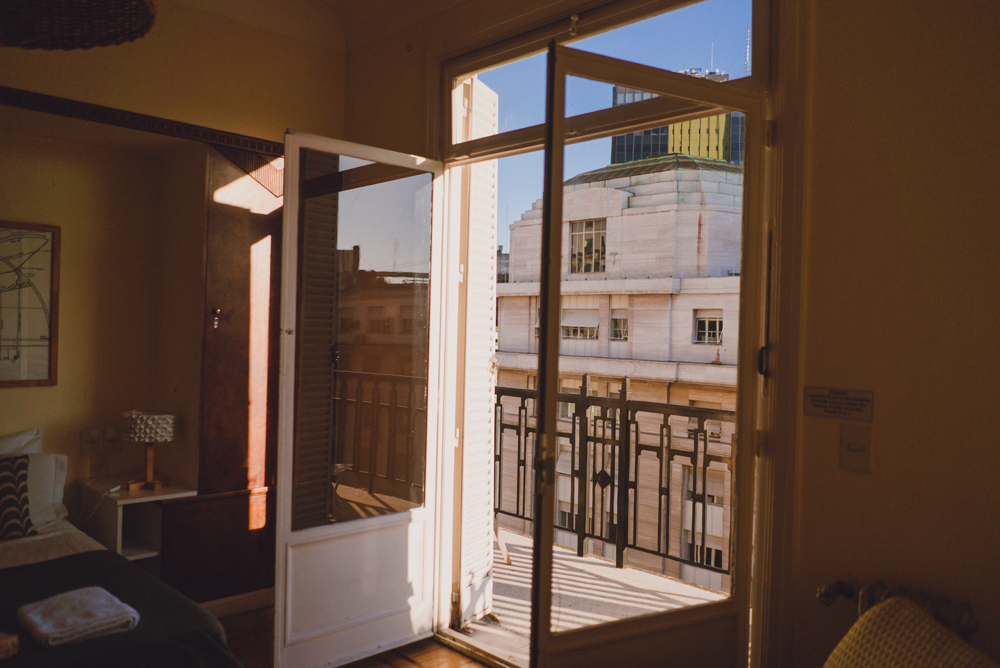
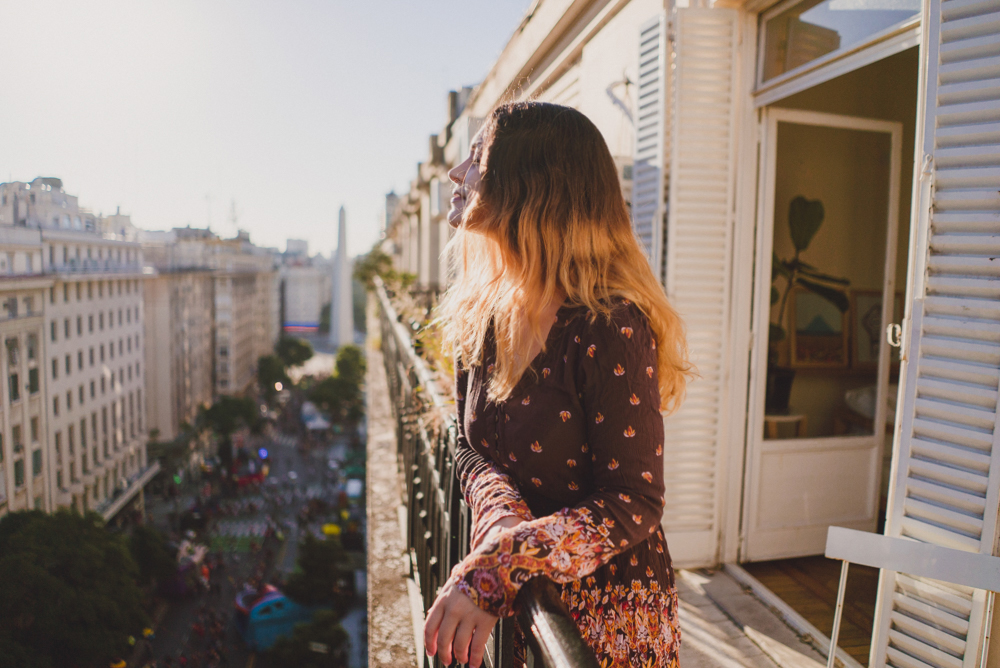
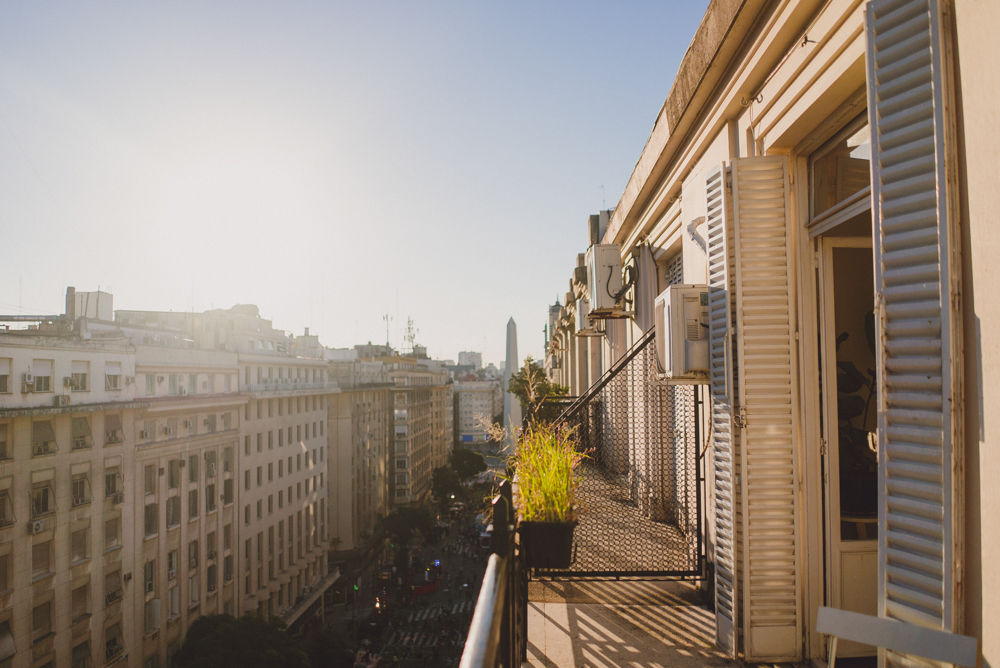
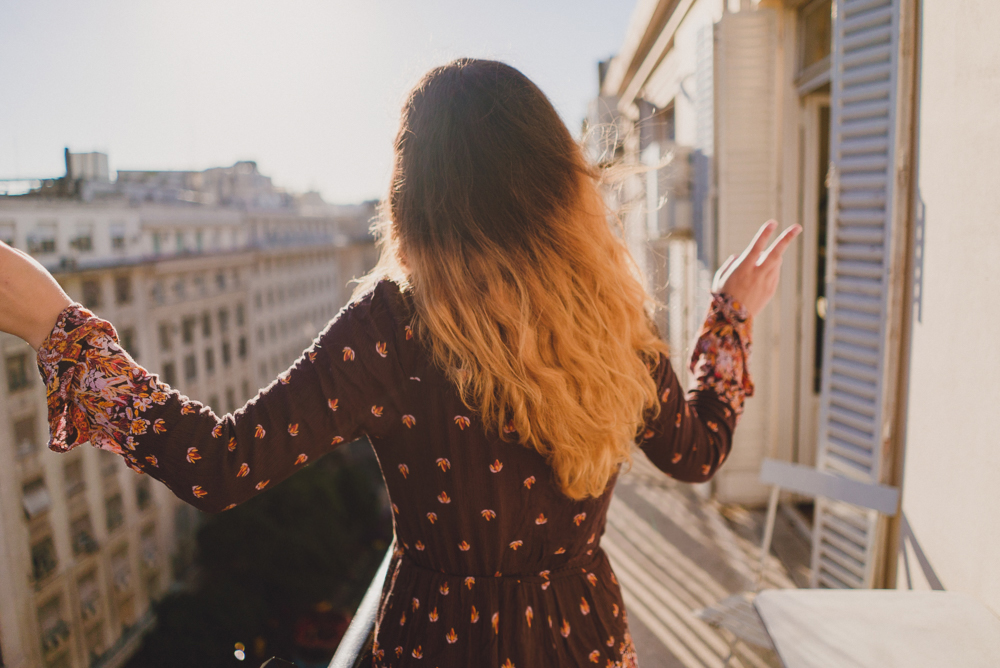
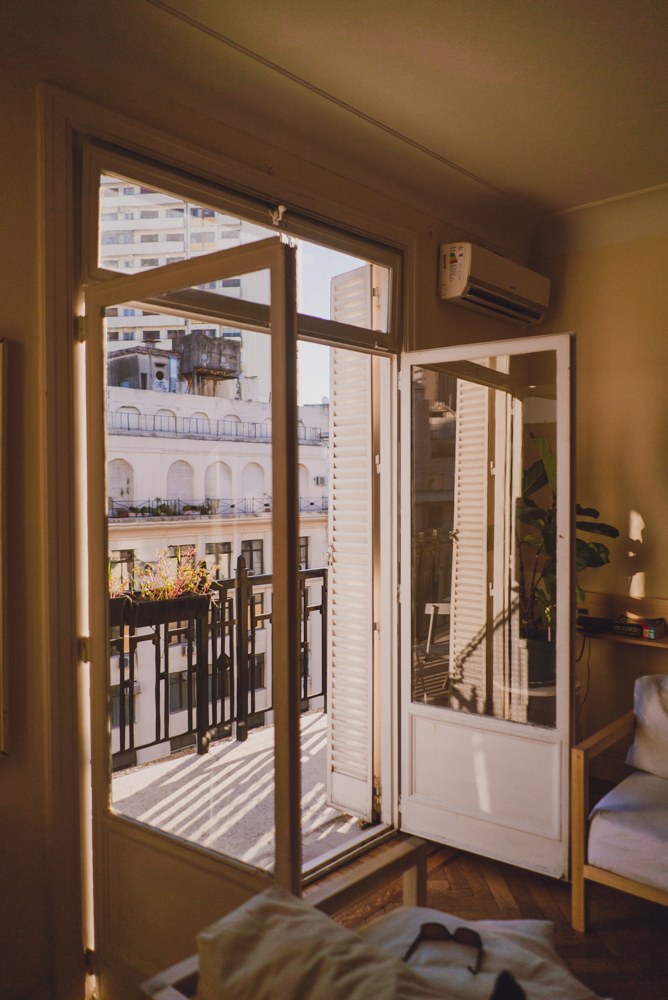
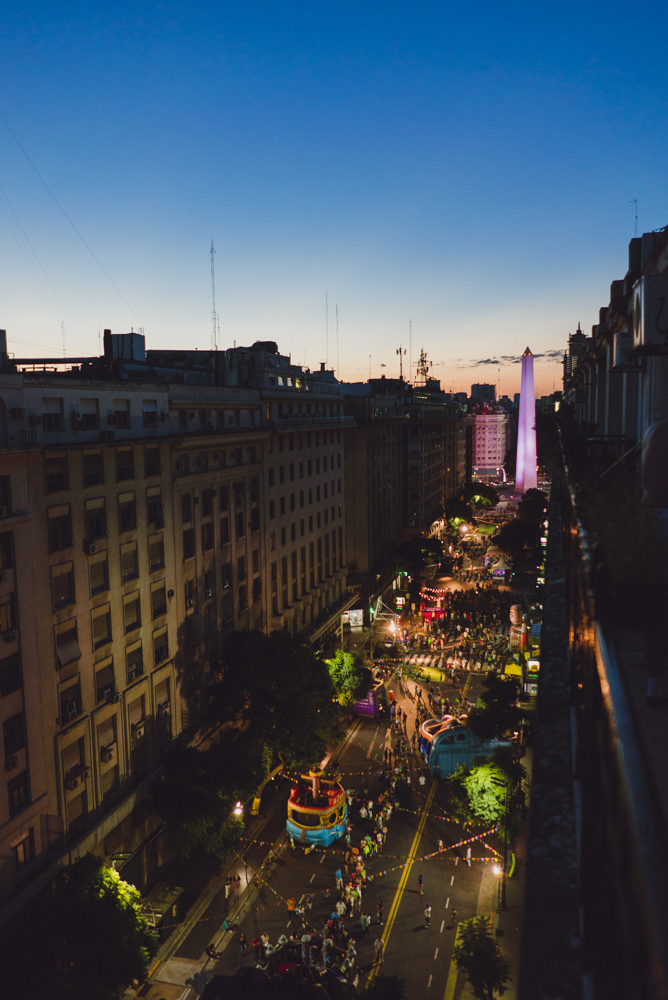
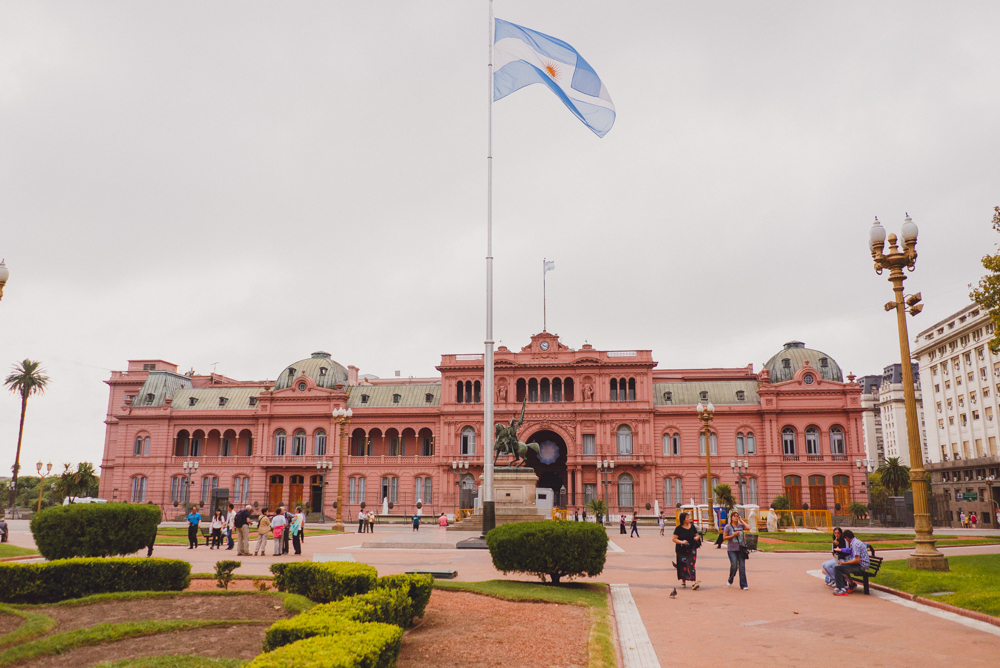
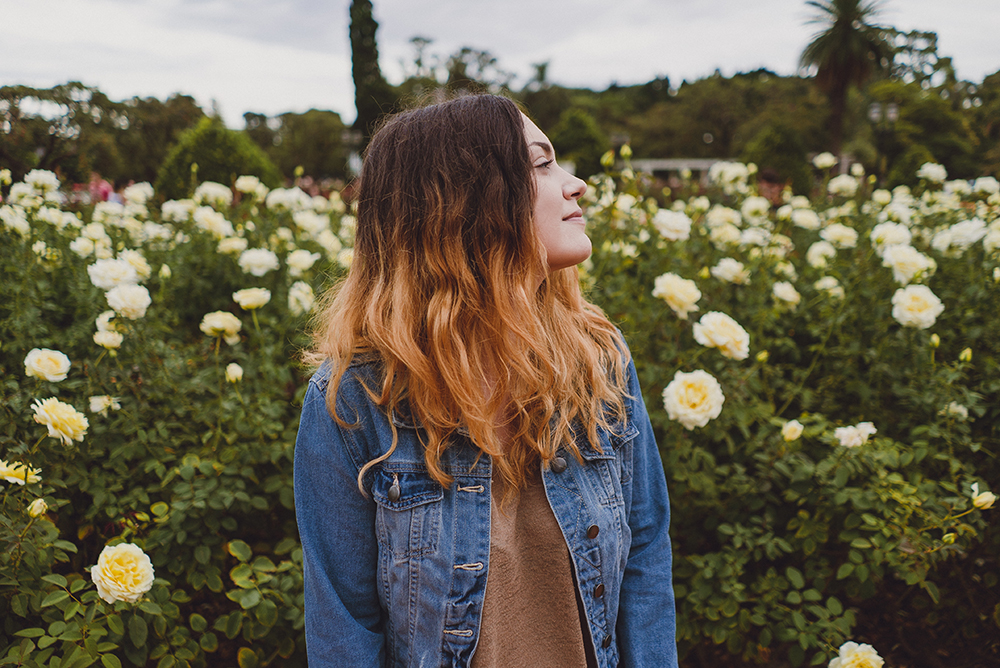
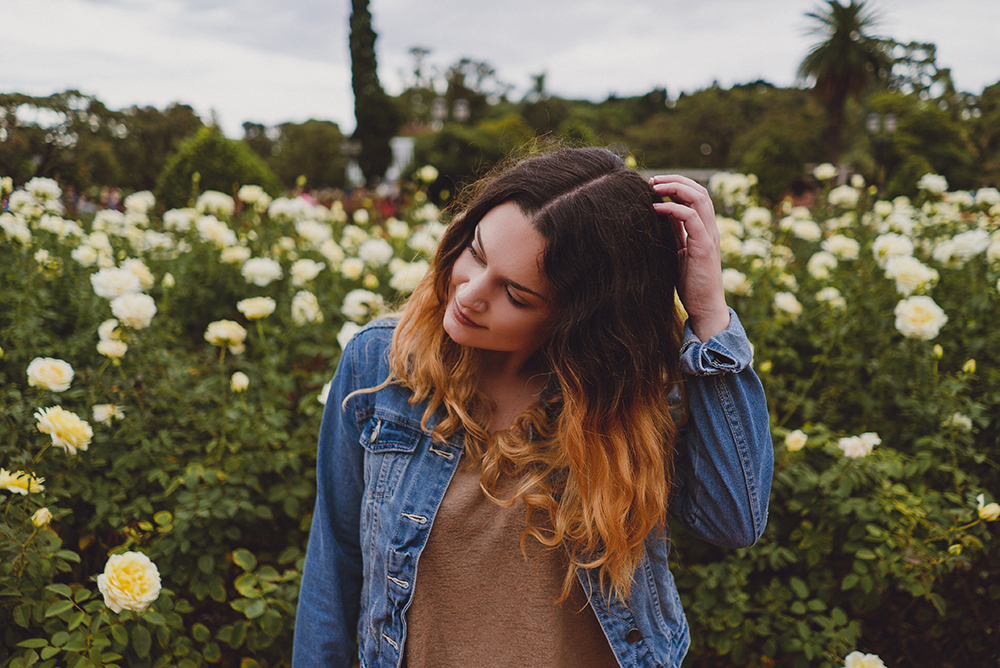
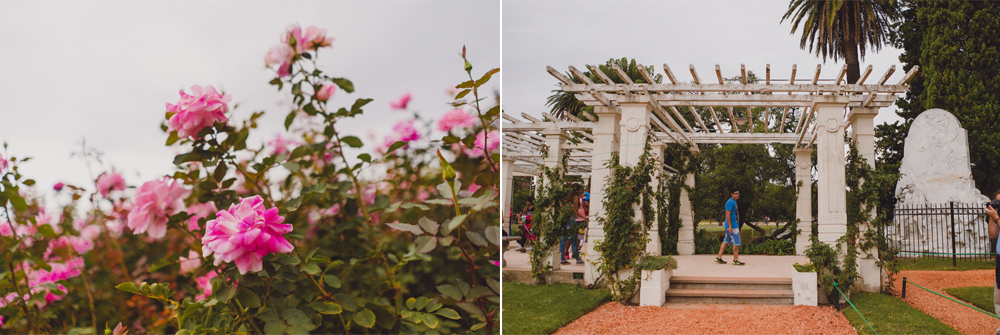
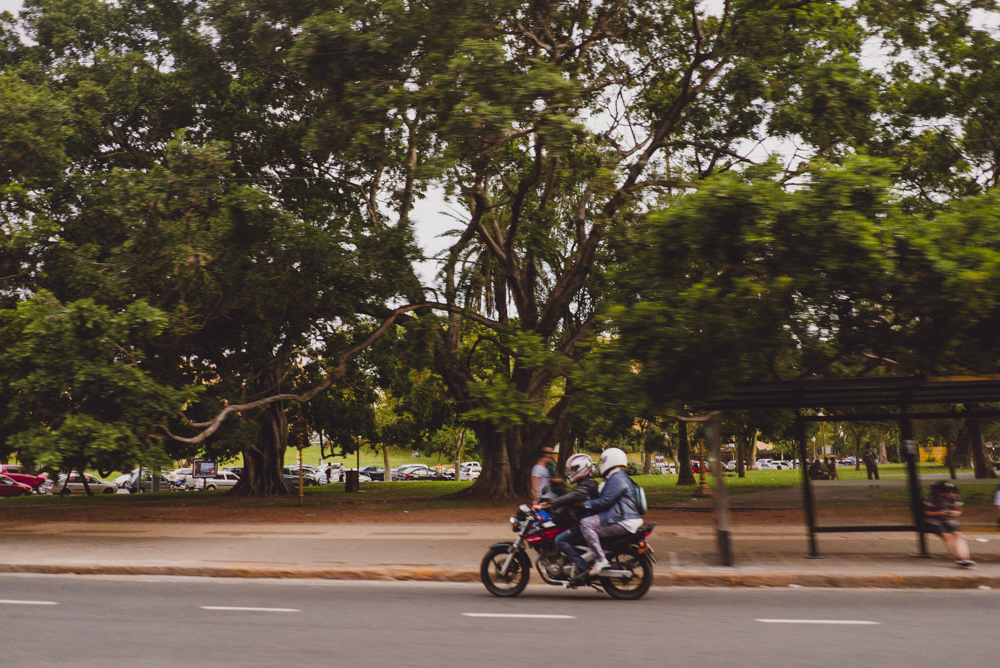
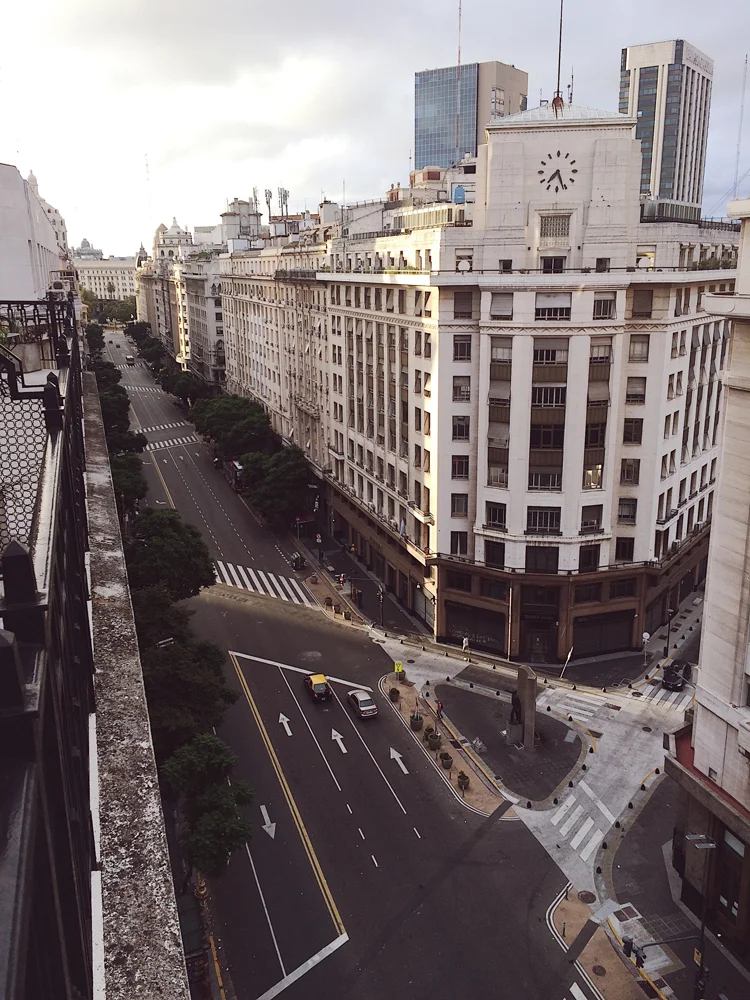
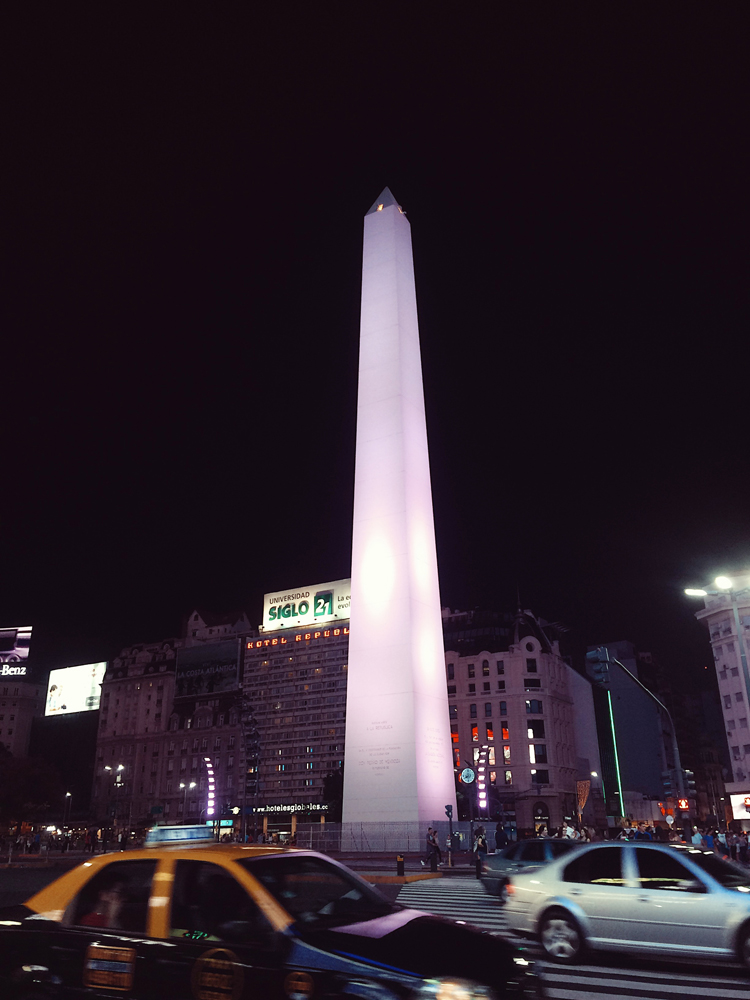
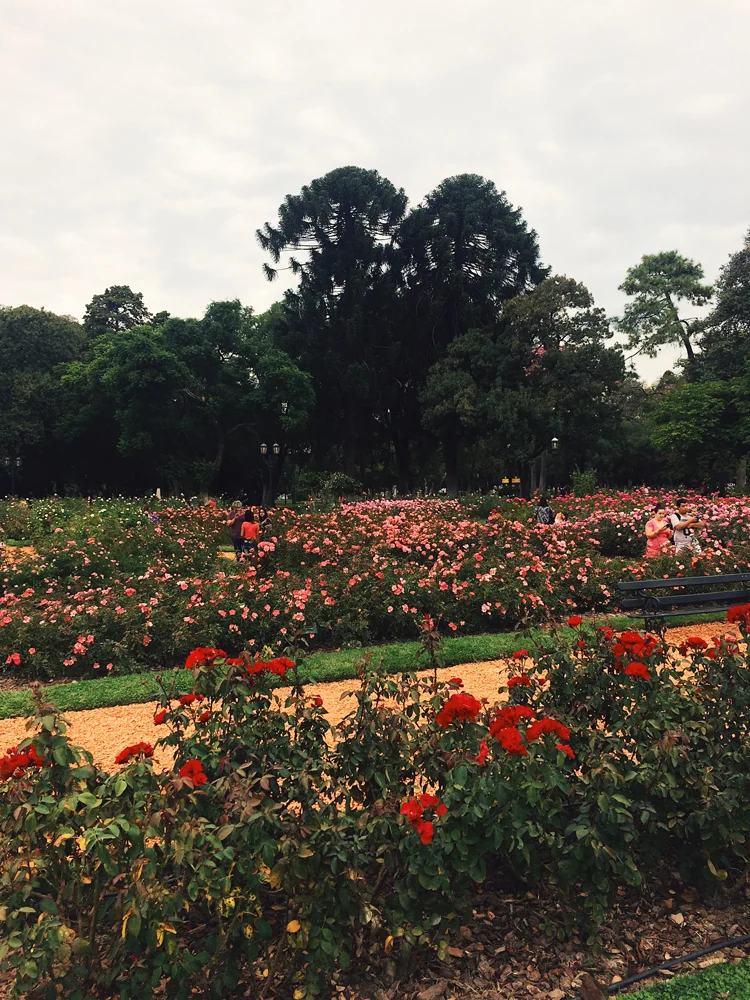
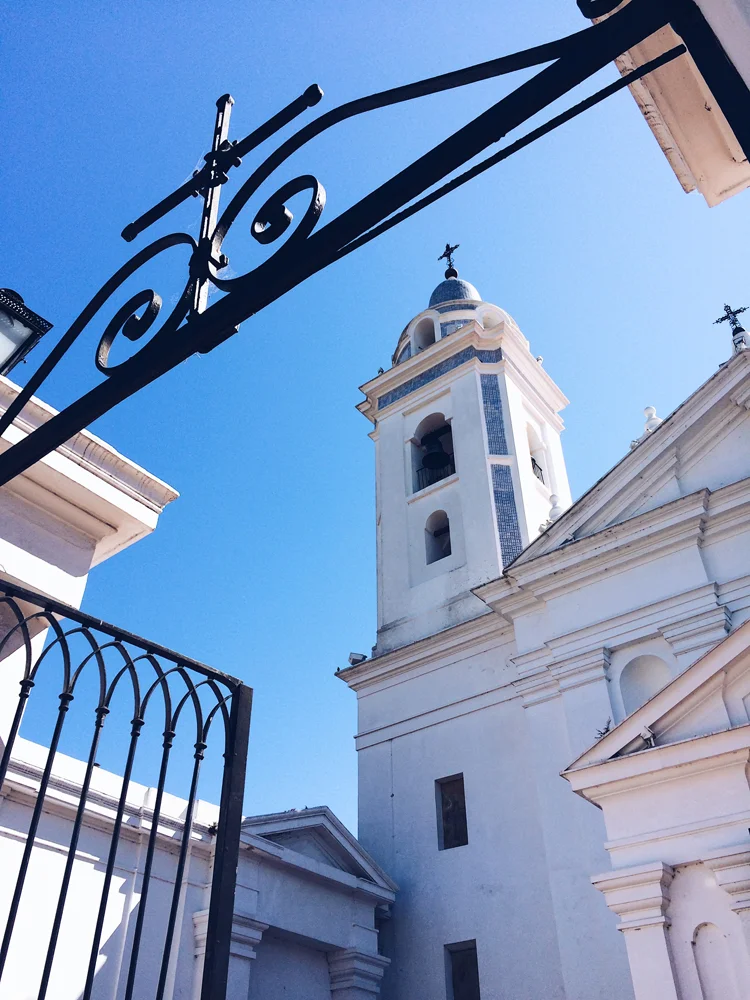
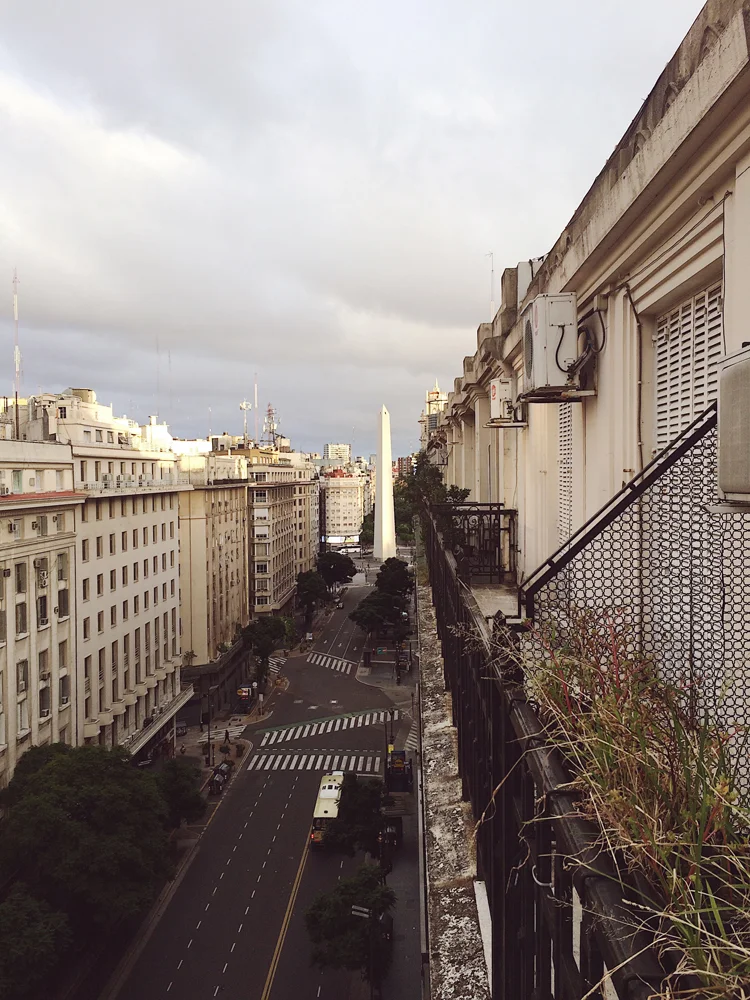
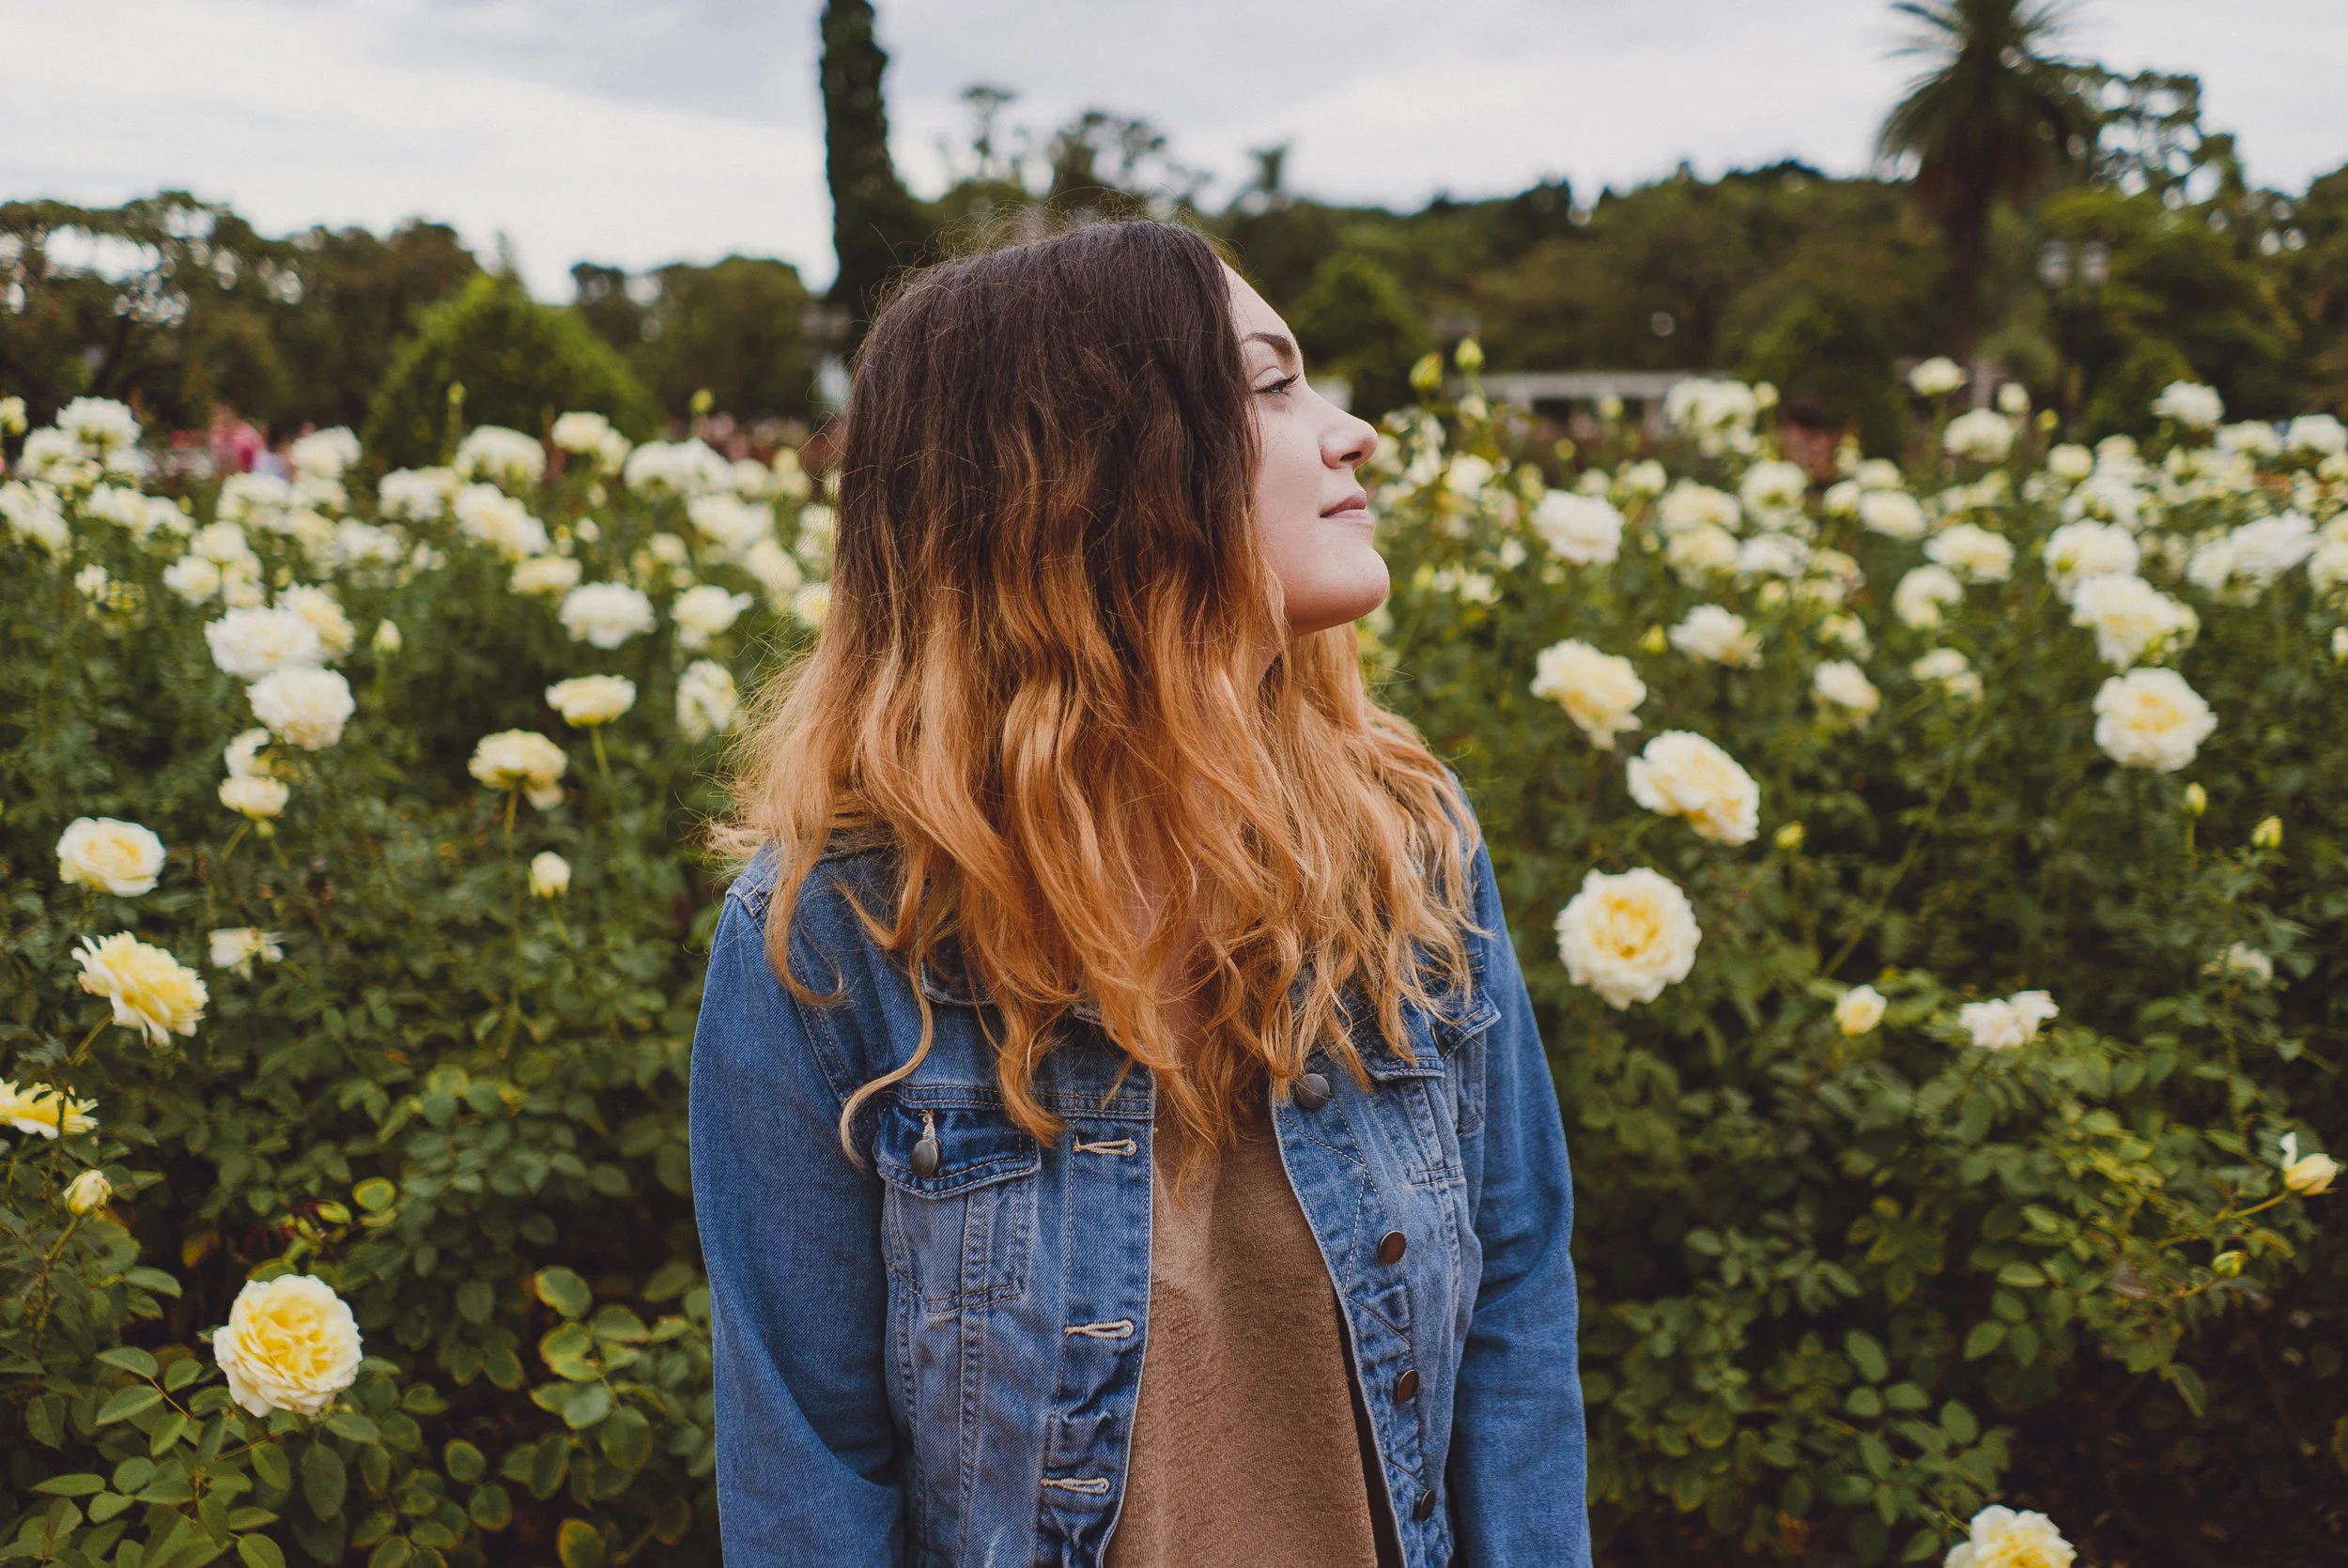
My dad and I rented an amazing airbnb on the main street in Buenos Aires which had the perfect view of the Obelisco (the tall white sculpture in the heart of the city). We spent our weekend visiting so many sights: walking around the picturesque suburb of Recoleta, visiting the cemetery in La Recoleta, we made our way to the Plaza de Mayo and saw the Casa Rosada, we explored La Boca and the Parque Tres de Febrero where they have a never ending rose garden, among so many other things!
I also vlogged my entire time in Argentina which you can watch on my YouTube Channel! Next stop is Mendoza.
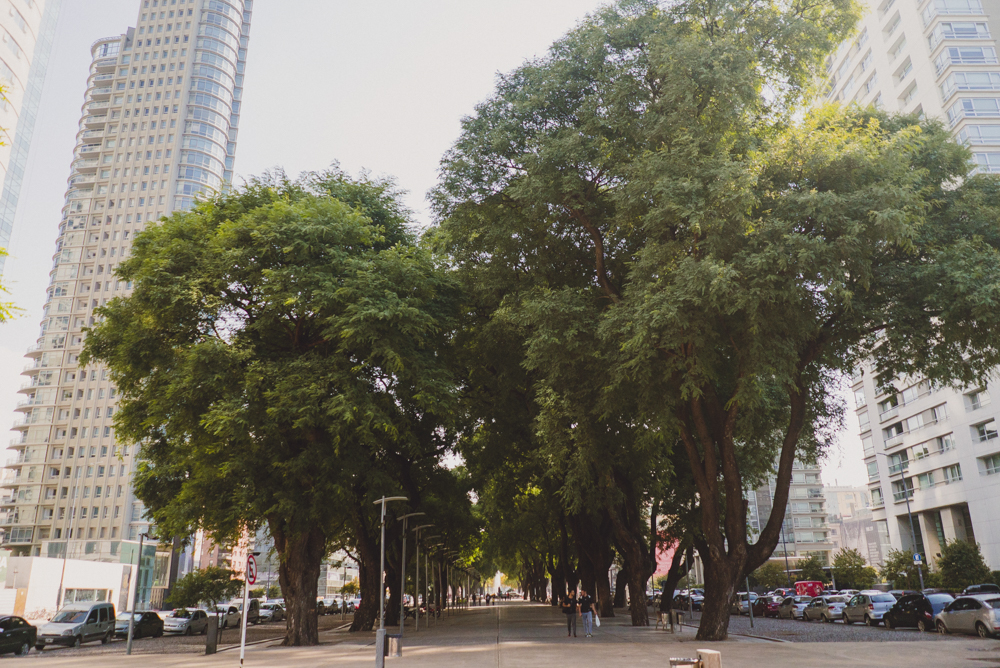
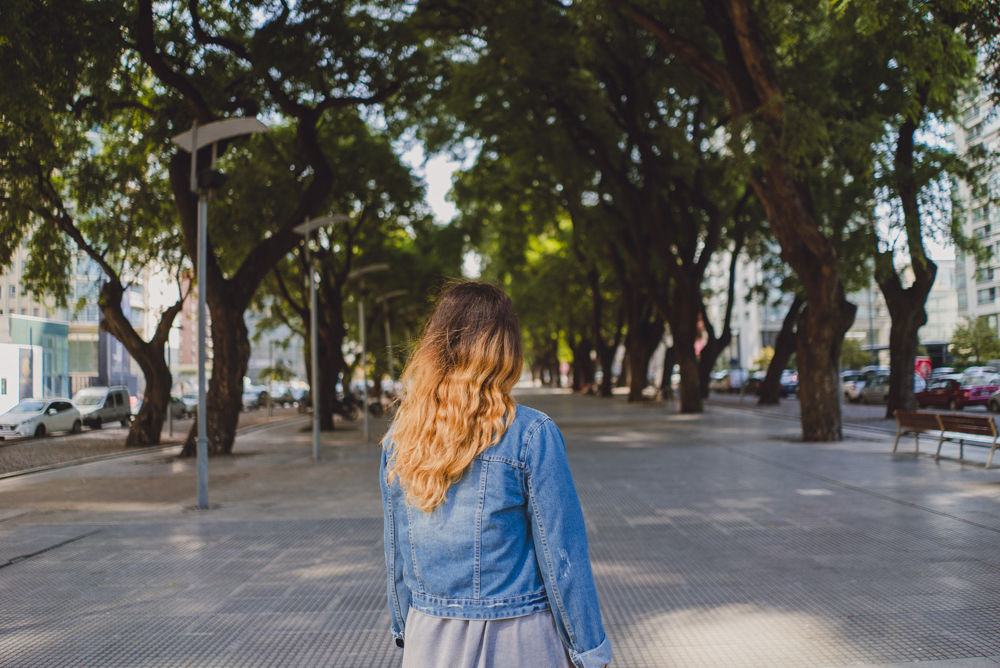






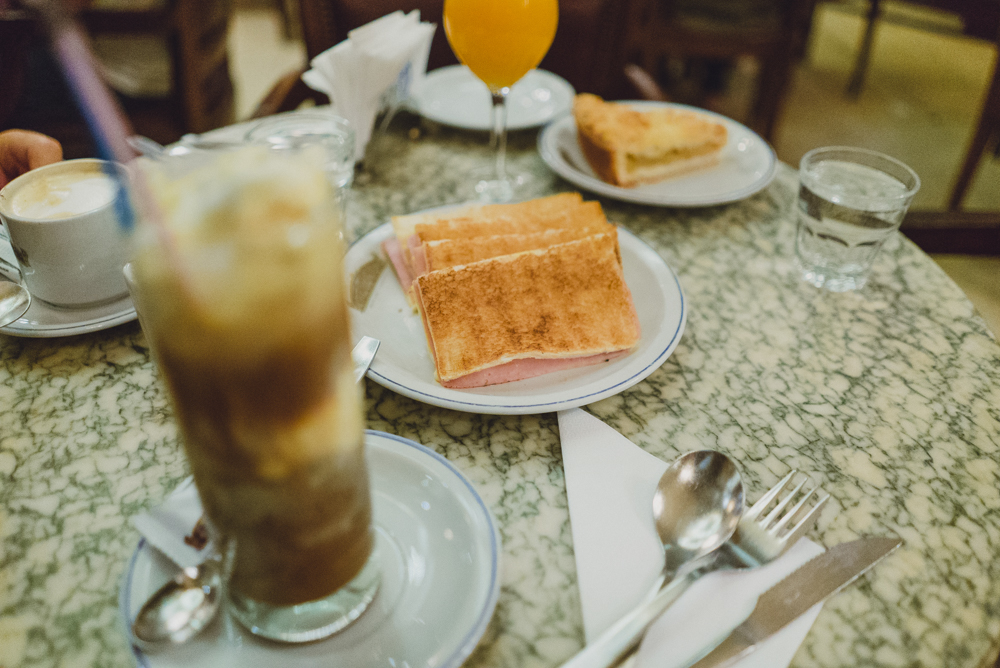
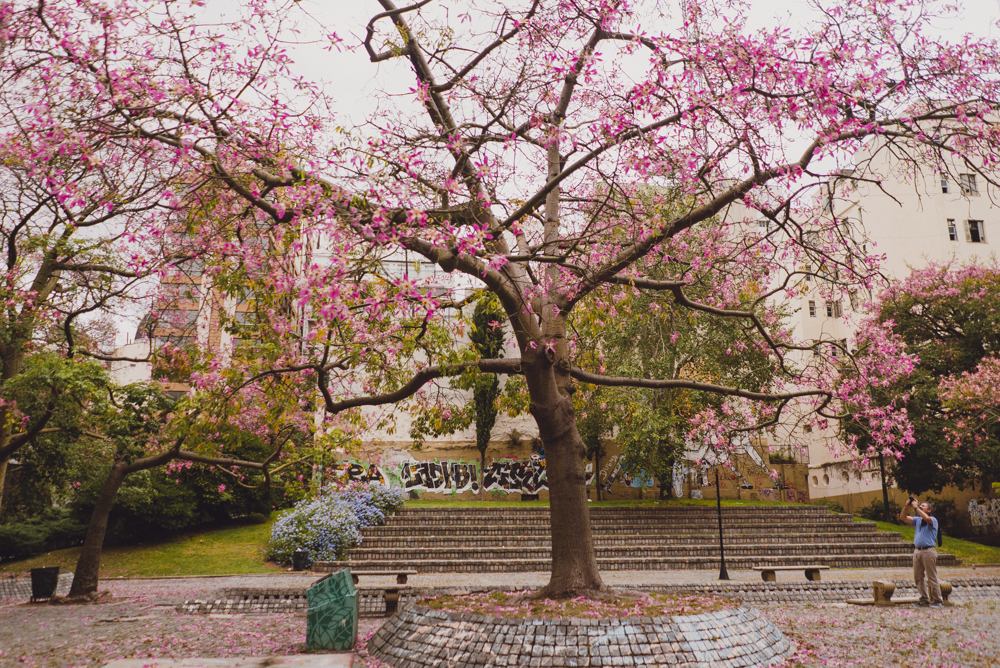
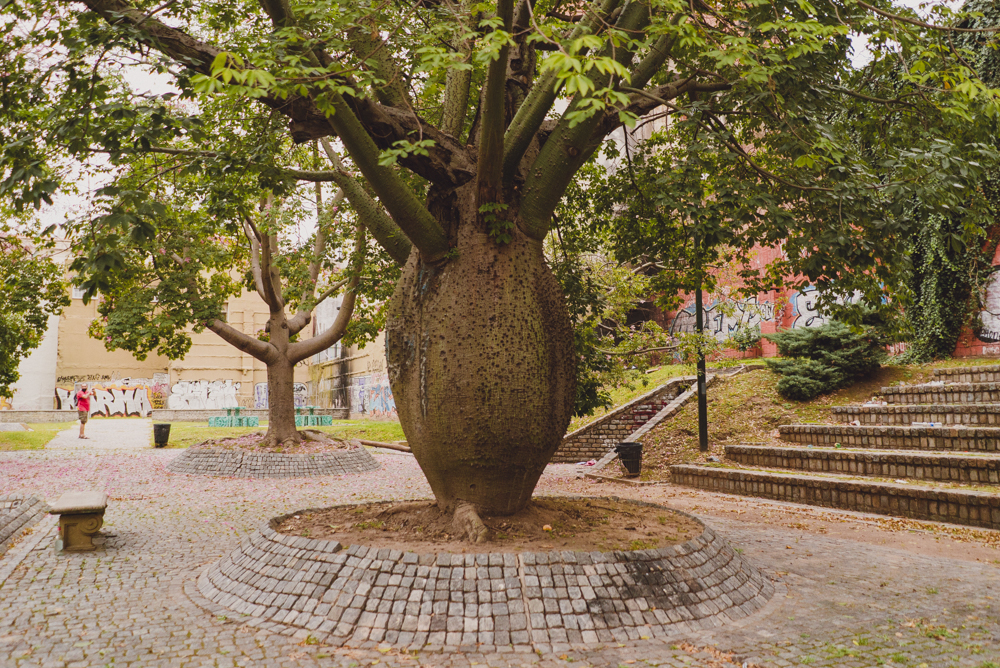
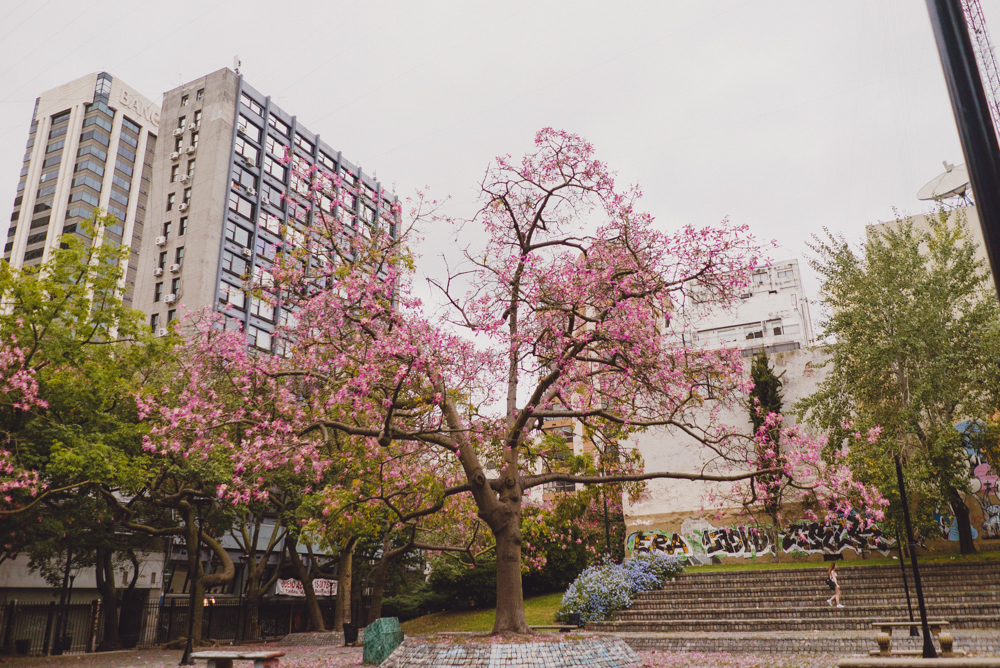




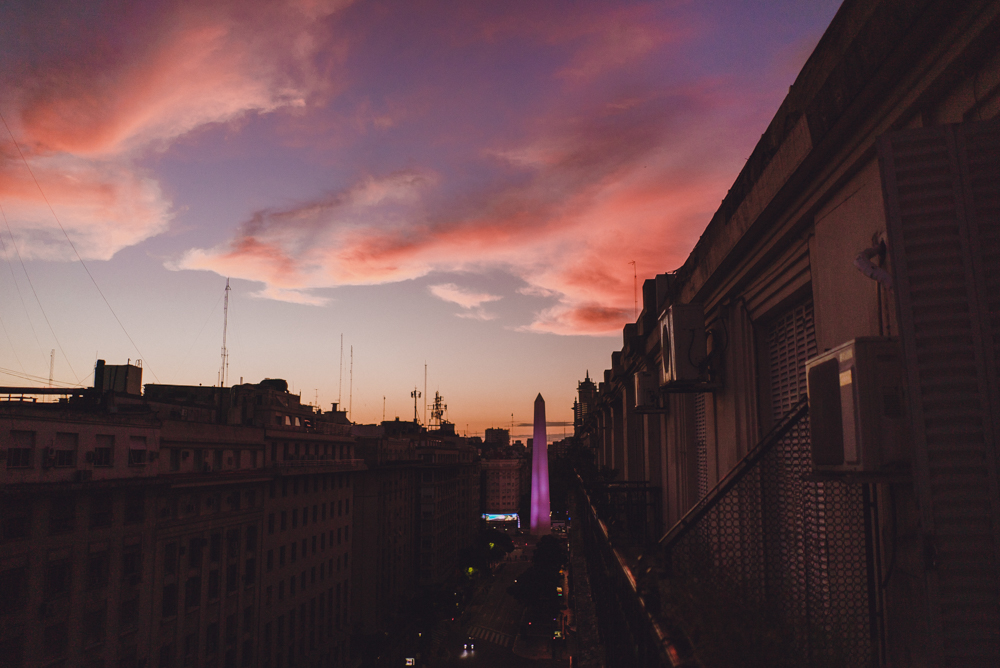
All photos edited with my Gdansk Lightroom Preset!
During this photoshoot, I’m using the Sony A7IV paired with the Samyang 24-70mm f2.8 zoom lens. This zoom lens gives me a lot of flexibility while shooting as it allows me to capture both wide and tight compositions without changing lenses. This is especially helpful is fast paced environments or when taking photos on a time crunch. While taking portraits, I’m also sharing a few of my go to composition tips for working with a standard zoom like this.
I spent a morning doing landscape photography around Lake Bled in Slovenia using the Sony A7IV with the GM 35mm f1.4 lens.
In this video, I want to share with you reasons to help you decide wether you should be upgrading your camera body or your lens and which one to do first. I’ll walk you through the key factors to consider when deciding between each option.
For this portrait session, I am using the Zeiss 50mm f1.4 on the Sony A7 IV, capturing backlit images on the beach during golden hour. The combination of the lens’s wide aperture and the warm, soft light of the setting sun helped create intimate, glowing portraits with beautiful light falloff and natural skin tones.
I am comparing the Zeiss 50mm f1.4 vs Zeiss 55mm f1.8 at a real-world portrait photoshoot. I share various different side by side photo comparisons at 100% crop, so you can see all the details.
For this portrait photoshoot I am using the Fujifilm X-T4 paired with two of my favorite prime lenses: the Fujinon XF 16mm f/1.4 R WR and XF 23mm f/1.4 R LM WR.
I captured these photos of Megan Emmett for the Candice Lee Femme Collection. You can see more of Candice Lee’s bridal gowns and hair styling work here.
This blog post includes some of my favourite photos I took during my time in Japan with the S5II. If you want to hear my complete thoughts and review of the S5II capabilities for photo and video, you can watch my review video here.
In November, I was invited to Japan by LUMIX to attend the LUMIX Global Summit for the announcement of the new LUMIX S5II. Paired with the new camera body and an array of lenses, Dan and I took to the streets of Tokyo, Japan to film our review video of the camera body.
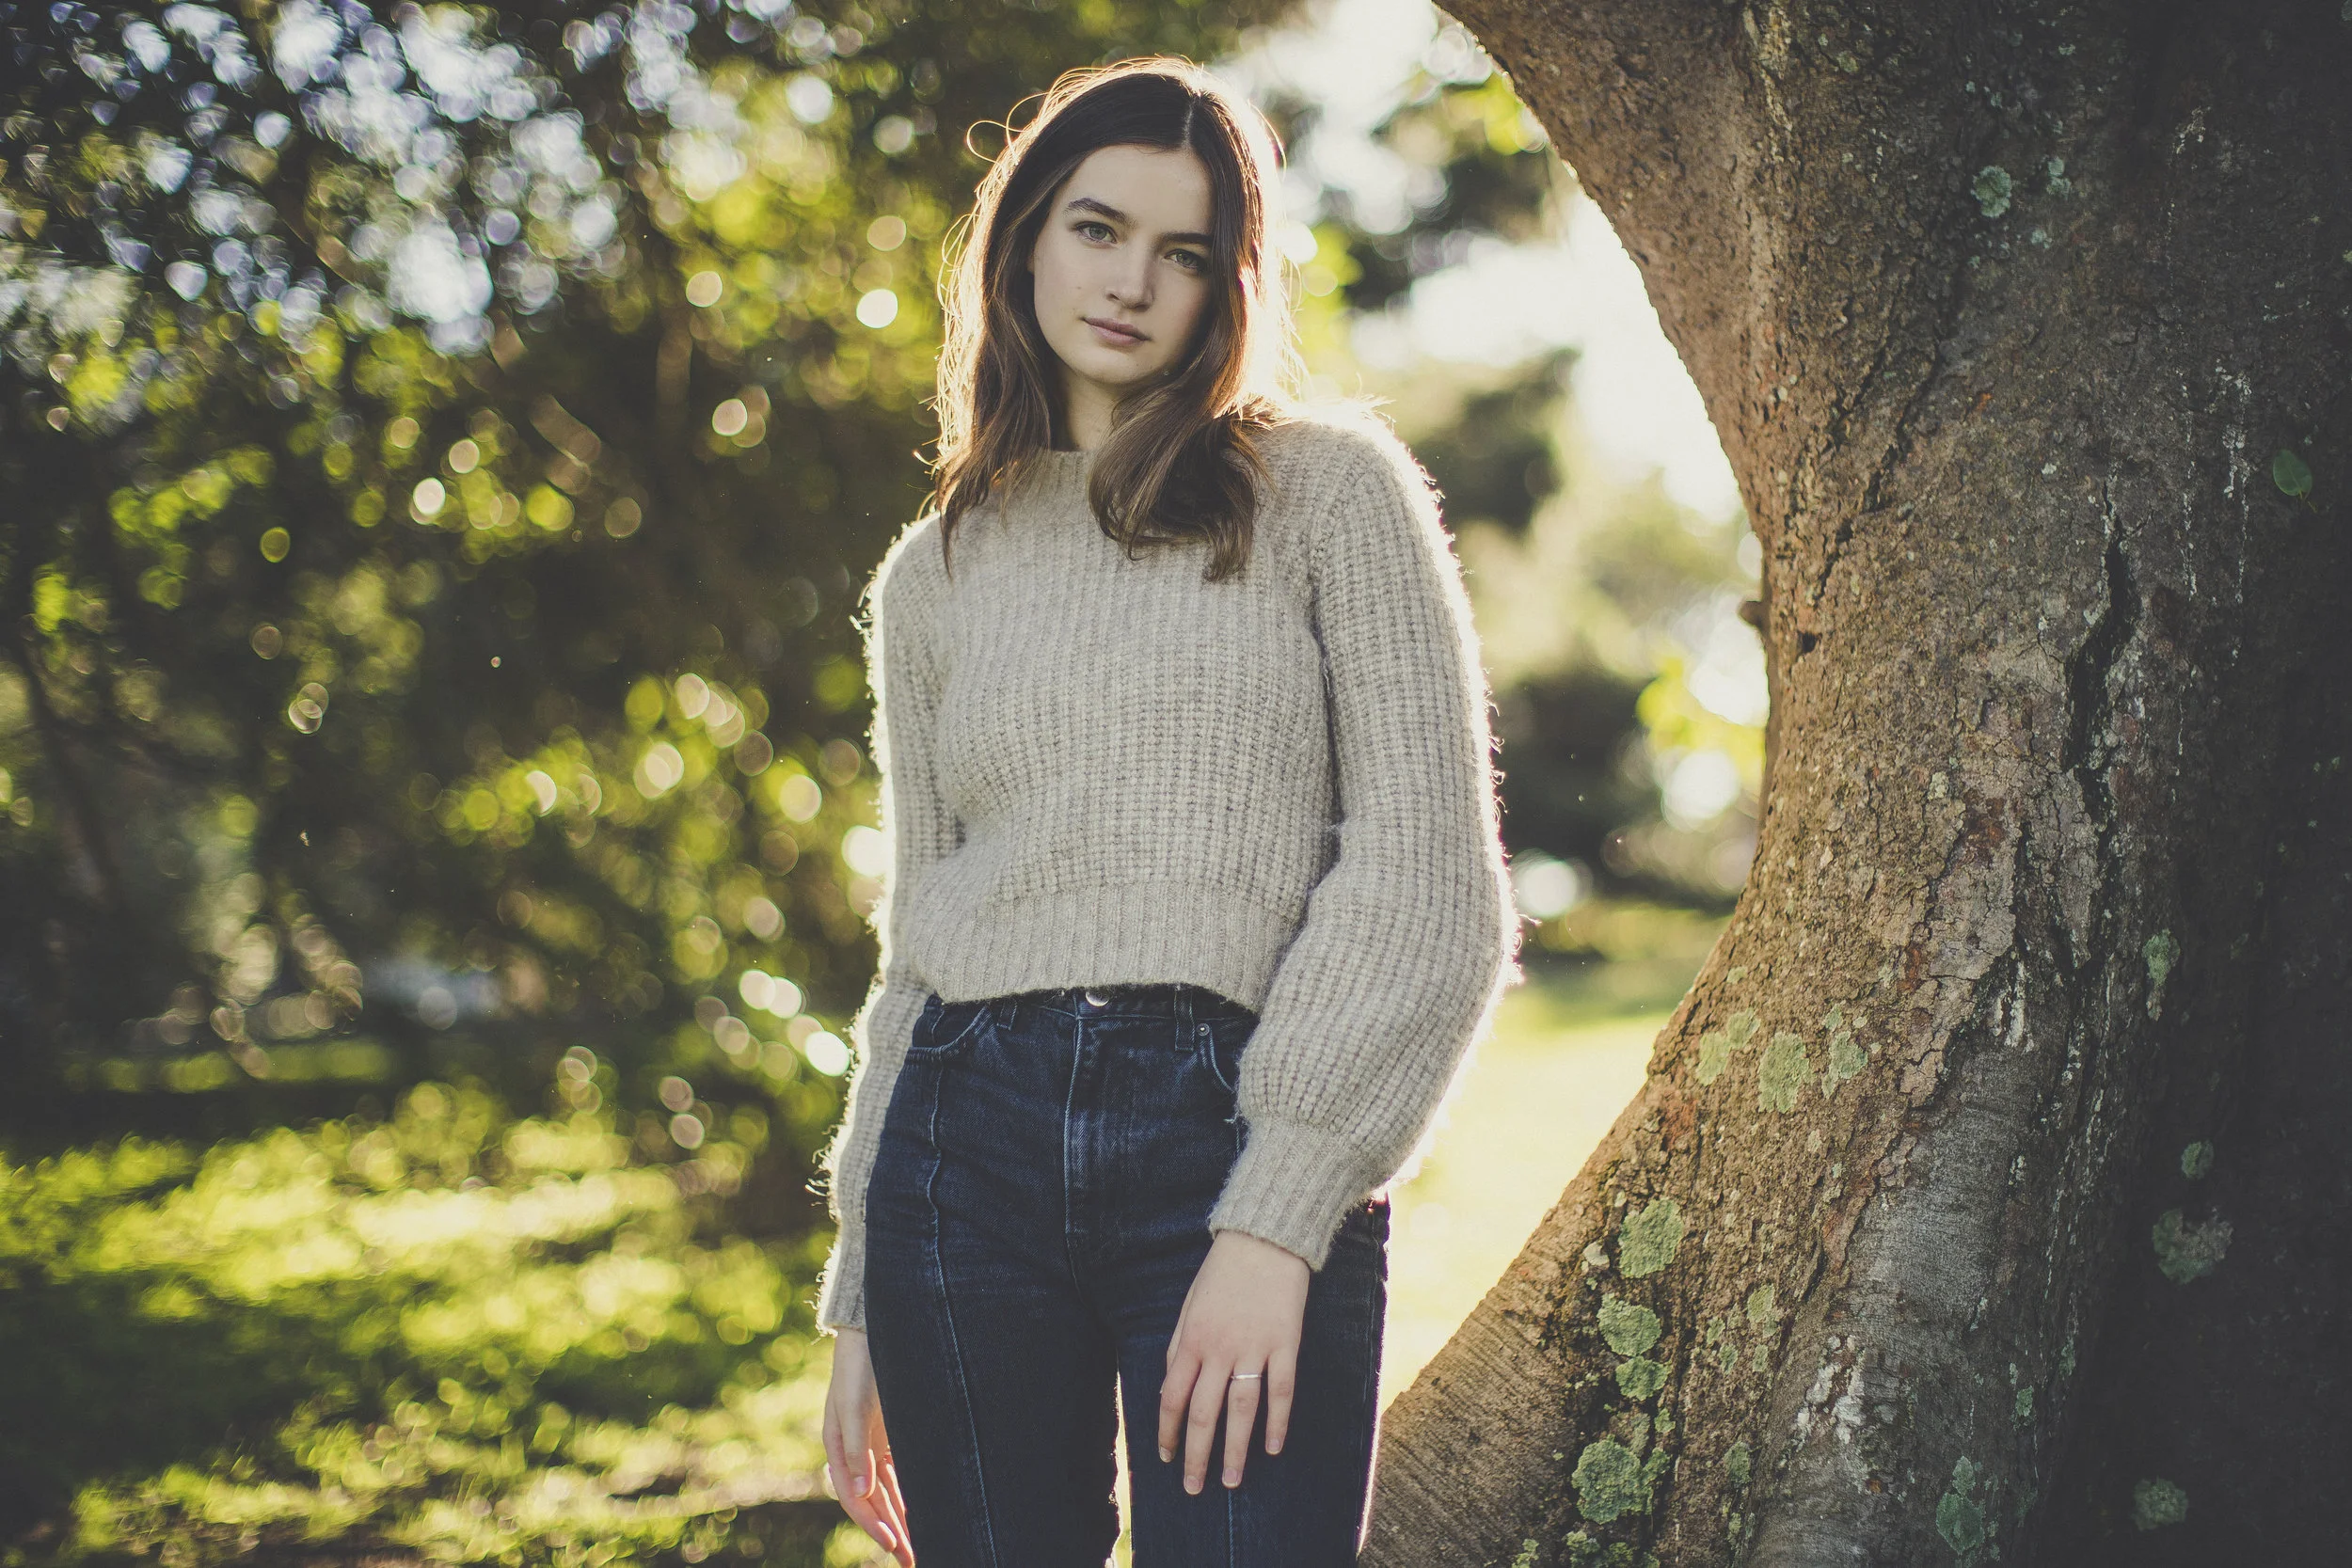
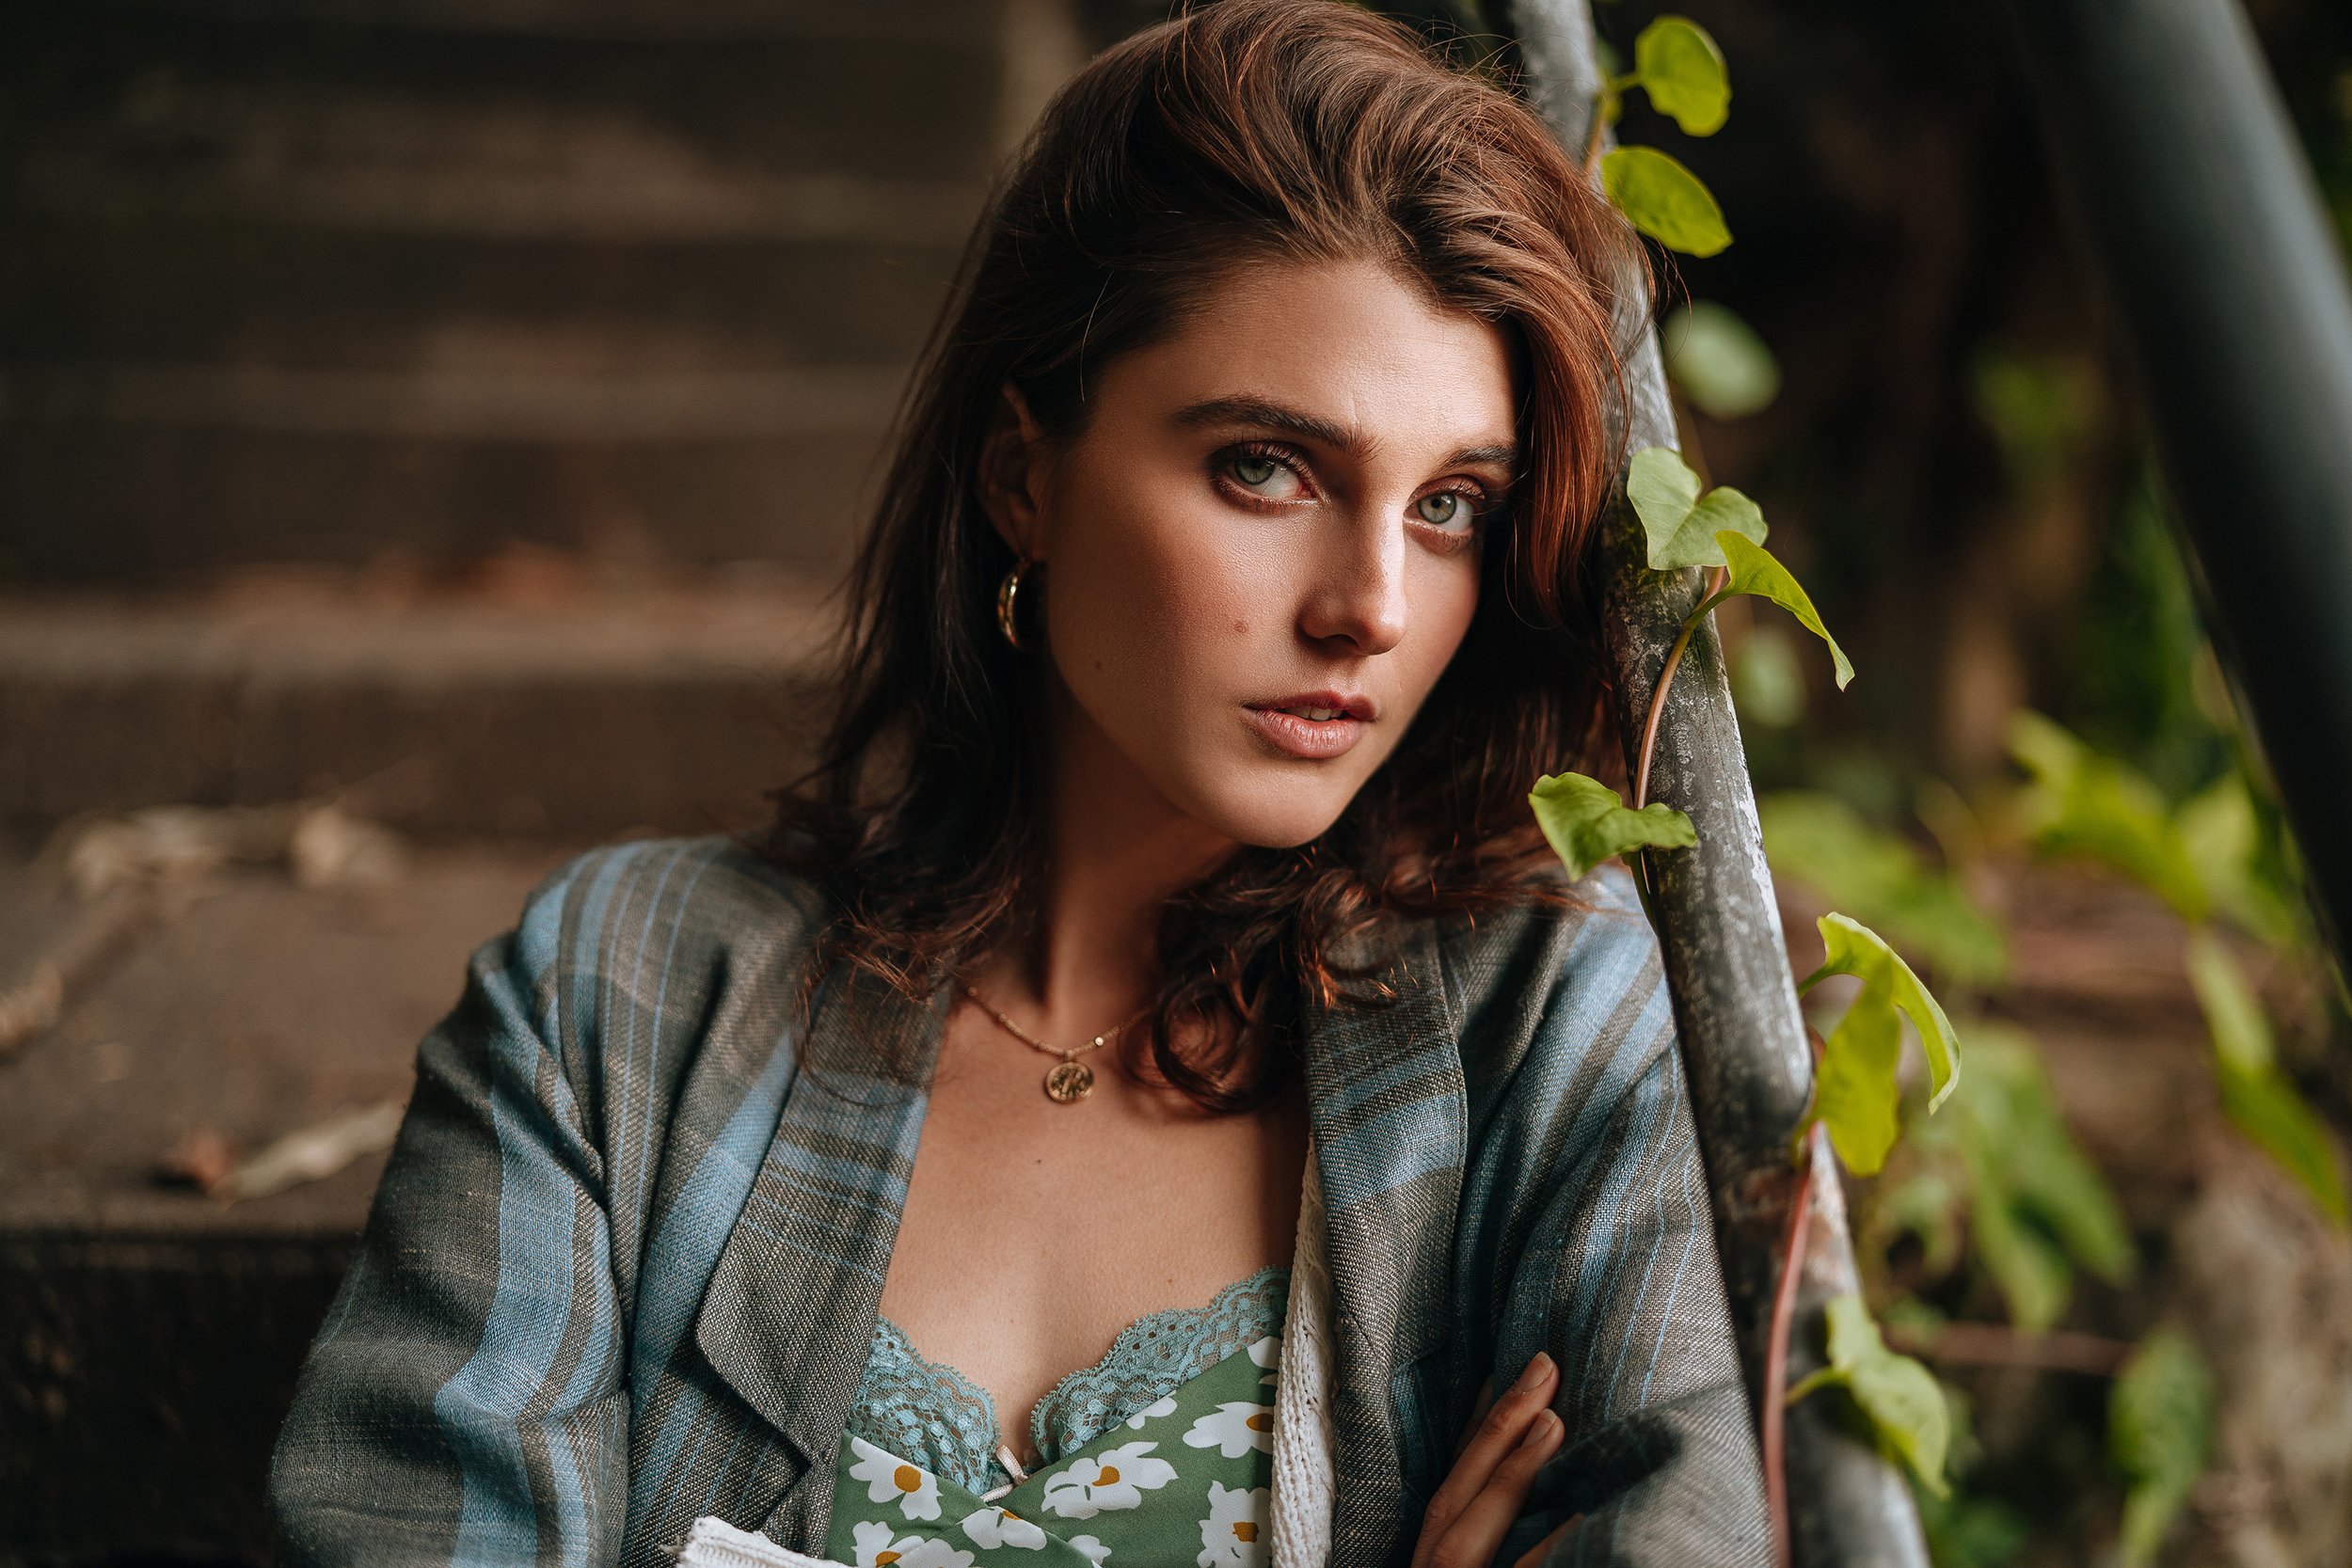


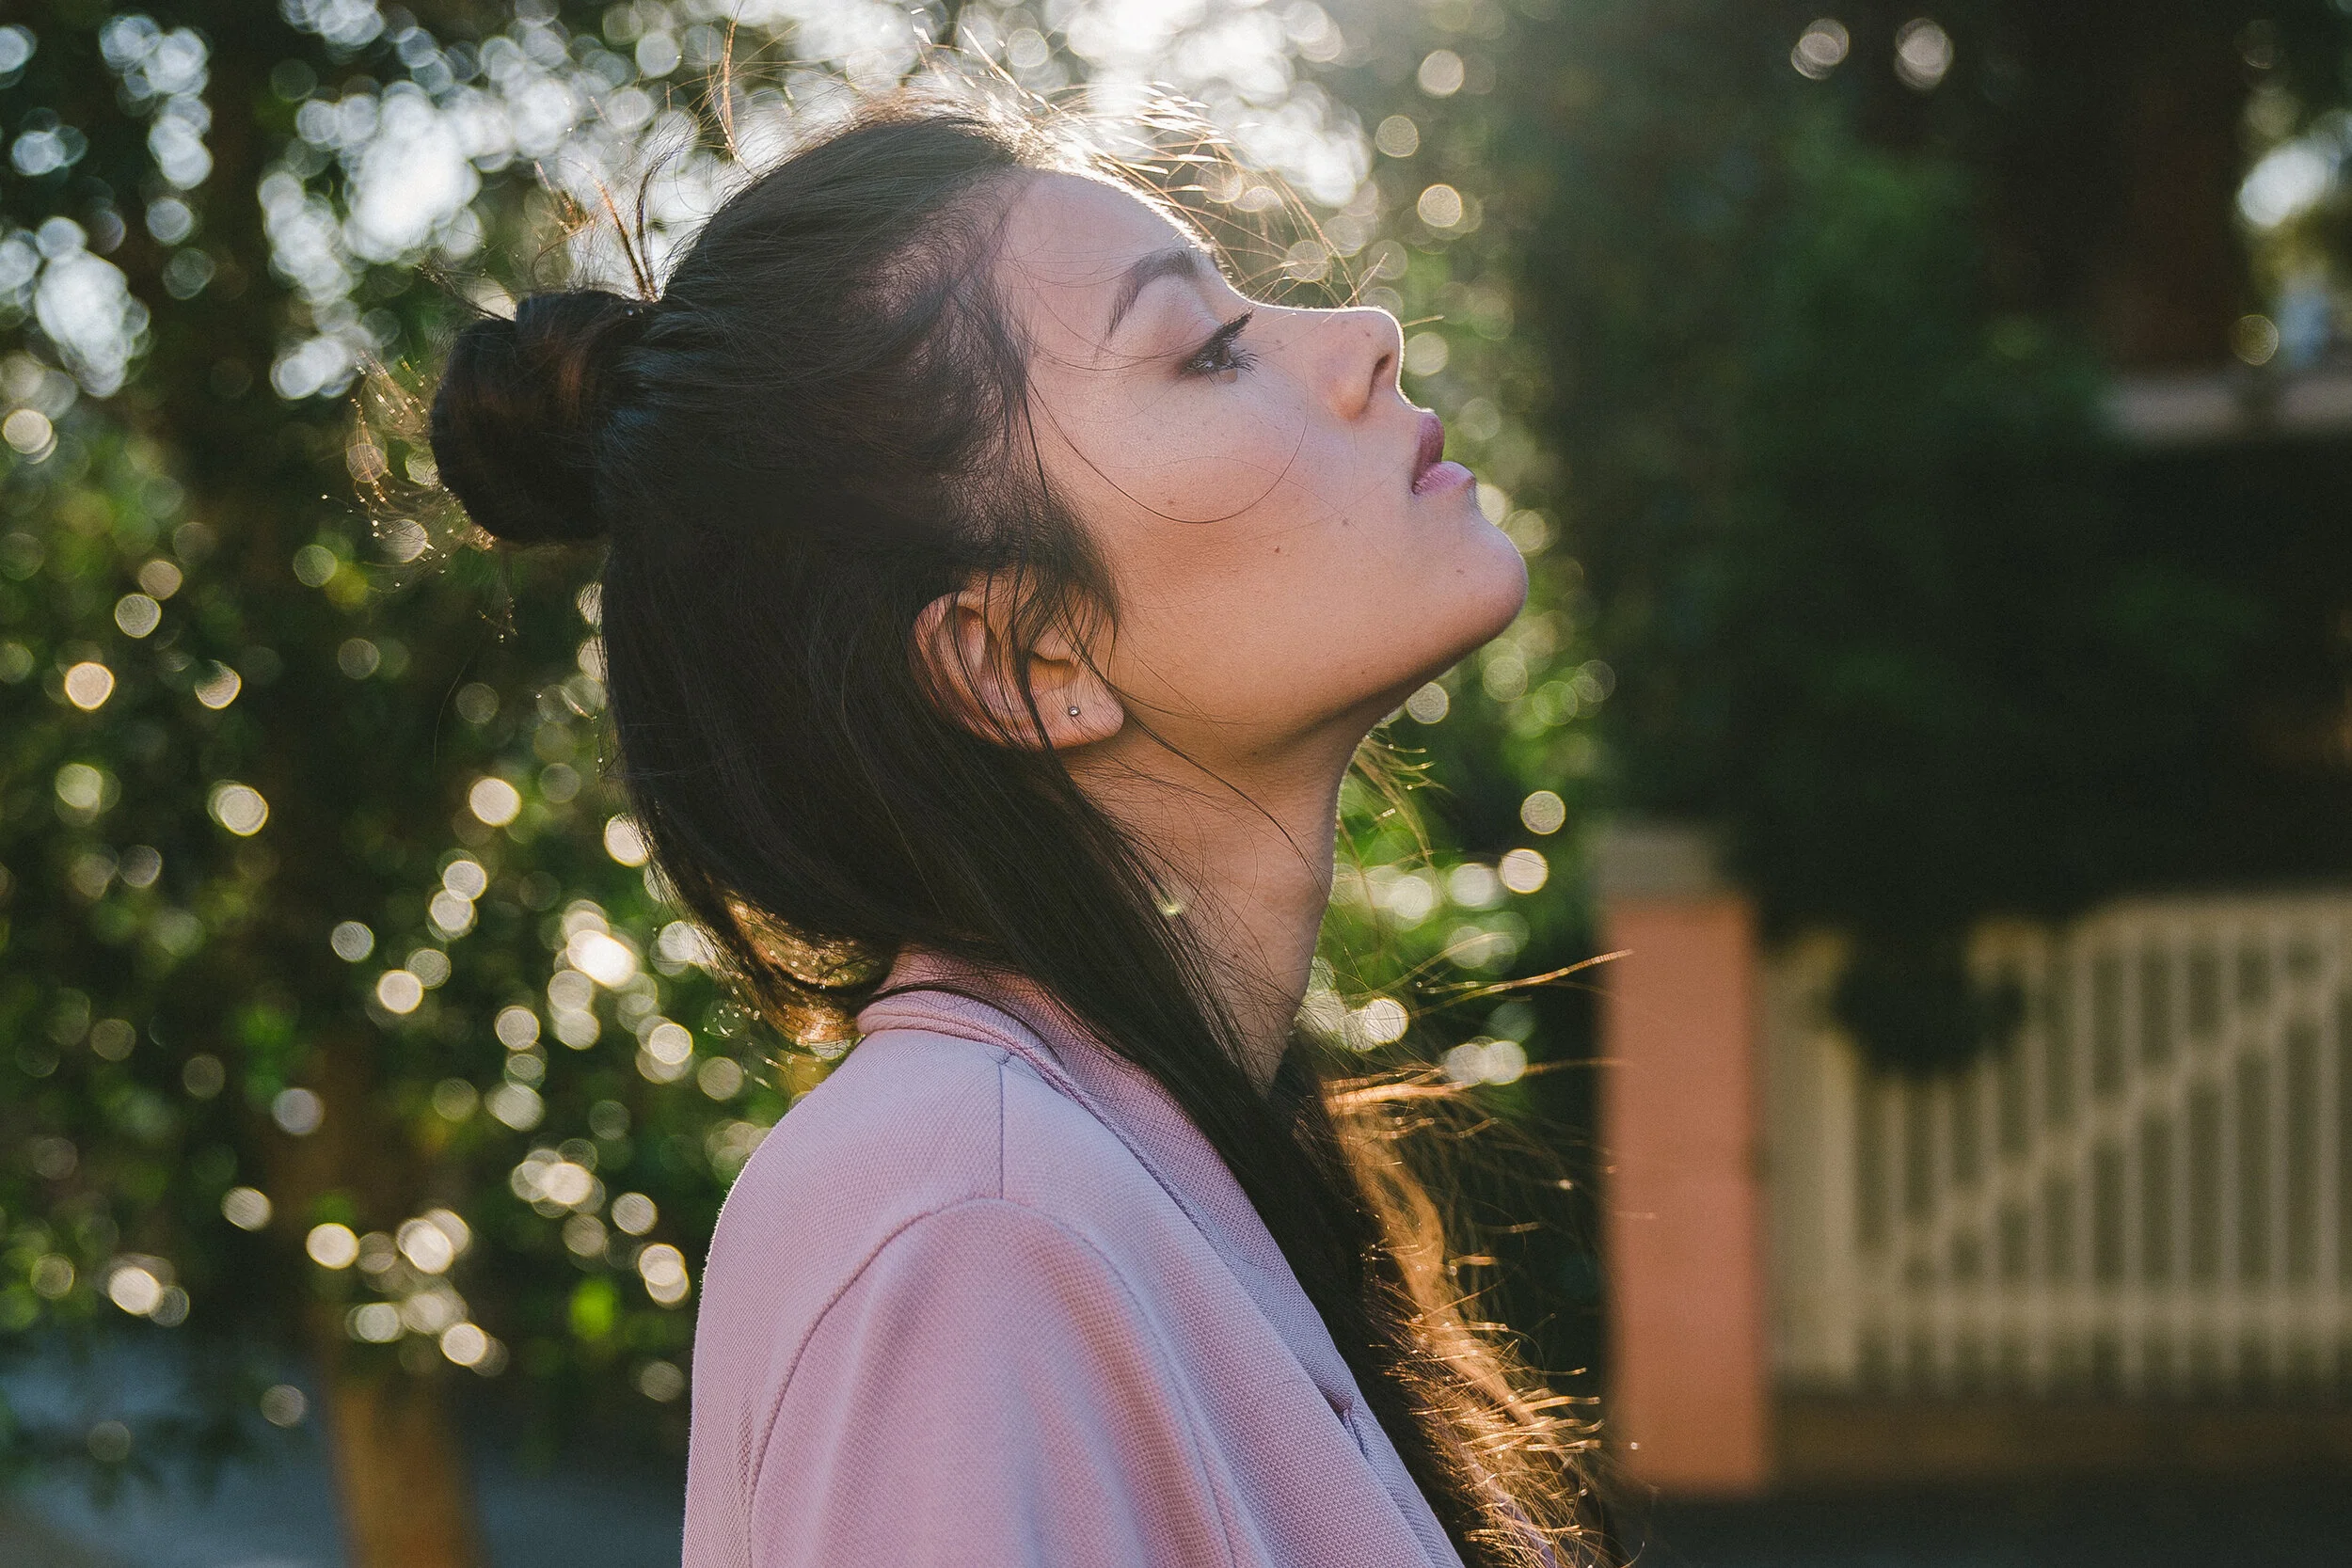
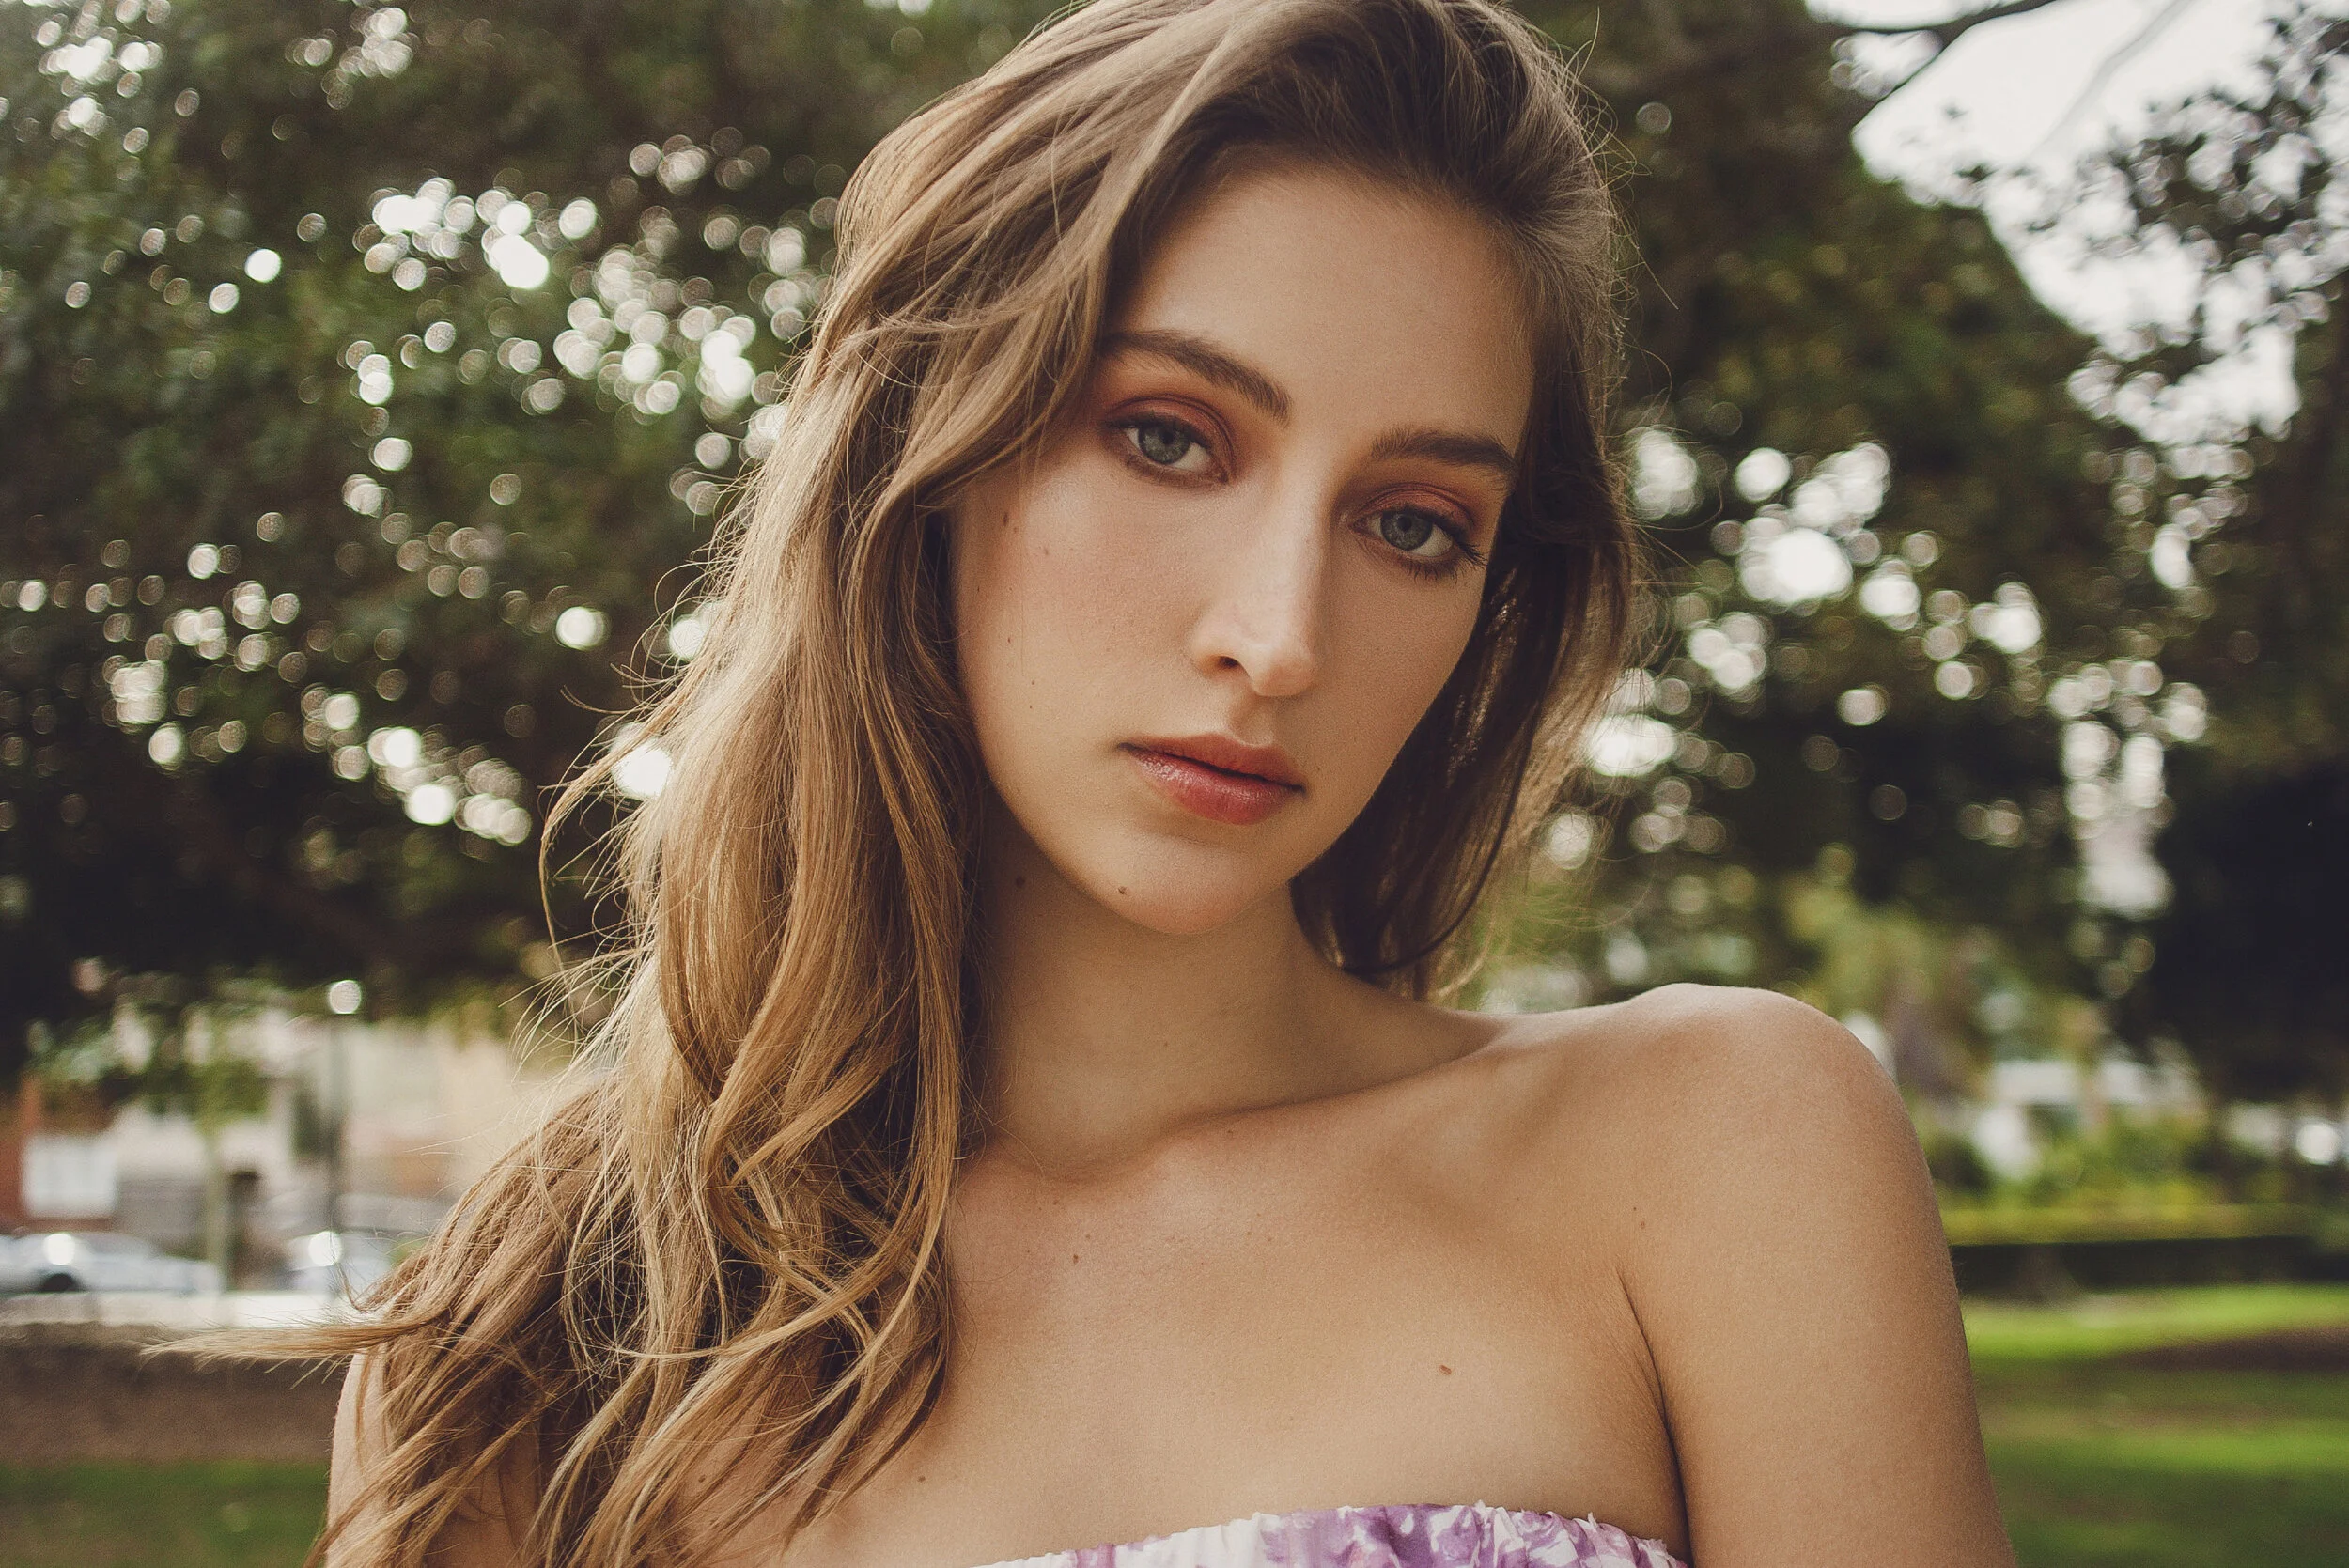

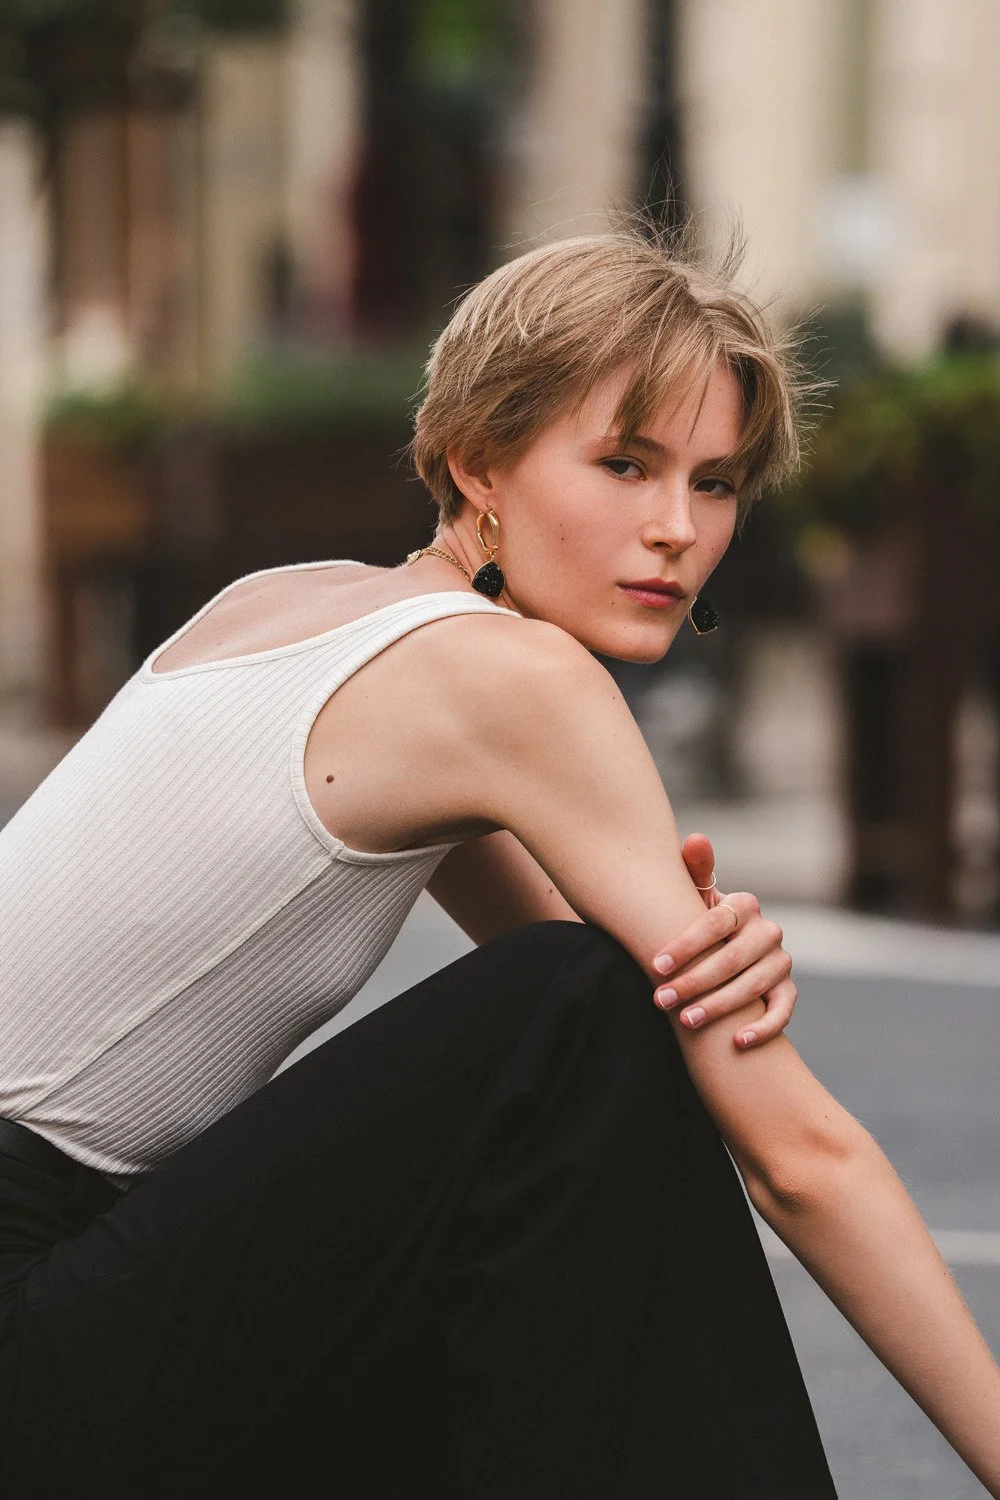
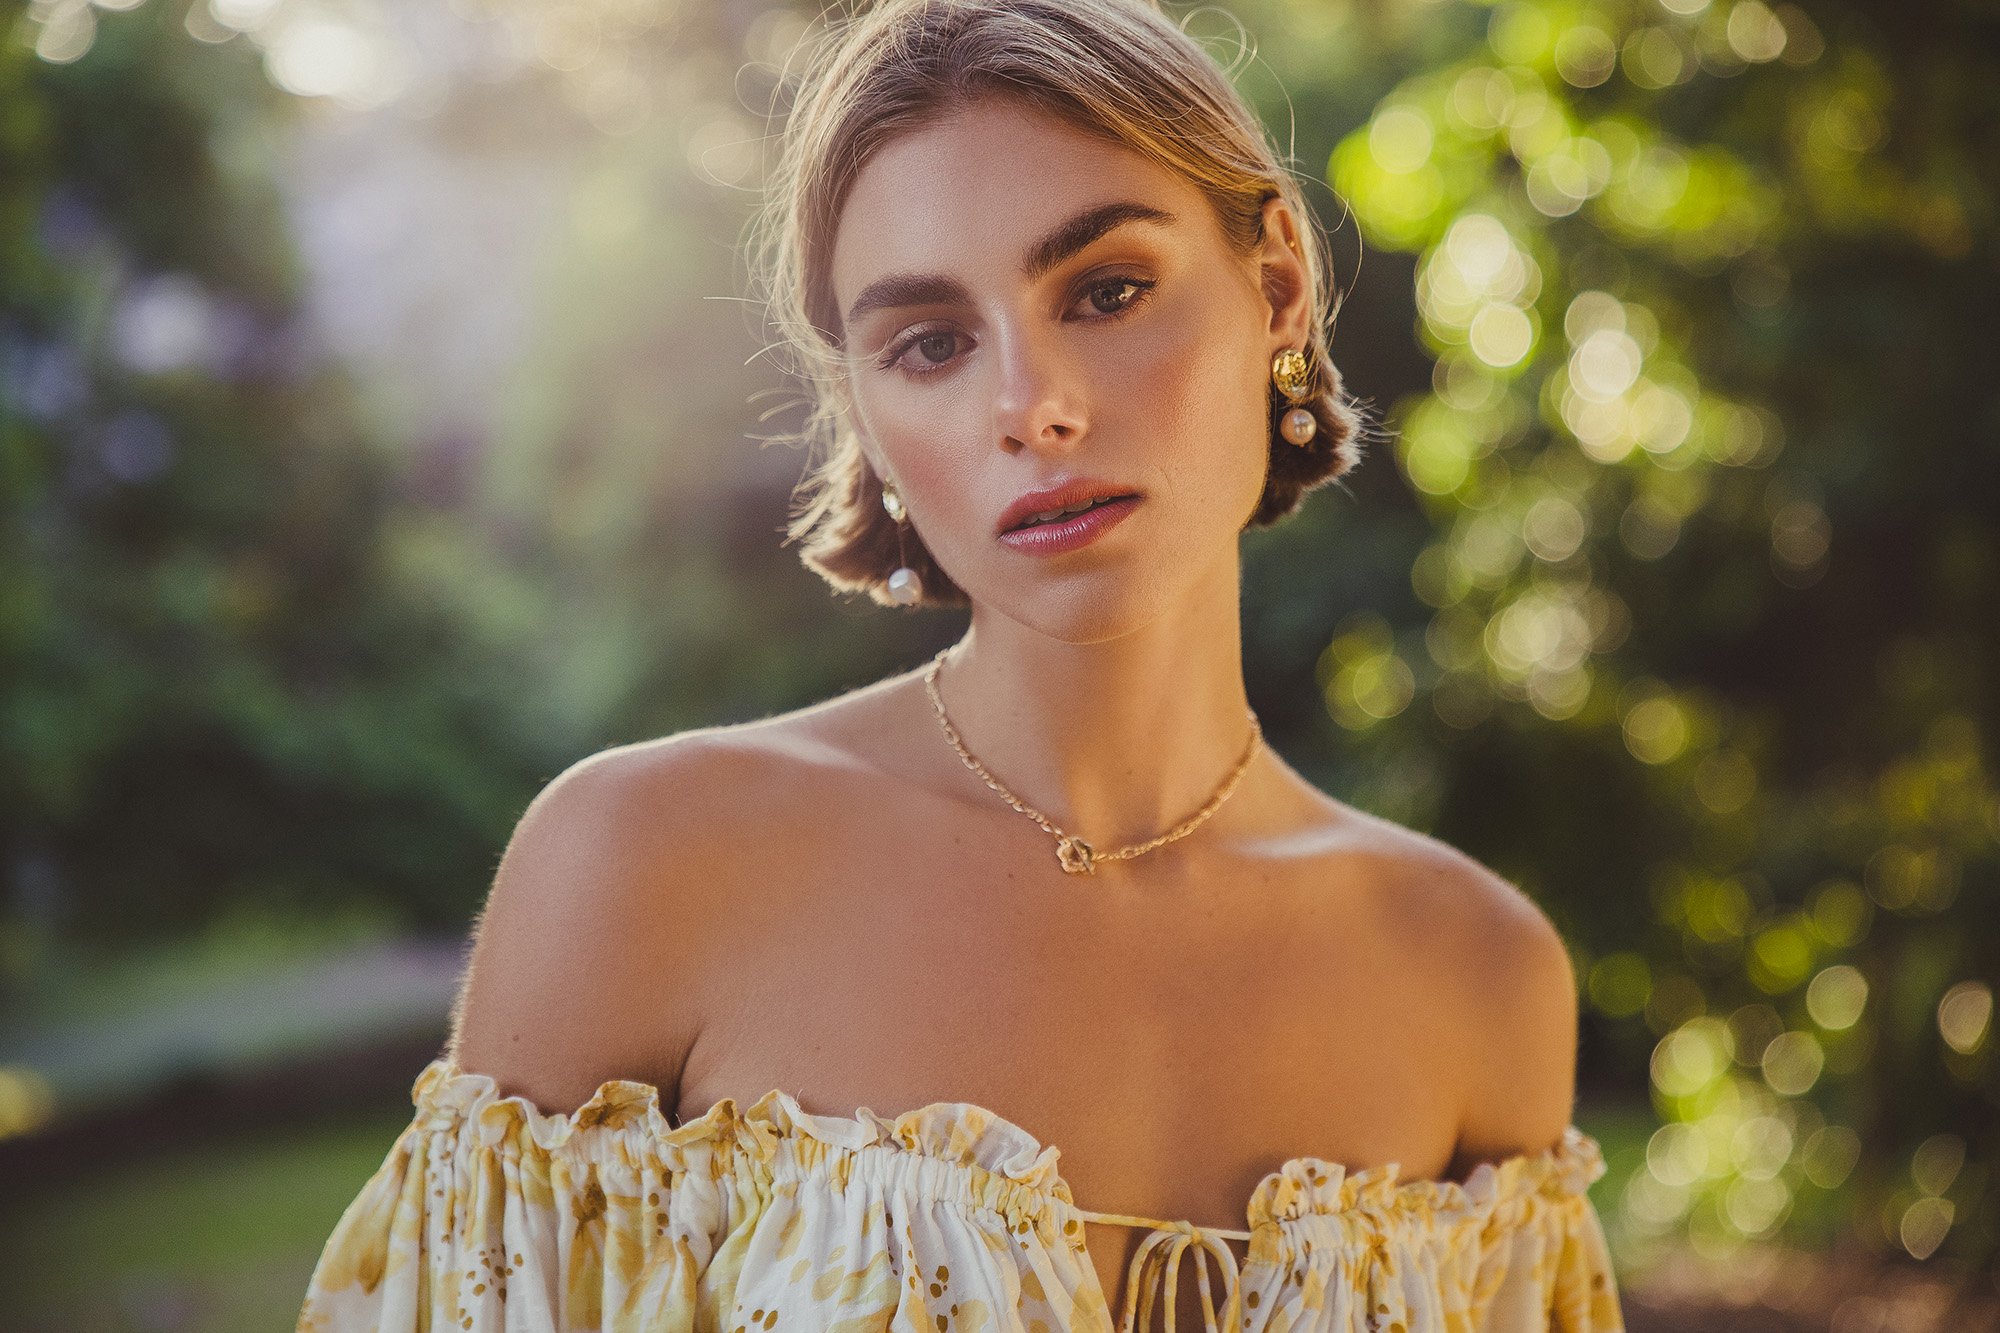

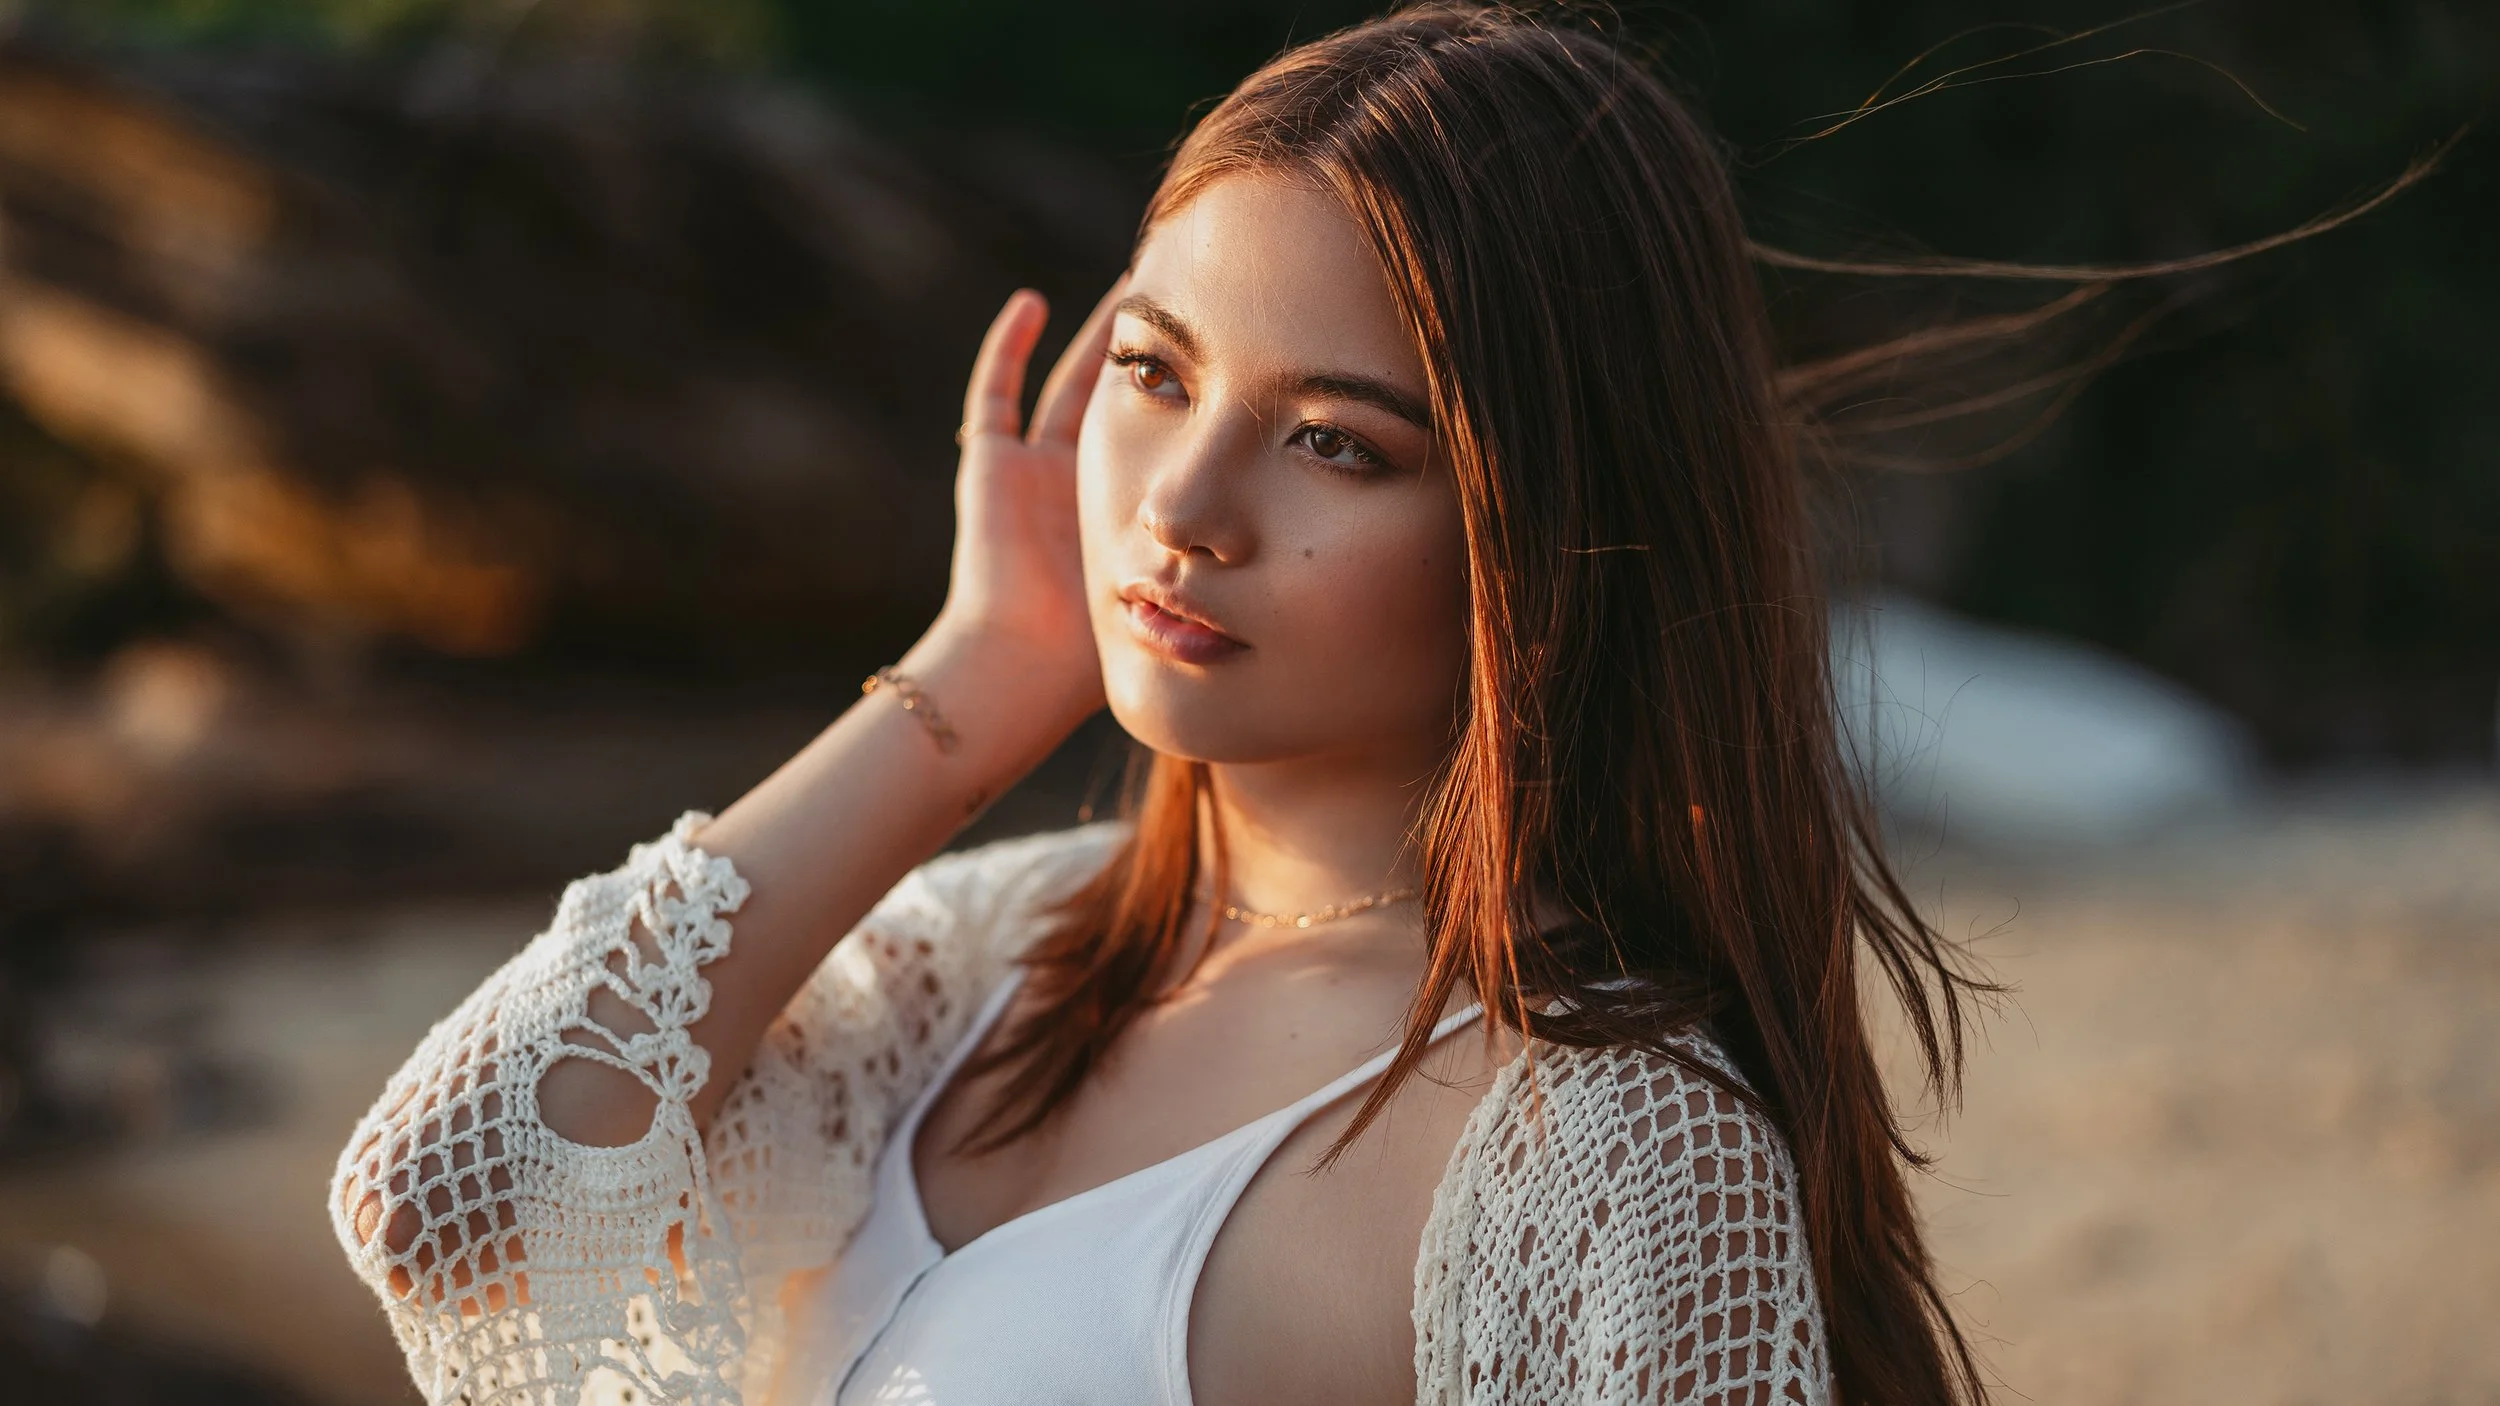
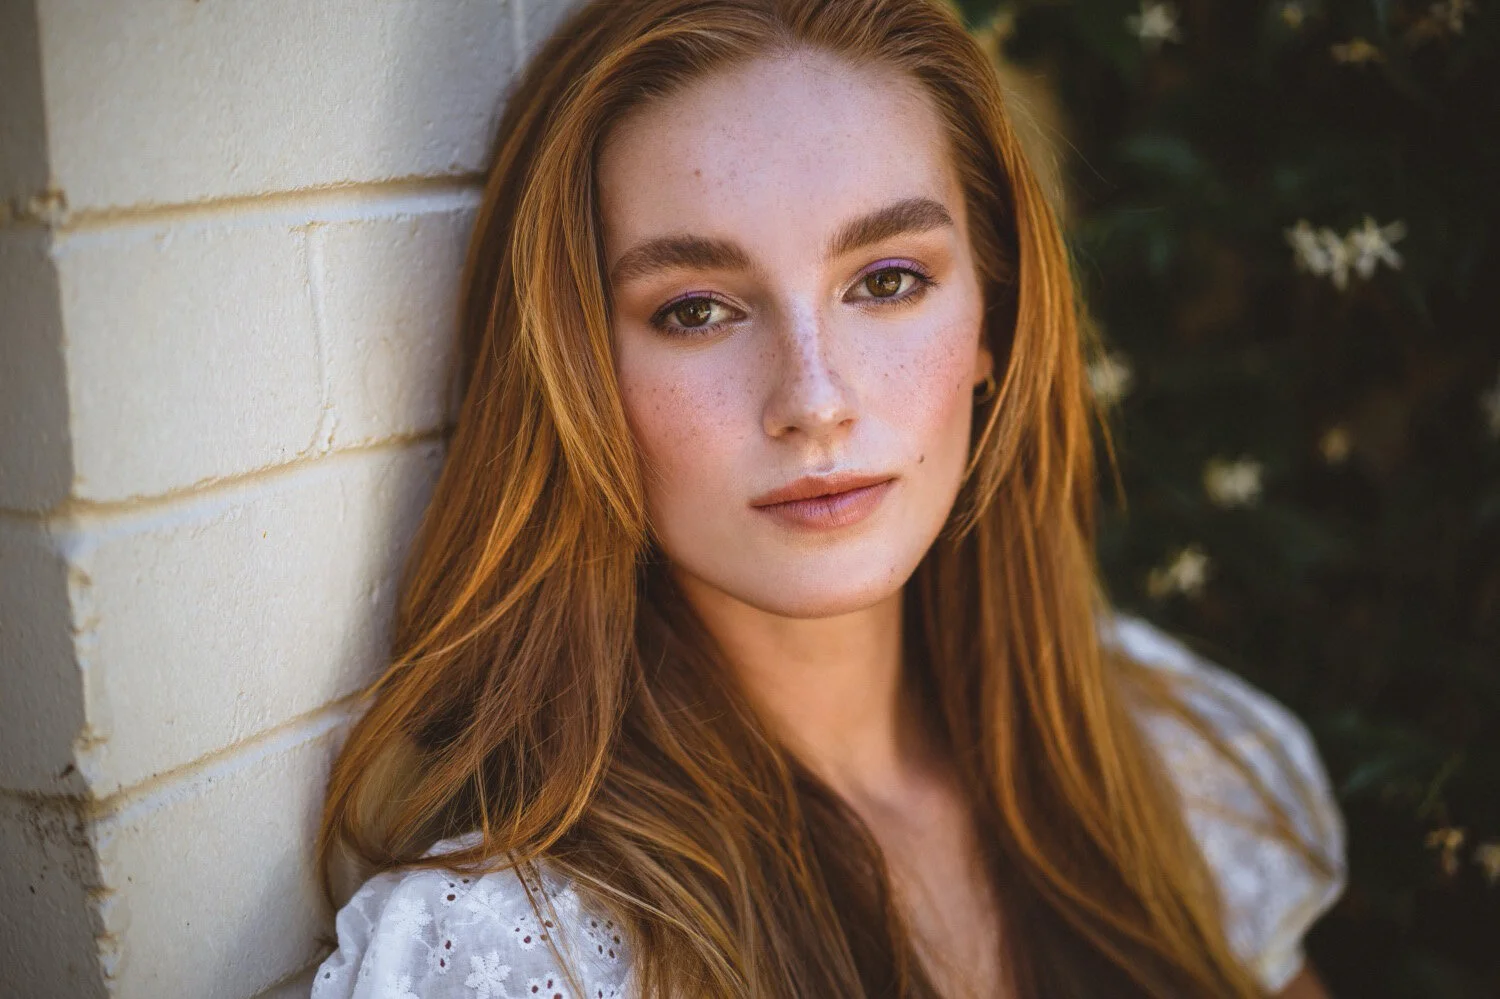


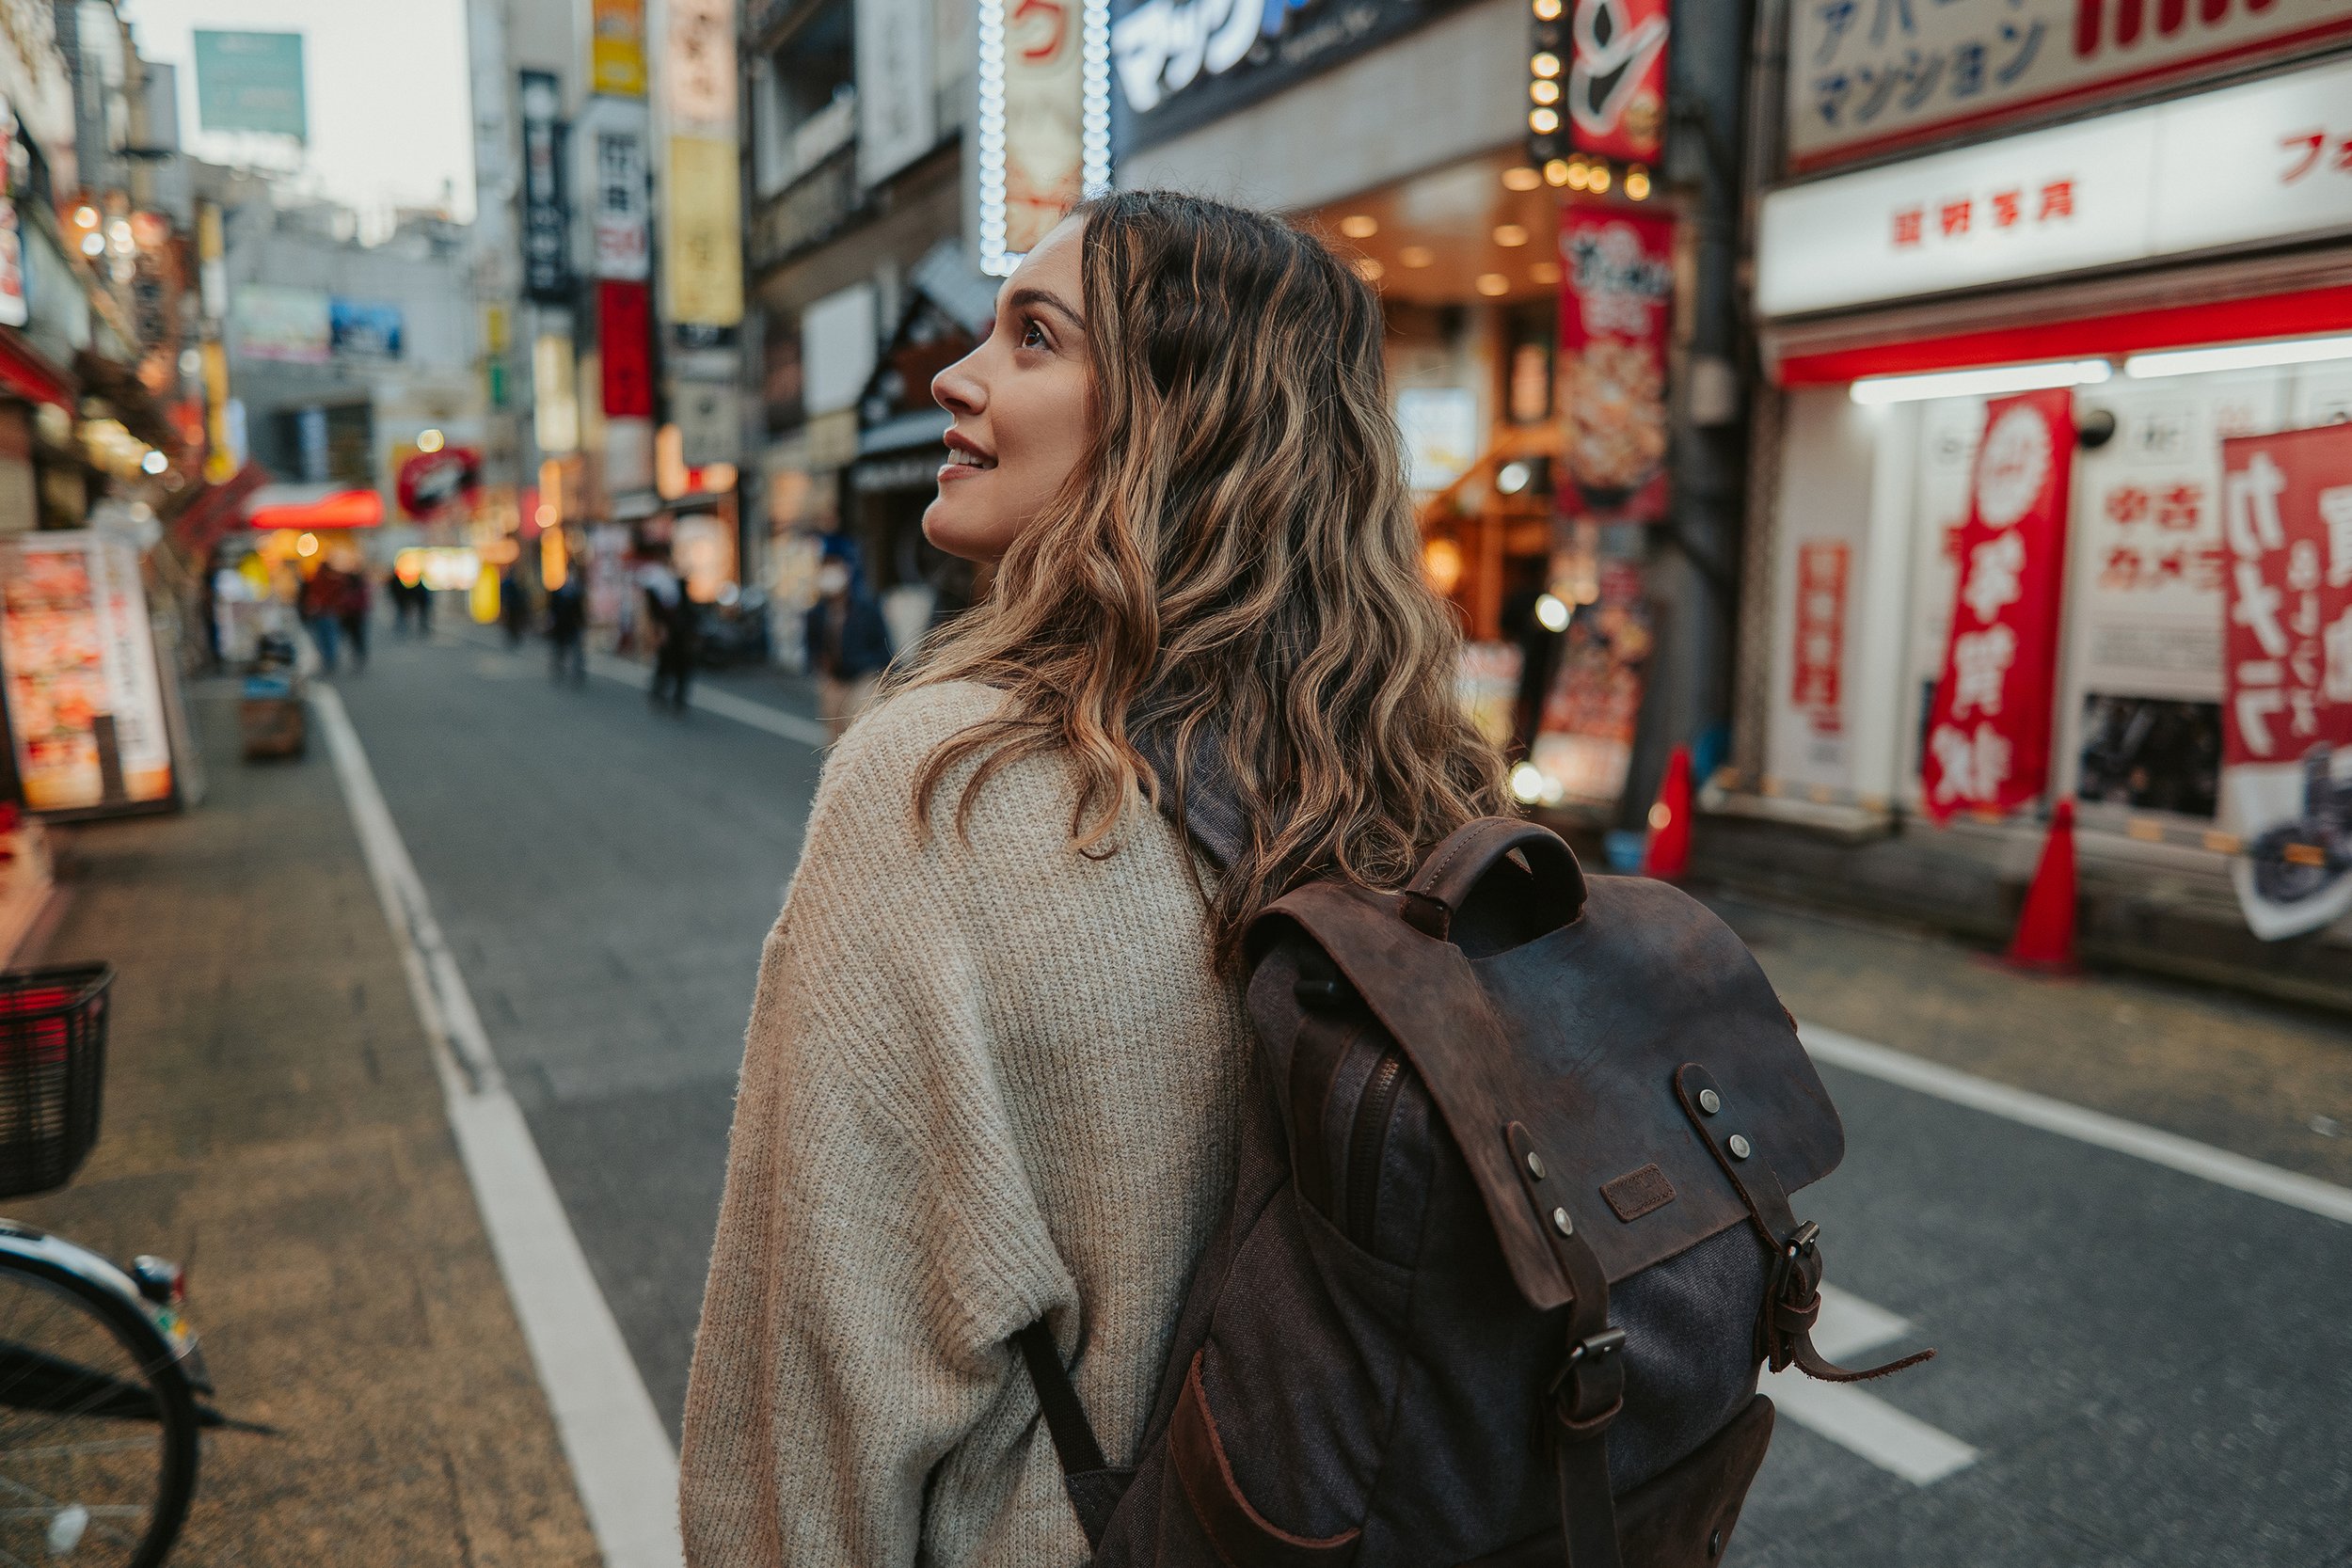

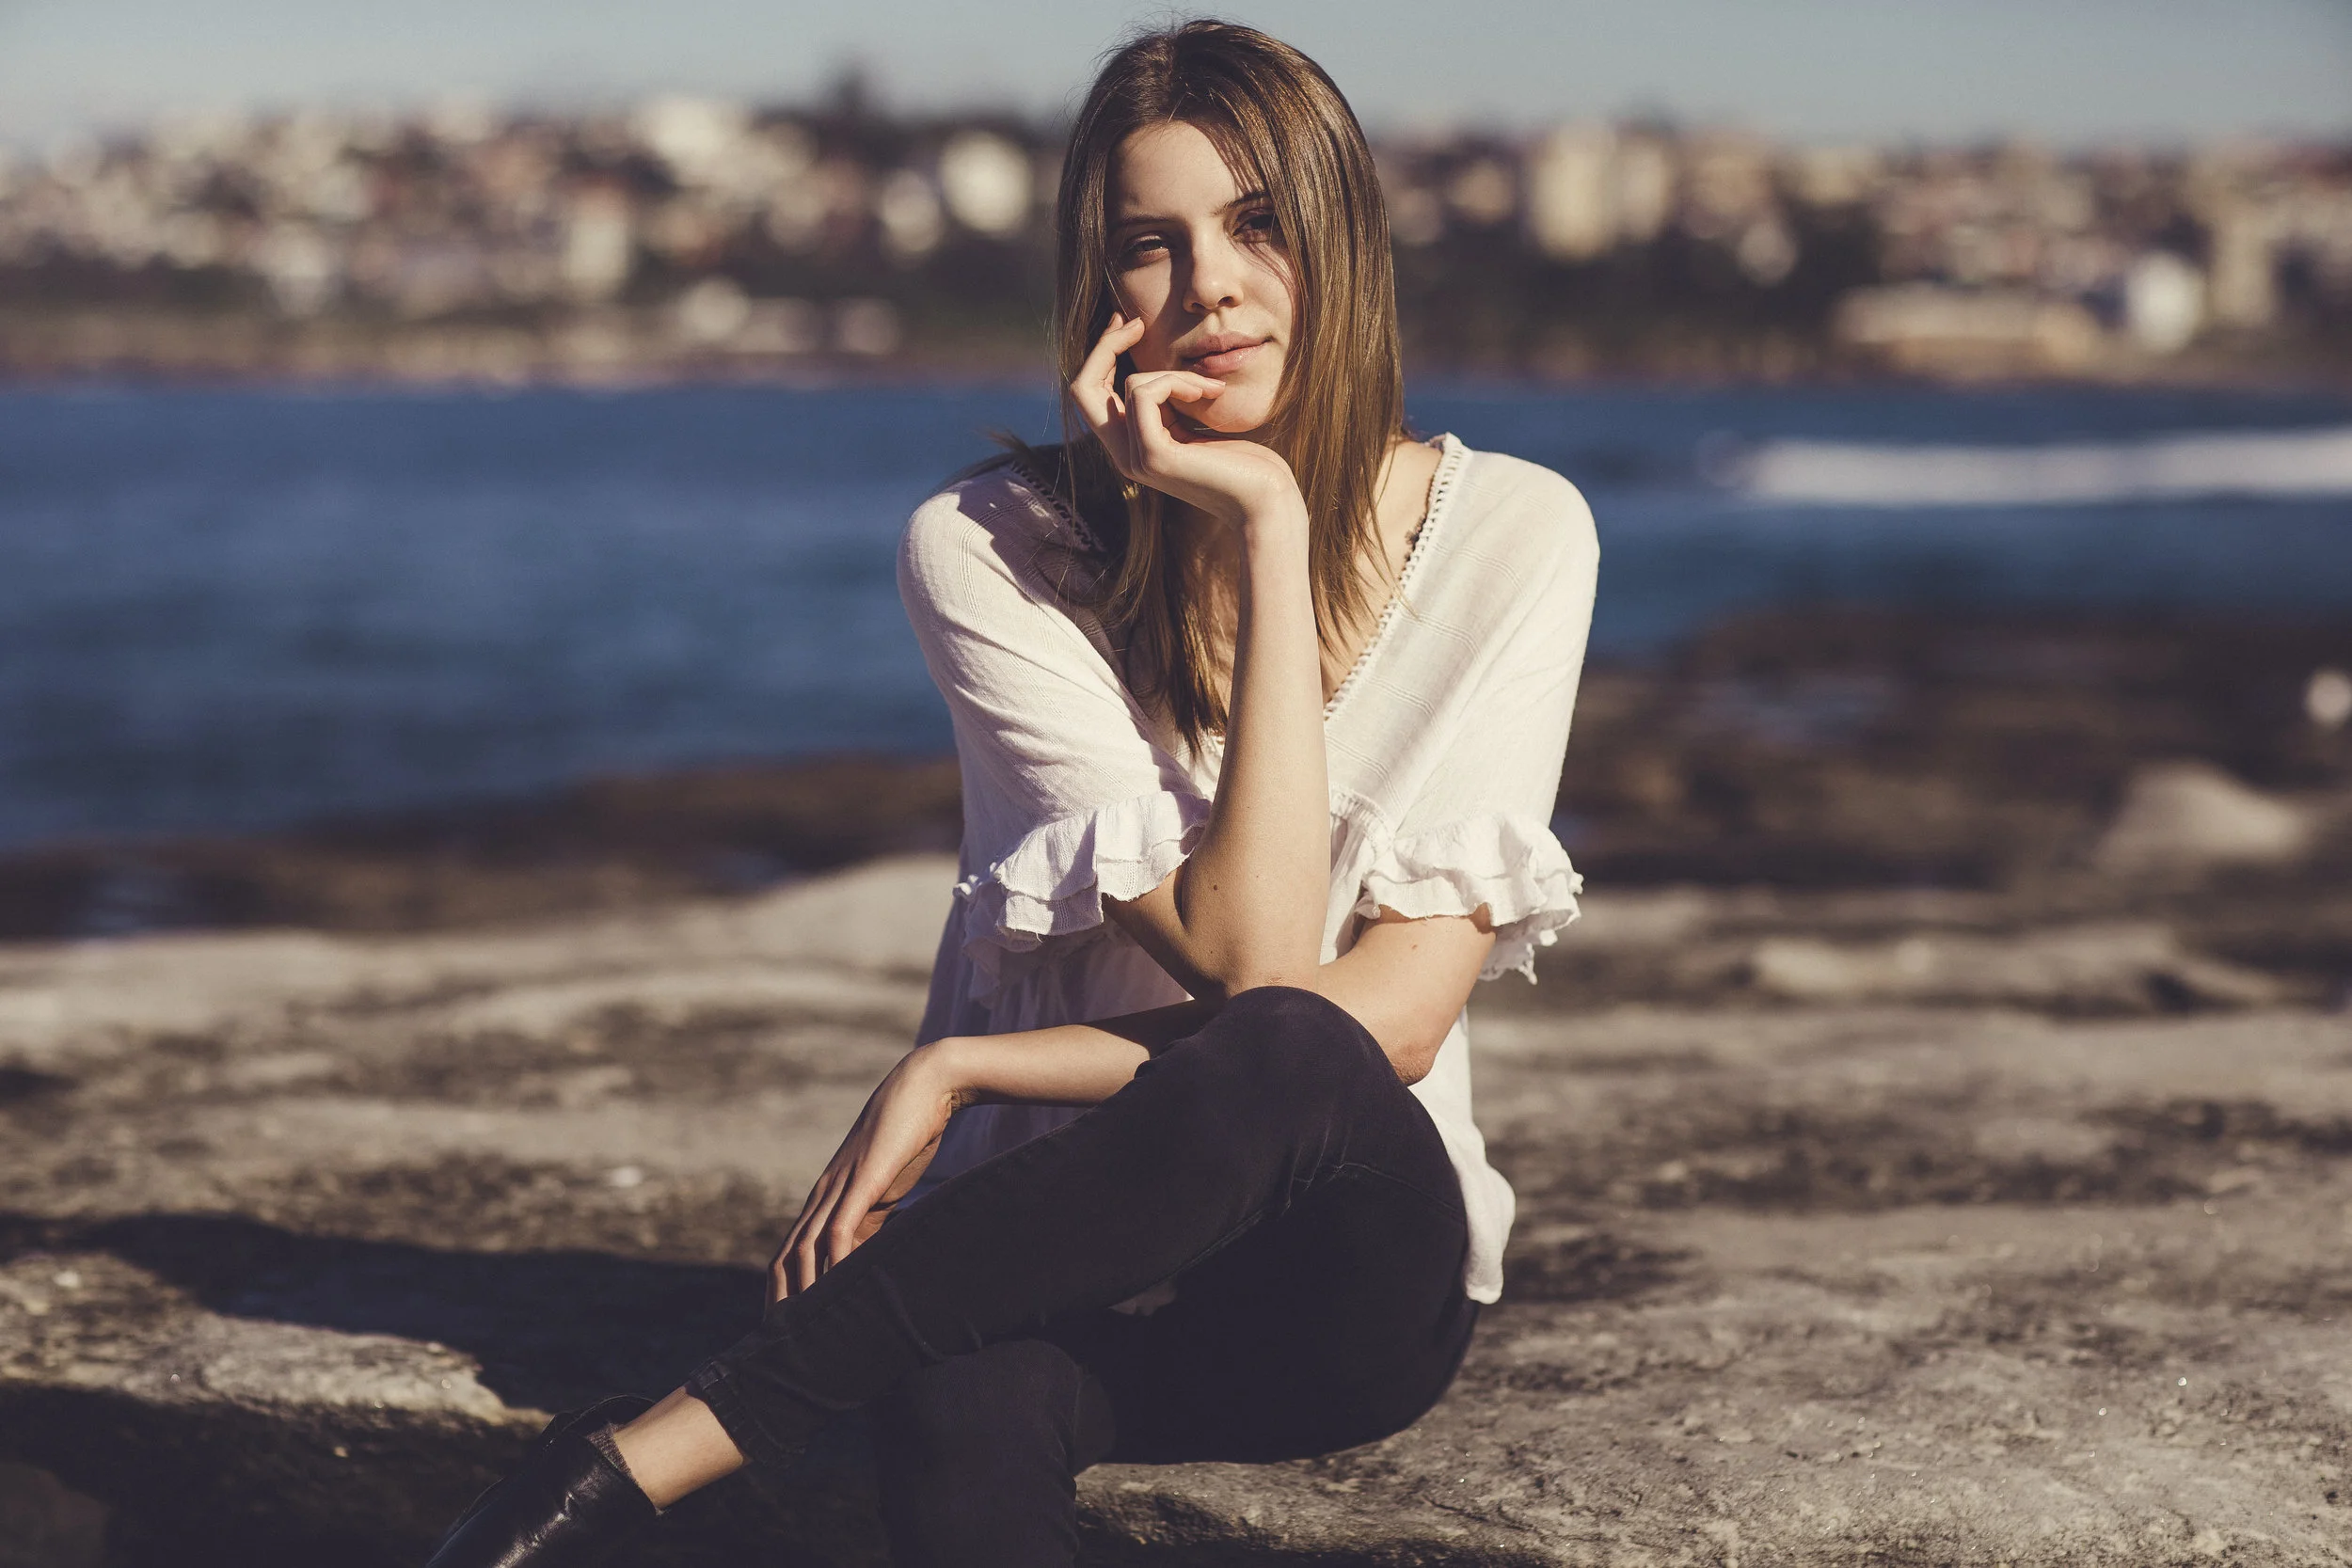

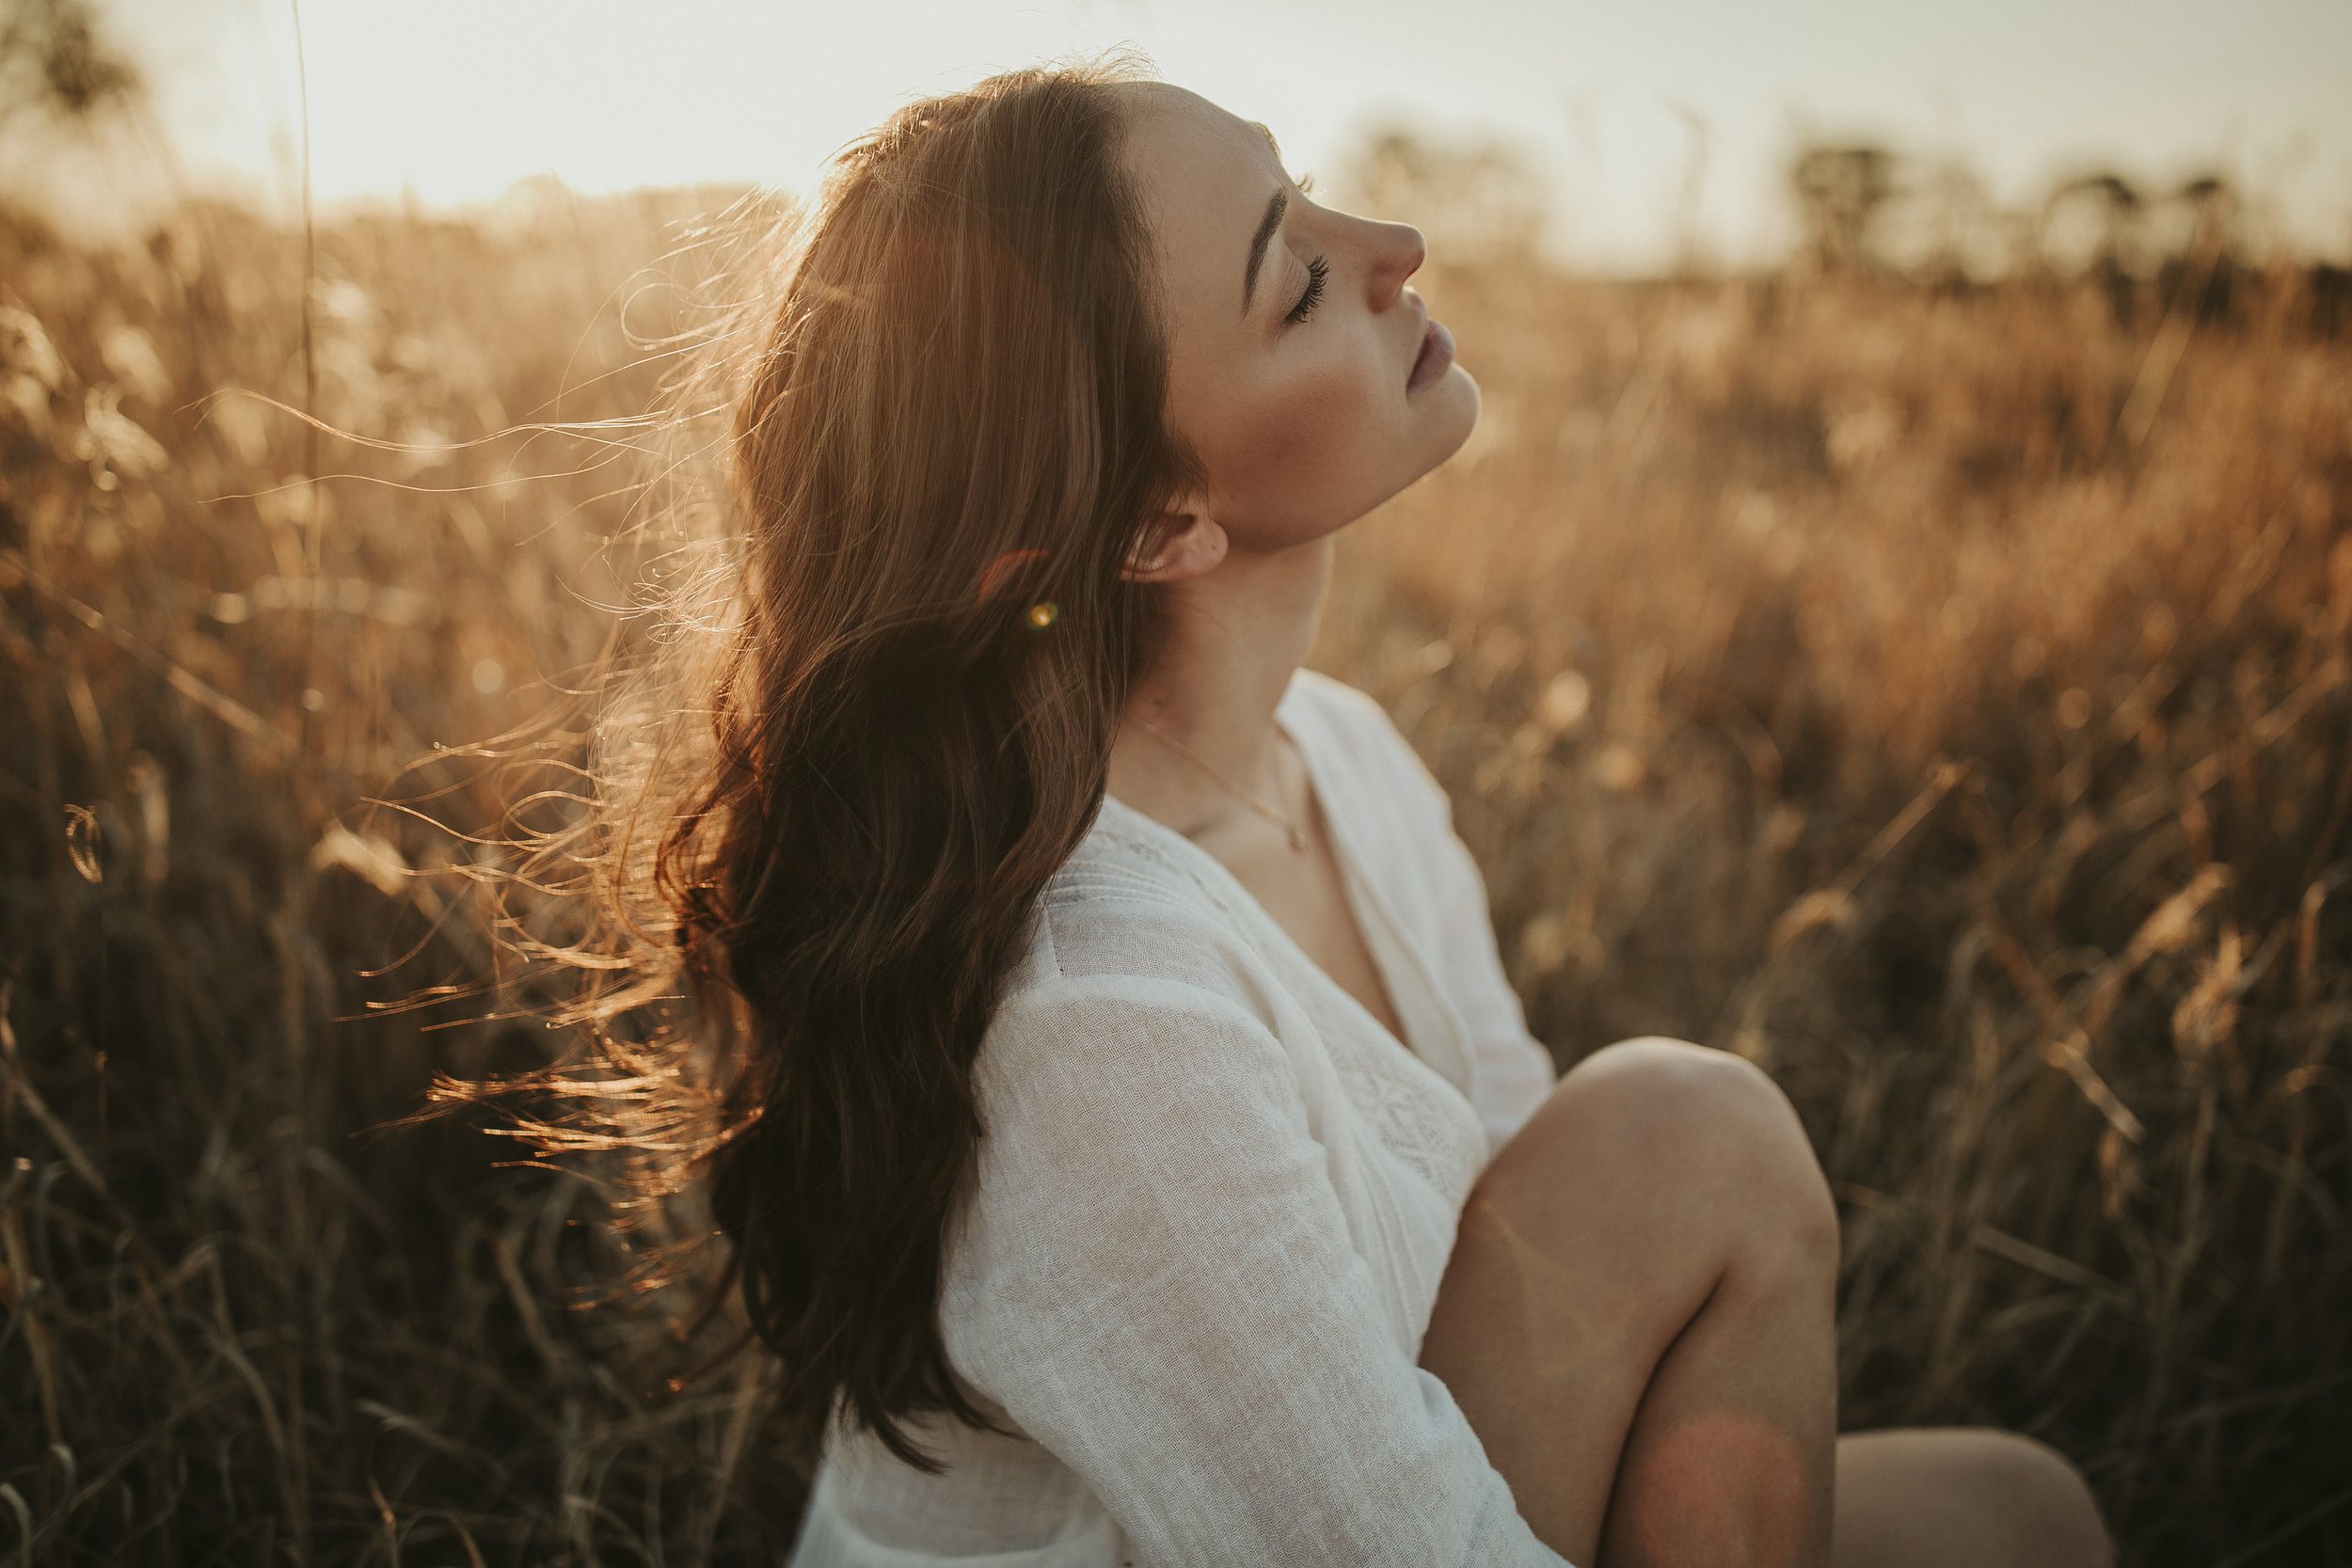
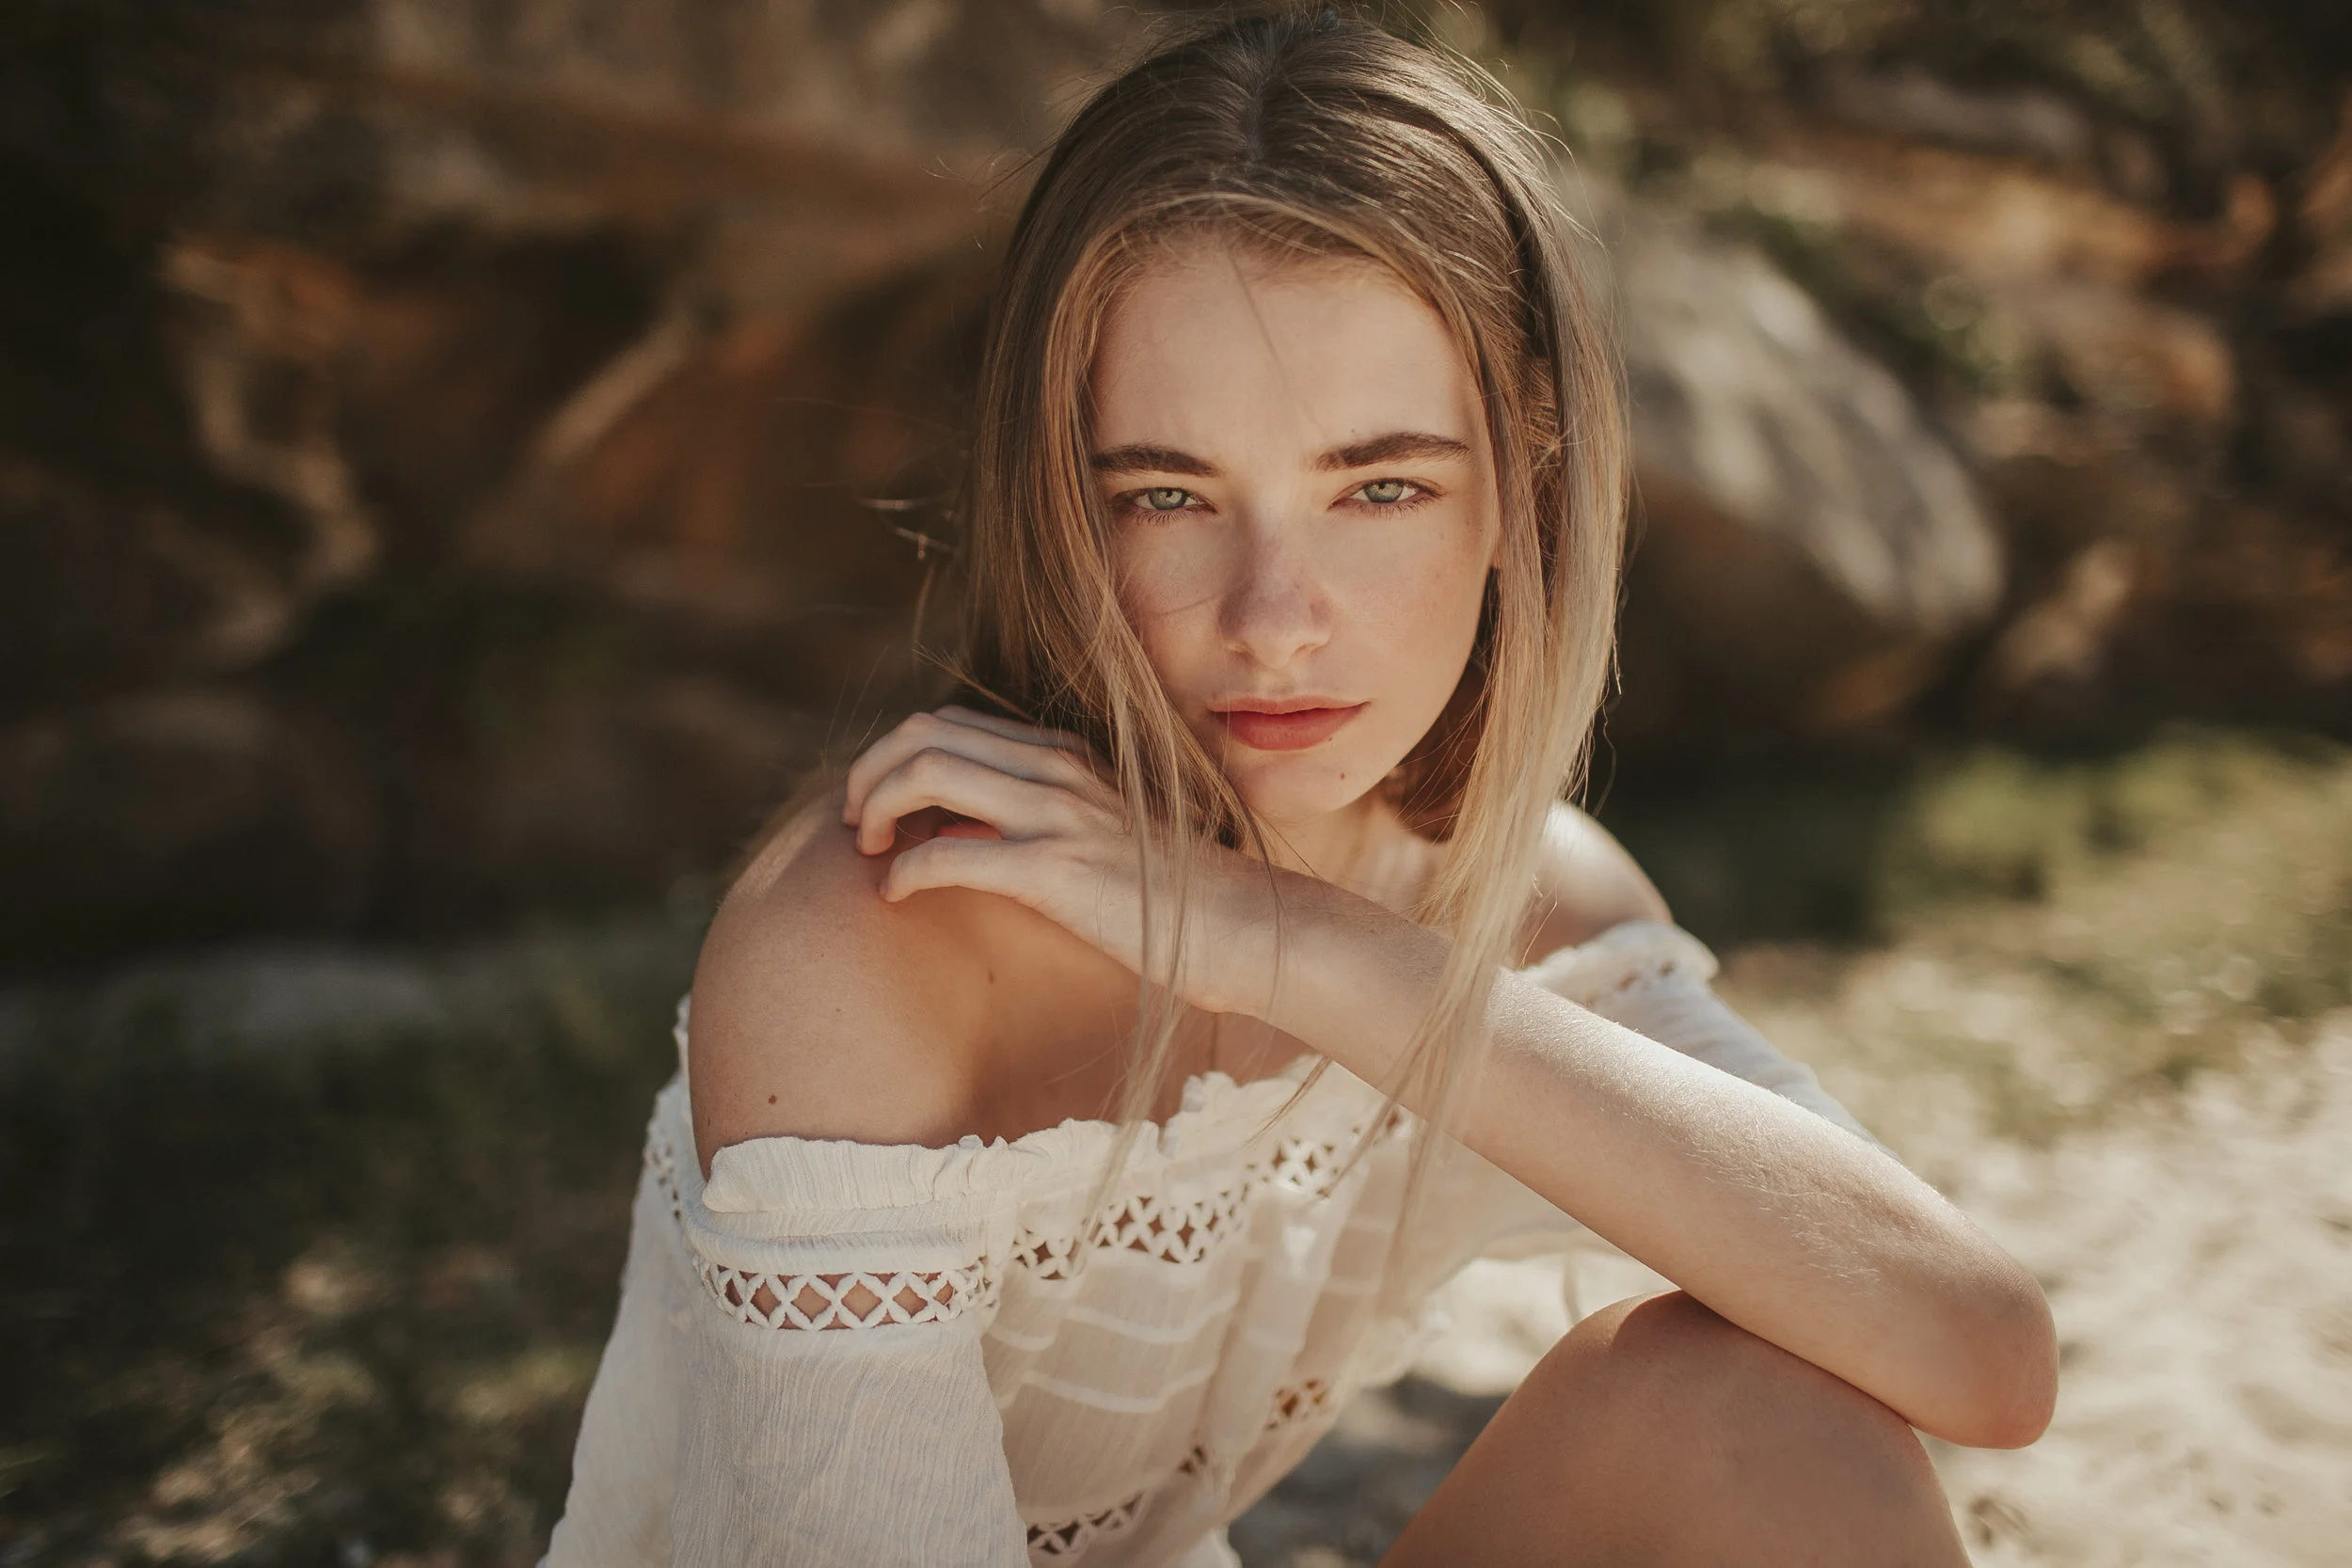
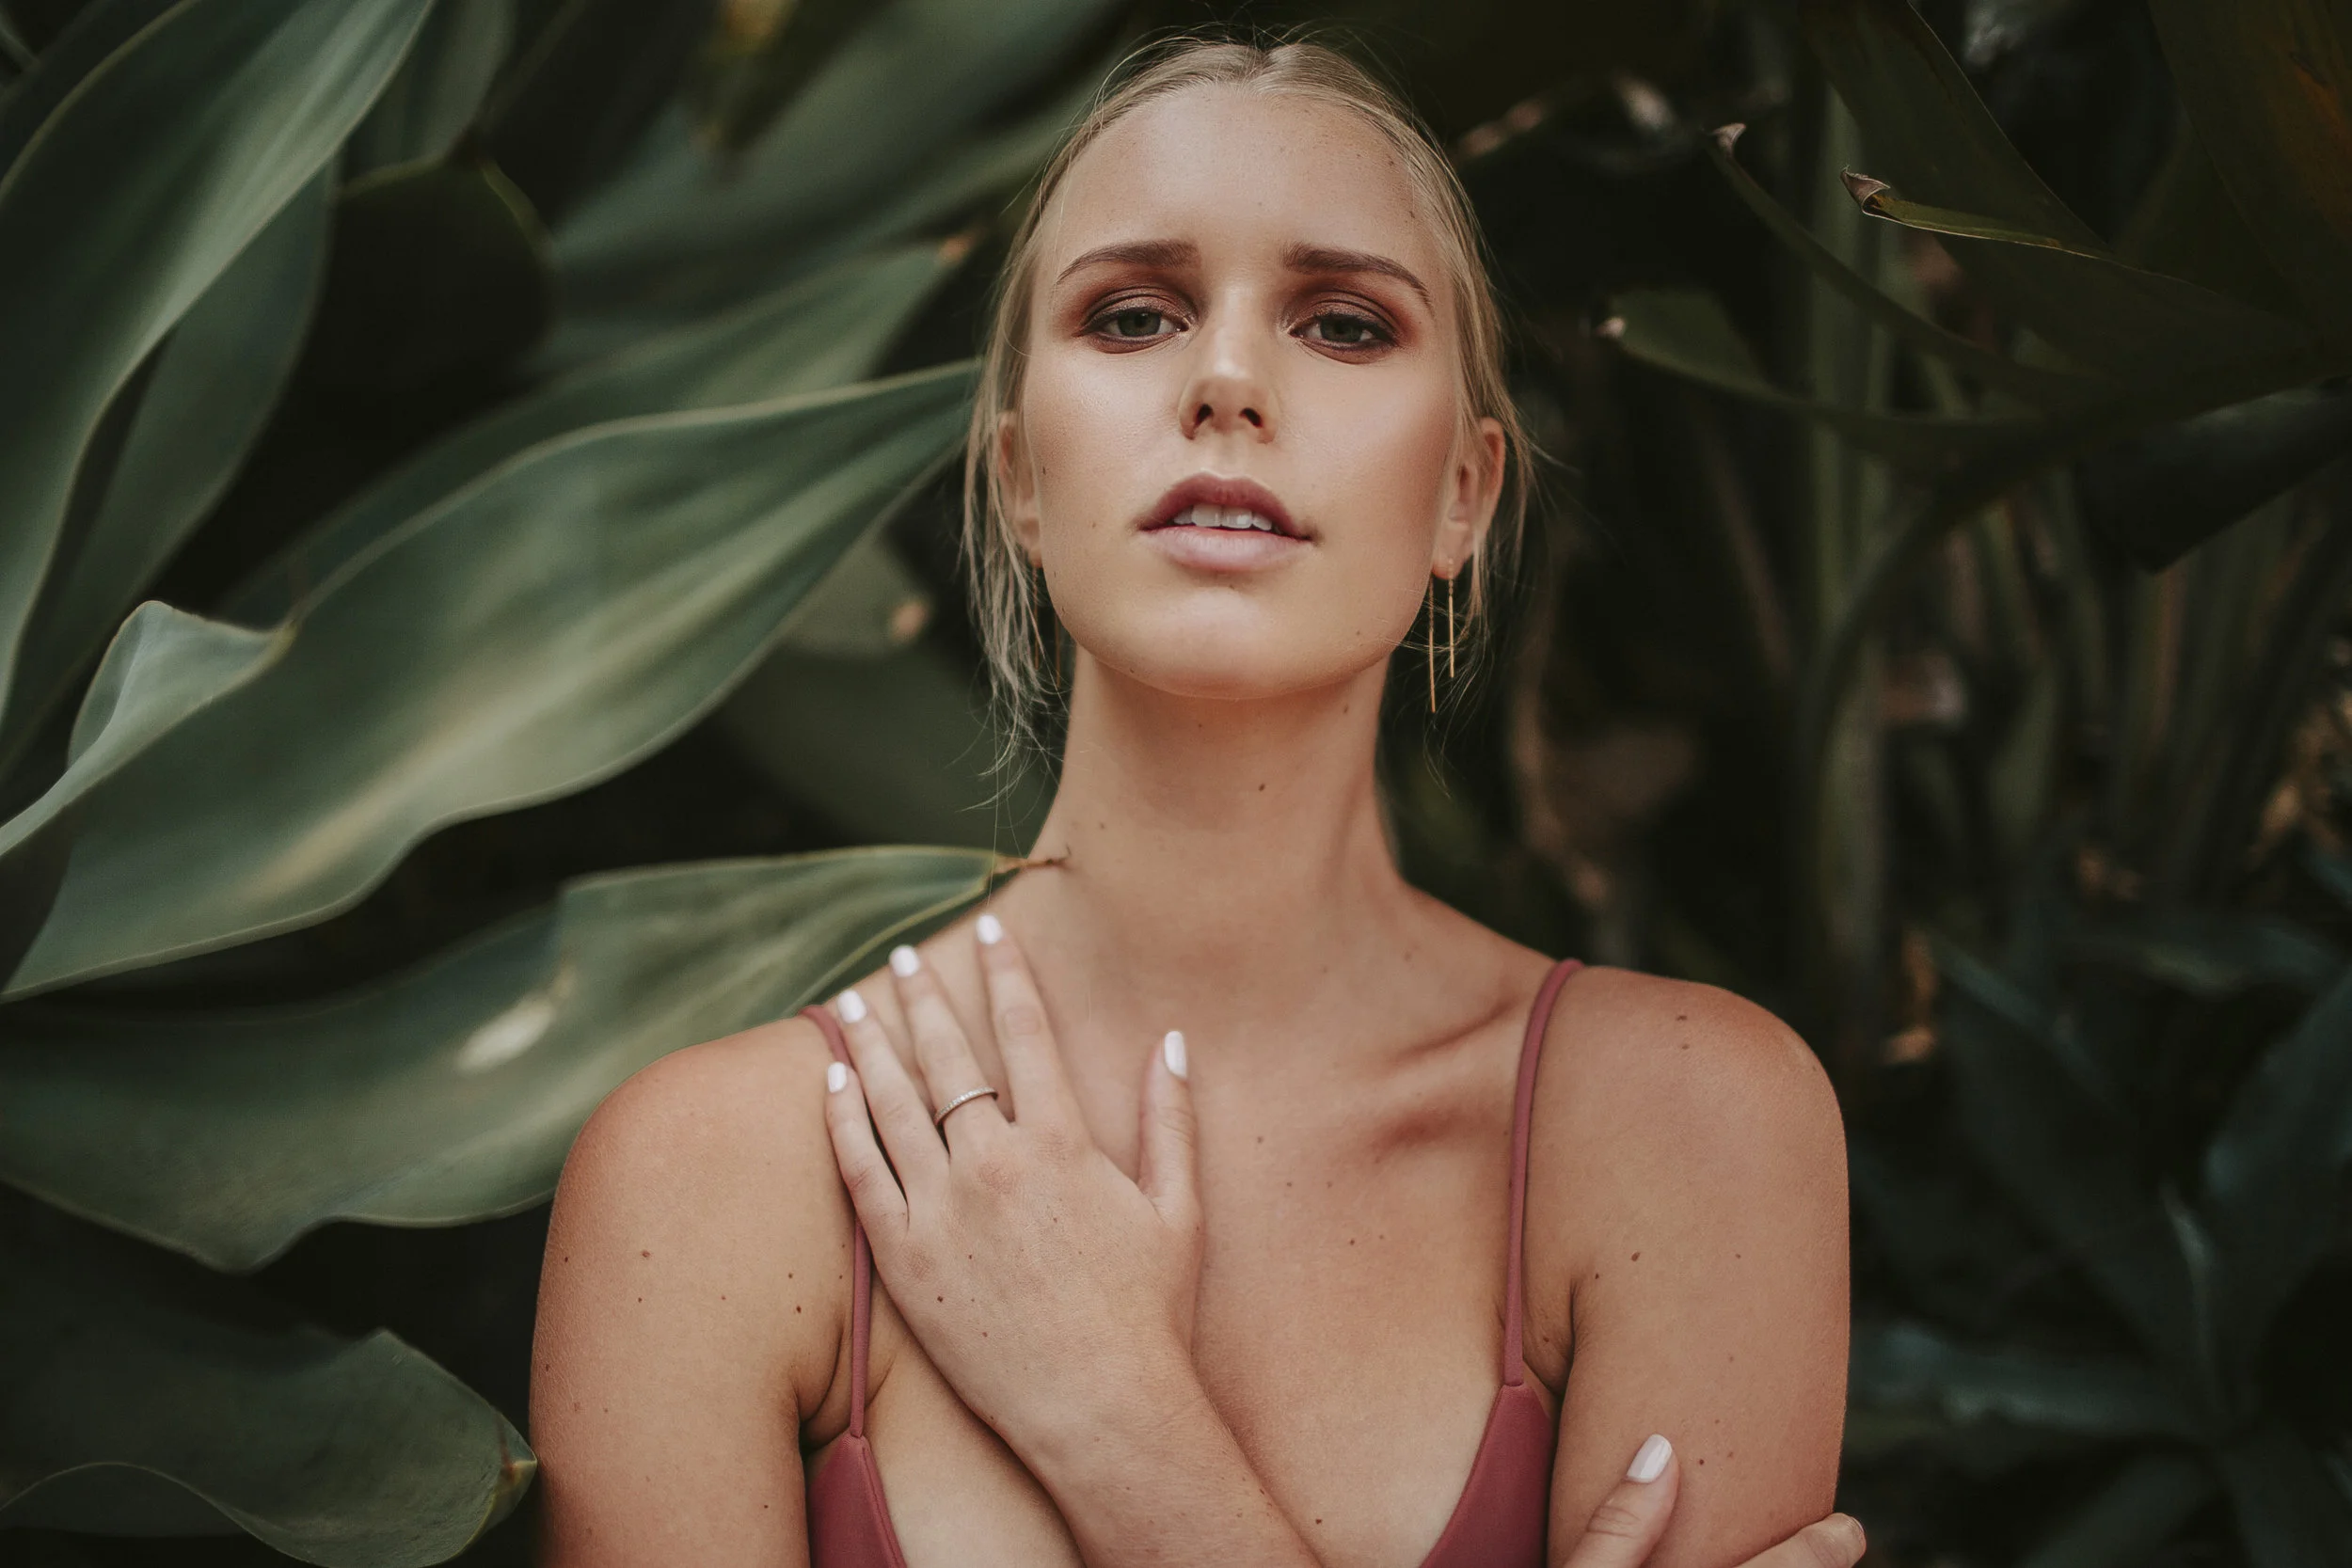
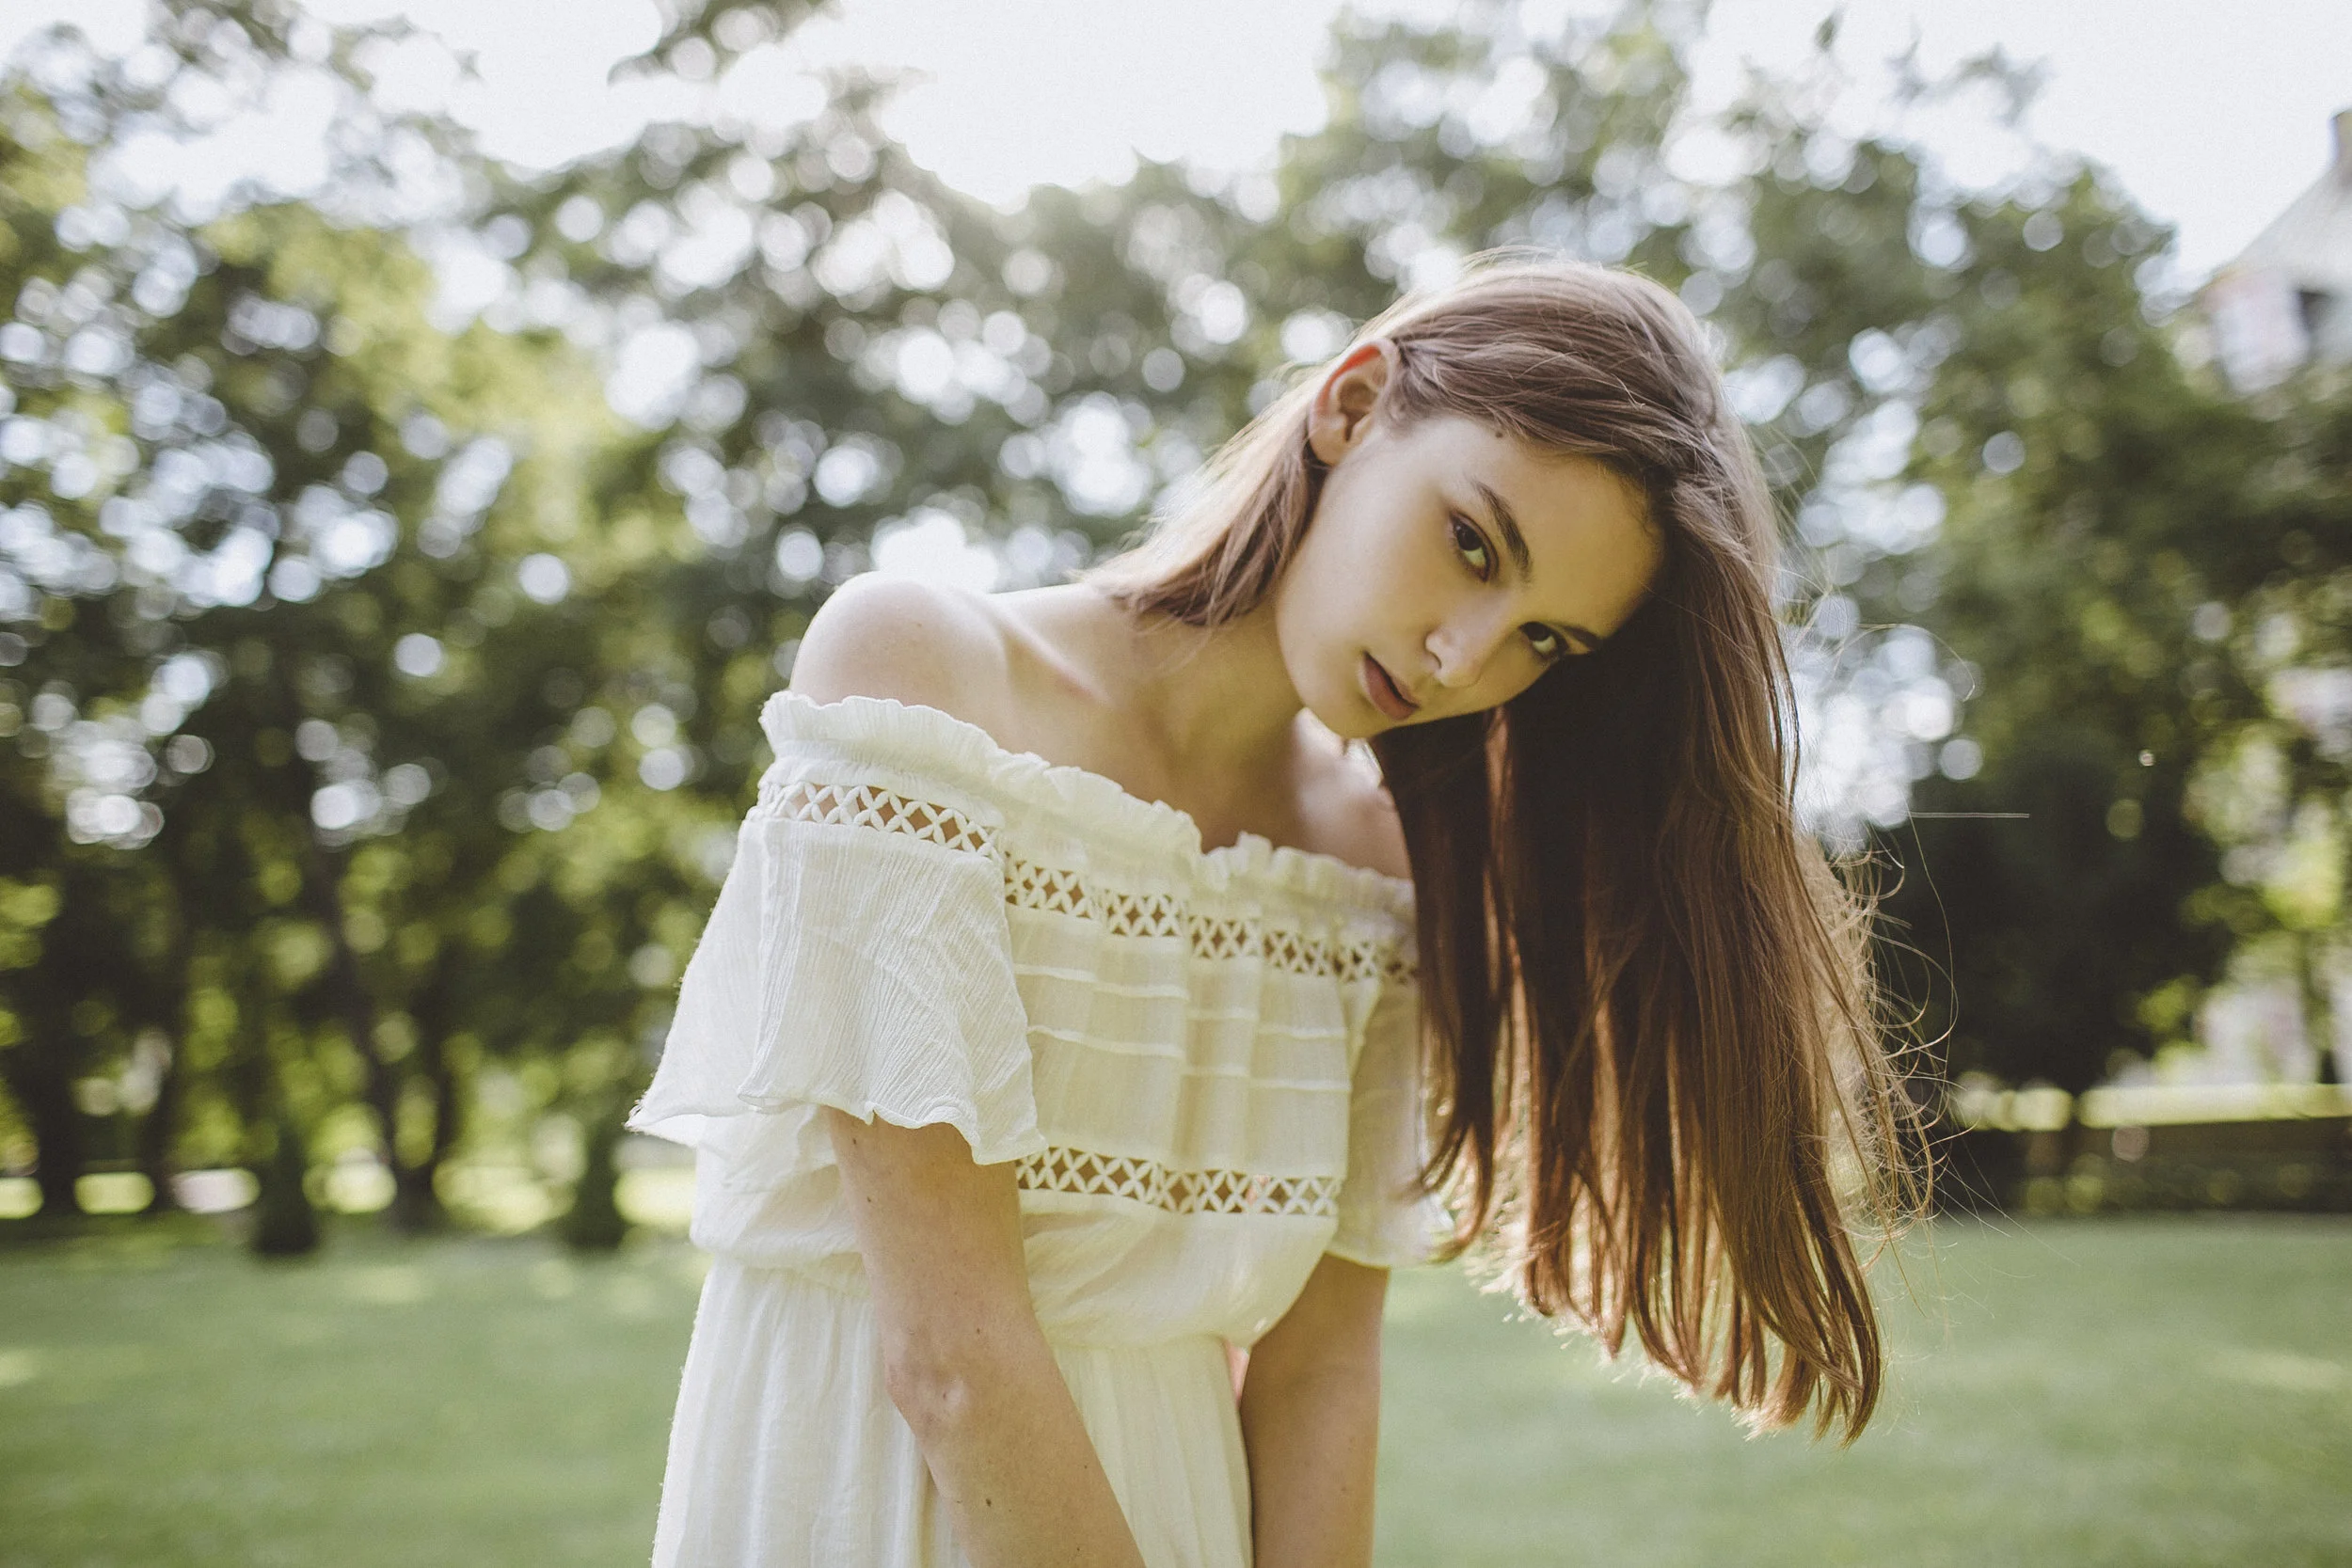
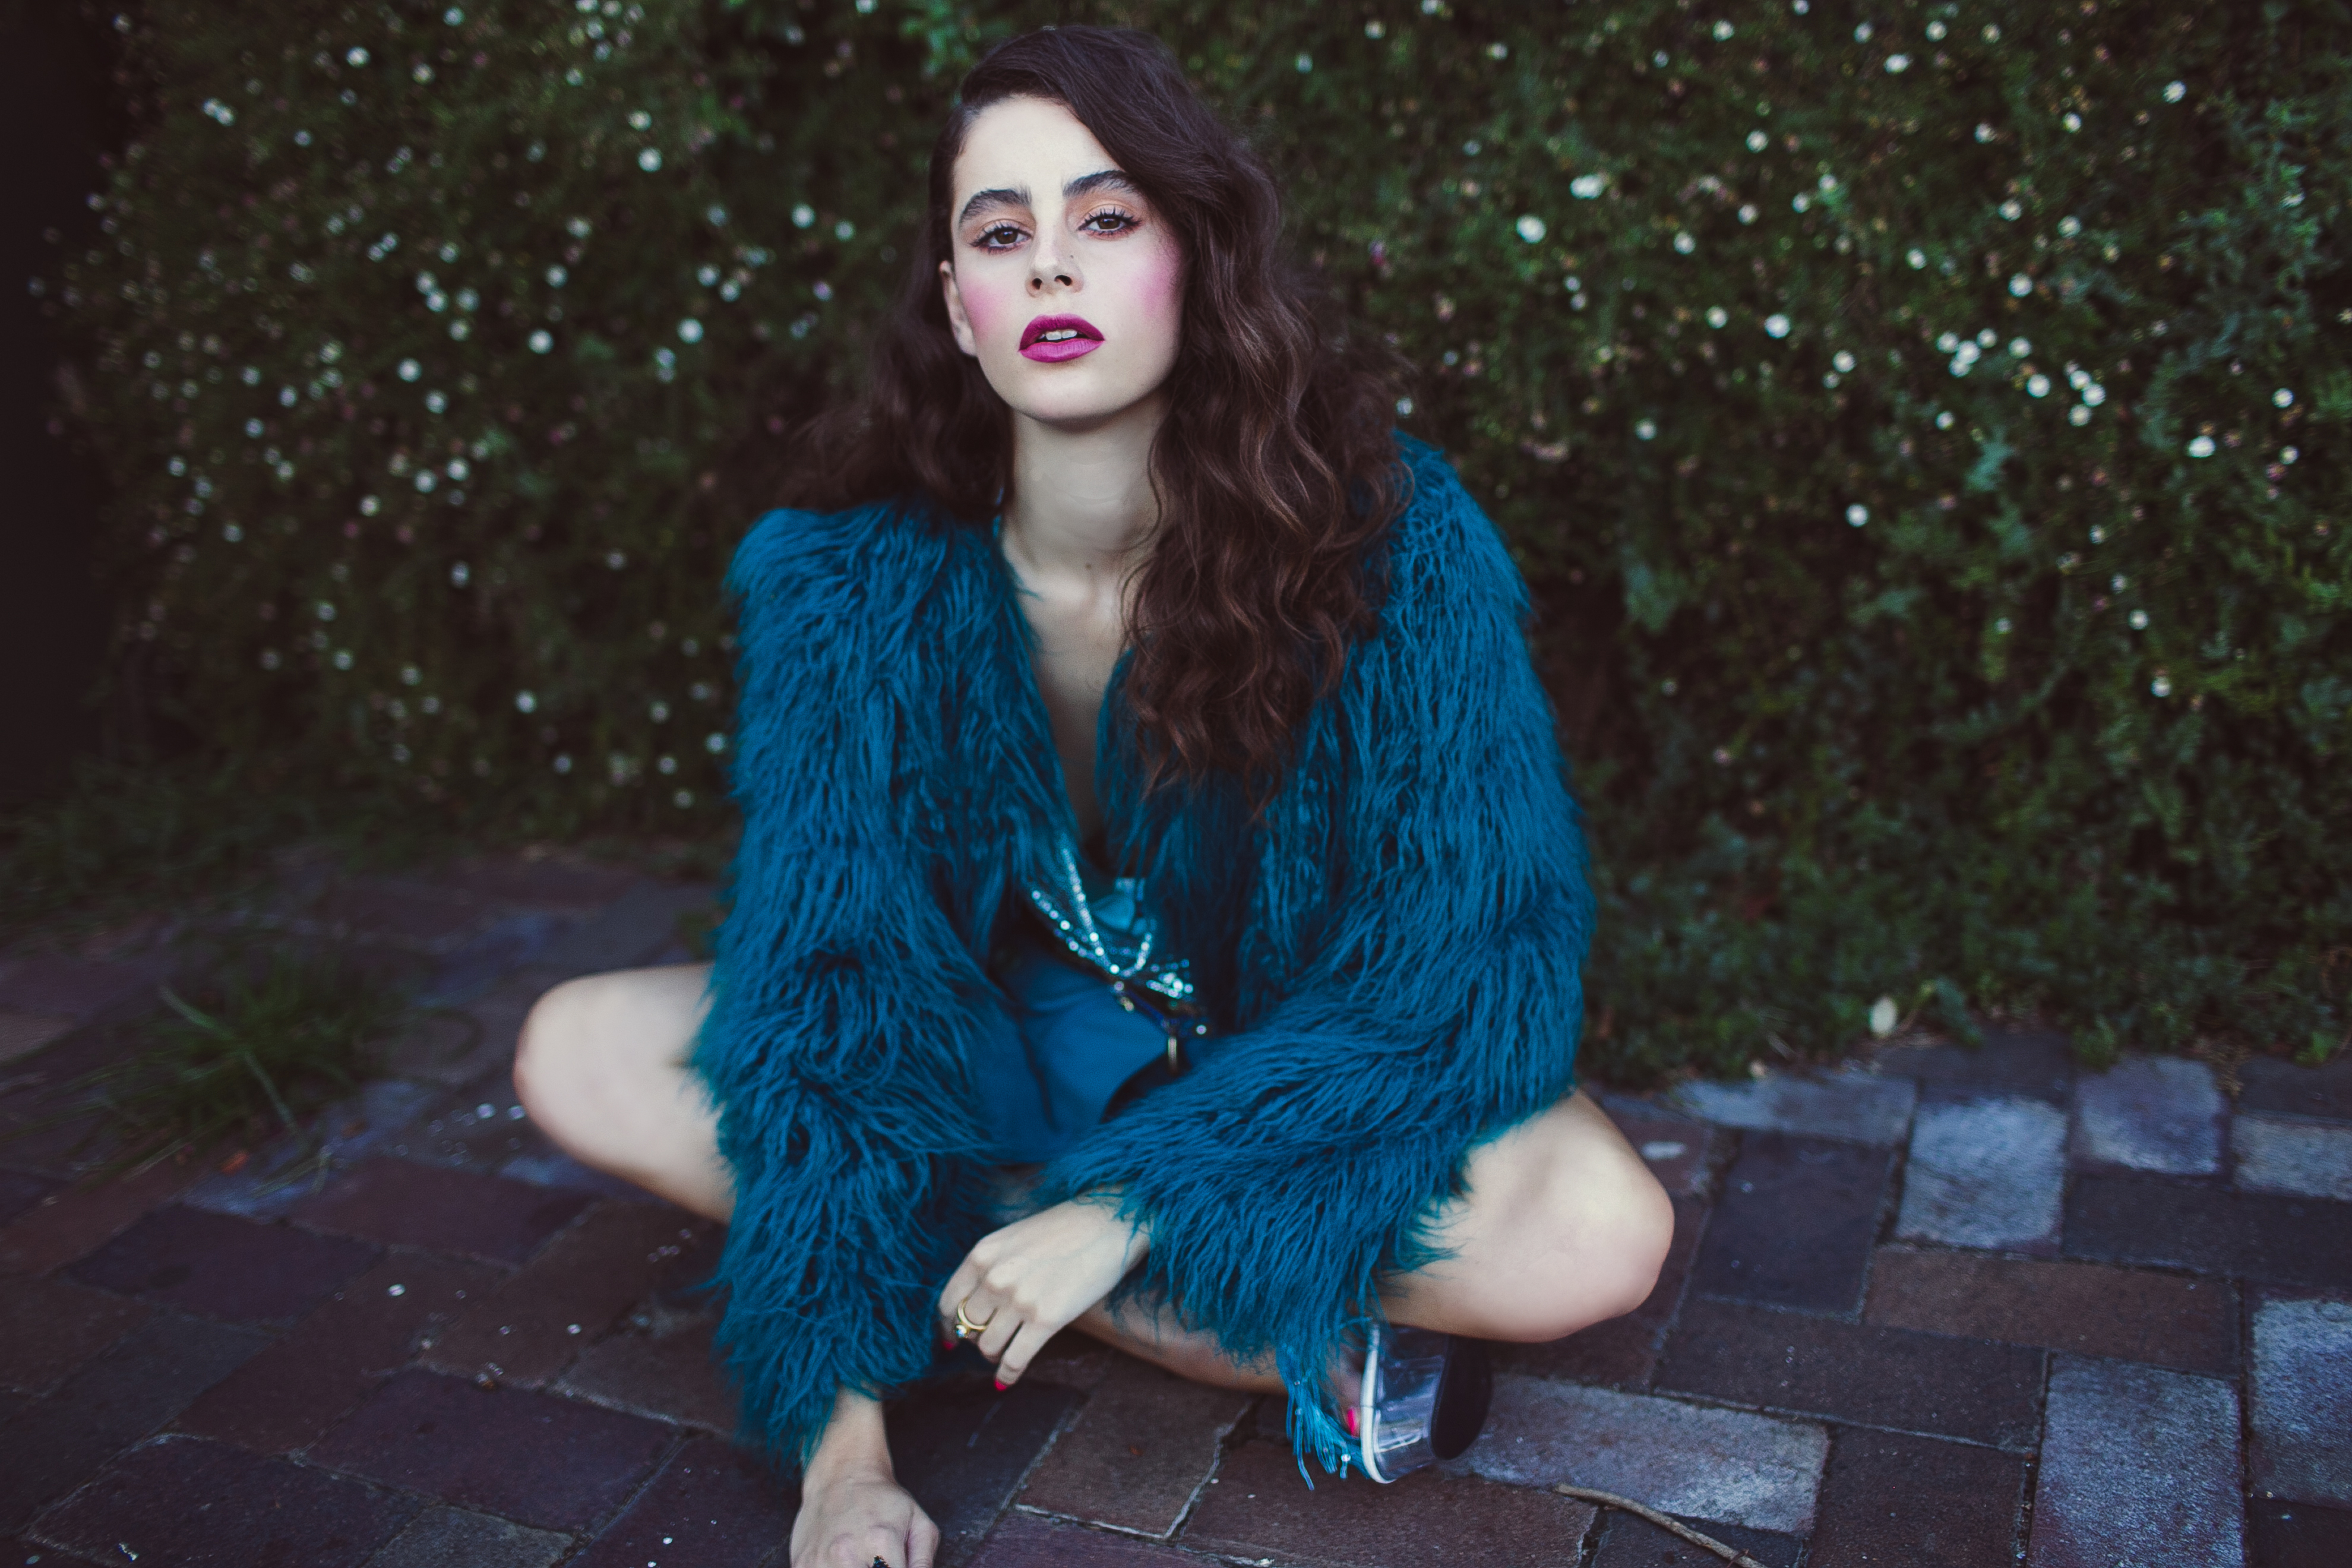
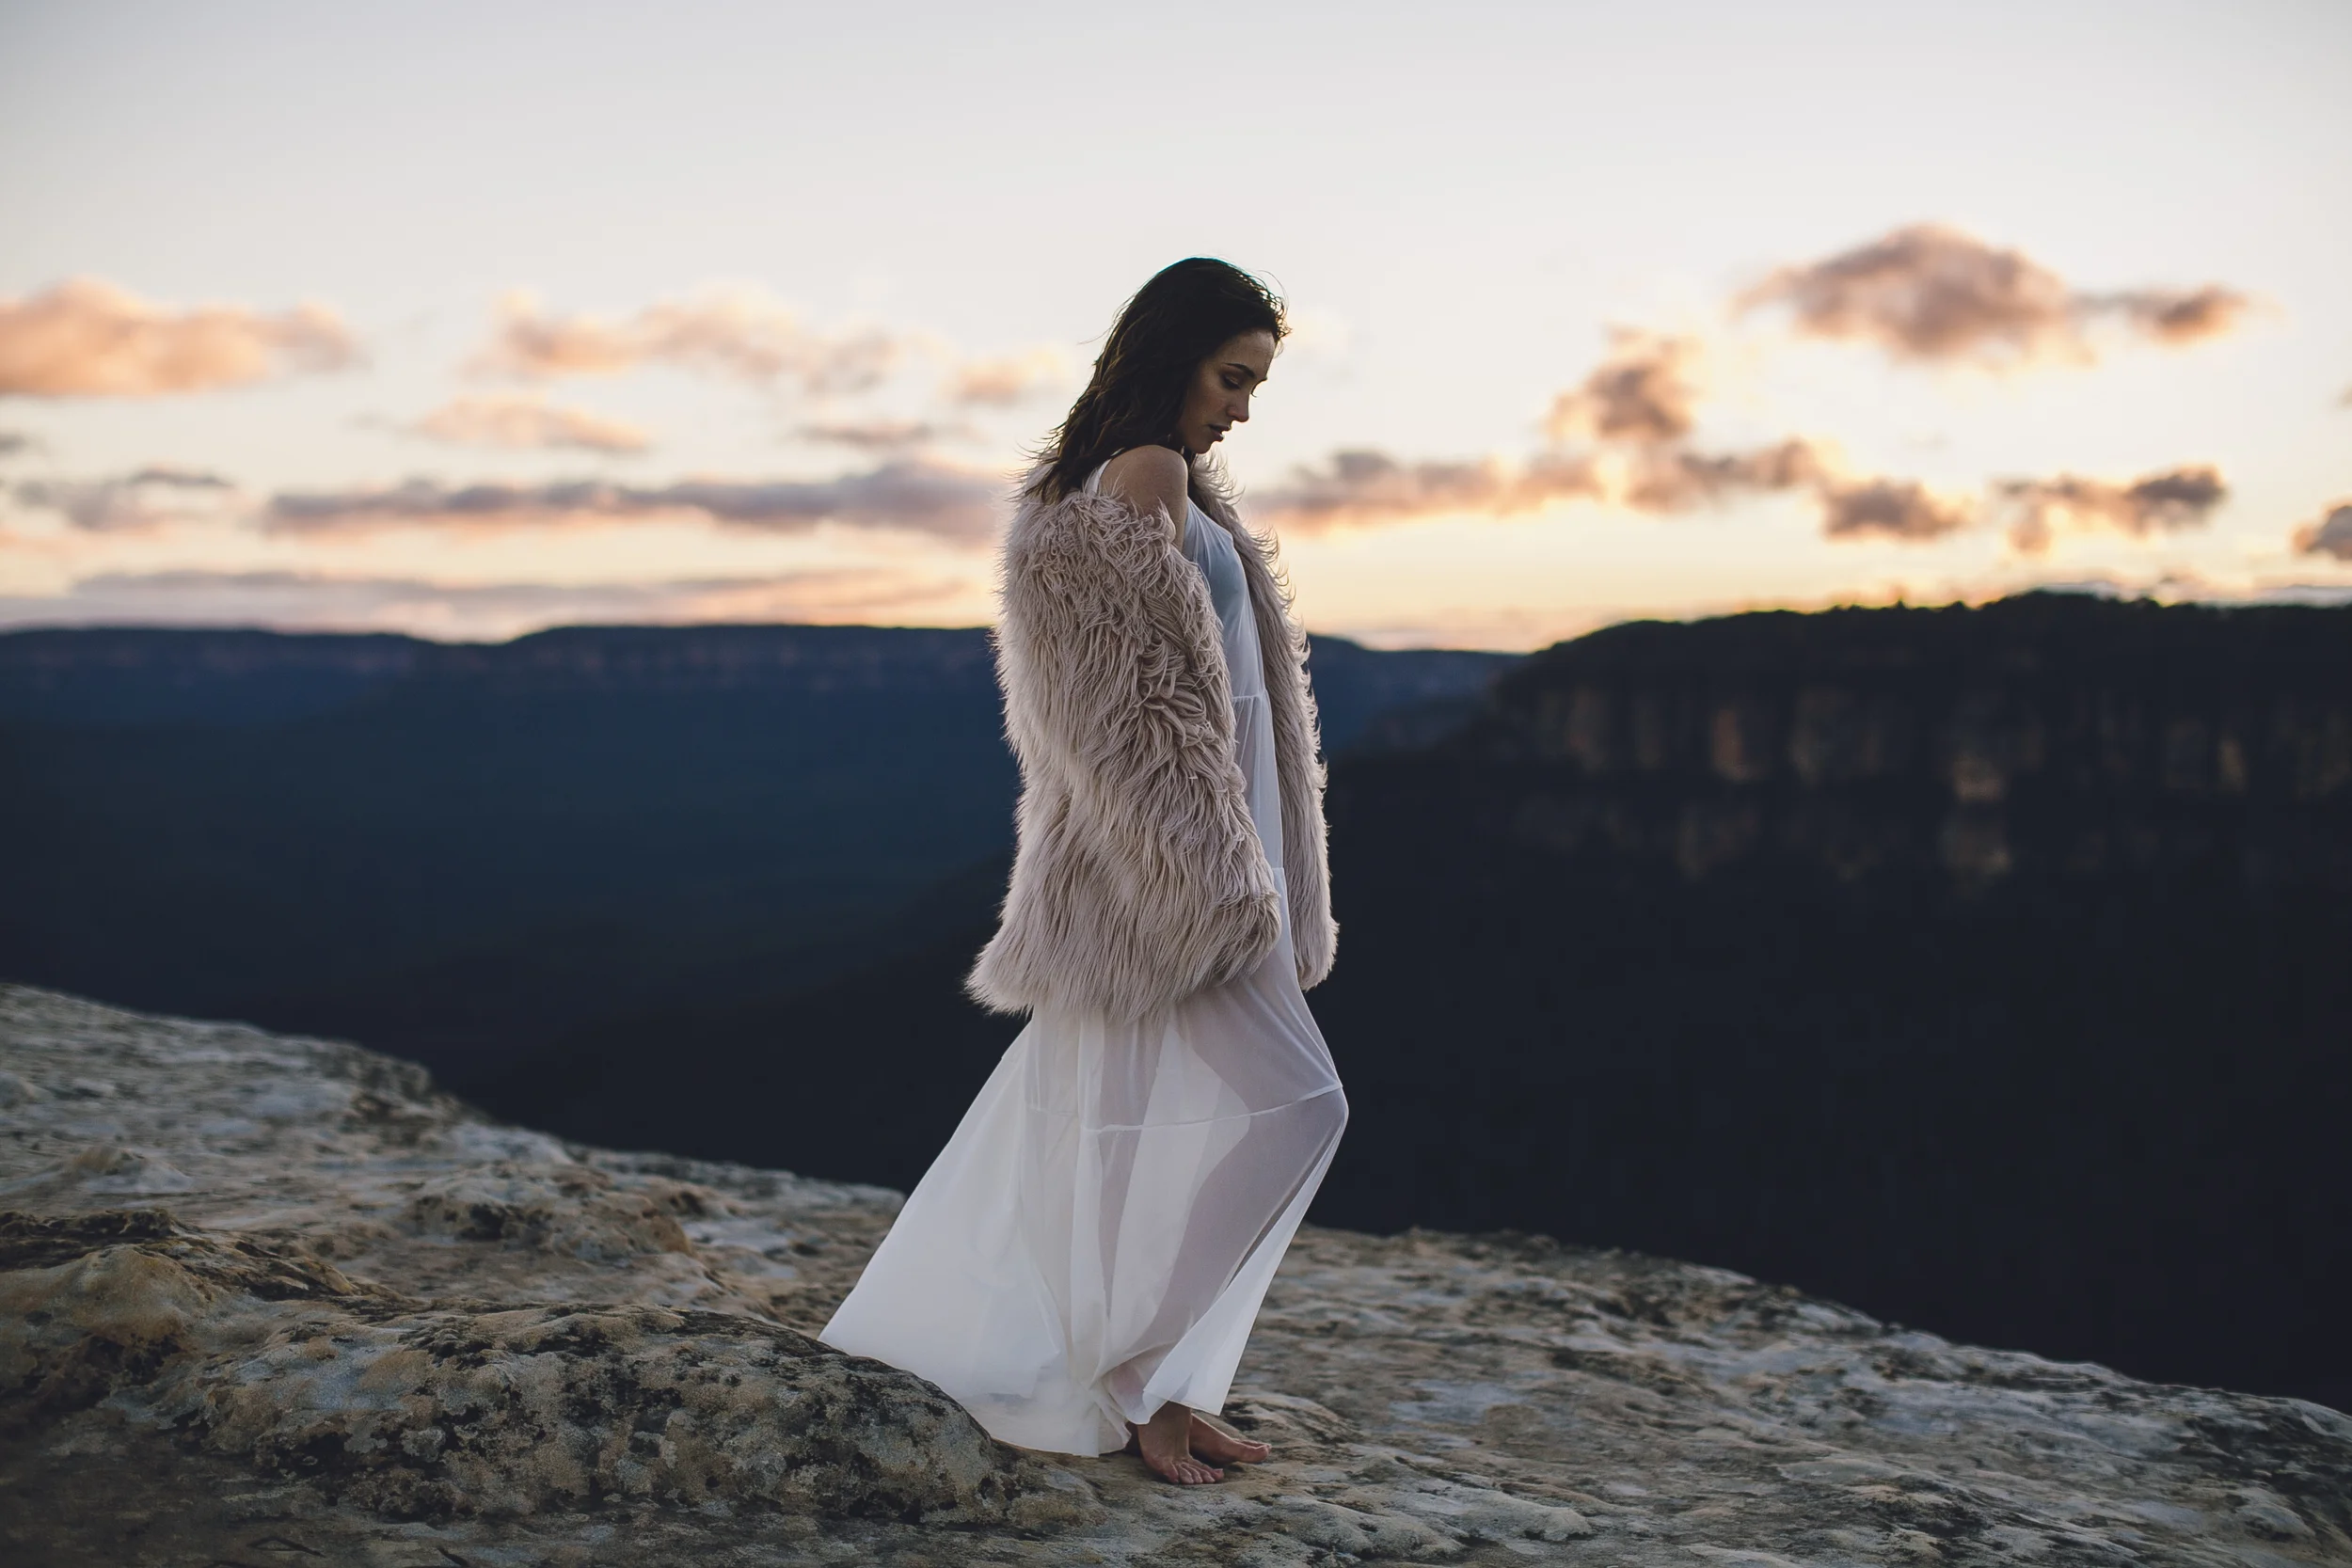
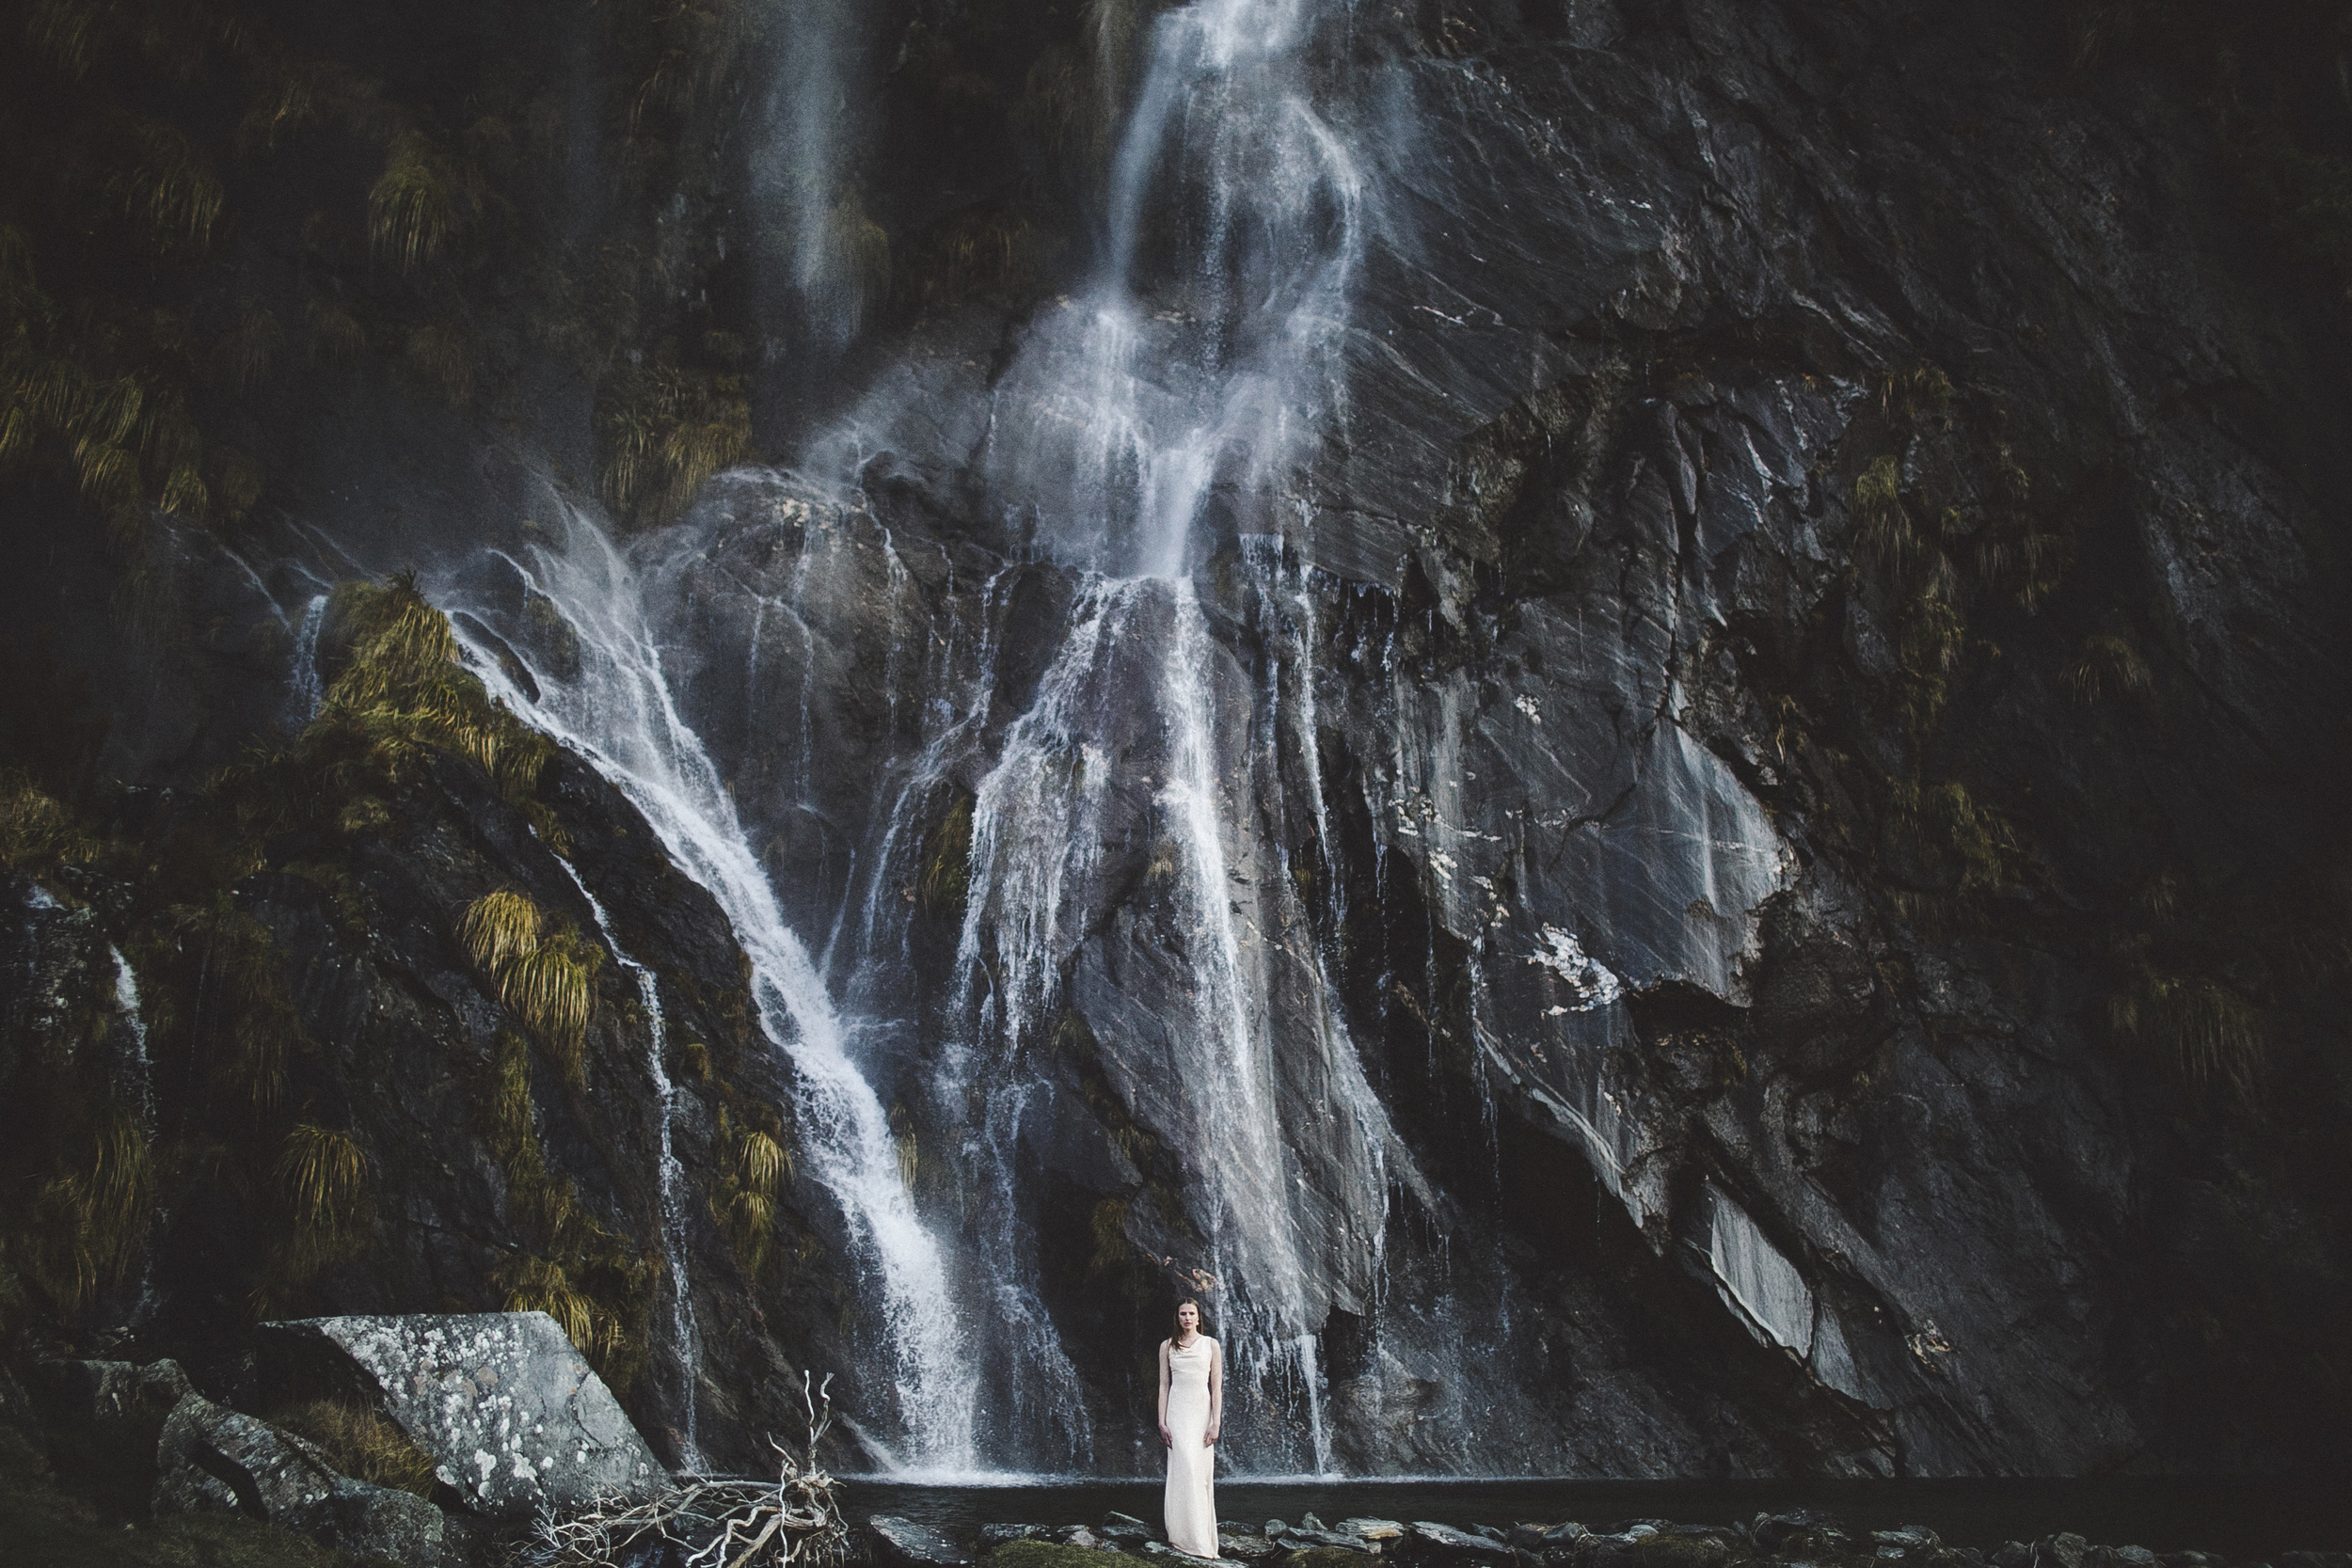
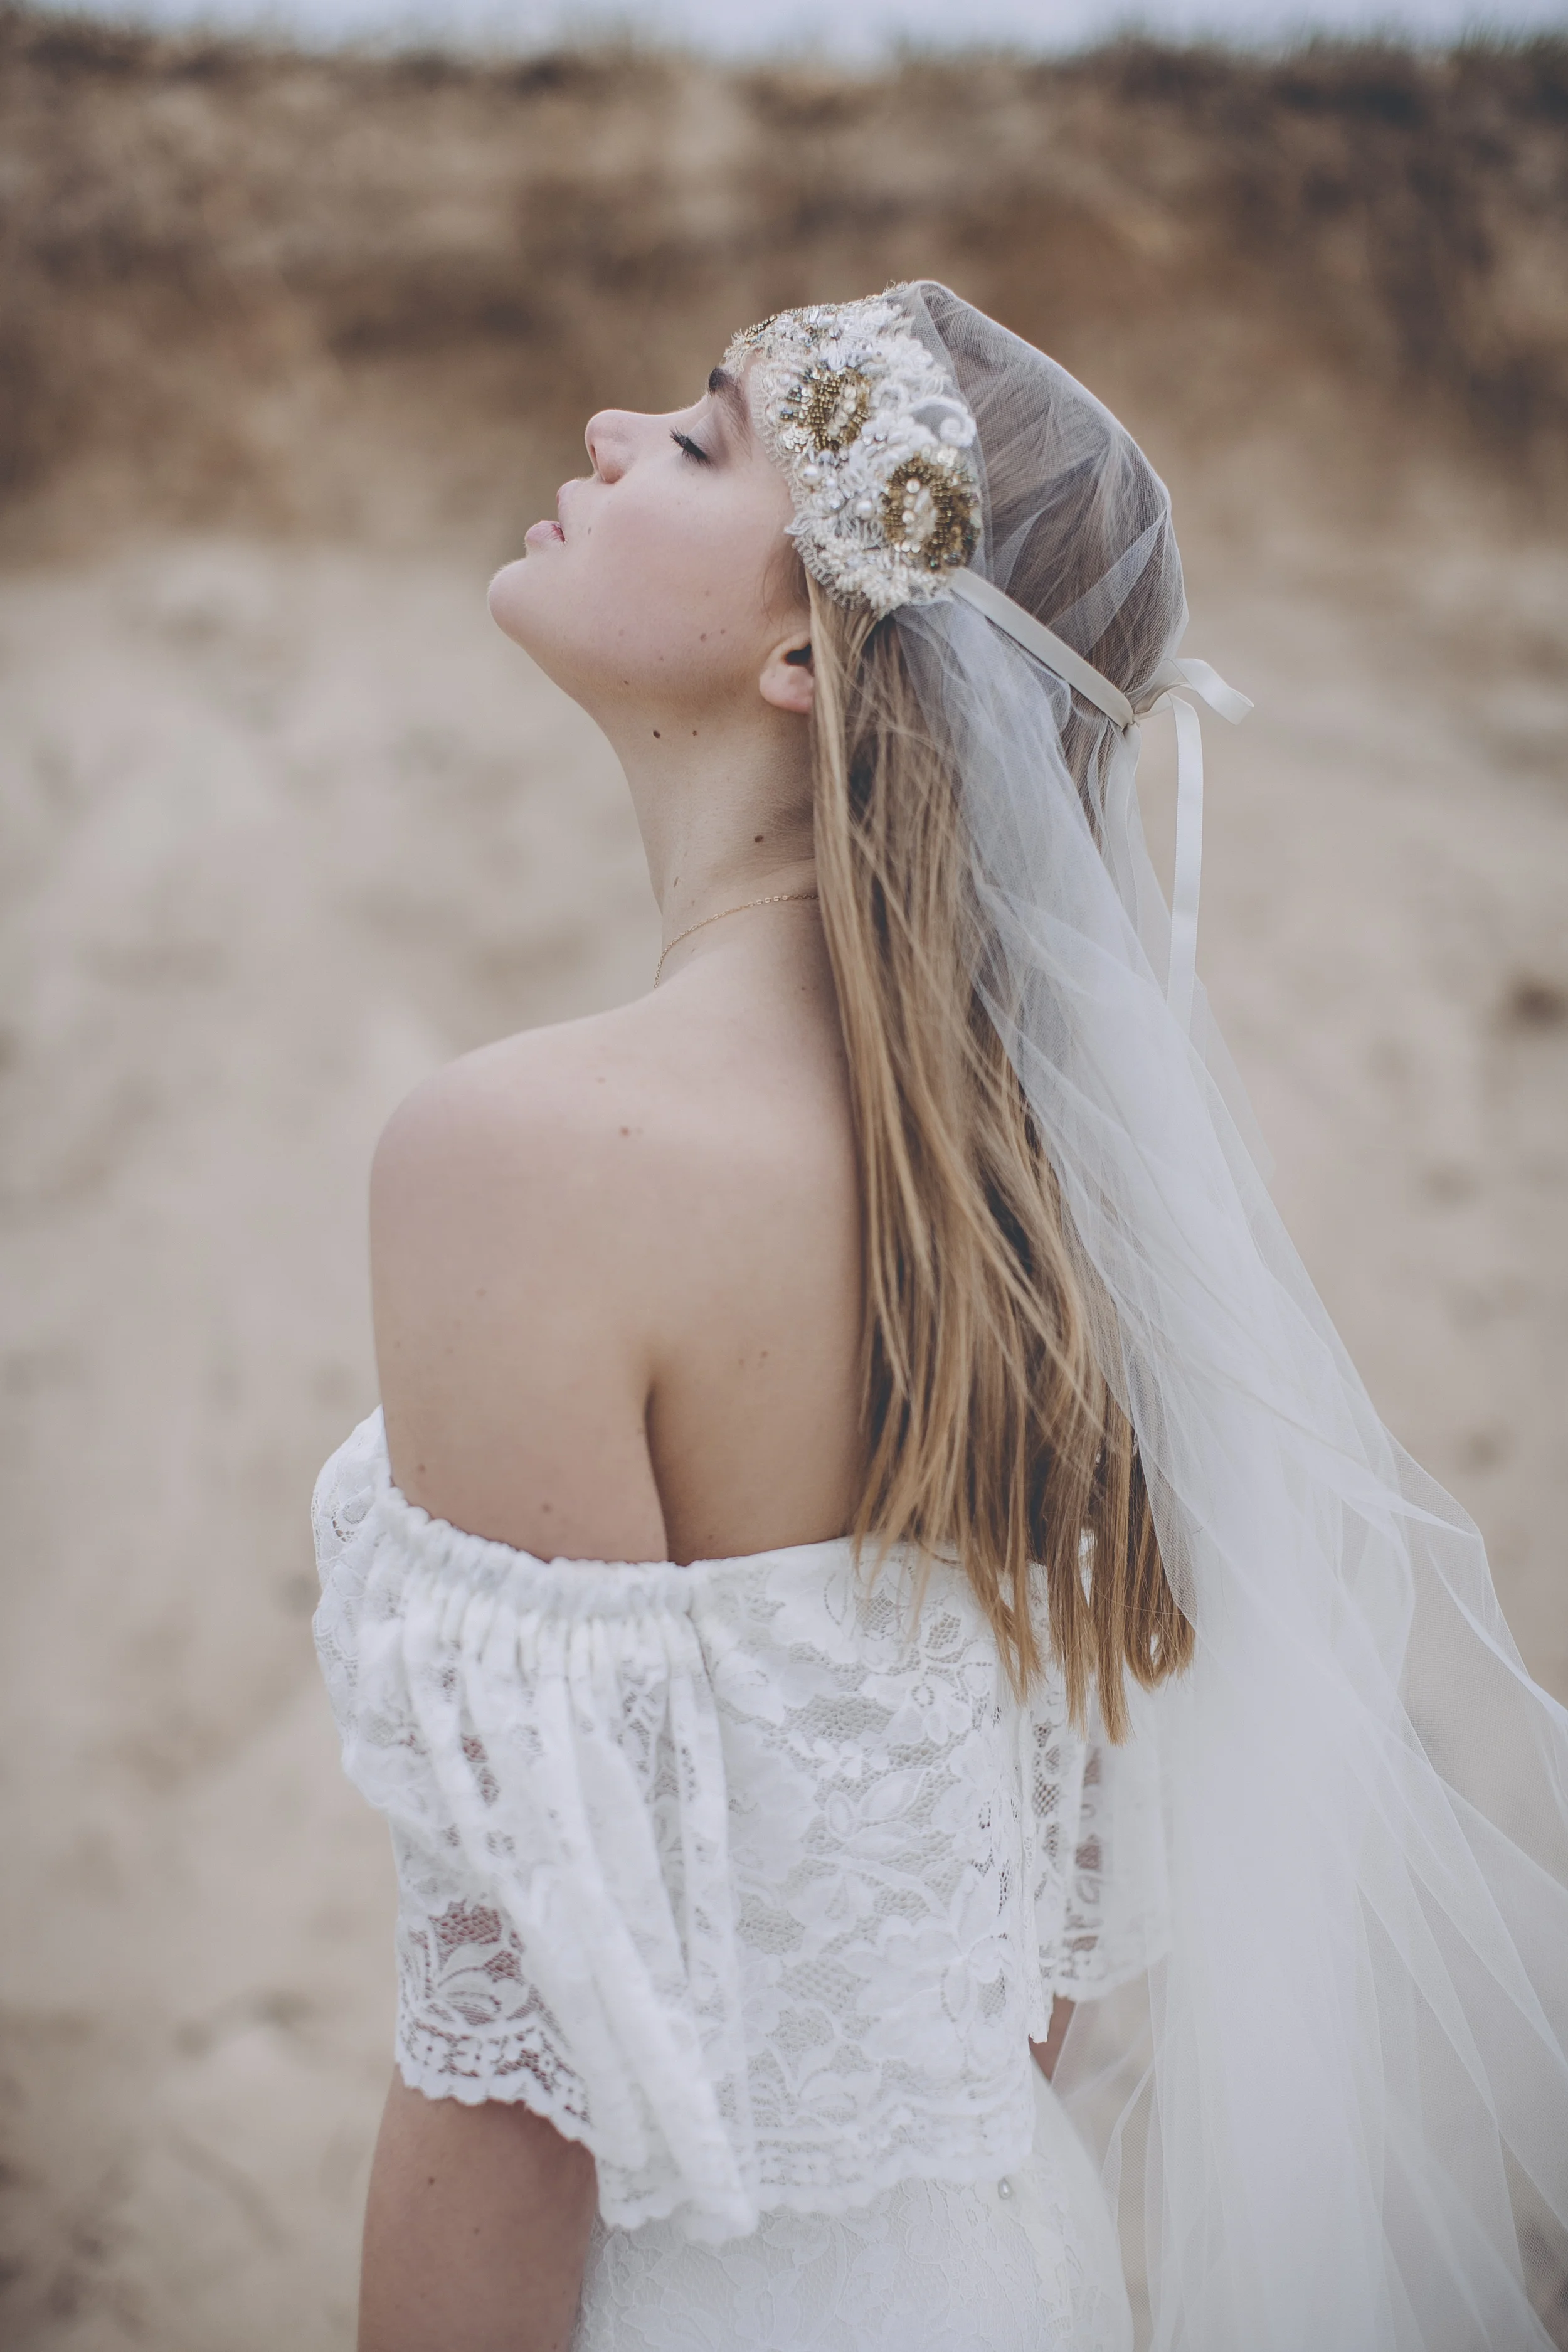
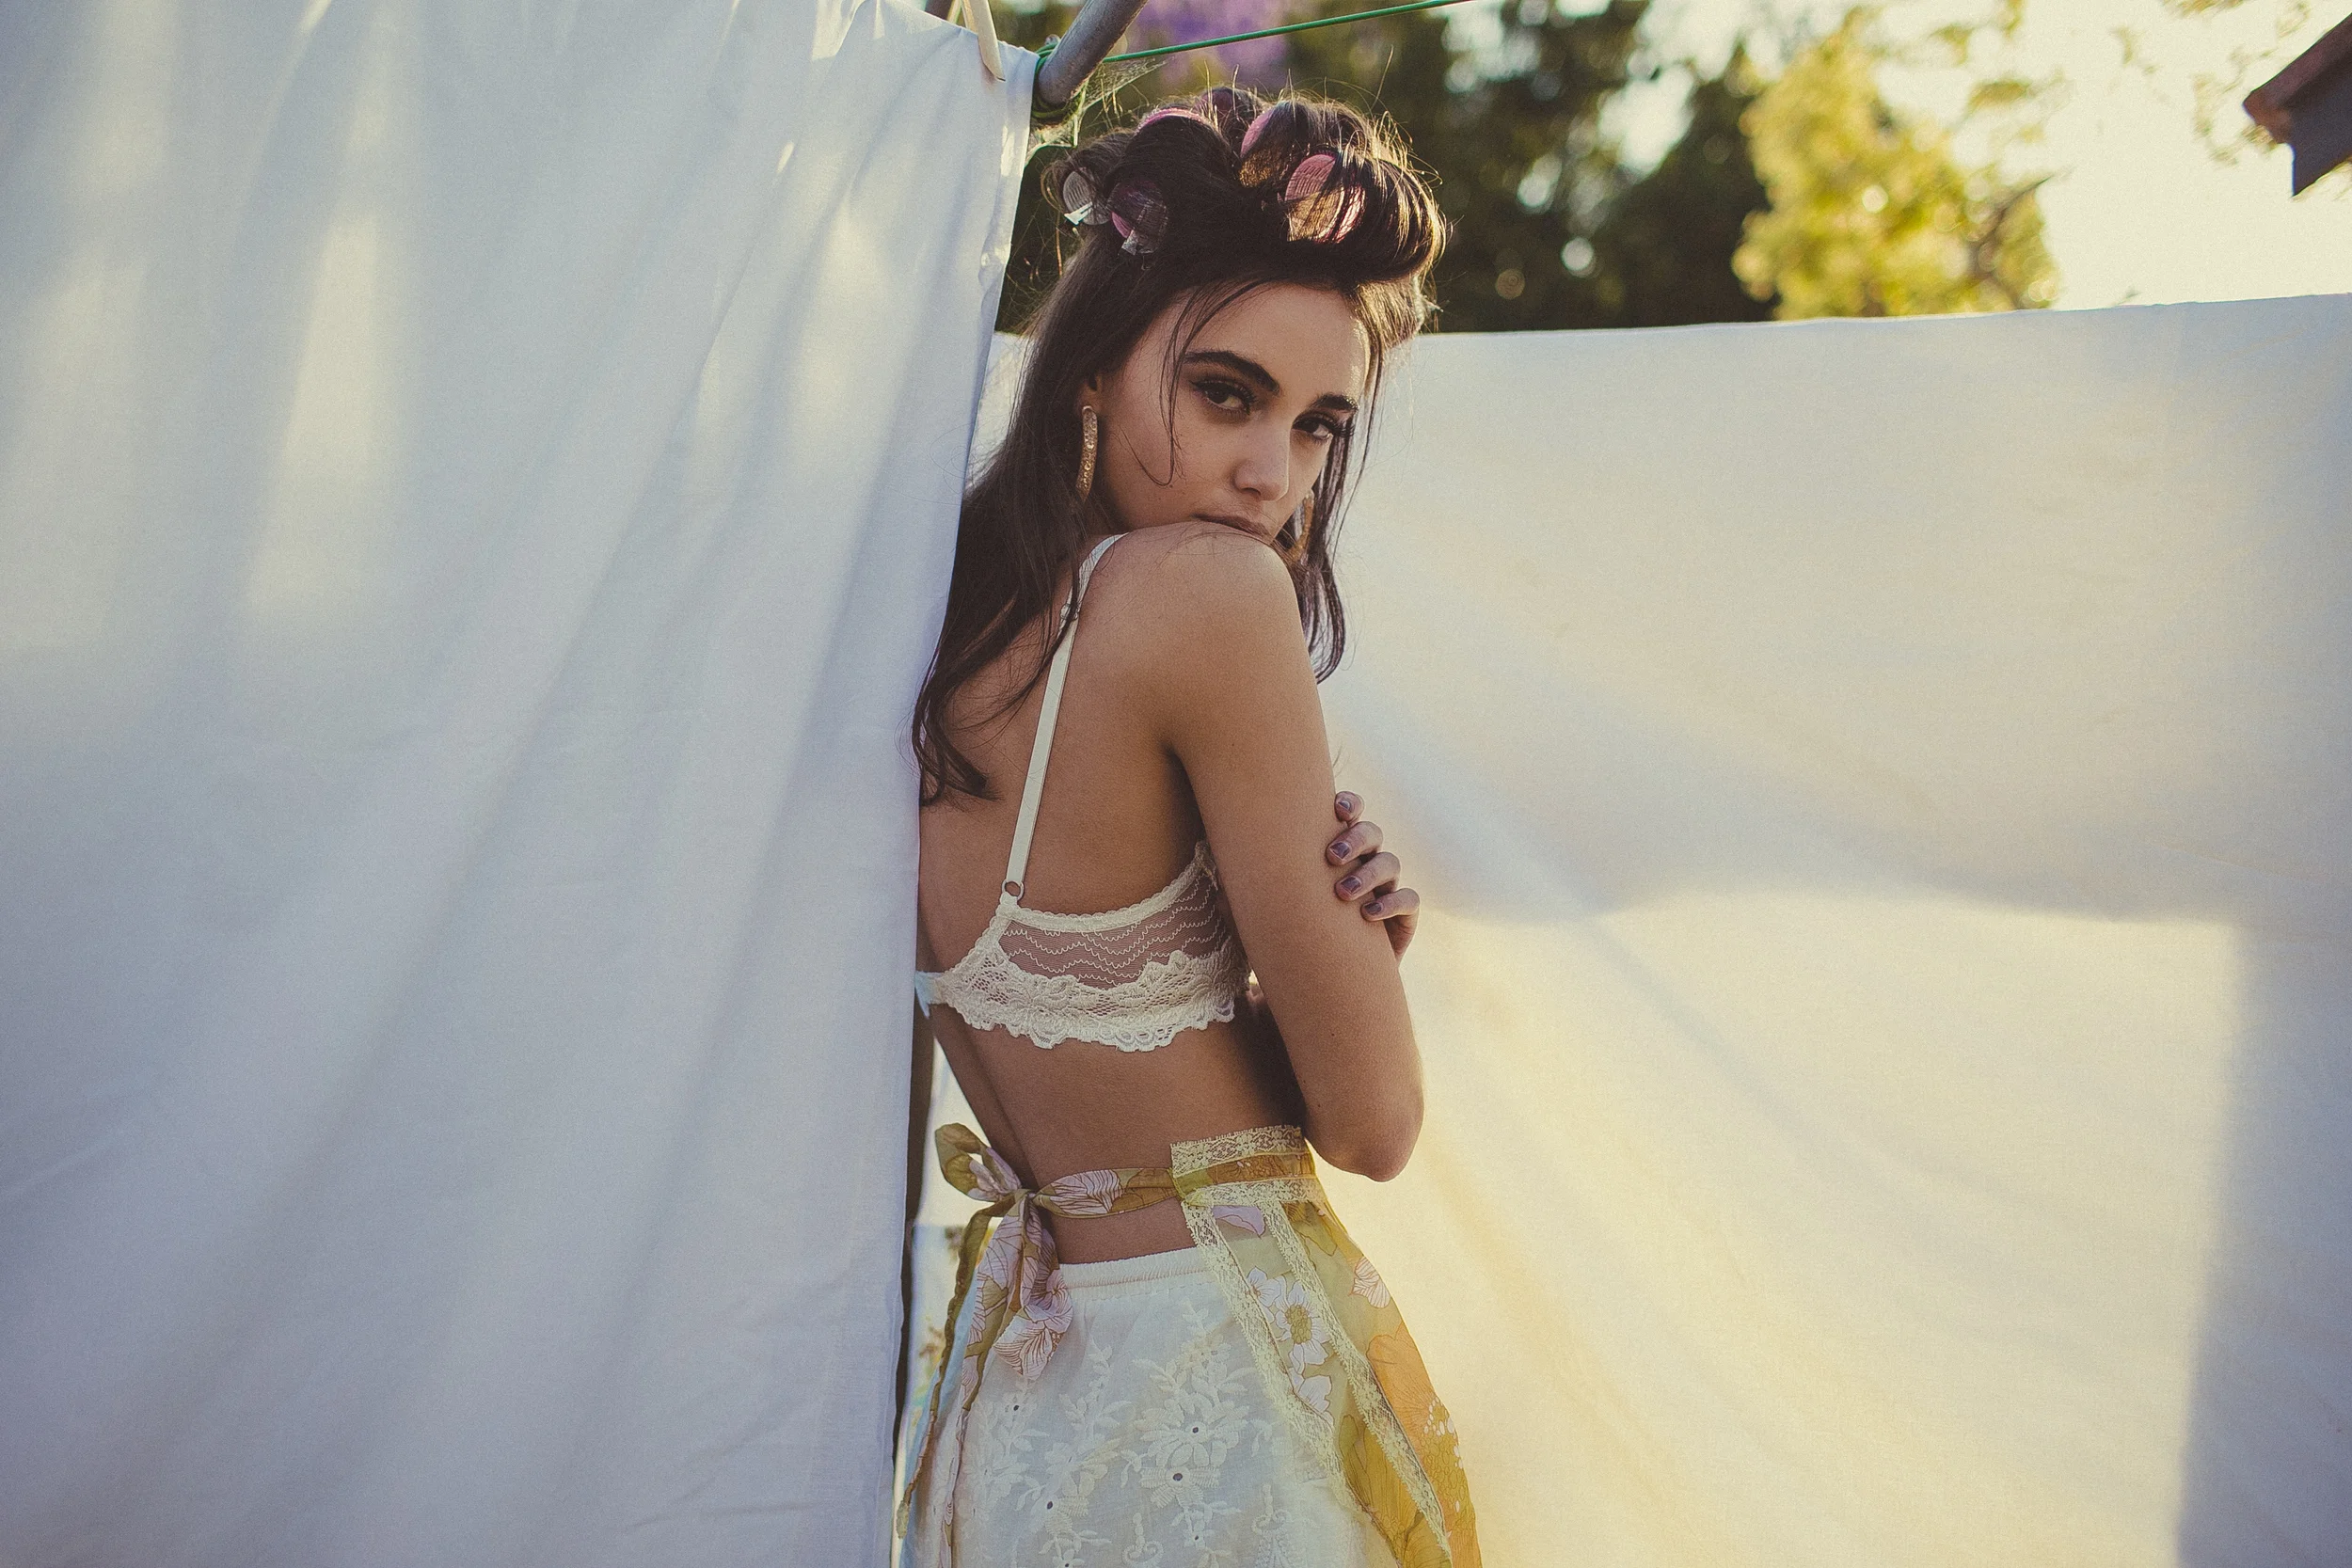
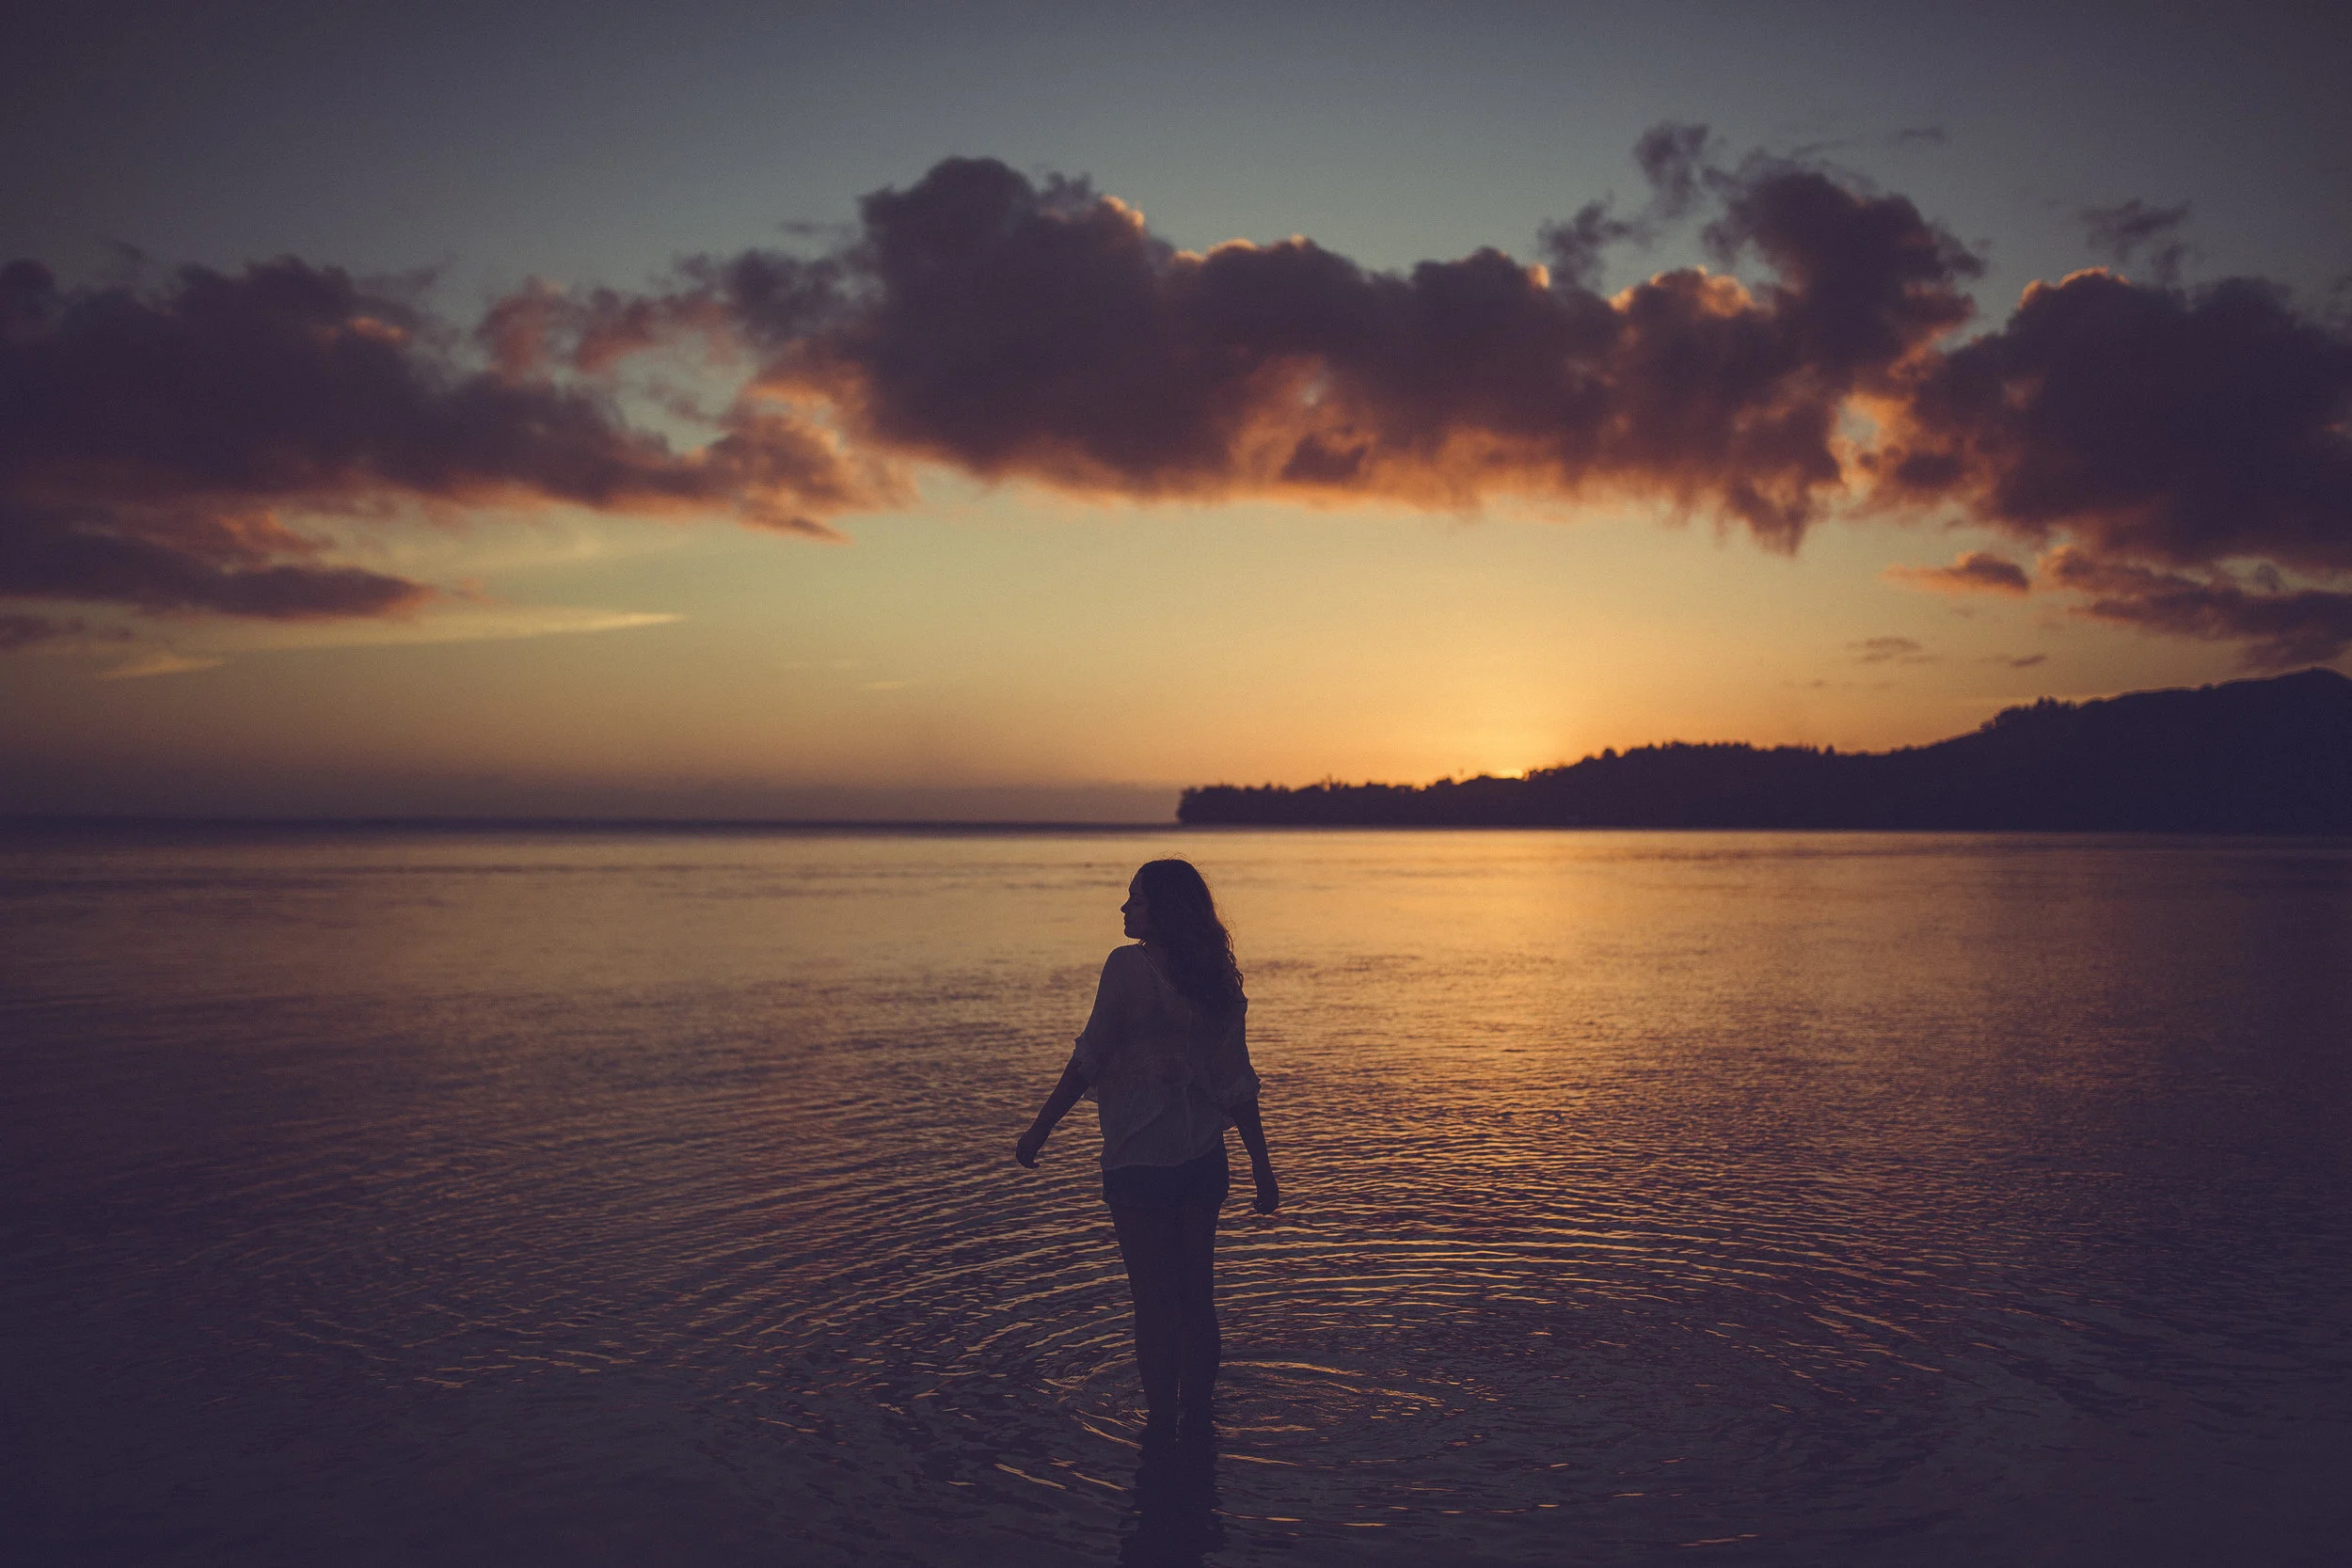
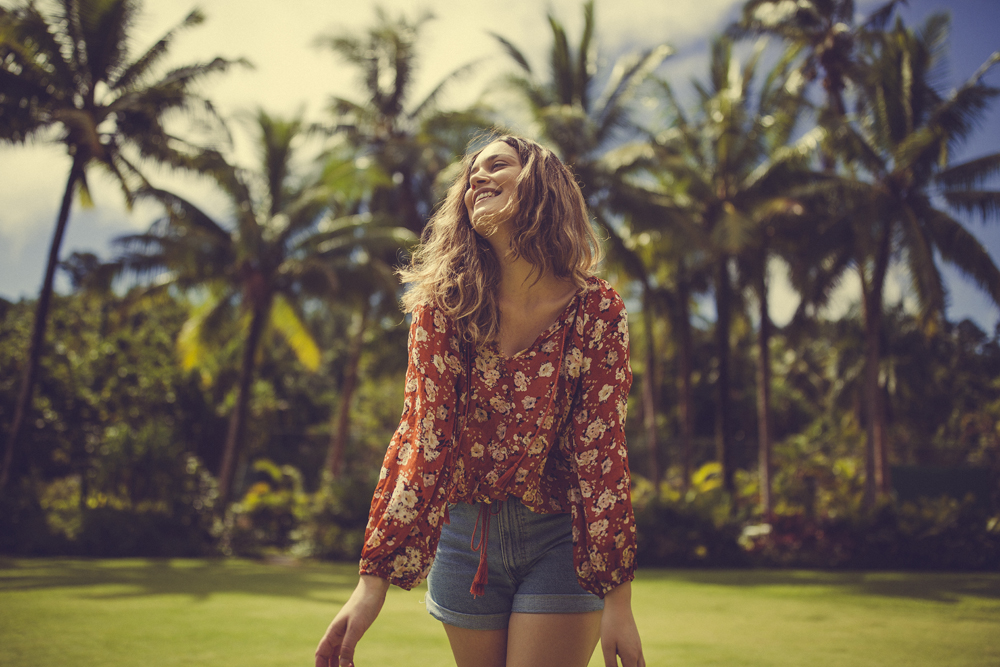
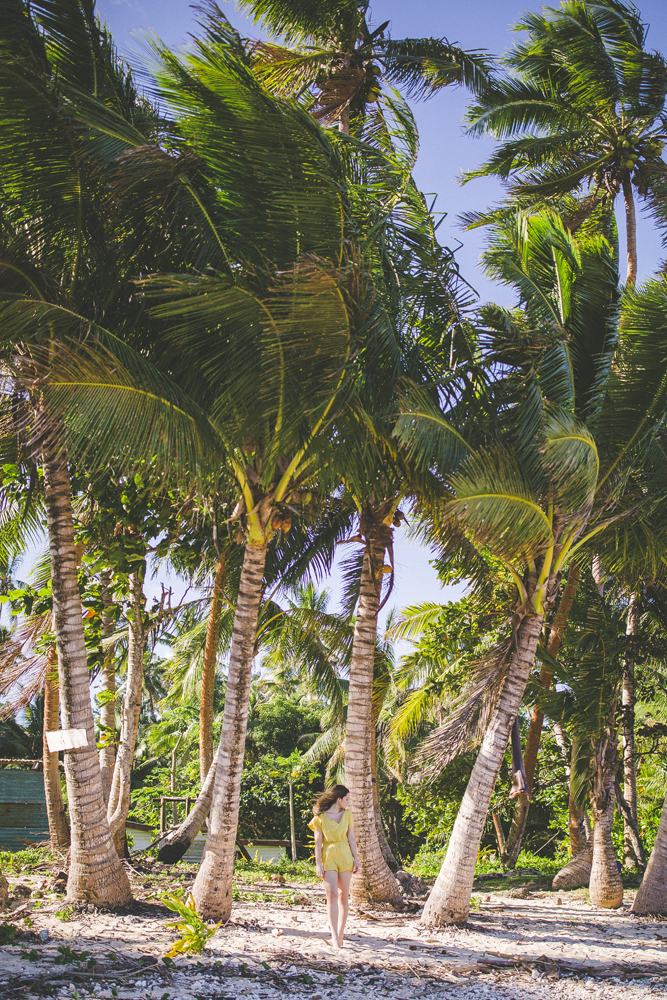
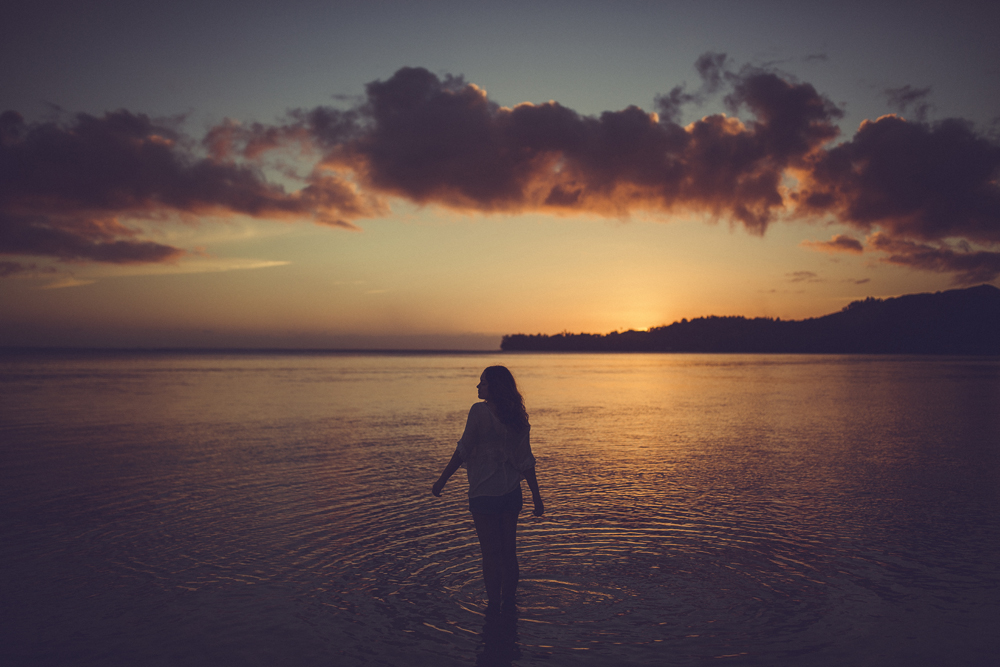
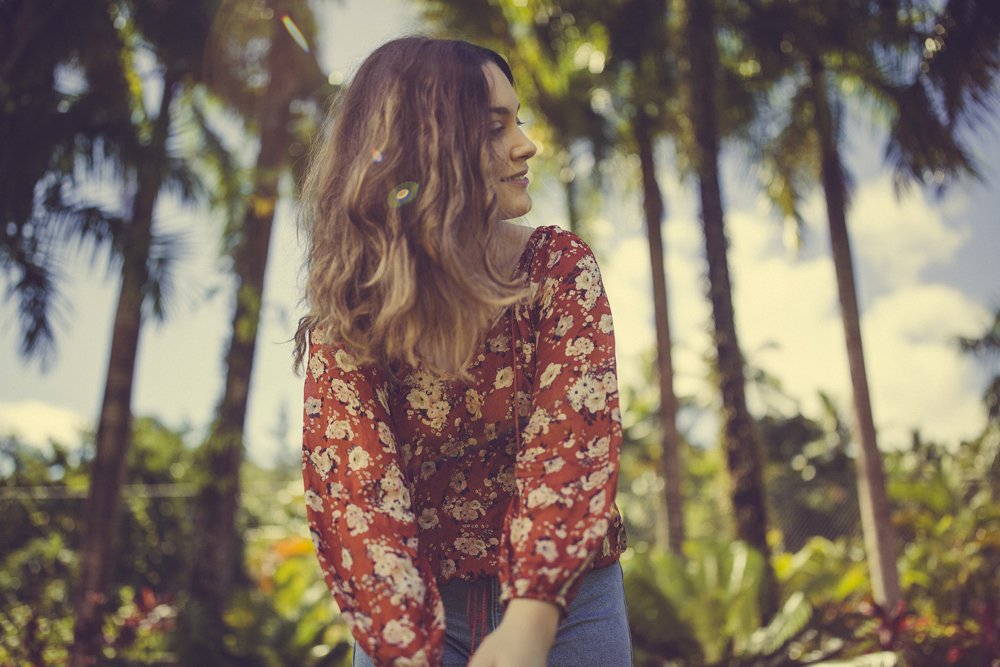
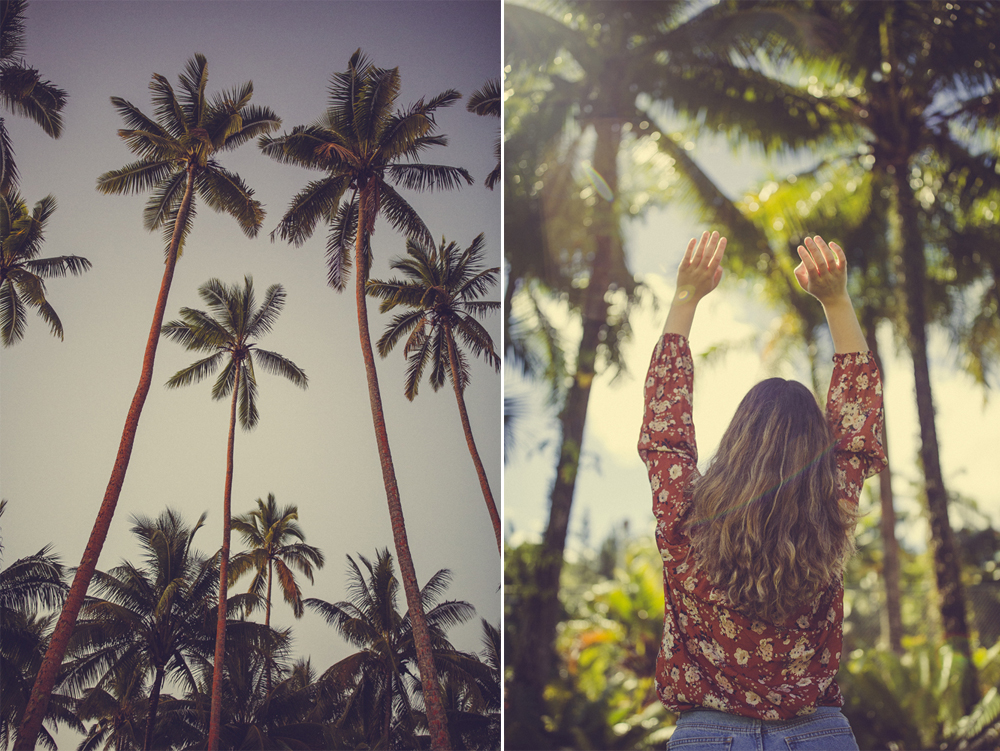
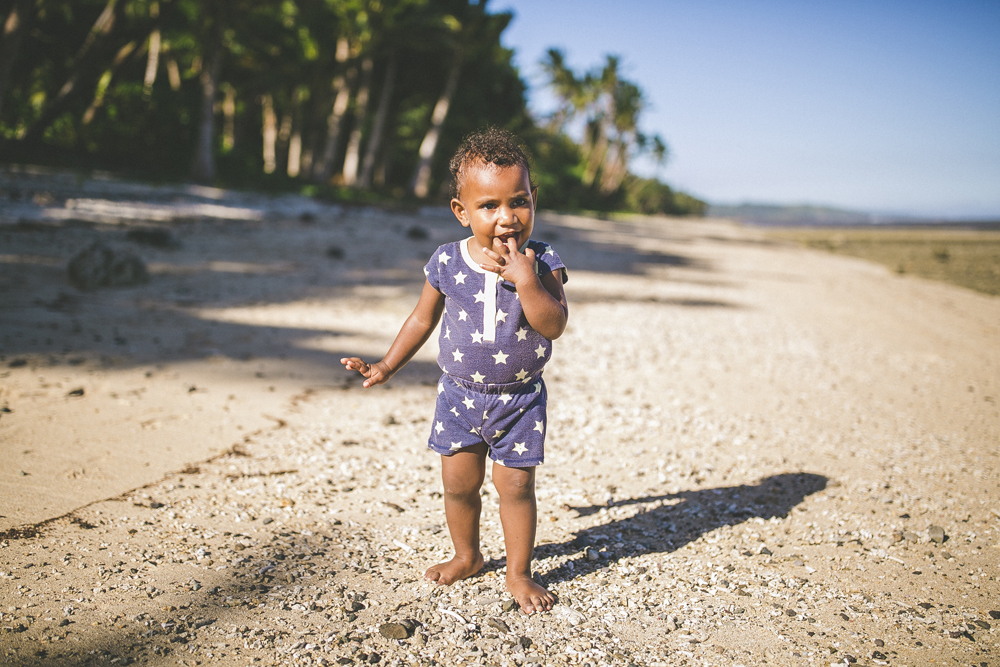


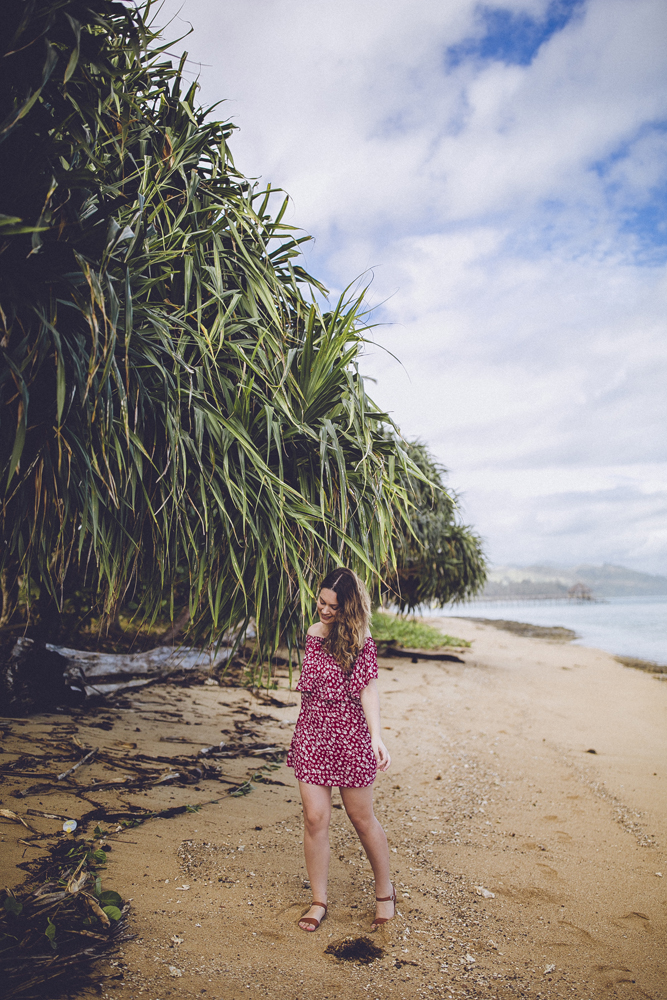


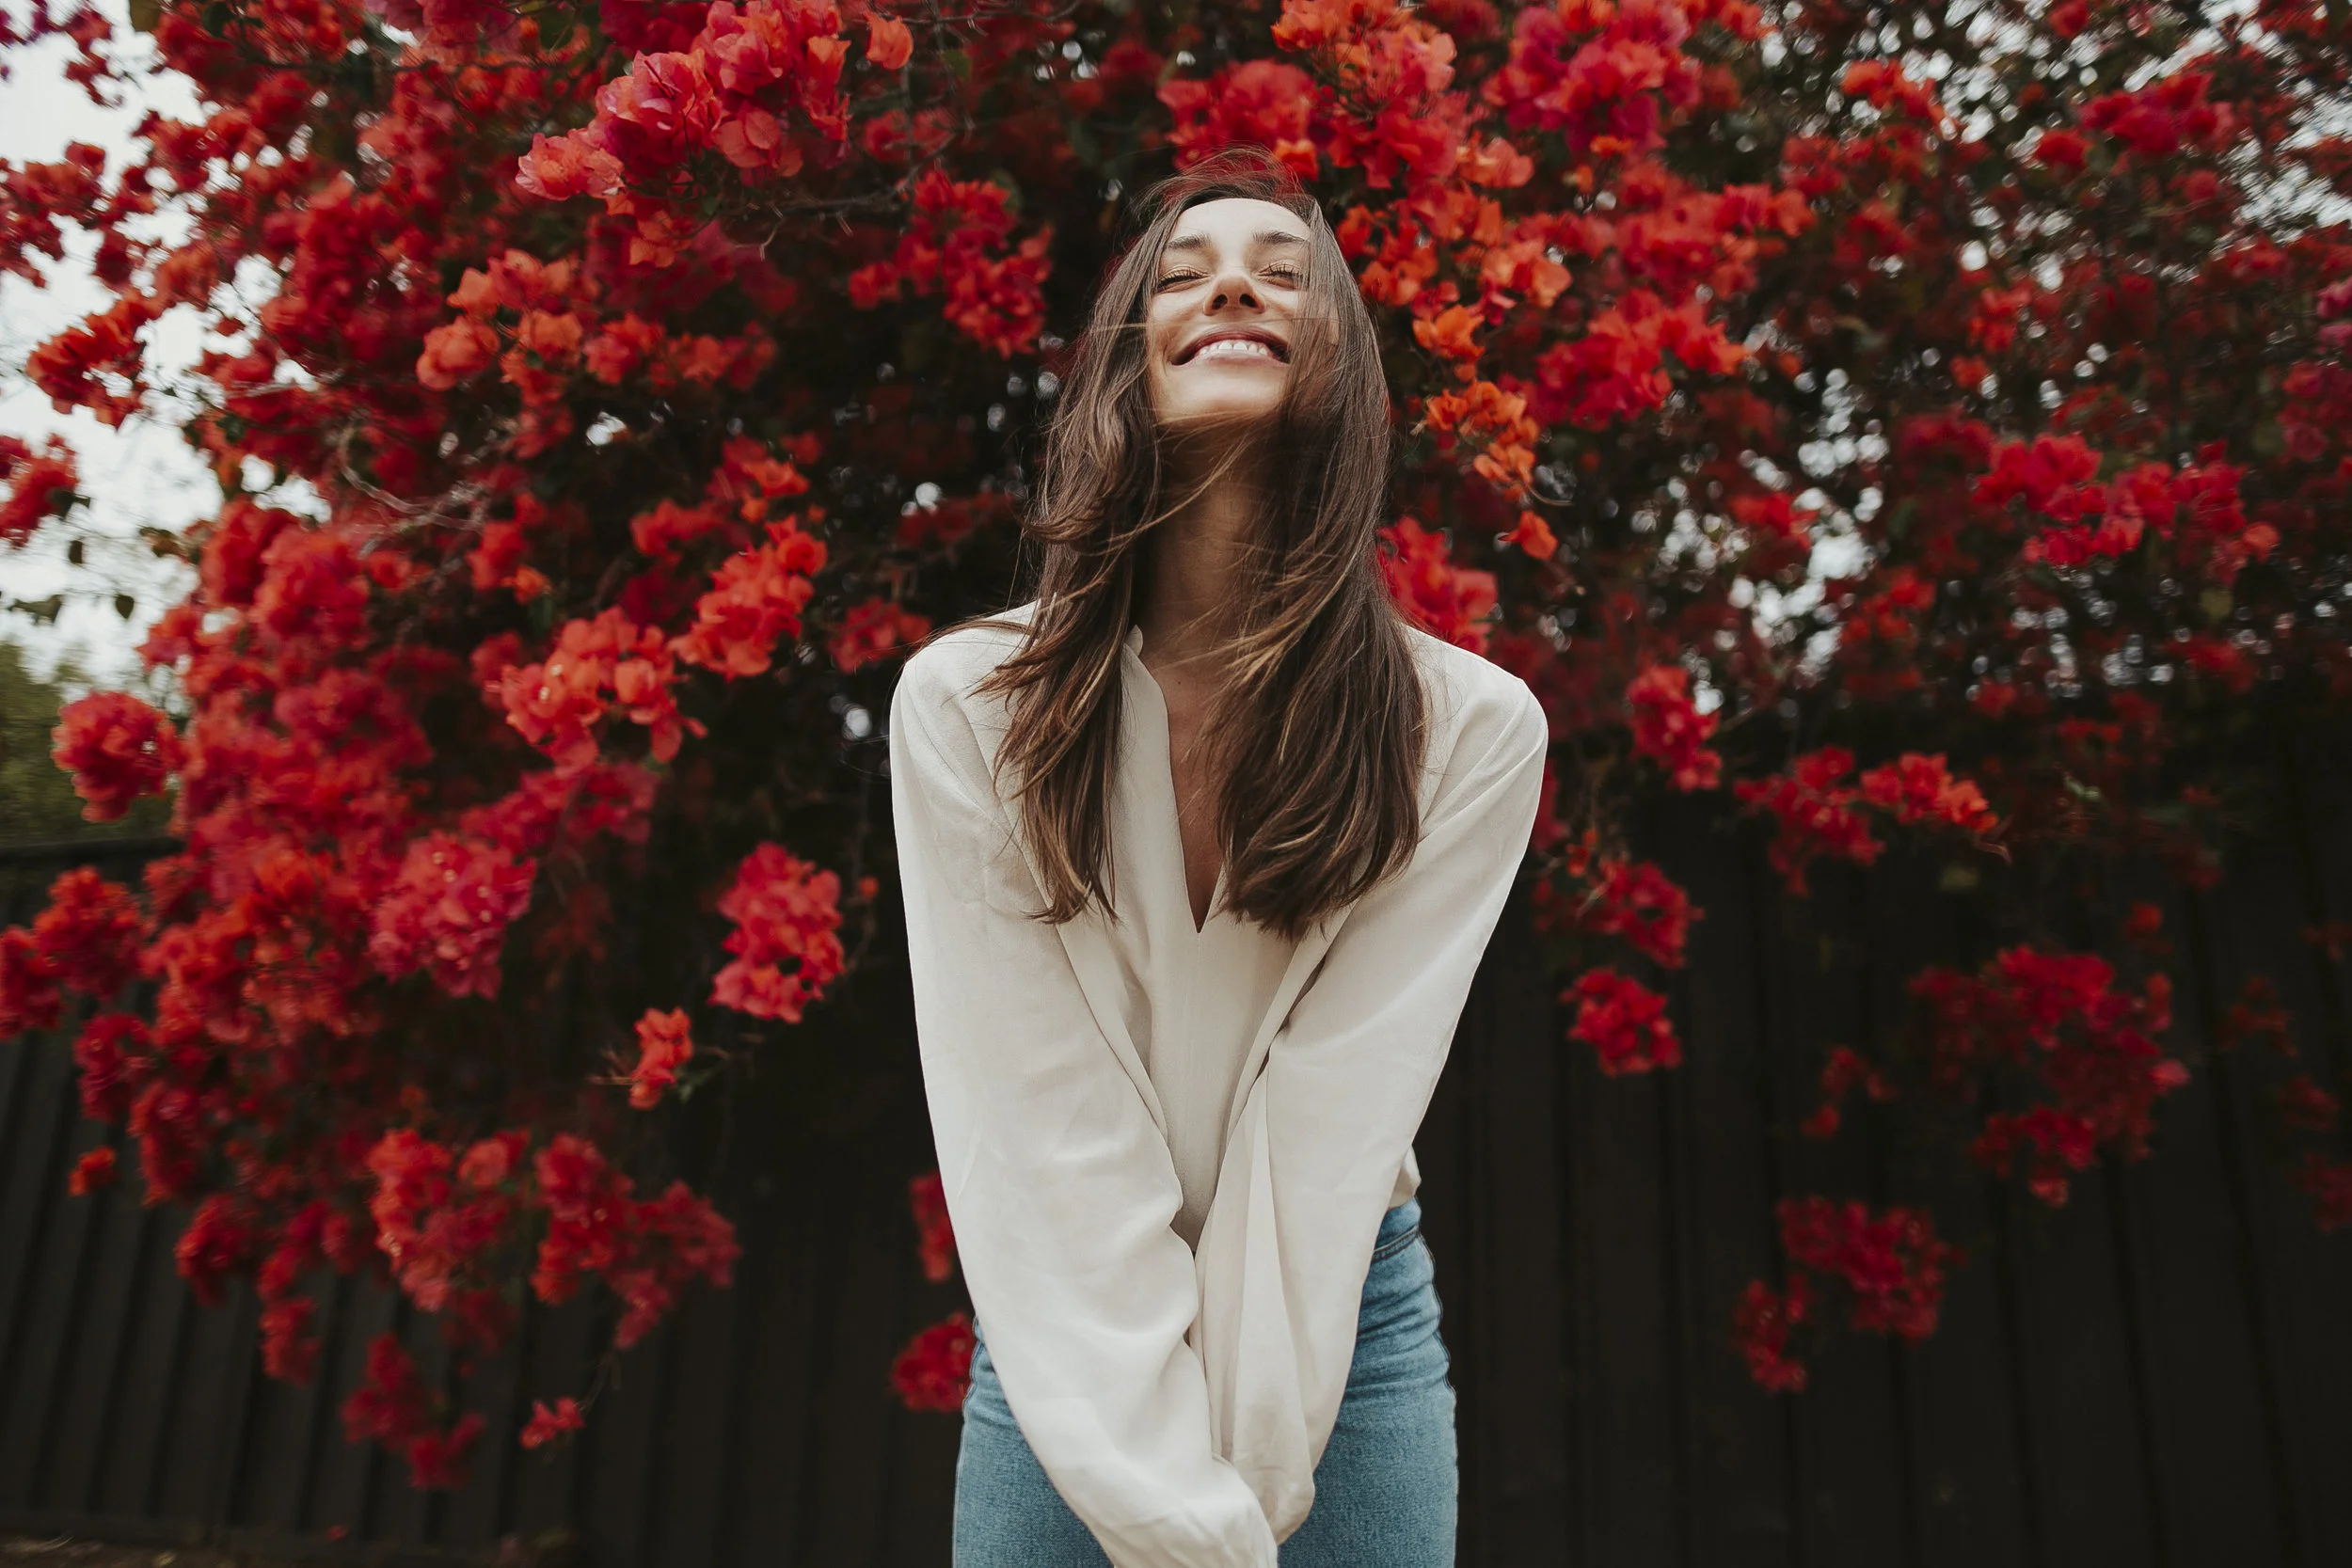
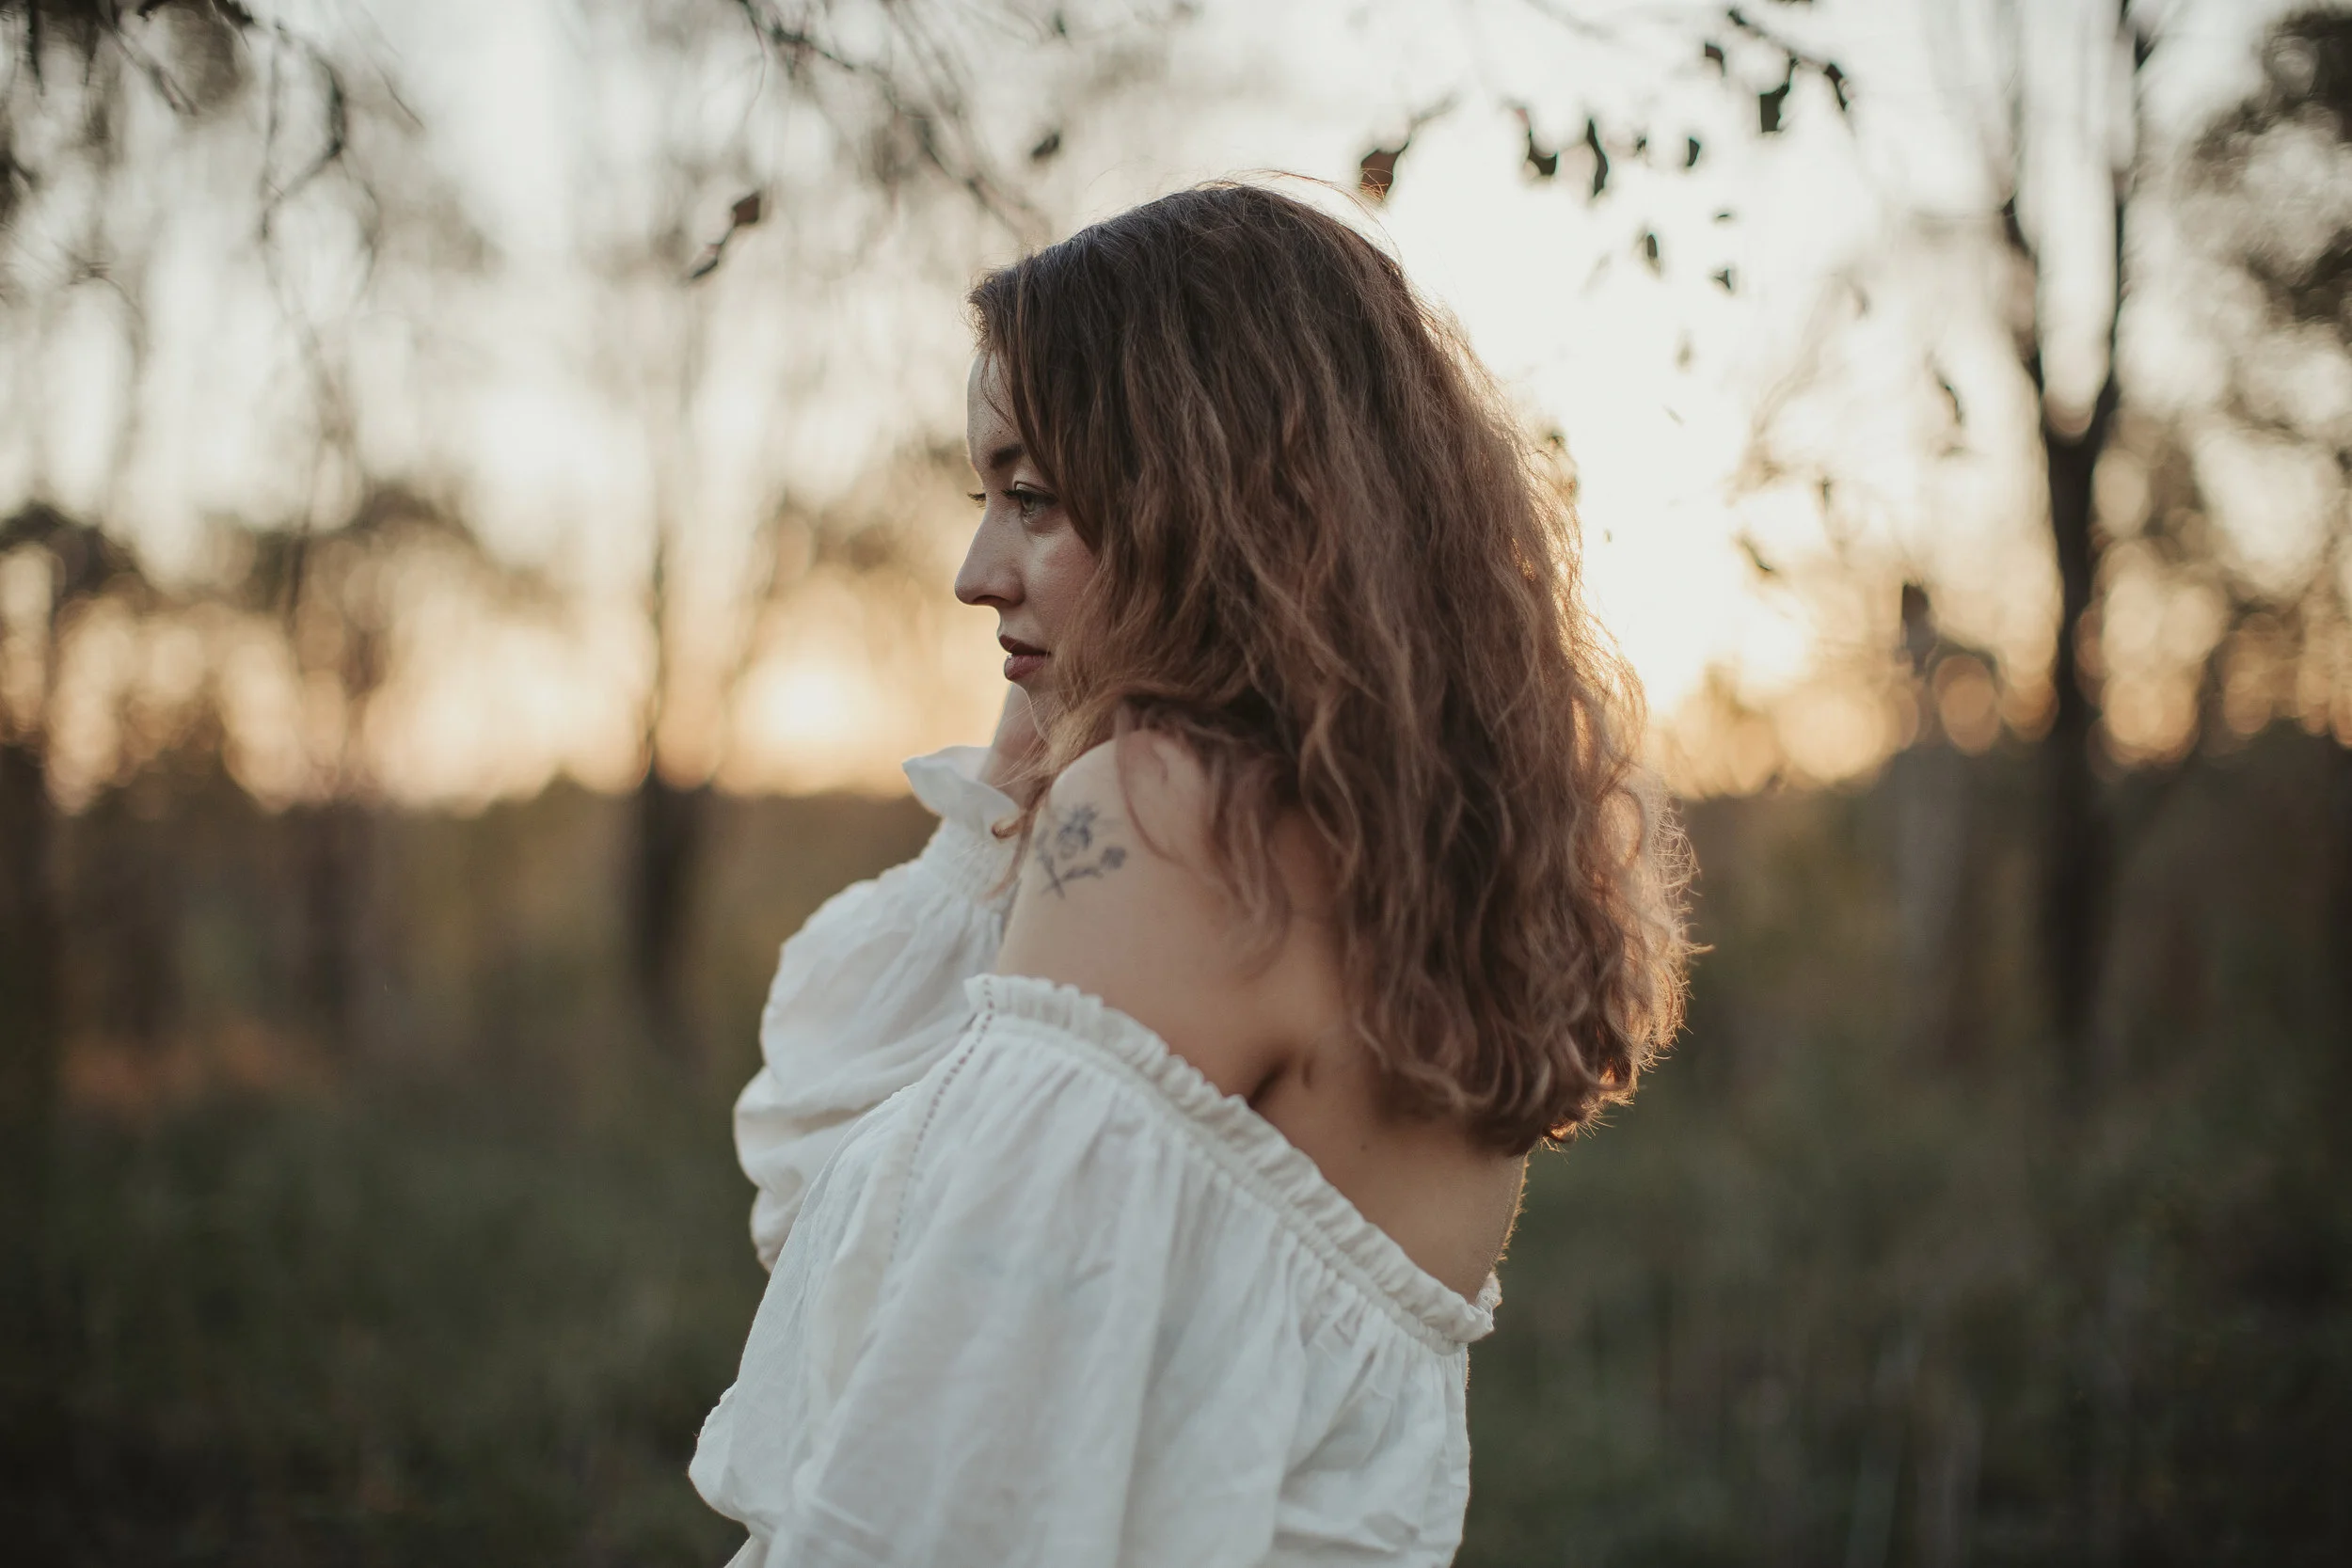
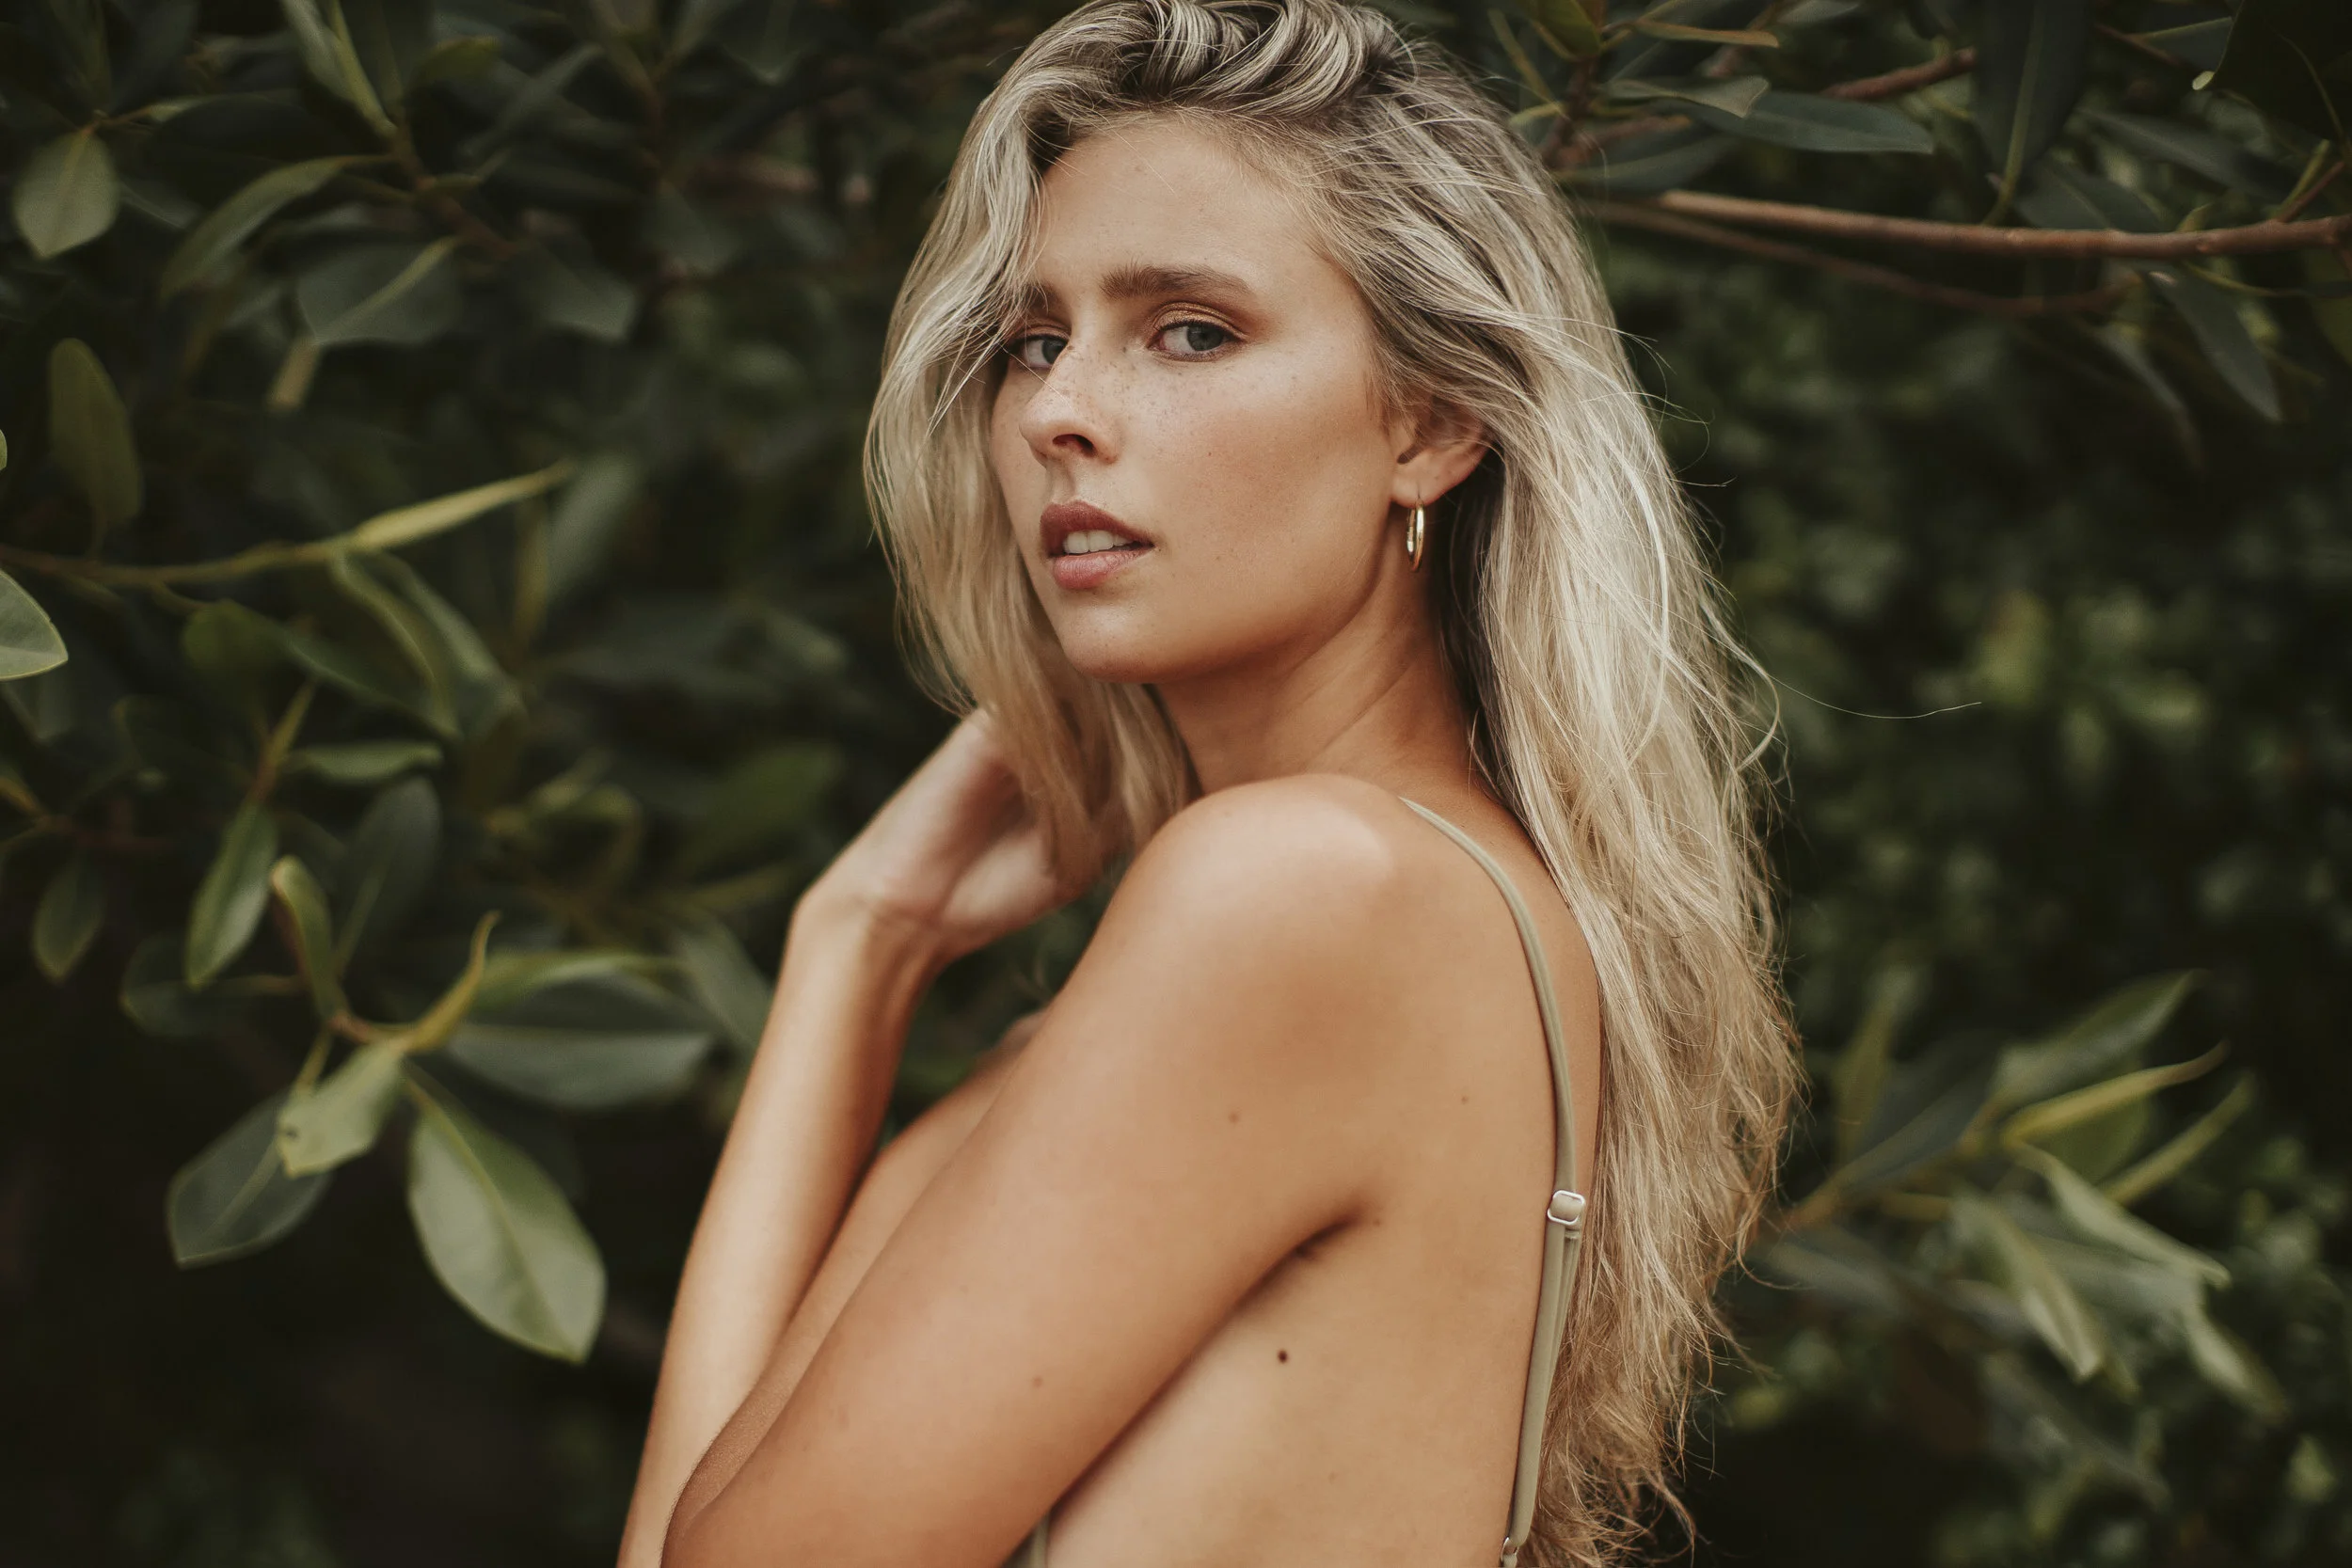
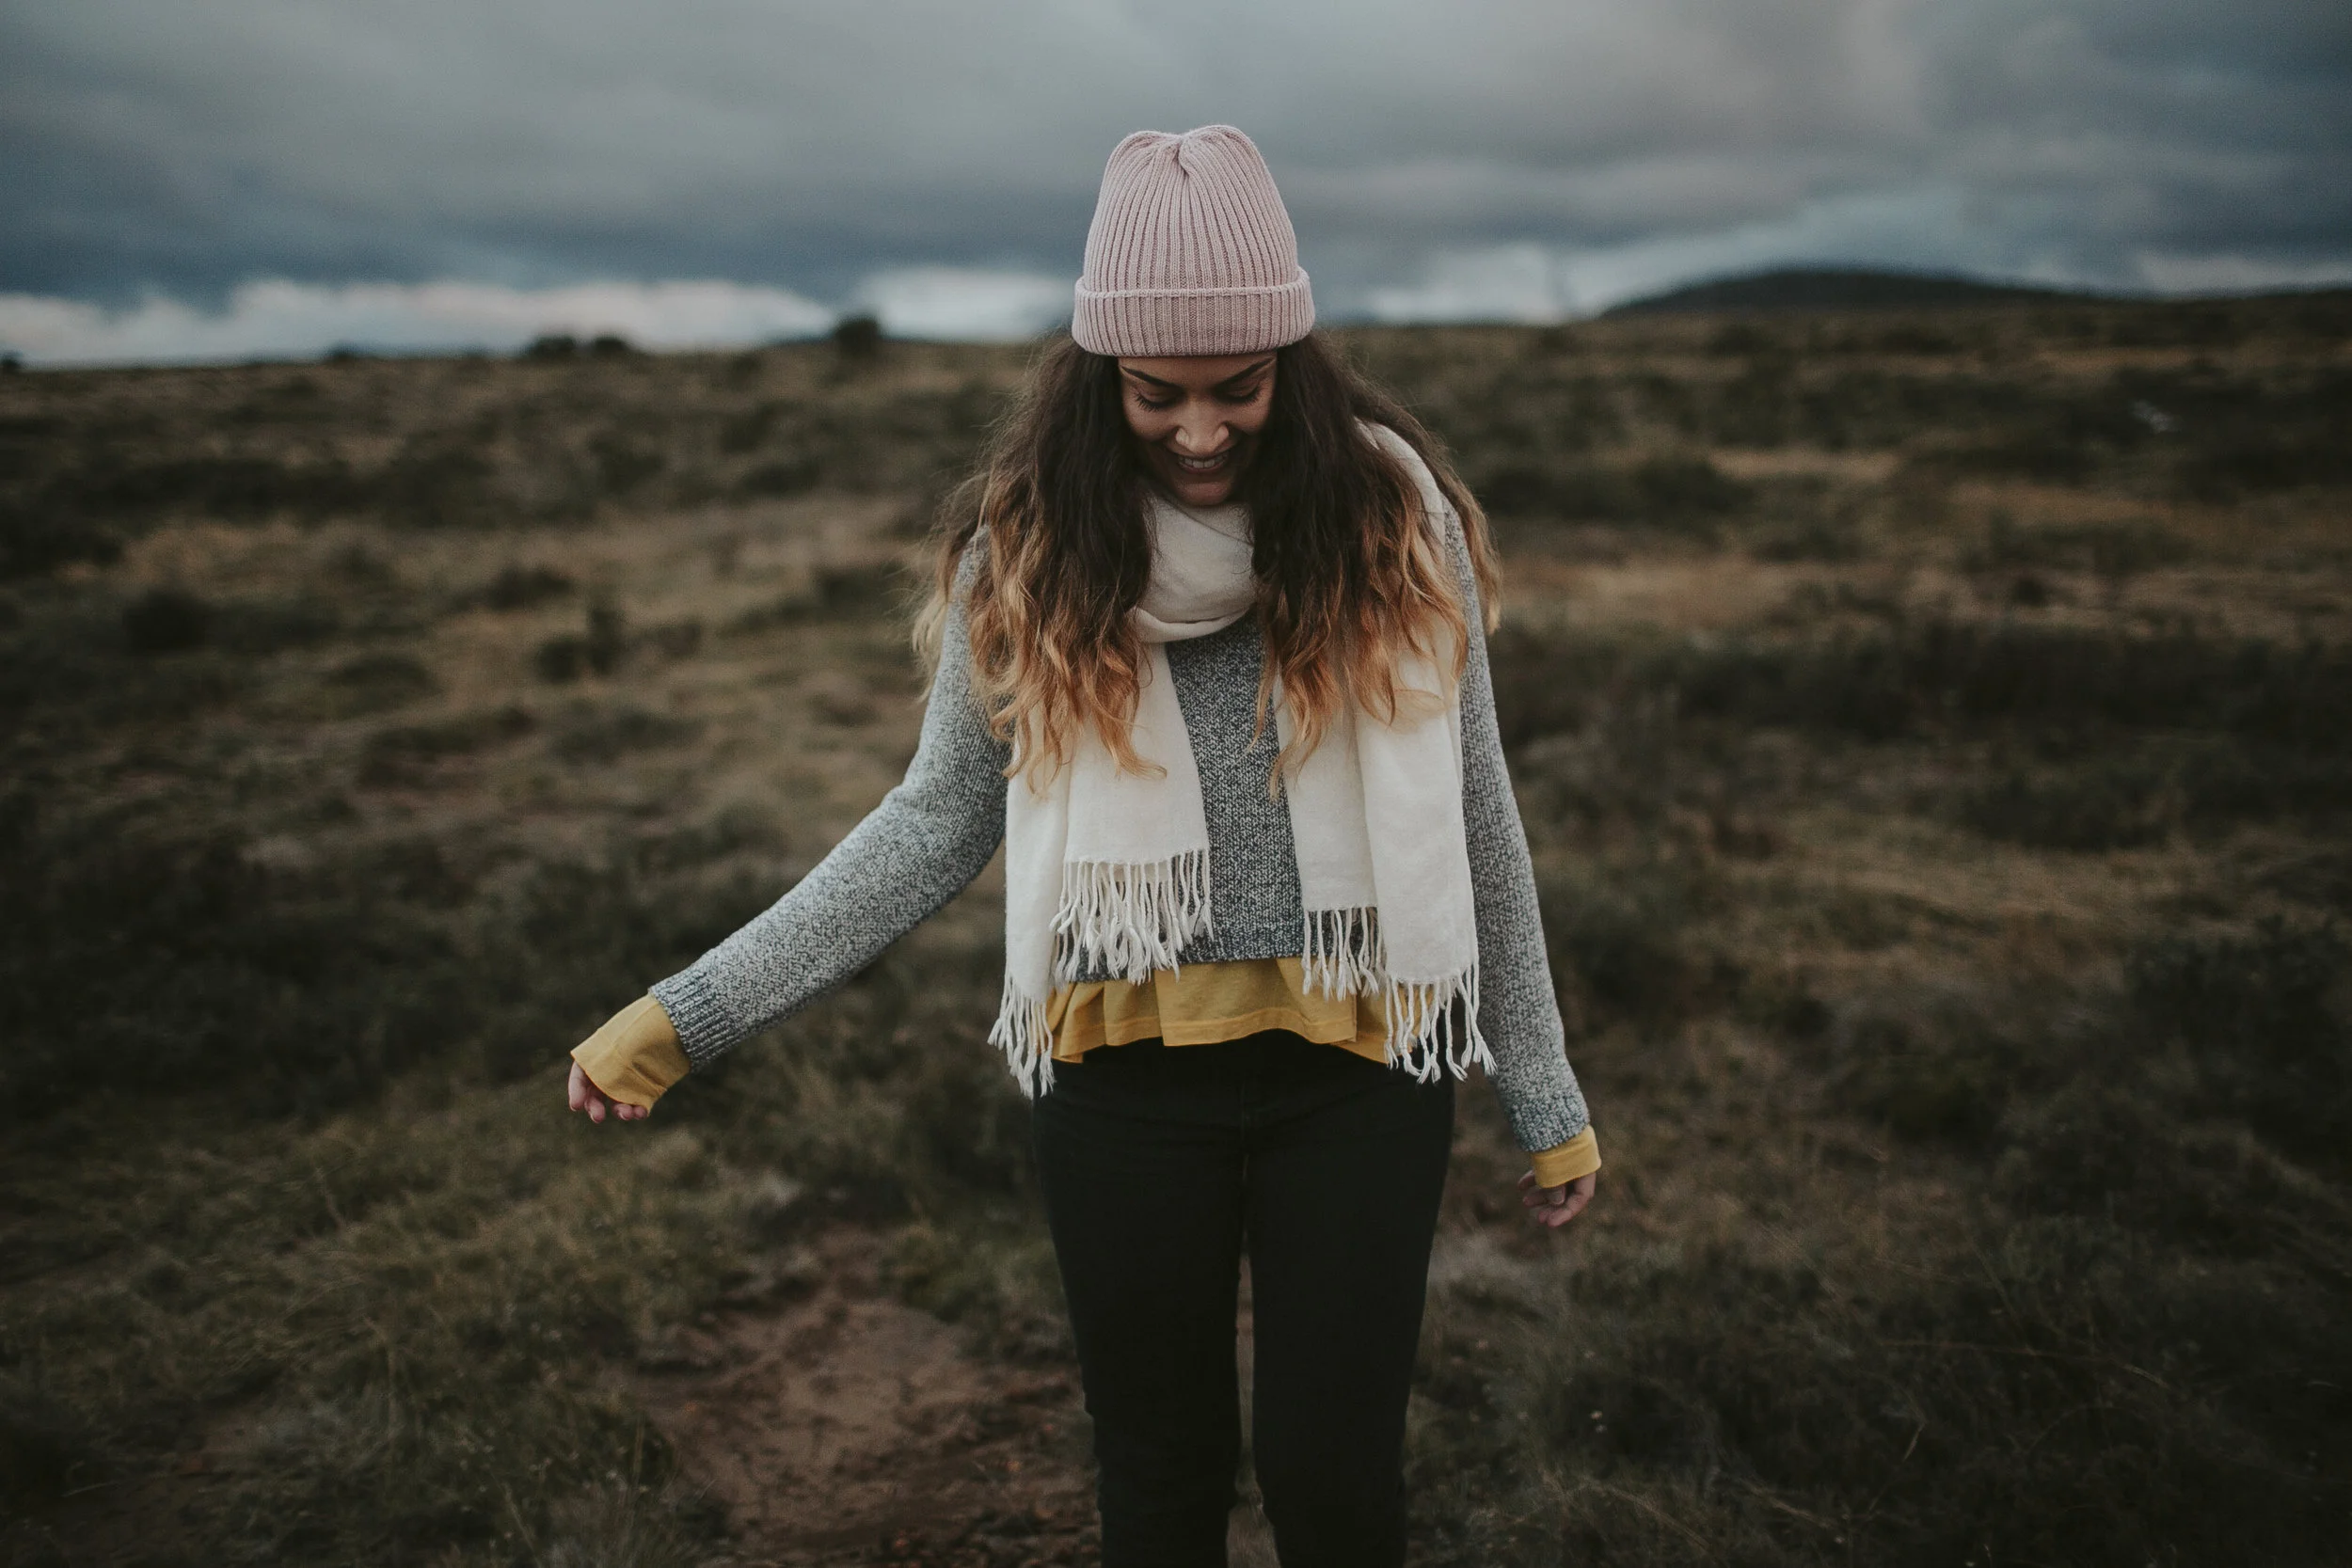


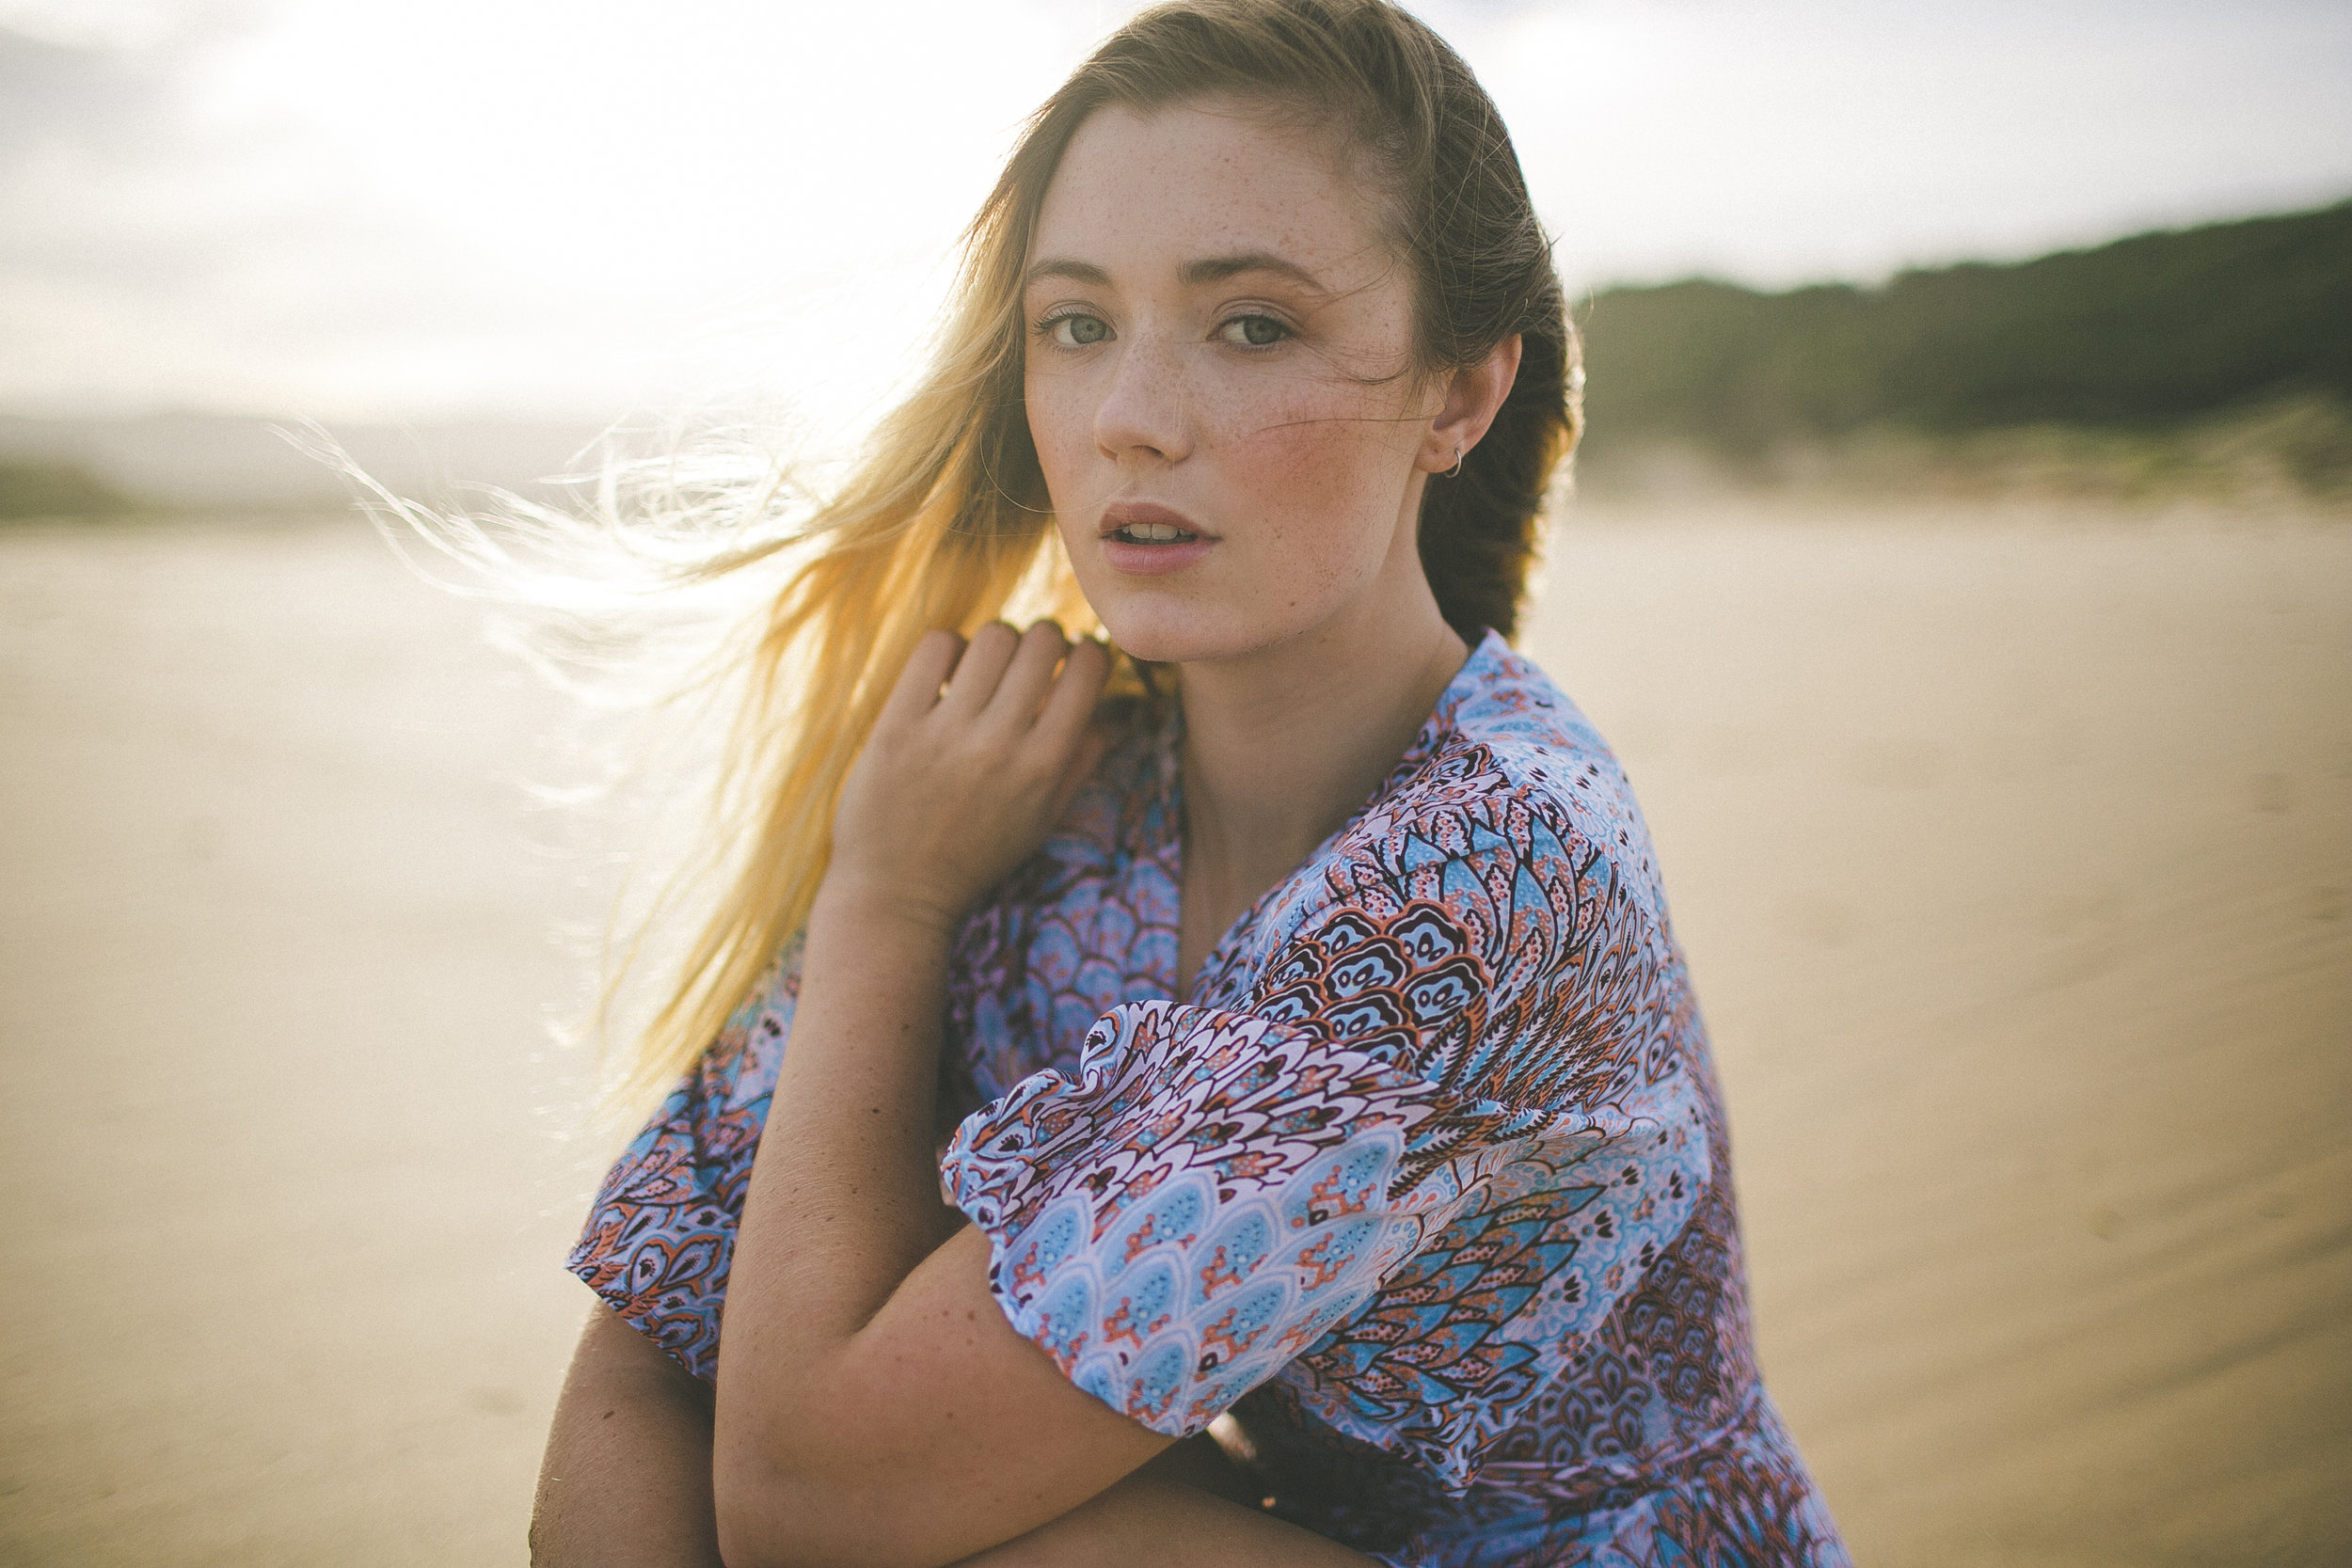

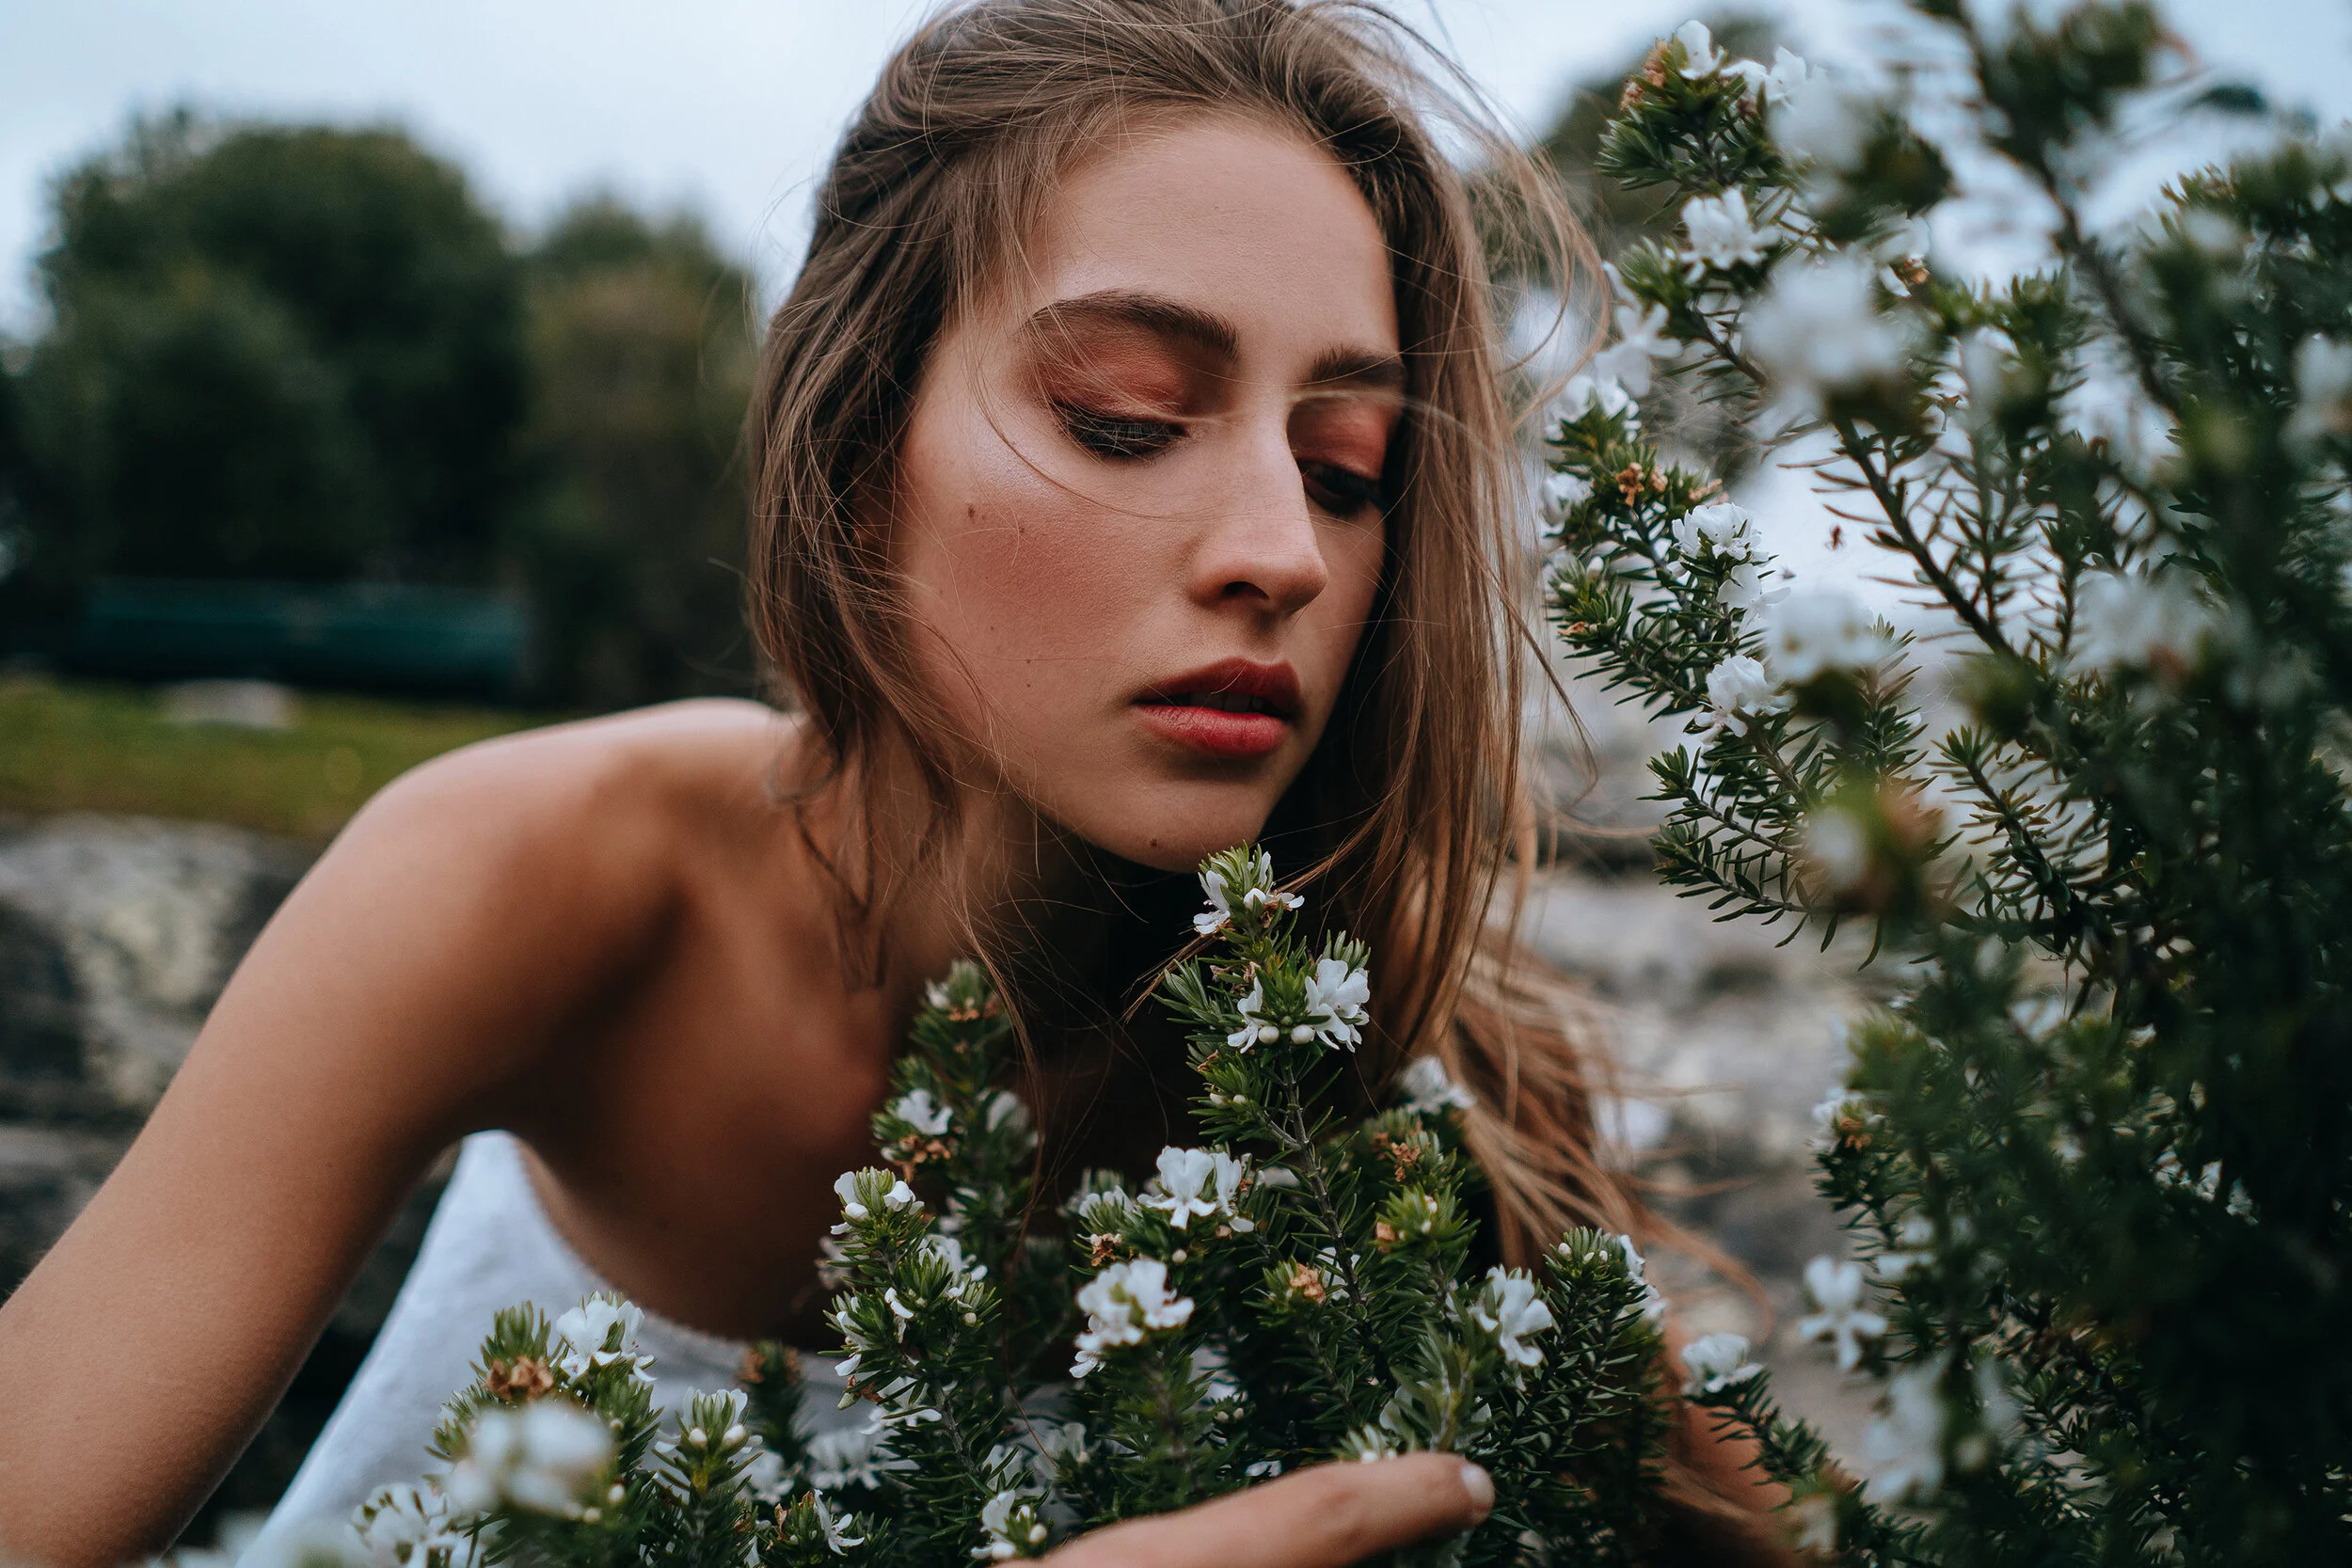
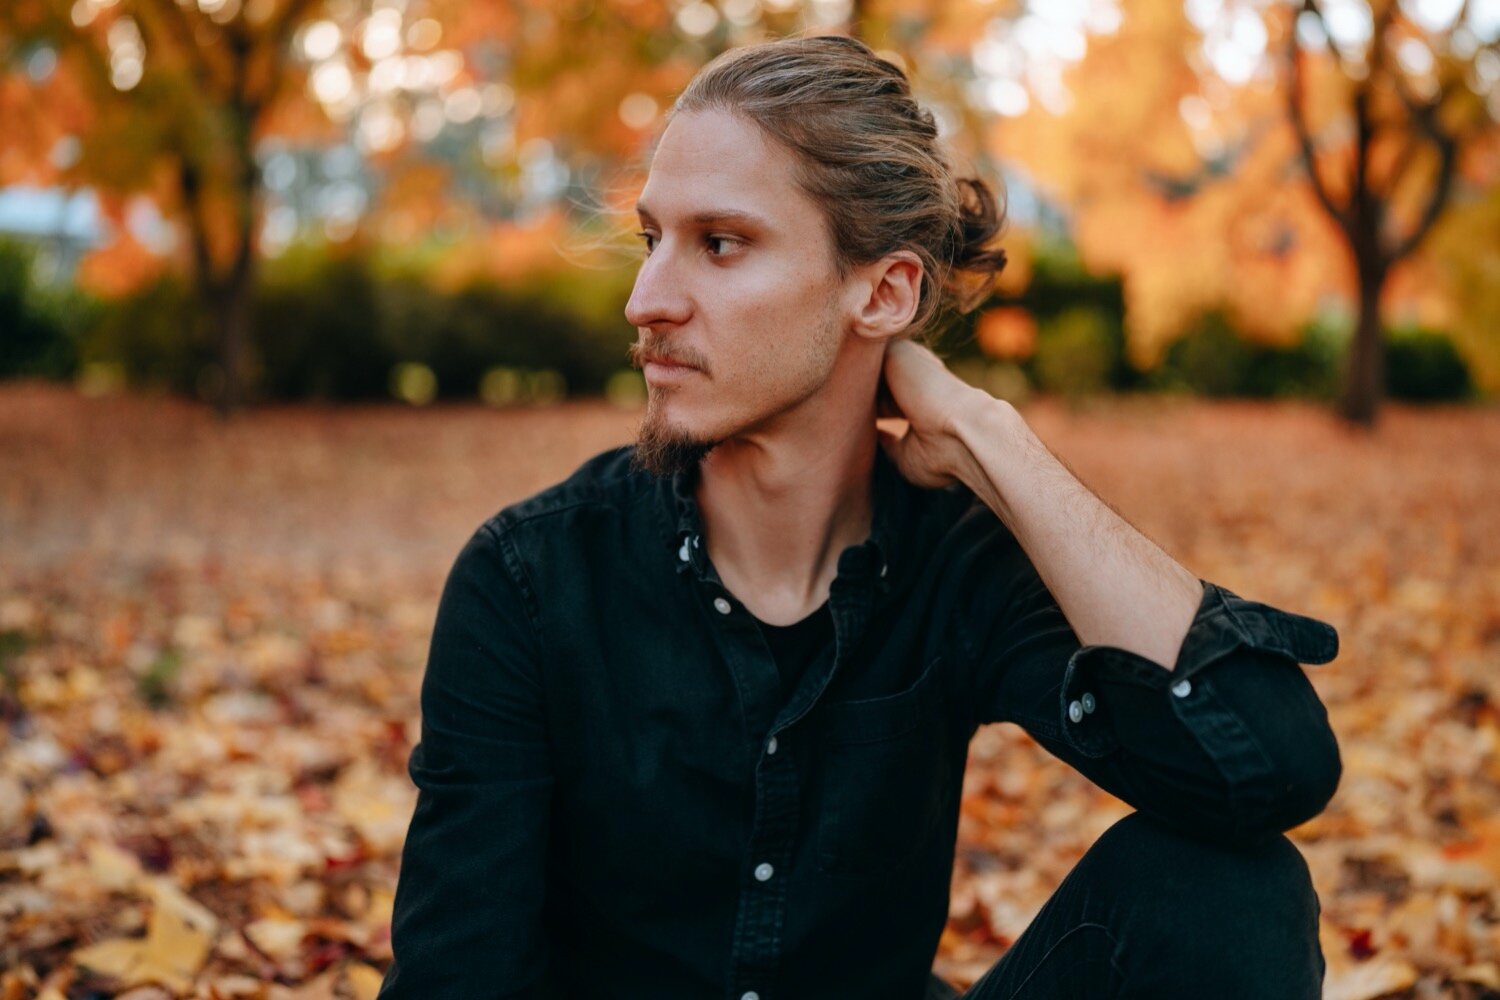

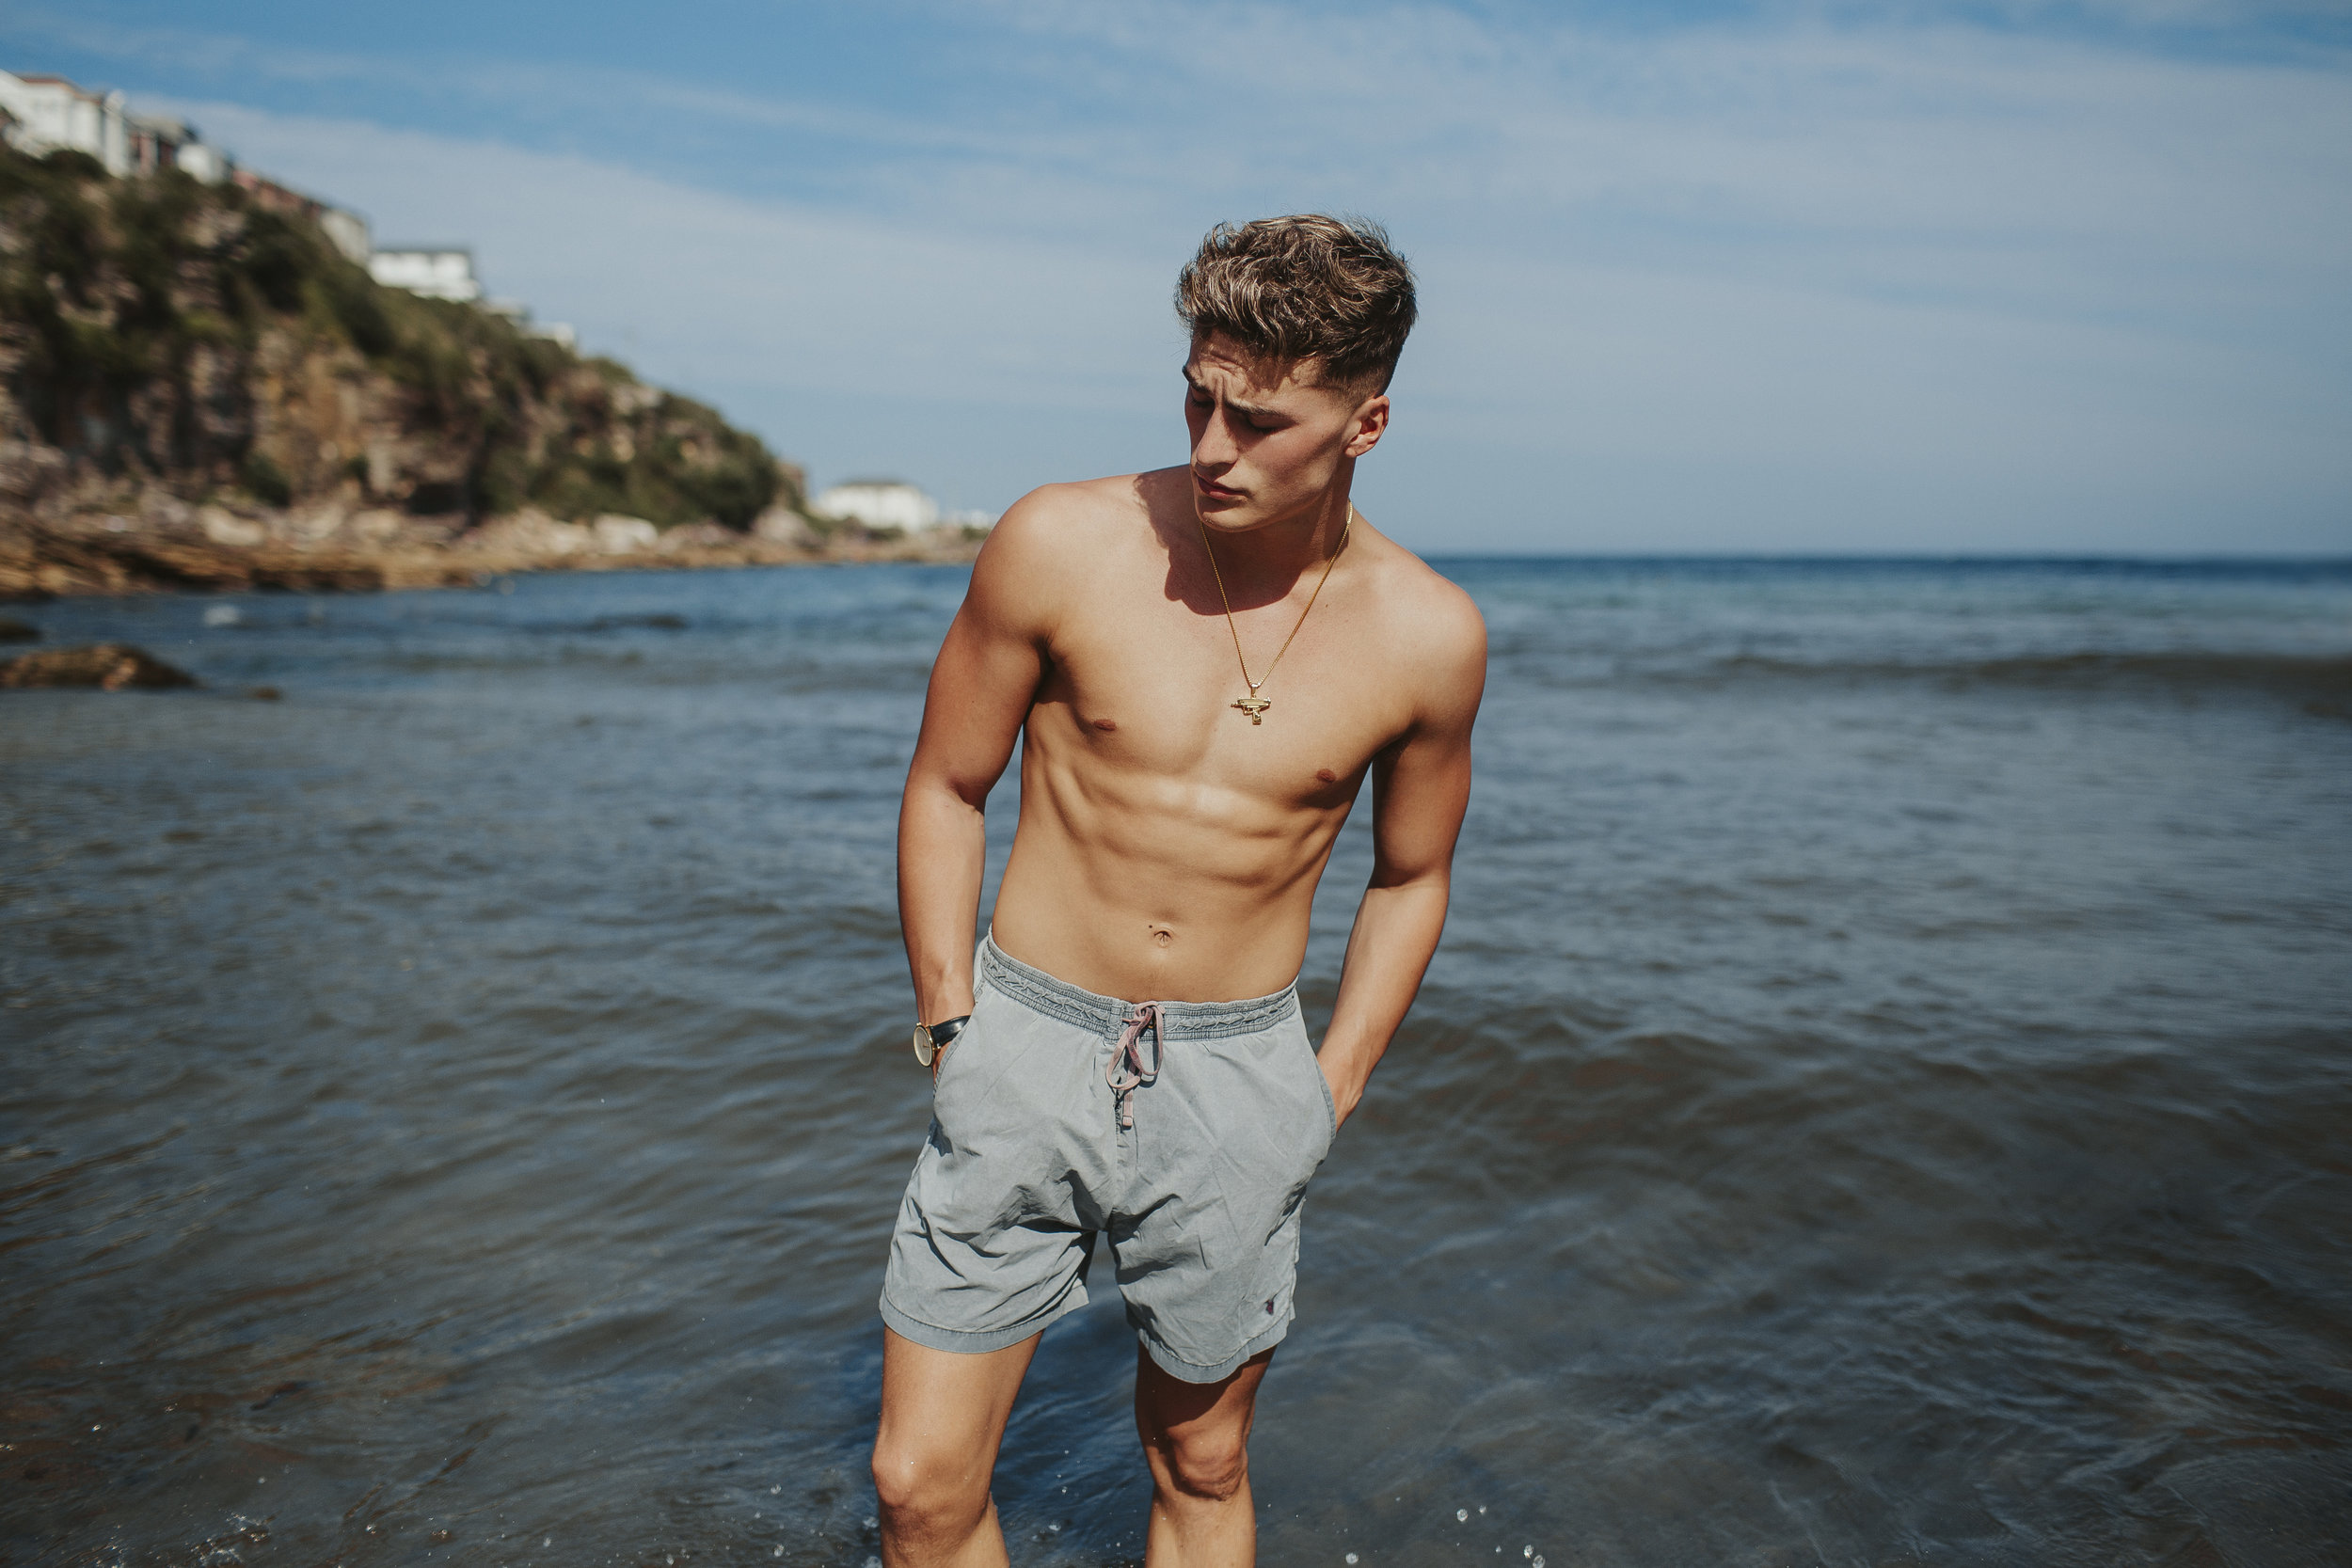
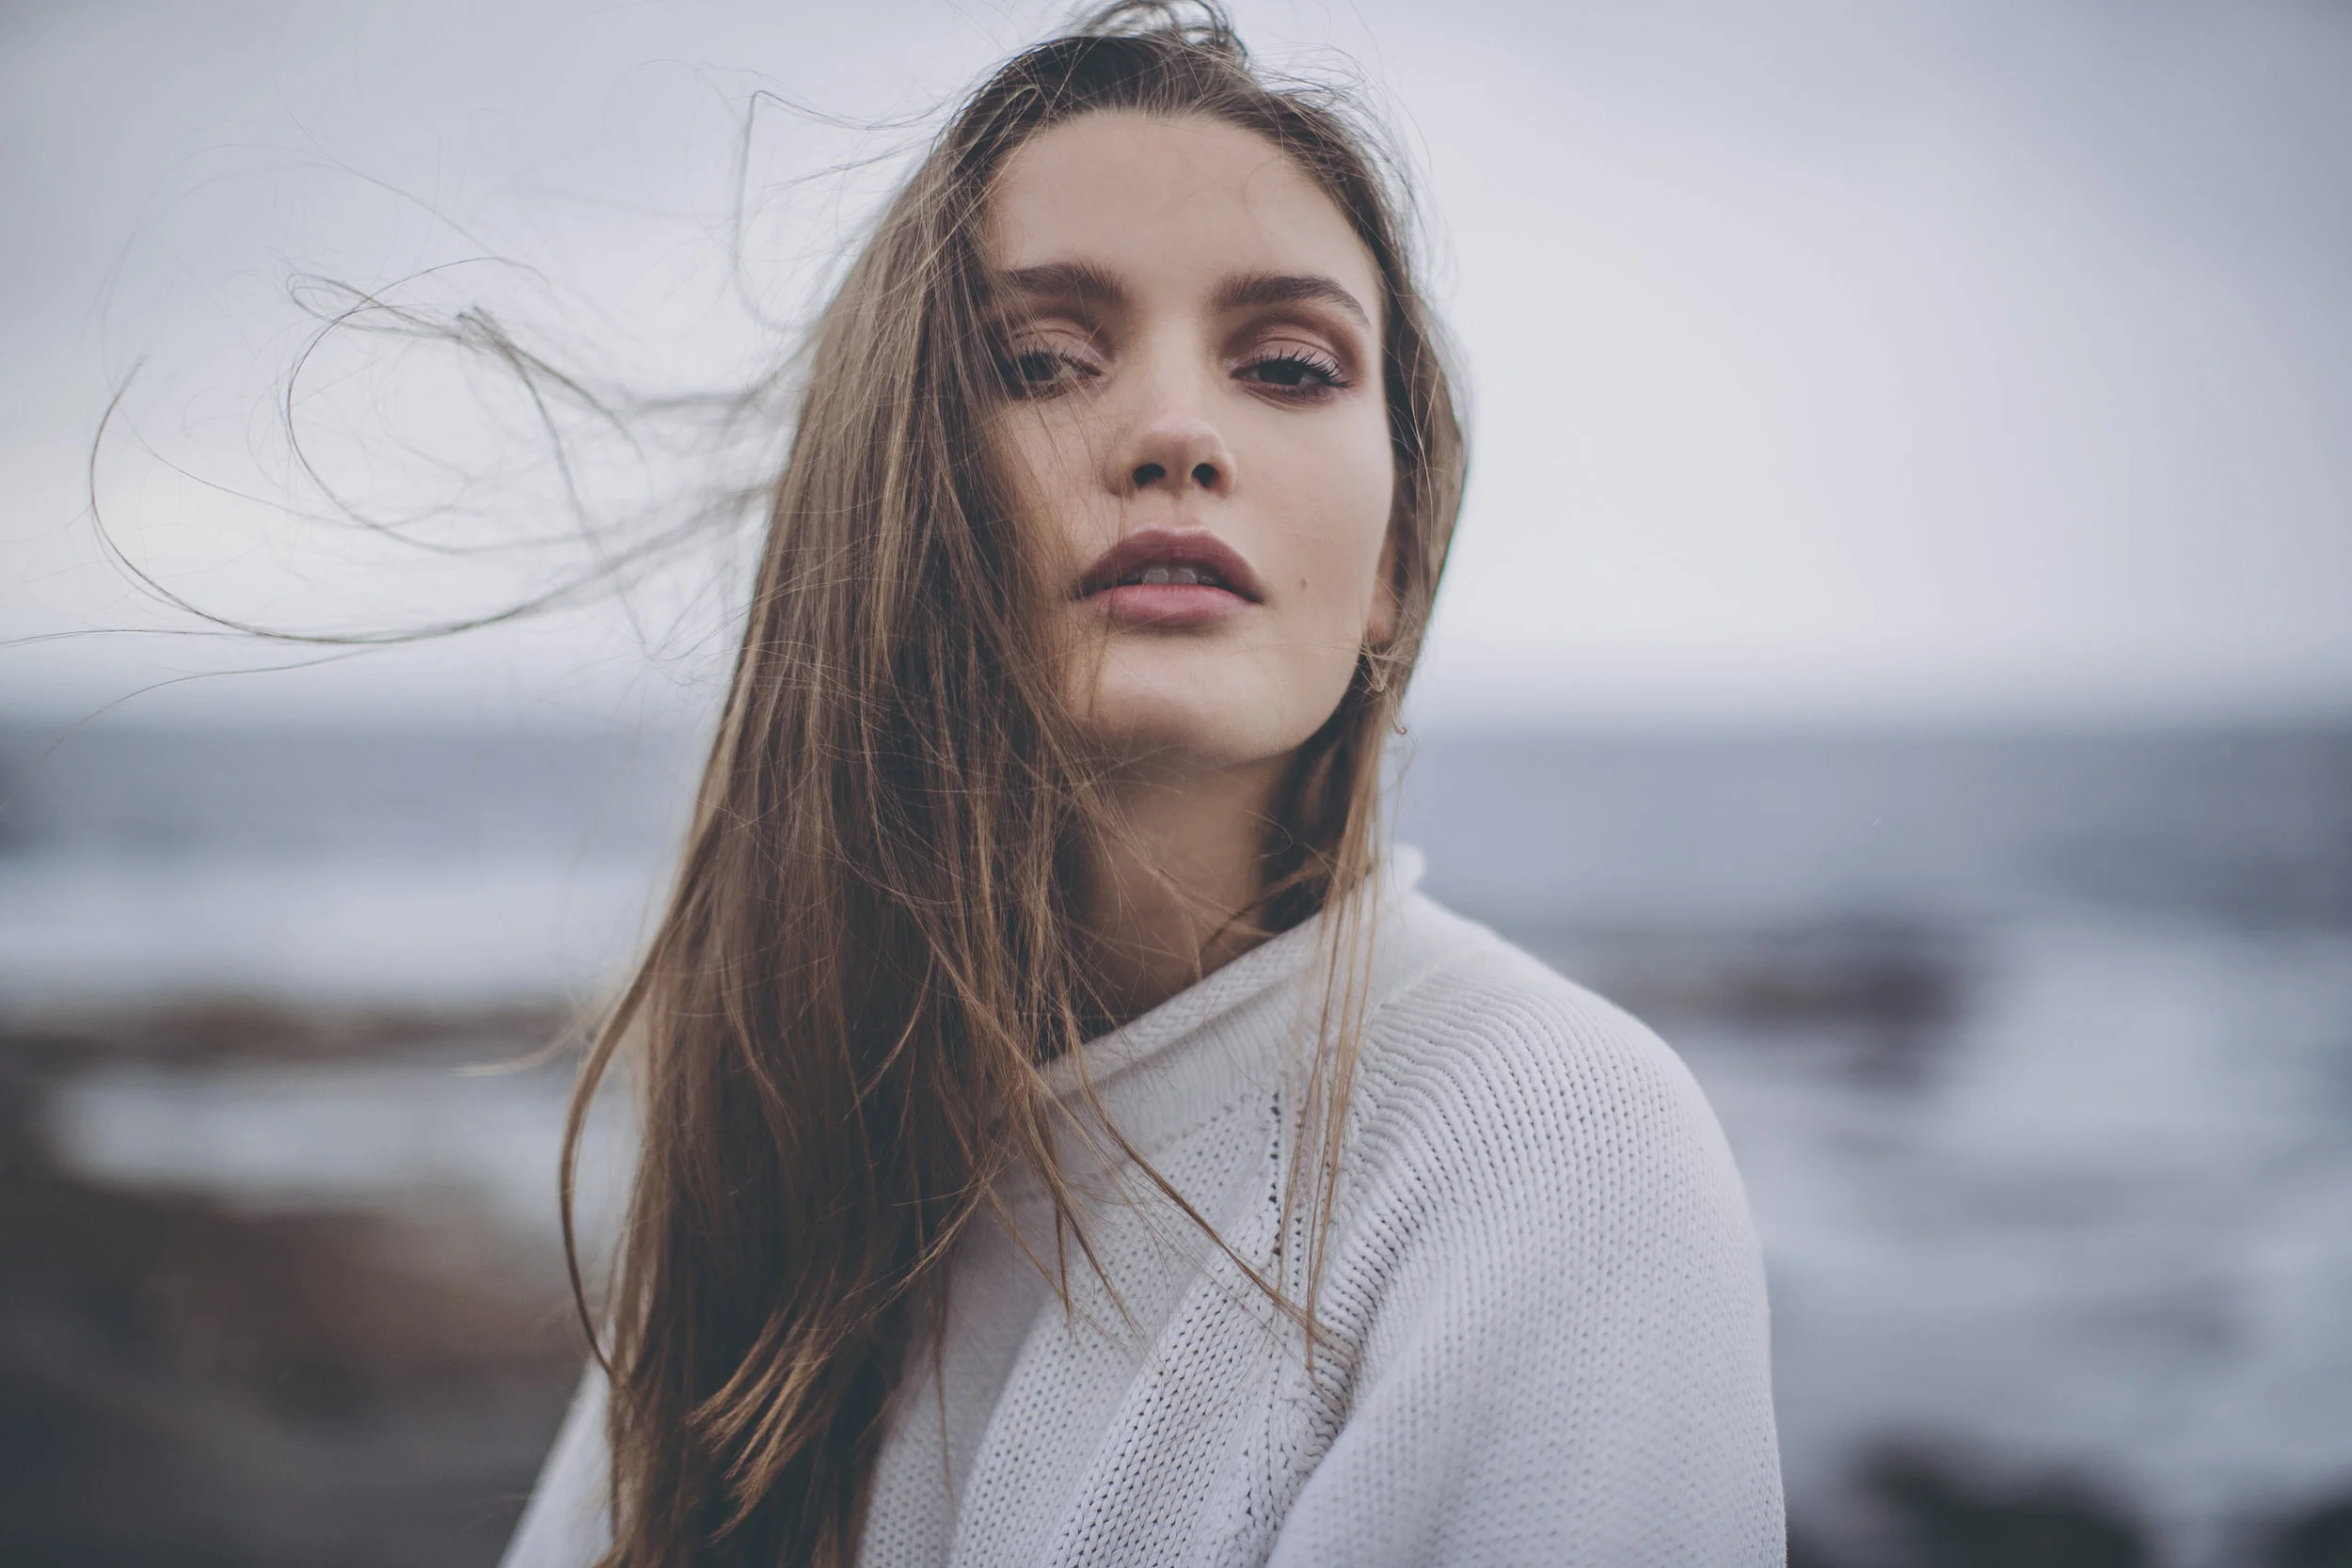










I captured these photos of Megan Emmett for the Candice Lee Femme Collection. You can see more of Candice Lee’s bridal gowns and hair styling work here.